I decided to apply some of the lessons learned from my Papa Divine wing (chiefly: big, fat airfoils on a flying wing are a bad idea) to a rebuild of my mediocre night wing, the M226. 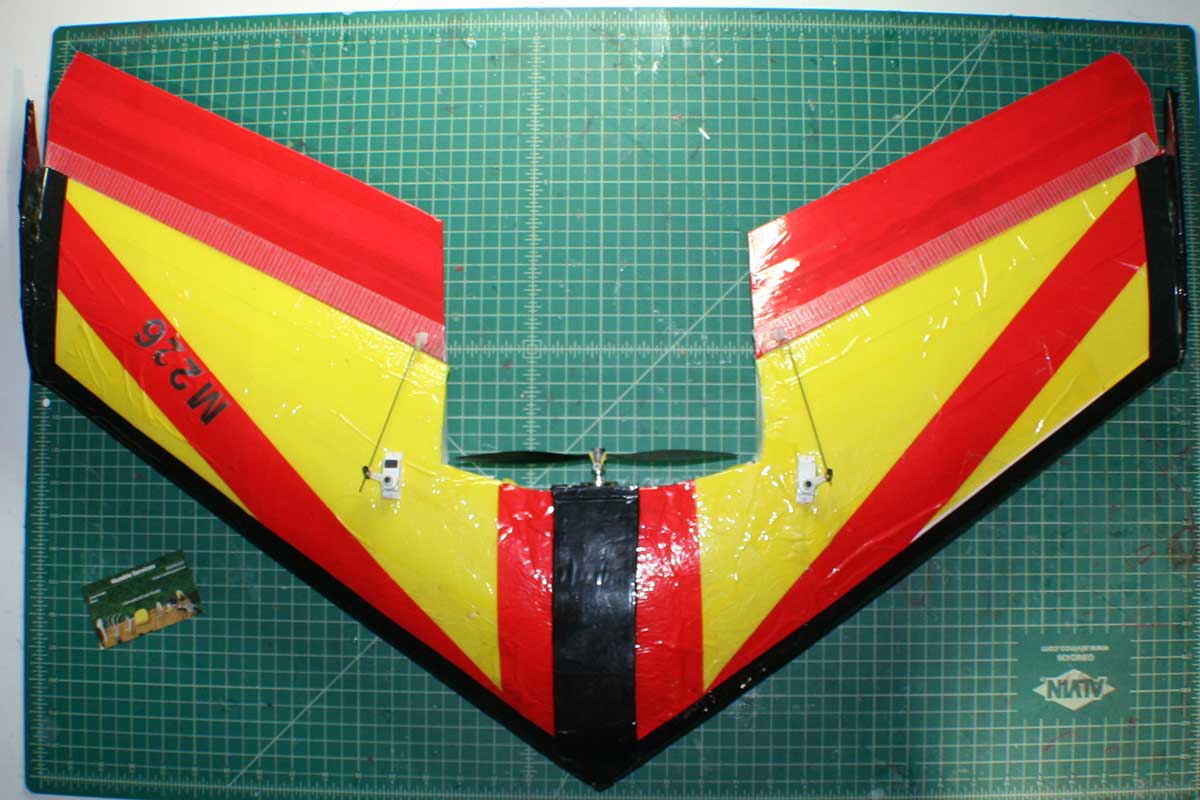
All the guts will be moving over to the new plane:
- 1300 kV ‘Blue Wonder’ 24 gram motor
- 20A ESC from Heads Up
- Two (2) 10 gram HobbyKing servos
- 850 mAh 3-cell LiPo batteries
- OrangeRx R610 receiver
- 48 white LEDs
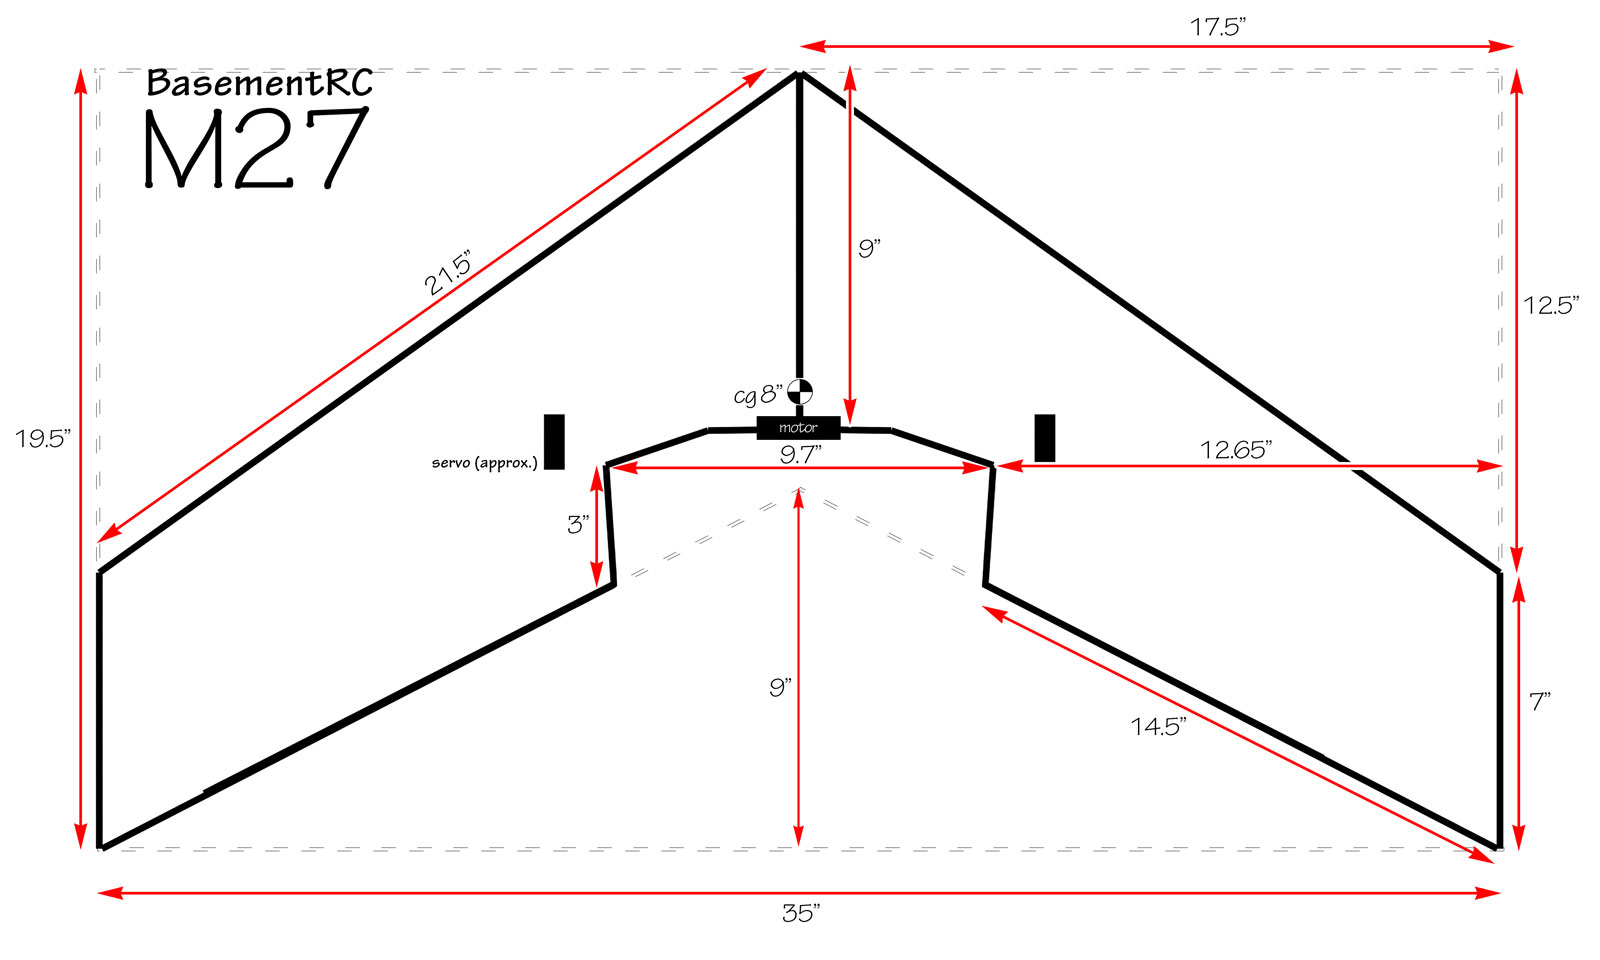
Here are the plans for the new wing. The dimensions are based on my P115 flying wing, one of my all-time favorites, but the airfoil and construction will be completely different.
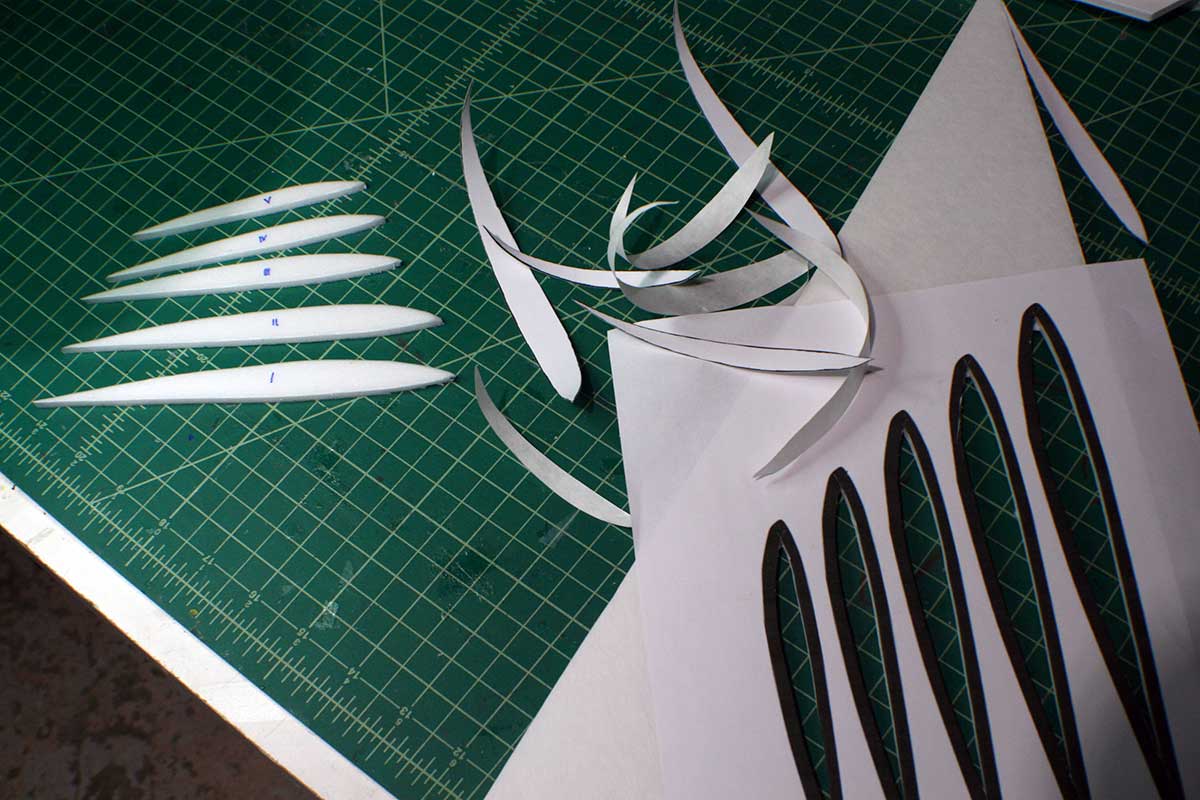
 The four wing skin panels that will make up the outer skin. I’m using Readiboard / Dollar Tree foamboard.
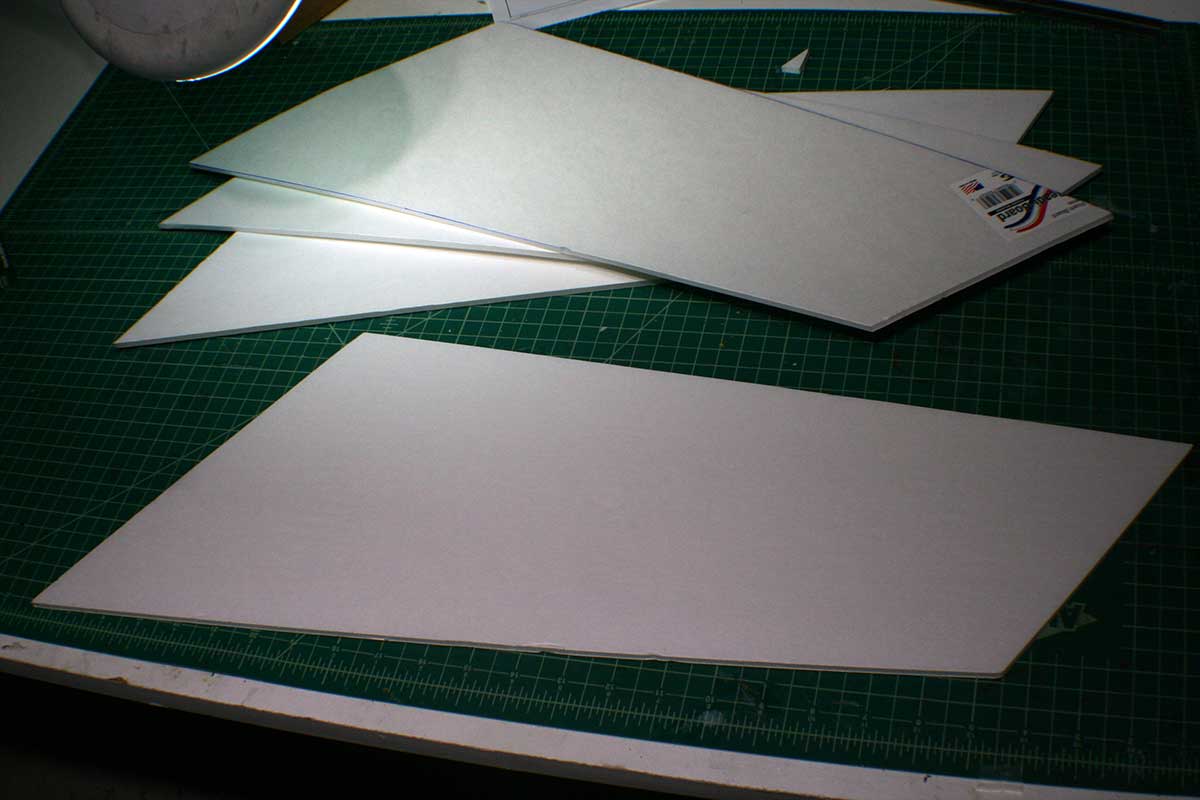 The airfoil is a close approximation of the MH-60 airfoil. I pulled the shape into Photoshop and put a line around the inside representing the approximately 0.20″ thickness of the naked Readiboard. When I cut out the ribs, I cut inside of this line. The idea is the foam will ‘fill out’ the airfoil to the correct dimensions.
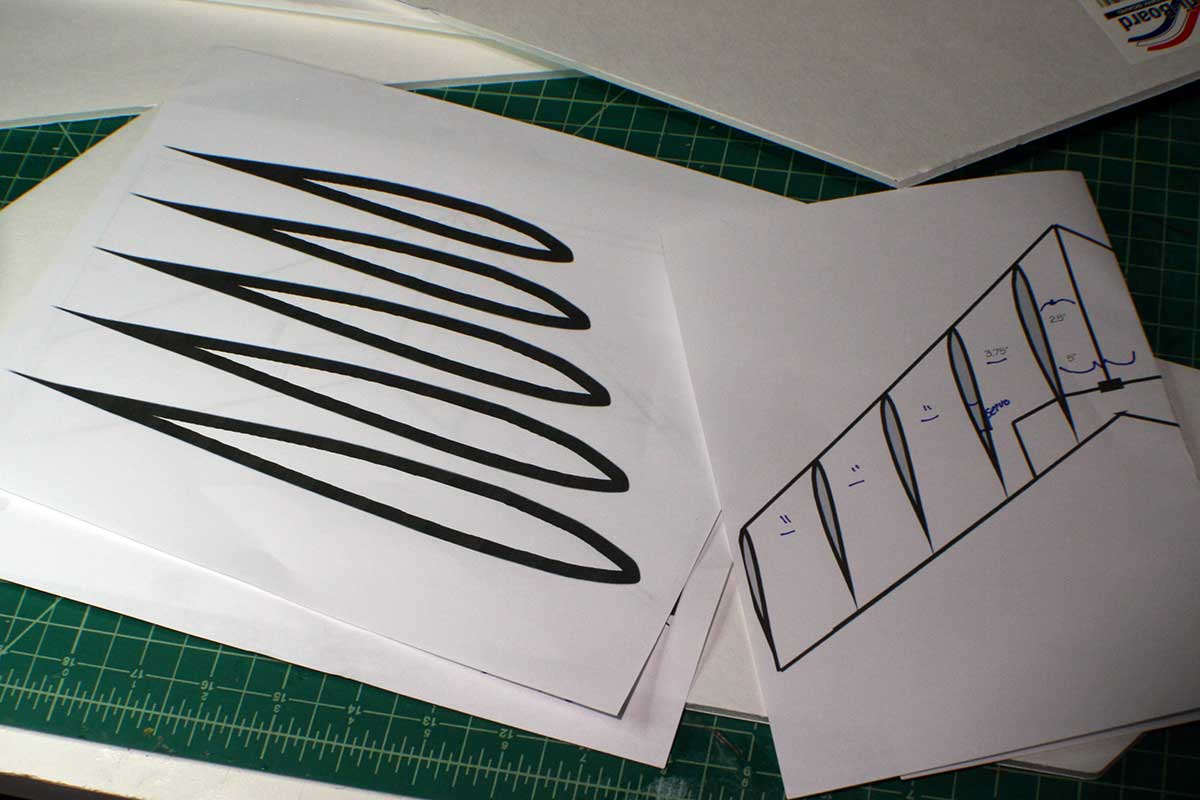
 Figuring out where the motor, battery, and propeller are going to go.
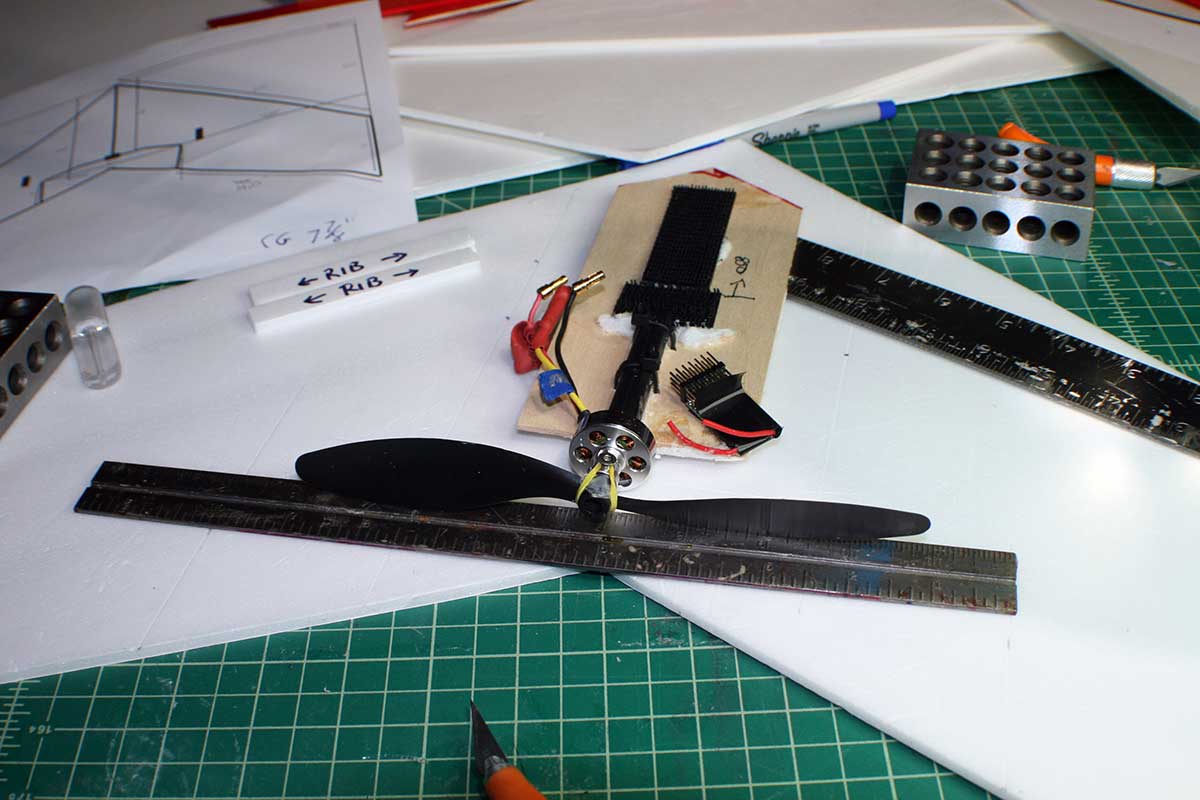 Gluing two wing halves together to form the bottom of the wing.
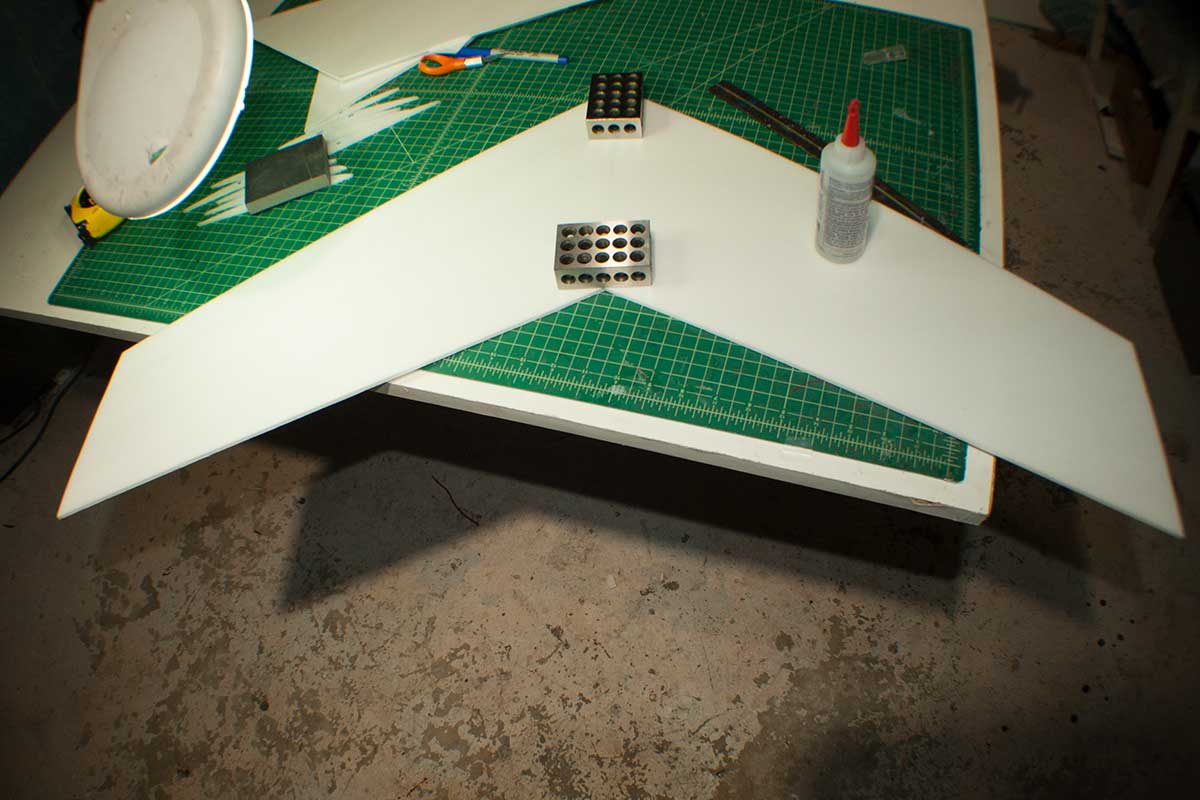 Cutting out the prop slot.
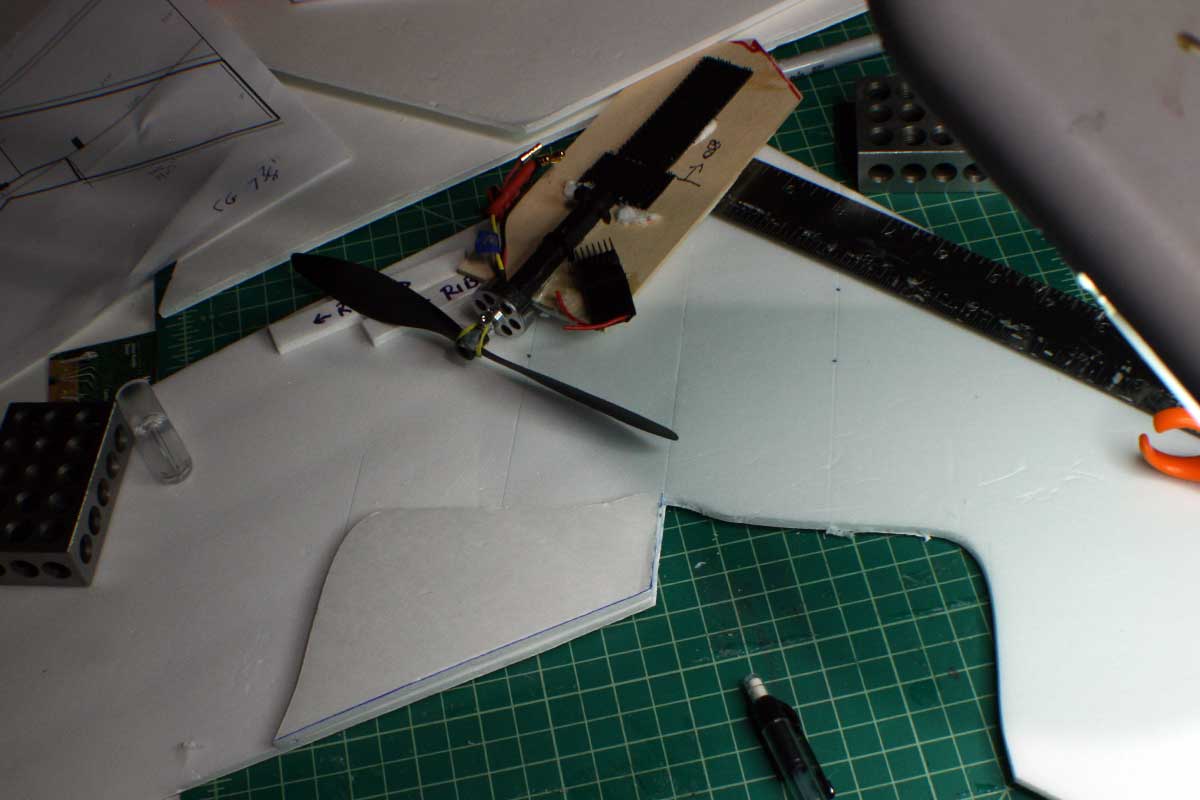 I glued 3/8″ balsa to the leading edge of the wing. I glue it point down, so it’s a diamond, rather than a square, when seen in profile. I sanded an angle in the foamboard to help accommodate it.
 Gluing in the ribs. I made a couple of little measuring tools from foamboard to help keep everything properly spaced and more-or-less square. (The wing ribs are 3.75″ apart.)
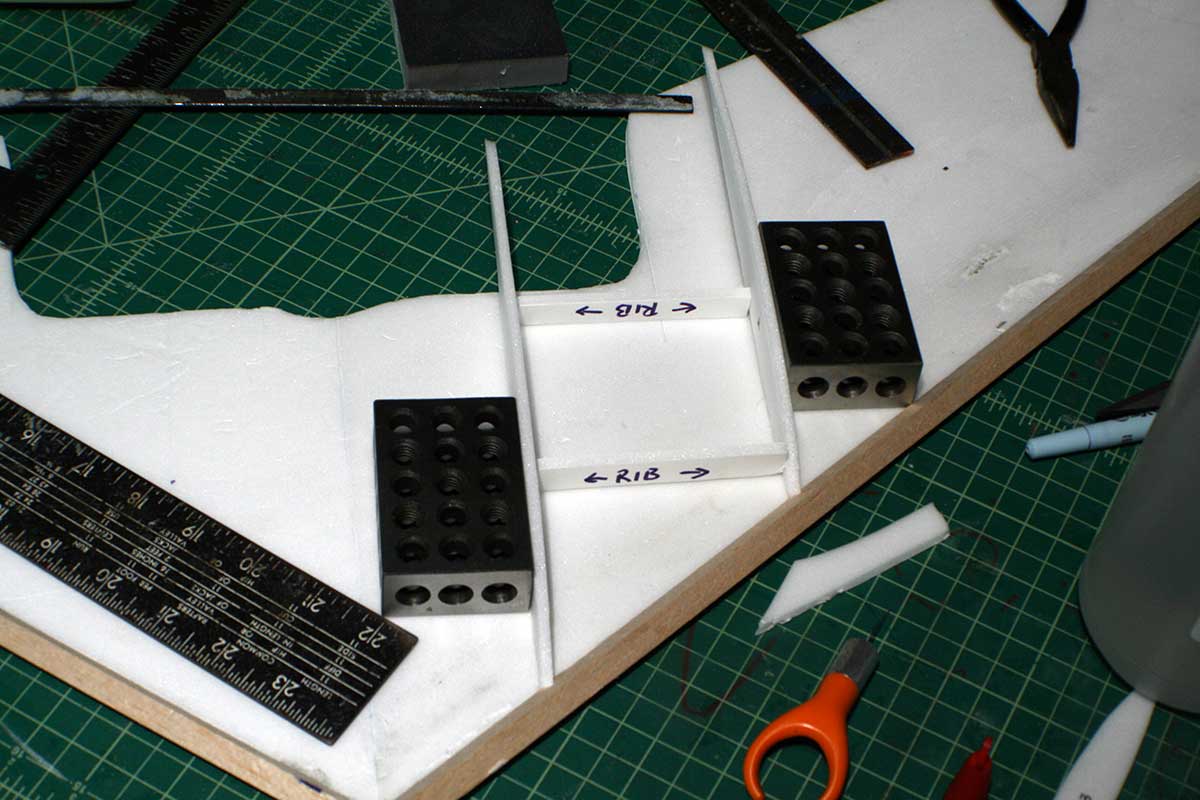 All the ribs started. Since the bottom of the airfoil is curved rather than flat, I started by gluing the front of each rib in place. You can see that the backs of the ribs are sticking up in the air slightly.
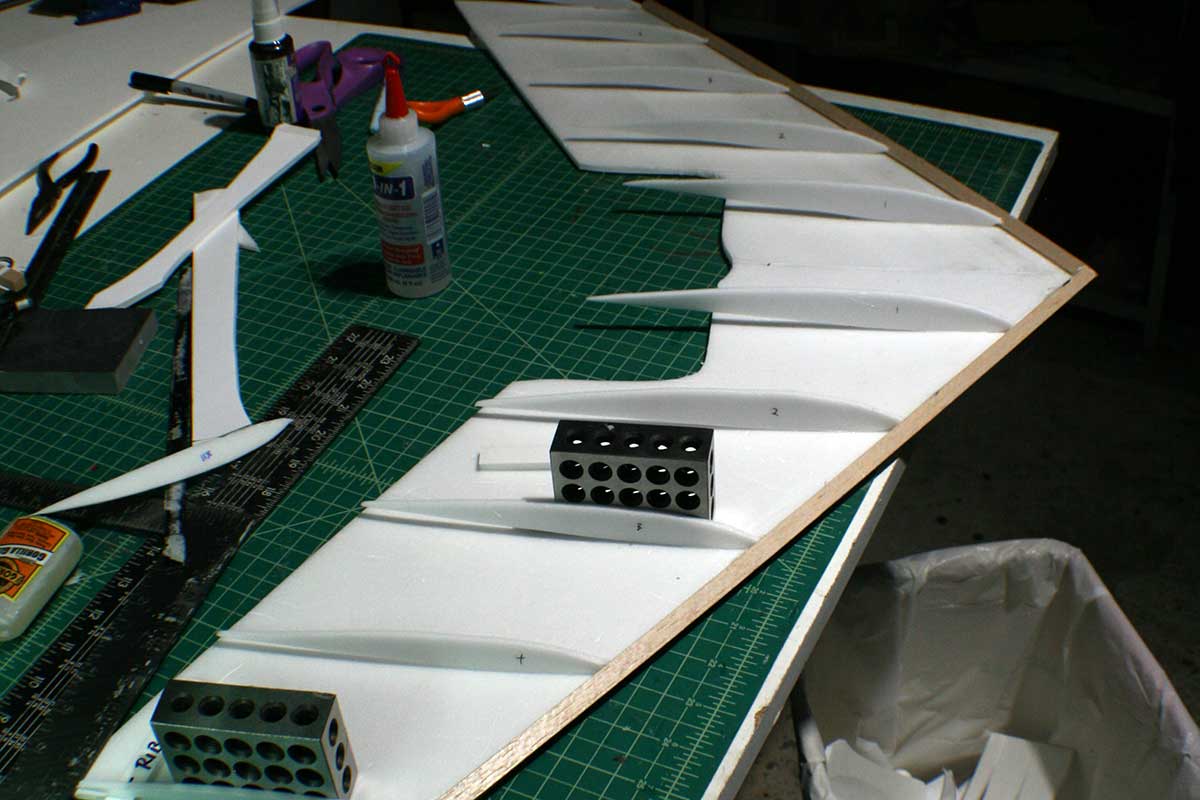 Here are the ribs, glued down all the way to the back.
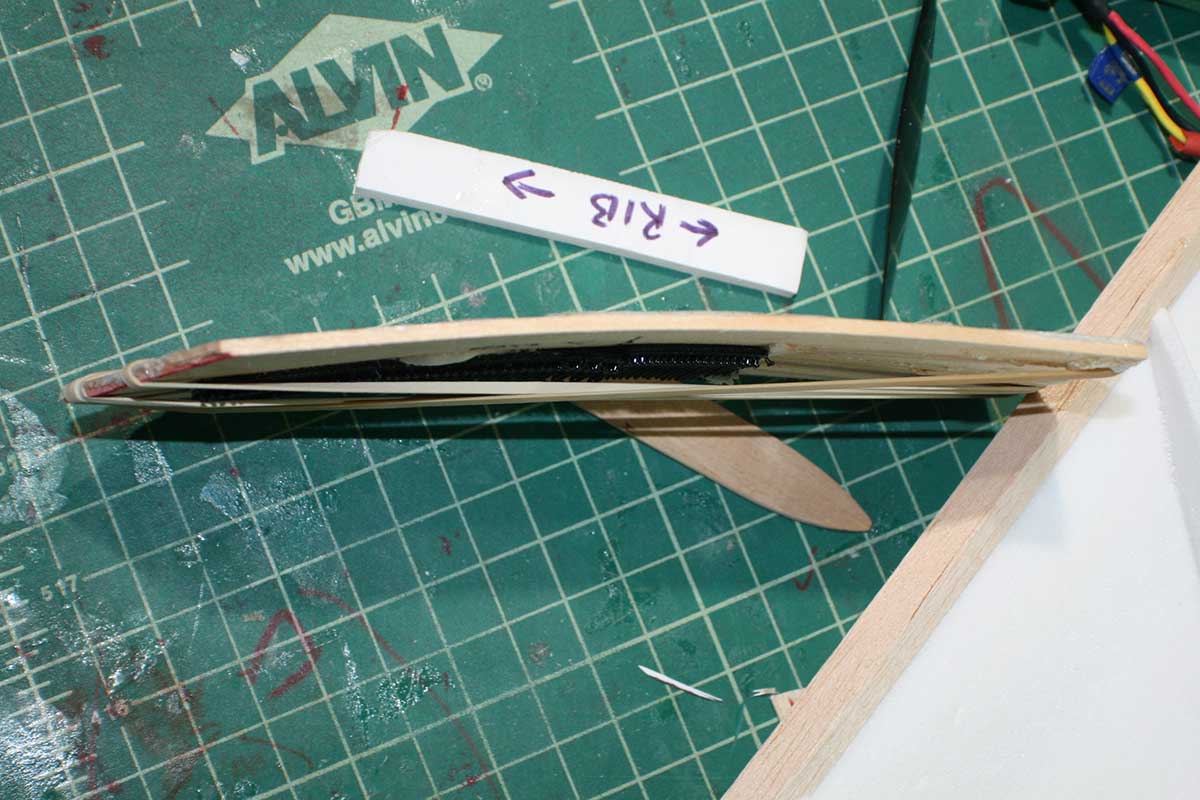
 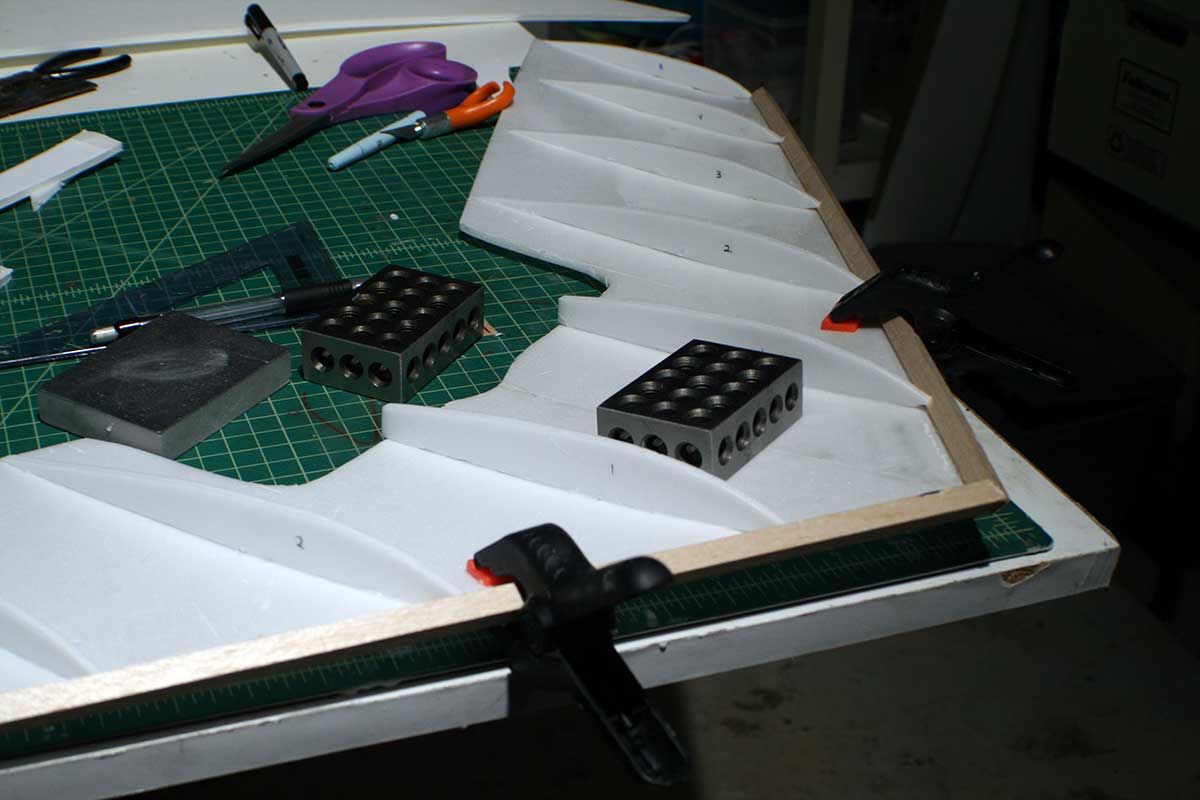 I stole this ‘floor’ piece from the other wing. That wing used a flat-bottomed airfoil, which this wing doesn’t. I didn’t want the wood to force the bottom to be flat, so I steamed it and bent it to give it a curve matching the bottom of the airfoil.
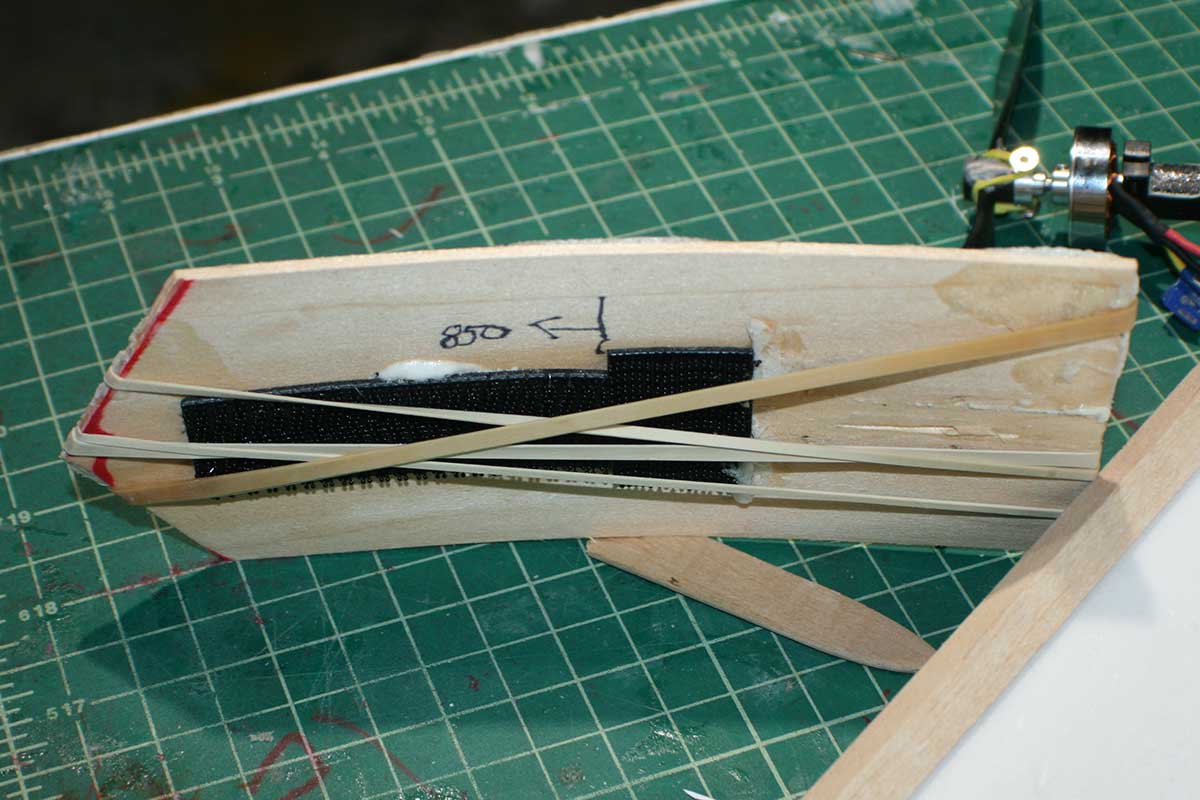
 Getting ready to glue the floor piece down to the foam. The two black zip ties will help support the motor mount. You can see a little wooded ramp toward the back. This is to compensate for the shape of the airfoil which would otherwise tilt the motor up at an angle.
 The M226 was a night flyer. I stole its lights and batteries to transplant into this plane.
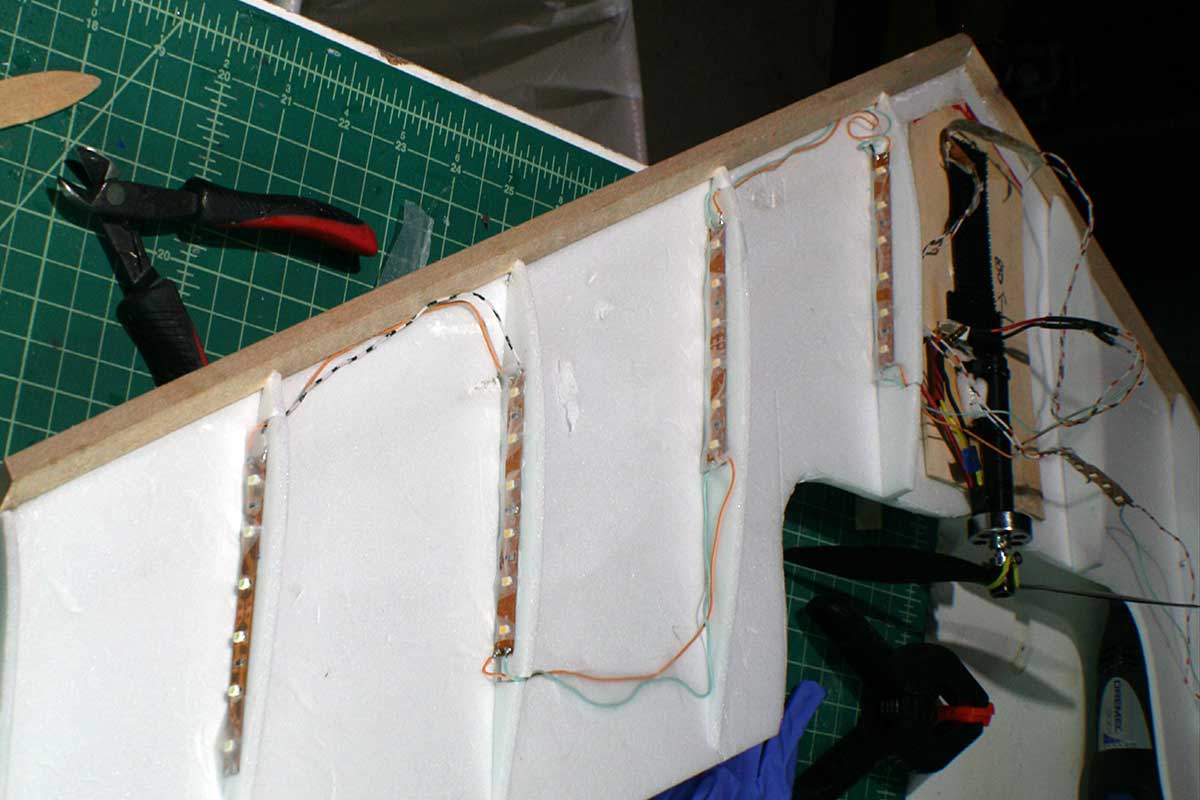 With the lights in place, I can glue the top skin in place.
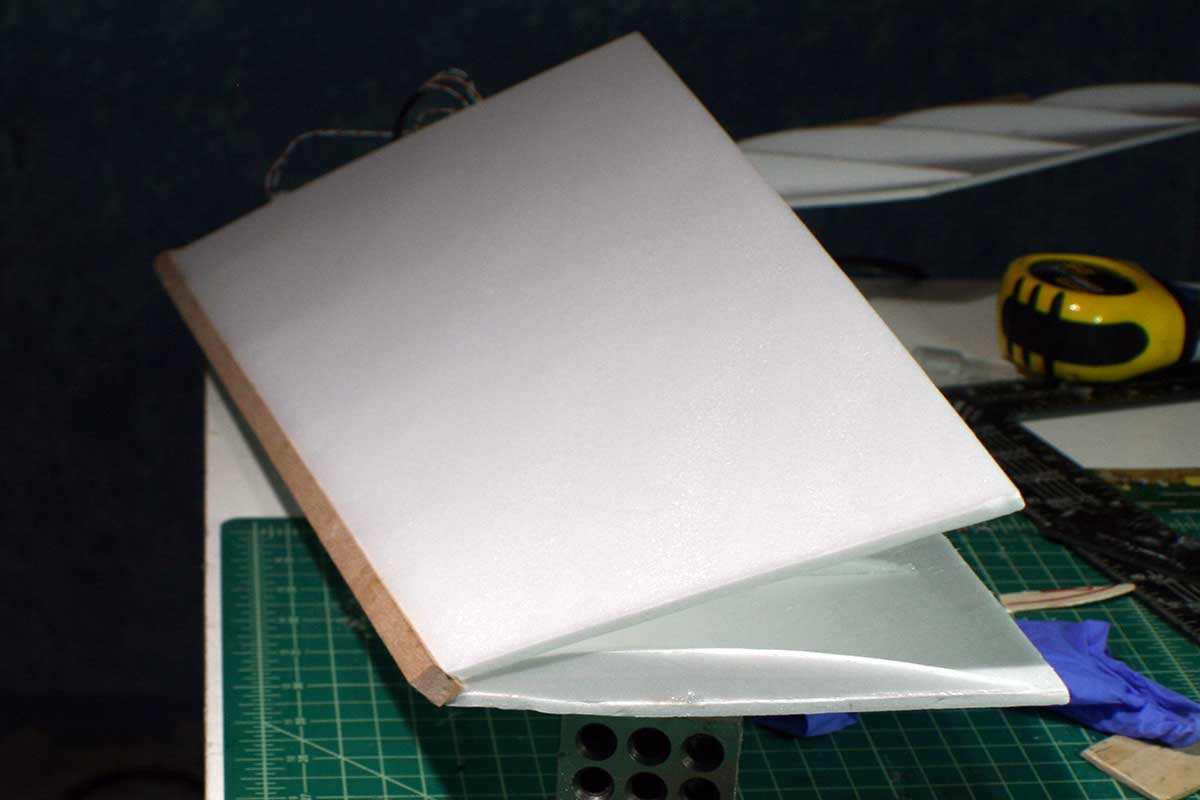 Both top wing skins in place. The plane is really taking shape.
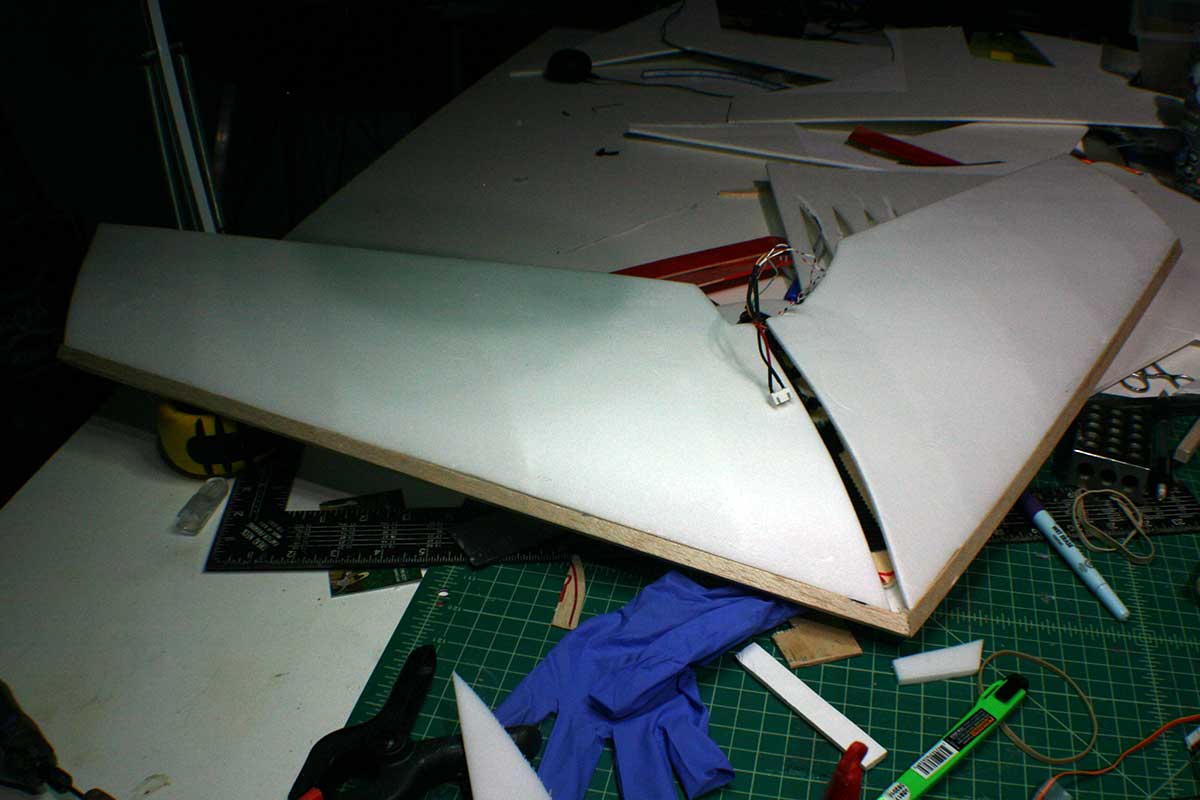 Using some T pins to hold the skin in place against the balsa leading edge spar until the glue sets.
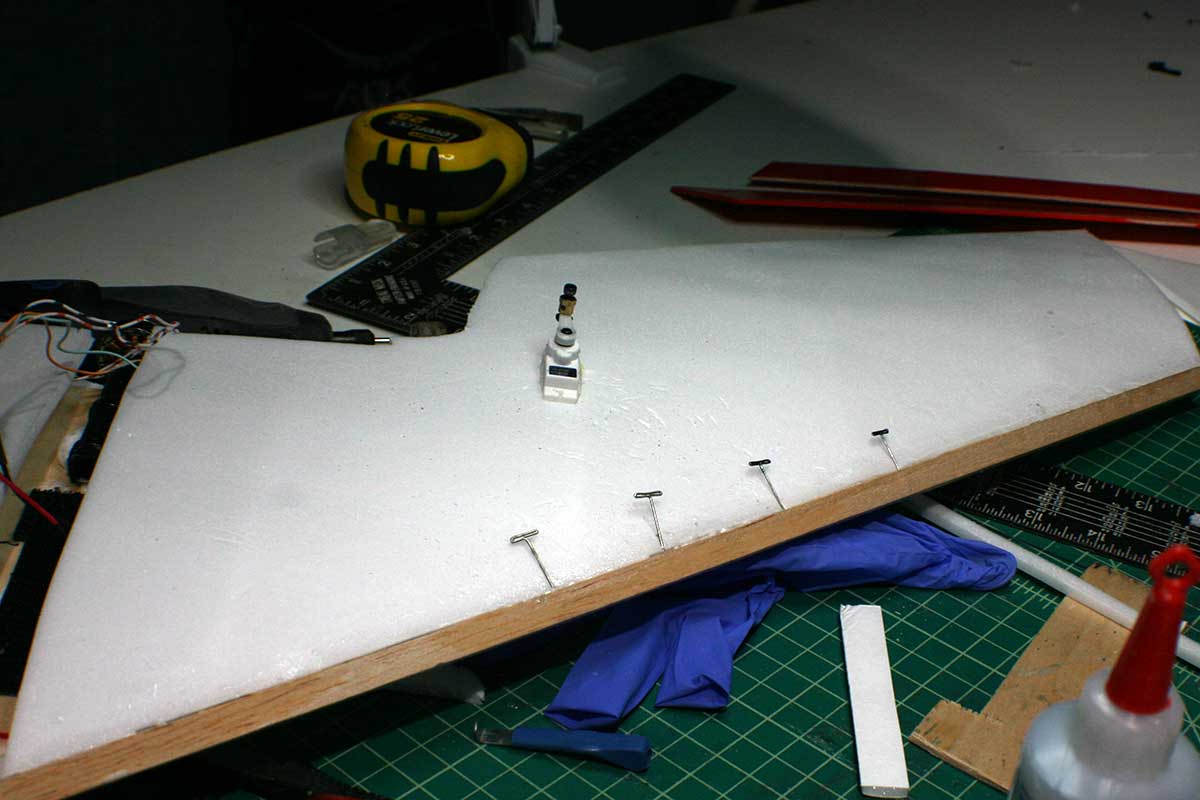 Rounding off the leading edge.
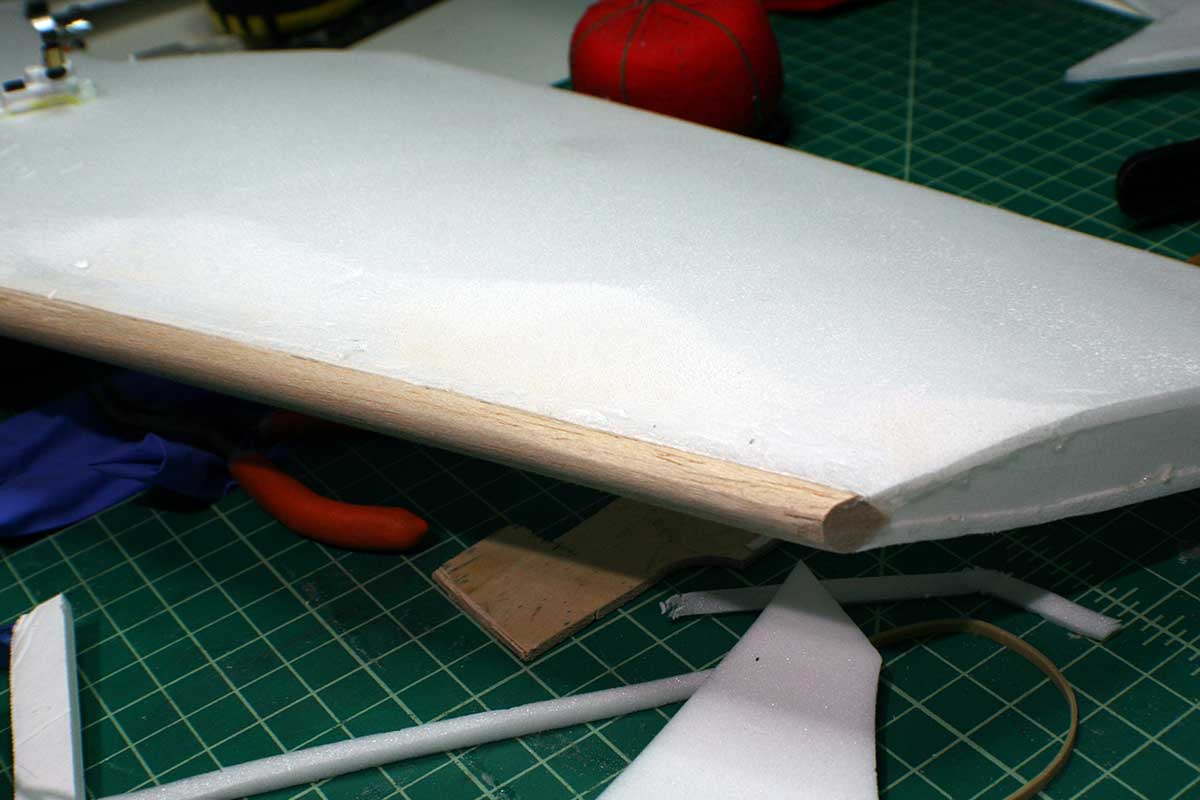 Starting the process of covering the plane in Dollar Tree cellophane wrap. I glue it in place with 3M Super 77 spray adhesive, then shrink it drum tight with a heat gun.
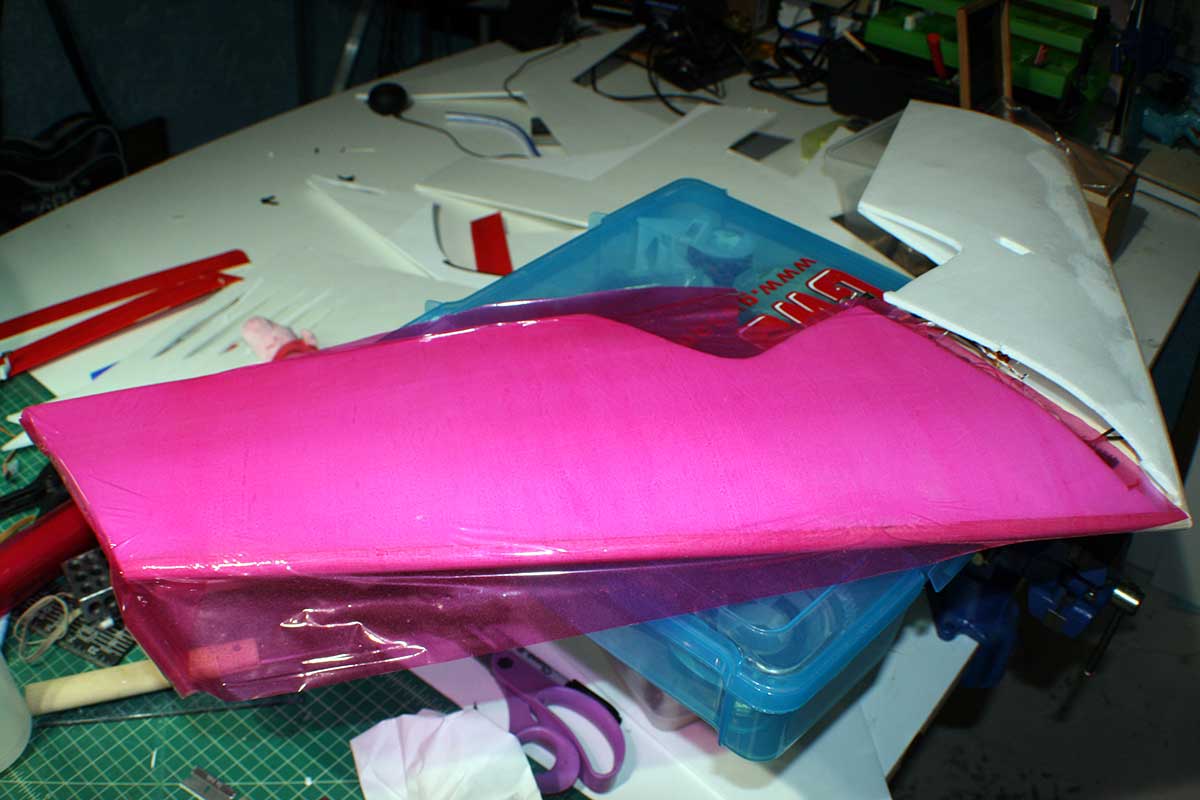 I didn’t expect the plane to come out so pink; the cellophane looks red on the roll.
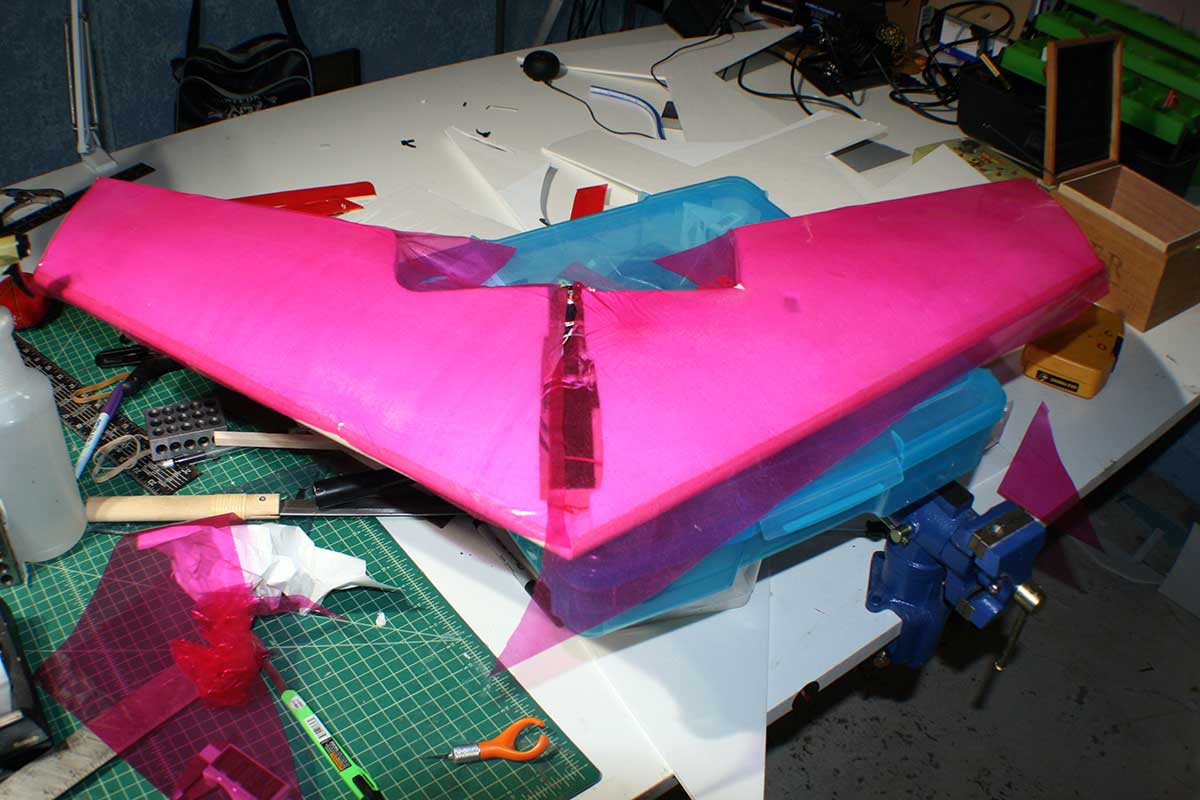 Testing the LED lights. I moved the elevons over from the old wing.
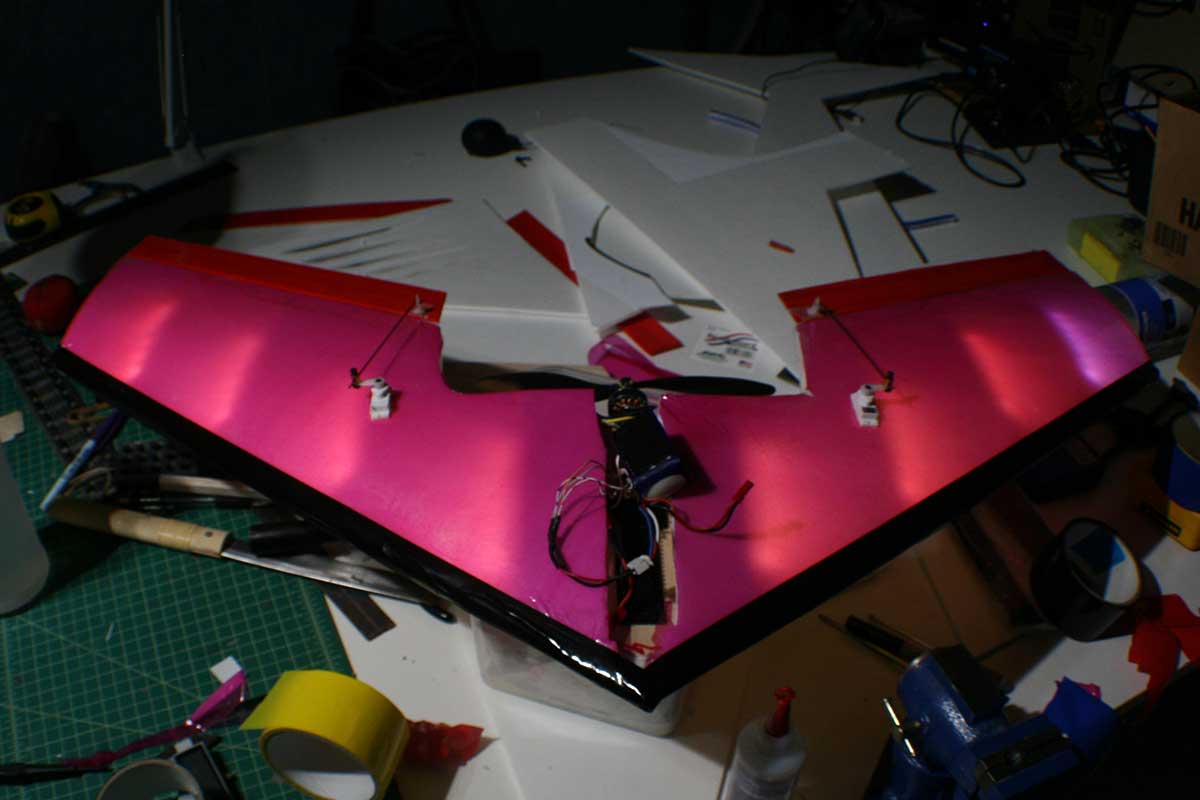
 Some simple winglets.
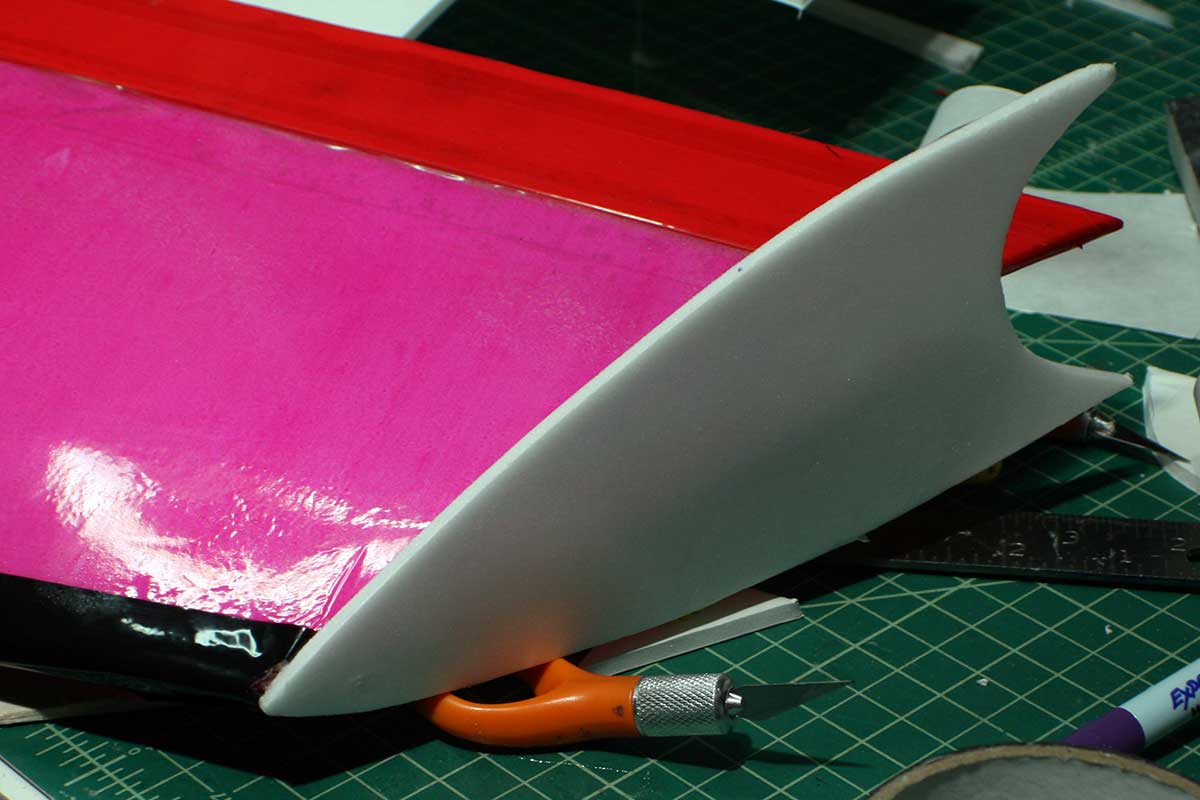 Last but not least, we’ll need a battery hatch. I cut out a simple shape.
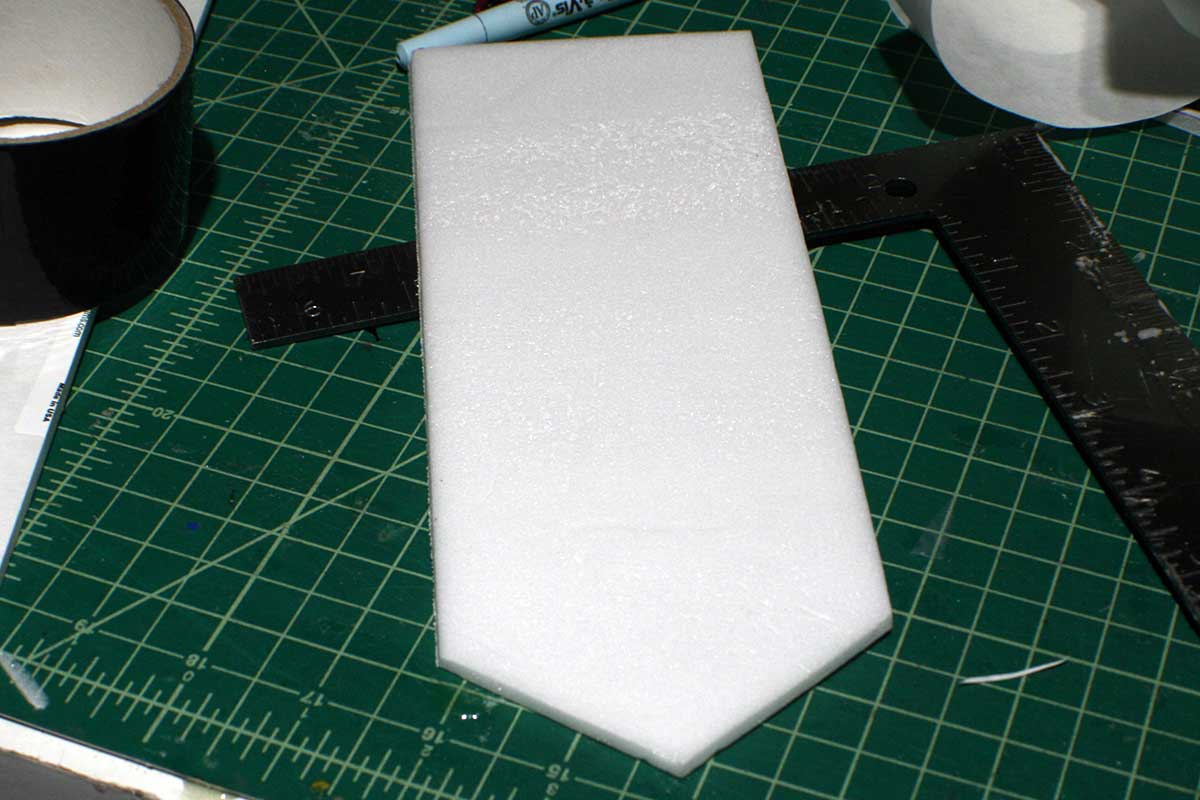 Tape it in place at the front with fiber-reinforced tape. I use a little more packing tape to cover the white tape up.
 For a hatch clasp, I epoxied a magnet to a little piece of balsa glued under the foam in the rear. I epoxied a corresponding magnet into the foam of the battery hatch above.
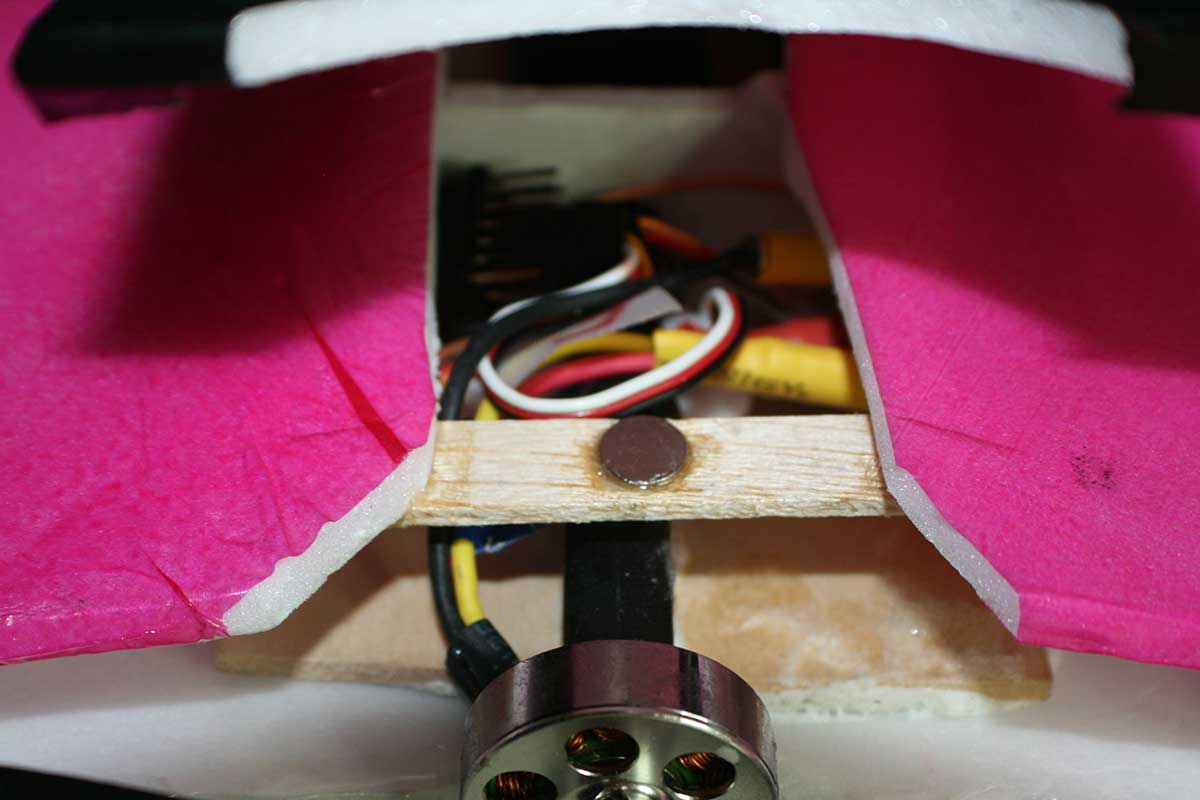 Here’s the more-or-less finished wing.
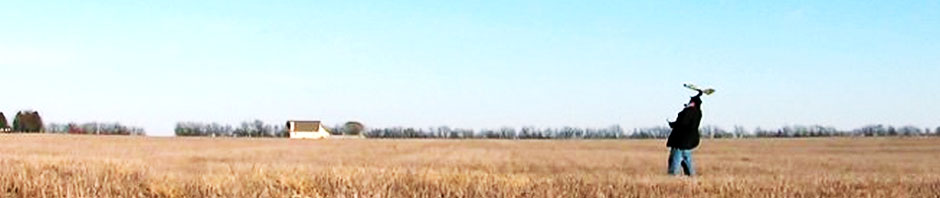
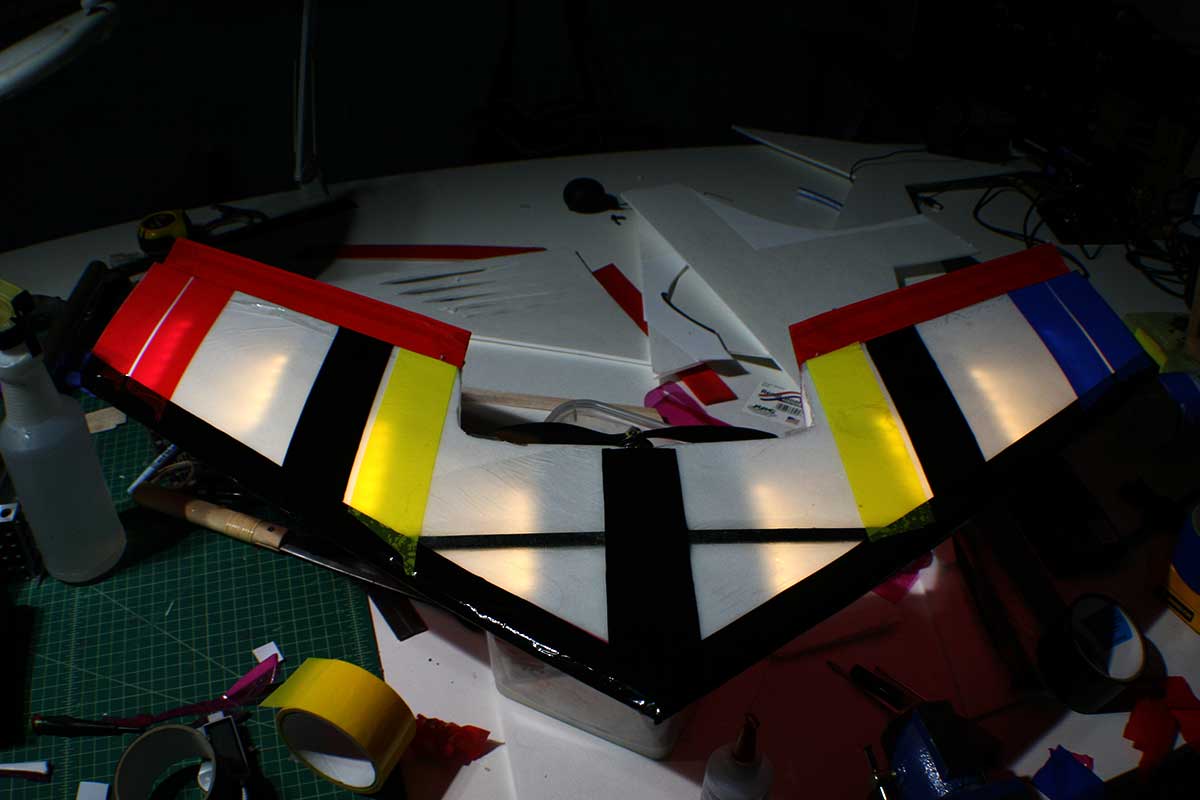
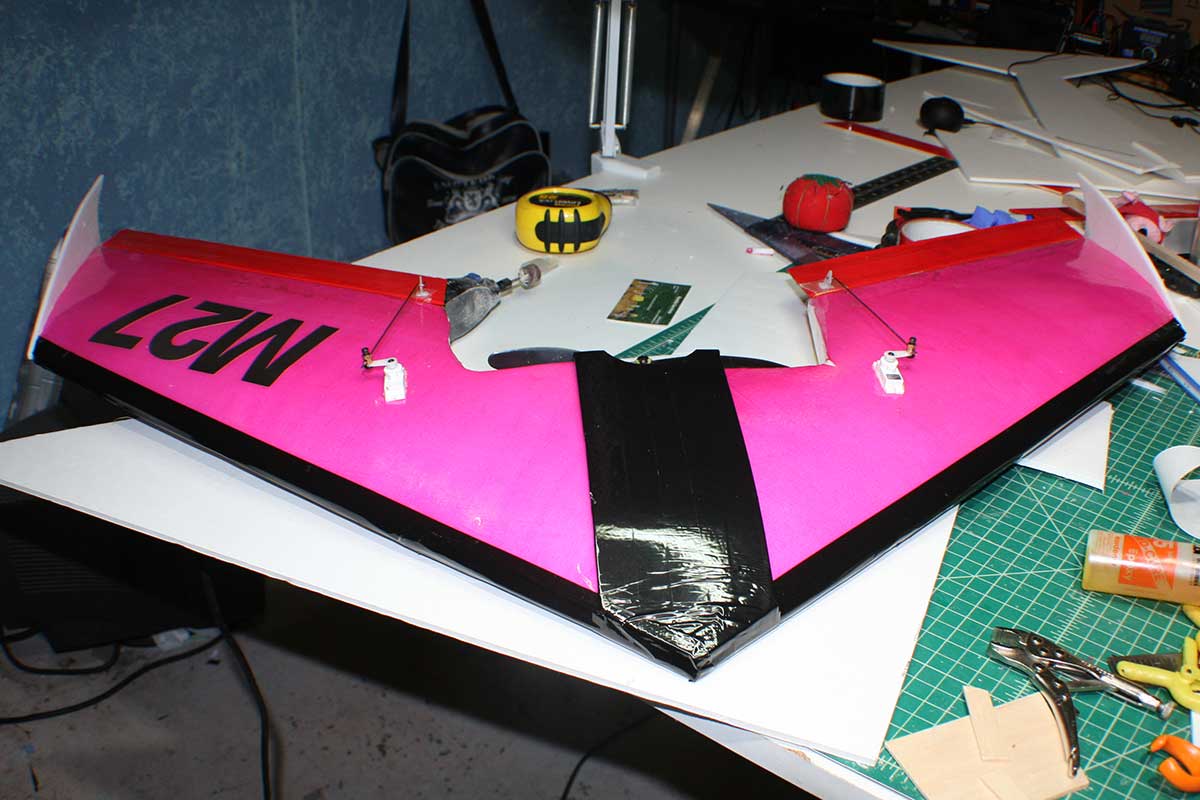
AUW: 336 grams / 11.8 ounces