After suffering a catastrophic de-lamination when moisture and humidity caused the paper to separate from the foam, this plane has been retired.
I’ve convinced my wife to build a plane and she’s chosen a nutball, which she plans to decorate like a ladybug. Herein lies the chronicle of its buildenating. I’ll be updating this post as the build progresses.
She’s using these plans from FliteTest.
Build setup:
- One sheet of 20″ x 30″ Dollar Tree foam board
- 20″ wingspan
- Keda 2730 0.9 oz 1700kV “Blue Wonder” motor
- 7035 propeller
- Emax Budget 18 Amp ESC
- (2x) HK15178 10g analog servos
- OrangeRX R610 Spektrum-compatible receiver
- AUW – 275 grams / 10 ounces
-
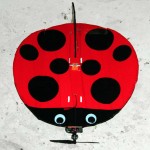
- Finished paint job with ‘googly eyes’
-
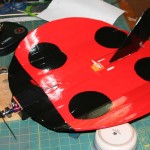
- Some spots in place
-
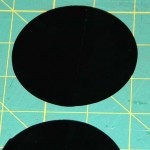
- Tape dots, ready to stick on.
-
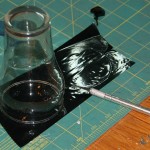
- Cutting dots out of black packing tape.
-
- A black ‘head’ created with black packing tape
-

- Pre-visualizing the final design.
-
- Ready to maiden.
-

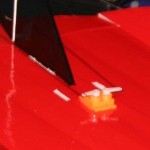
- Scotch Heavy Duty Fastener (Velcro) will hold the batter in place on top.
-
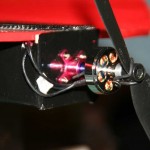
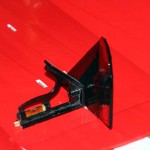
- Firewall glued to the fuselage and motor mounted.
-
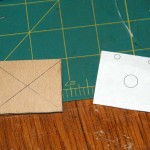
- Firewall cut from 5/16″ Birch plywood.
-
- Servos mounted in hole cut through the wing. Secured with hot glue.
-
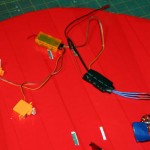
- Electronics assembly and test.
-

- Proud of her completed airframe
-
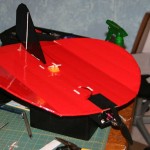
- Fuselage bent, taped and attached to the bottom of the wing.
-
- Truing up the tail
-
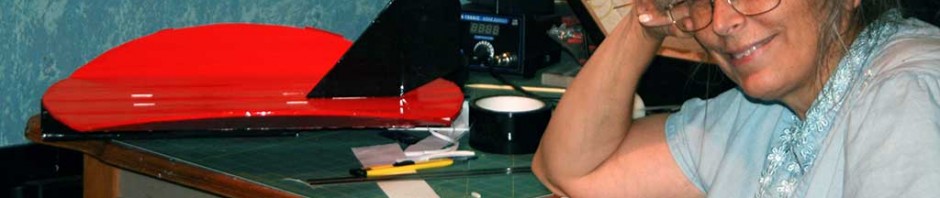
- Rudder covered with tape
-
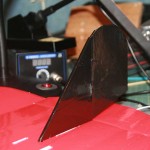
- Test-fitting the rudder atop the finished wing.
-
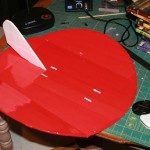
- Another look at the dihedral in the wing.
-
- Dihedral set, and rudder cut free.
-
- Hot gluing dihedral in the wing.
-
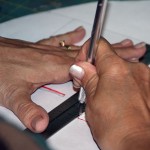
- Careful X-Acto work
-
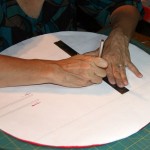
- Cutting slots in the wing
-
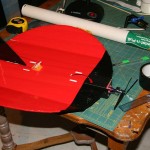
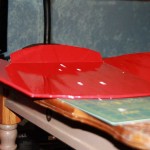
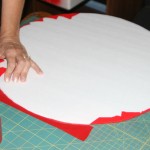
- Wing fully taped
-
- Finishing up the tape
-
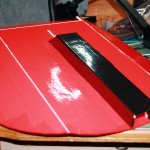
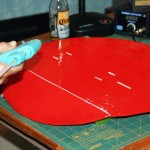
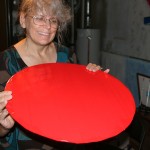
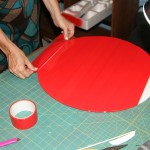
- Applying red packing tape
-
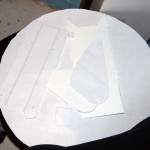
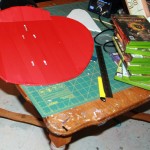
- Plans, printed up large.
-
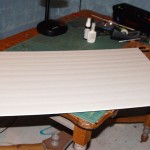
- It all starts with a sheet of dollar tree foam.
Pingback: The Nutball Flies! | Basement R/C