Everything starts with something else. This build started with this li’l pig, who I thought looked like a perfect pilot. I didn’t recognize her, but my granddaughter subsequently informed me that she is Peppa Pig, and quite well known.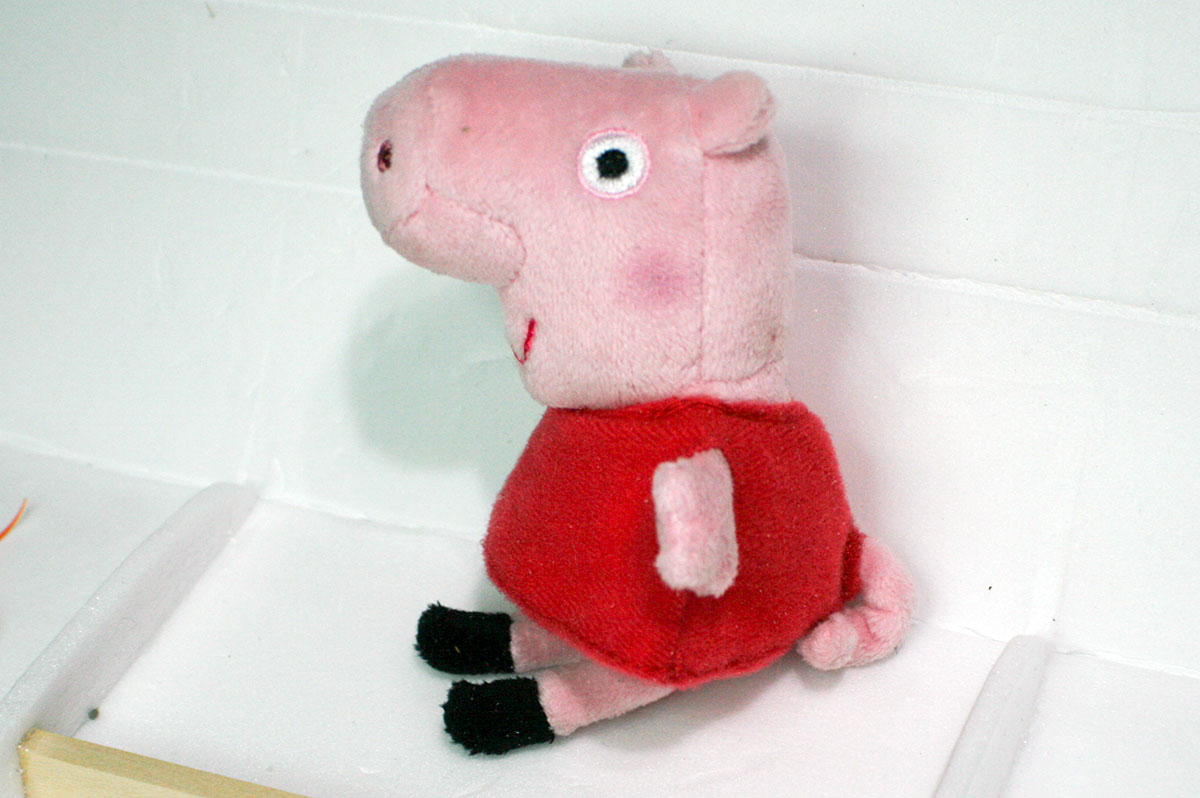 Peppa’s plane, the Bippa, will be roughly based on Flite Test’s Baby Blender.
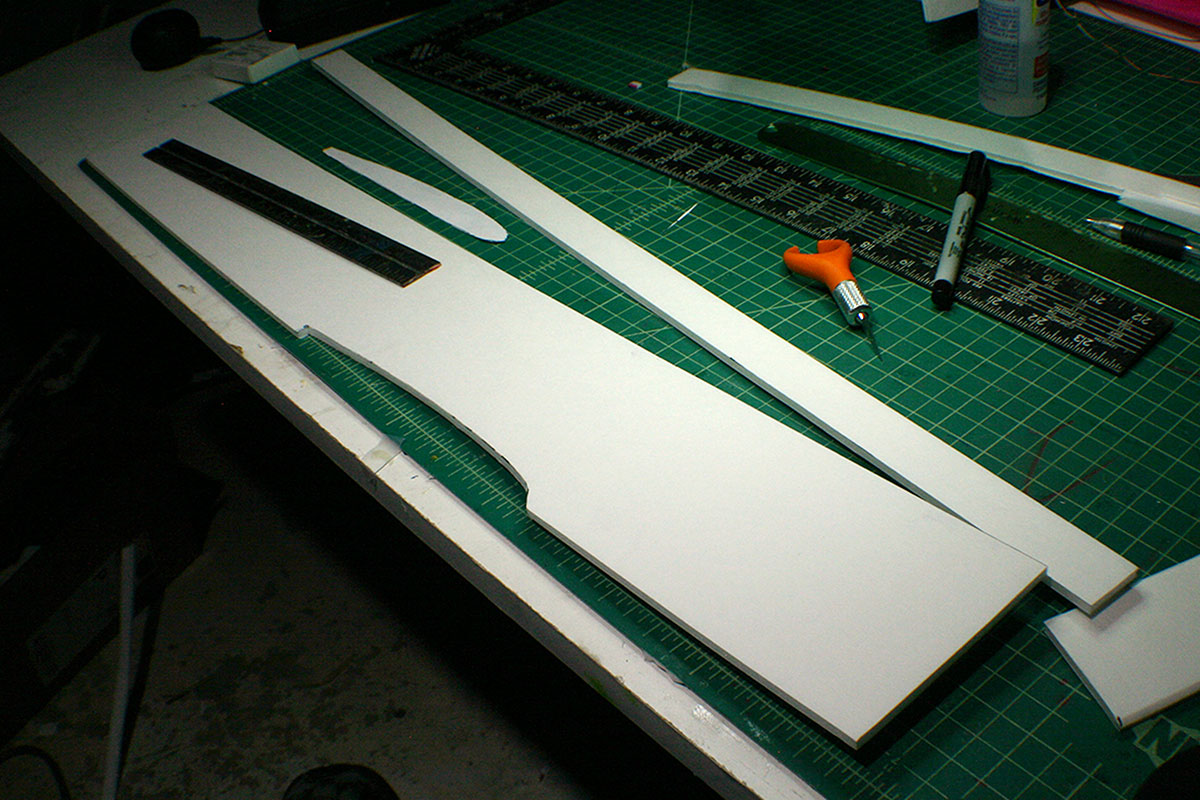
Each wing will be created from a single sheet of 20″x30″ Readi-Board (i.e. Dollar Tree foam.) Each will have an 8″ chord and 30″ span. I’m putting in some basswood spars that I have on hand. They’re only 24″ long – I’d rather they were 30″ – but I’ll make do.
After removing the inside paper, I used a pair of hemostats (tweezers) to score some lines in the foam to facilitate easy folding. 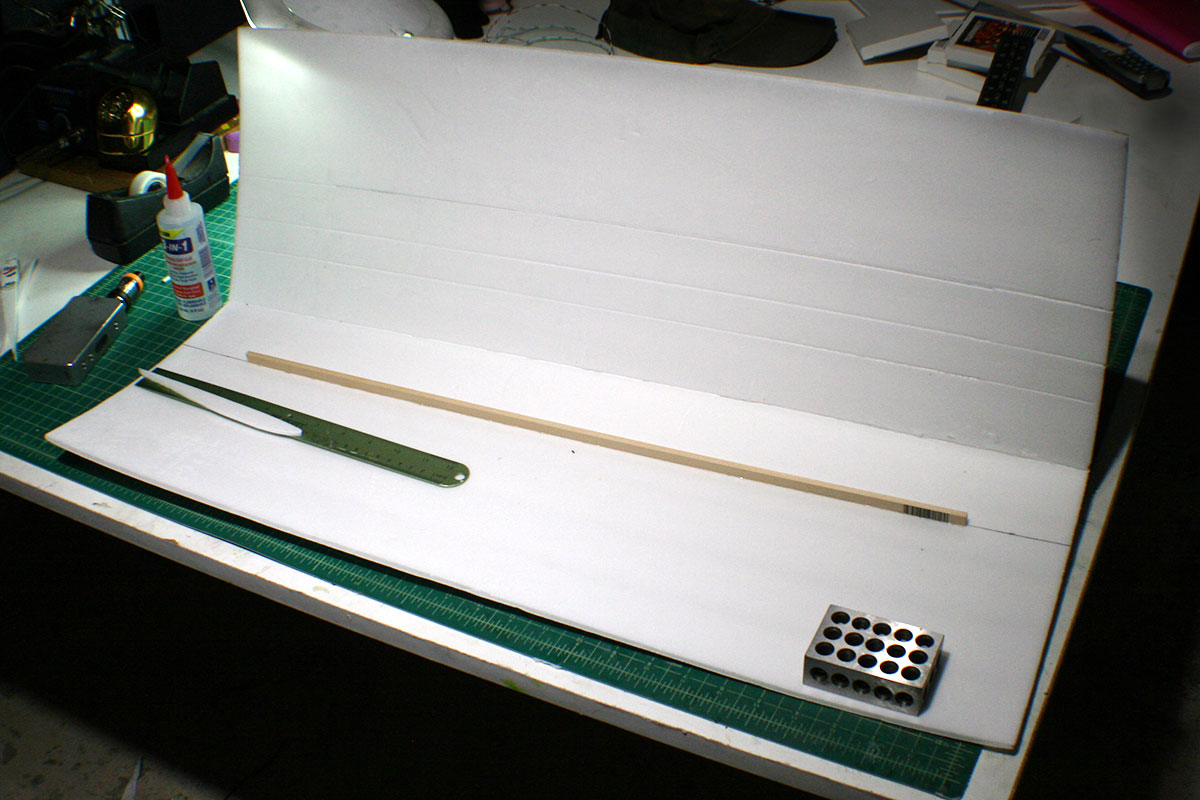 The ribs are basically a Clark Y airfoil, squashed down a bit to account for the two .20″ layers of foam that will go over the top. If they were just Clark Y airfoils, they wings cross section would be too fat once I add the foam skin.
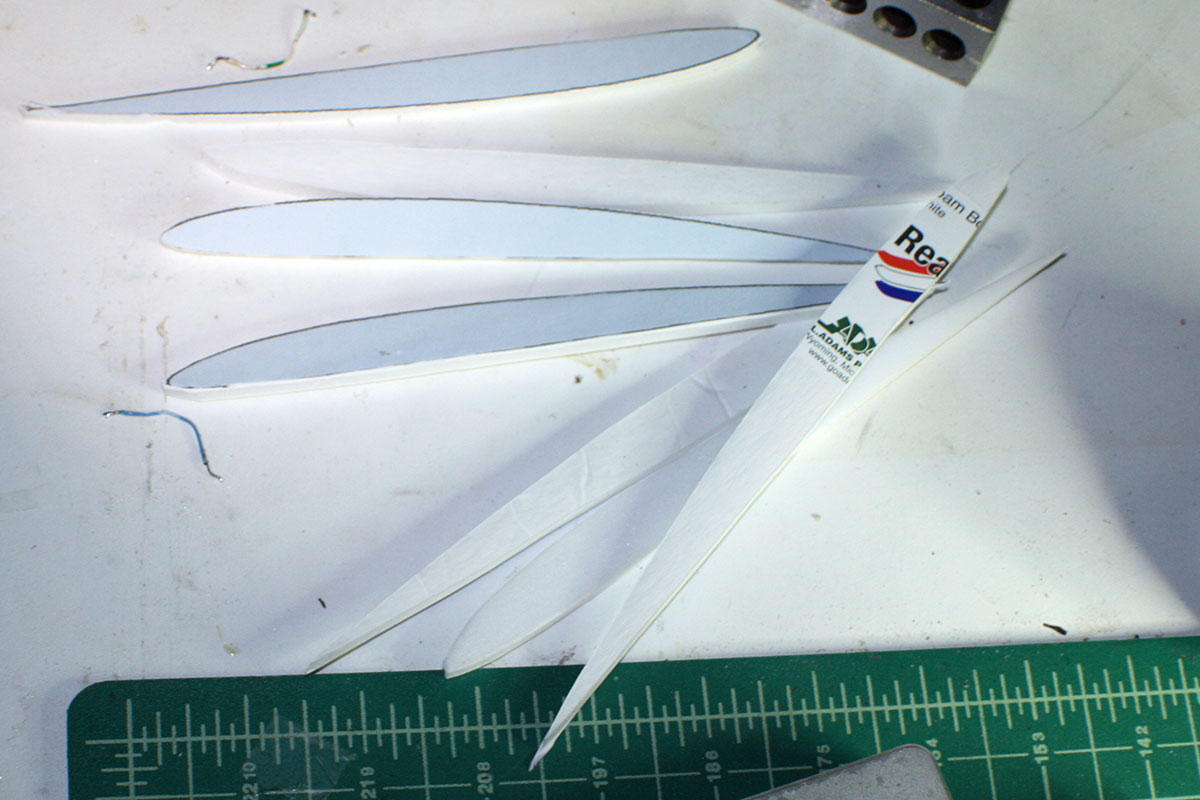 Gluing the first wing rib at the starboard end.
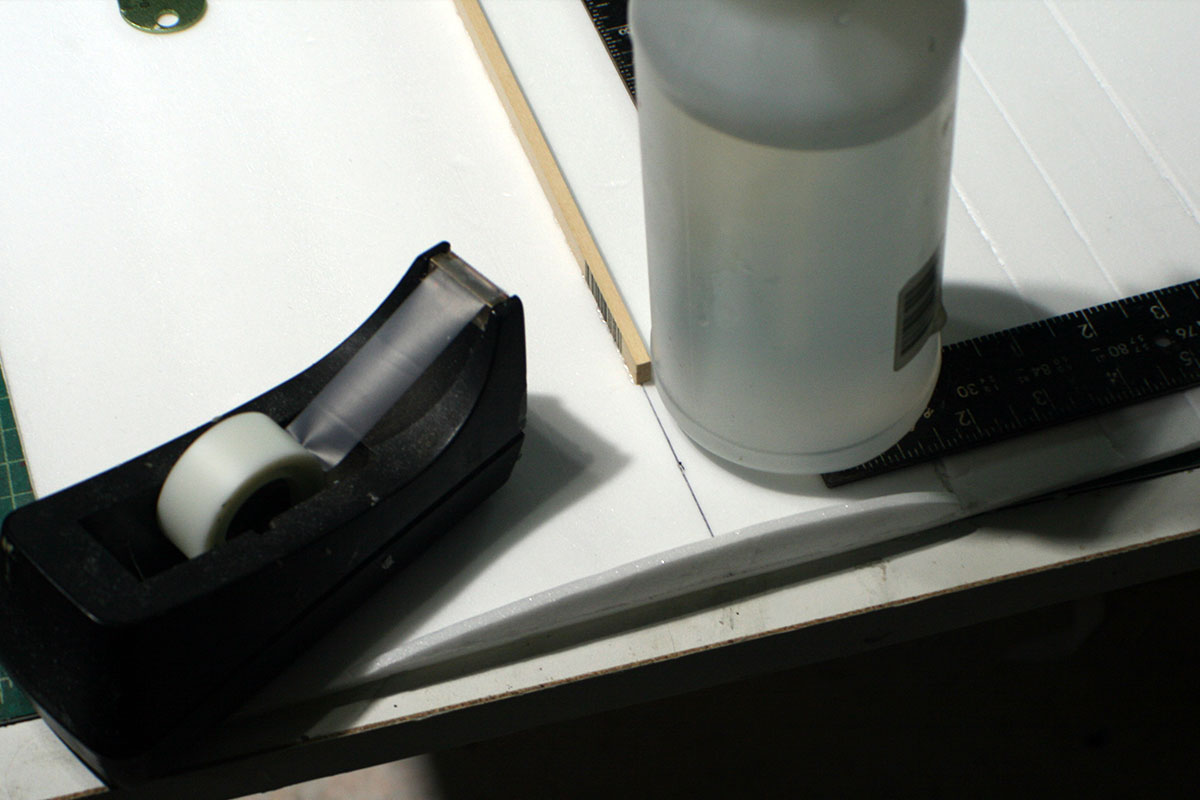 The ribs laid out roughly in position.
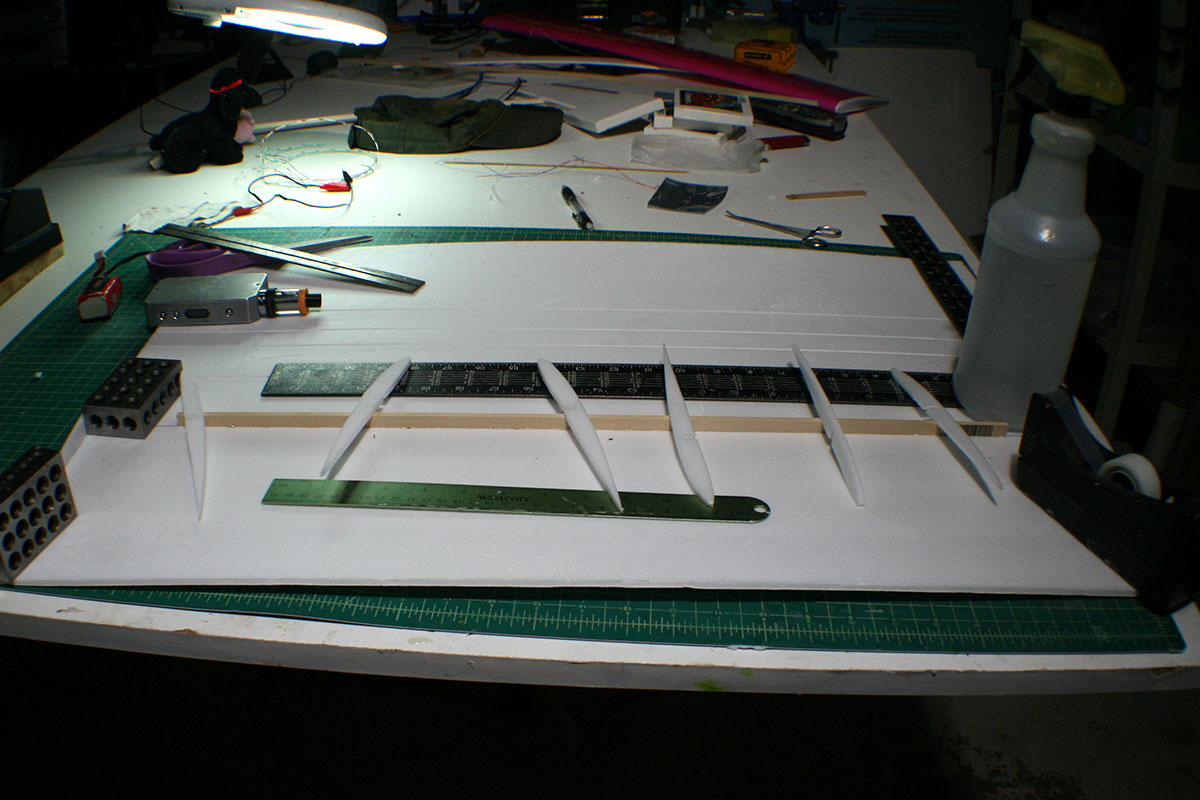 All eight ribs glued in place. The inner ribs are cut to fit over the wing spar.
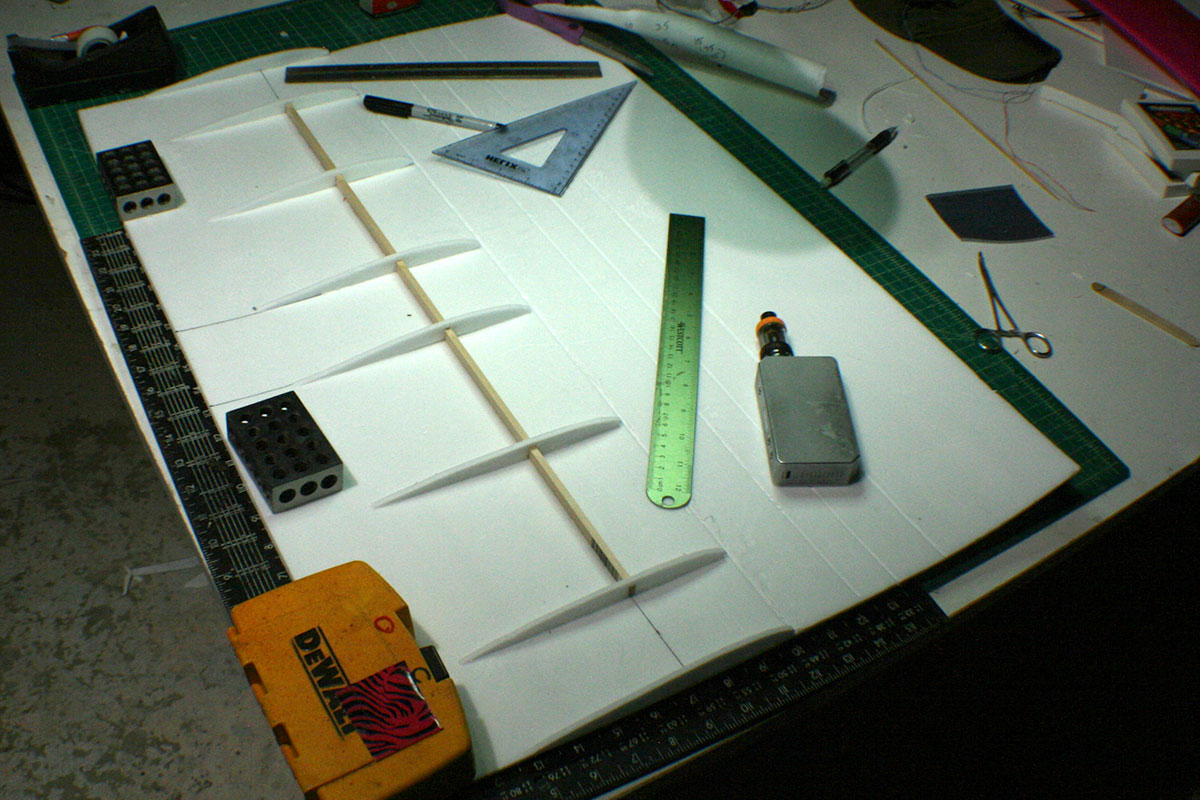 Starting to wire up the internal LED lights.
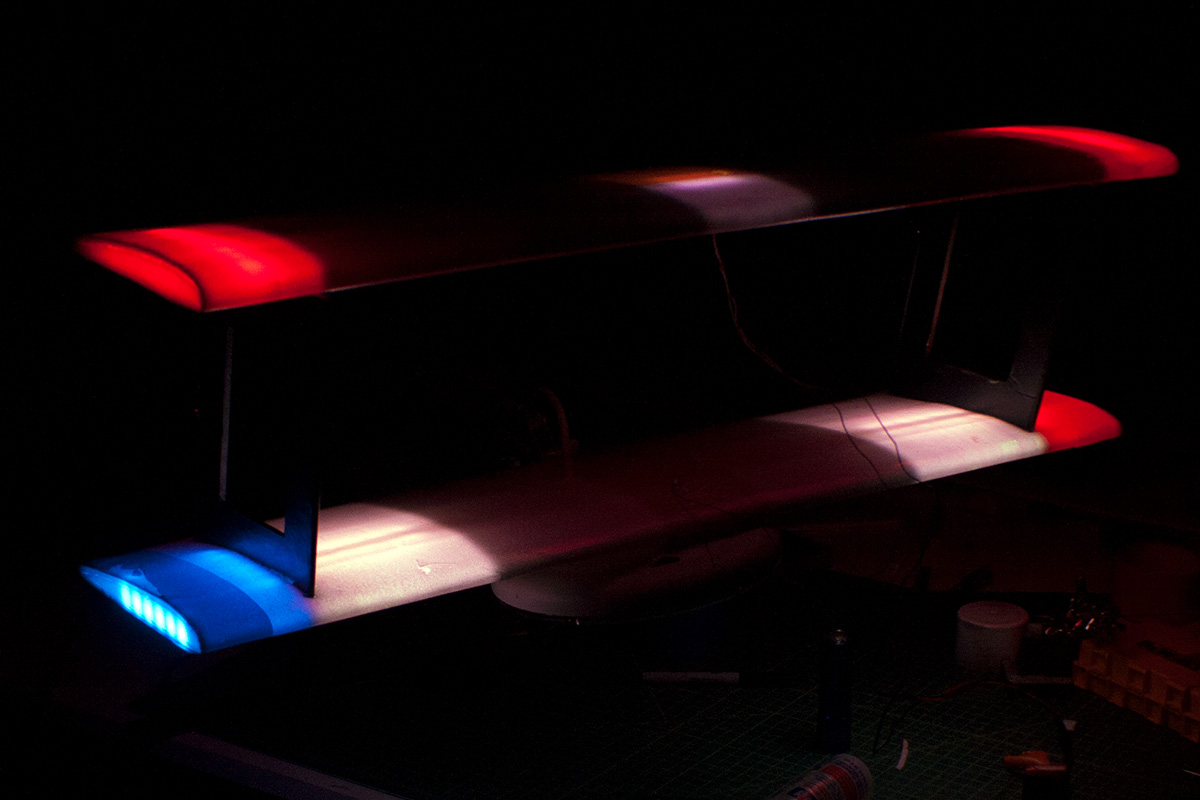
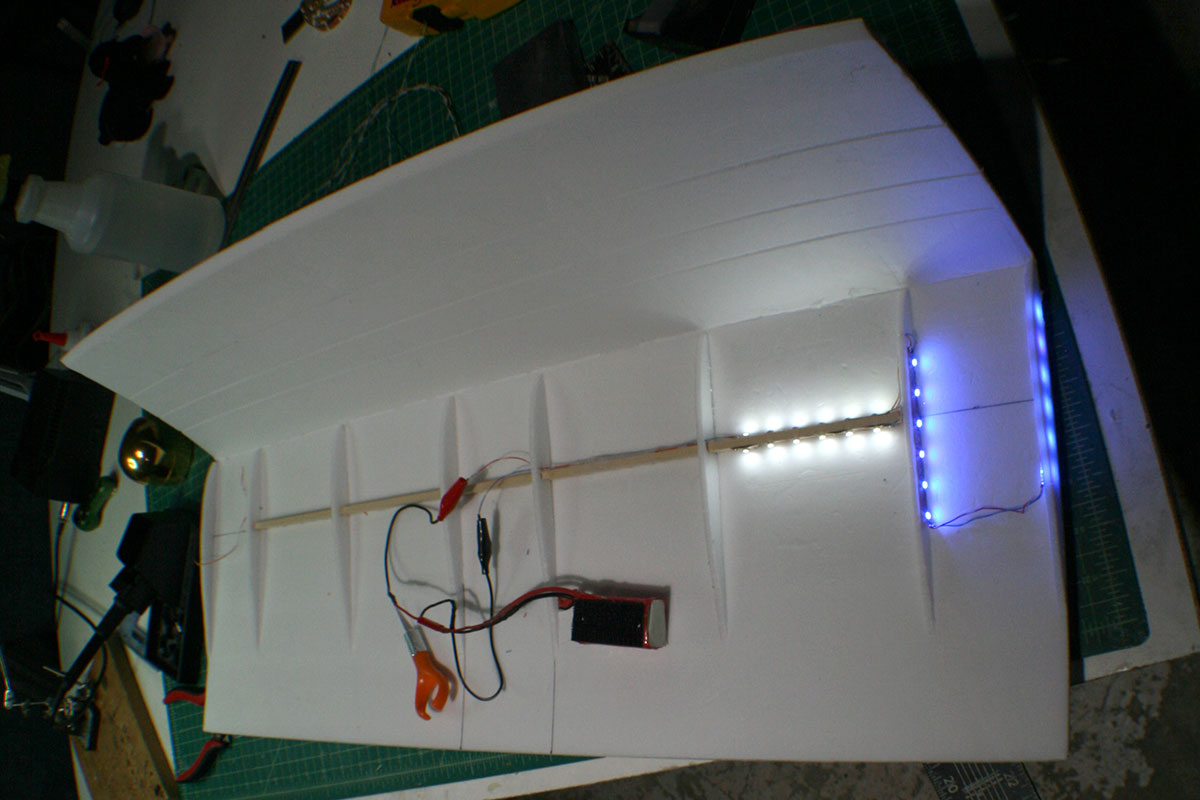 A better look at the LED wiring.
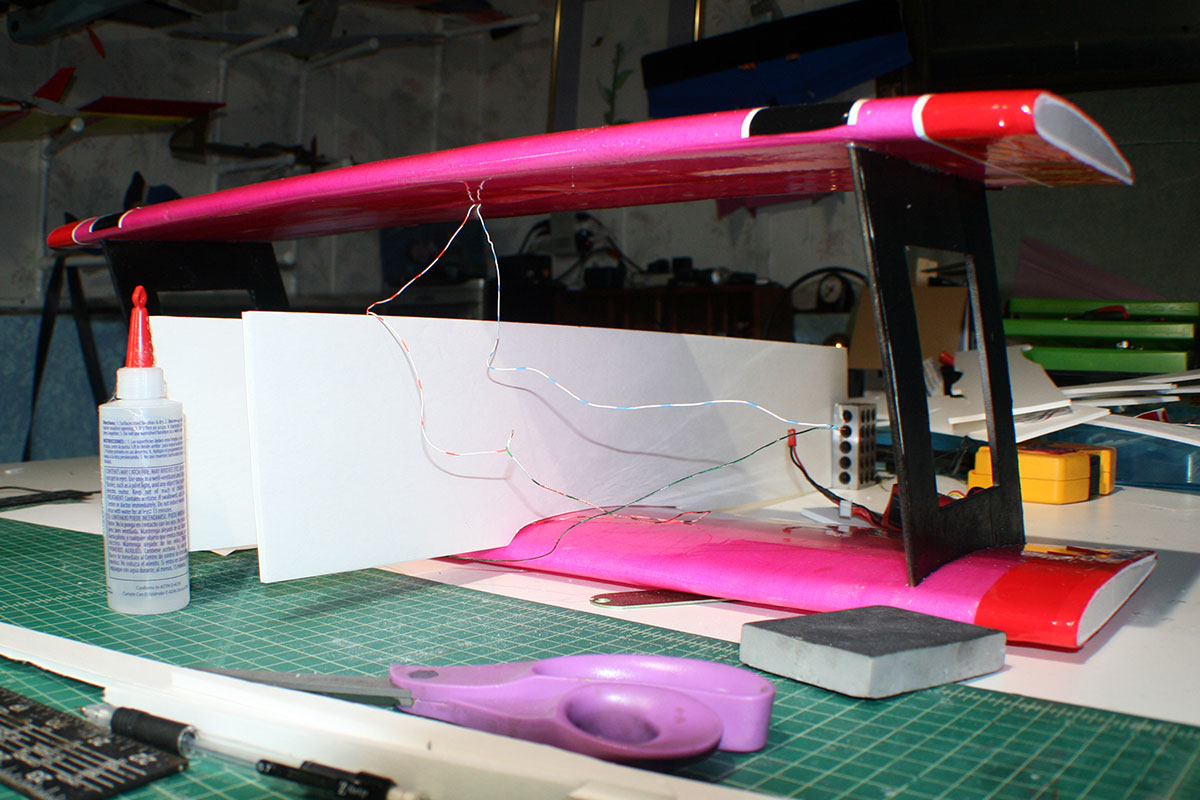
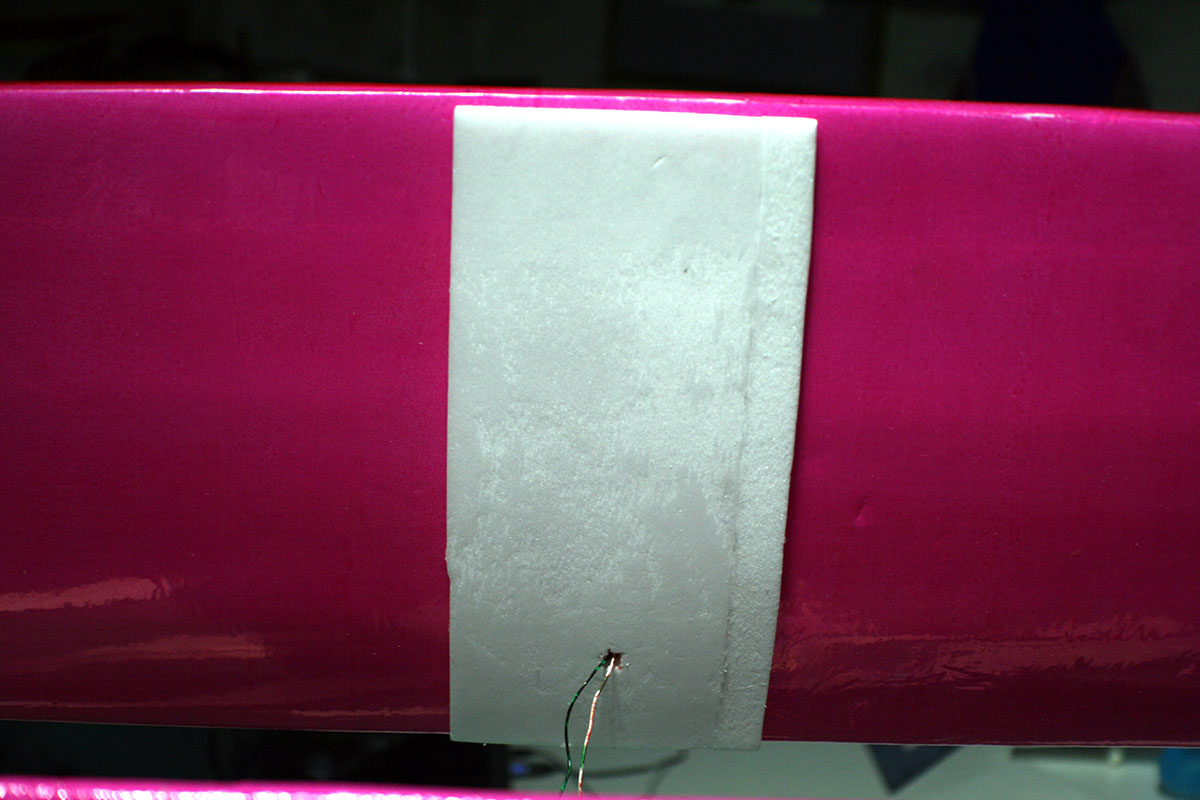
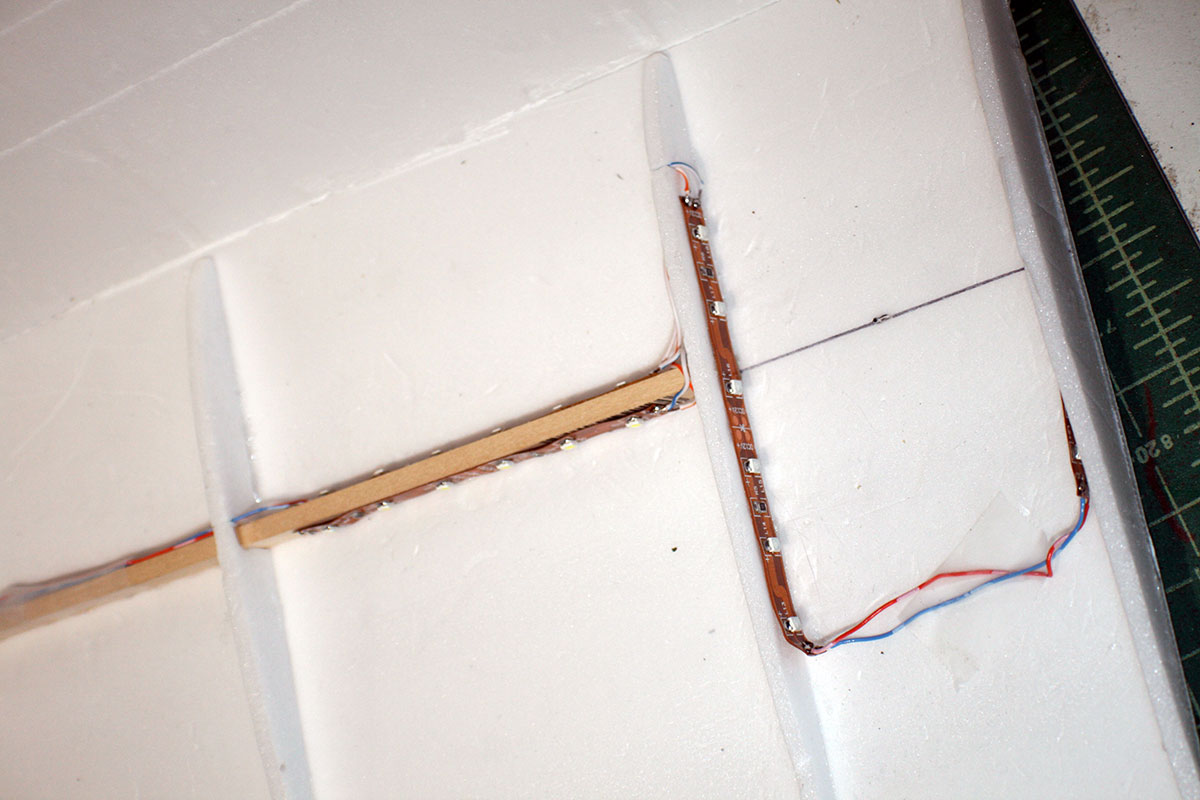 I removed the outer layer of paper and folded the wing over, gluing the skin to the tops of the ribs.
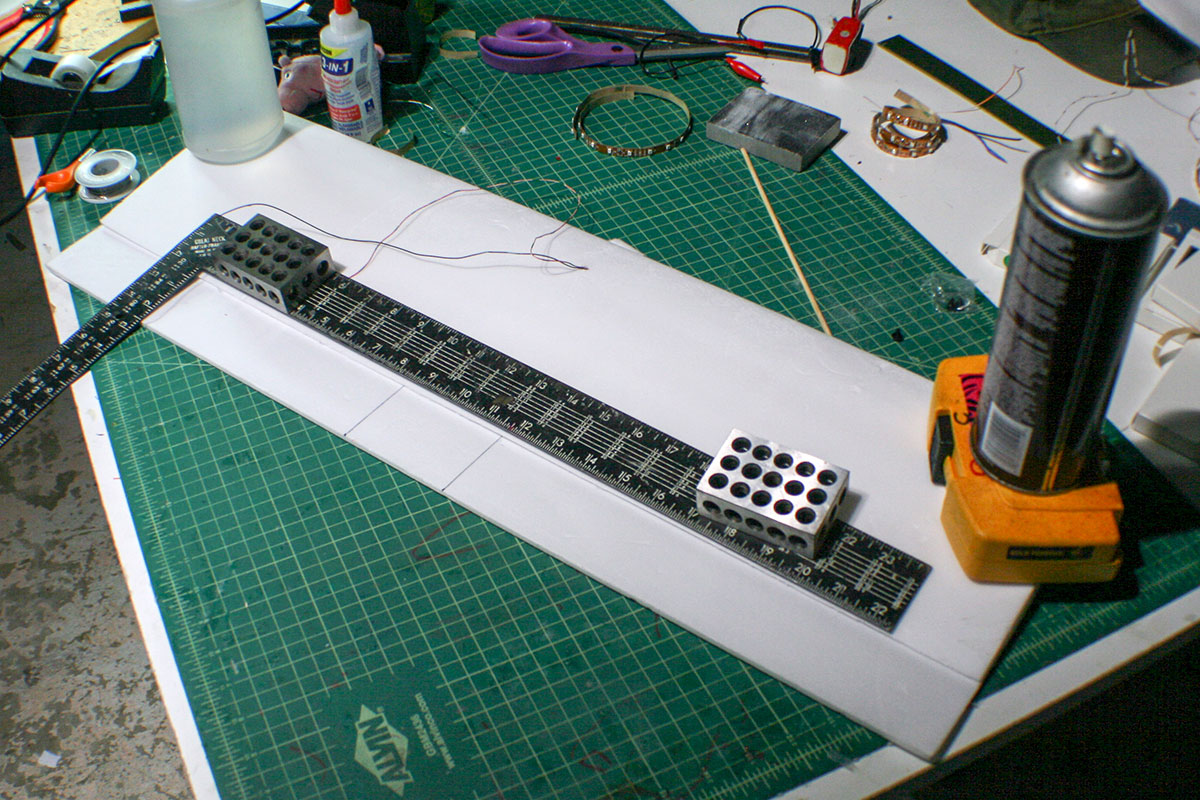 The wing covered in Dollar Tree cellophane wrap. I used 3M Super 77 spray adhesive, then shrunk it up with a heat gun.
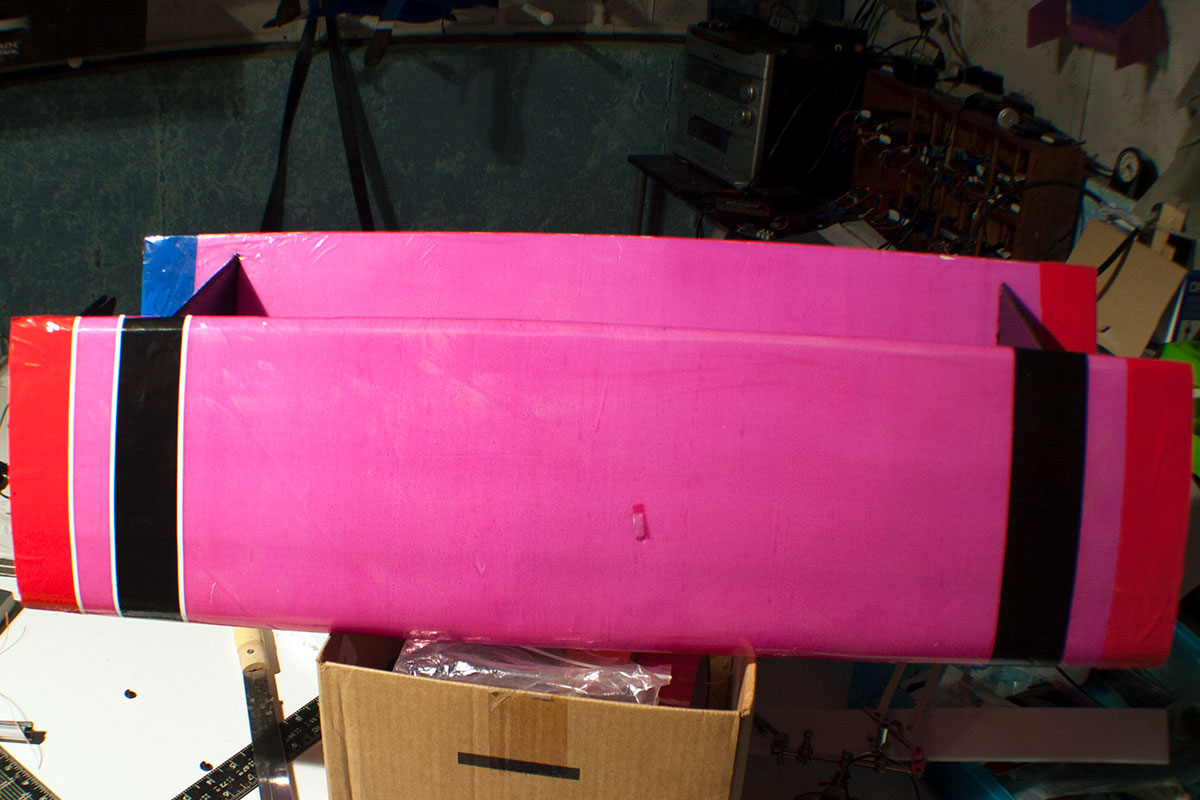
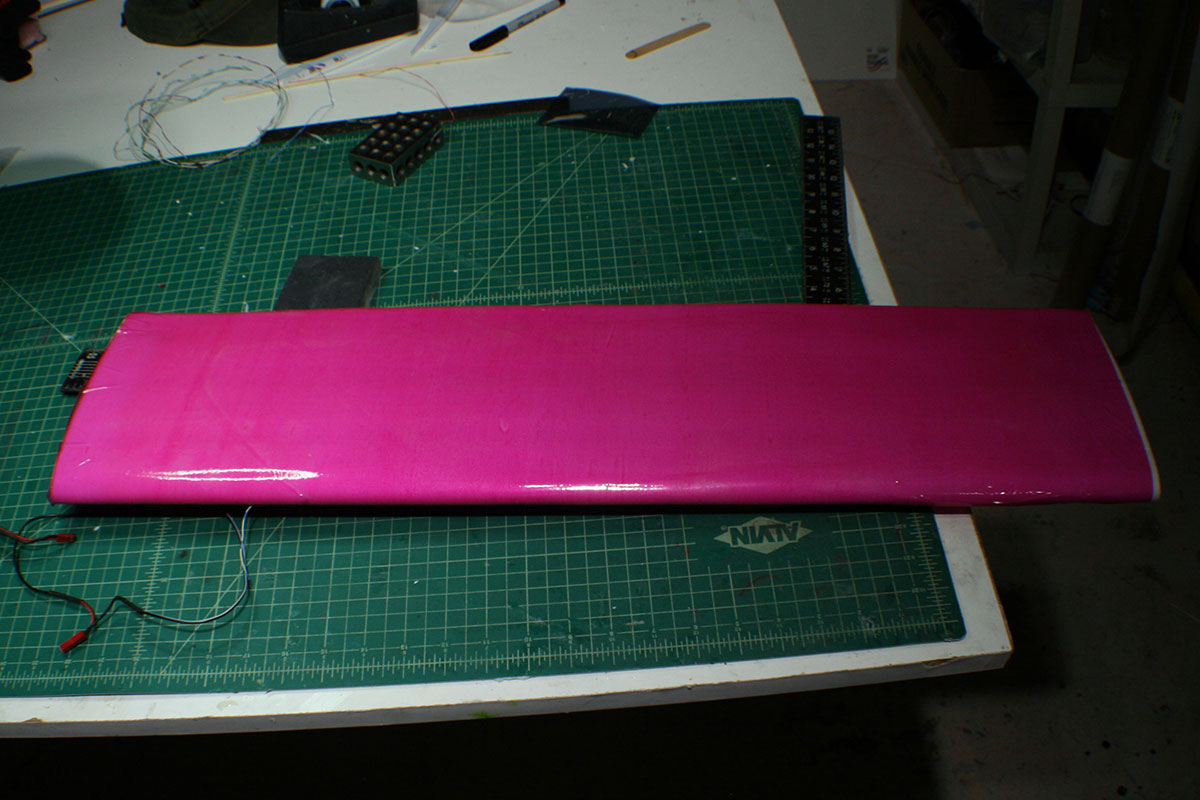 Both wings, finished up.
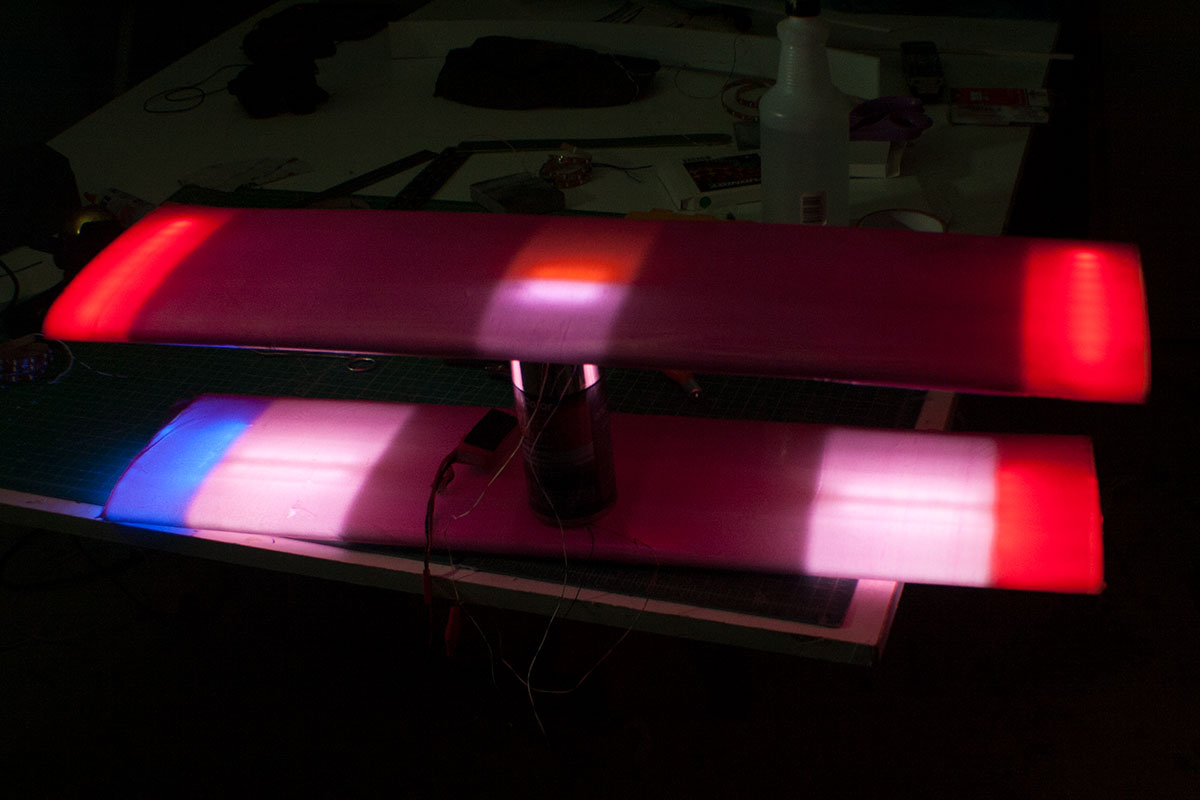
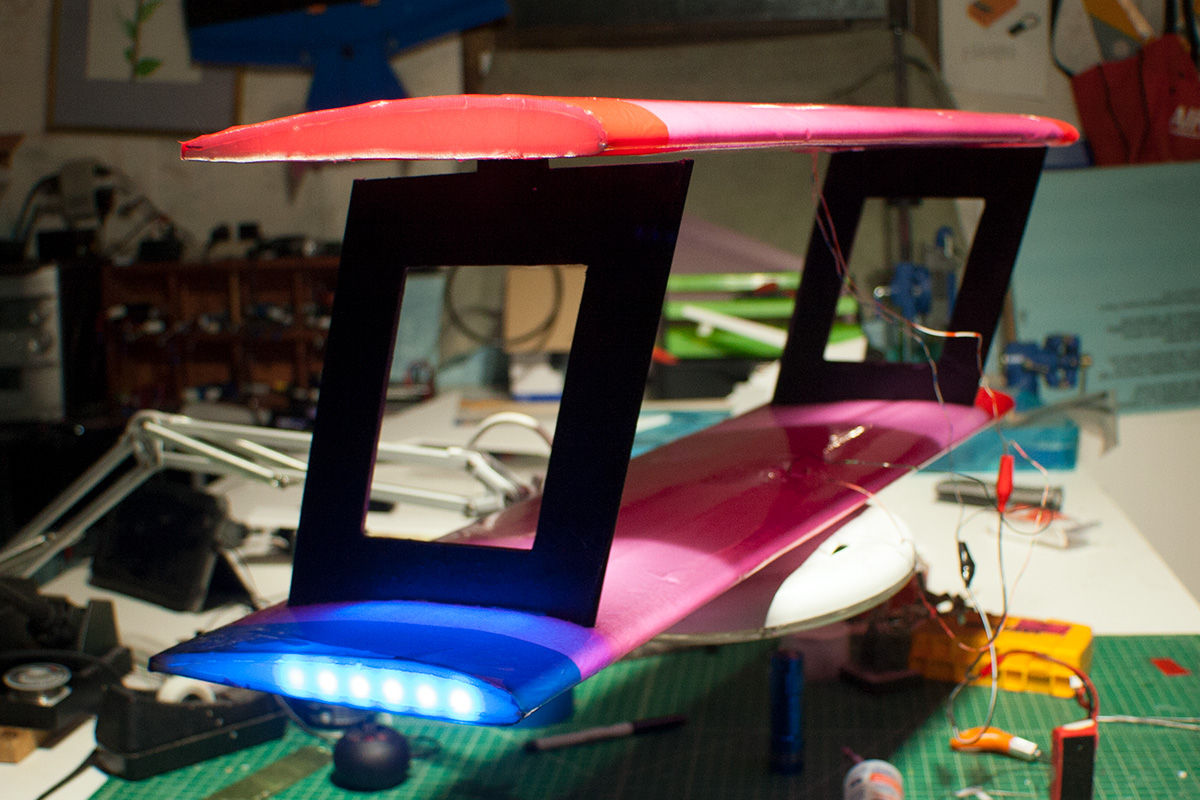
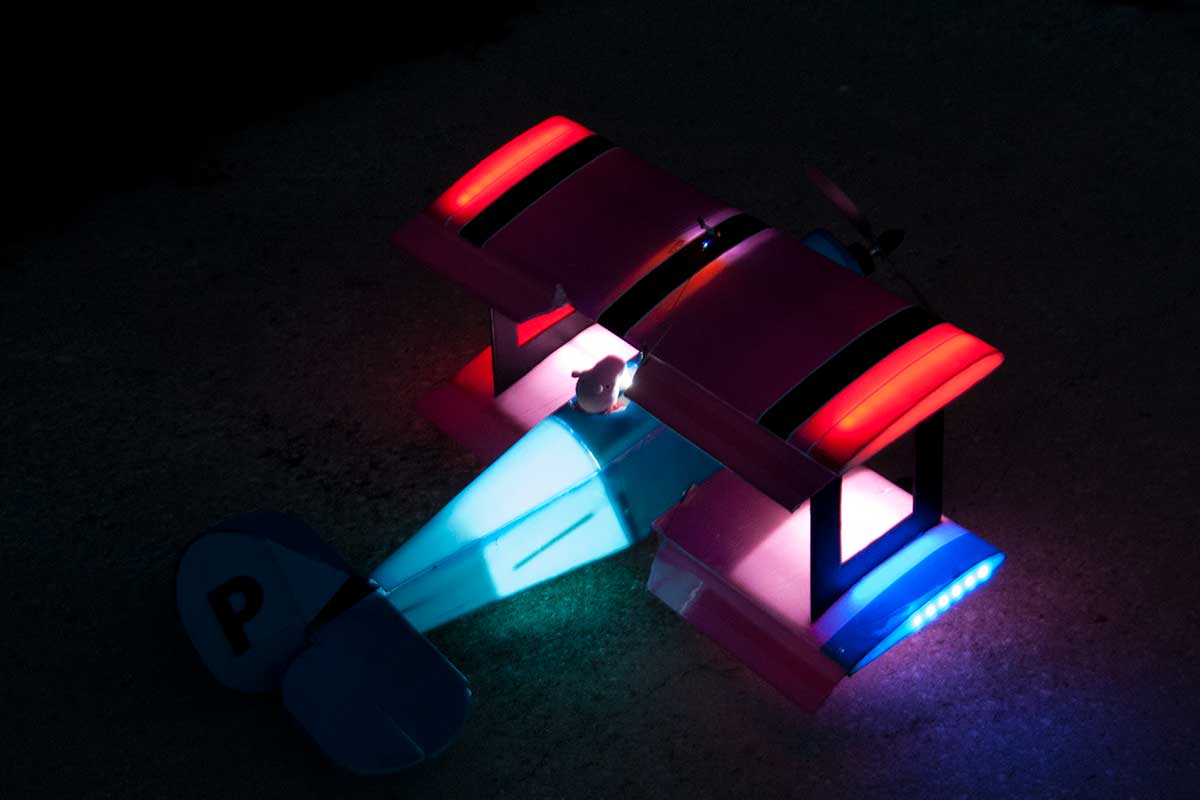
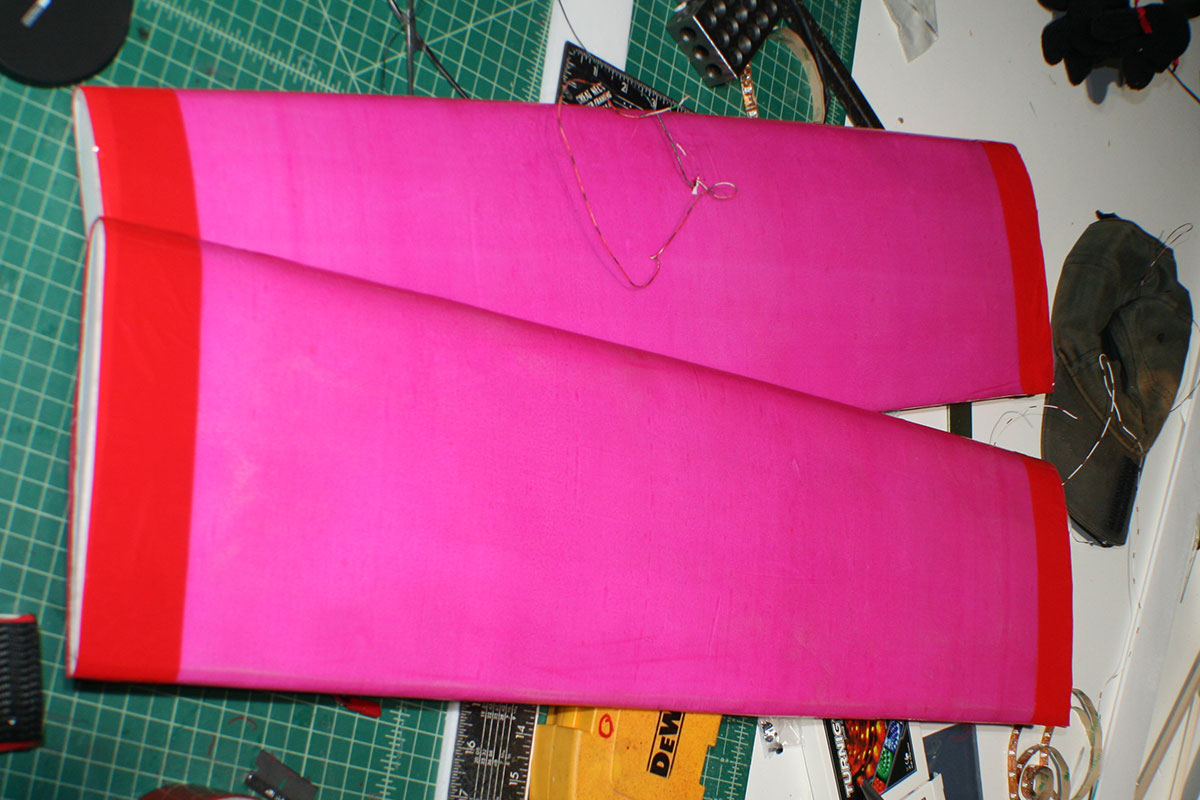 Testing the internal lights.
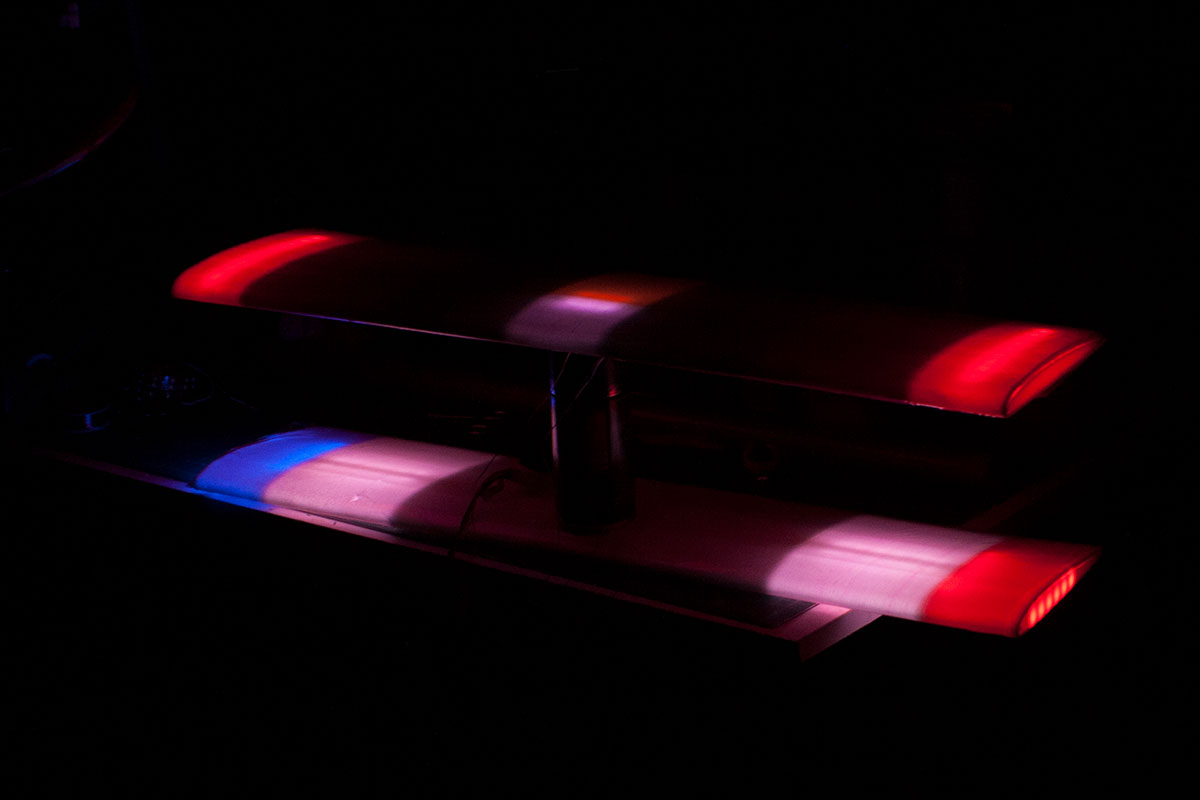
 The interplane struts need to be more than eight inches long. I’m trying to make do by gluing two shorter craft sticks together.
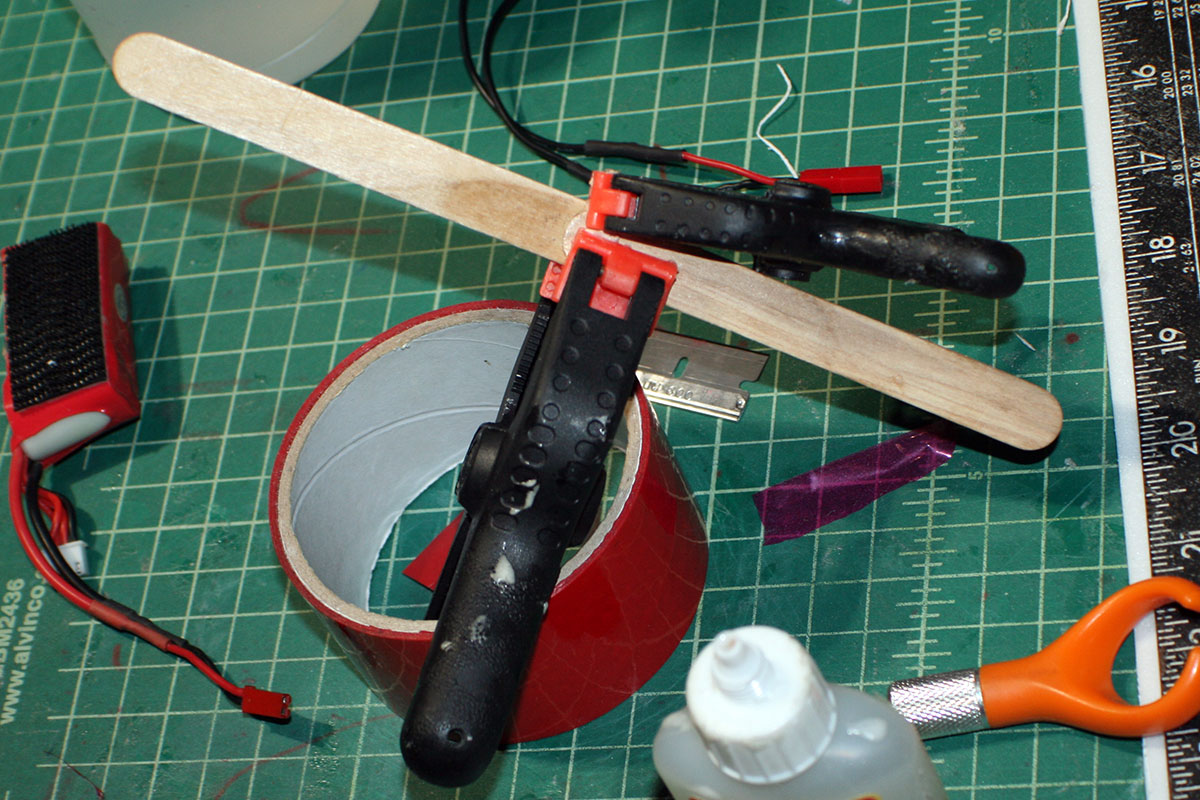
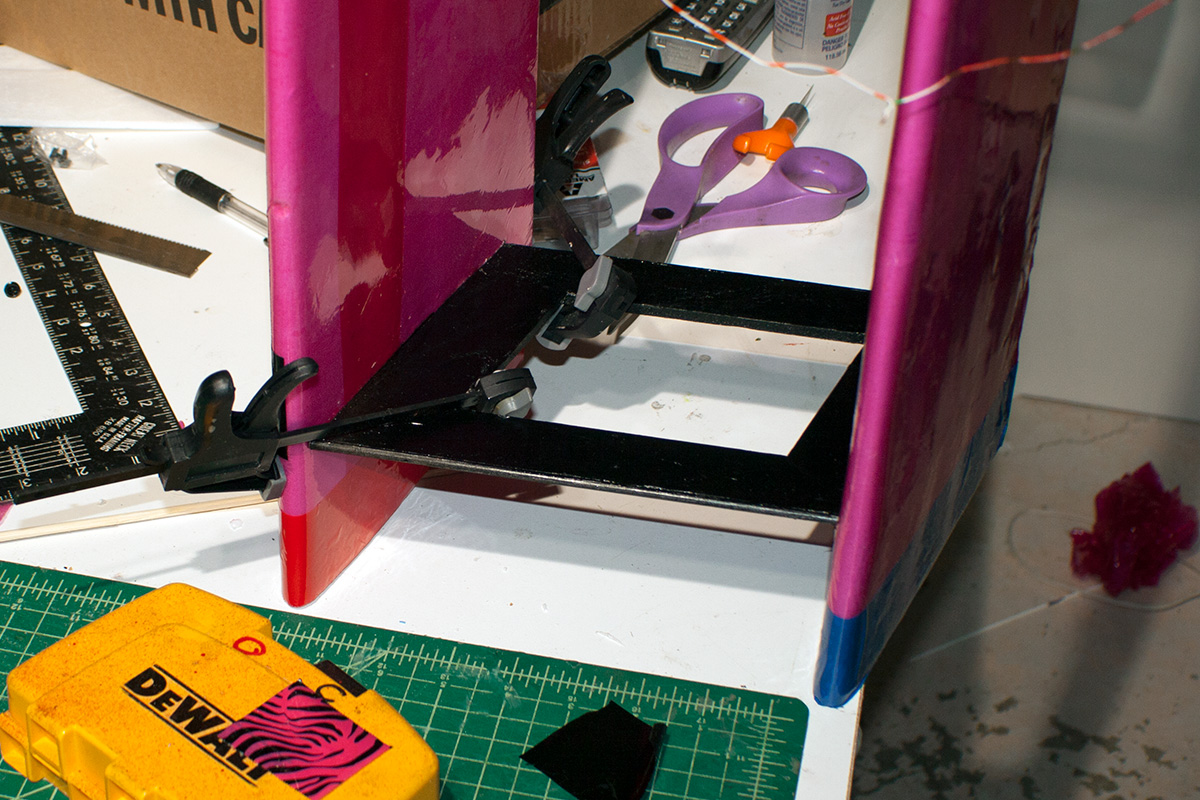
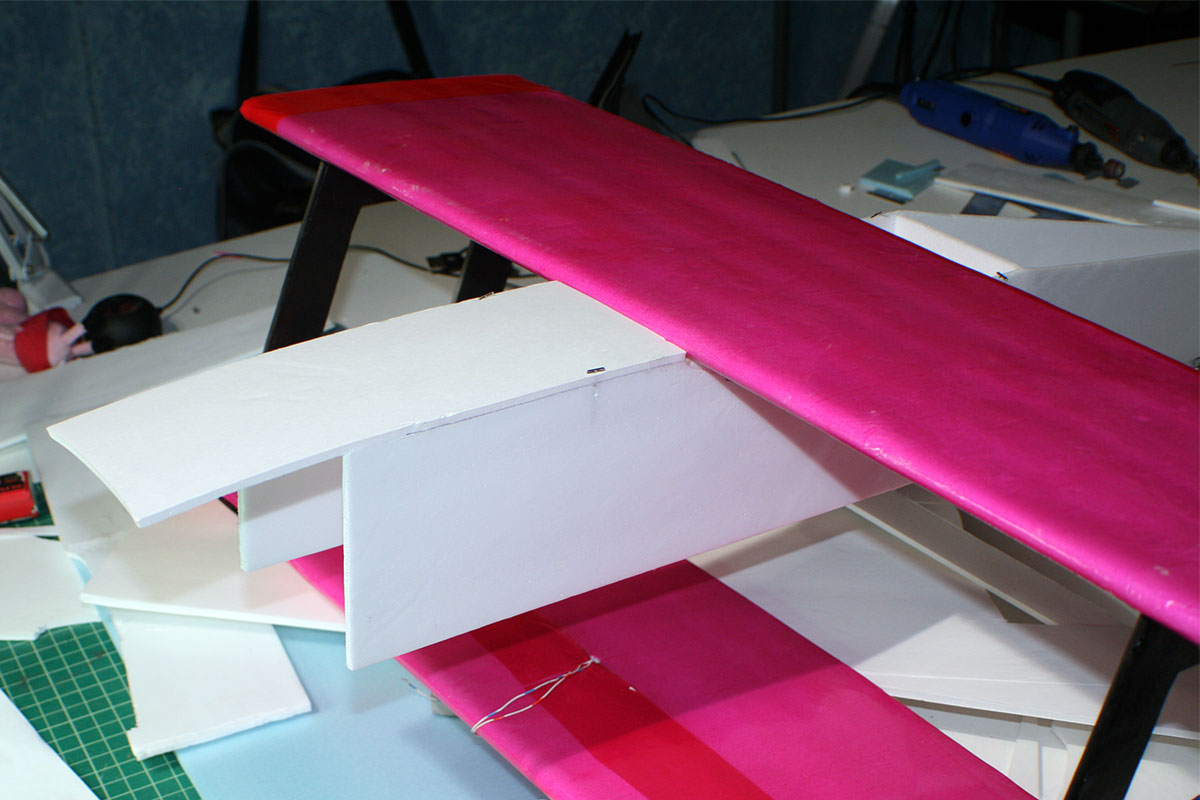
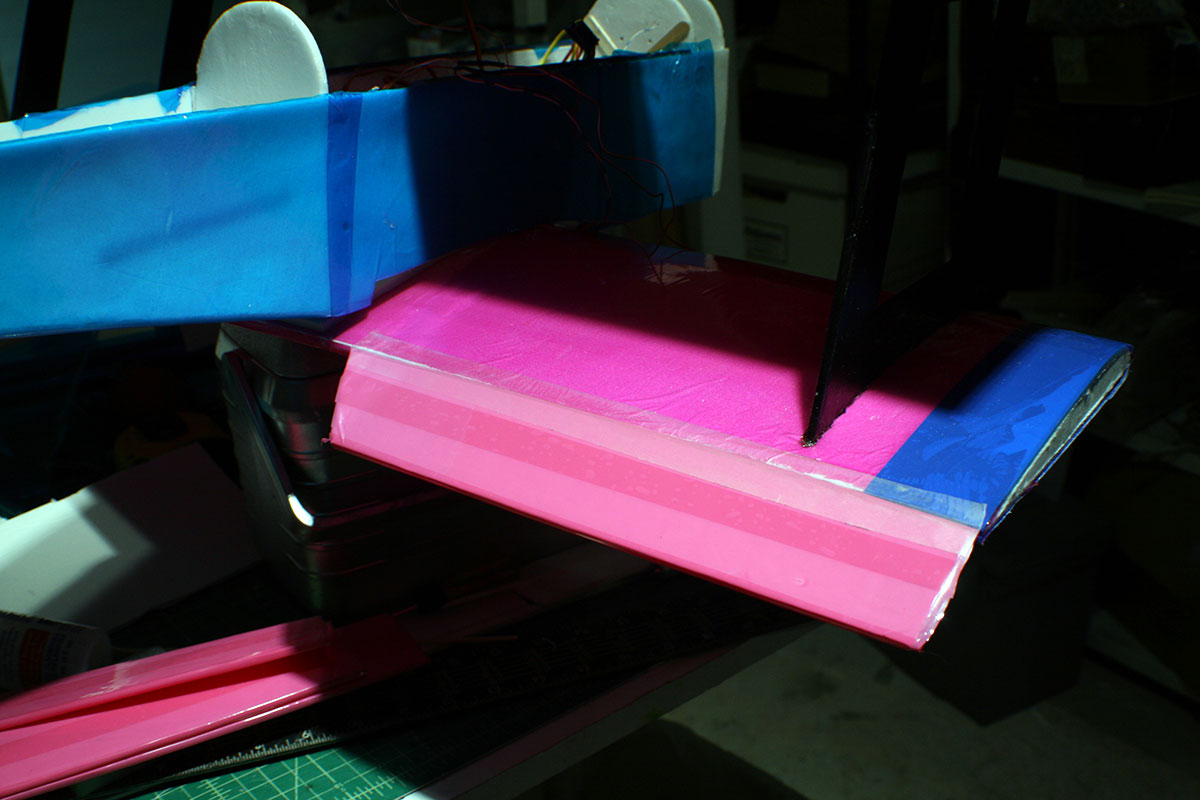
I gave up on constructing wood interplane struts and, instead, went with these cut out of foamboard. I left the paper on for added strength and I also glued a bamboo skewer in the front and back. I painted the whole thing with Minwax polyurethane to waterproof it a bit. In my experience, Readi-board sheds its paper at the slightest hint of moisture.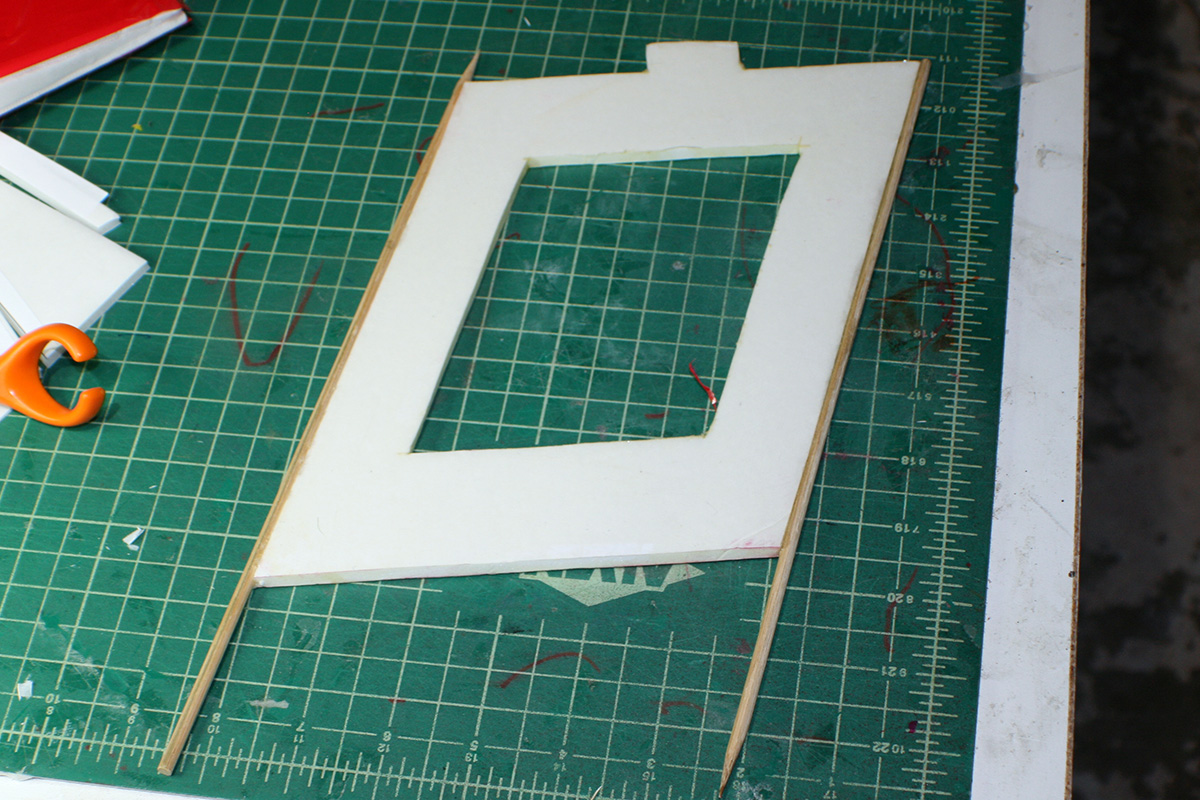 I painted the finished struts gloss black and cut slots into the wing, just inboard of one of the ribs, to accommodate them.
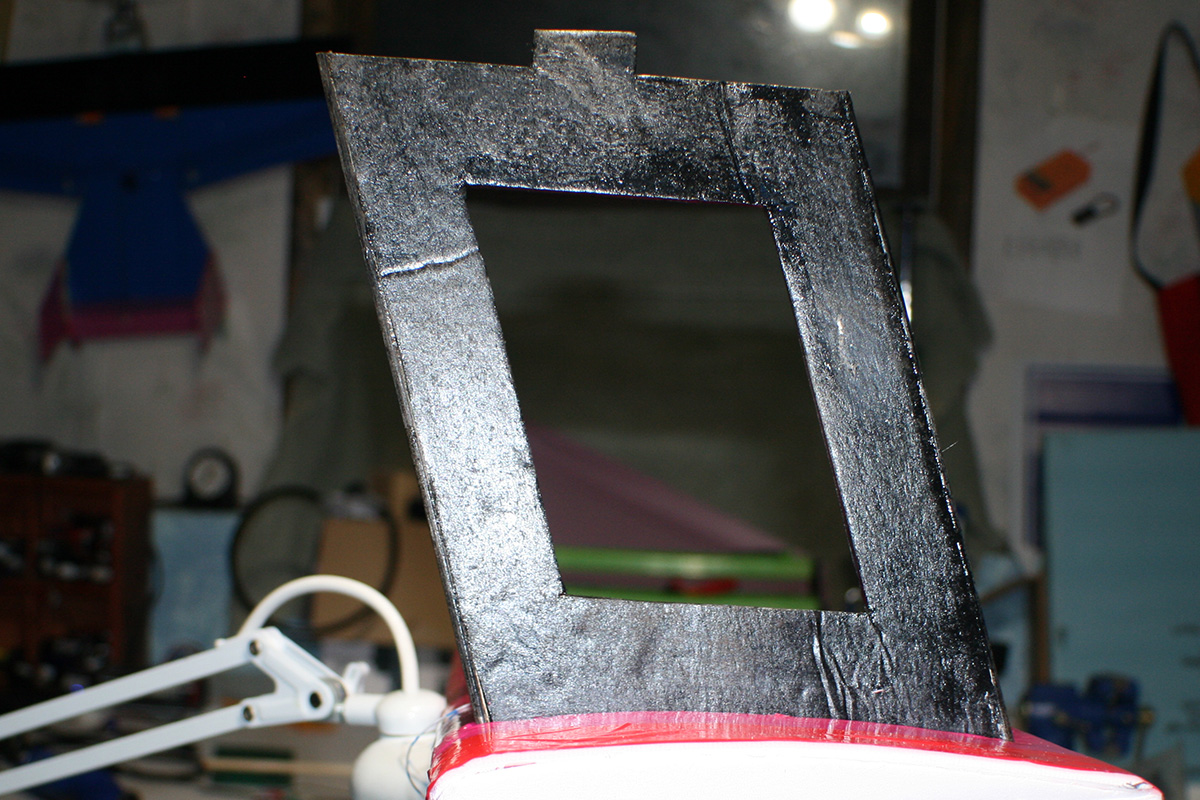 Test fitting the wing and checking the wiring for the nth time.
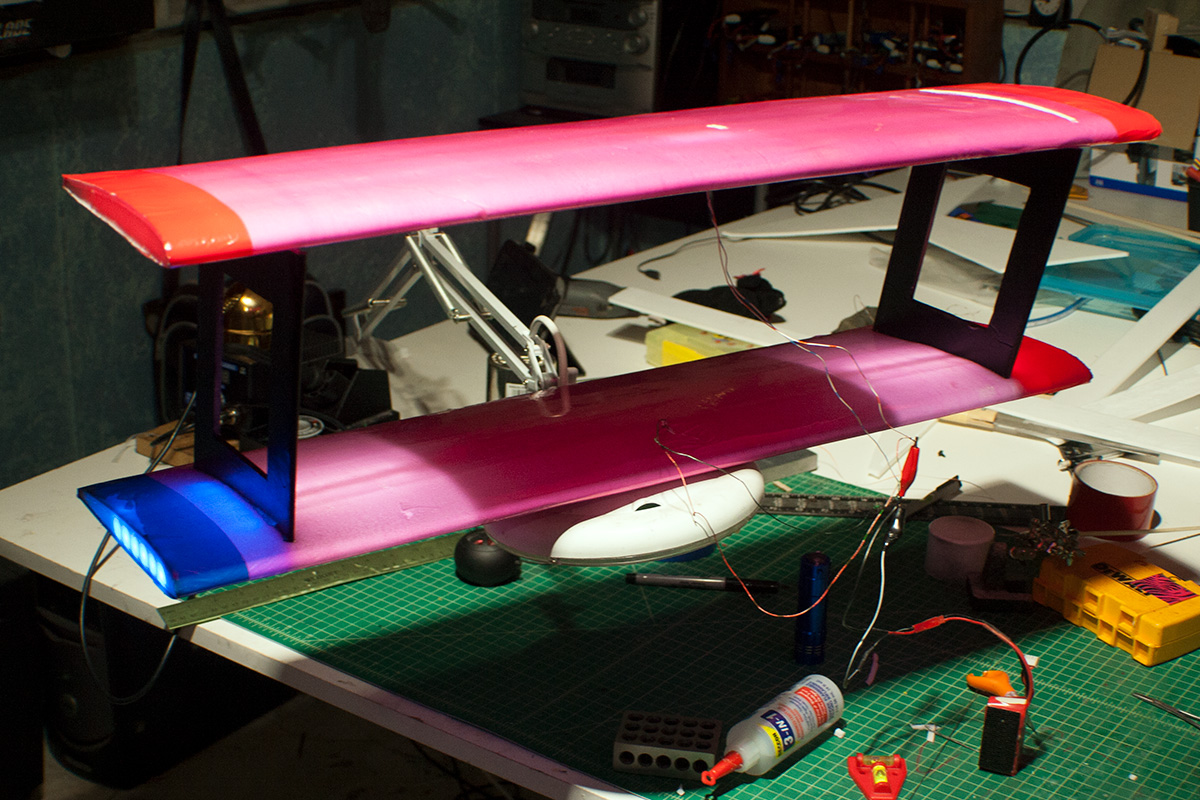
Gluing the interplane struts to the top wing.
 I use some 1/8″ pinstriping that I buy at auto stores to accent the larger stripes. It makes a huge difference as these two photos show.
With: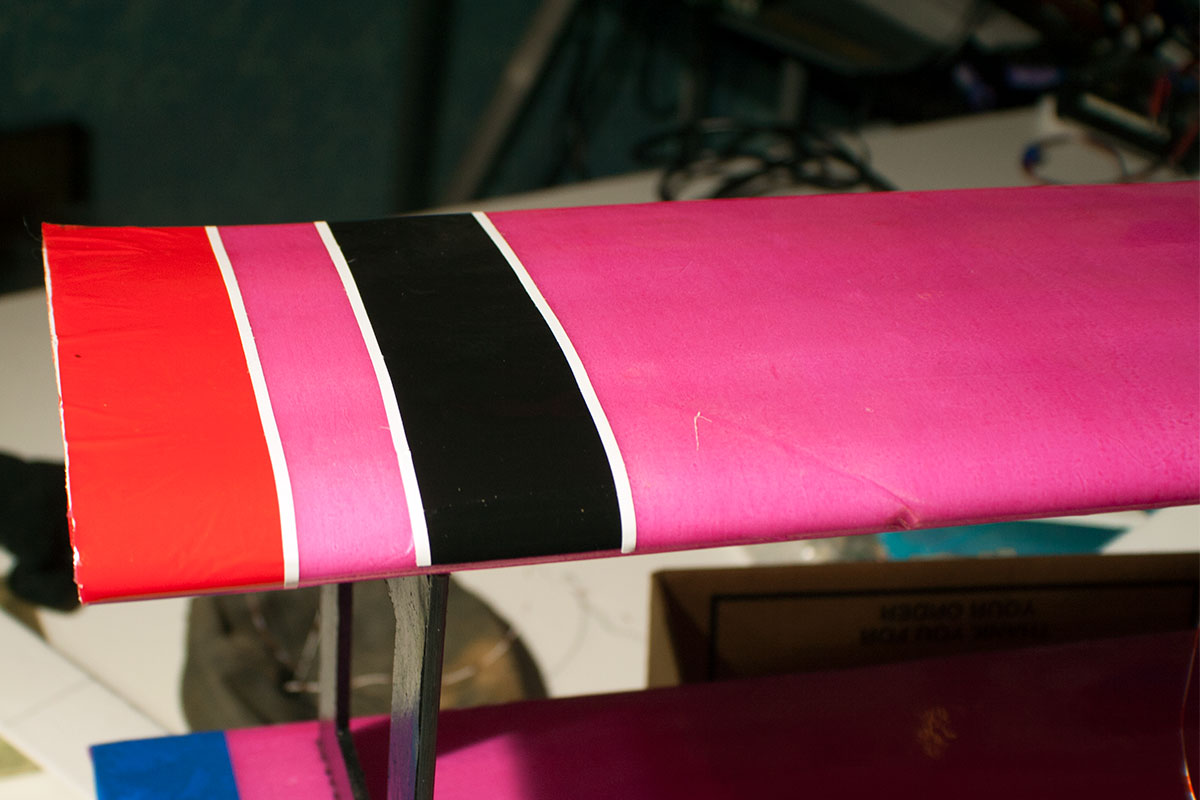
Without: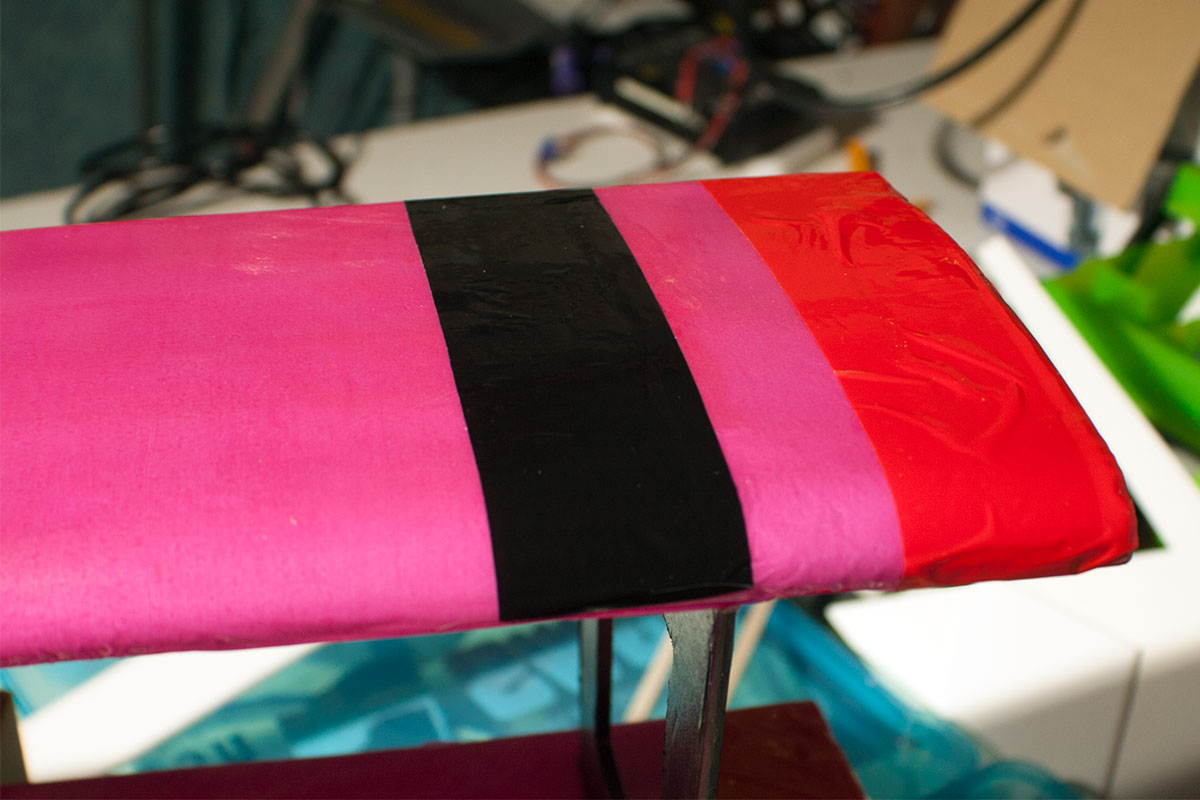
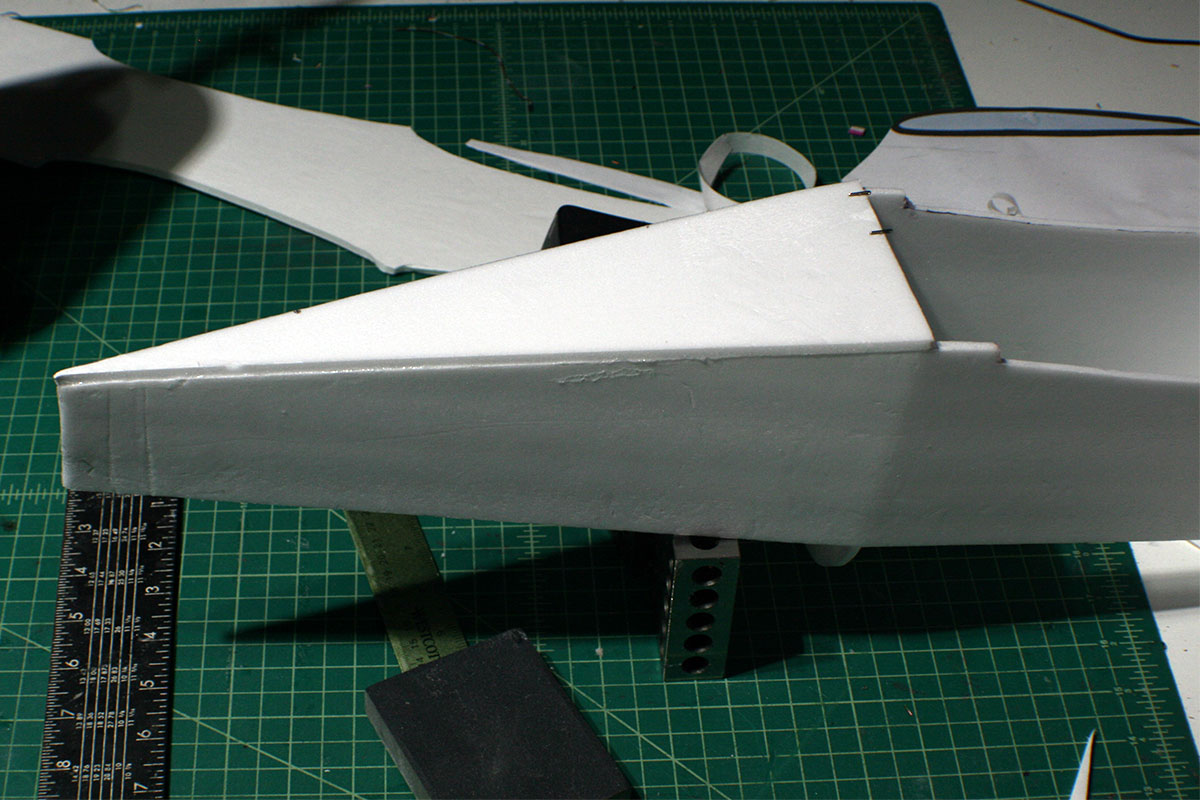
 Time to make the fuselage.
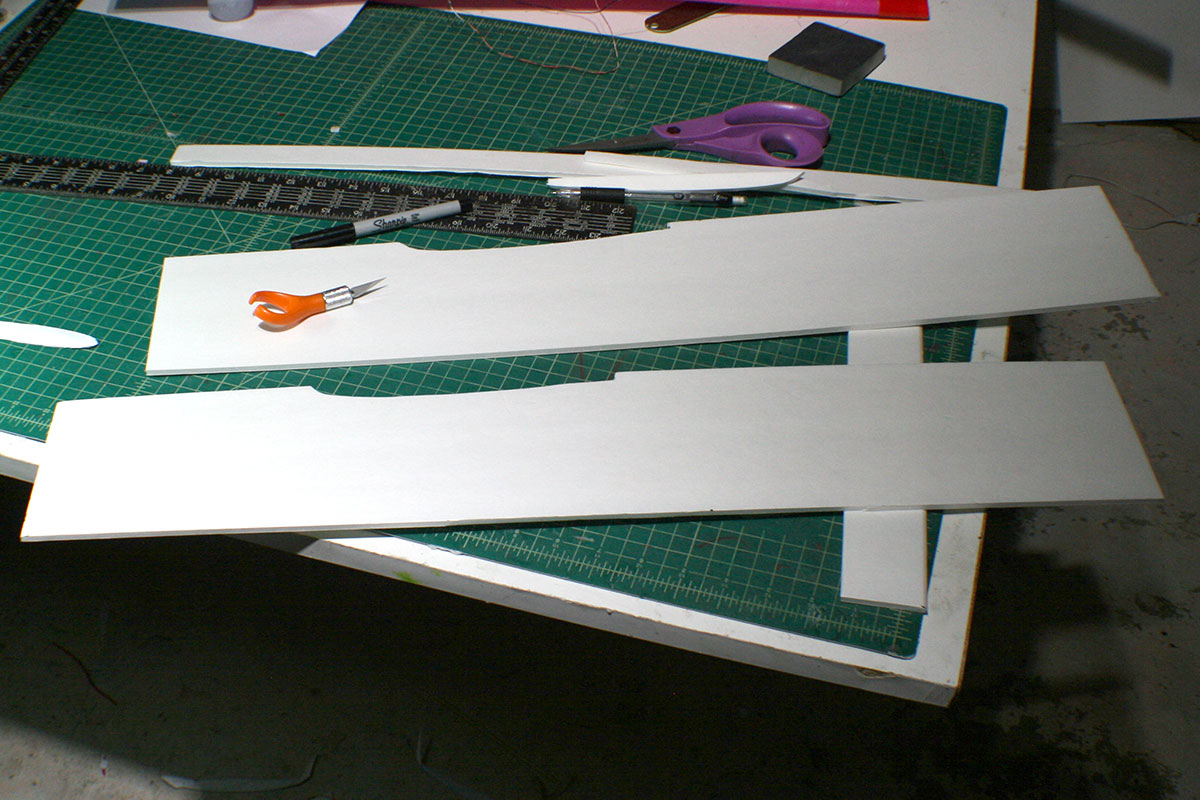
 I found the center of the wing so I could glue an extra layer of foam in there.
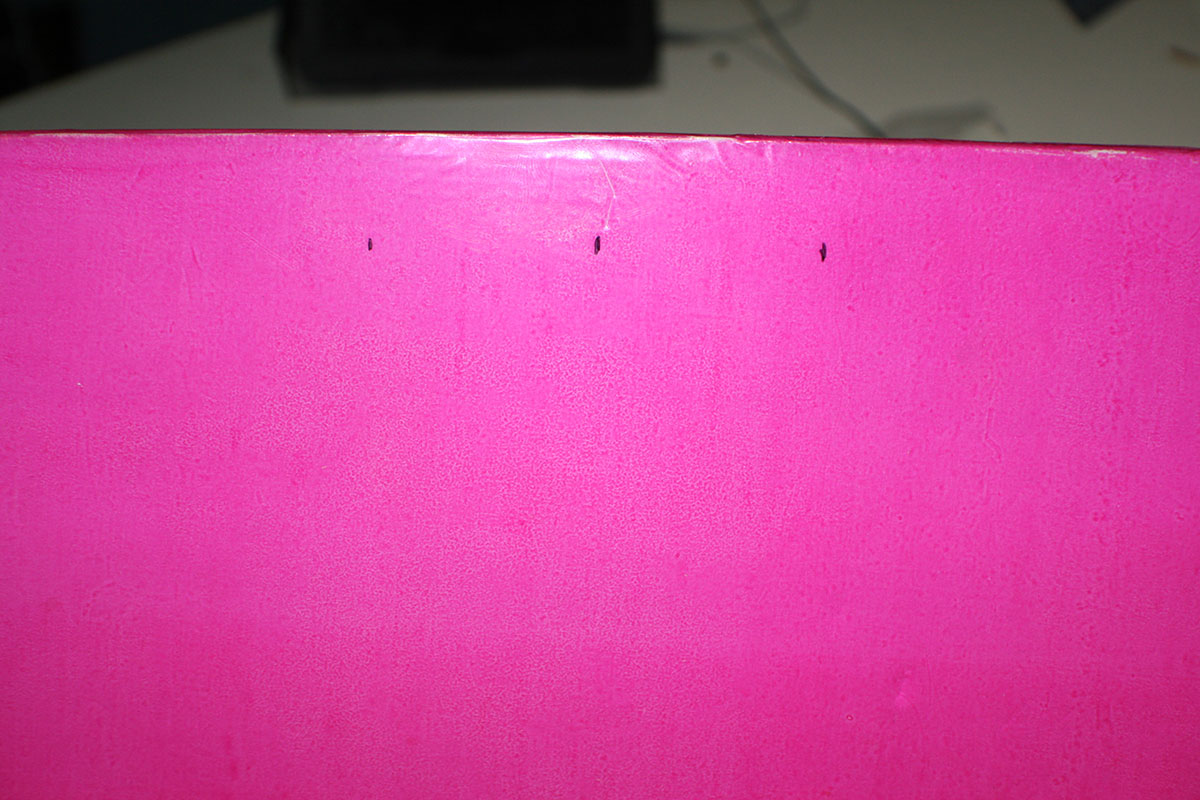 Running the LED wires from the wings.
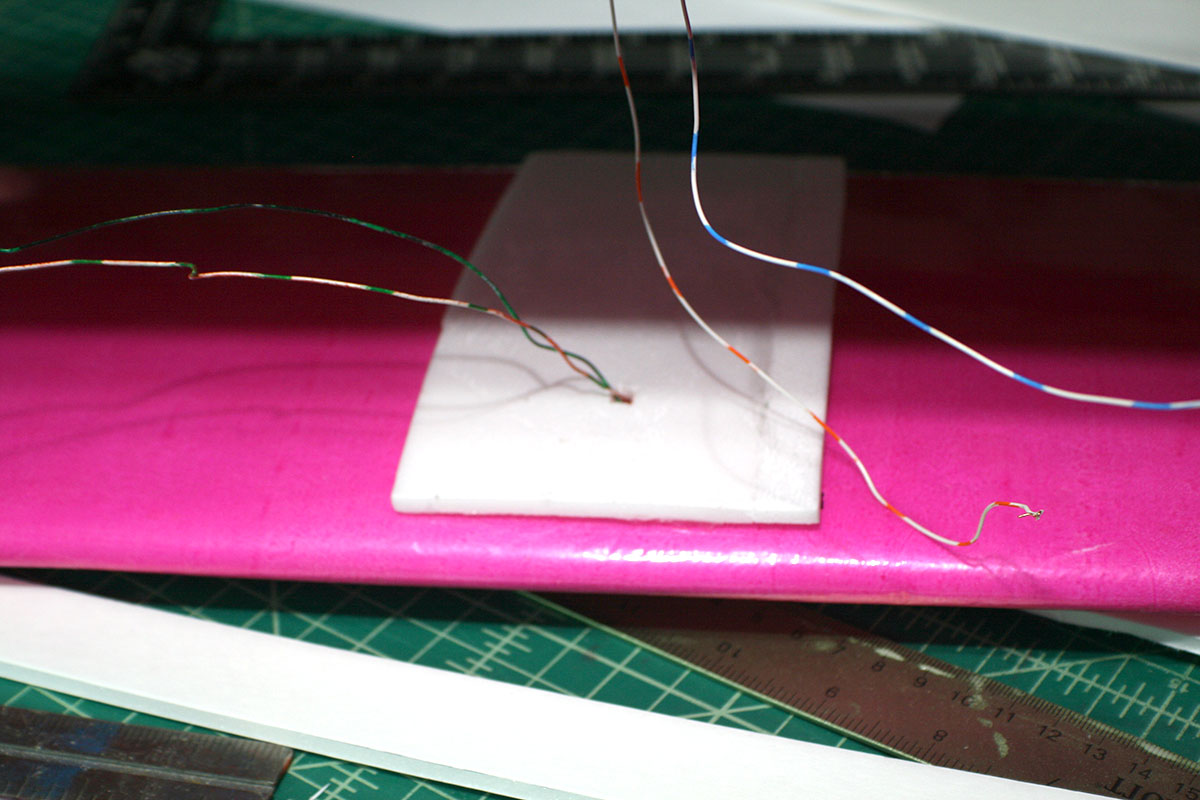
 I actually built the fuselage a couple of times, trying to get things straight.
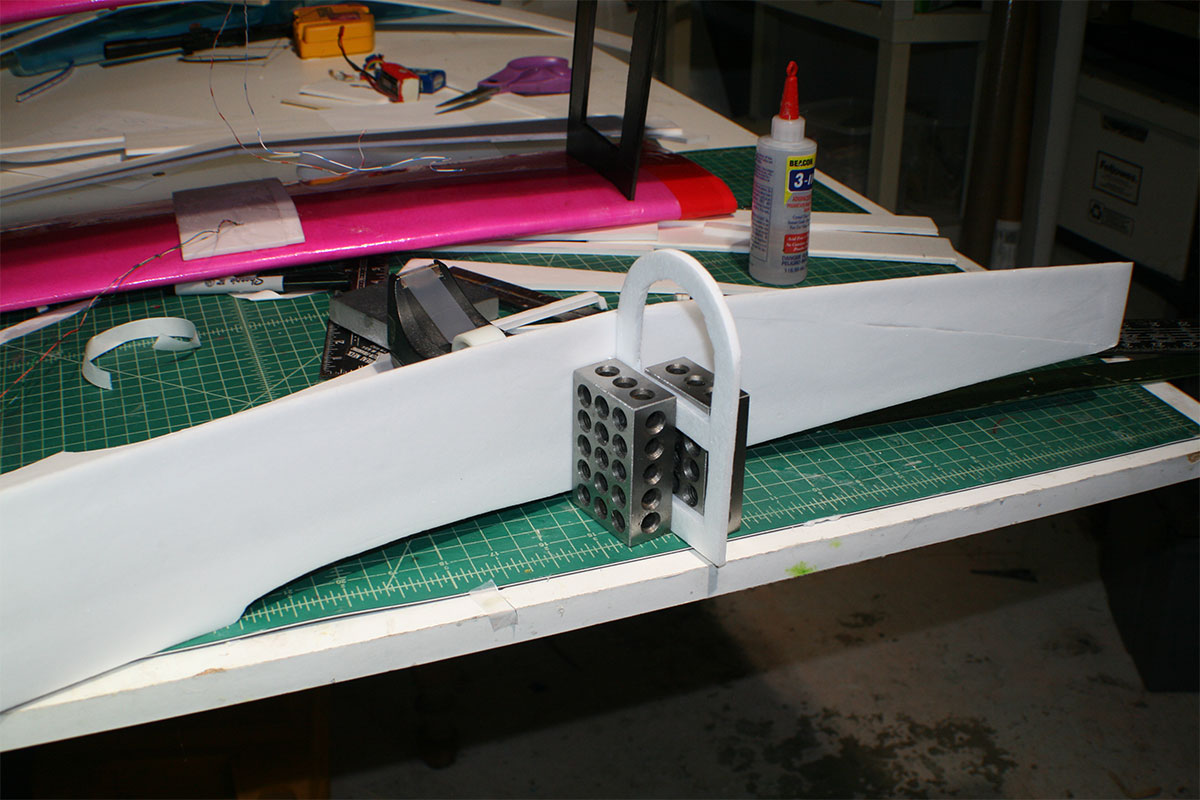
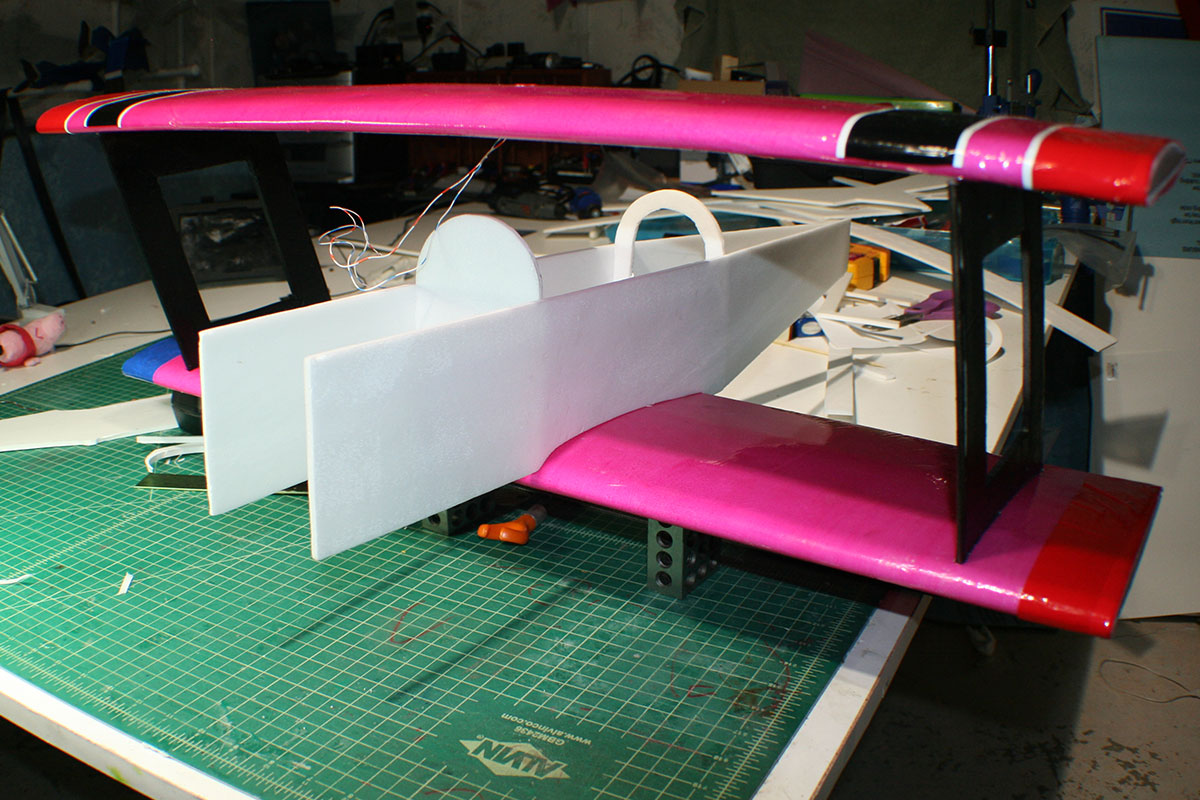
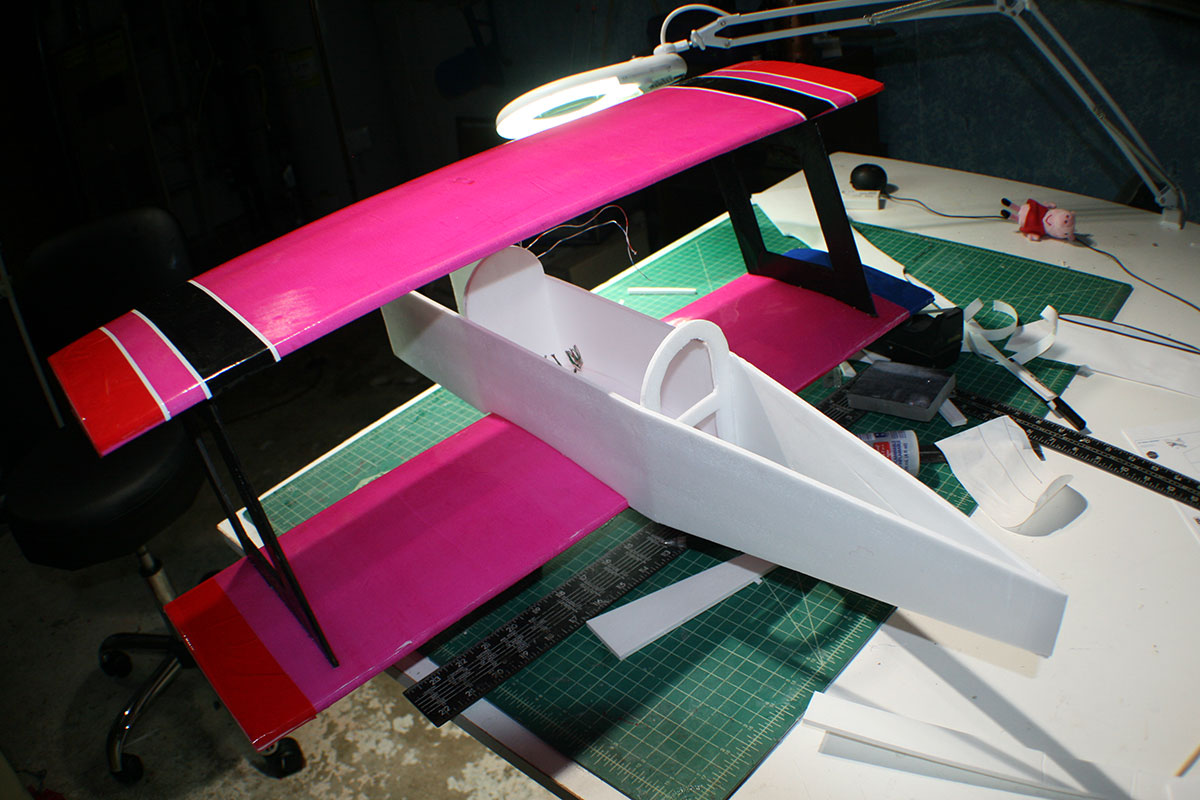
 The fuselage covered in blue cellophane.
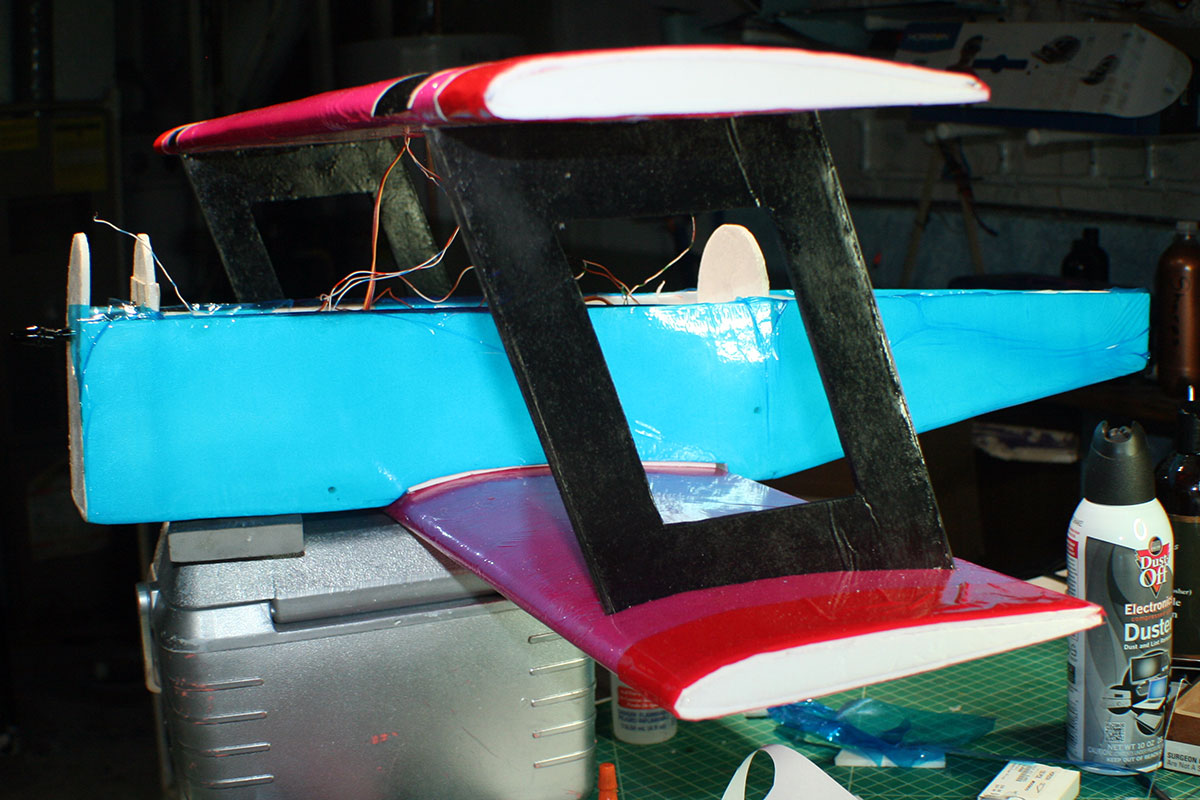 The rear LED strips (left) and the elevator and rudder servos (center.)
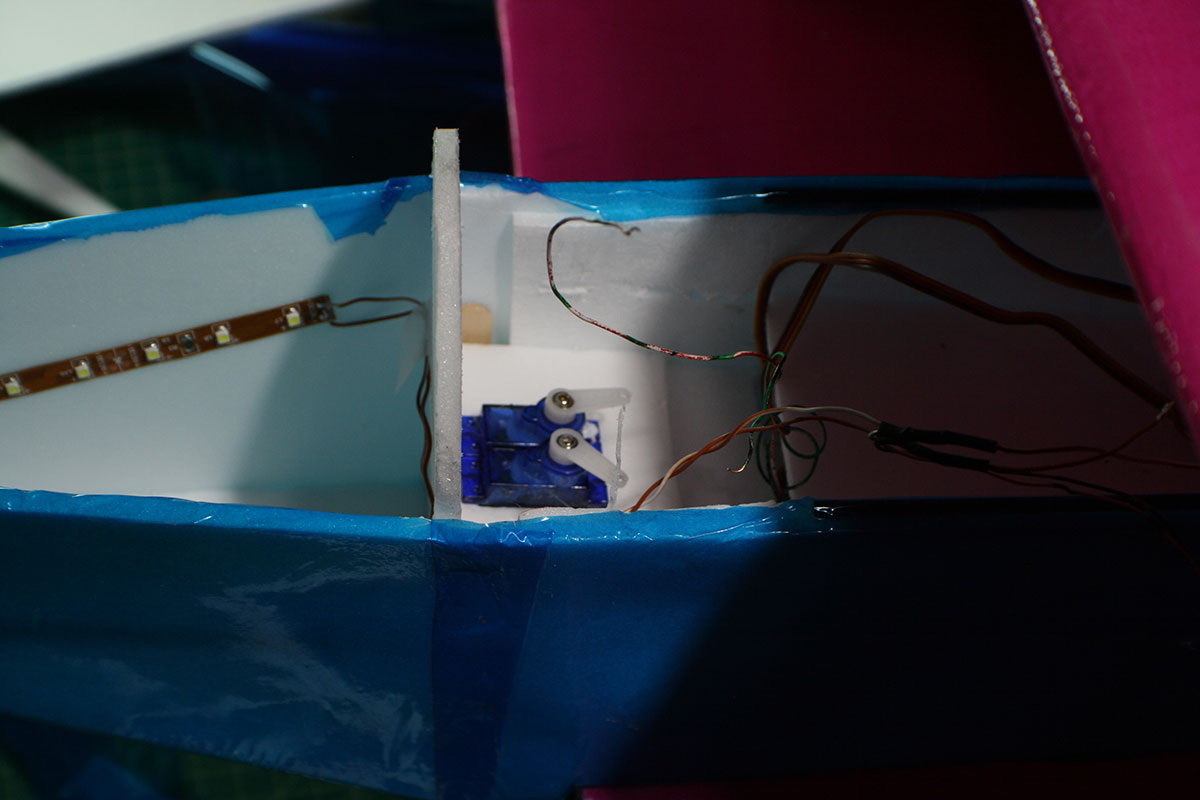 The ailerons are cut out of the same foam board with the paper removed. I did glue a bamboo skewer to the front edge of each.
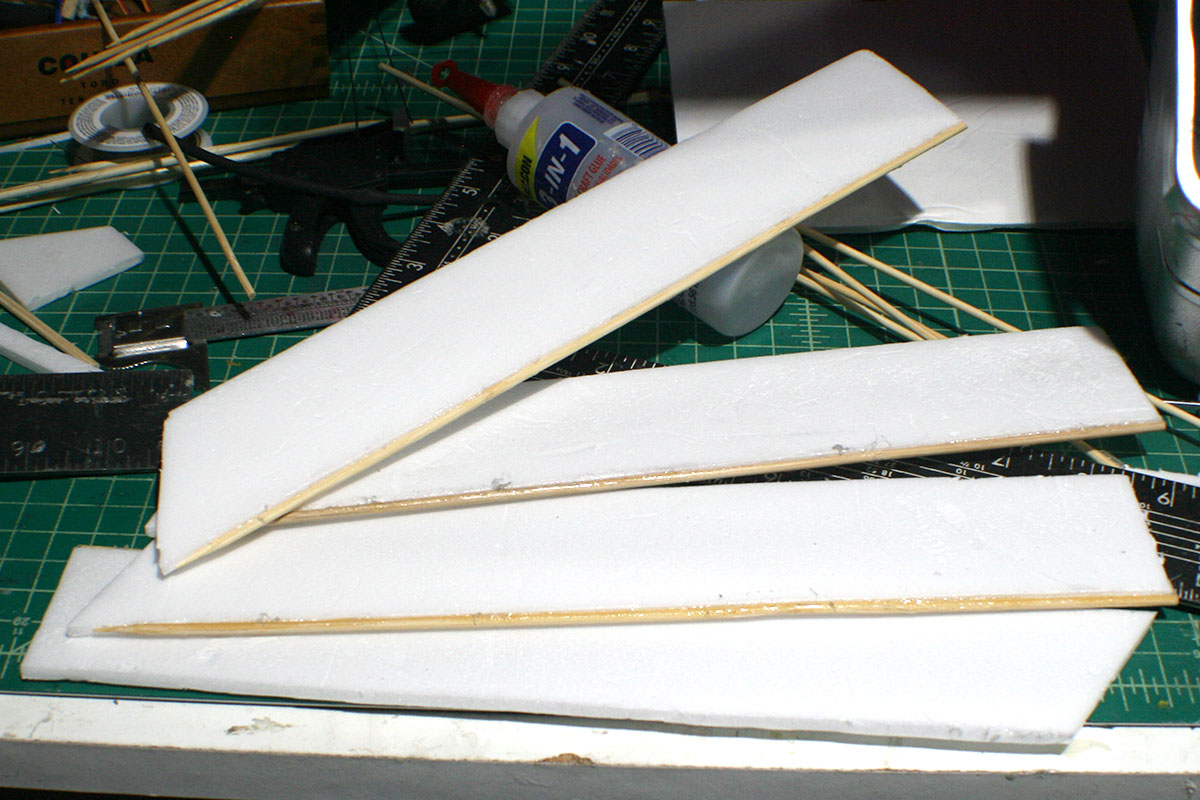 I covered the ailerons with some pink packing tape to give the greater strength and more color.
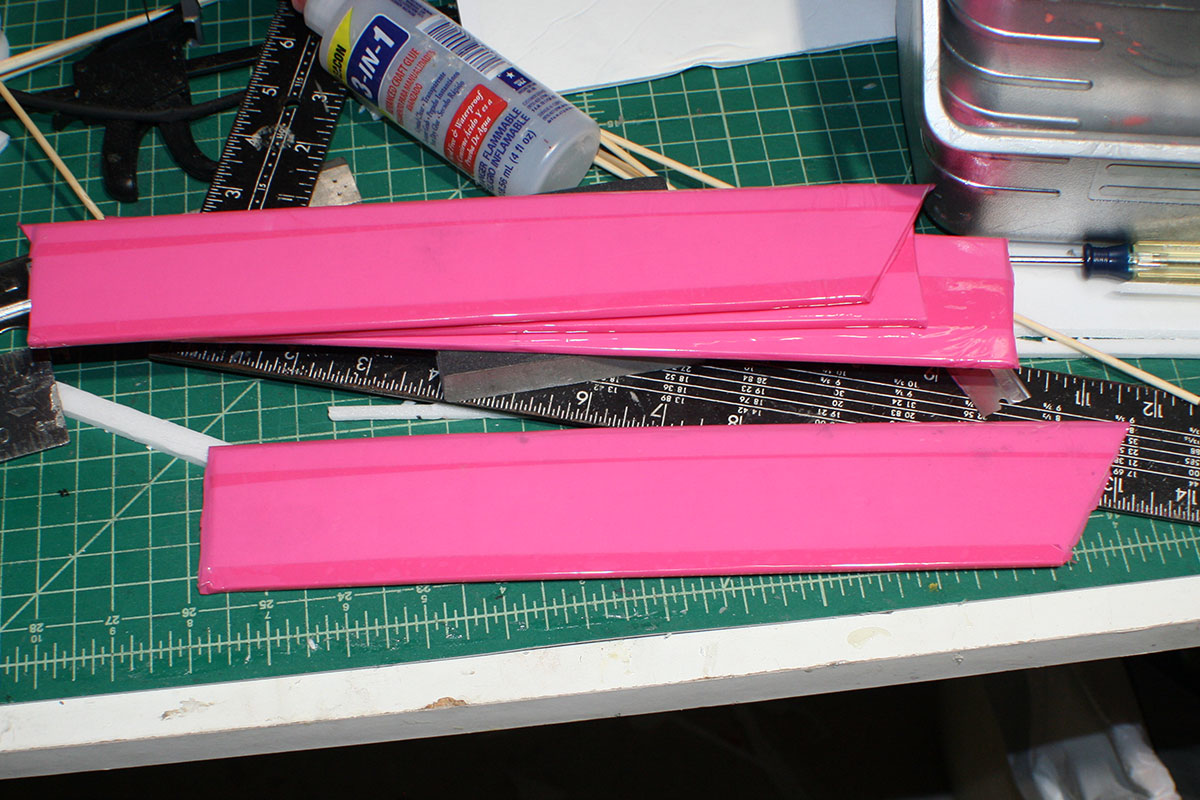
 I decided, rather than fuss with connecting the upper ailerons to the lower ailerons, that I would give each pair – upper and lower – its own servo. Here’s the bottom aileron servo, which will be hidden in the fuse.
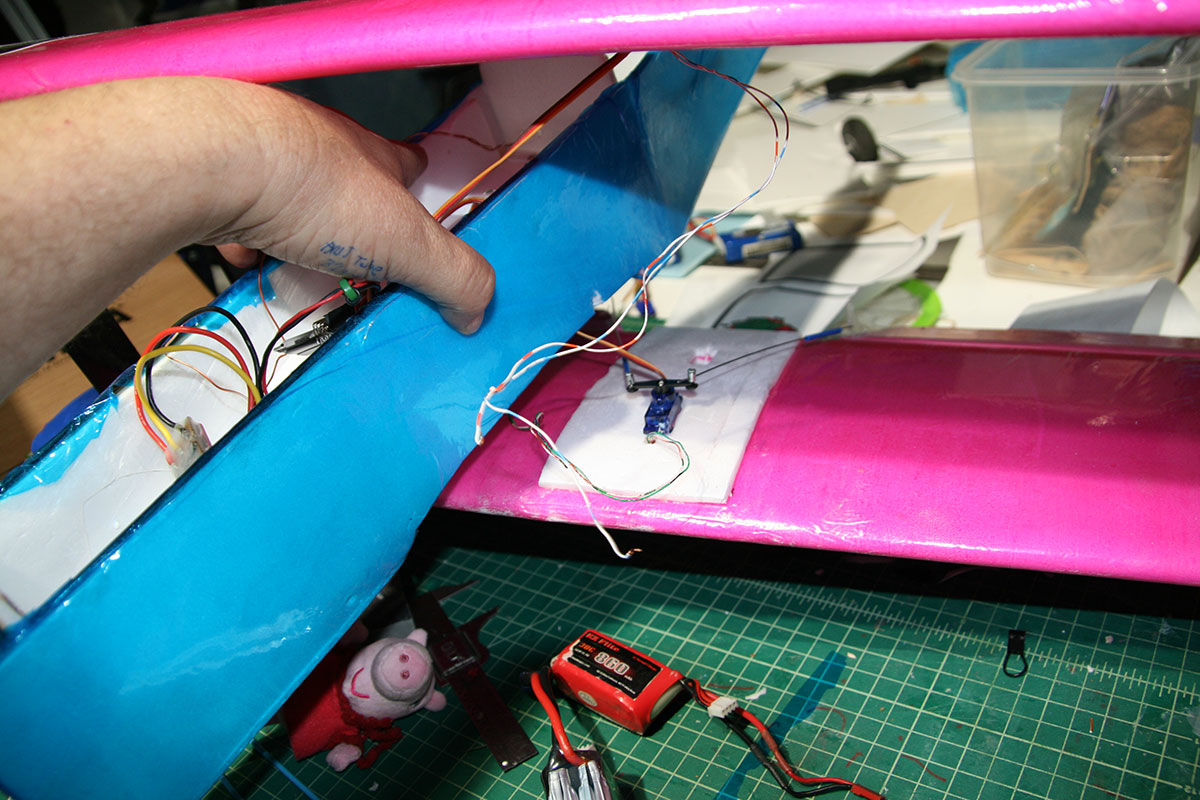 Here’s the top servo.
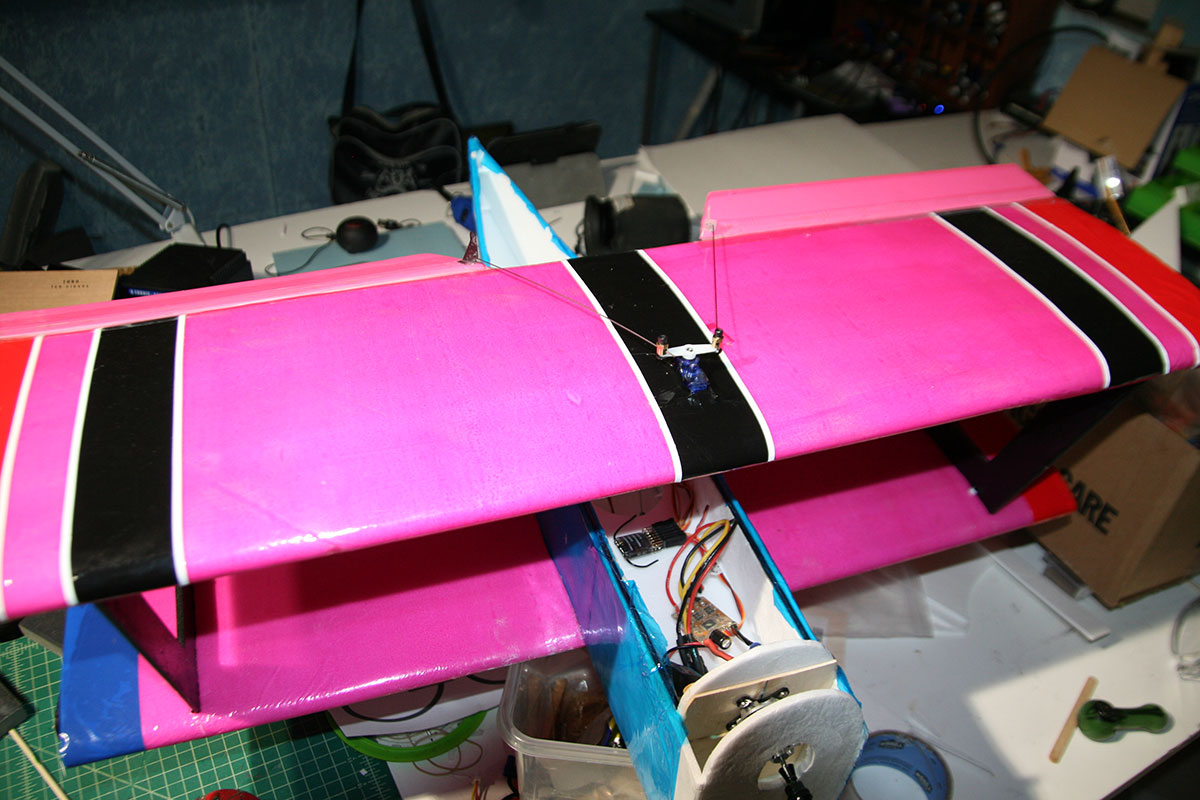 I made several tries at getting a set of tail feathers built – this is one of them – but they all failed one way or another.
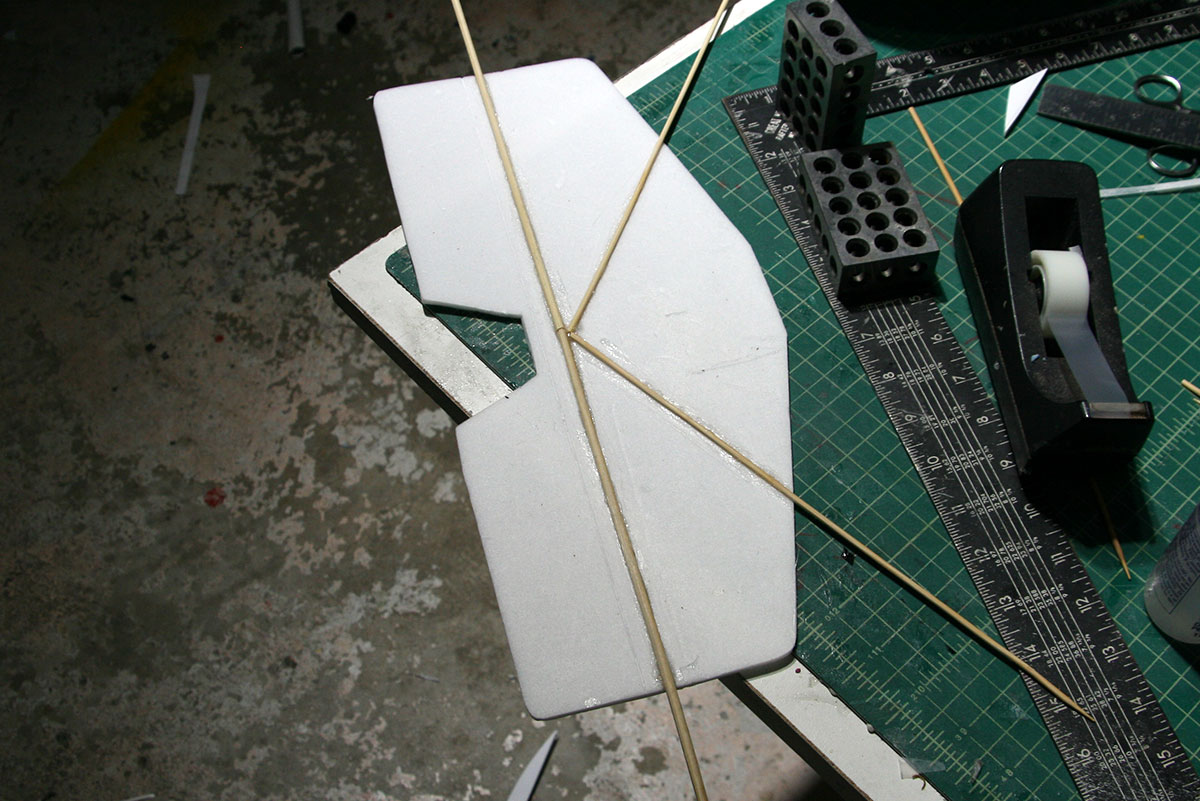 The heat gun kinda ruined the surface of this horizontal stabilizer. Just a little bit.
 I pulled the tail feathers off of a failed build from a while back and decided to graft them on.
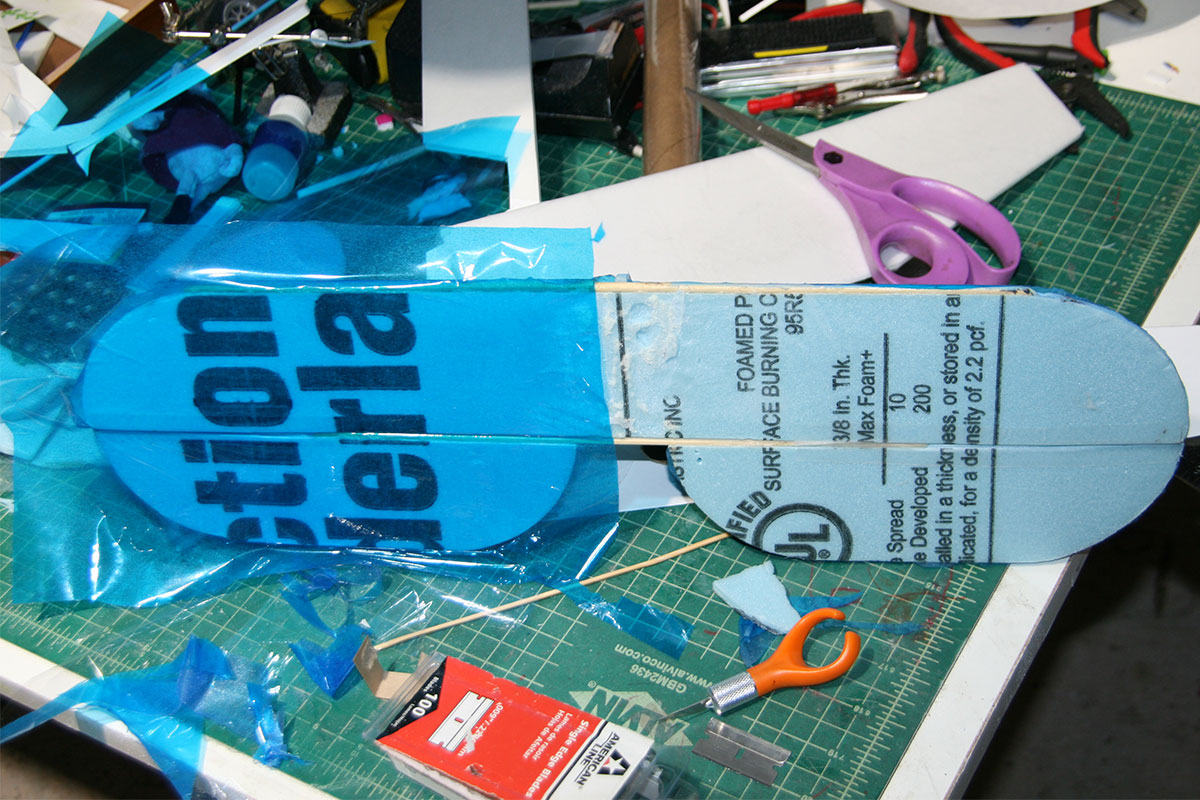 I think they’ll work.
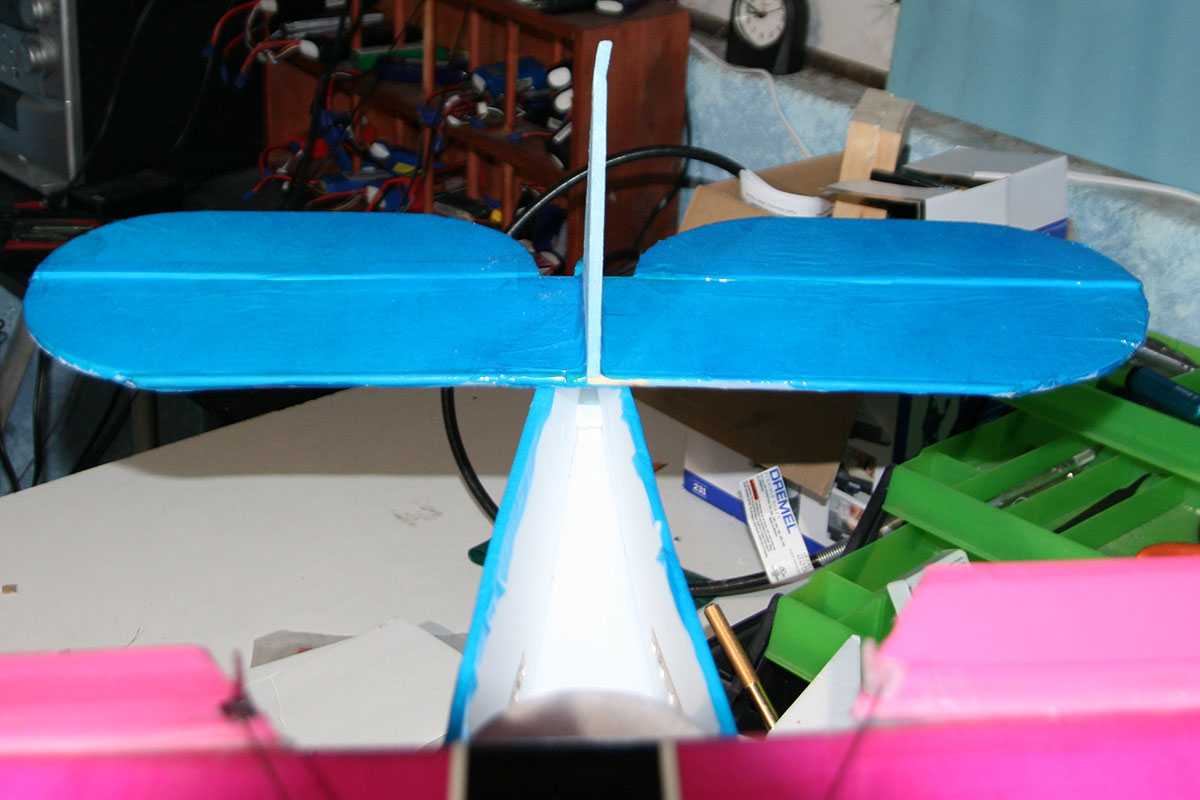
Making the battery and electronics compartment cover.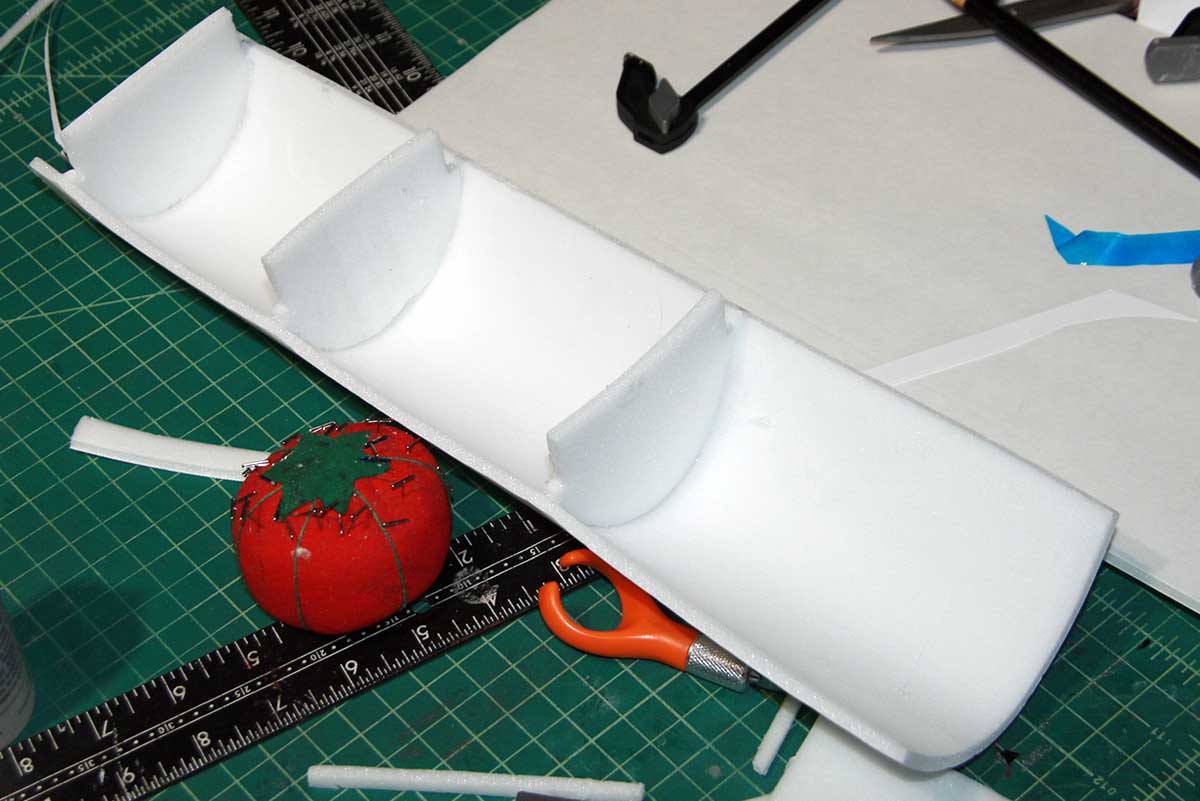
 Here’s the dashboard.
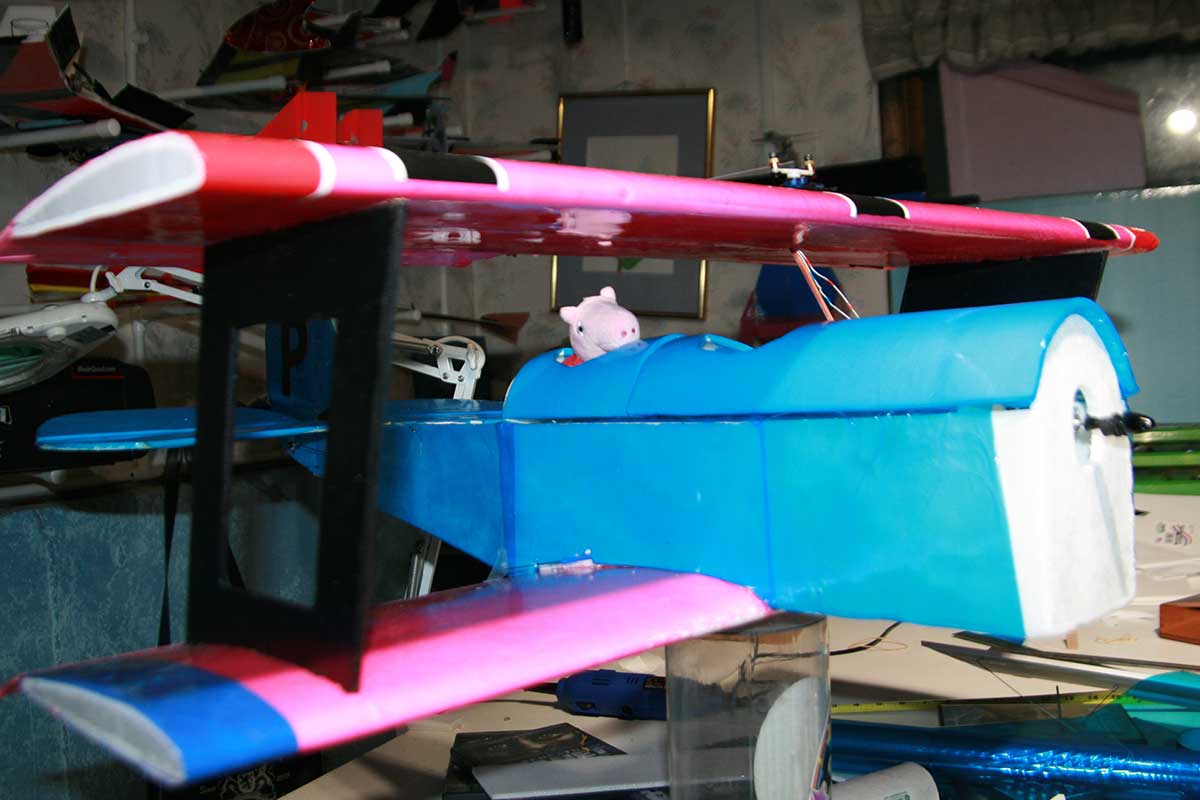
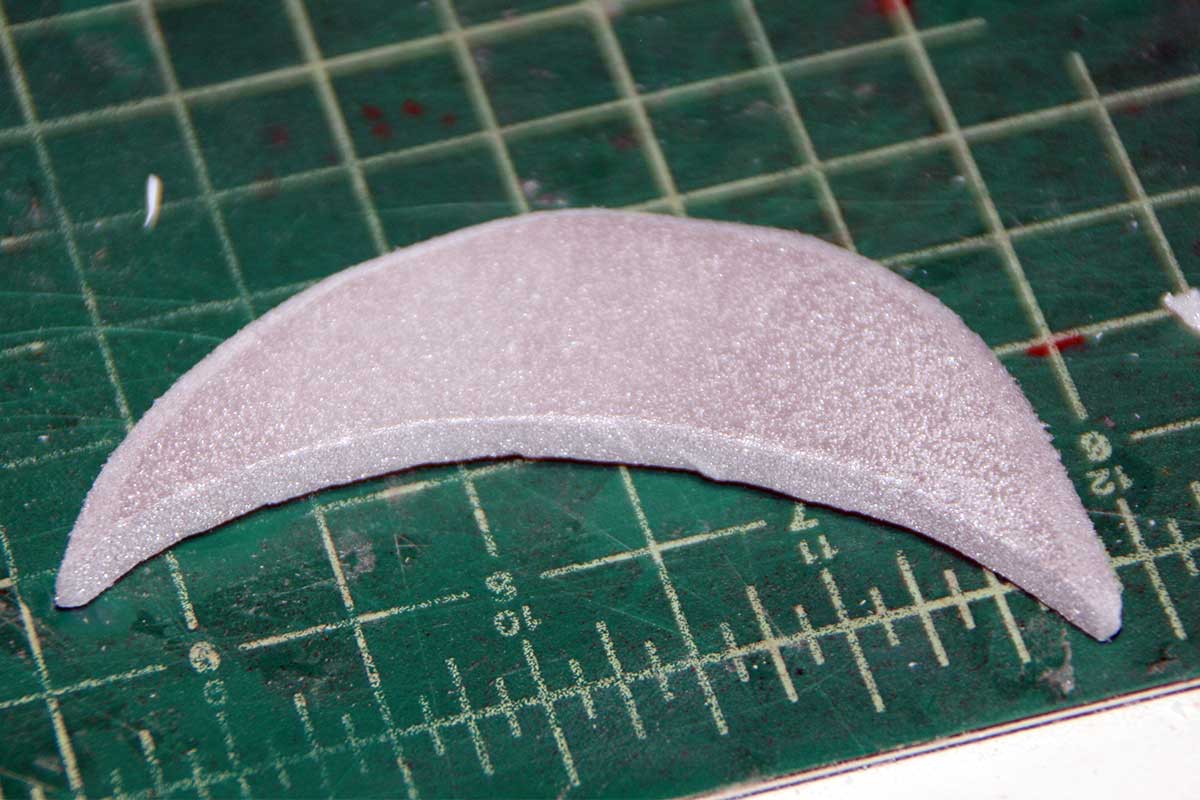 Here’s the pilot’s compartment.
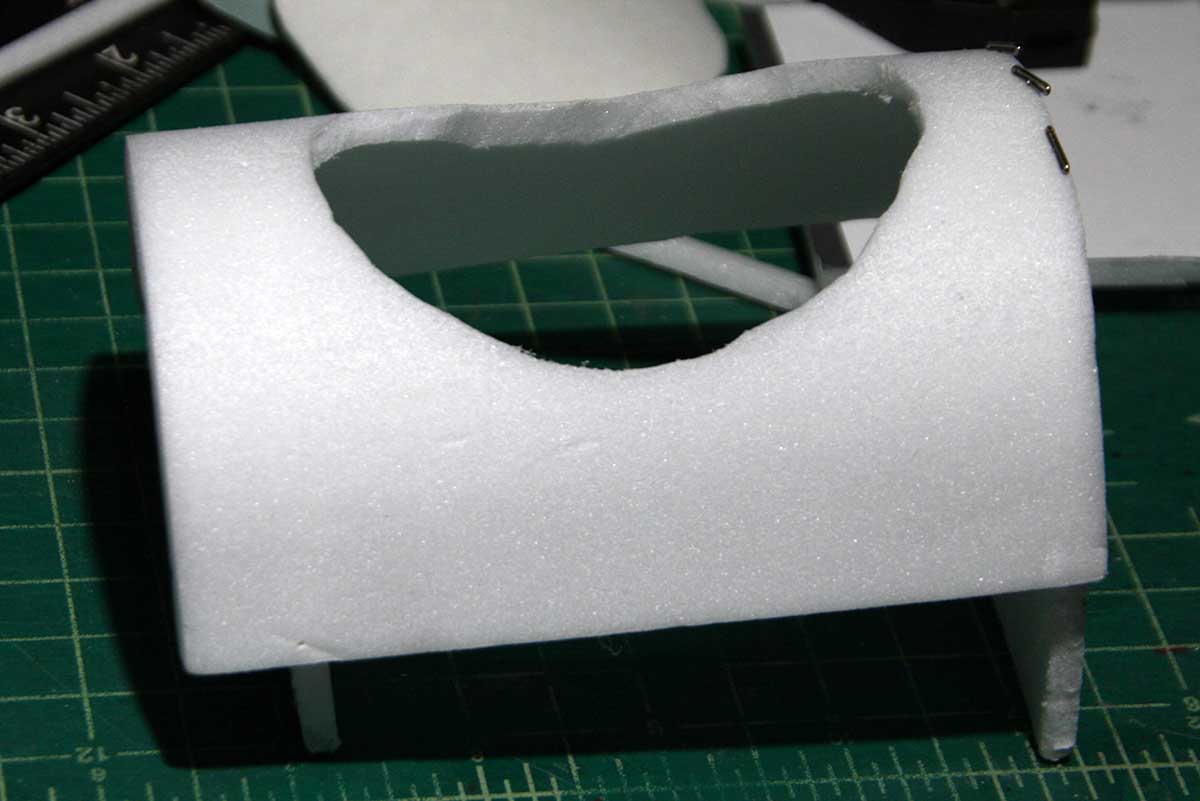 Doing a test fit of the pilot.
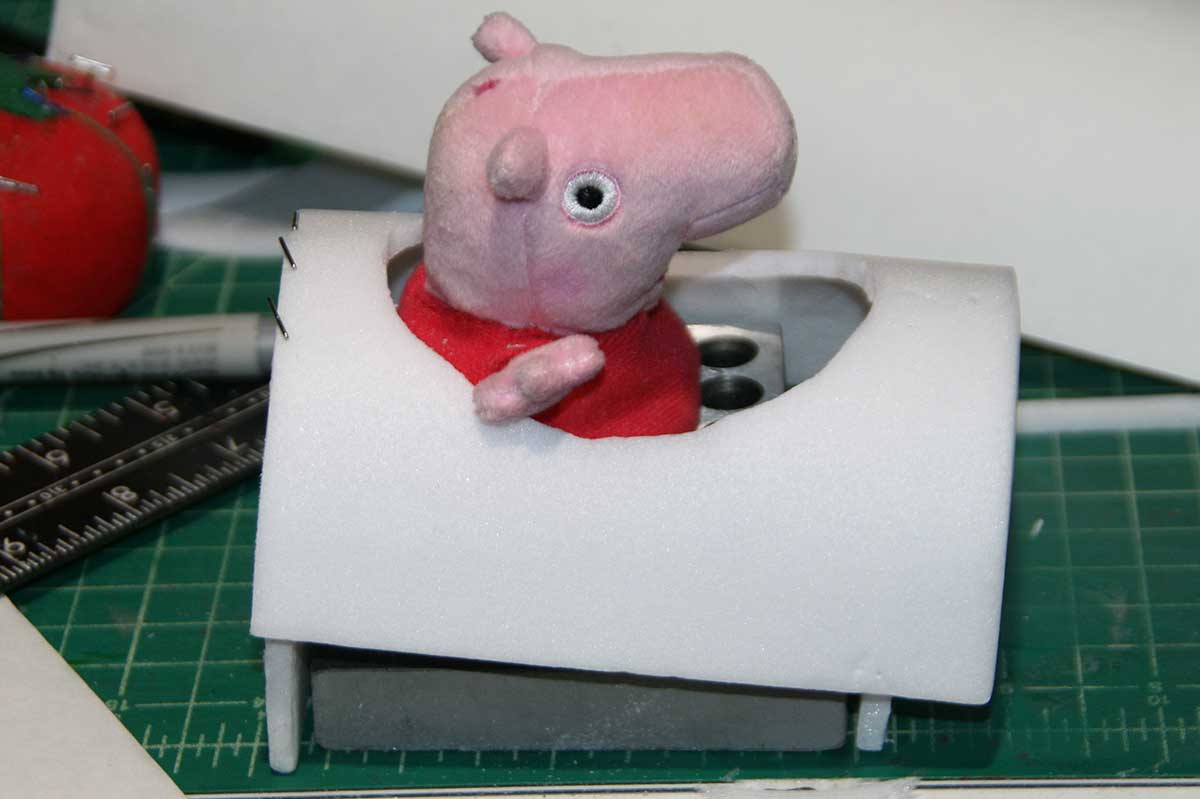 The battery cover has a hole for a passenger, should one wish to ride along.
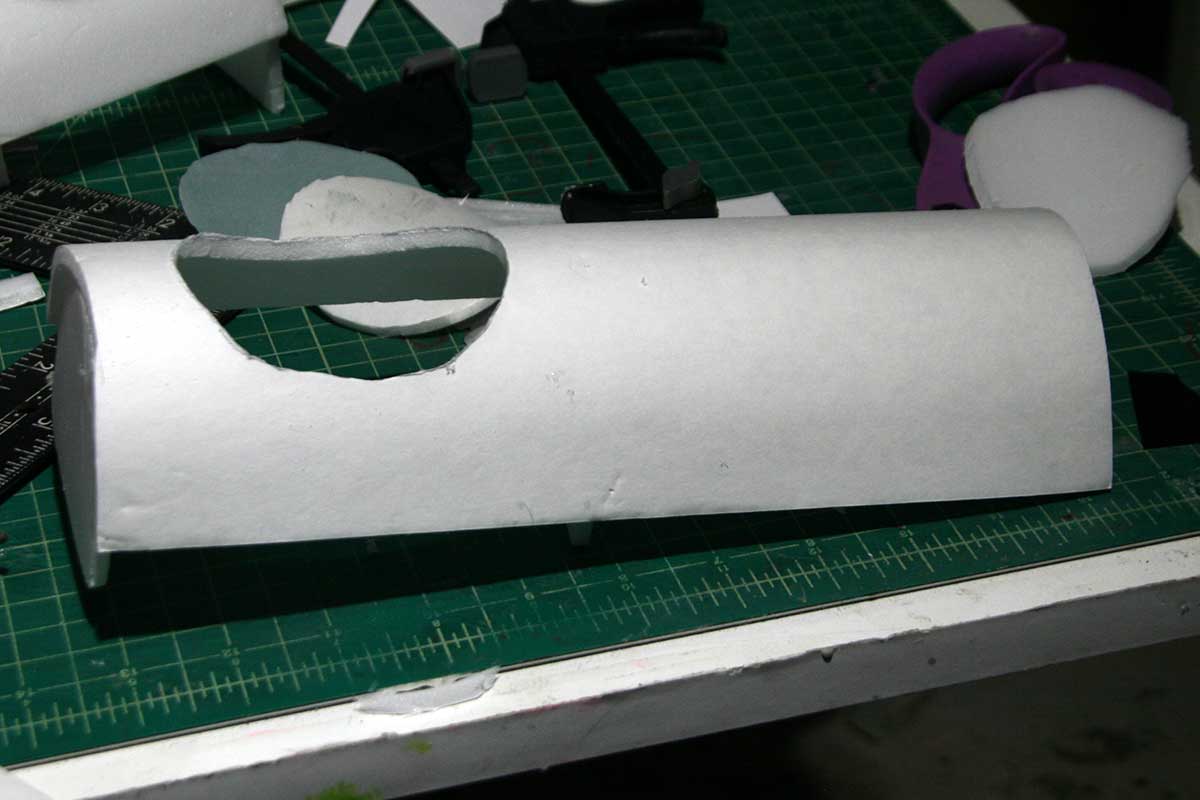 P is for Peppa Pig
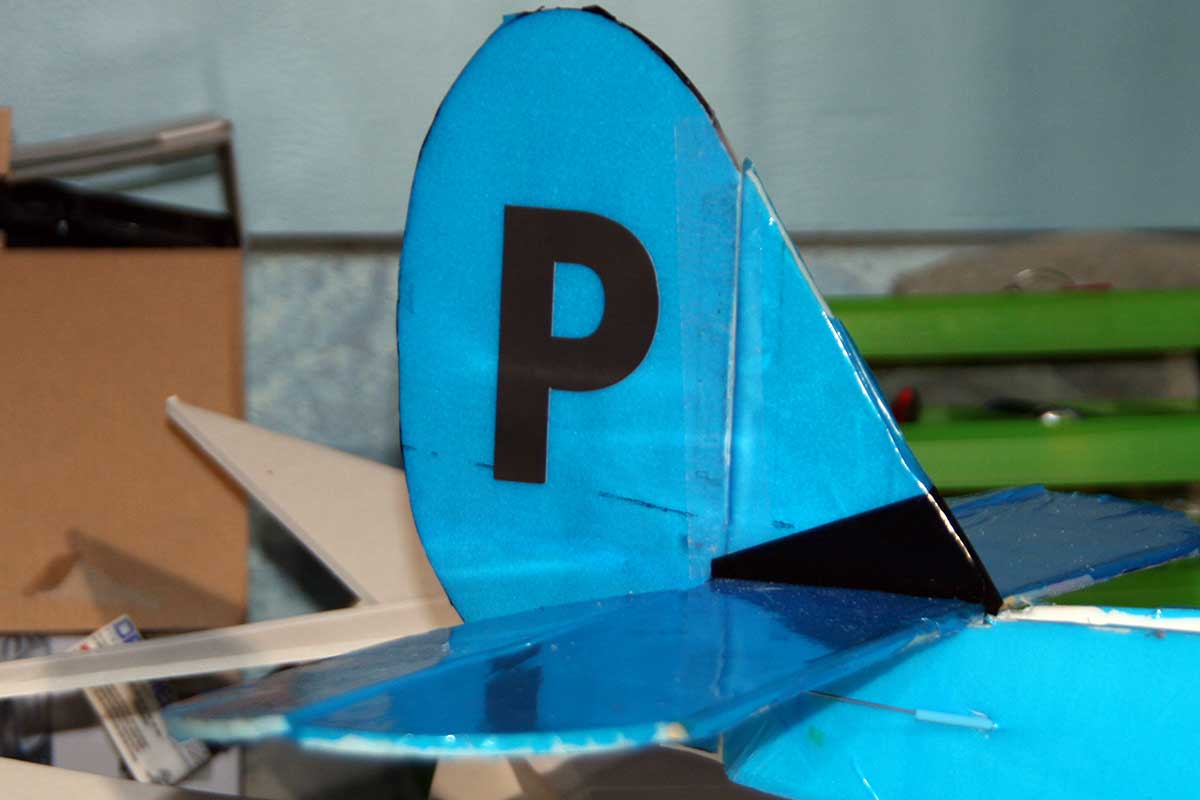
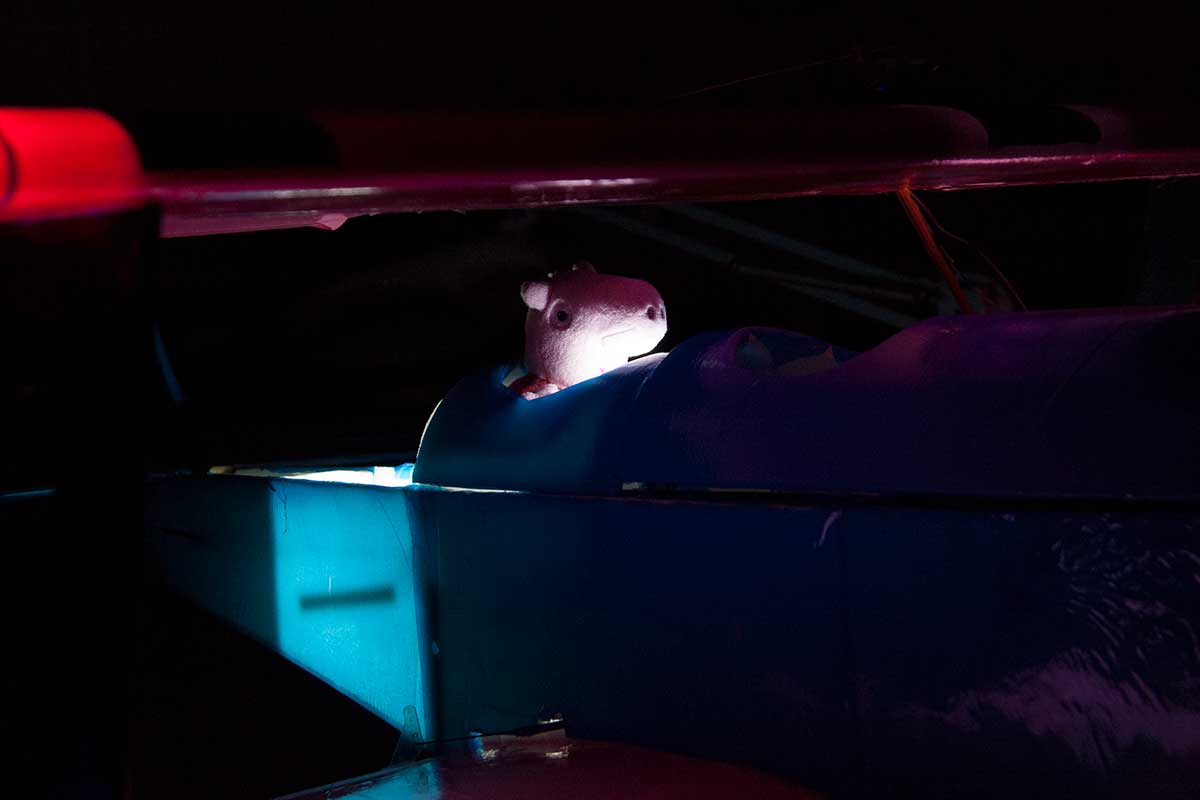
 Peppa’s dashboard has a bank of LEDs to light her up at night. SPOOKY!
 Making the rear turtle deck.
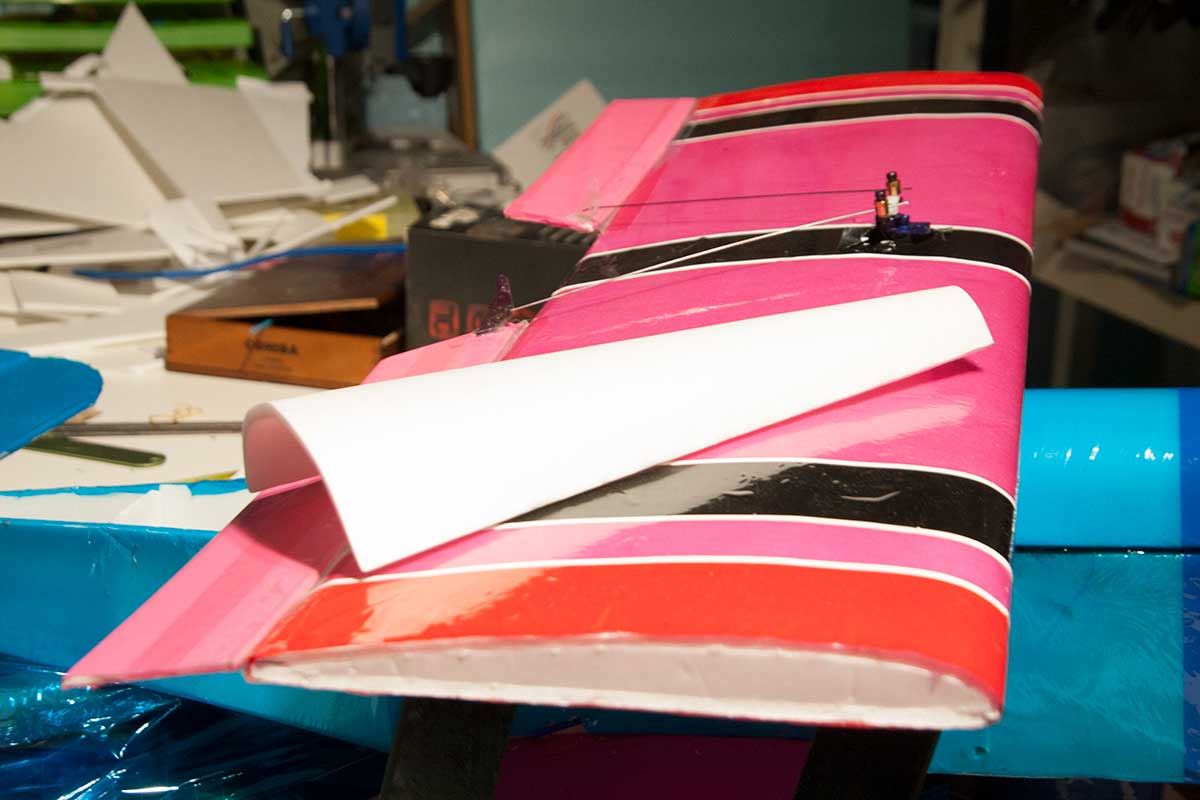 and gluing it into place.
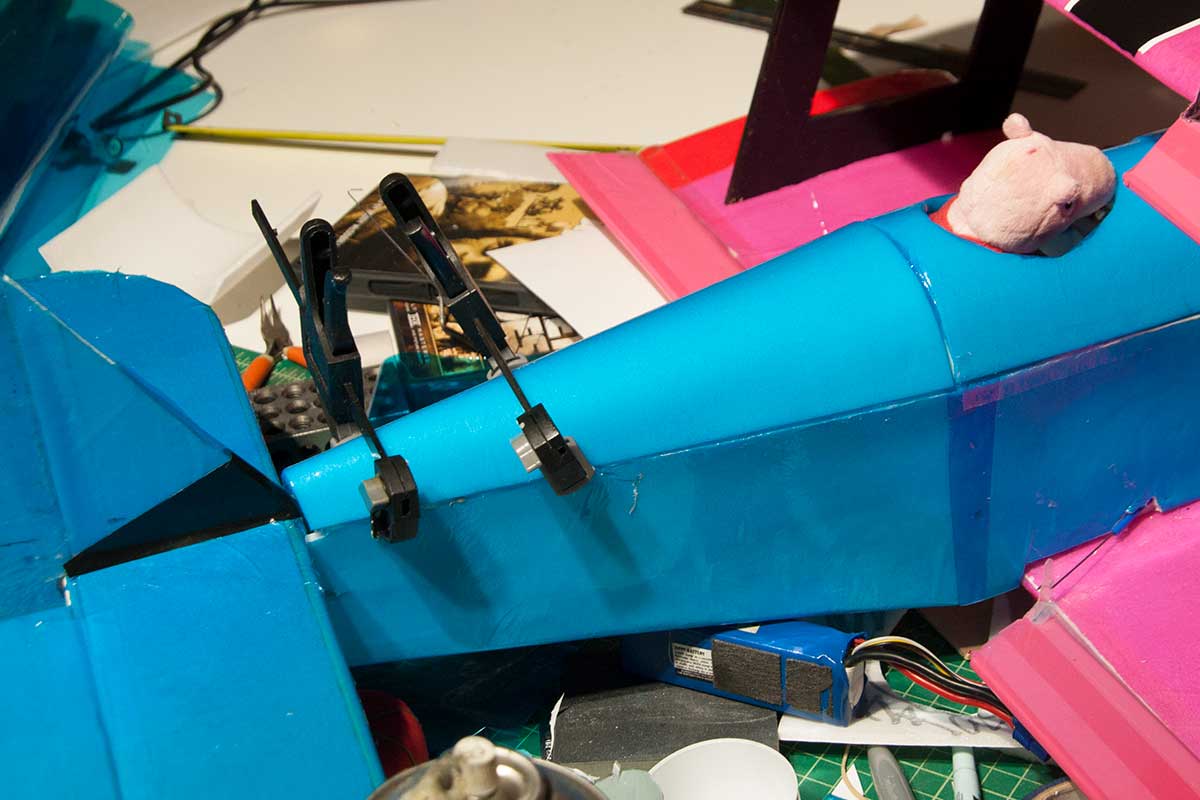 Constructing the landing gear. These will turn out to be crappy and non-functional.
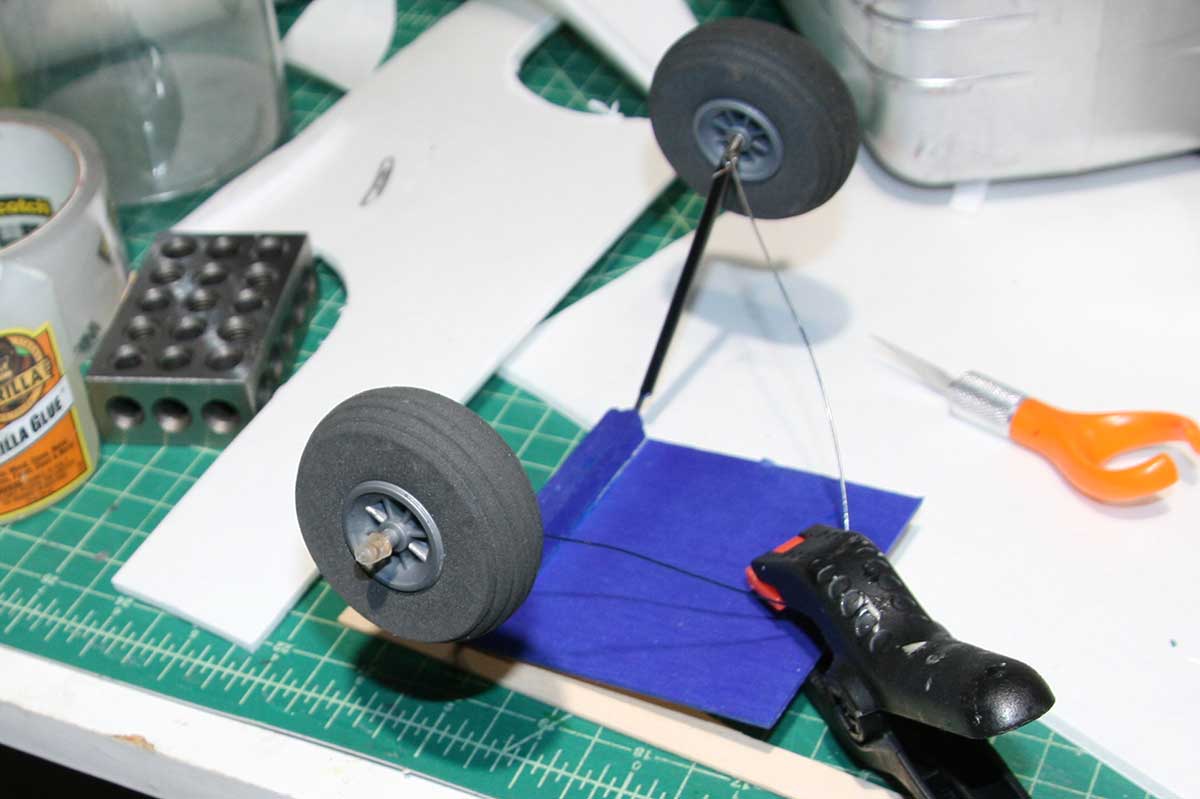
 At the rear: a tail skid.
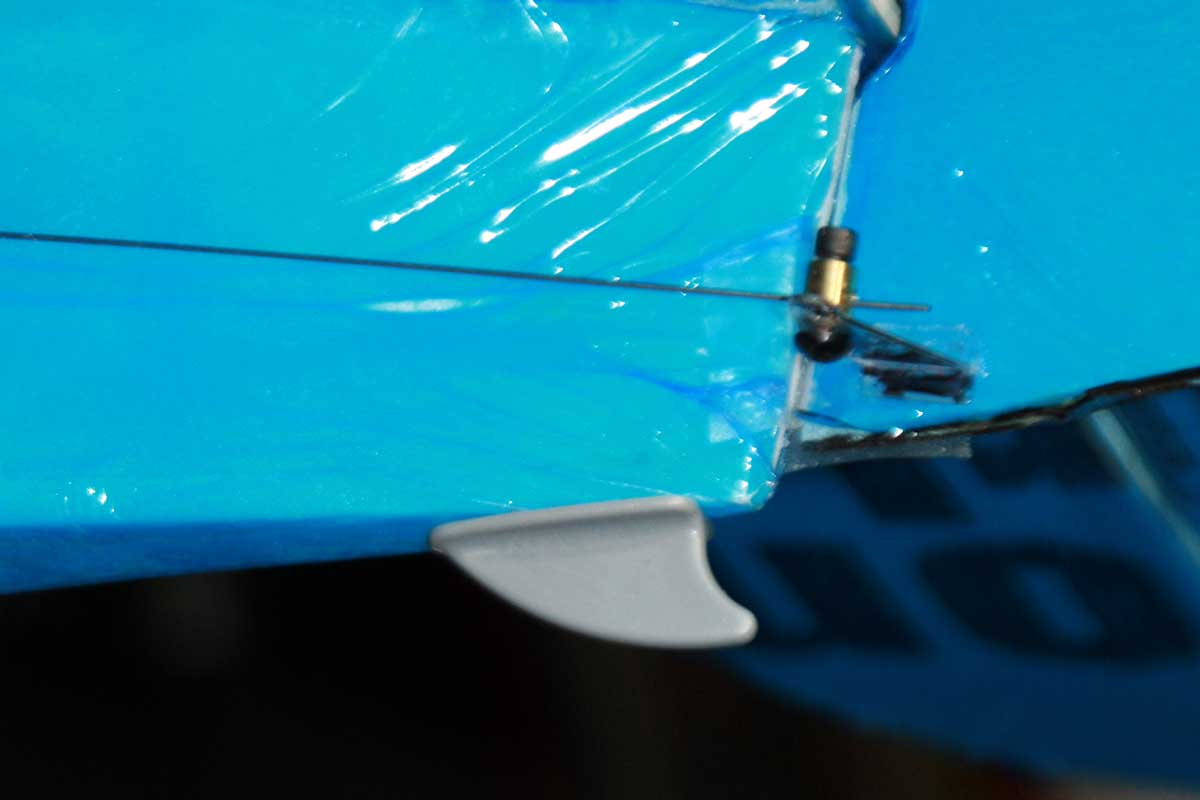 The original battery deck was too fragile. Putting the battery in constantly broke it. The new deck has a panel of thin plywood and several braces that will connect it to the bottom of the fuselage. It’s upside-down in this photo:
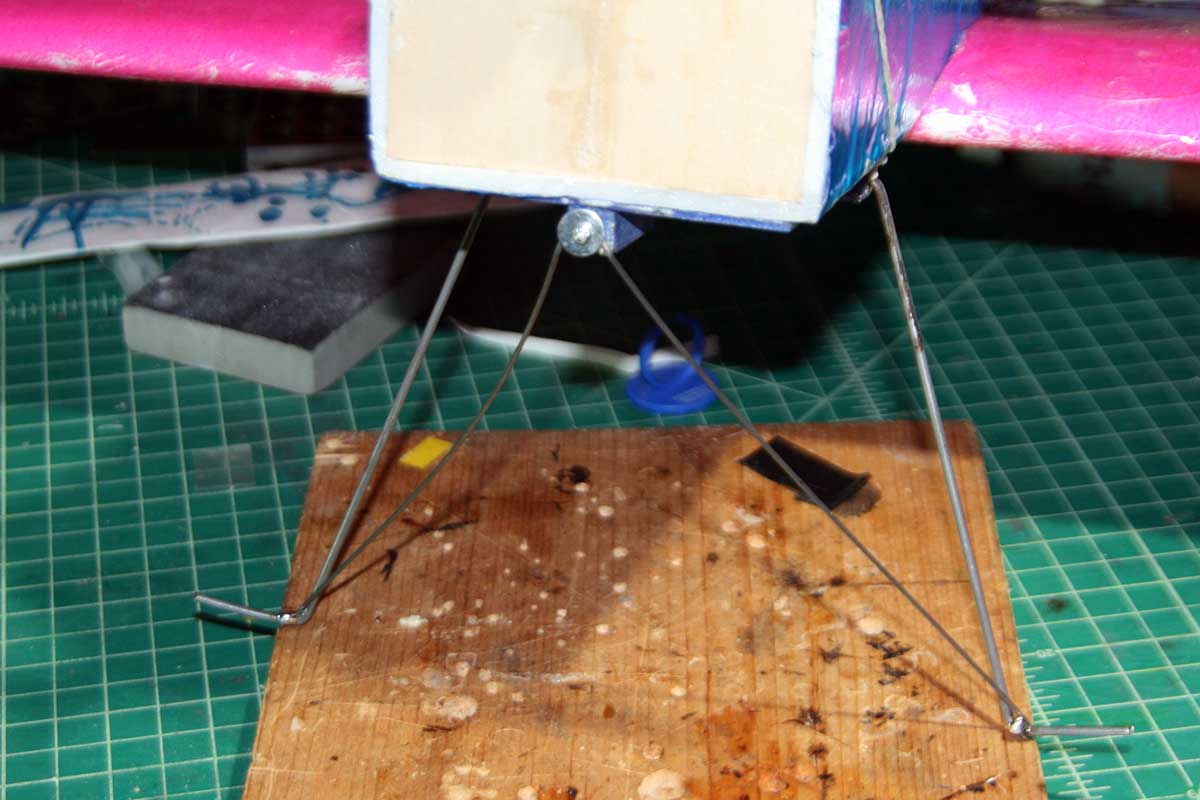
The original landing gear was too short, too fragile and just generally crappy. So I started from scratch and tried again, with longer legs. Two pieces of thick music wire form the landing gear legs. I longer piece of thinner wire forms a brace that attaches near the front of the plane.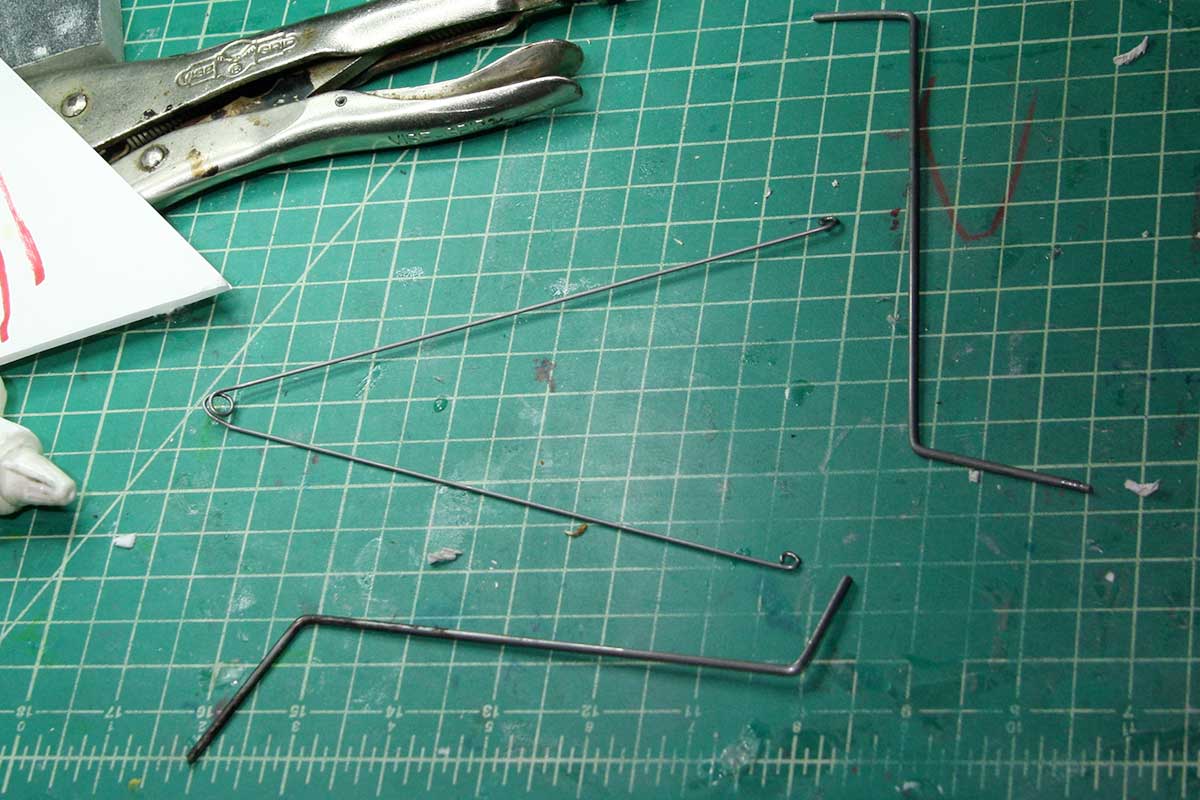 It’ll look something like this.
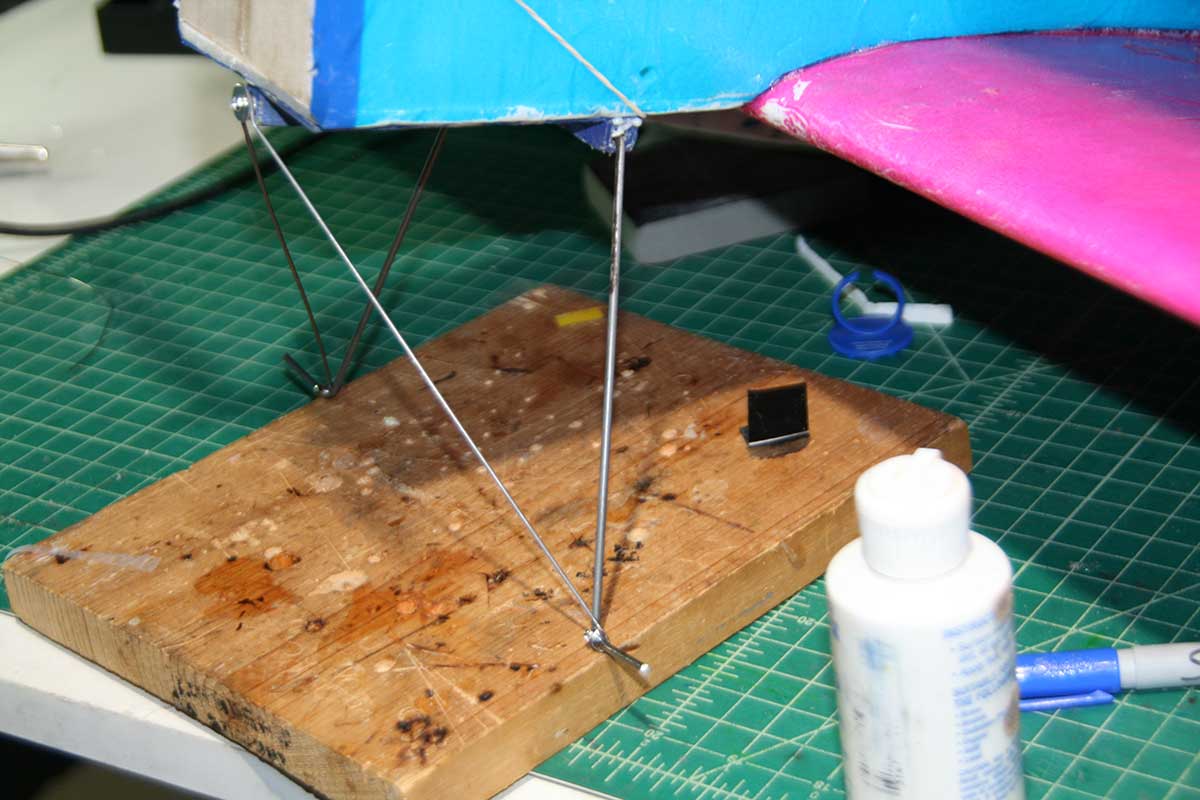
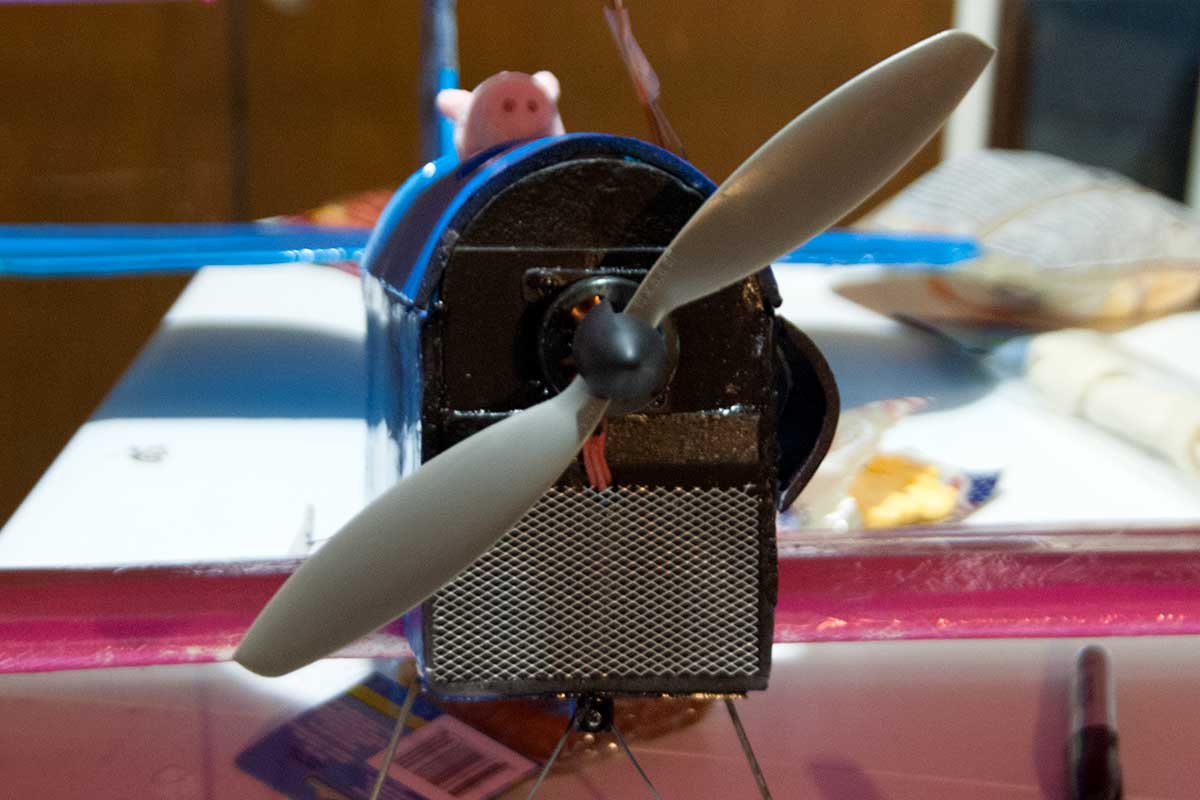
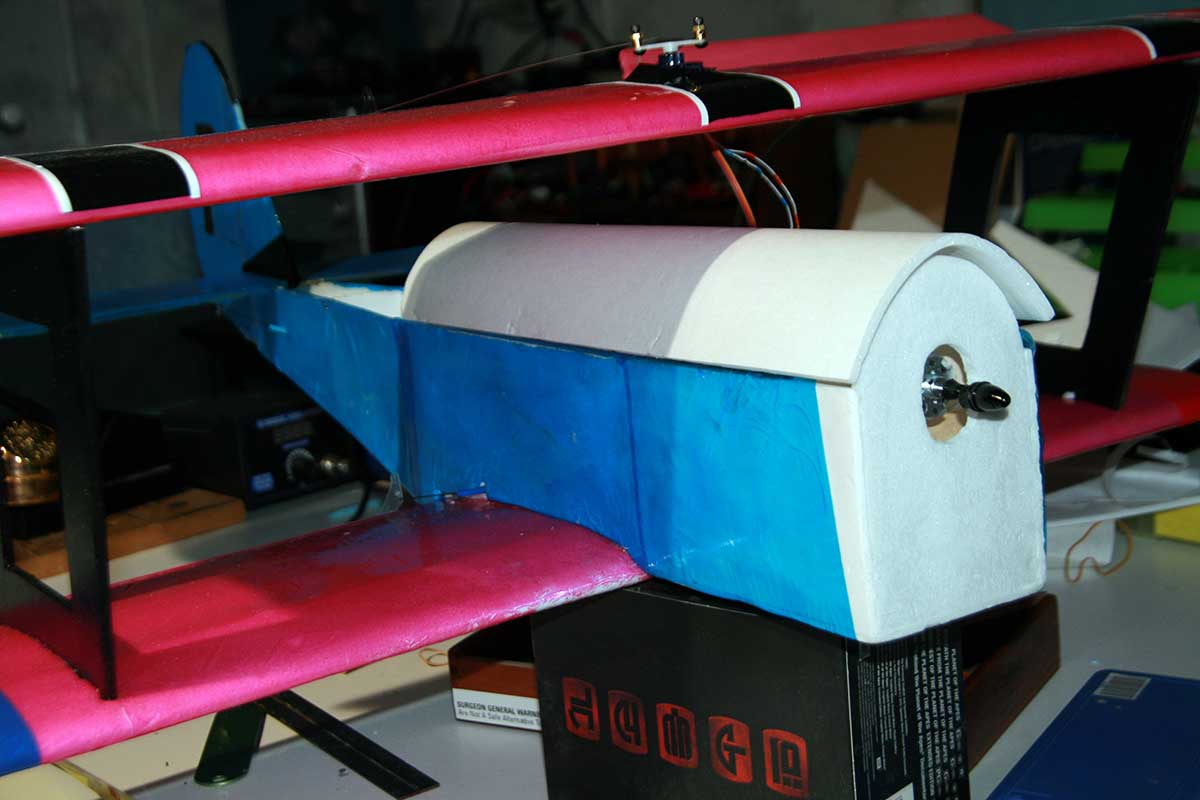
 I chopped off the front of the original fuselage, trimming the front of the plane even with the firewall / engine mount. I added a coat of black spray paint.
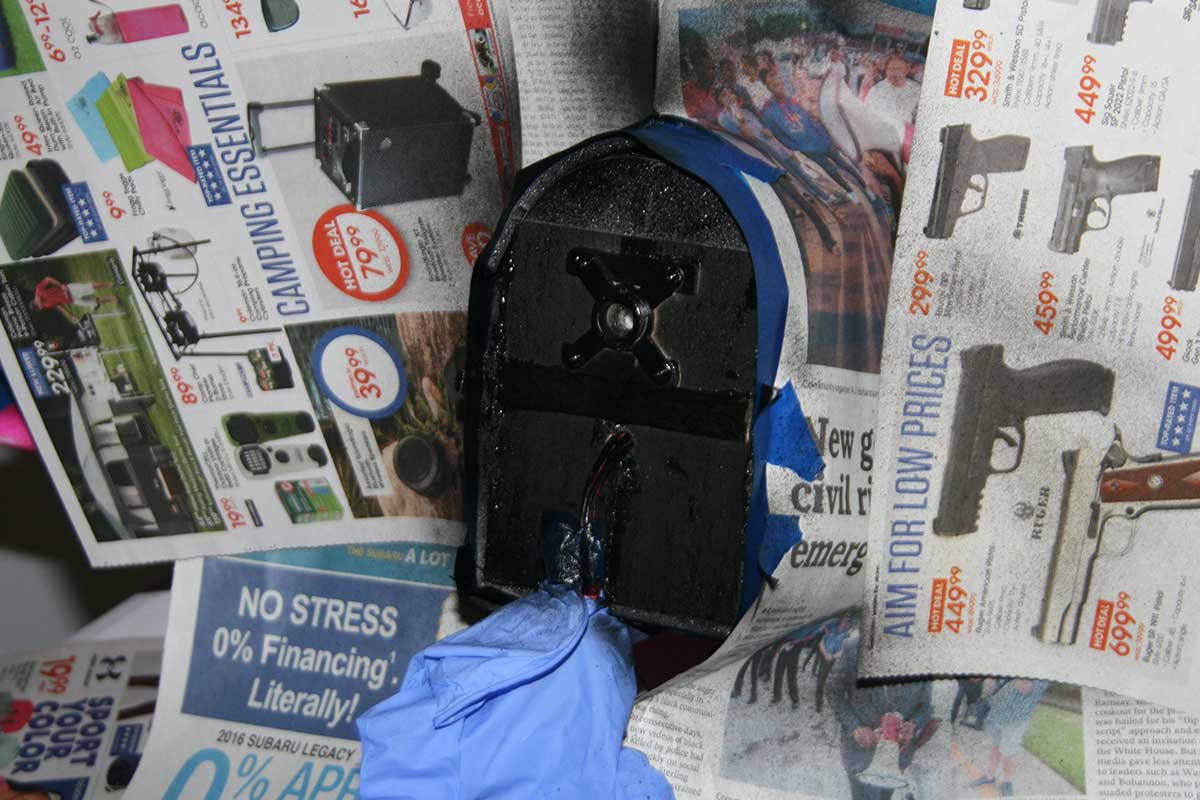 I added a ‘radiator grill’ of metal mesh, attached with spray-on adhesive.
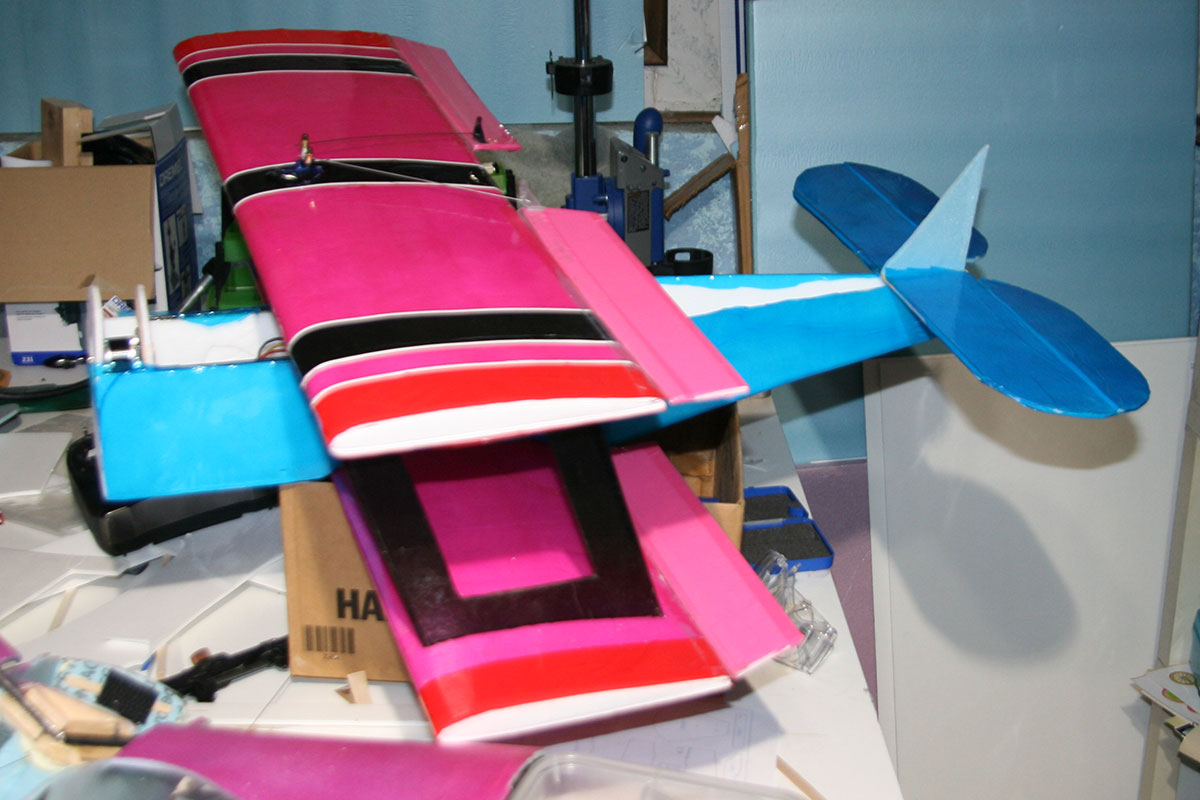
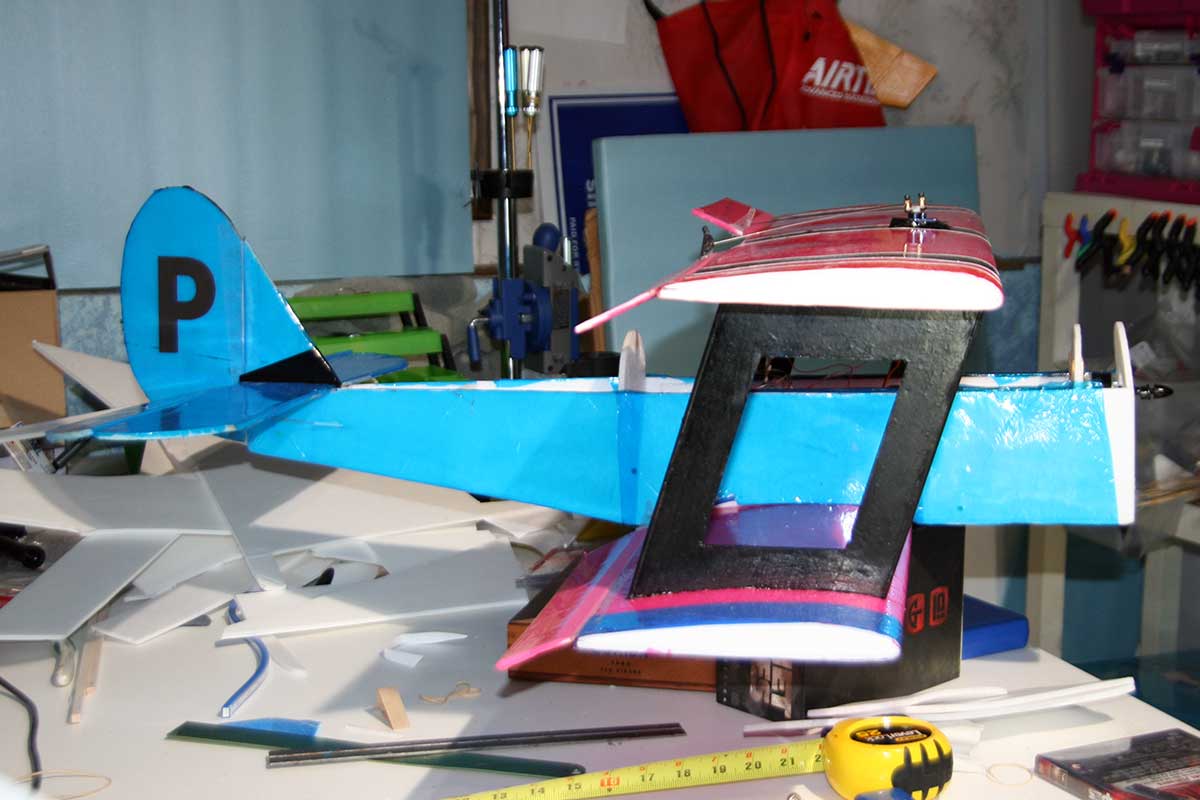
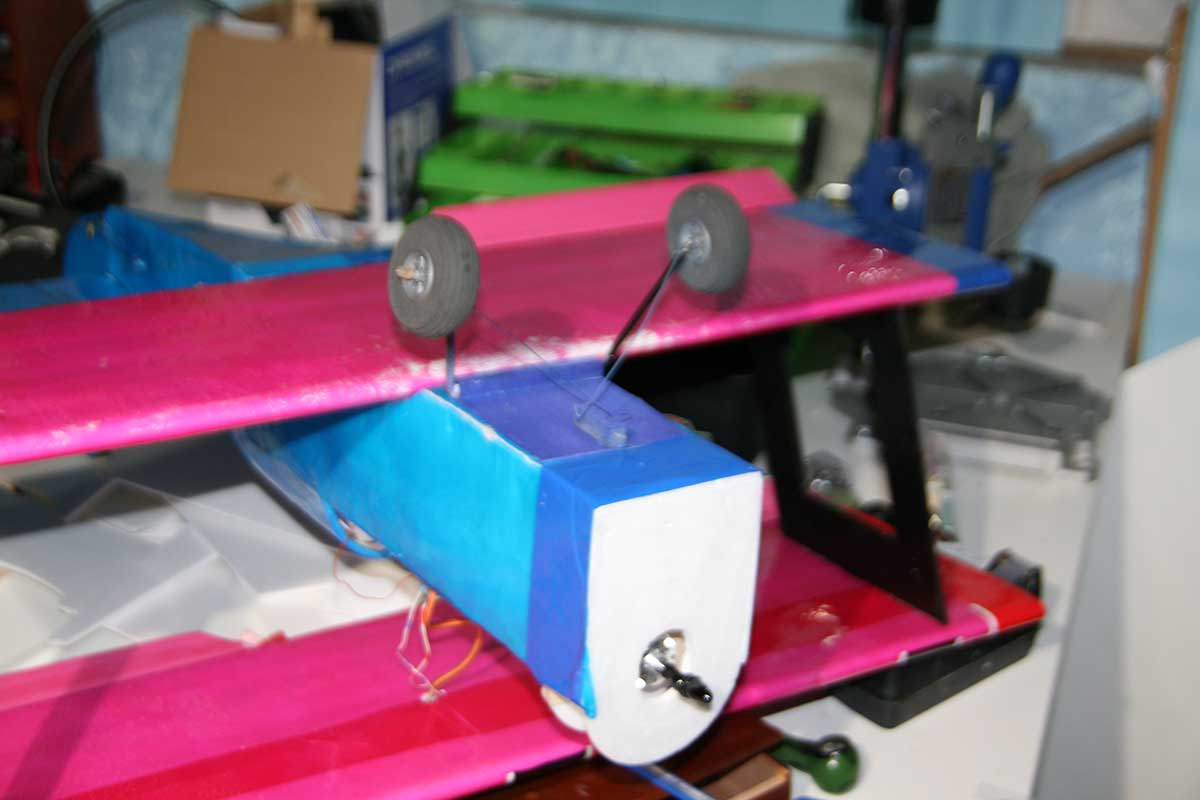
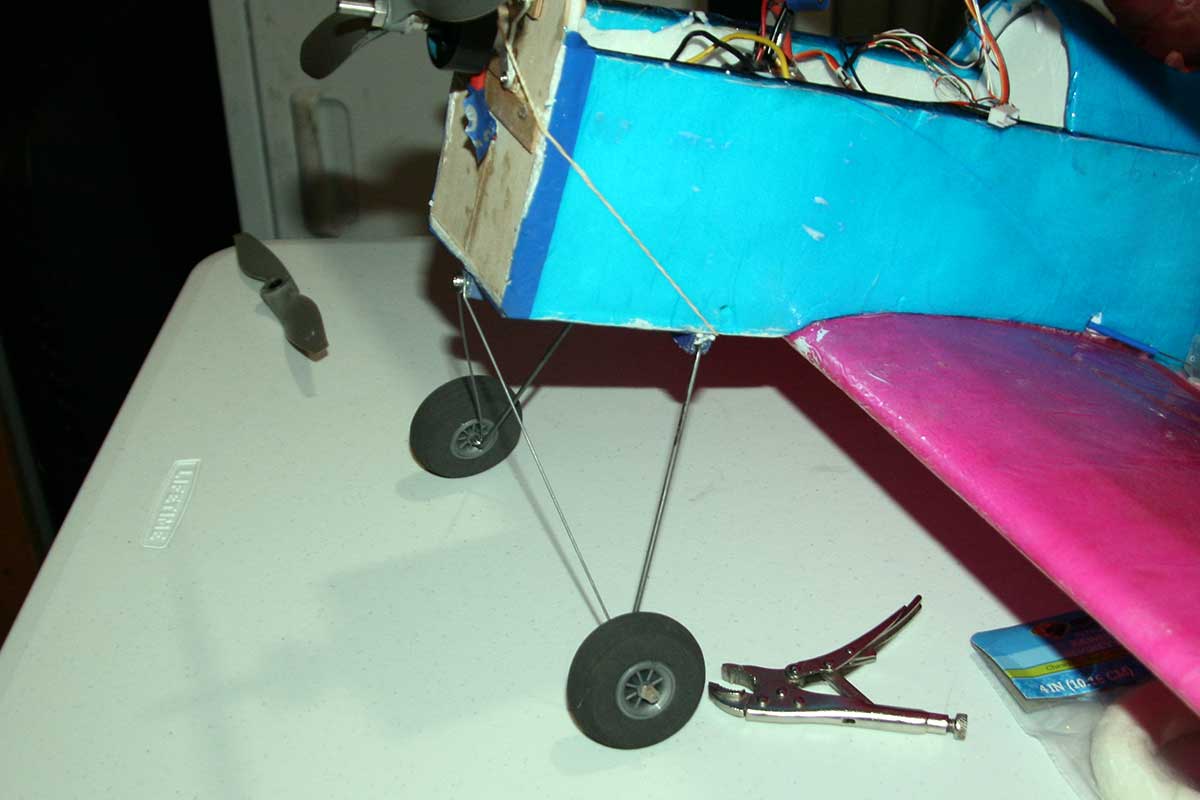
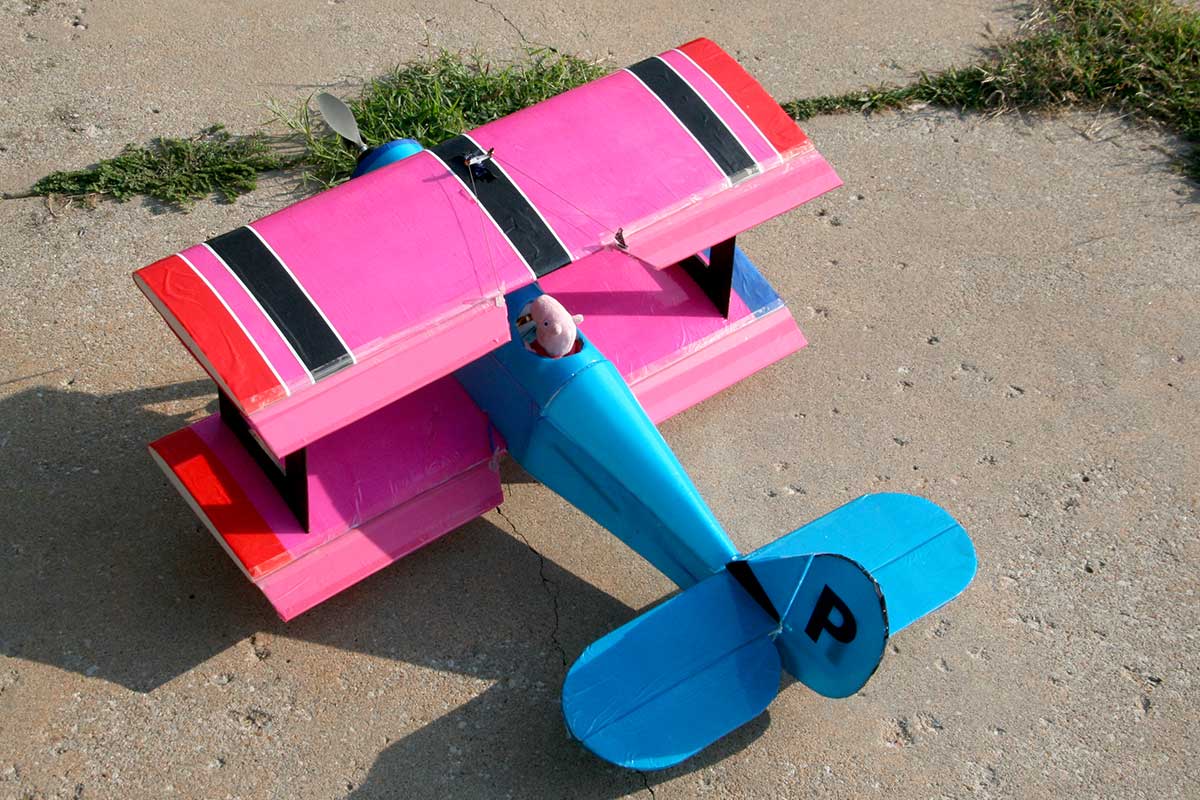
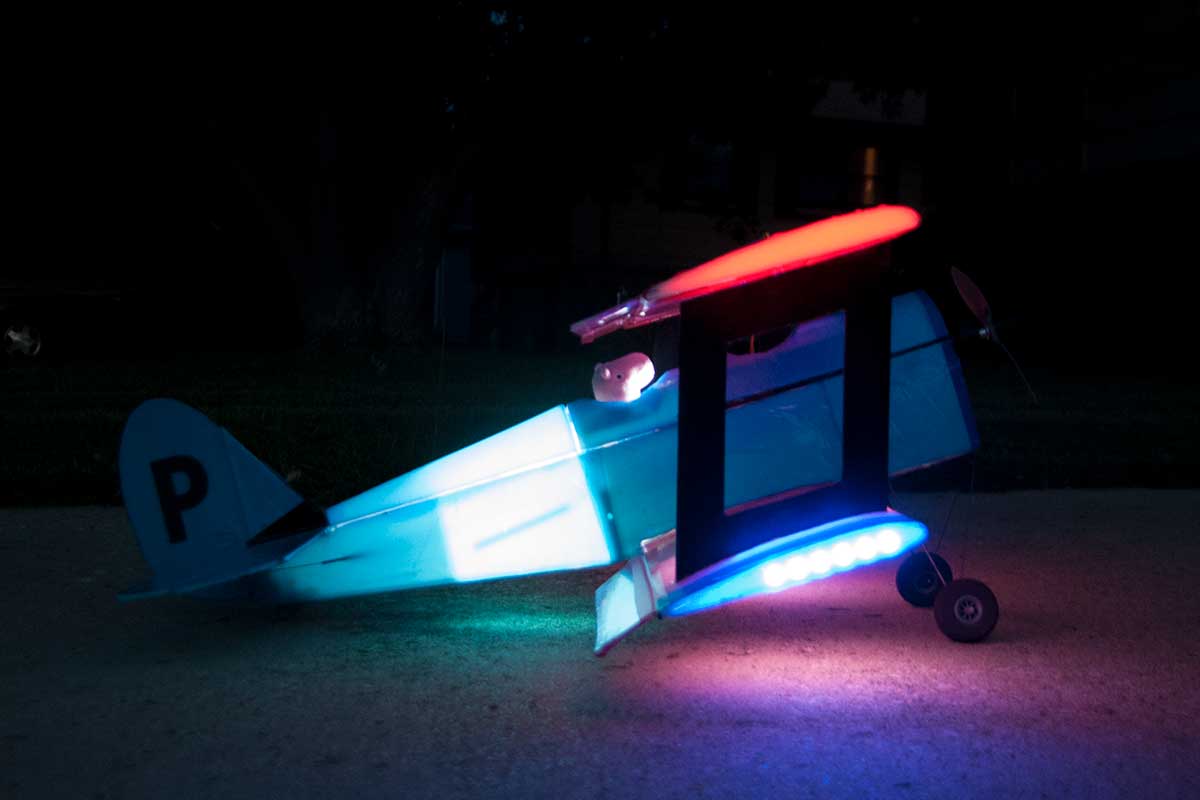
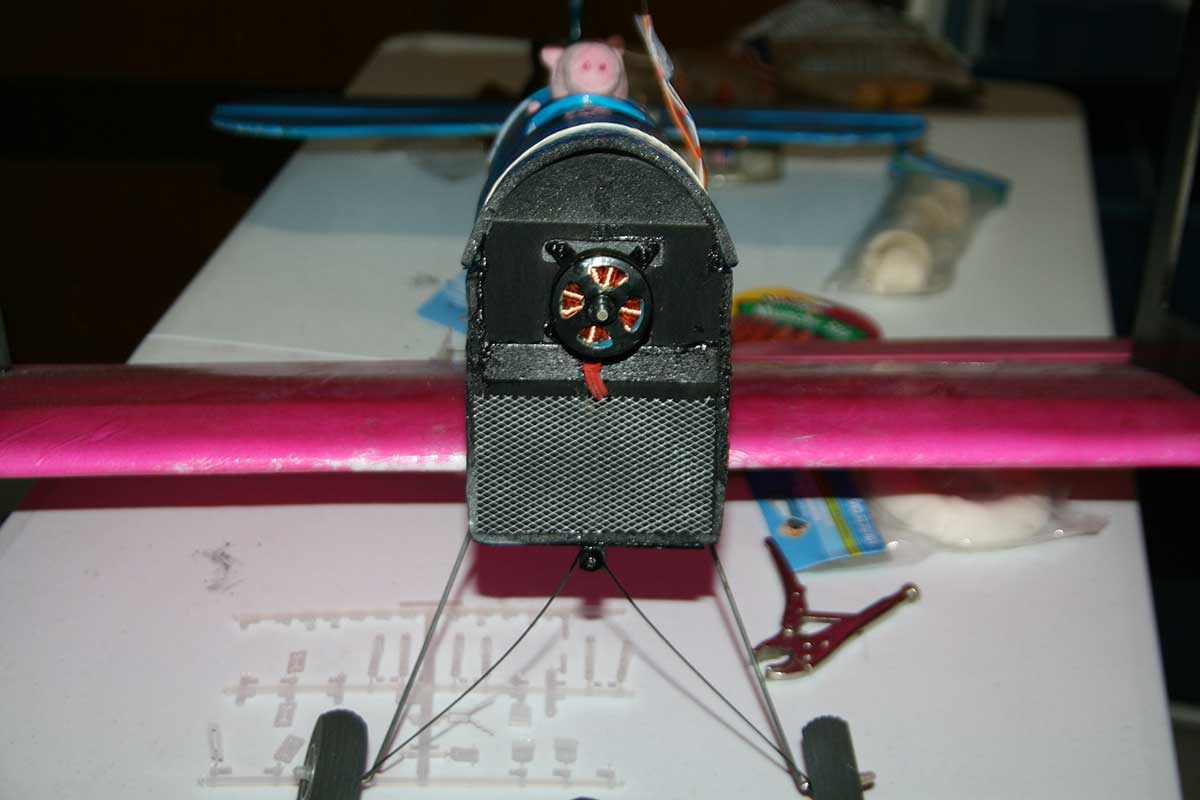 Here’s the more-or-less finished plane. At first, I thought that the landing gear was too spindly-looking and the wheels too small. But I decided they actually fit with the cartoon character of the stubby-winged little bipe.
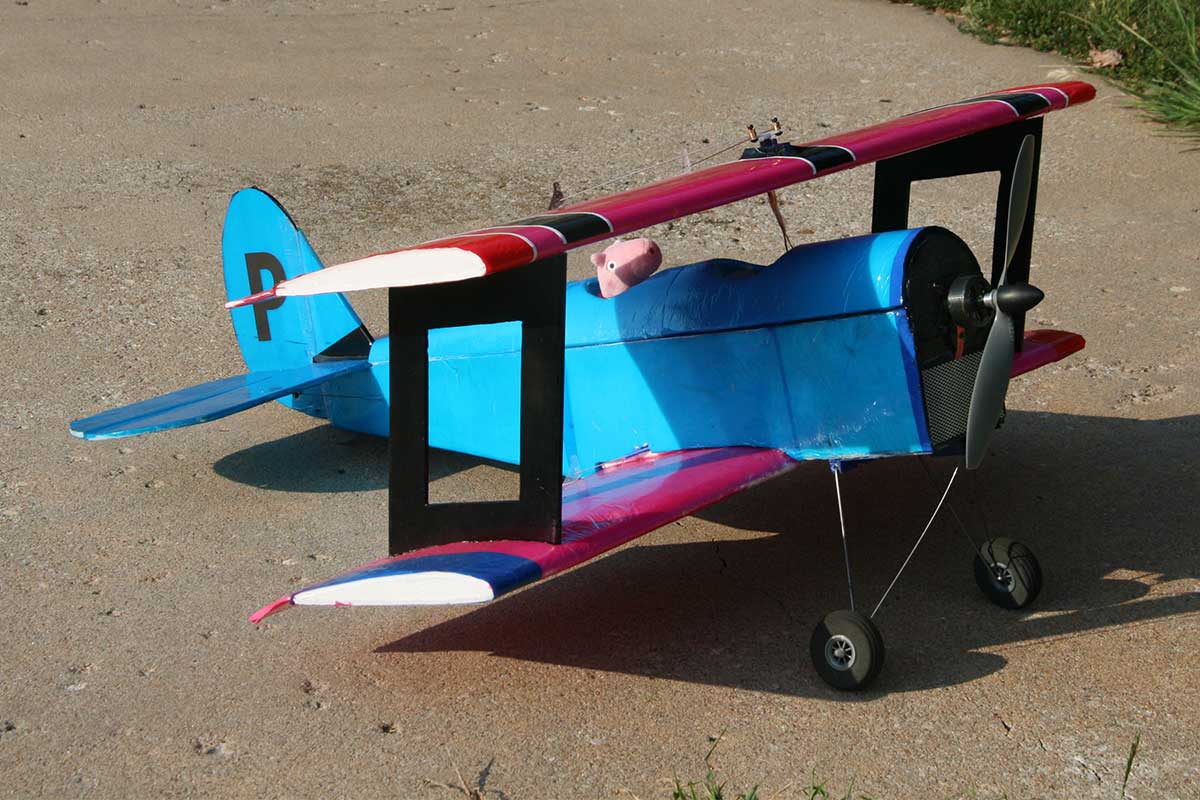
 I decided to make a scoop to ram some air into the battery / electronics compartment, where things were getting a bit warm. I cut a simple triangular shape out of paperless foam.
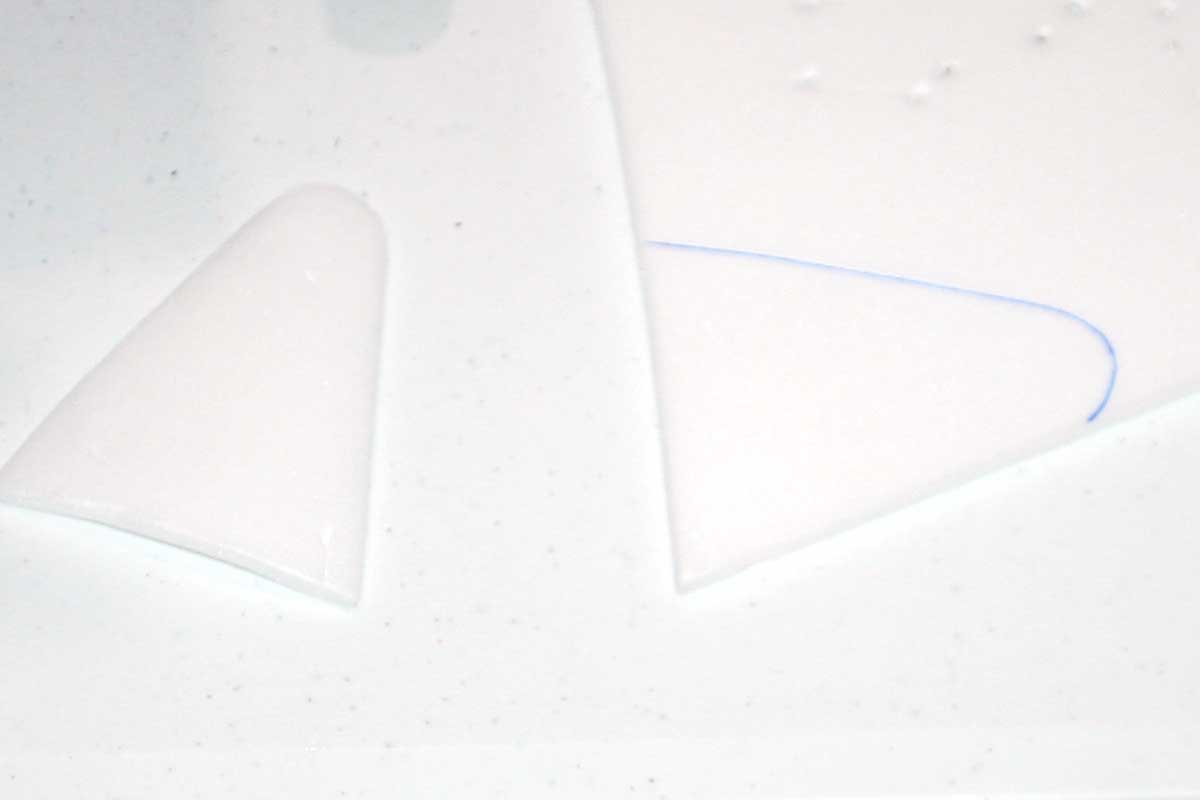
After a quick test fit to determine placement, I cut a matching hole in the side of the fuselage.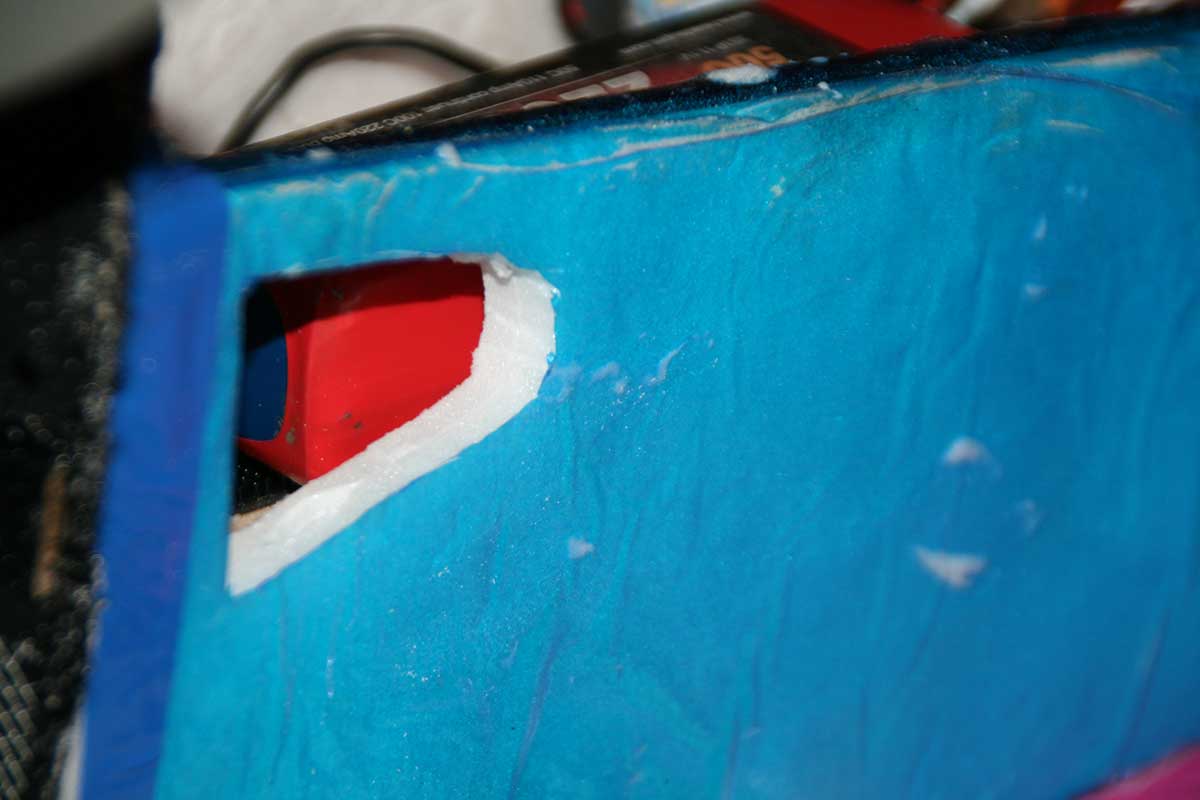 Once I had my shape right, I covered one side with black packing tape.
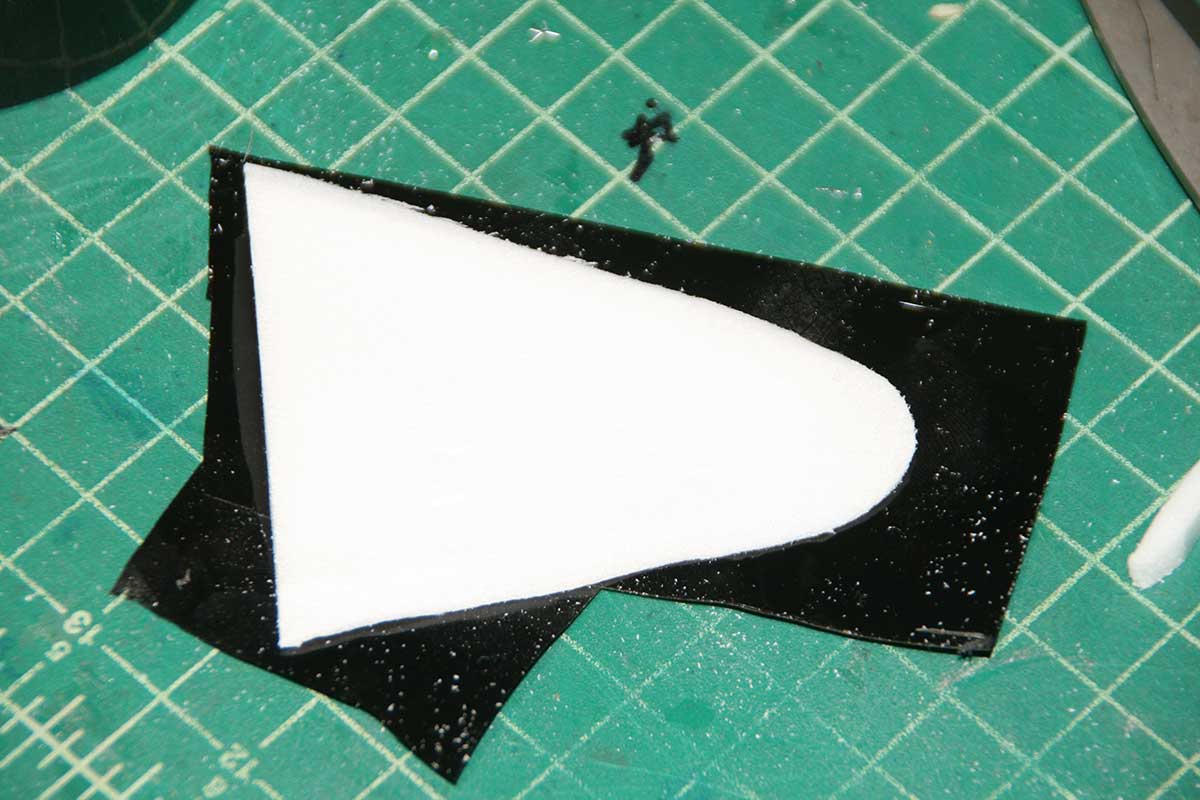 Here is the scoop in place. I’m using T-pins to hold it until the glue sets.
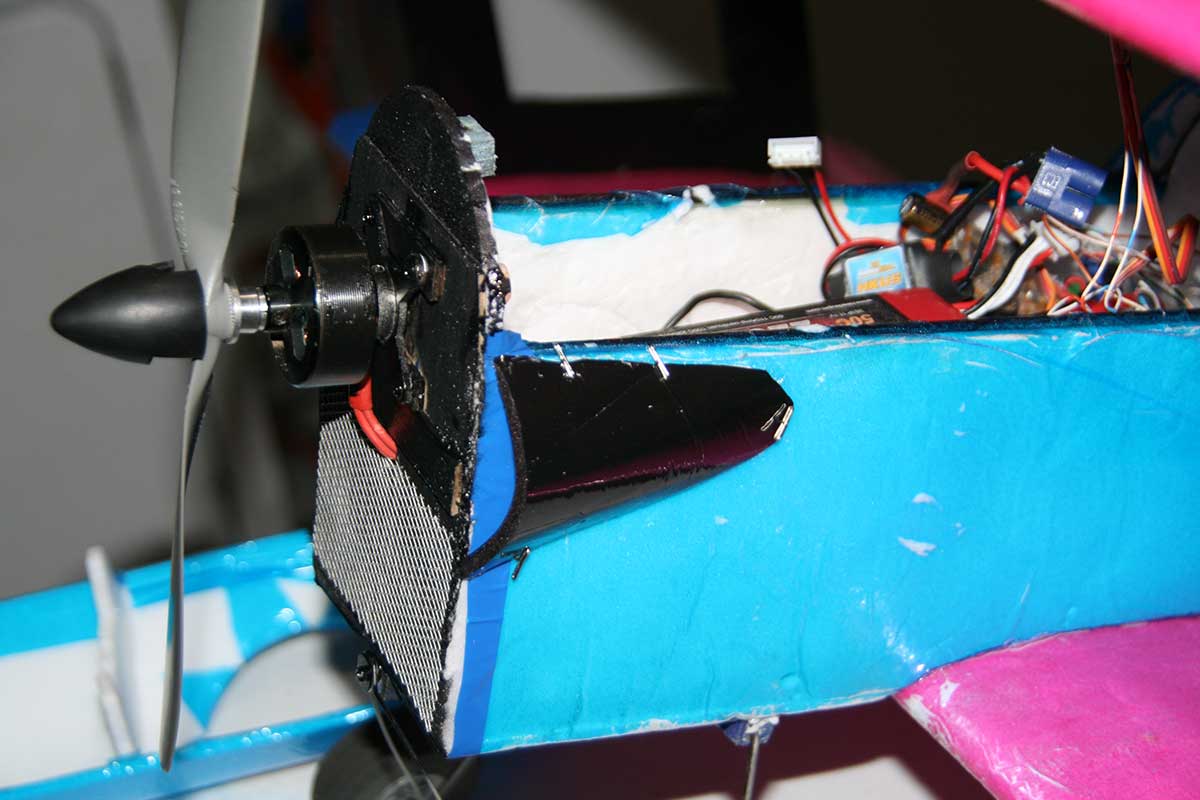 A view from the front.