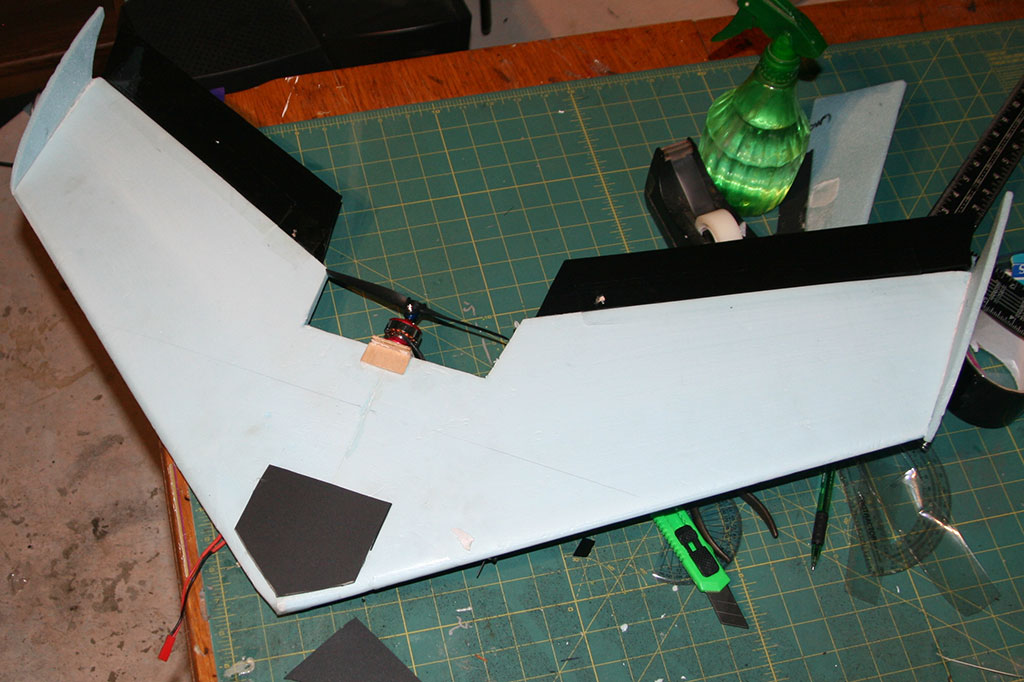
This is my P115 wing, hot wire cut from blue insulating foam by RCGroup’s papo. The wing showed up in two halves of slightly uneven dimension – a couple of inches of wing had to be removed to fit things into the box for shipping.
I glued the two halves together with Gorilla glue and cut out a big chunk to provide room for my motor and prop. Wings tend to be tail heavy, so I wanted my motor pretty far forward.
Elevons are 1/4″ balsa, 2″ deep.
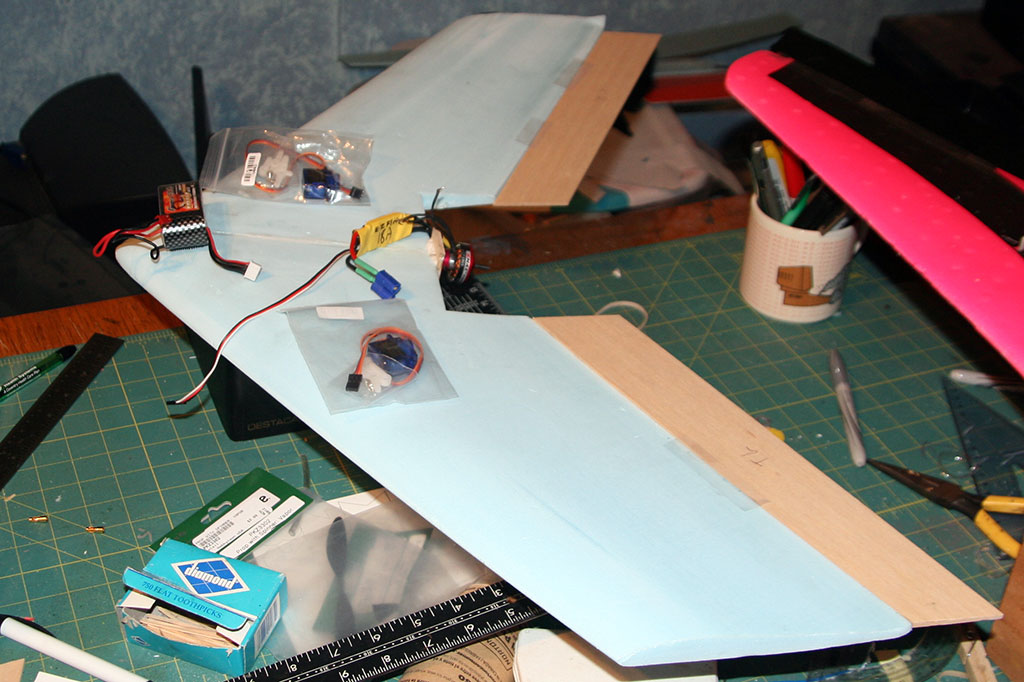
The two wing halves Gorilla glued together. Motor area cut out and plywood square motor mount glued in place. Elevons are 1/4" balsa.
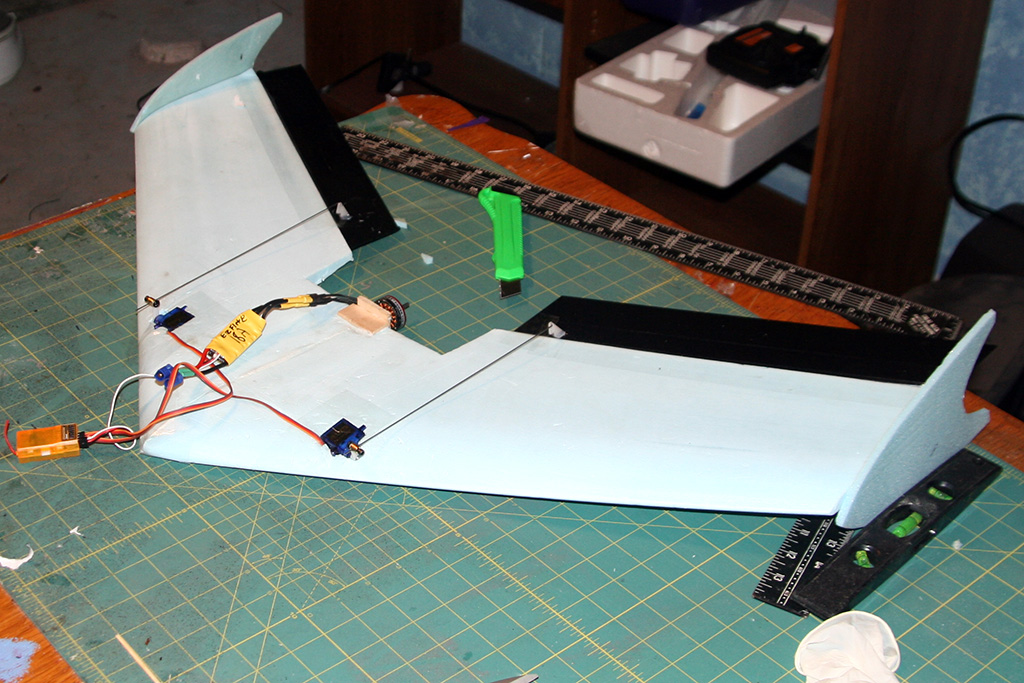
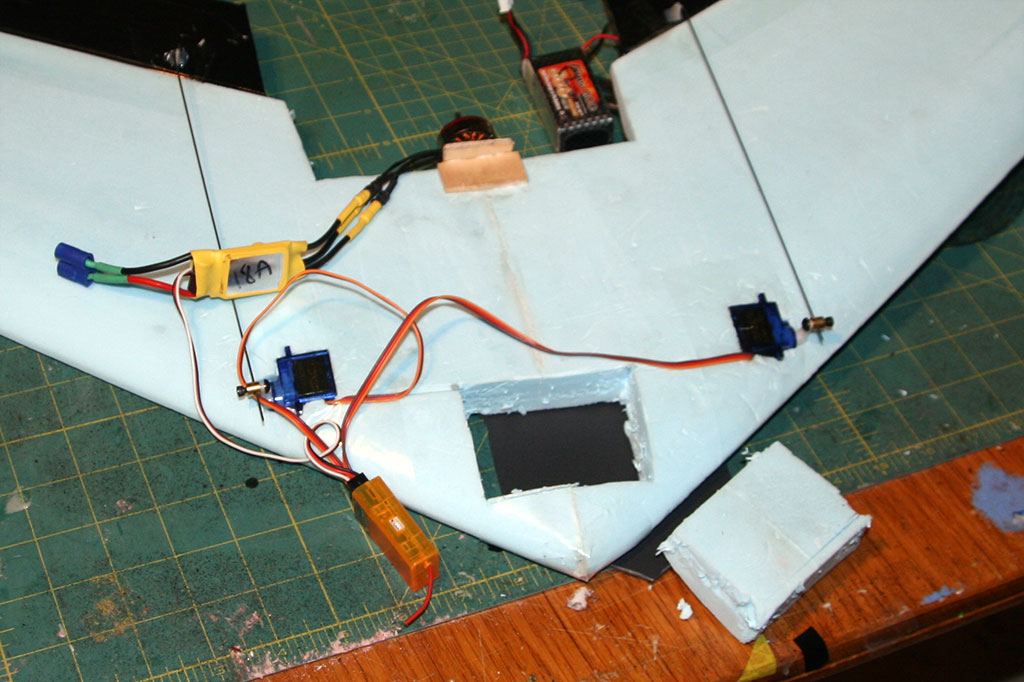
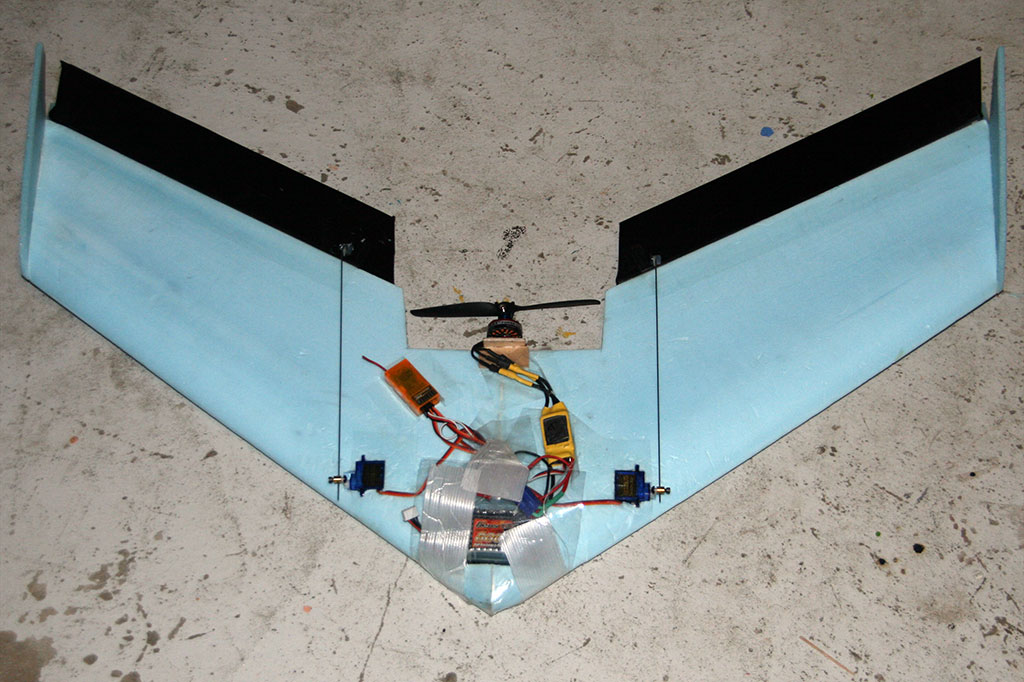
I used two HXT900 9 gram servos , an EZ Flite 18A ESC, and anOrangeRx Spektrum-compatible receiver. Motor is a 25 gram EMax 2800 kV CF2805.
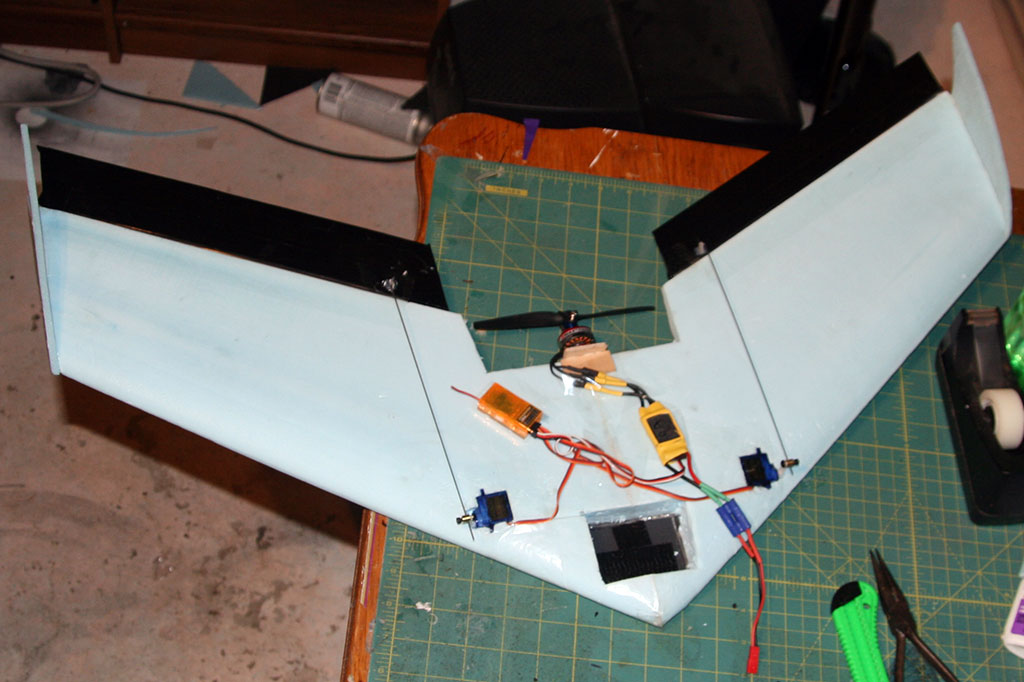
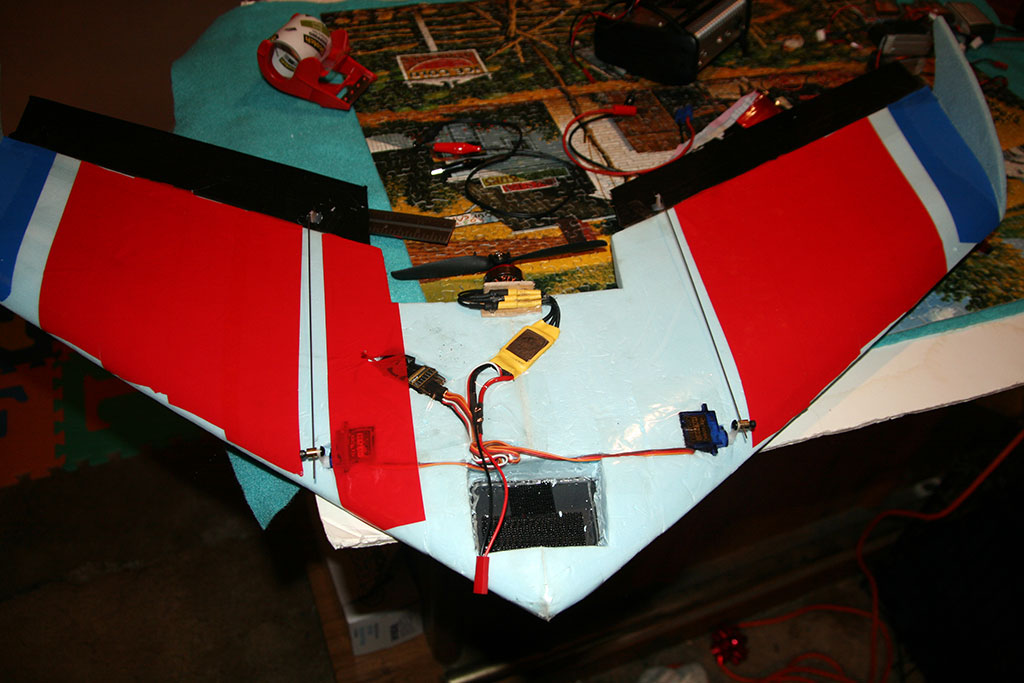
Cutting out the battery compartment left a large weak hole in the wing, so I hot glued a piece of plastic from a DVD case to the bottom. The battery mounts to this plastic with industrial Velcro.
I left everything taped to the top for the first flight. Once I had the CG down, I cut pockets for all the components and wire.
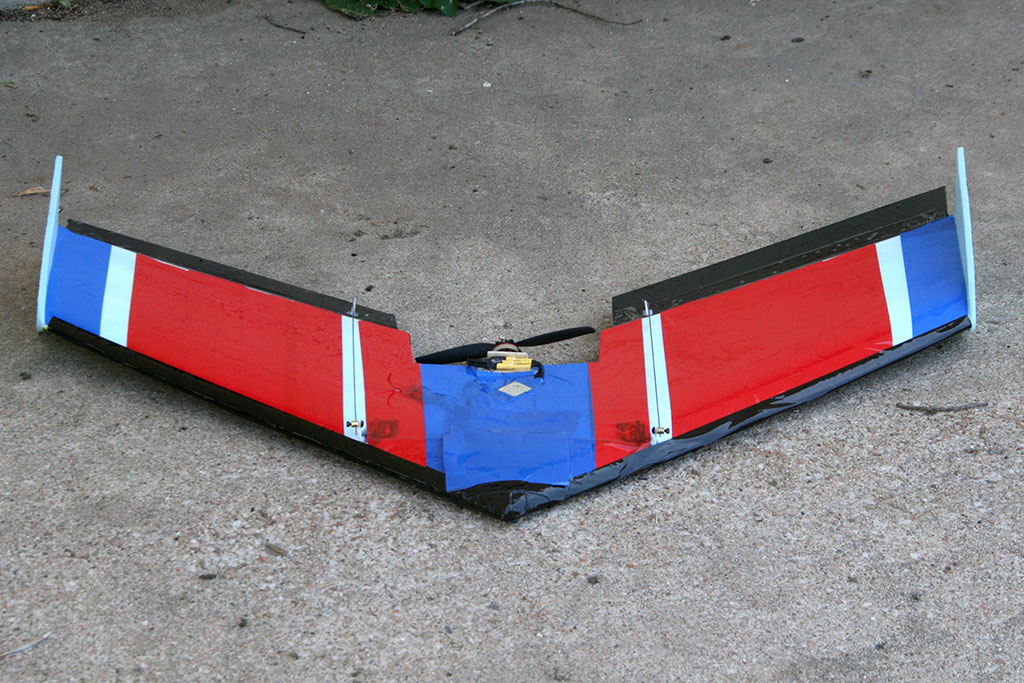
I covered the wing with FauxCote (e.g. colored packing tape) to make it colorful and shiny.
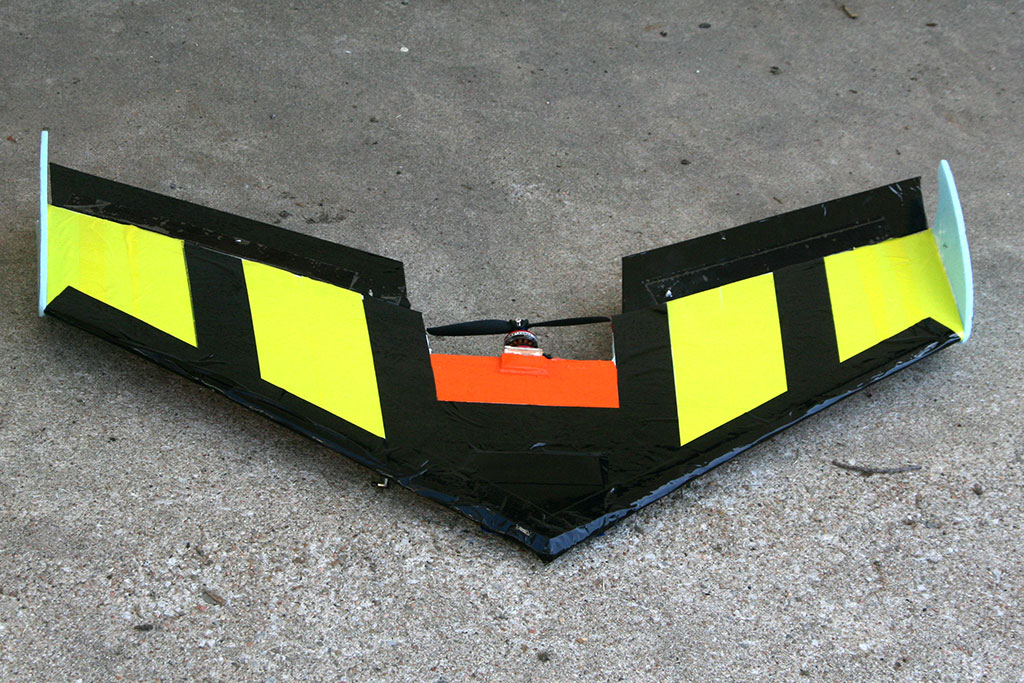
Here’s the almost-but-never-quite finished wing. The battery compartment cover is made from 2-liter pop bottle plastic, covered with packing tape. No magnets; I stick it down with the tape when I close it.
The orange/black border on the bottom is the CG of the plane, built into the paint job for easy reference.




Pingback: P115 Wing | Basement R/C