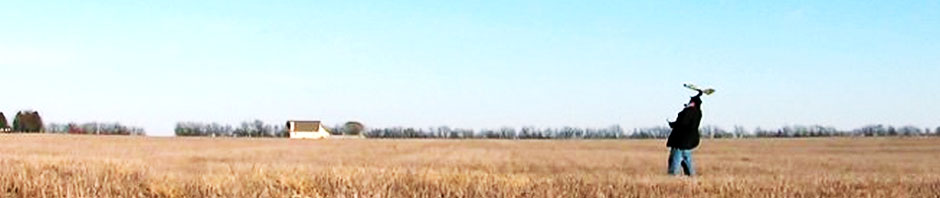
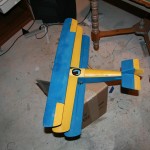
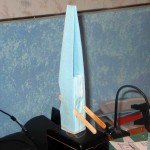
This is a photo log of the build of my 1/12th scale (26.5″) Sopwith Triplane. I’m still building, and will update this post with new photos as I take them.
- Emax GF2215/20 60 gram Outrunner Brushless Motor
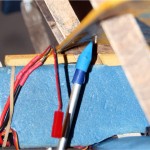
- Emax Budget 18 Amp Brushless Motor ESC
- 4x 8g EMAX ES08A Sub Micro Servo
- Prop Adapter for 3.0mm shaft
-

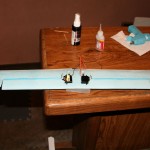
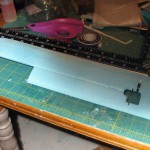
- Landing gear assembly test.
-
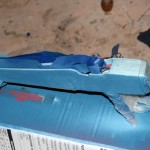
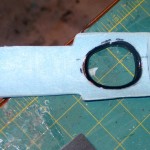
- Peanut butter jar cowling
-
- The CG is much closer with the new component layout.
-
- Checking the CG with the new component layout.
-
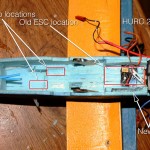
- New component locations
-
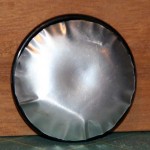
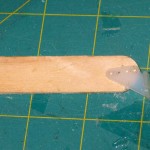
- A finished wheel
-

- Plastic sheeting glued onto the foam hub cap
-
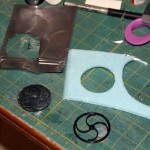
- The raw materials for my wheels
-
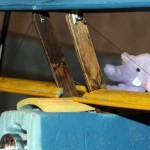
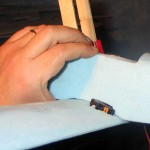
- More flying wires running rearward to the fuselage.
-
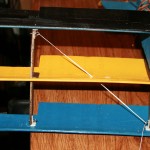
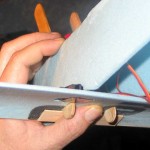
- Installing the flying wires to brace the wings
-
- Using a bit of floss to figure out where the flying wires will pierce the wing.
-
- Decals for the tail
-
- Testing the position of the middle wing
-
- Testing the position of the middle wing
-
- Cabanes attached to top wing with screw eyes
-
- A bolt through the cabanes holds the lower wing on.
-
- An early look at the paint job
-
- Painting the fuselage blue
-

- Gluing the horizontal stabilizer on
-
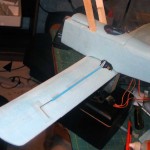
- Torque tubes, aileron servos, lower ailerons installed
-
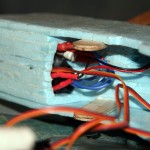
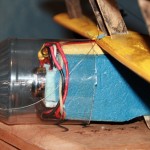
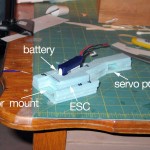
- ESC and wires jammed into their compartment
-
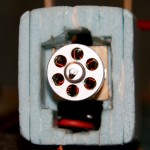
- Motor and motor mount installed
-
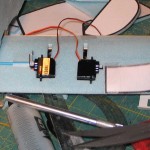
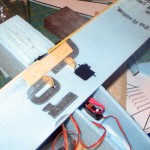
- Right servo pocket cut and servo in place
-
- Trying out the cockpit for size
-
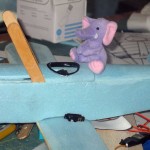
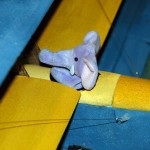
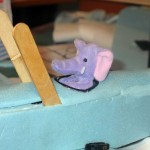
- A potential pilot checks out the plane
-
- Test fitting the left aileron components
-
- The channel to hold the control rod tube.
-
- Aileron components
-
- Left aileron servo, poking thru the fuselage
-
- Left aileron servo, flush with the bottom of the wing
-
- Left aileron servo, flush with the bottom of the wing
-
- Might control horns make a nice fitting to bolt the struts to the wings?
-
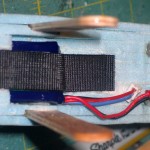
- Velcro straps to hold the battery secure
-
- These magnets, on the blok, mate up with the battery hatch magnets.
-
- Rare earth magnets at the rear to help hold the battery cover in place.
-
- The cabanes extend through the bottom of the lower wing.
-
- Another test fit.
-
- Turtle deck and battery cover in progress
-

- The turtle deck, taped in place.
-
- The cabane struts in place.
-
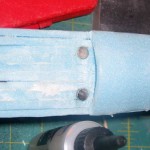
- Cabane struts are mounted inside the fuselage skin.
-
- The cabanes are 1/2″ longer than the wing struts.
-
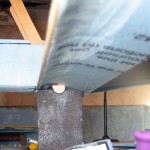
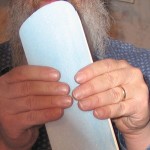
- Half of the mono-blok test-fit together
-
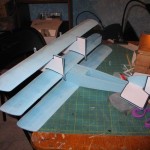
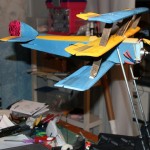
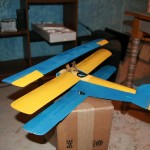
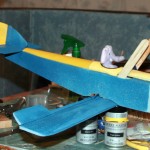
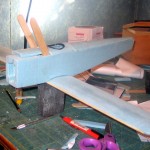
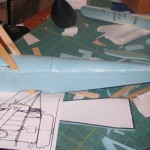
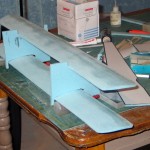
- A quick test assembly of the fuse, wings and empennage
-

- A quick test assembly of the fuse, wings and empennage
-
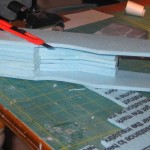
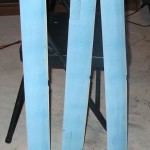
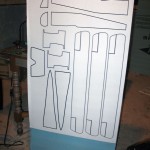
- All 8 blank mono-block pieces stacked in the fuselage
-
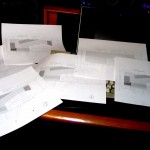
- Block layer templates printed out
-
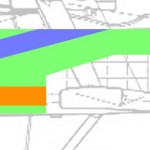
- Final component layout (Photoshop)
-
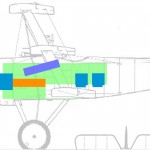
- Starting to lay out components in Photoshop
-
- Testing my sloppy wing jigs
-
- all three wings with camber and spars
-

- The battery cover is nearly complete
-
- I bend the camber into the wings with my fingers
-
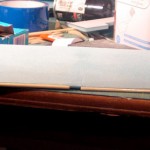
- Finished wing from beneath, showing the rolled under-camber curve
-
- First test wing finished with LE spars, under-camber and ailerons
-
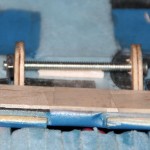
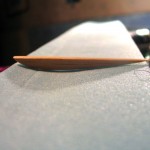
- Bamboo skewer spar epoxied to LE of wing
-
- Under-cambered wings with rib
-
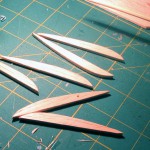
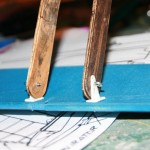
- Balsa airfoil / ribs
-
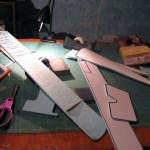
- All the parts cut out
-
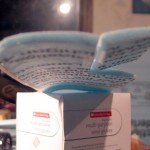
- The ‘plans’ I’ll be working with
Pingback: [BLOCKED BY STBV] Yet another attempt at getting the Sopwith Triplane to fly. | Basement R/C
Pingback: [BLOCKED BY STBV] Winston flies (a little bit) | Basement R/C
The fliques are great! I have a few planes myself but they do not fly very much. I enjoy seeing other peoples sstuff in the air on video.
Chuck
Thanks, Chuck!
Pingback: [BLOCKED BY STBV] 1/12th scale Sopwith Triplane | Basement R/C