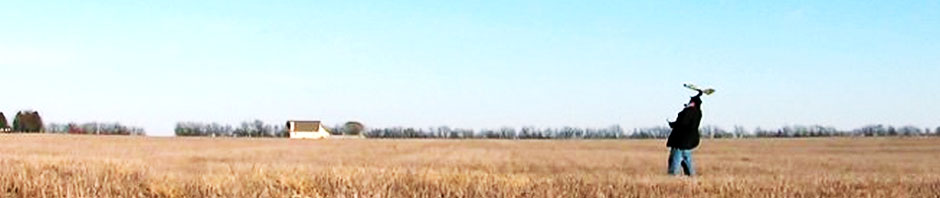
After my beloved flying wing – the Papa Divine – snapped its main spar pulling out of a dive, I had no choice but to build another one. And away we go!
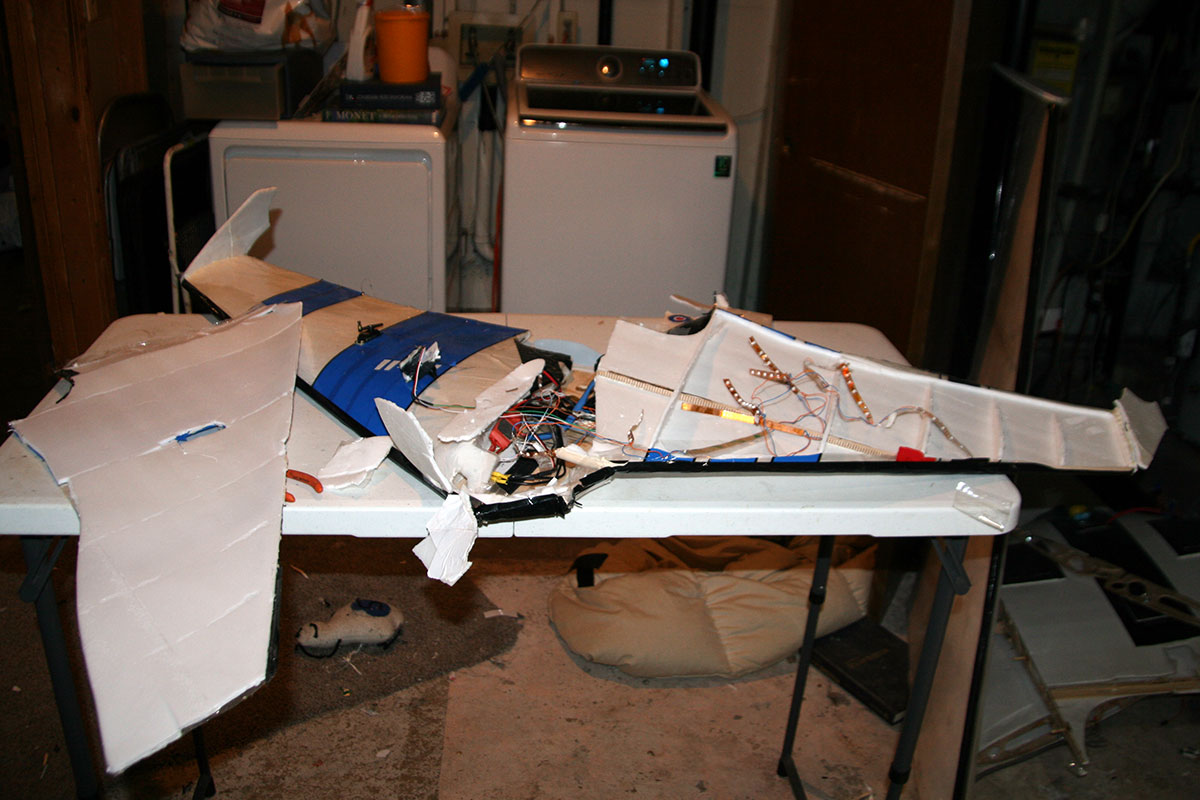
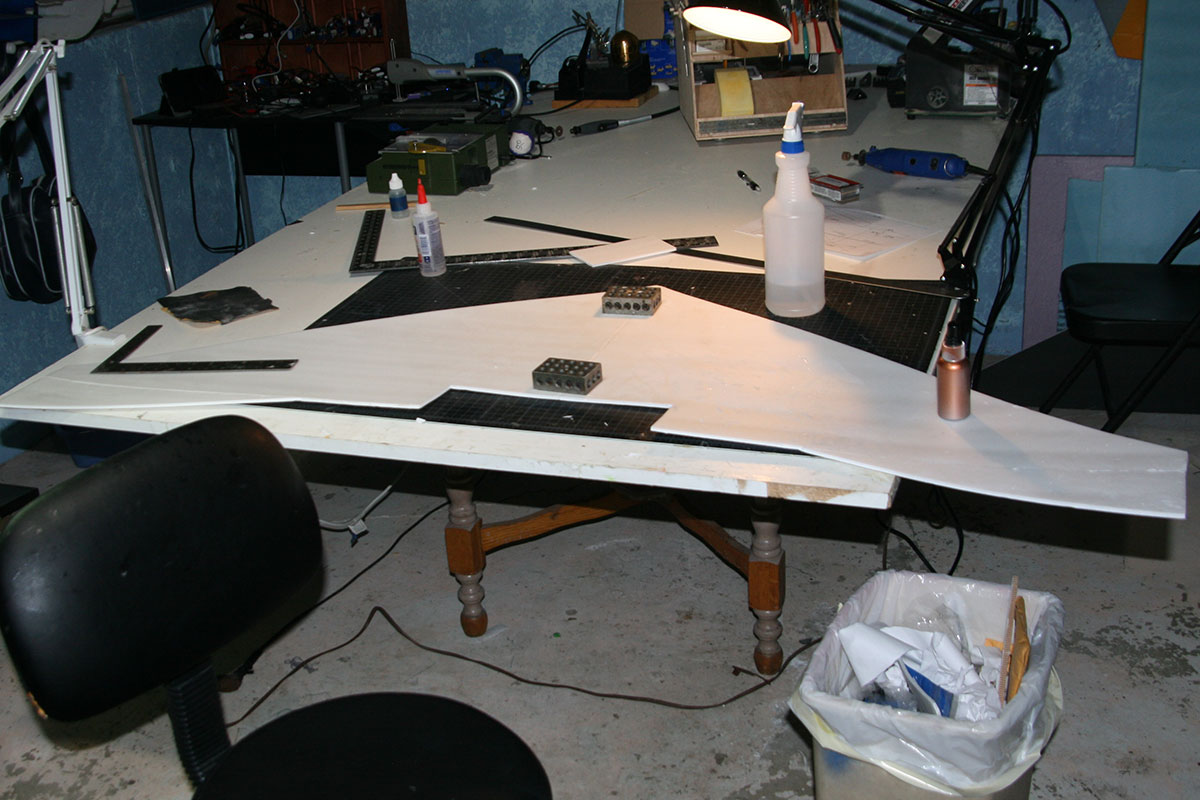
Let’s start by picking over the corpse of the broken wing.
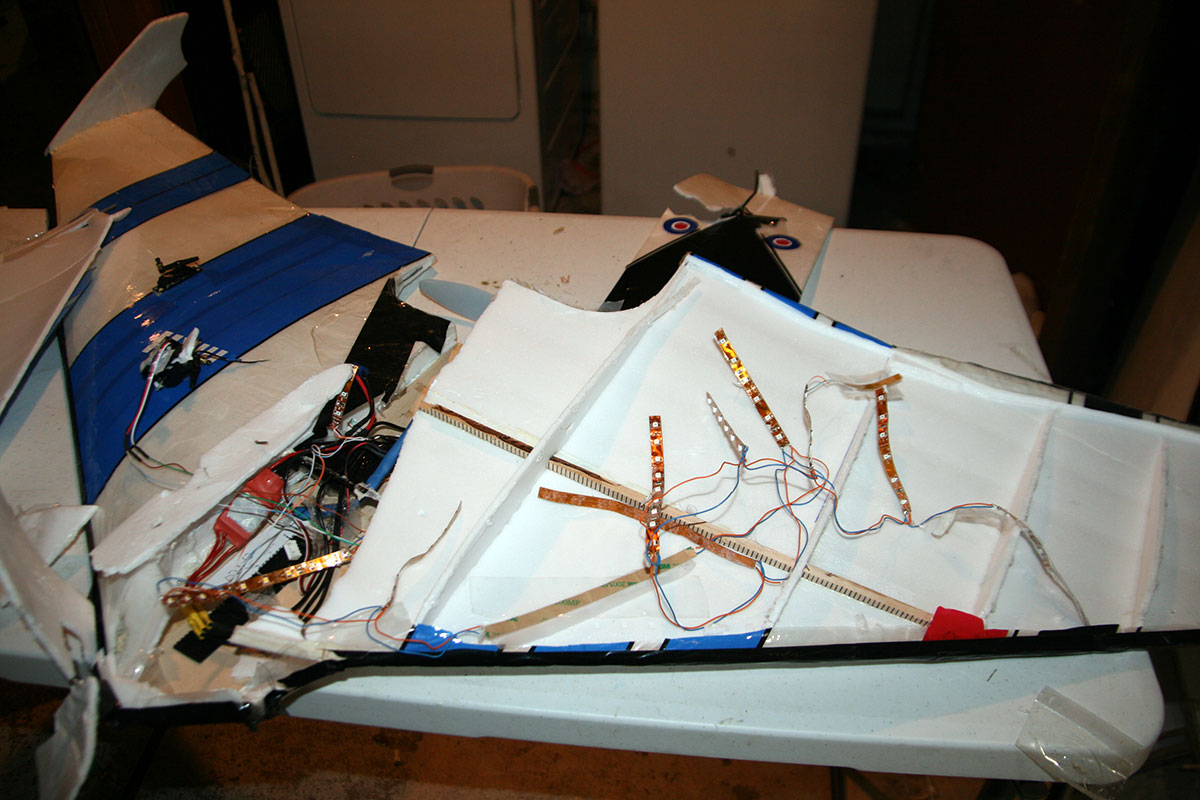
And taking some measurements.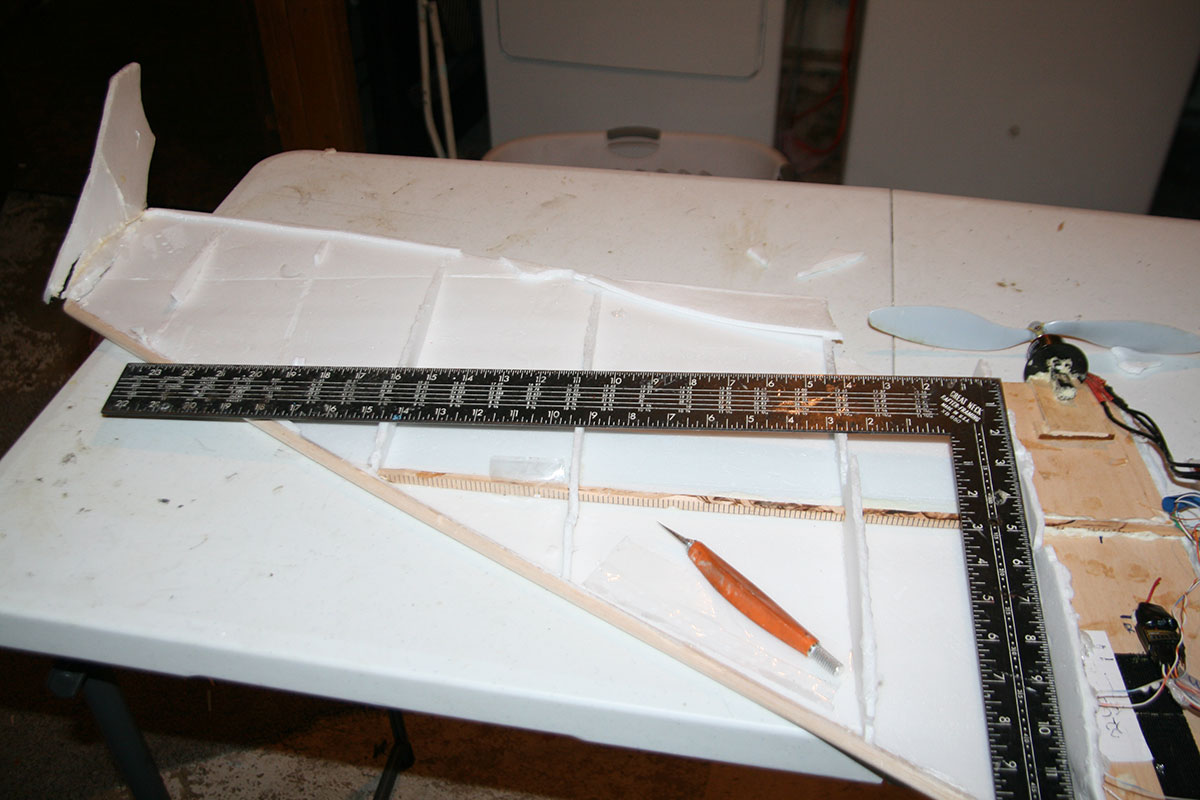
The salvaged electronics – LED lights, servos, motor, etc. 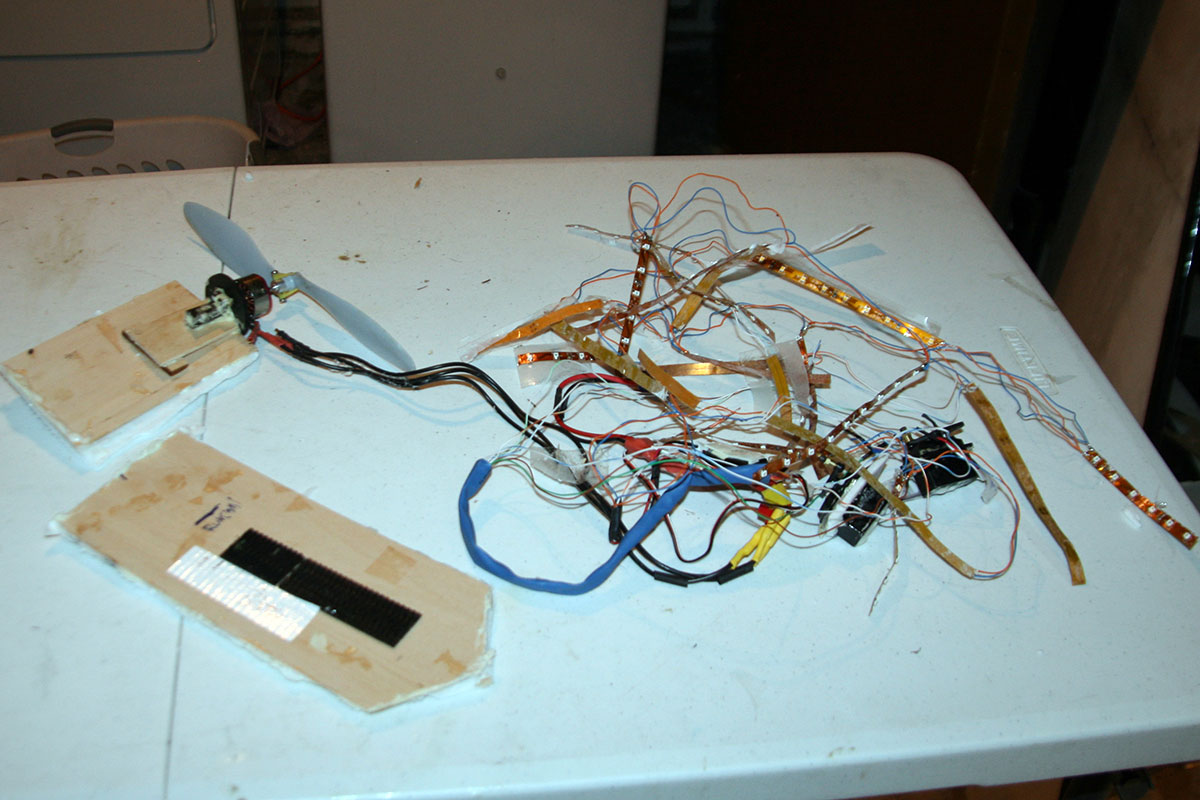
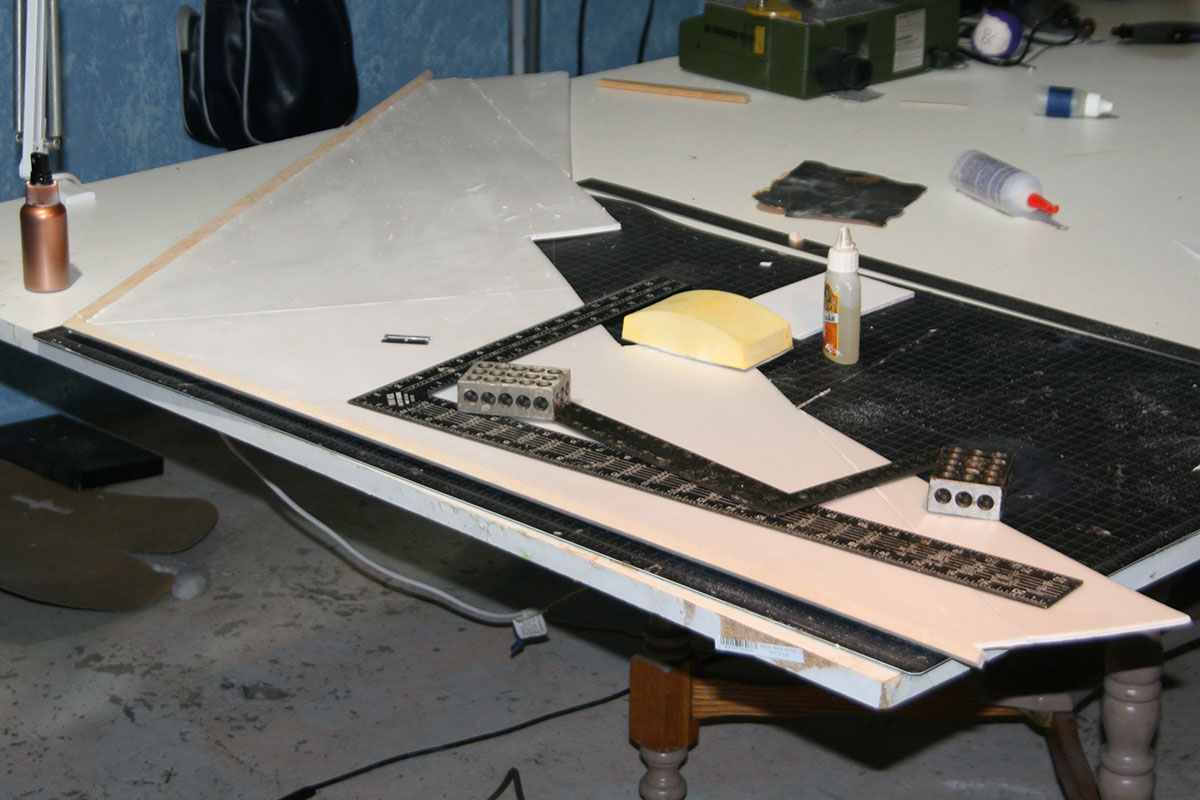
The new main spar, trimmed from a yardstick.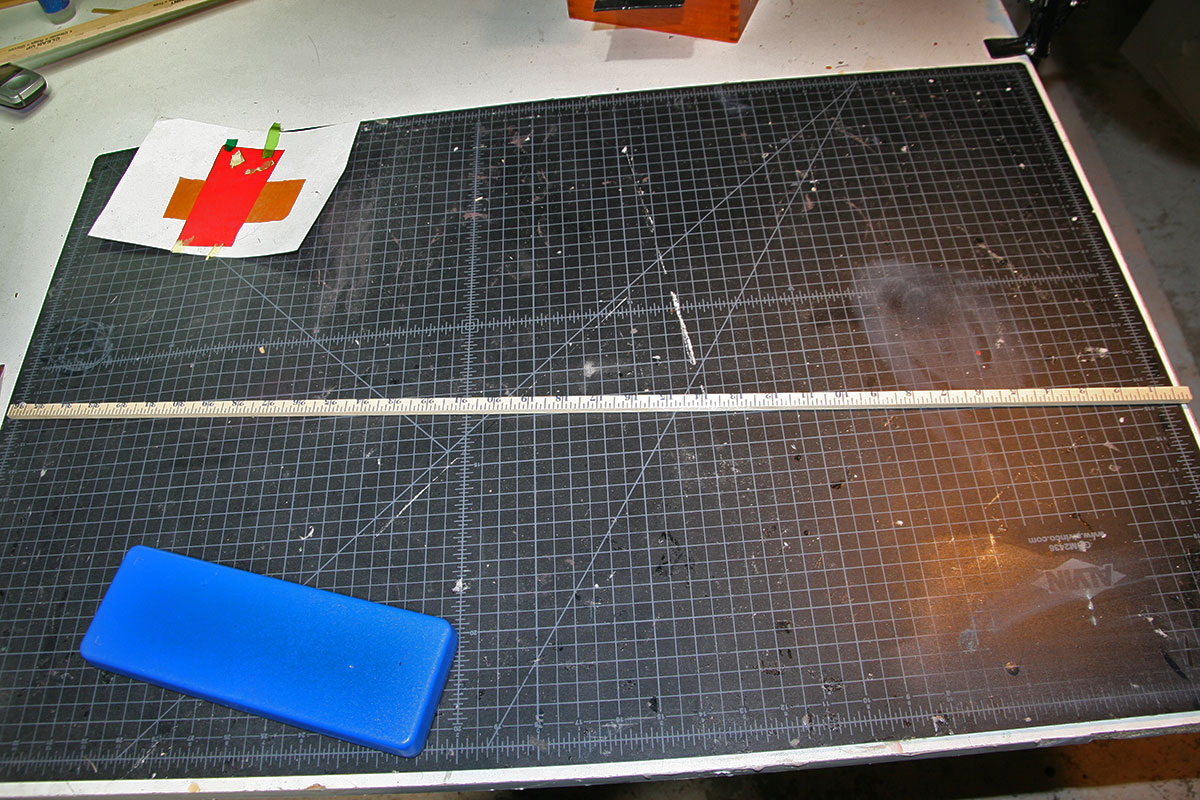


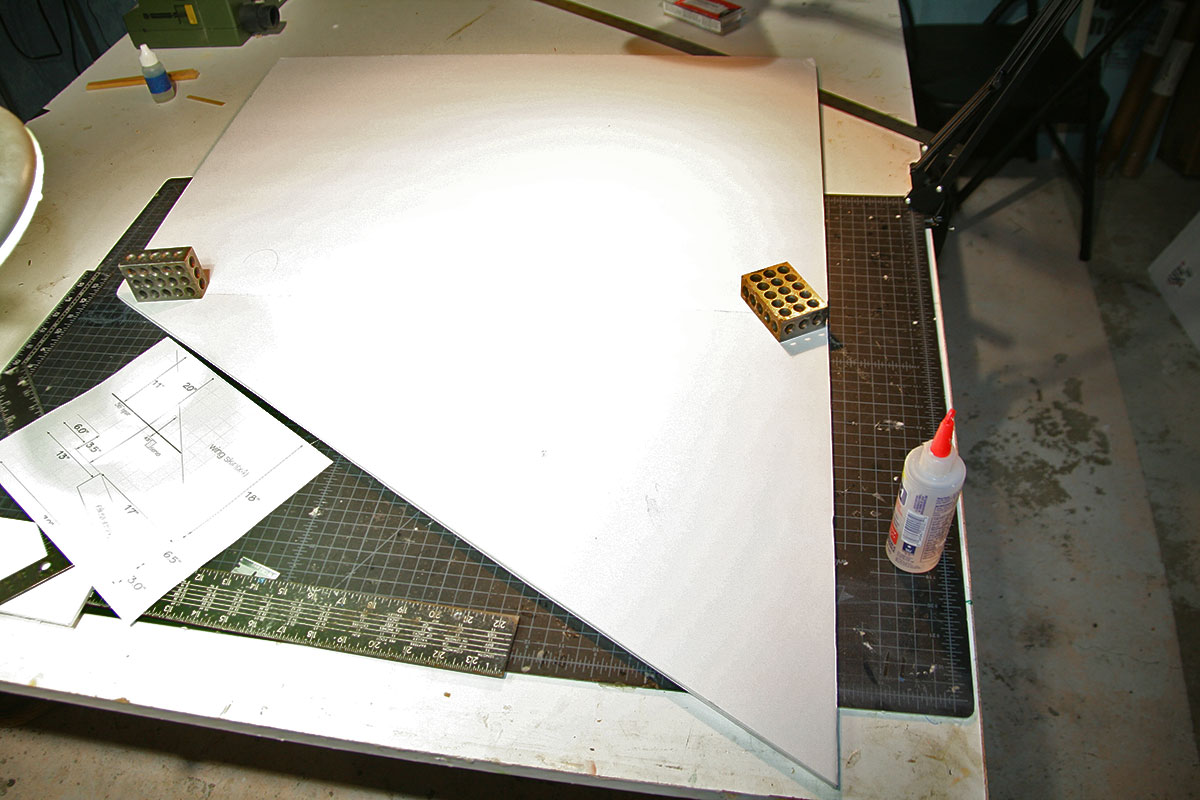
Using my original sketch to cut out new wing panels.

3/8″ balsa wood goes on the leading edge of both wings.
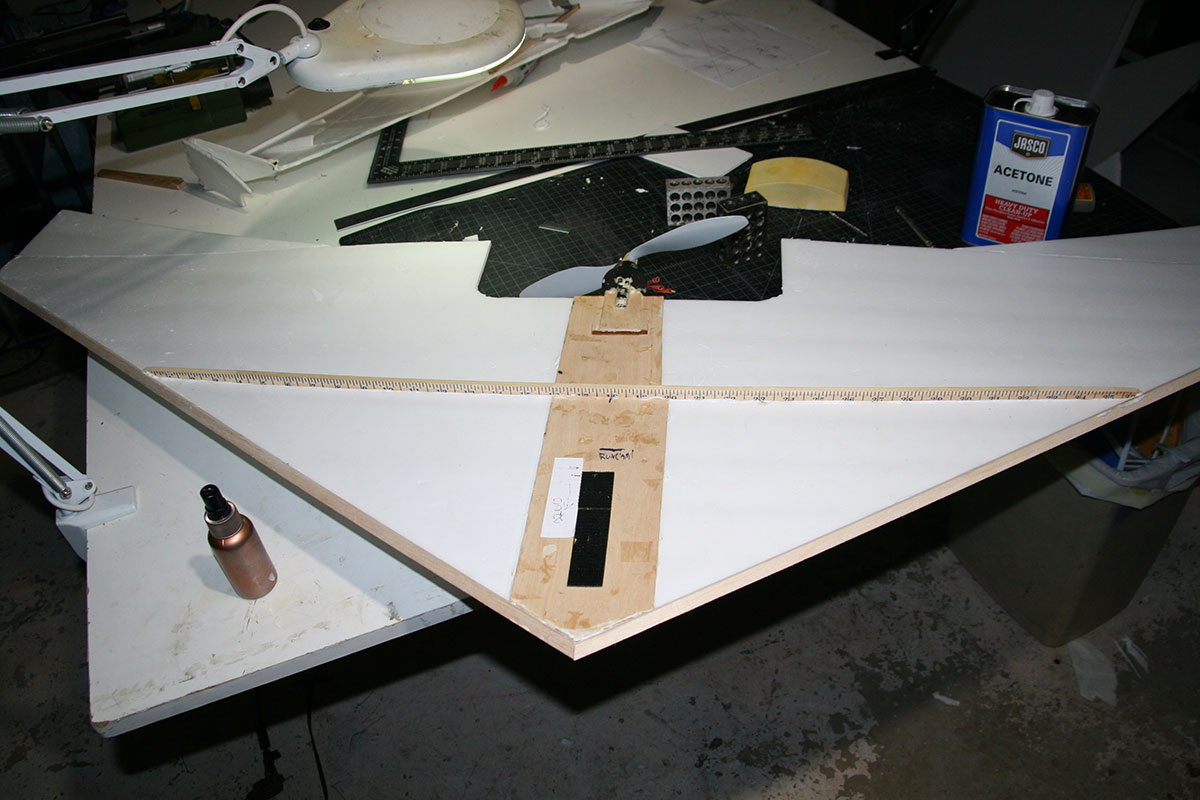
The main spar is glued in place with a slight bow. The two ‘floor’ sections go on either side of it.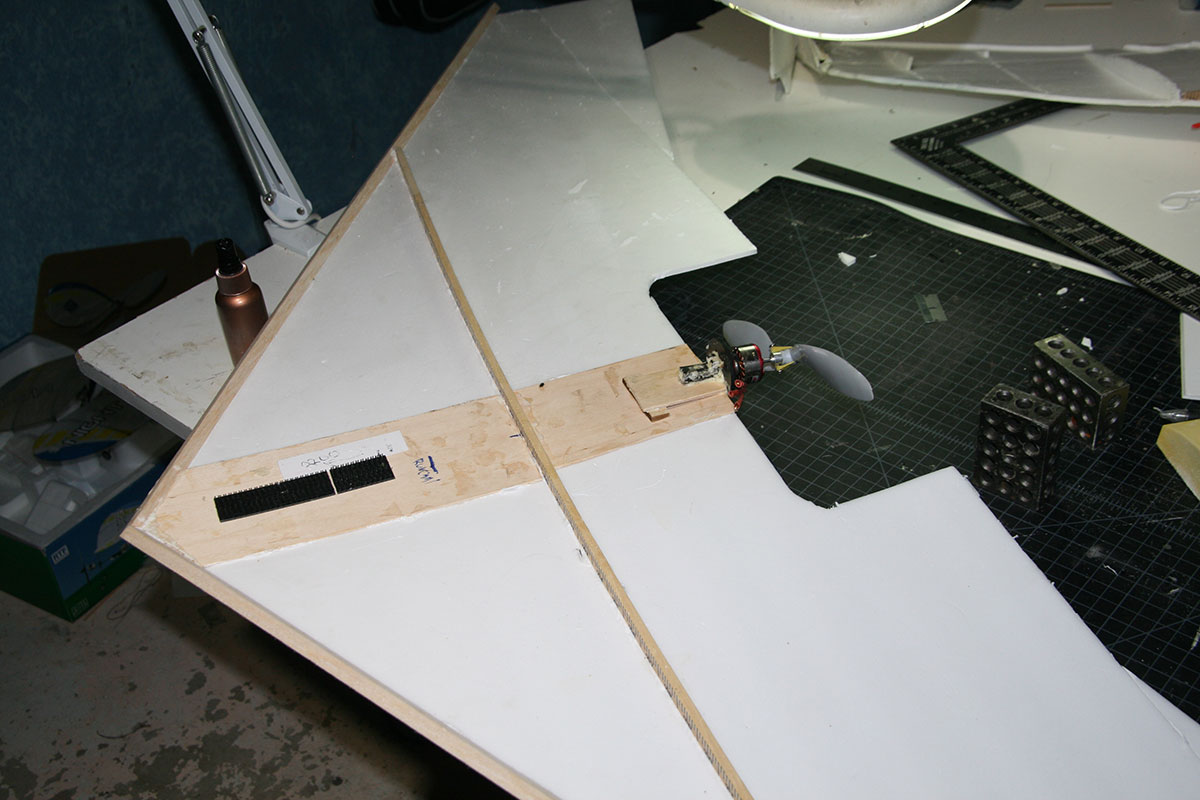
I printed out the airfoils…
Then cut each airfoil rib out and removed its paper from both sides. I started by gluing the front of each rib in place.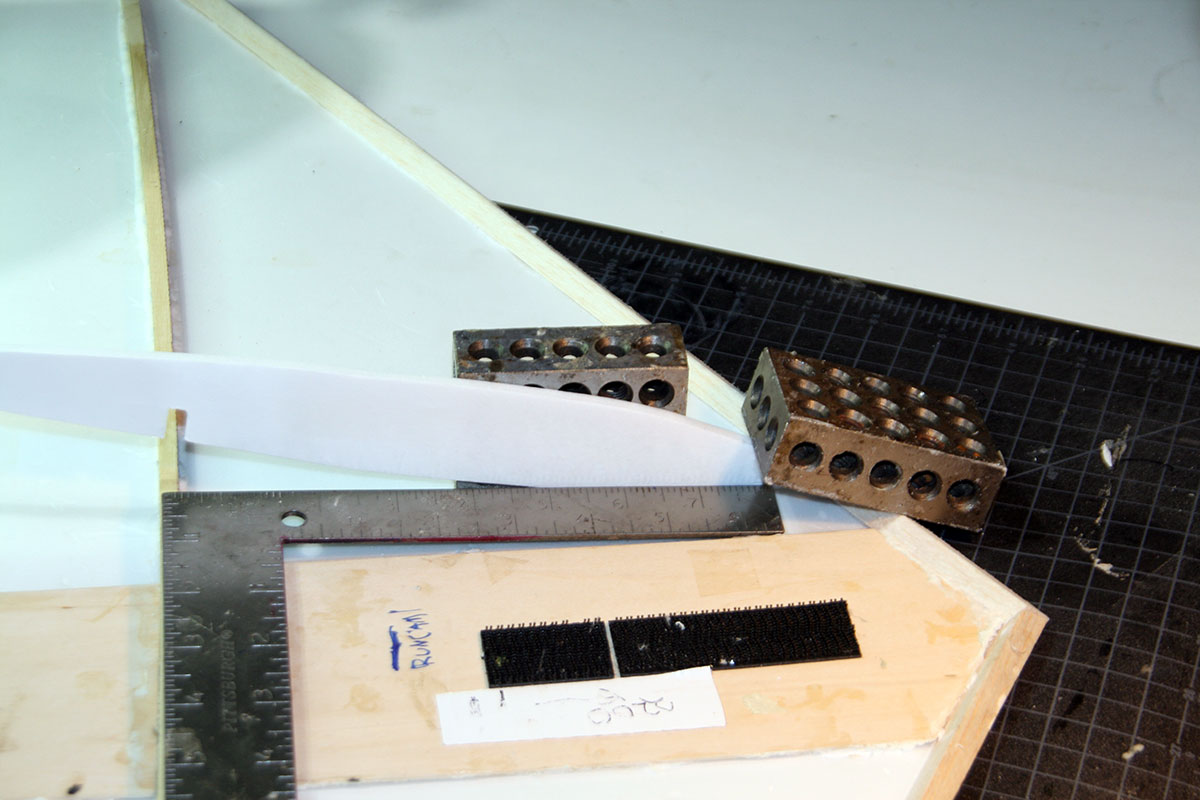
Next, I glue down the ribs all the way back to the trailing edge. I’m trying to allow the bottom of the plane to take on the curve of the airfoil.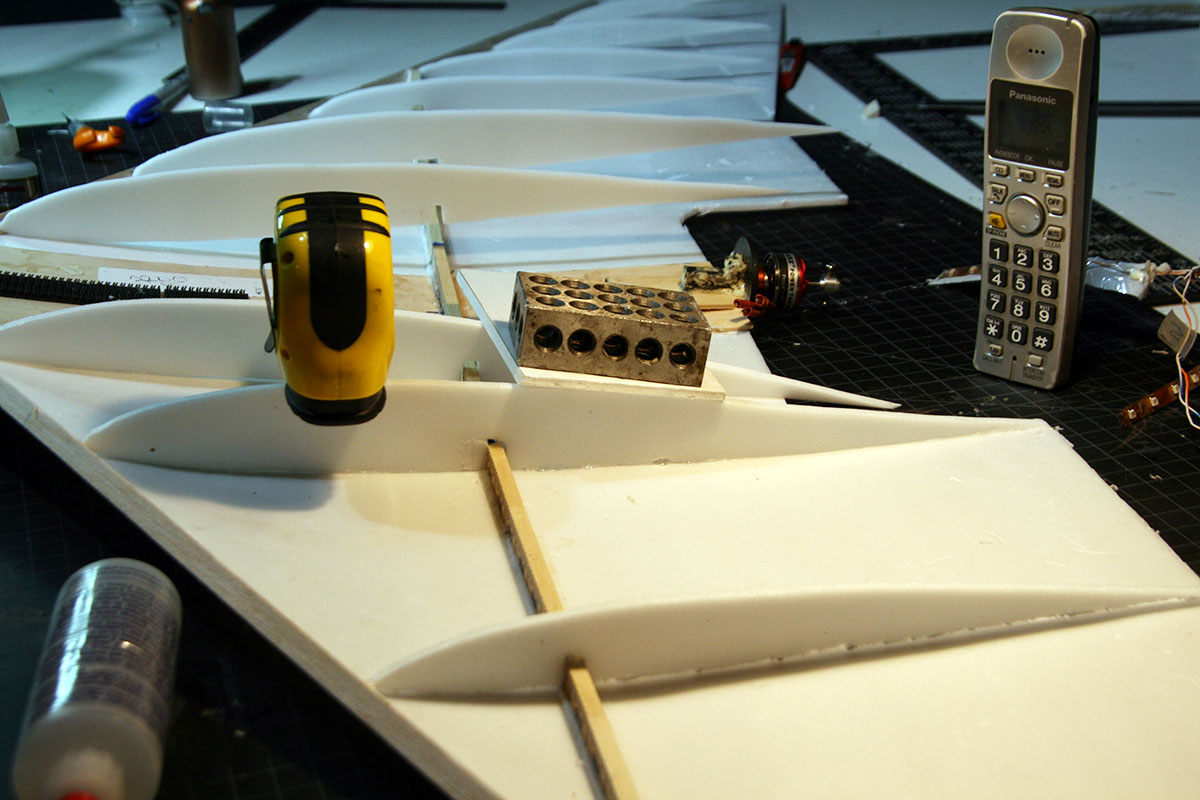
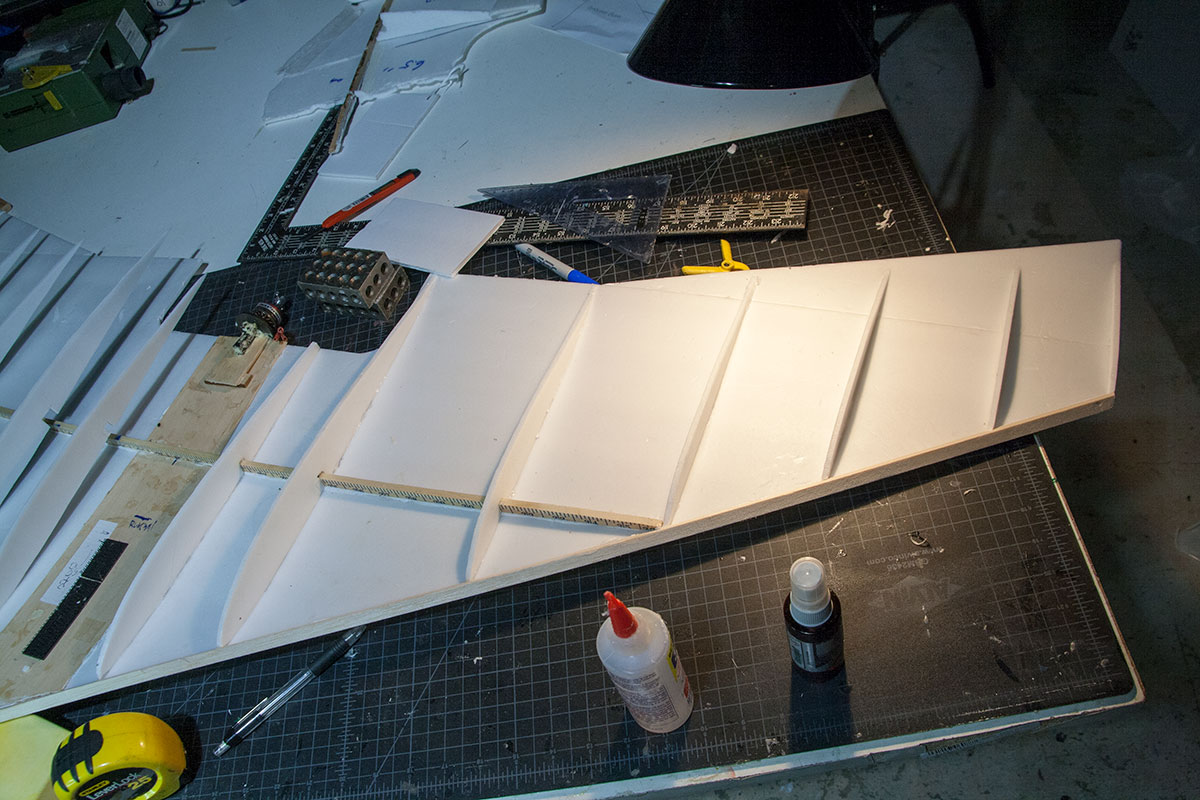
All the spars and ribs are now glued in place.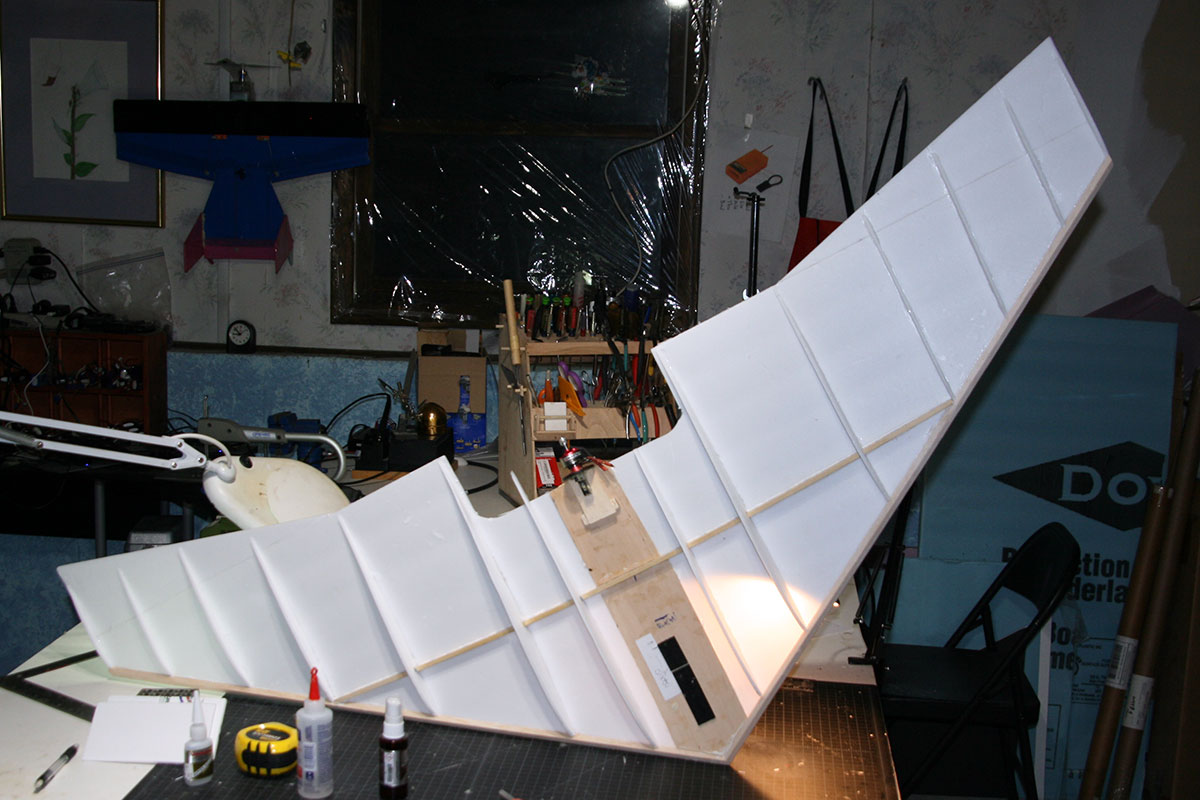
Cutting out one of the upper wing panels.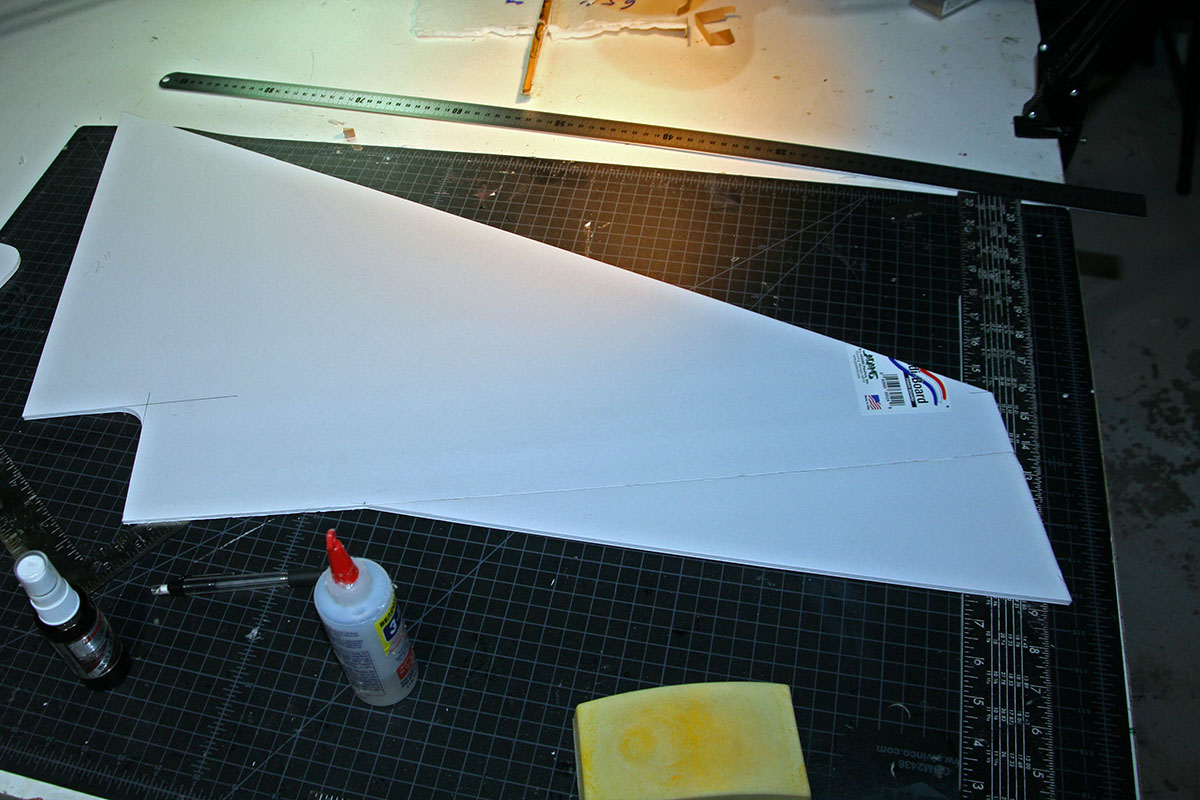
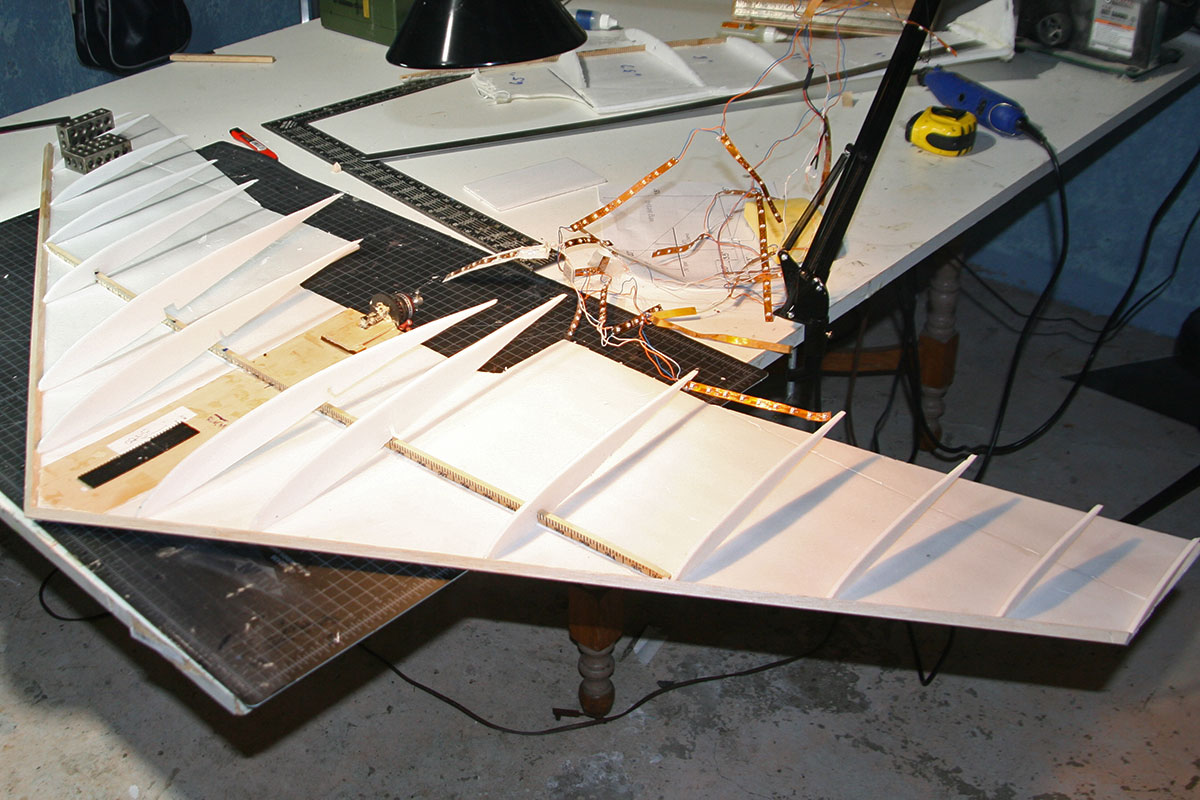
Testing out the LED lights before I glue everything in place. Unfortunately, I failed to notice that I had the lights on the wrong sides. 🙁
Routing the LED wires through the interior ribs.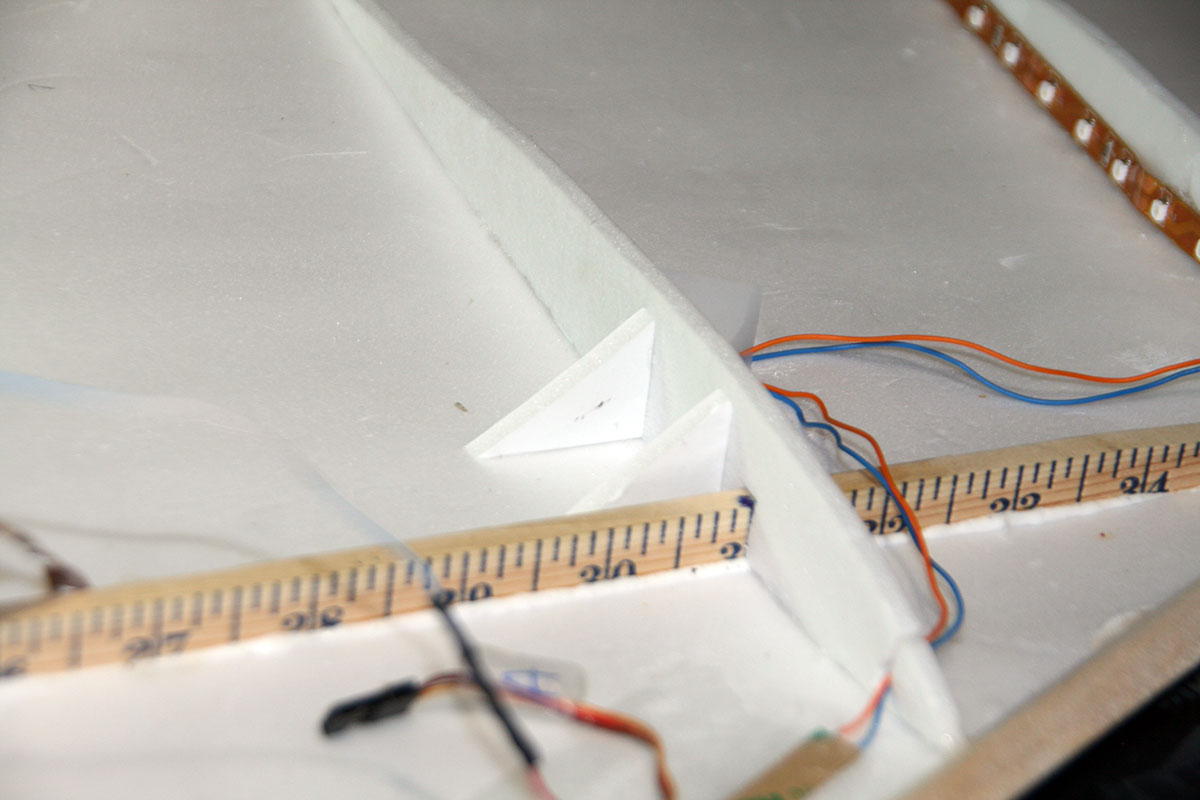
Time to start gluing on the top wing panels, starting at the very front.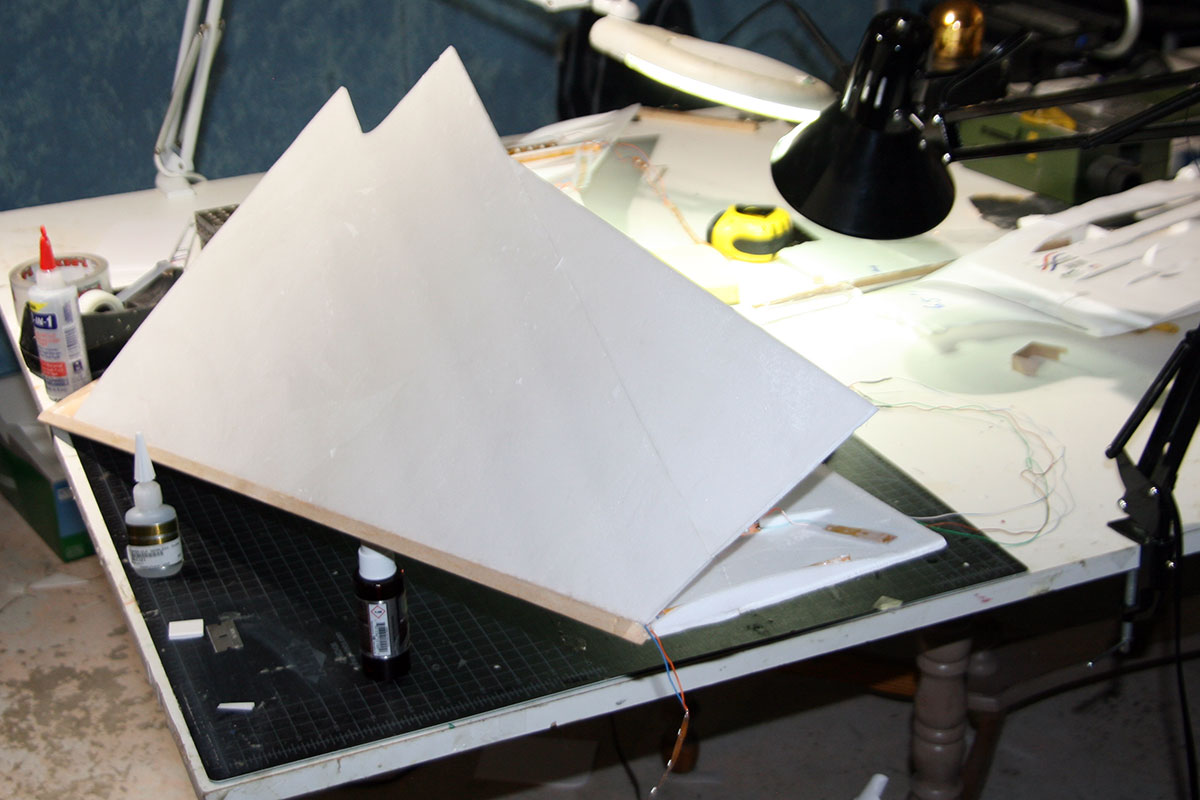
One wing complete.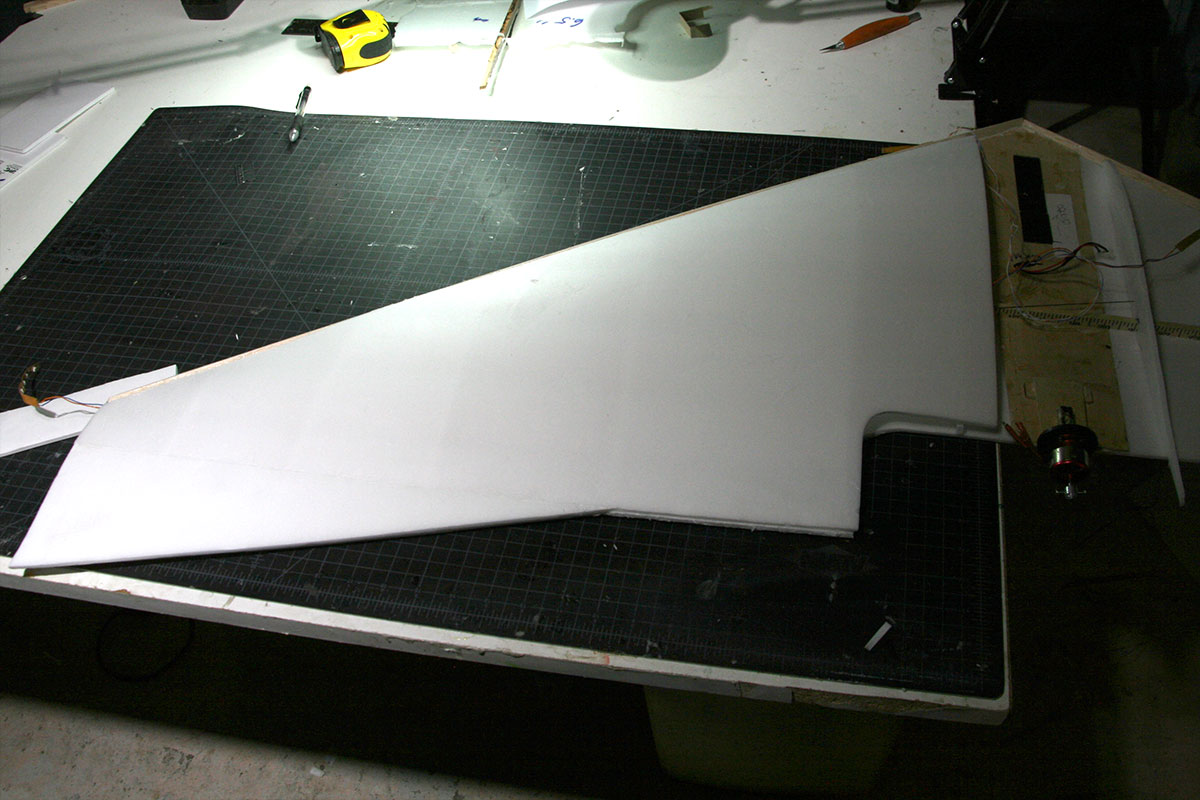
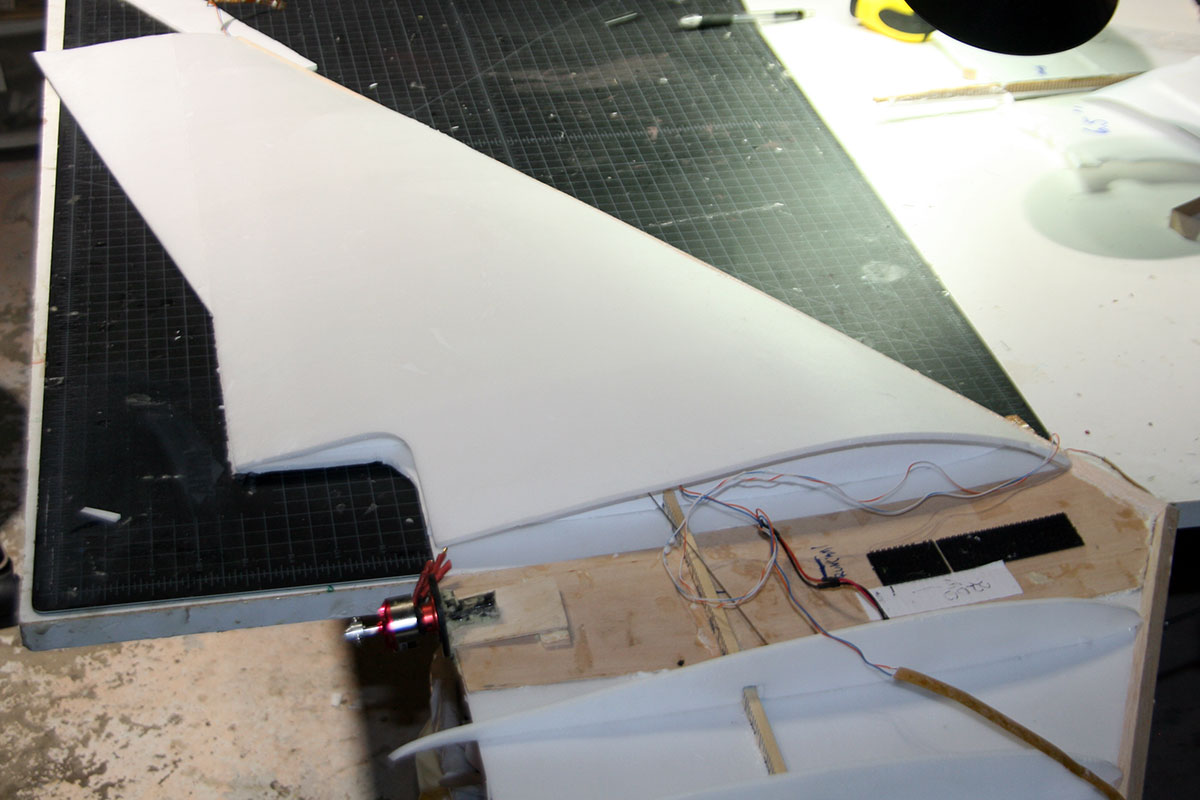
Two wings complete.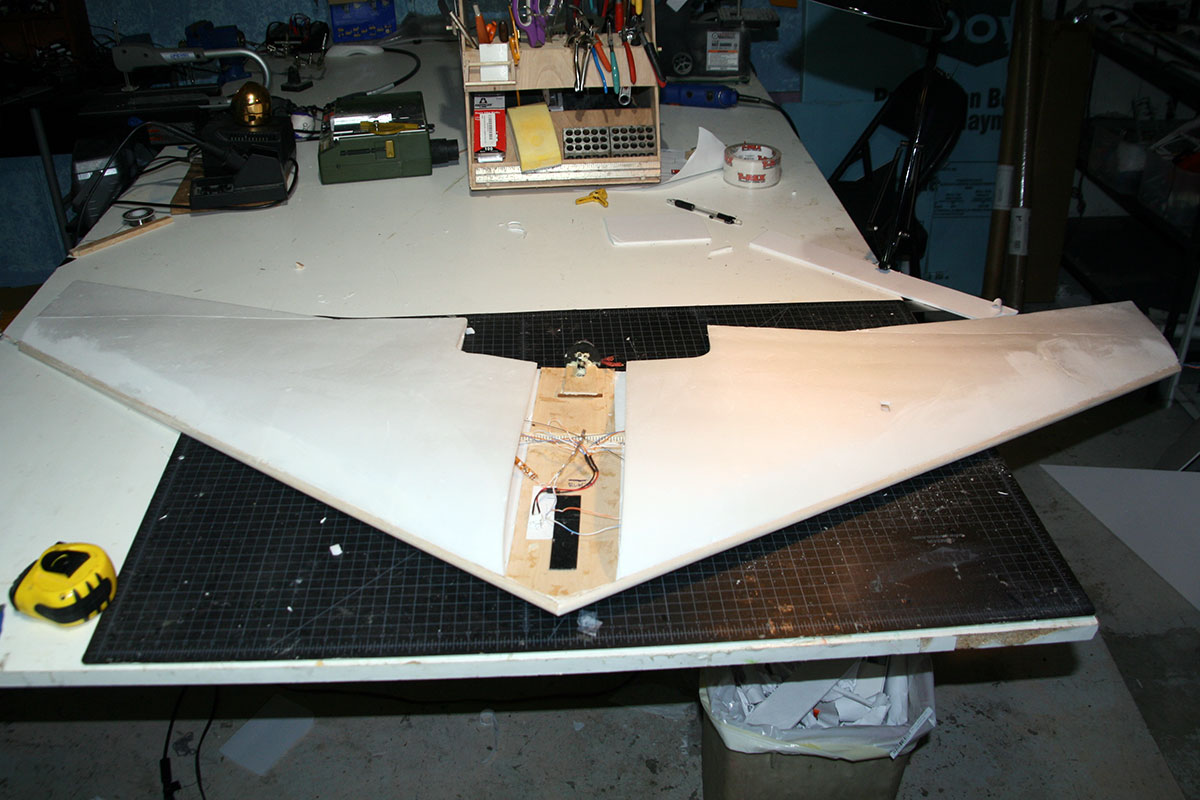
Sanding the leading edge to provide a smoother profile.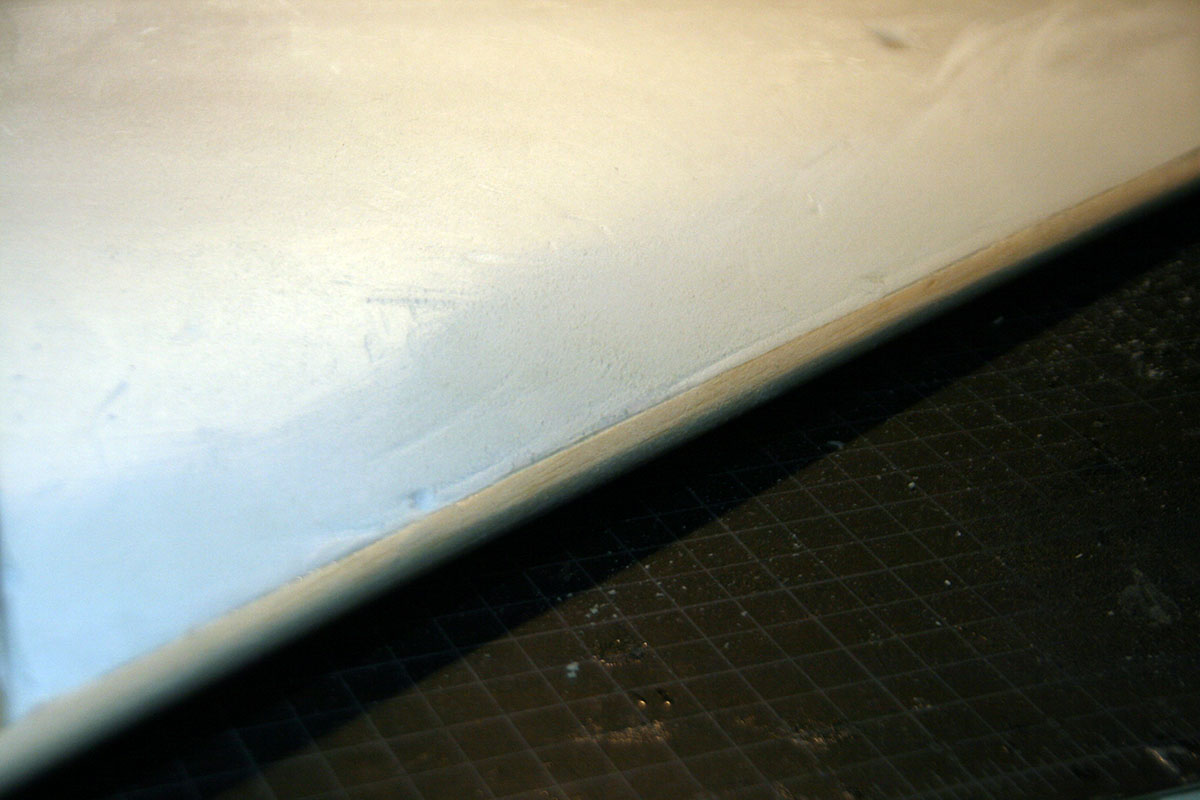
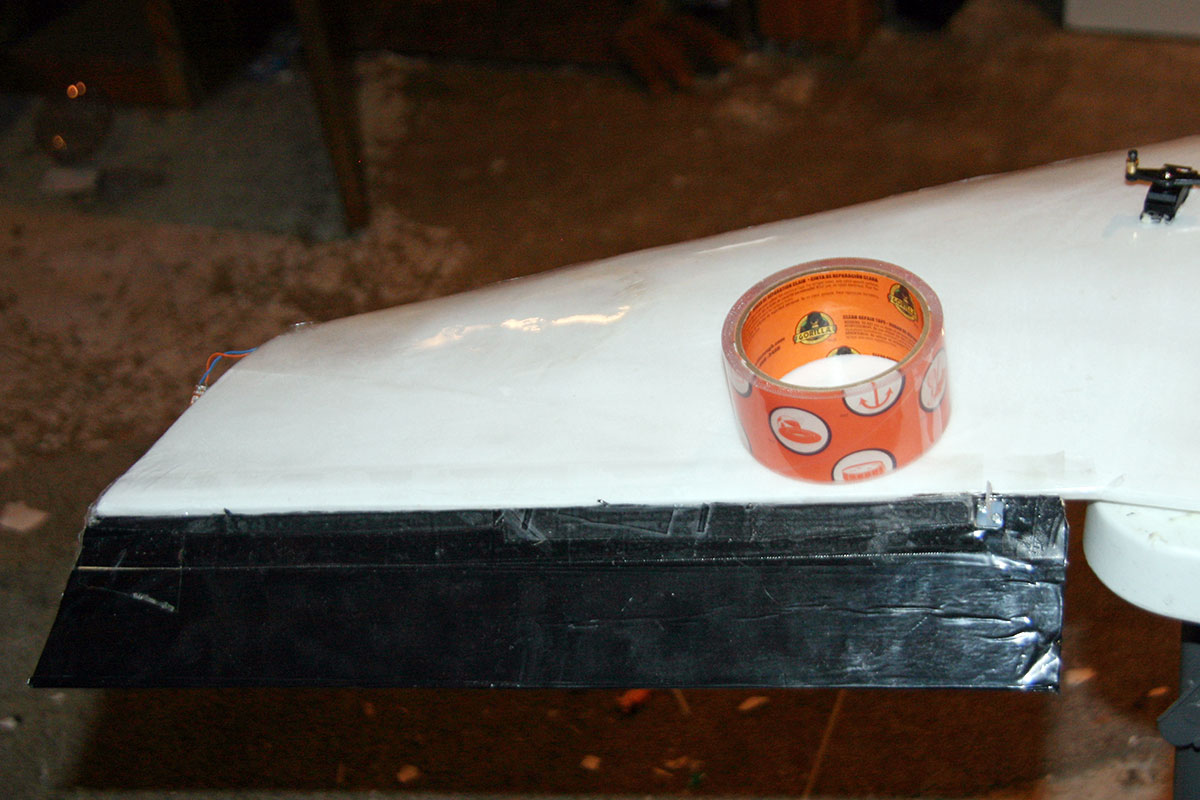
Adding a strip of Gorilla Tape to the leading edge.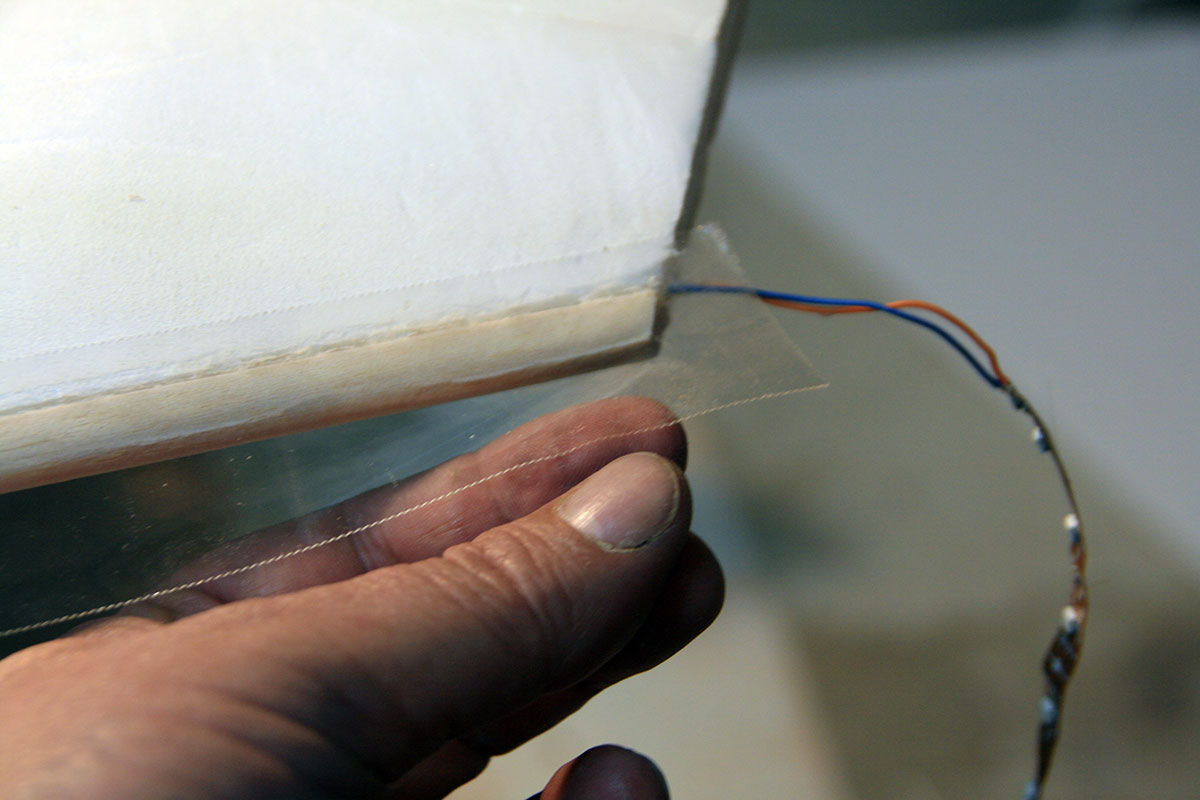
Time to add the final outer skin of Dollar Tree cellophane wrap. I’ve removed all the paper and the cellophane actually provides some much needed stiffness to the whole package. It also makes it a bit more waterproof and, most importantly, nice and shiny. It goes on a little wrinkly.
I use 3M Super 77 spray on adhesive to adhere the cellophane to the foam.
Some judicious use of a heat gun shrinks the cello down, tight as a drum.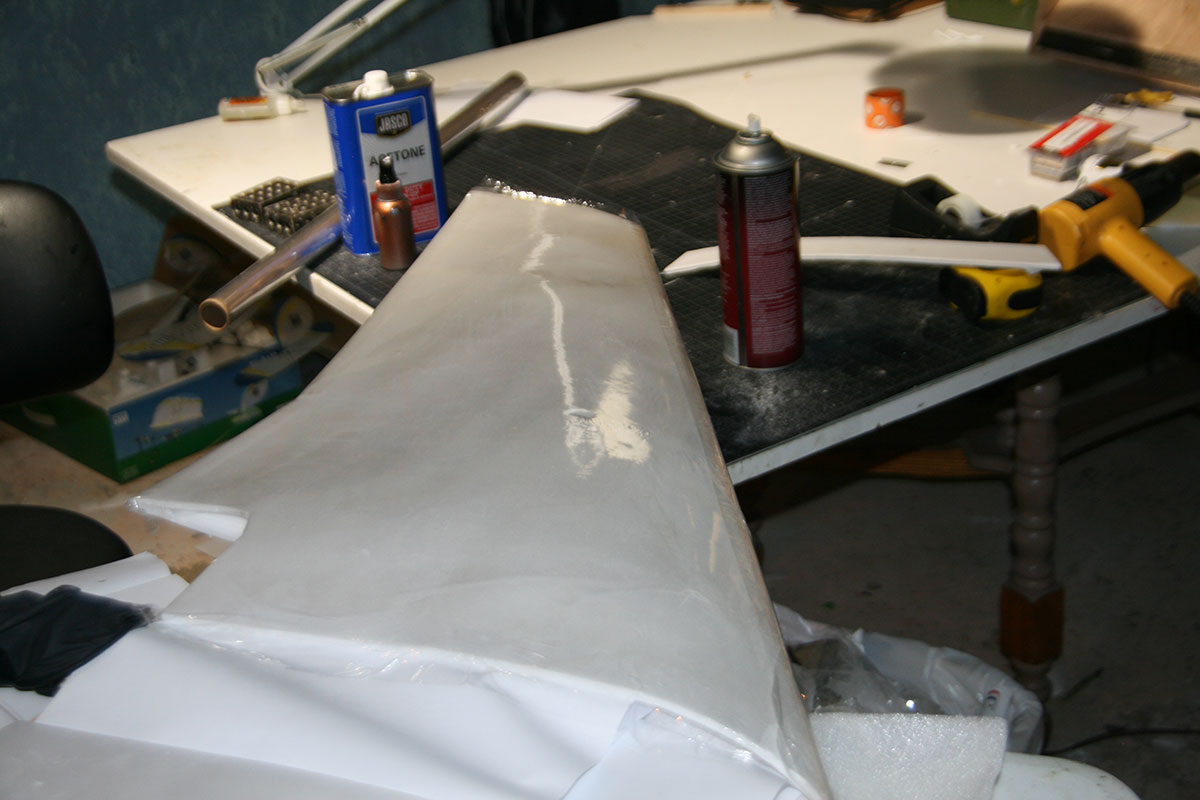
Testing the LEDs inside the wing. One section isn’t working. Coincidentally, it’s the section my dog put her paw through. 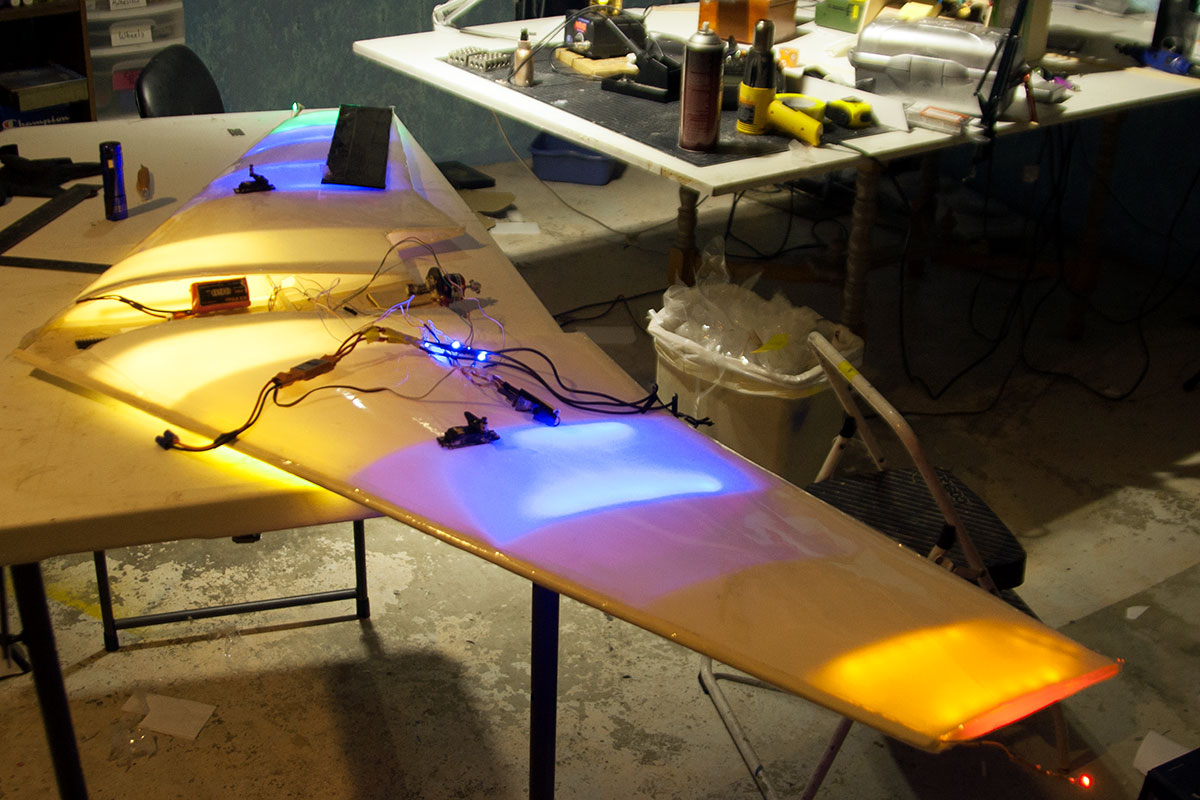
I’ma put the ESC all the way forward.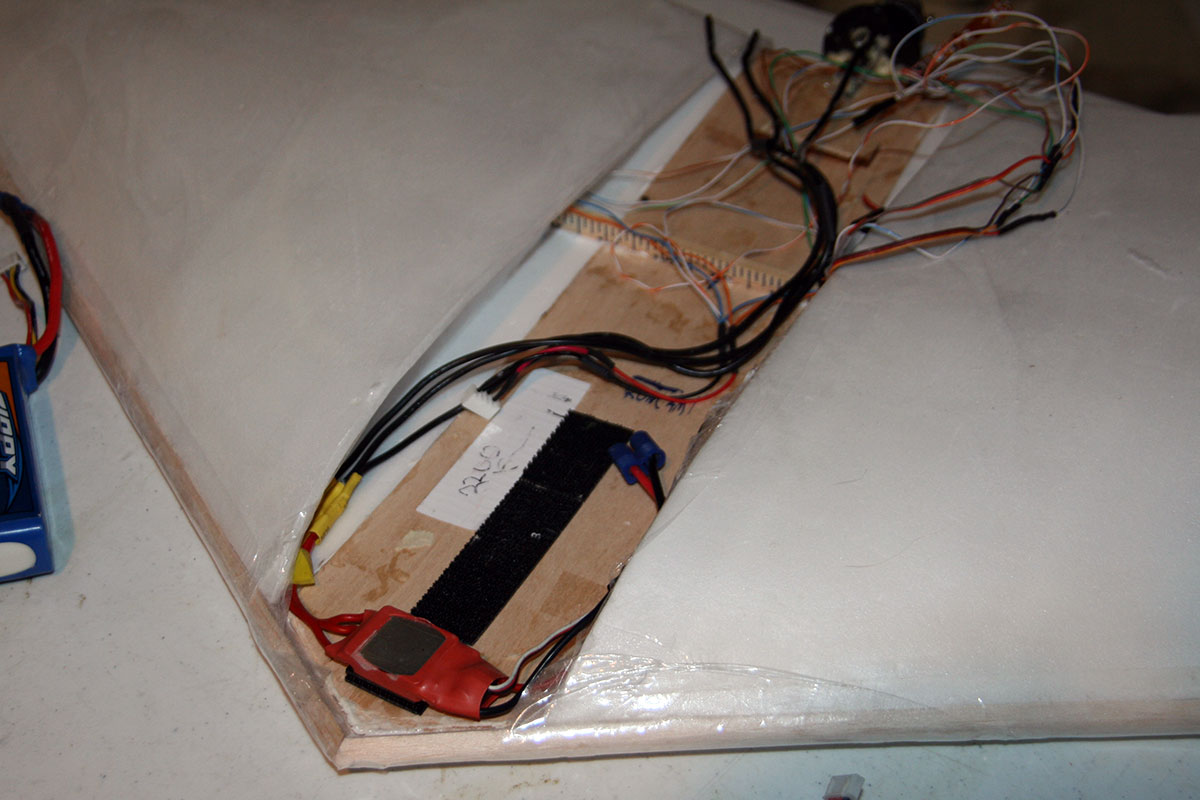
Taping the nose and hatch in place. The front-most section, where the camera will mount, is fixed in place.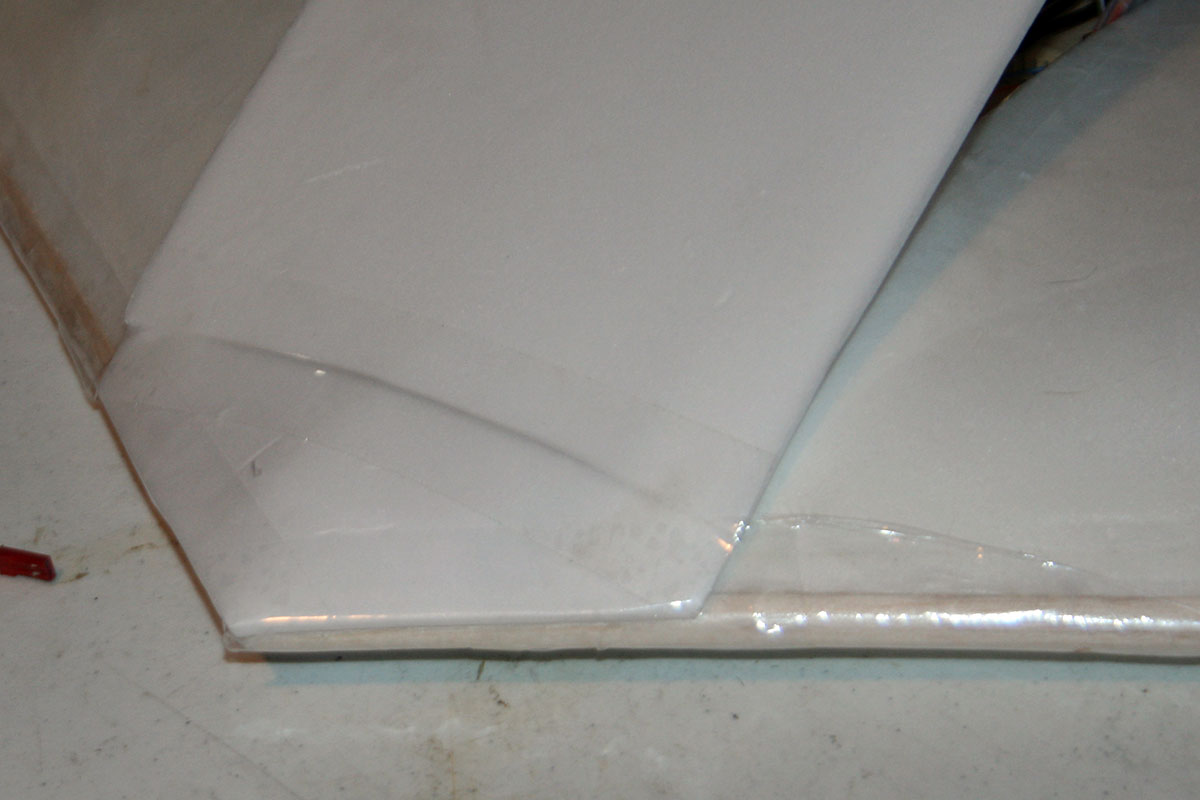
The hatch, way open.
This time around, I’m going to try to keep the interior a little less messy. Using some cut off zip ties, glued to a rib, to keep the motor wires all neat and out of the way.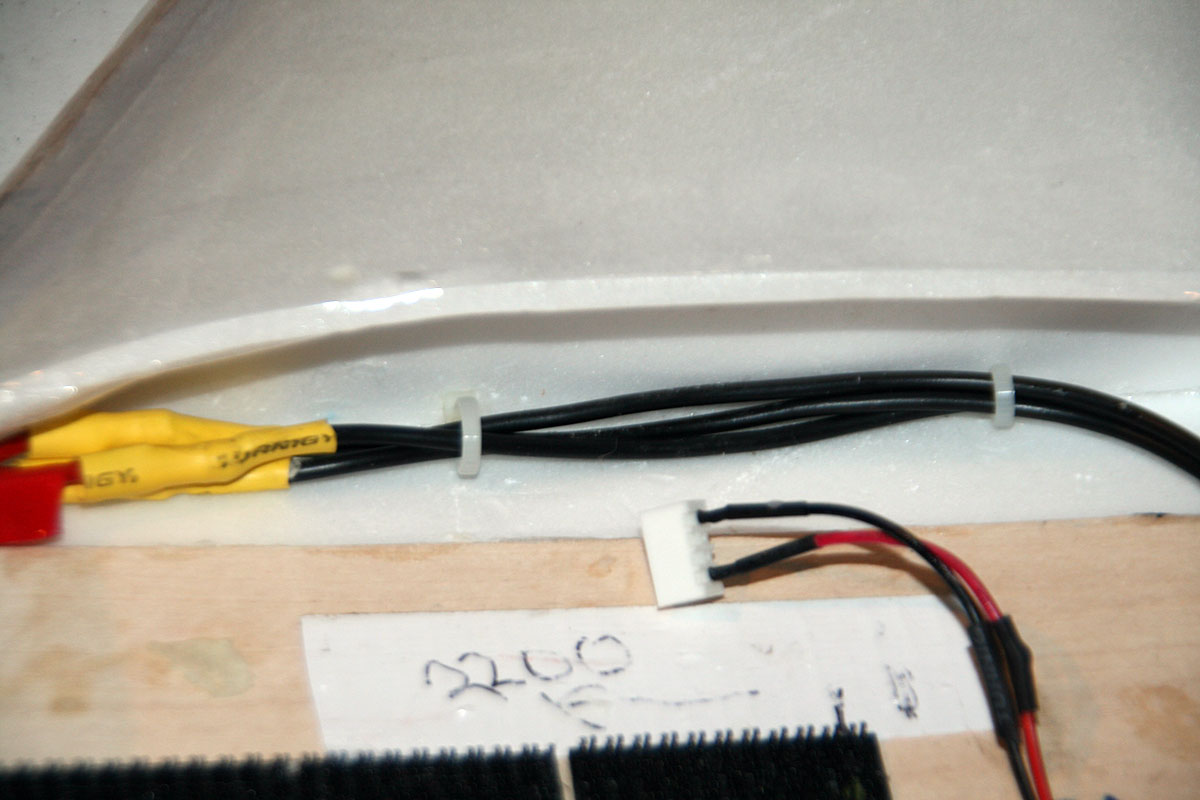
Adding some magnets to the hatch, to keep it closed in flight.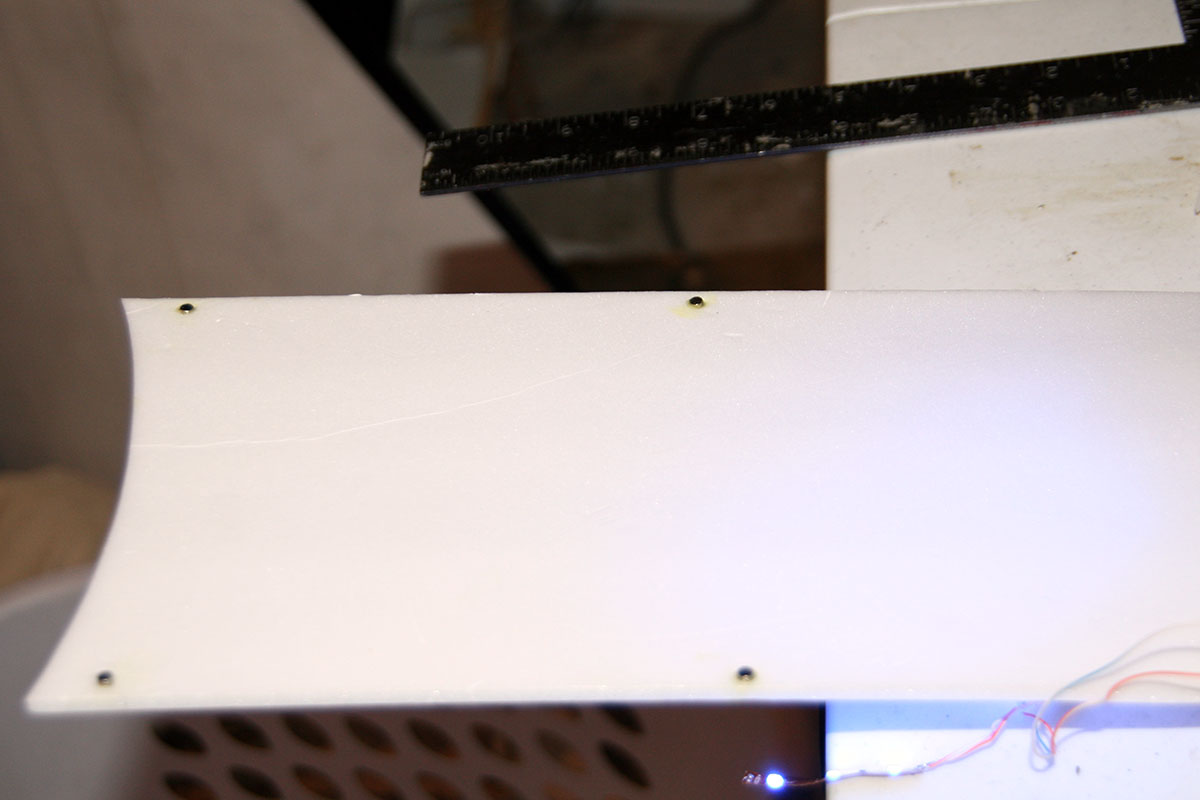
Using some Gorilla Tape to tape the elevons in place. The elevons are salvaged from the V1 and V2 Papa Divine.
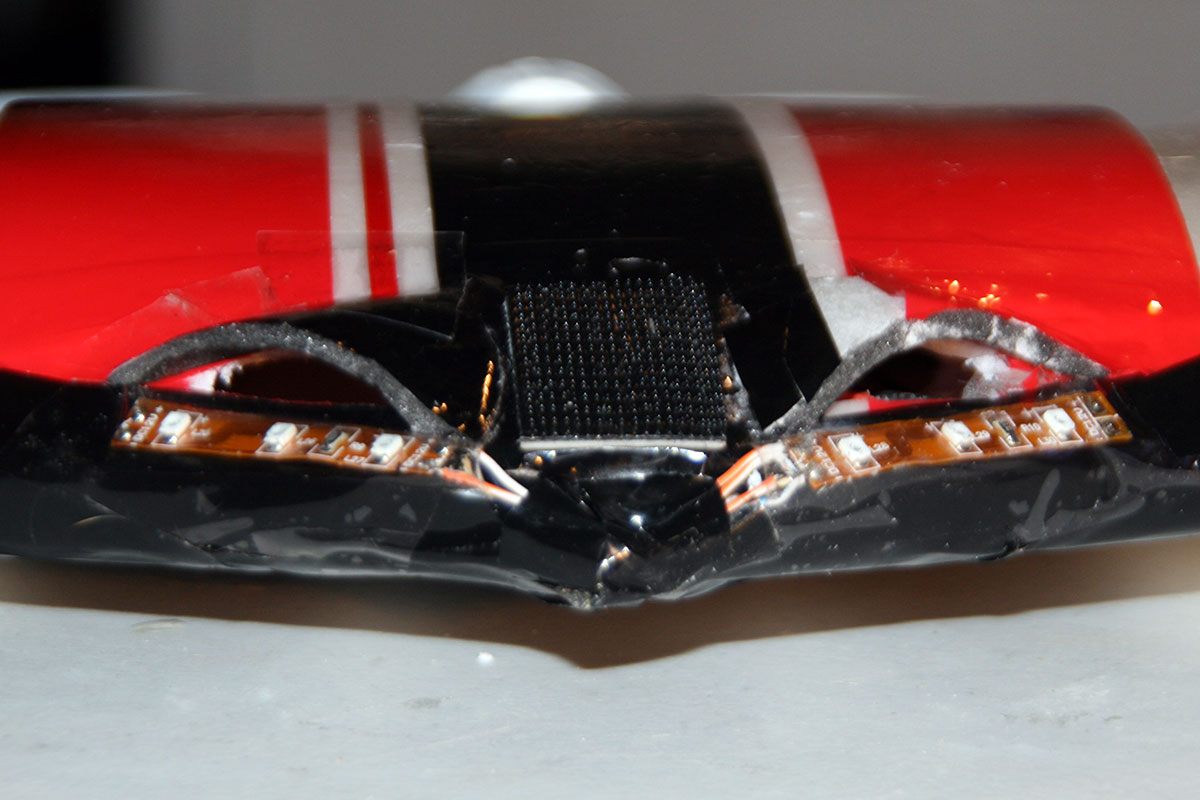
The Velcro (actually, Scotch Dual Lock Heavy Duty Fasteners) on the nose will serve as a camera mount. I’ve also cut a small opening in the nose to blow some air over the ESC inside.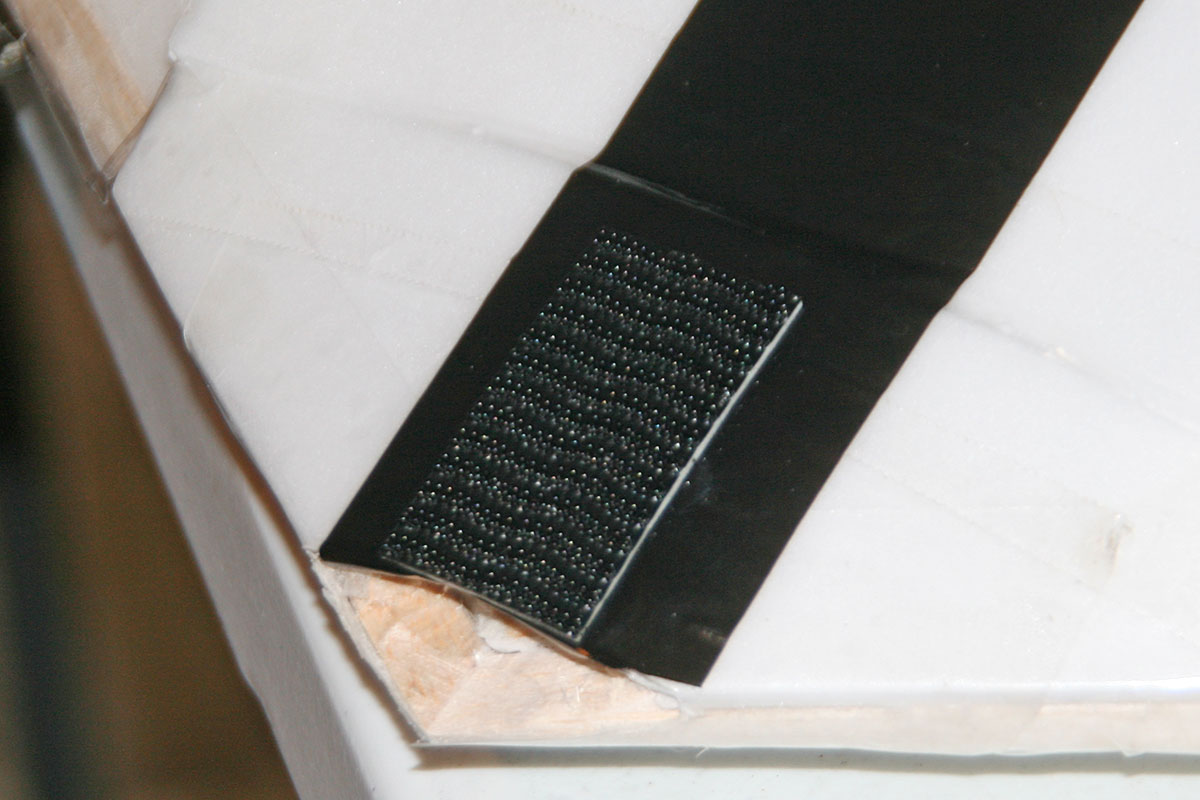
Getting all the electronics mounted.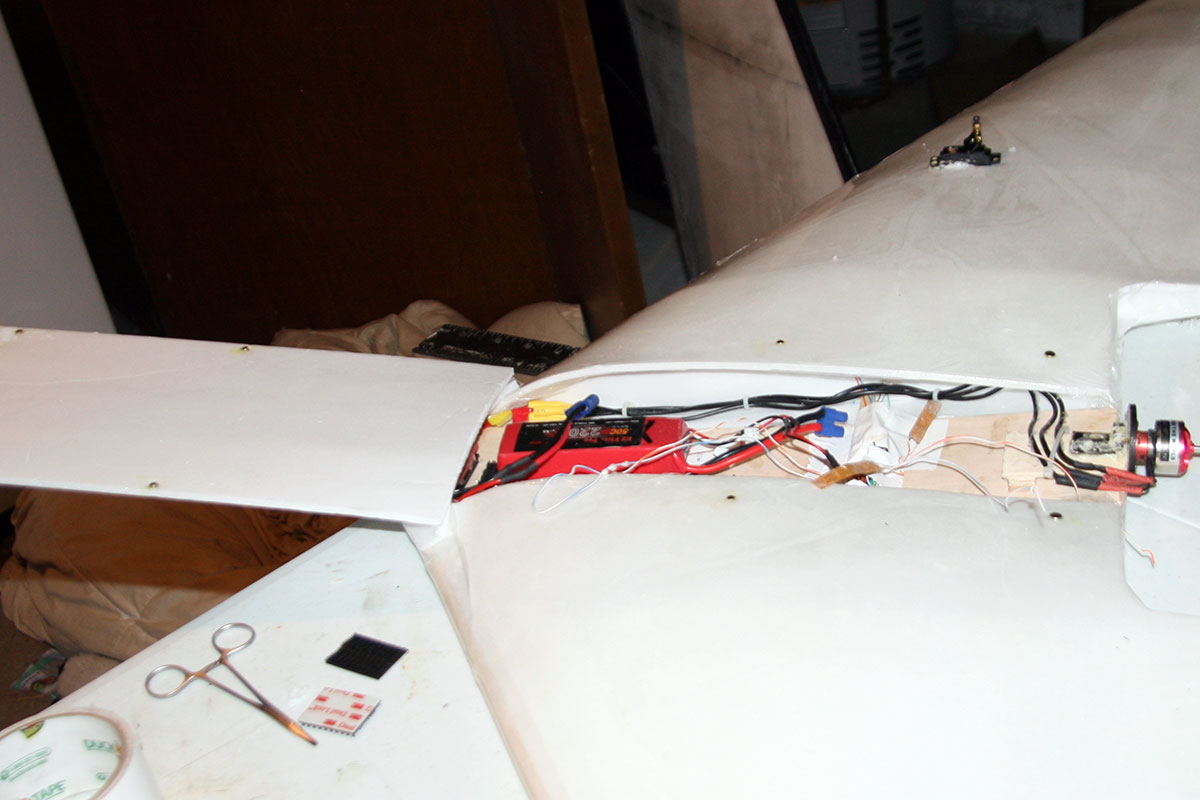
To keep things less cluttered, I’m using some cut off zip ties to secure the wires to the inside of the rib.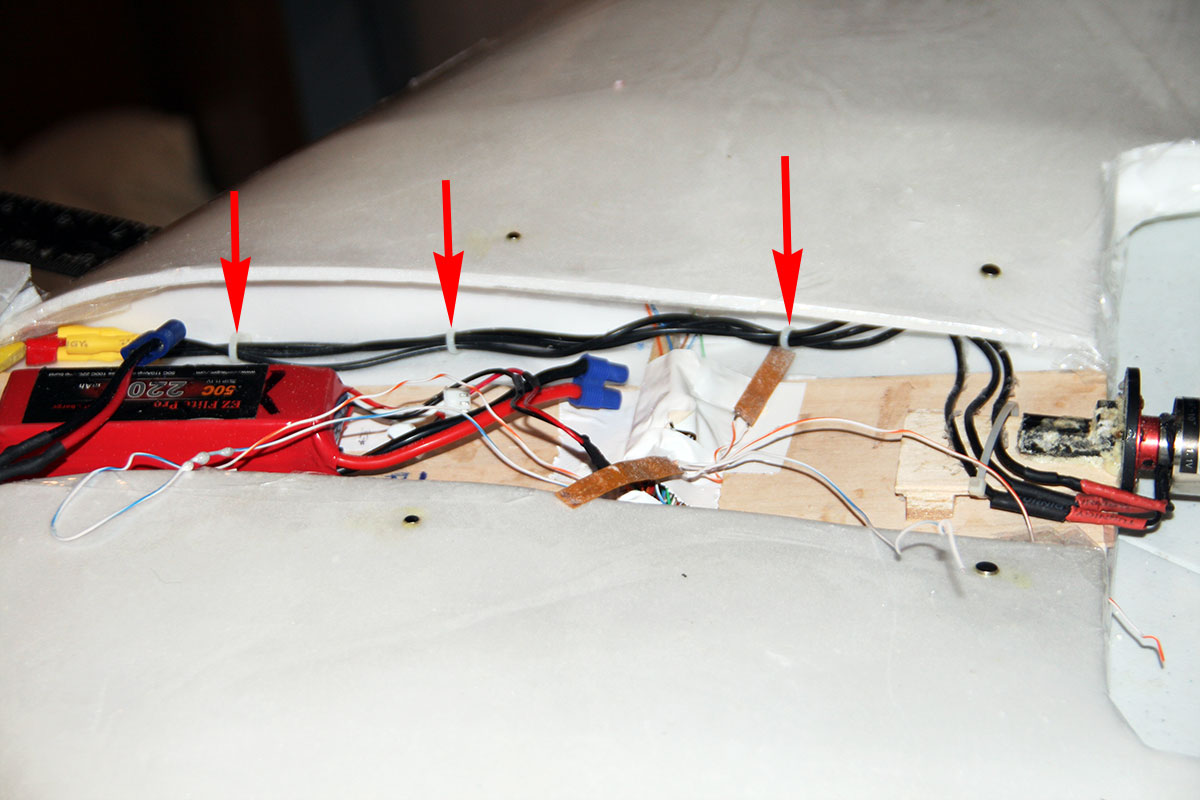
A nice, neat battery and electronics bay.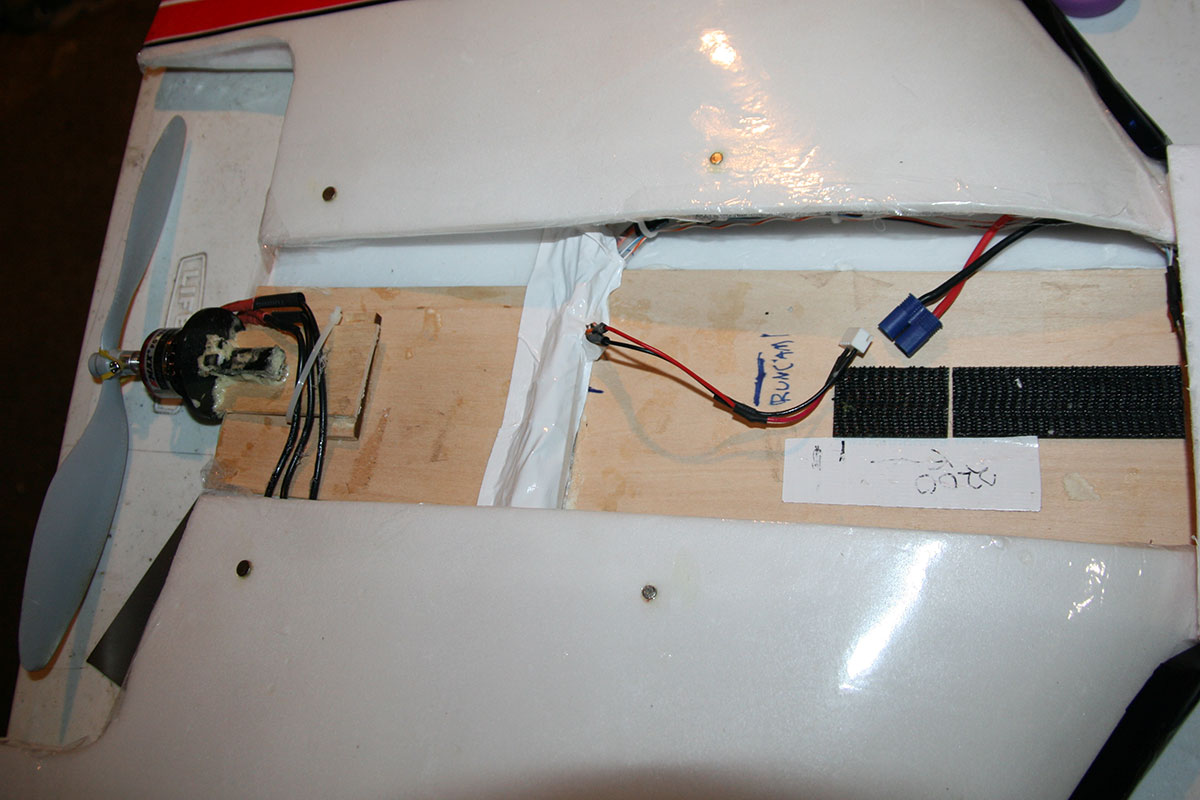
Starting on the ‘paint job,’ using different colors of packing tape, along with some pin striping tape purchased at an auto parts store. 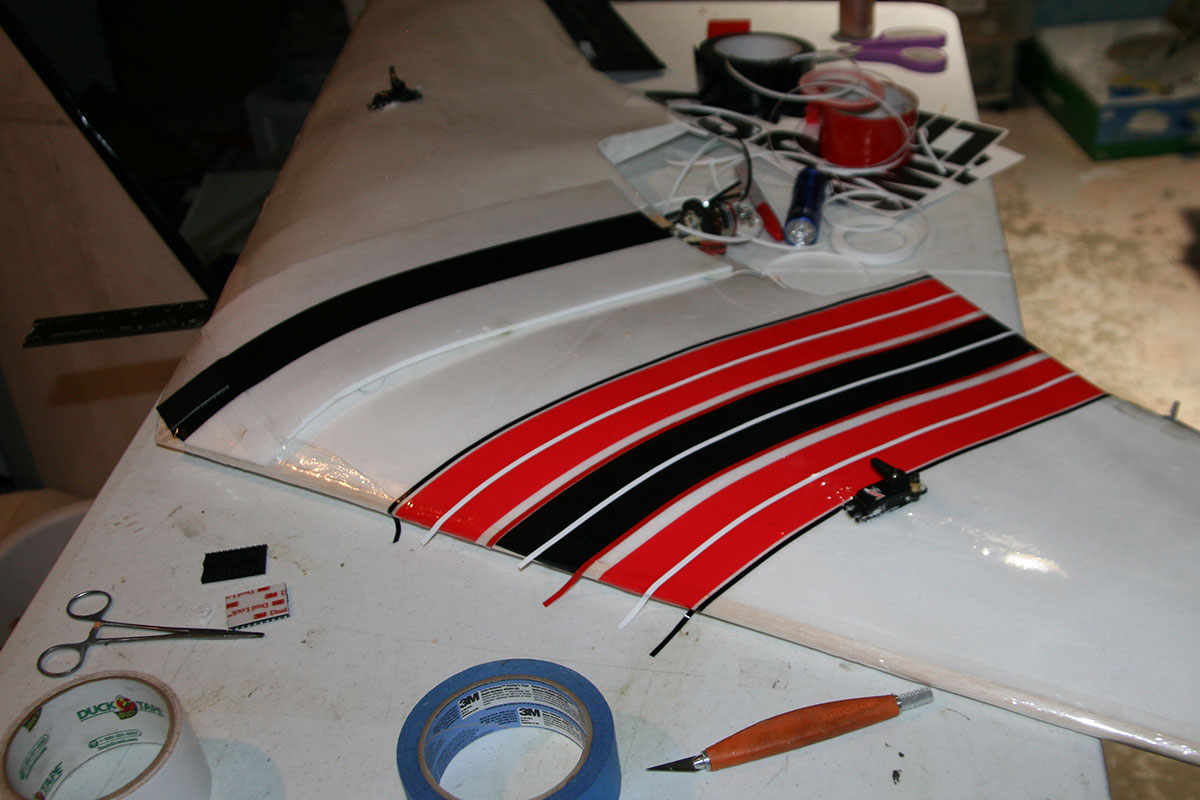
Giving the lights another test.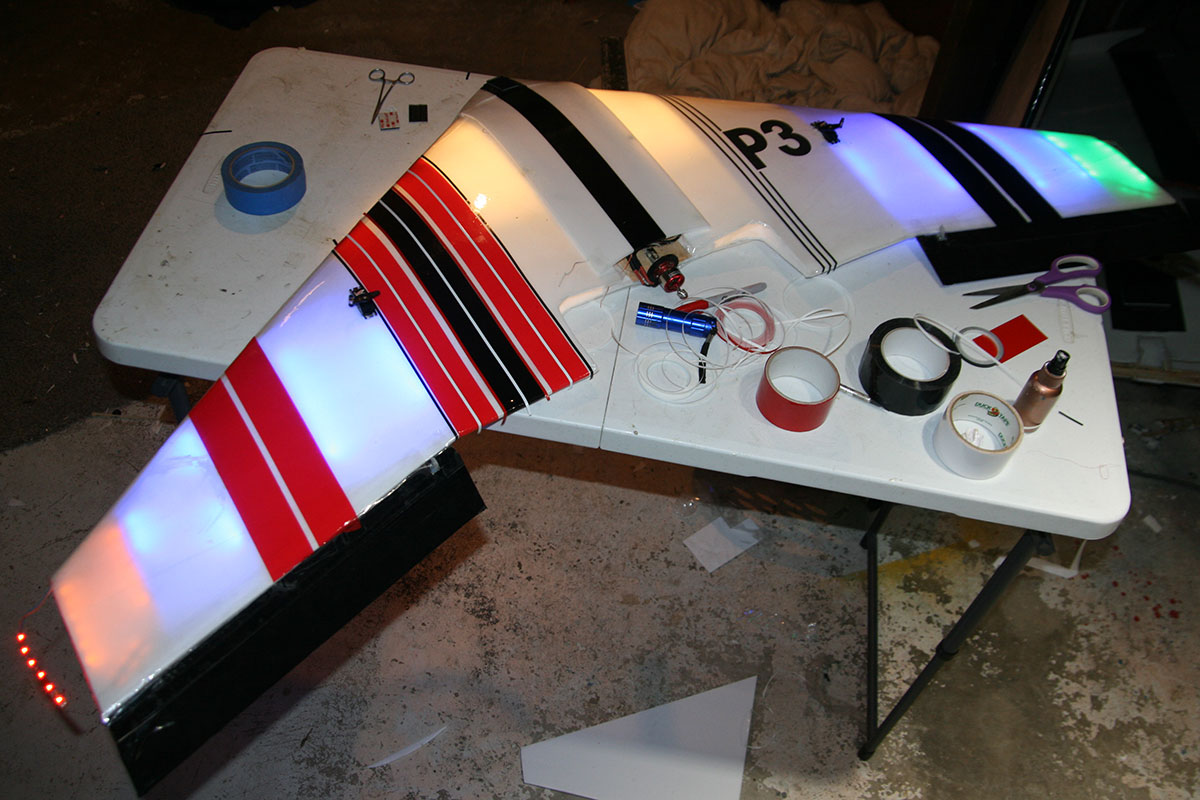
I decided to go with simpler, less ‘artsy-fartsy’ winglets this time around.
Strips of red and green LEDs go on the outside of the winglets to help with orientation at night.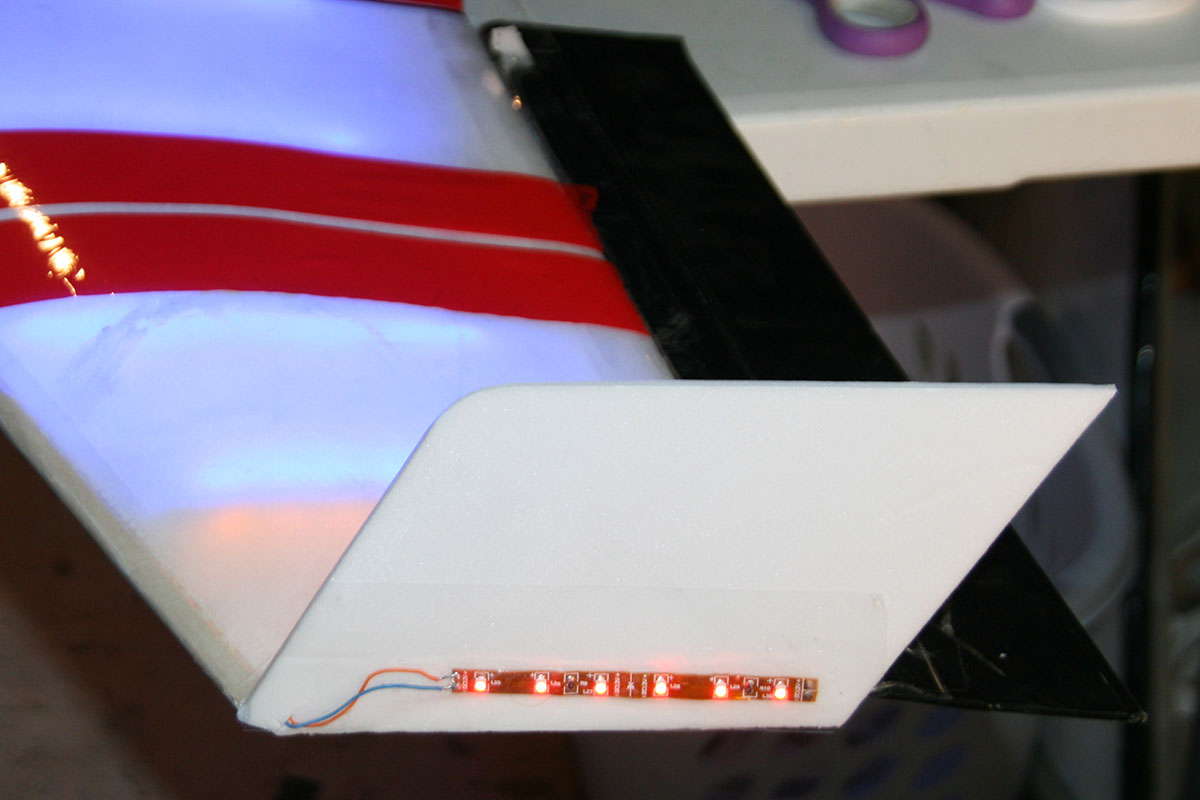
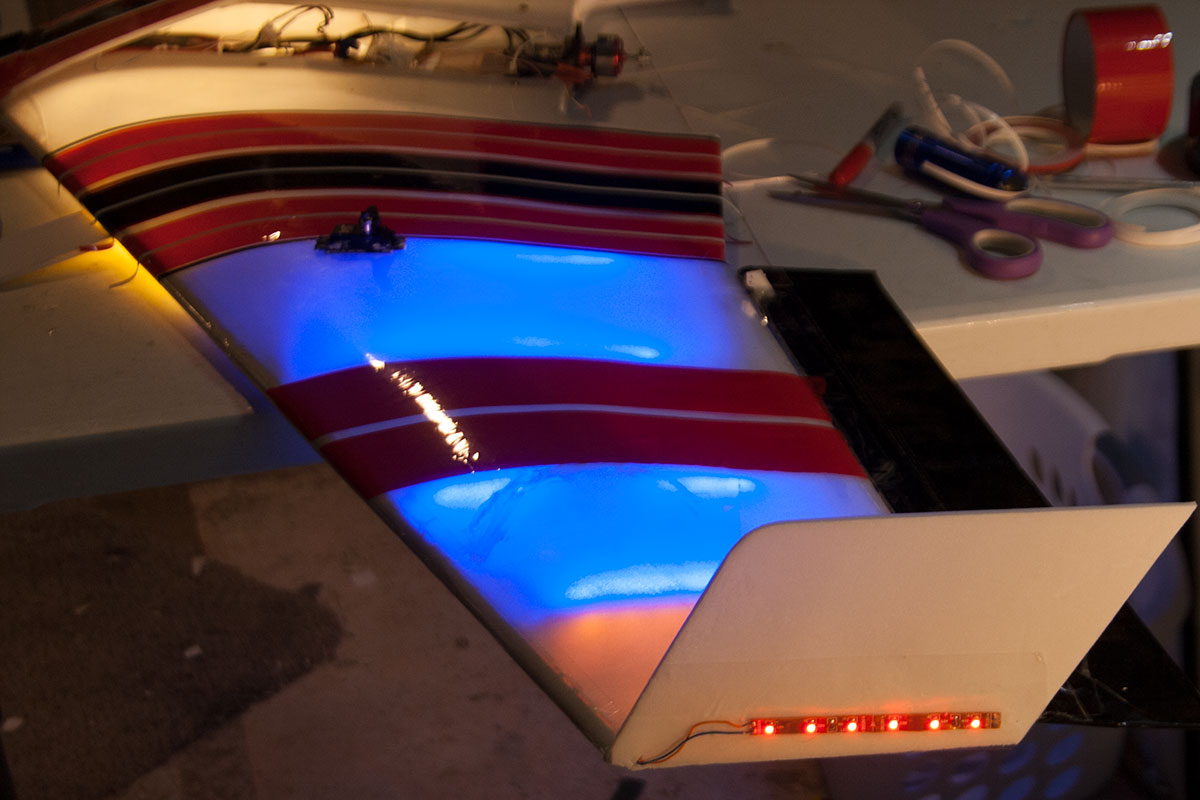
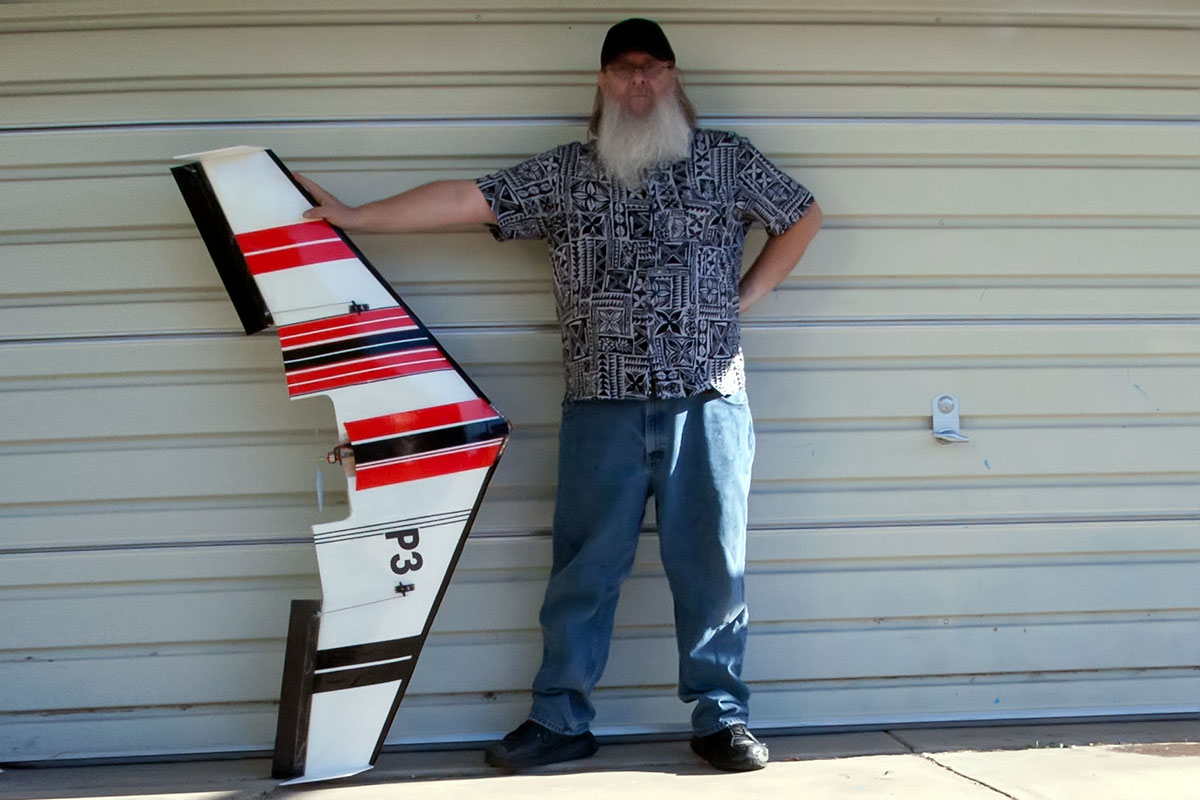
And that’s about it. She’s done! 
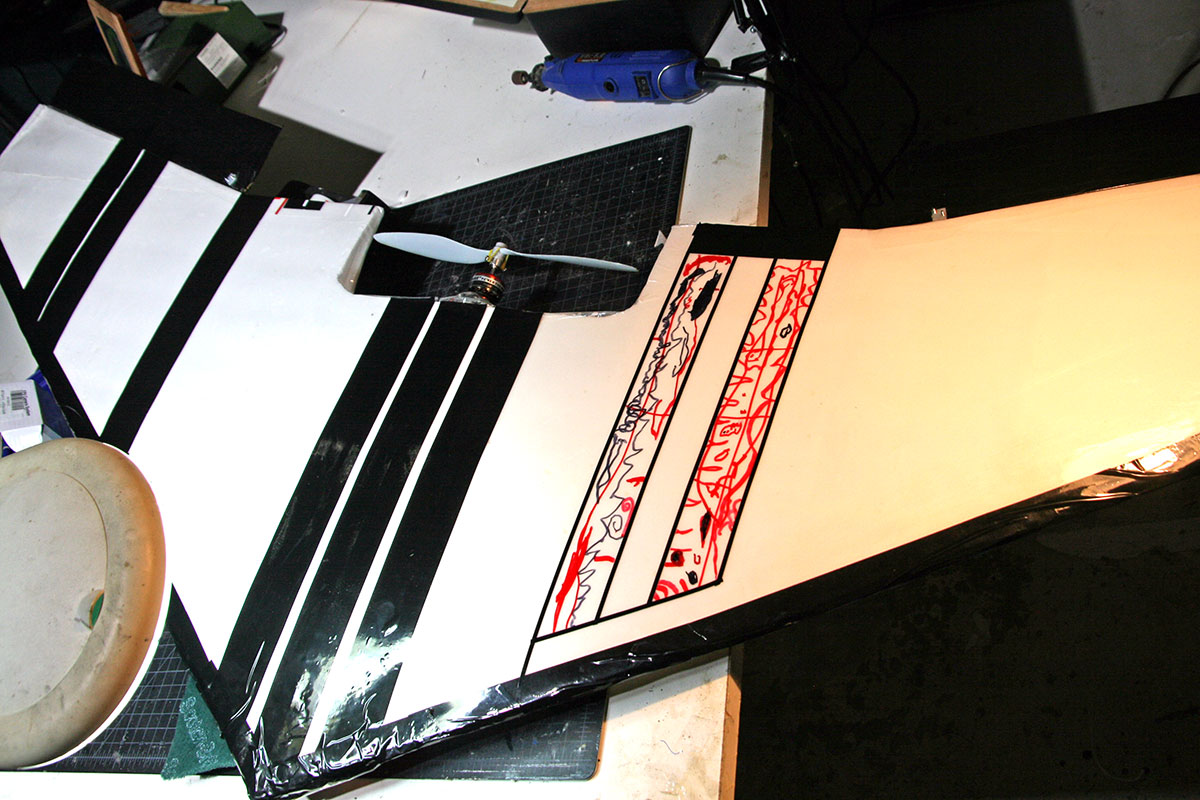
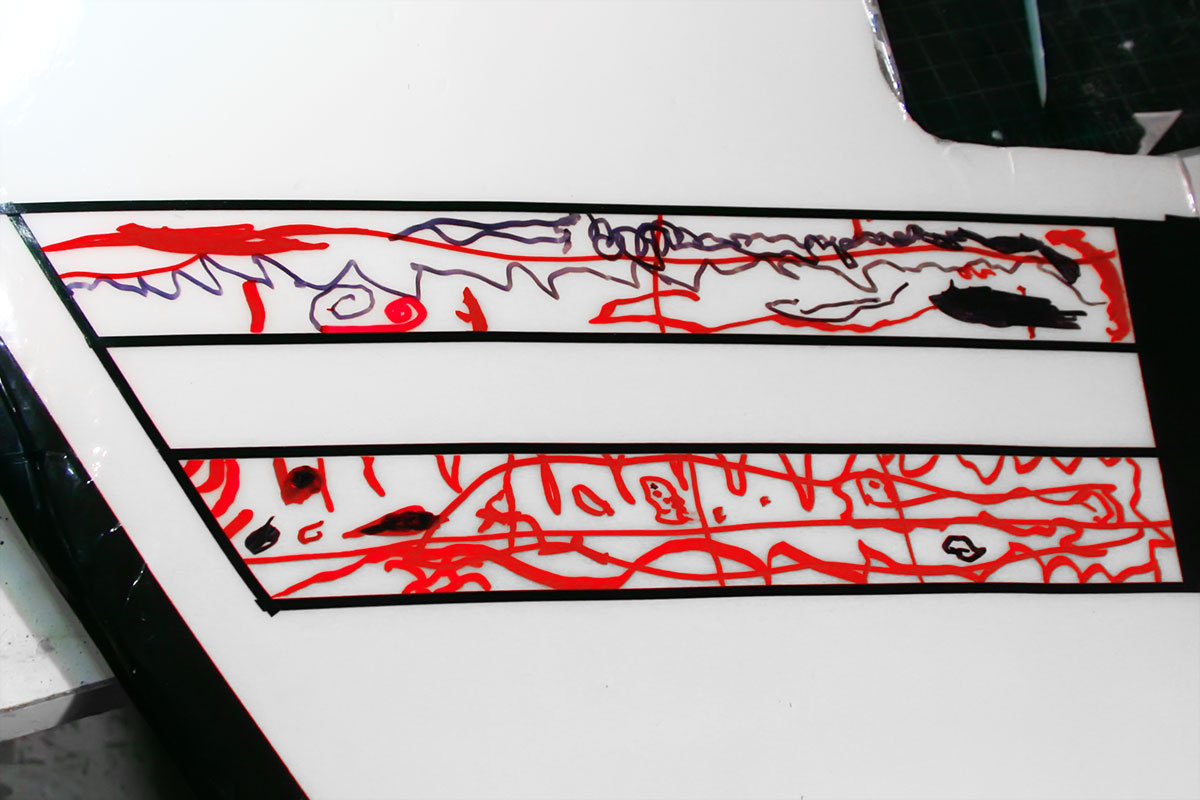
As a part of painting the bottom, I invited my granddaughter to add in some designs with red and black permanent markers. She’s not very good at staying inside the lines, so I started by masking off the area, just like I would if I was painting it. Once she was done, I used some auto pin striping tape to outline the sections.
A pair of forward air scoops, added later: