Even though I still haven’t finished my first balsa build – a project I’m doing with my wife – I’ve decided to start another one. This time, it’s the much larger SkyBoy 600 from Stevens Aero. I’ve had my eye on this plane for years, and I finally pulled the trigger.

My planned setup is:
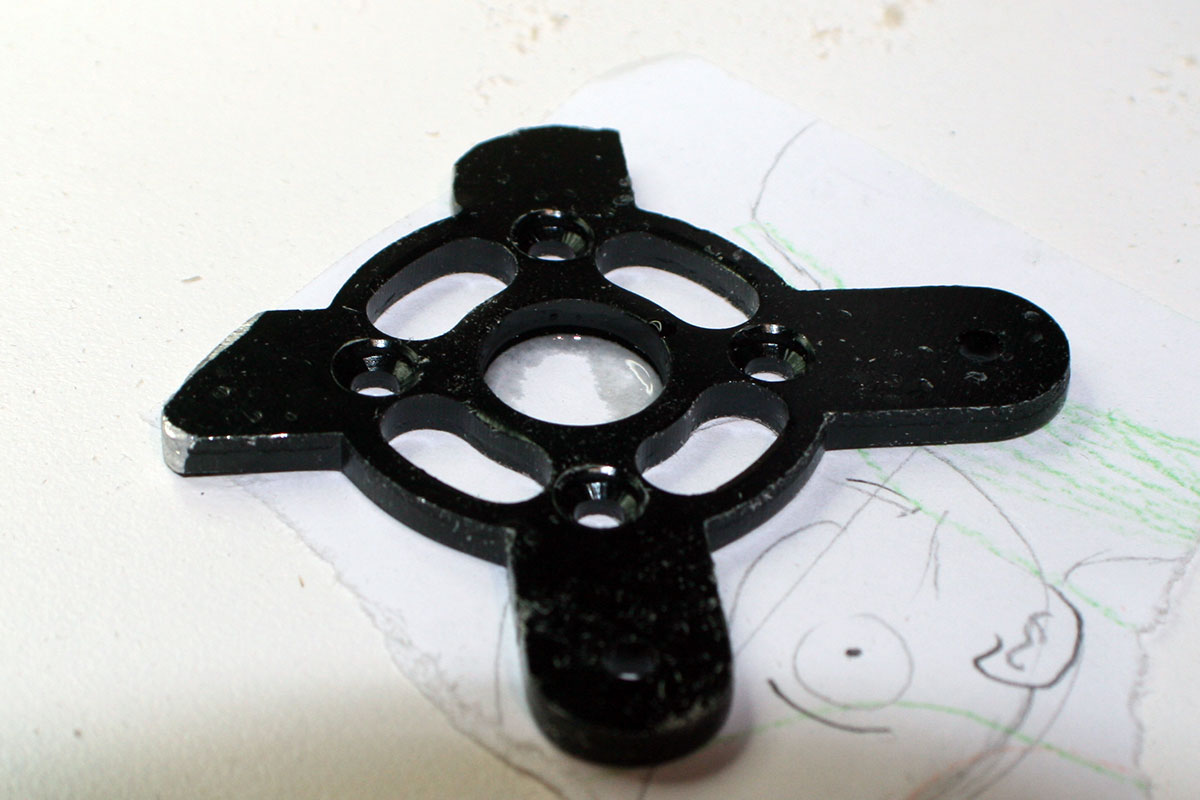
- Emax BL2815/09 1000kv Outrunner Motor (3.9 oz – 450 watt)
- Sky Power 45A ESC with Linear BEC
- 2200mAh 3-cell – 2700mAh 4-cell LiPos
- (2x) Power Up AS315MG 17g metal gear servos (rudder / elevator)
- (2x) Hobbyking 15178 10g servos (ailerons)
I’m planning on a color scheme of ivory and maroon.
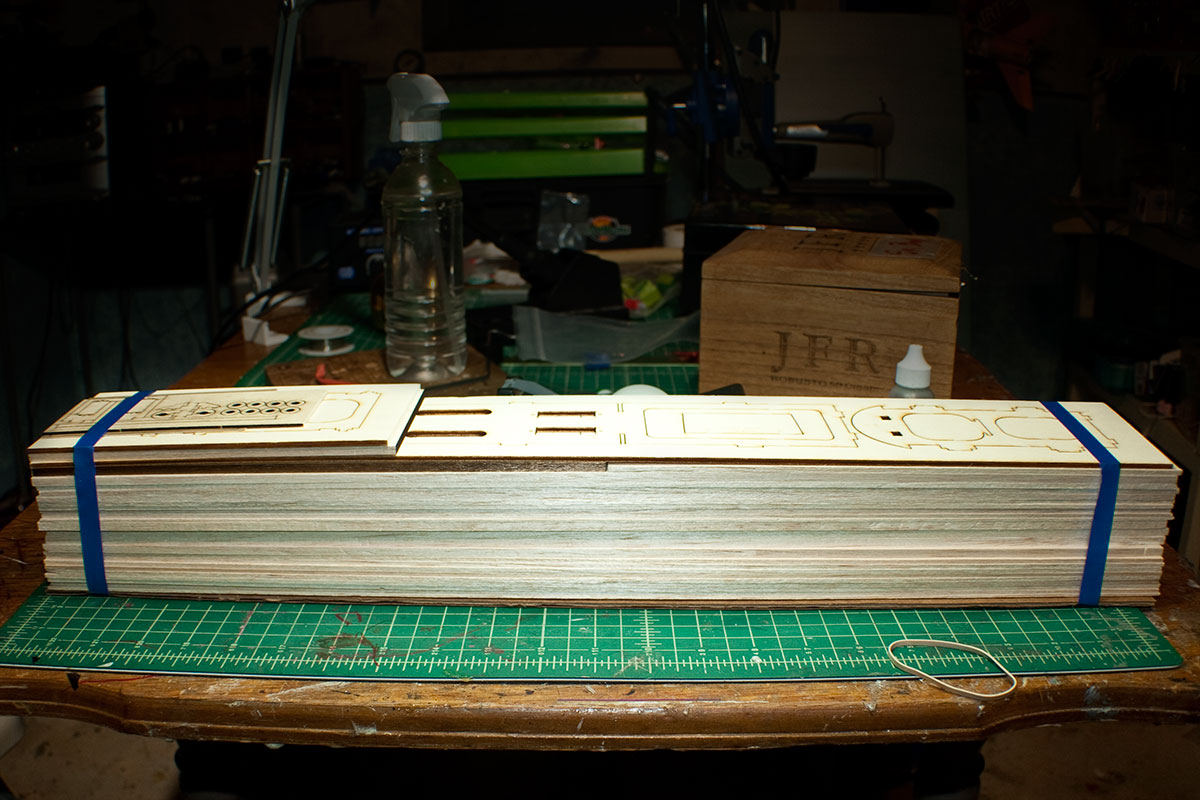
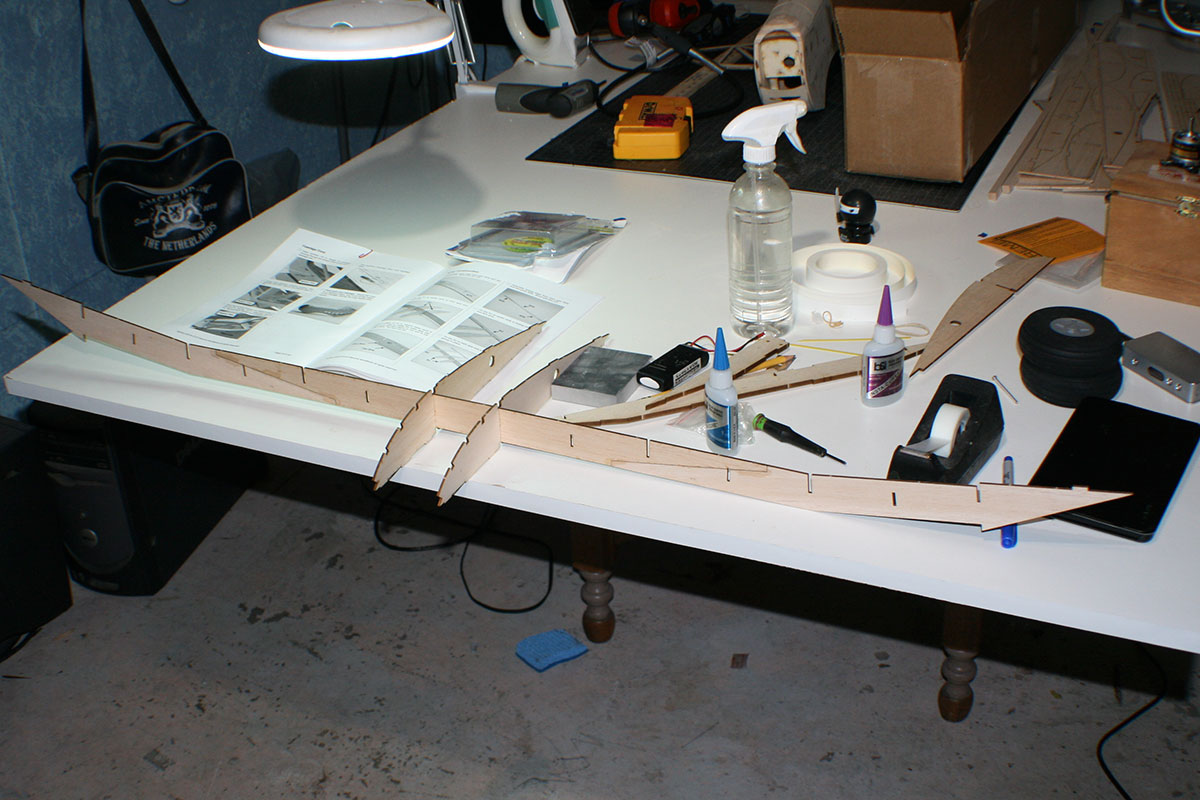
Here’s the stack of (mostly) balsa wood as it comes from Stevens:
The electronics, plugged in and tested. I suspect I’ll have to lengthen the leads on the aileron servos. We’ll see.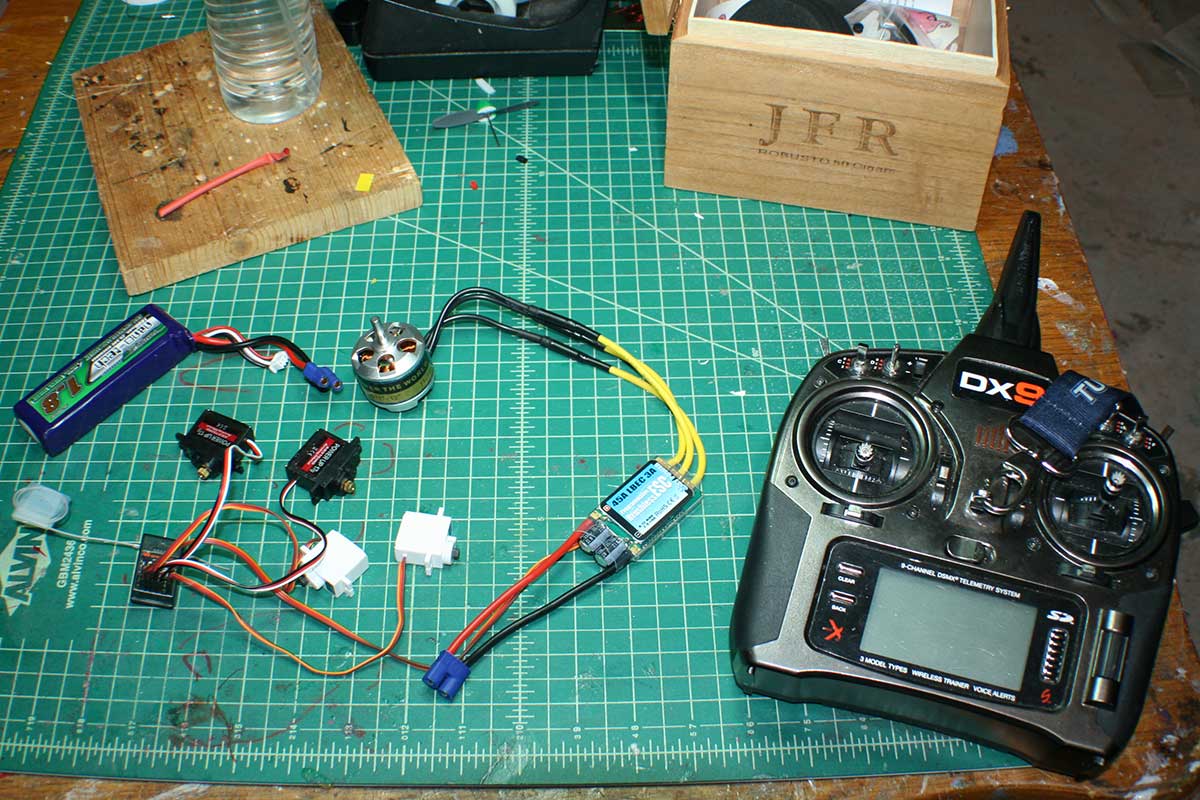
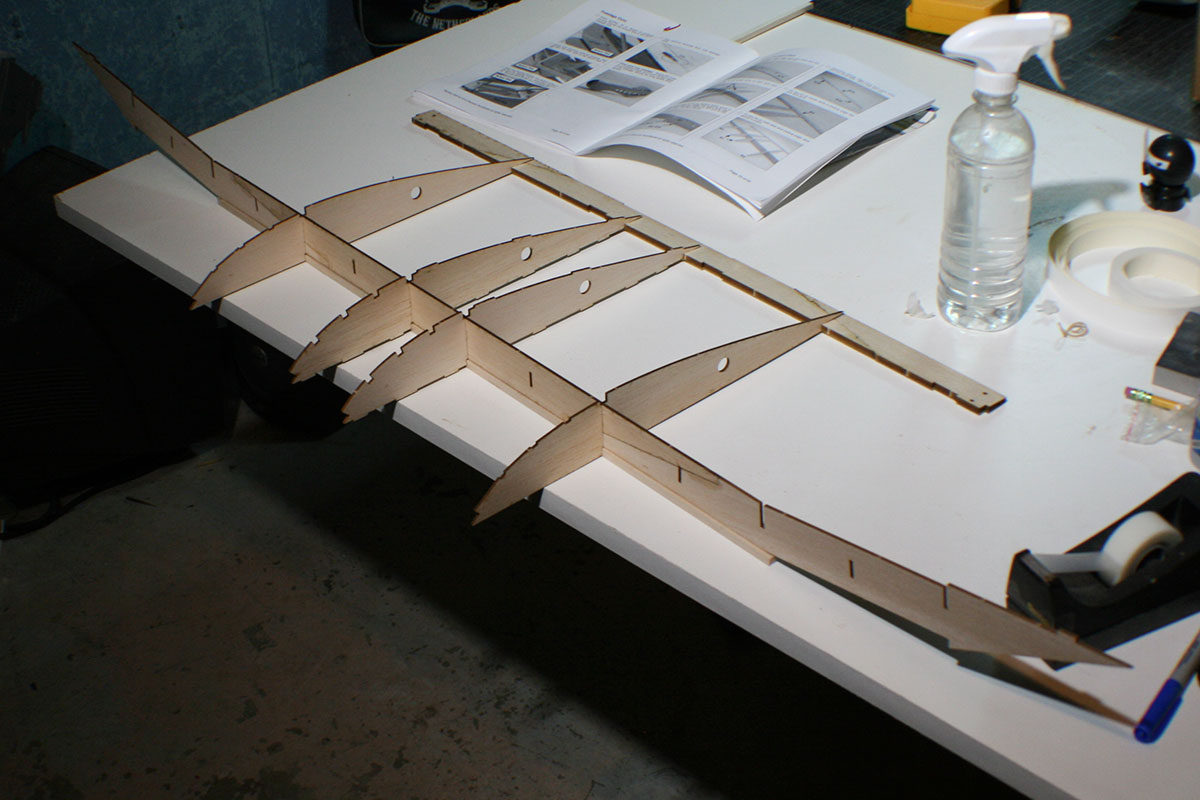
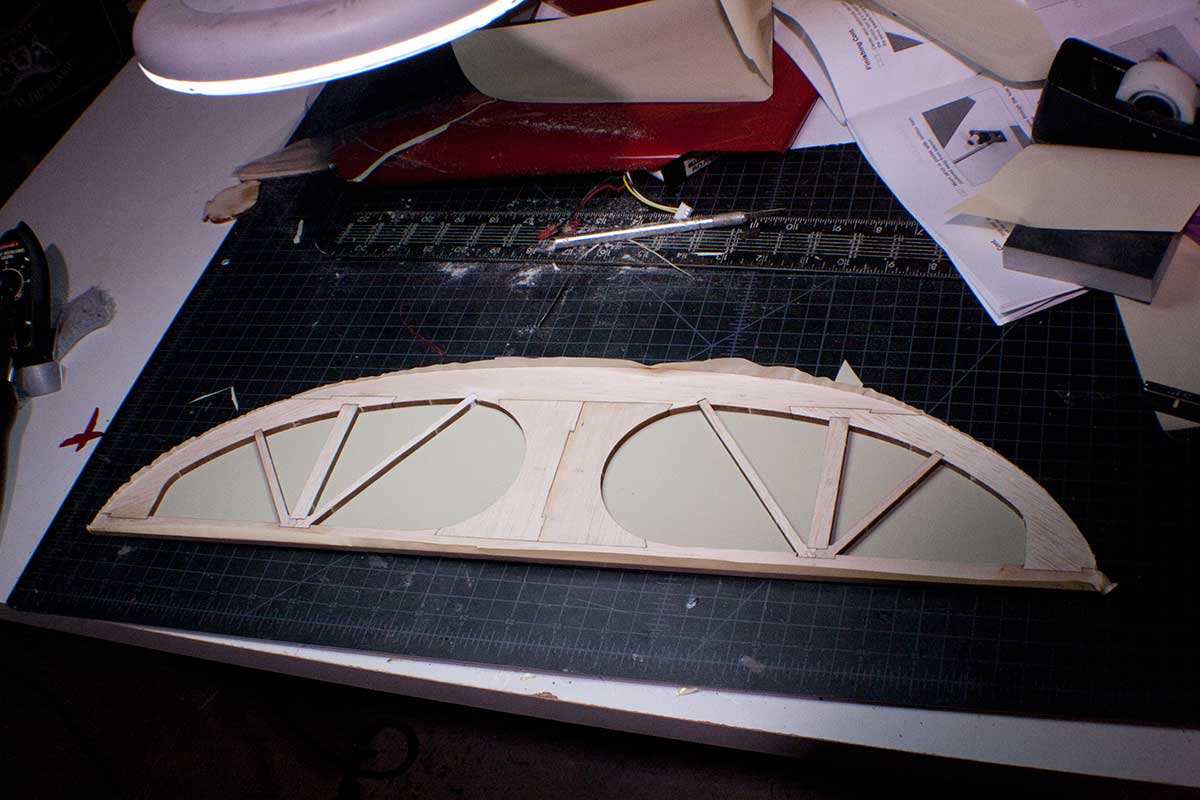
The H-stab was the first bit put together.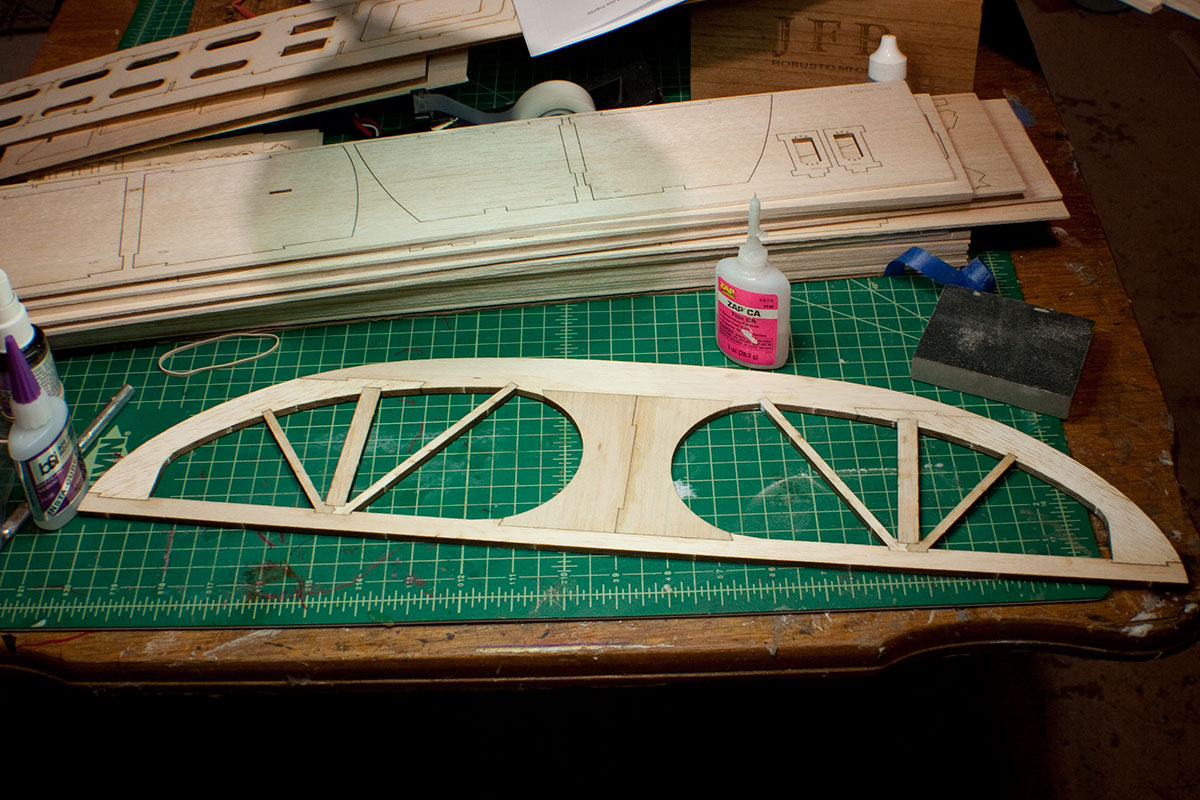
The elevator is built in two halves, so I’m making sure they are square while I glue them together.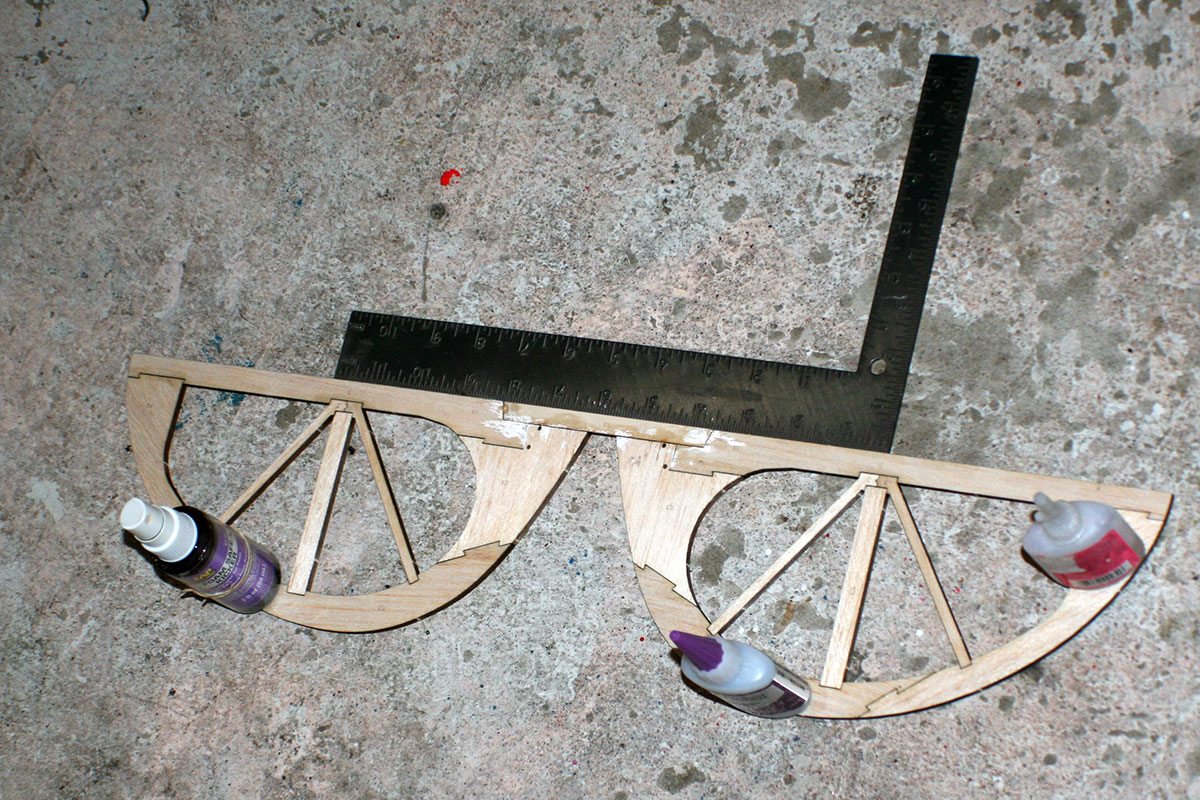 Here’s the full horizontal plane.
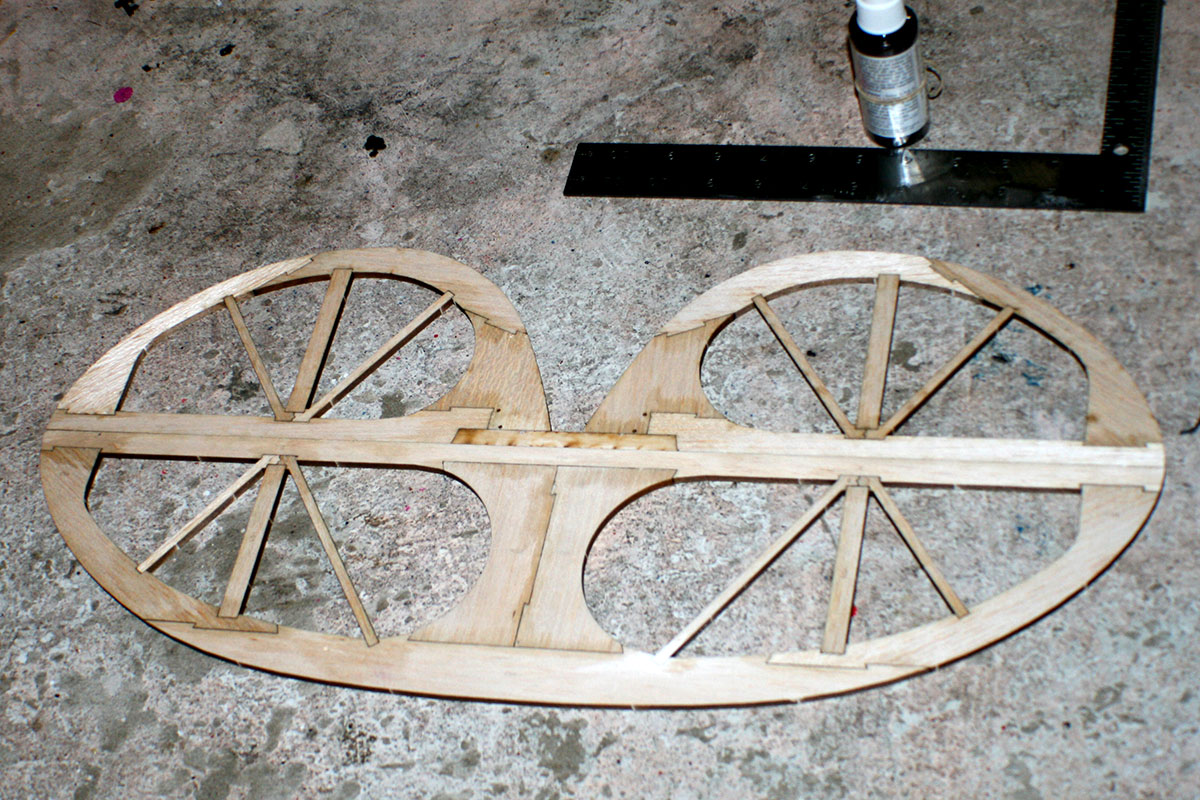
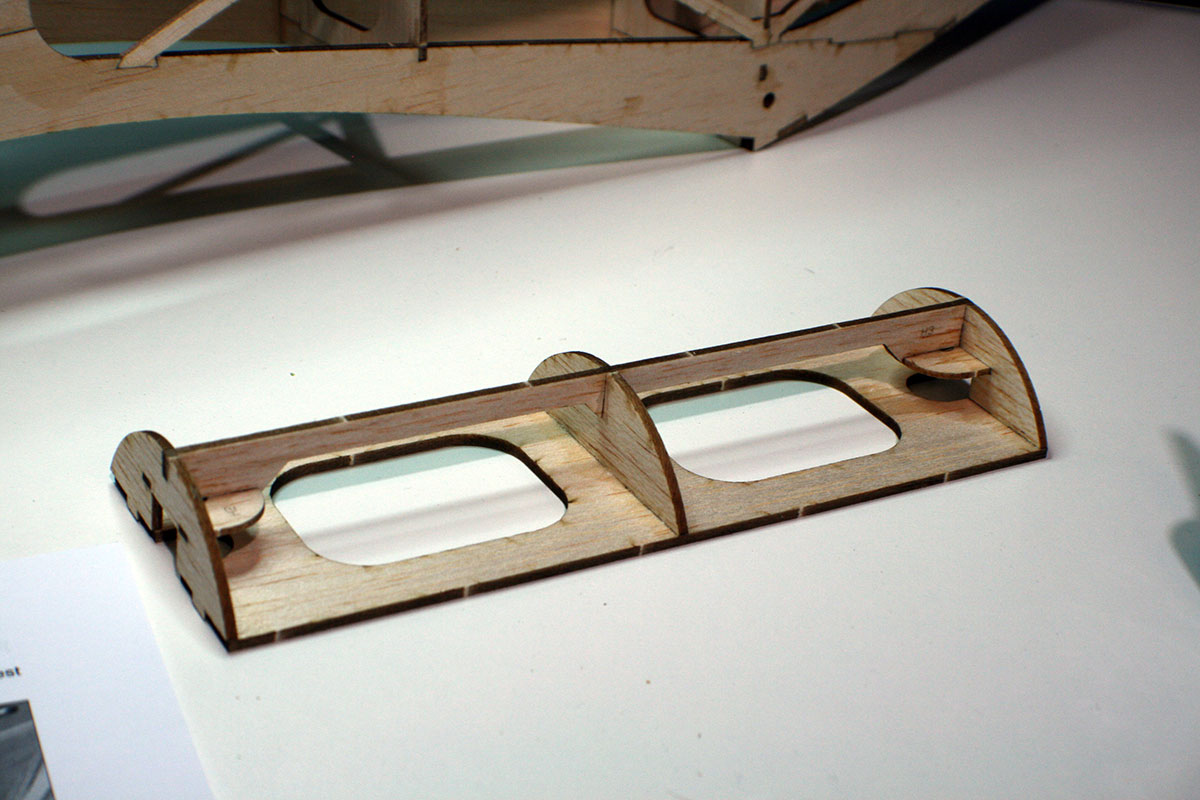
Next up is the rudder…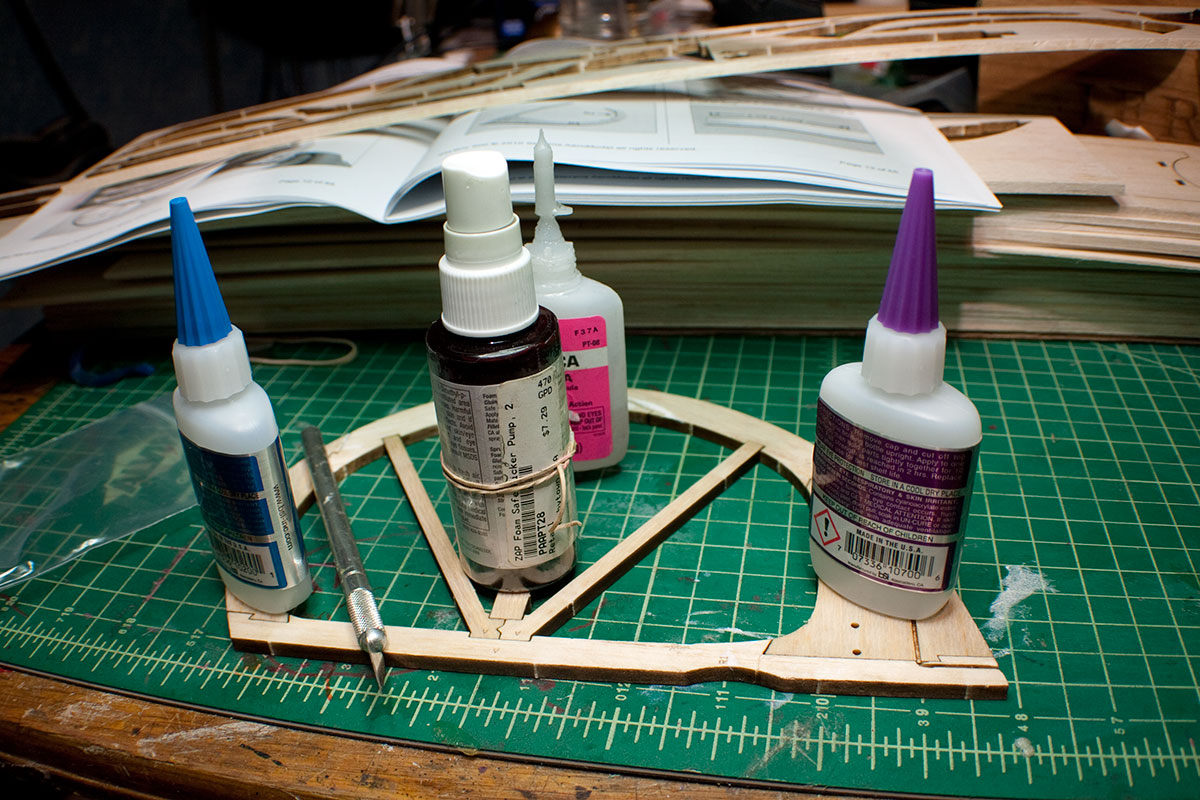
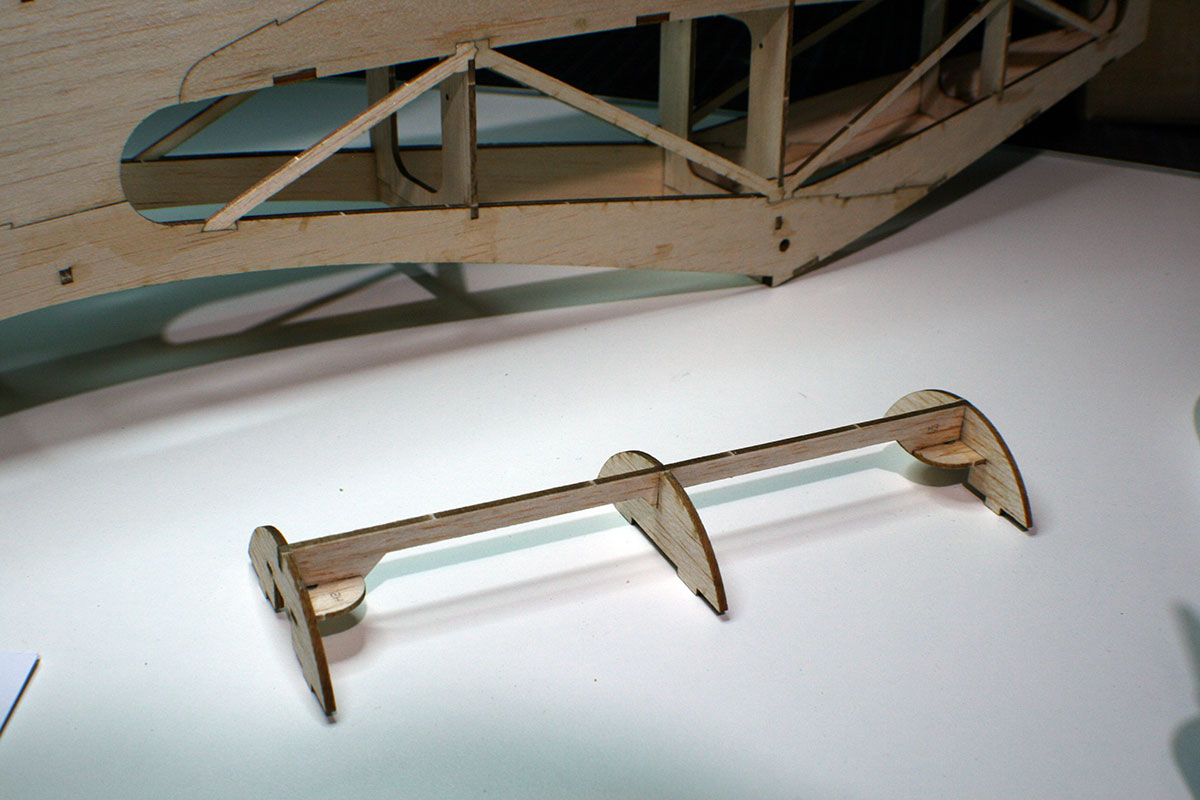
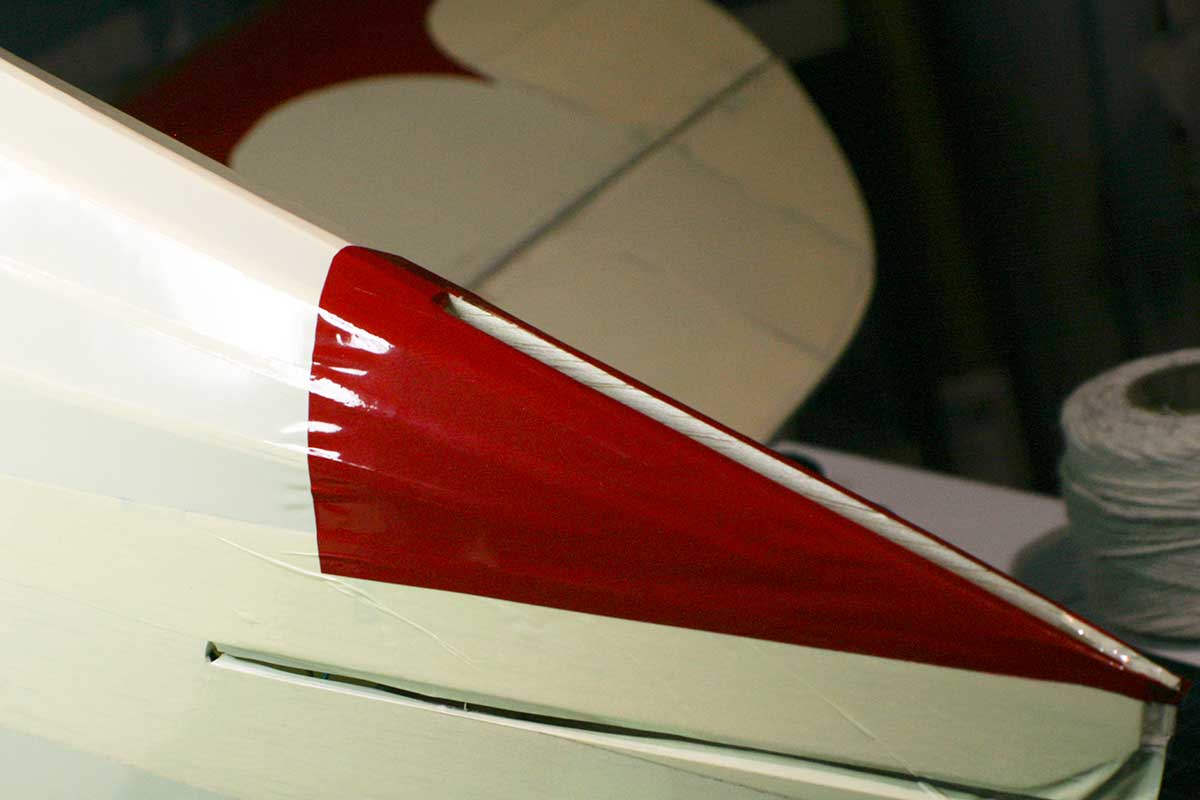
… and the tiny vertical stabilizer. 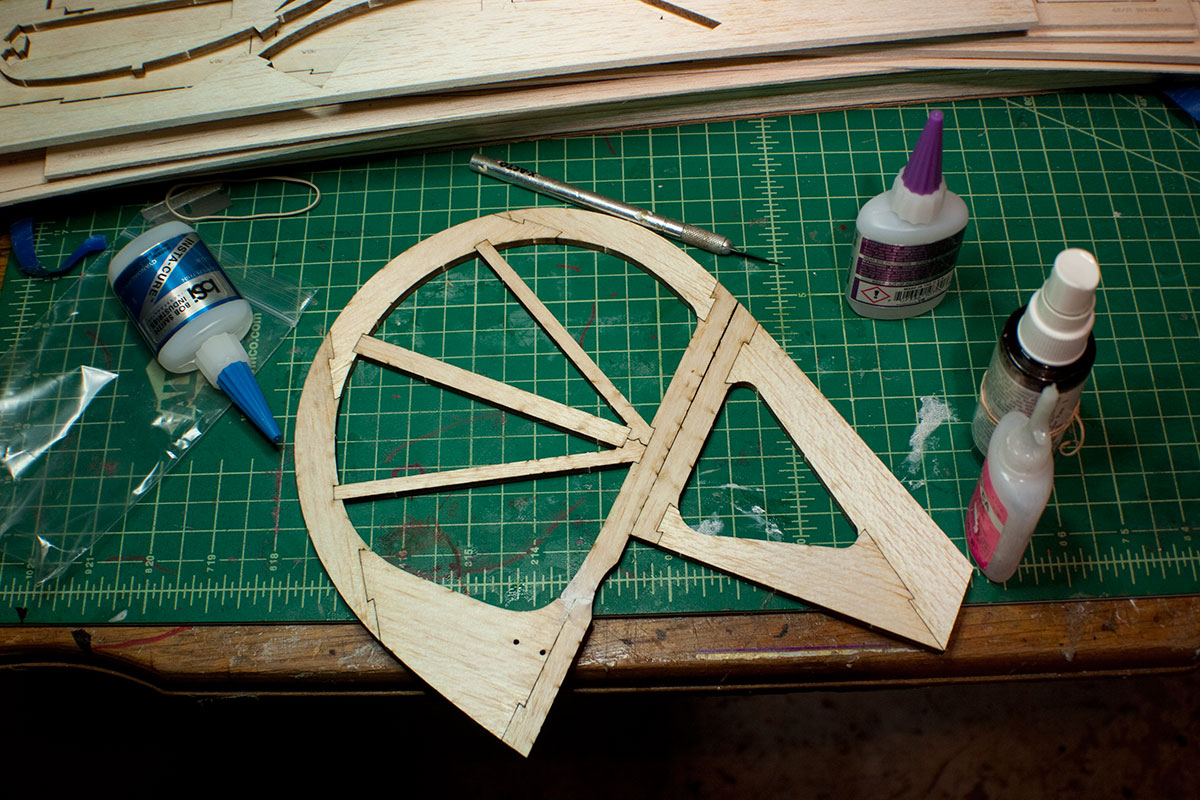
Assembling the fuselage ‘crutch.’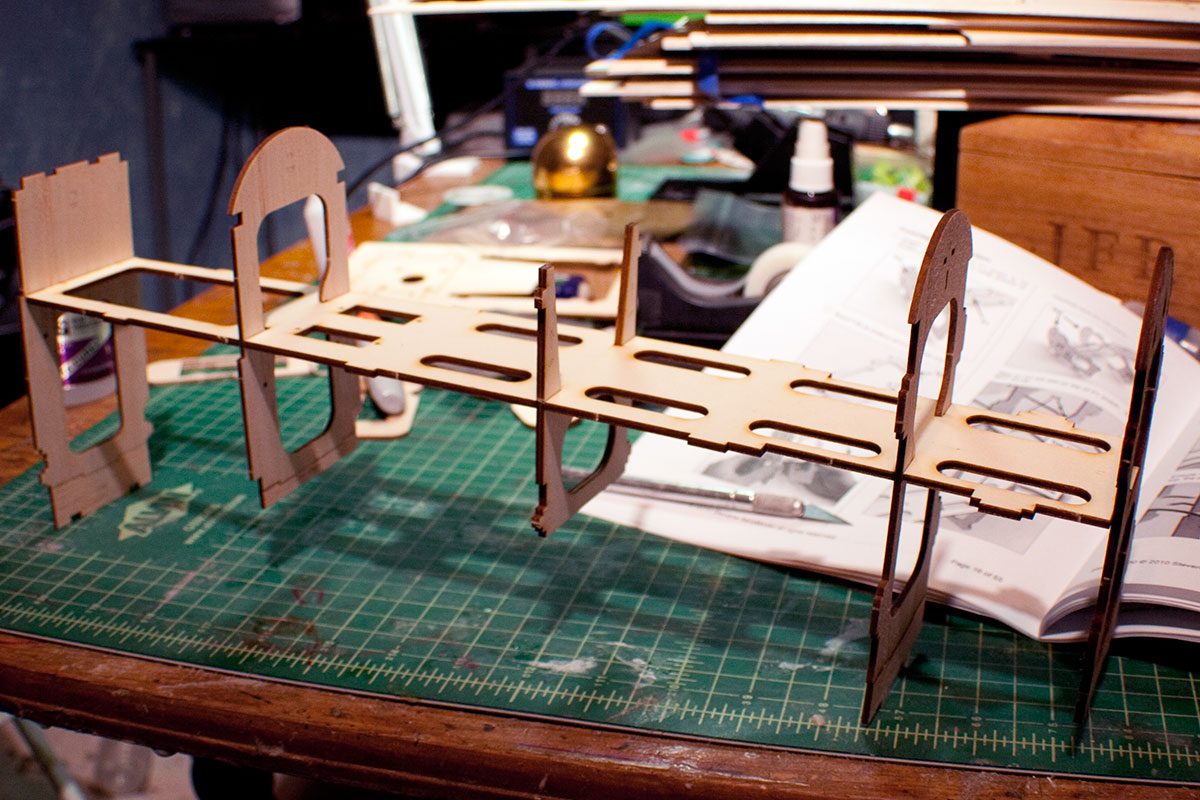 Gluing the right fuselage doubler in place.
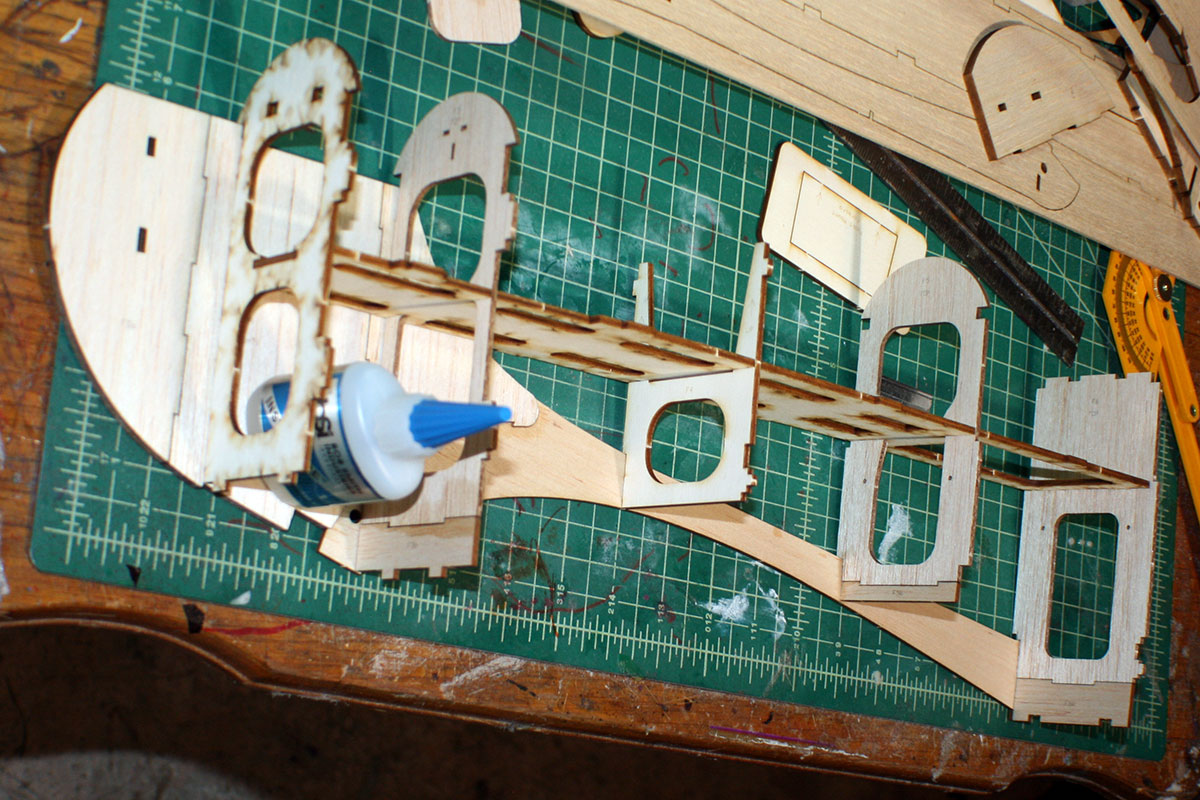 Fuselage side.
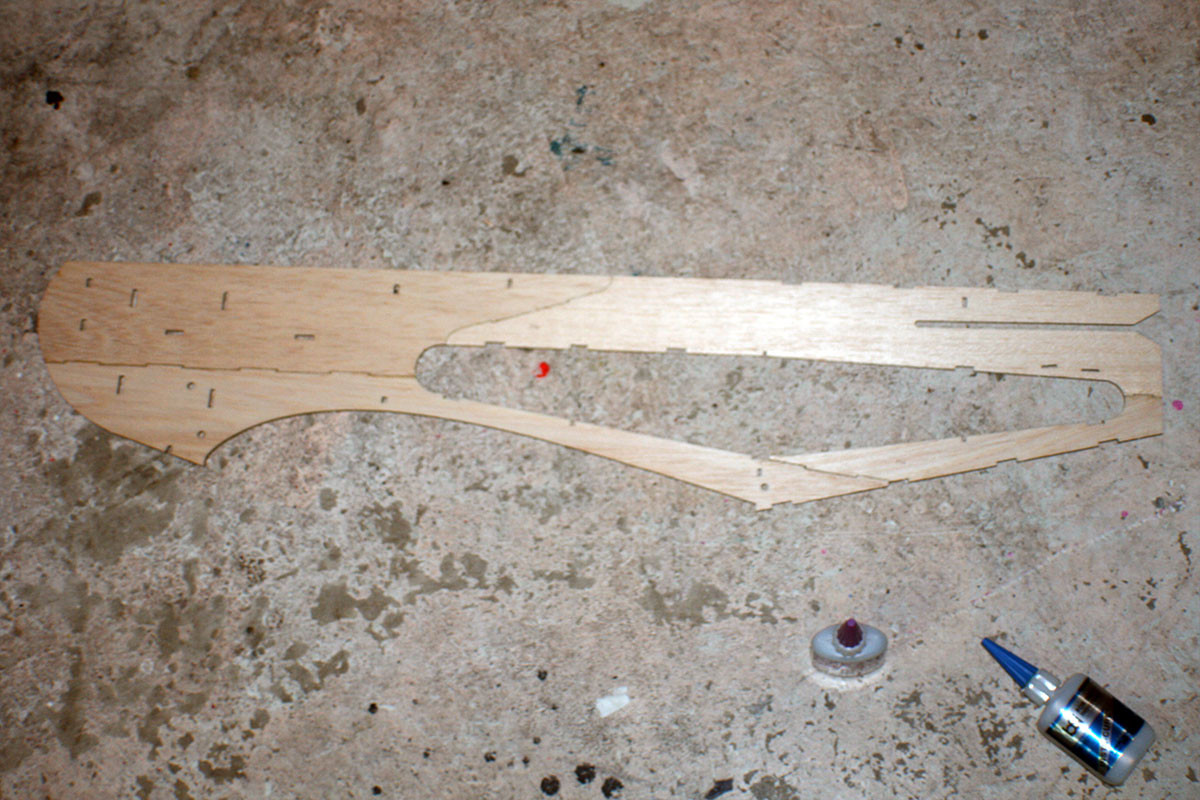 Right fuselage side glued to the doubler.
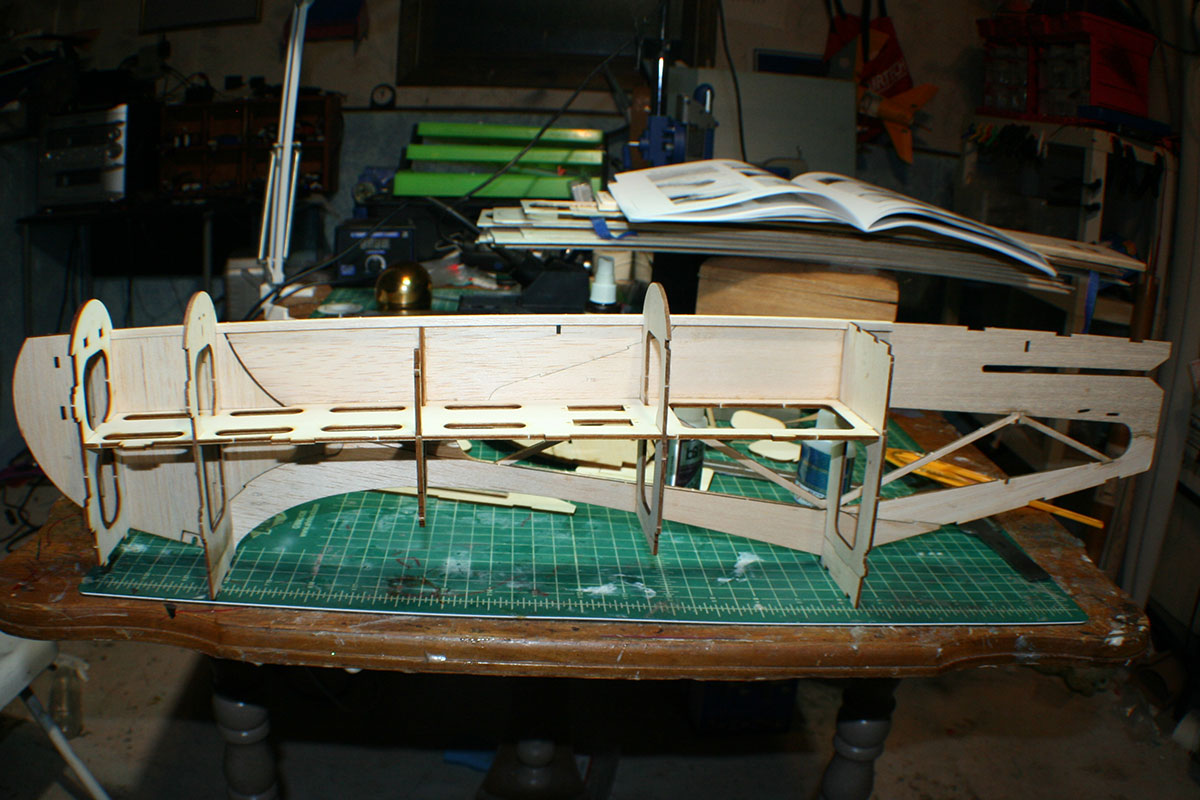
 Now, repeat the process with the left doubler…
 …and the left side.
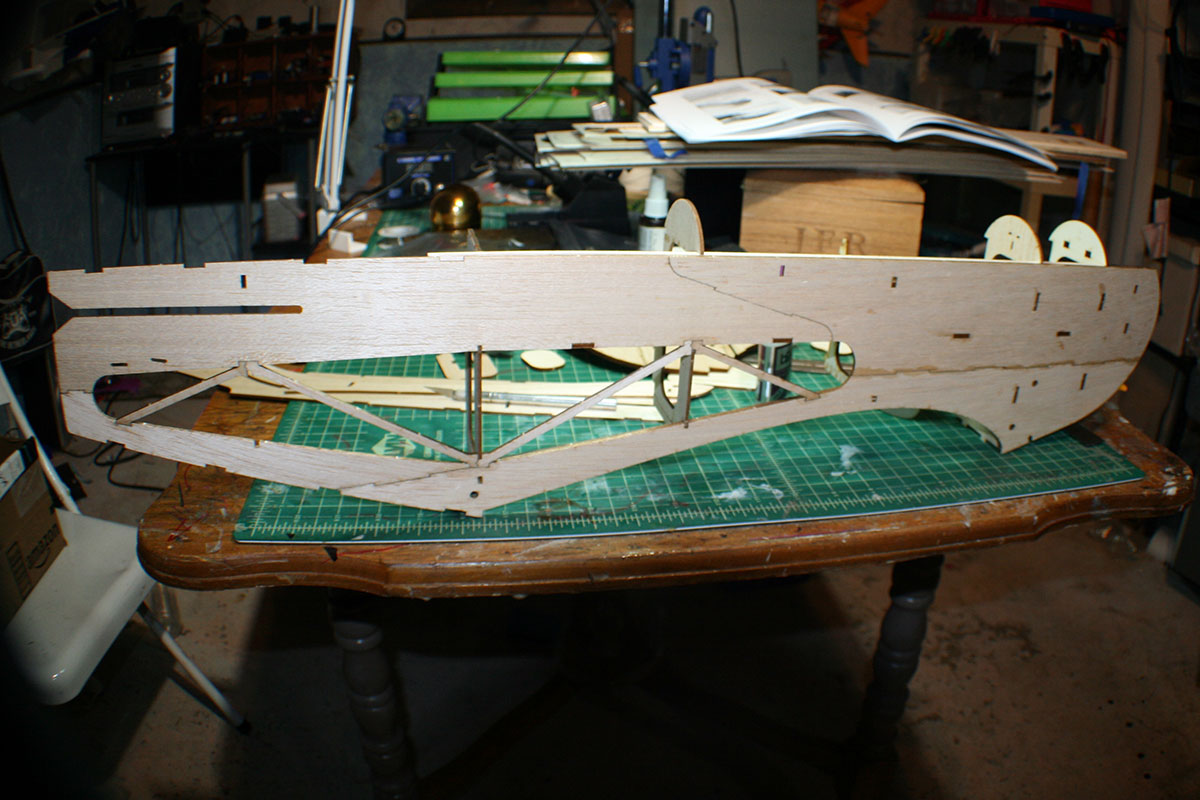
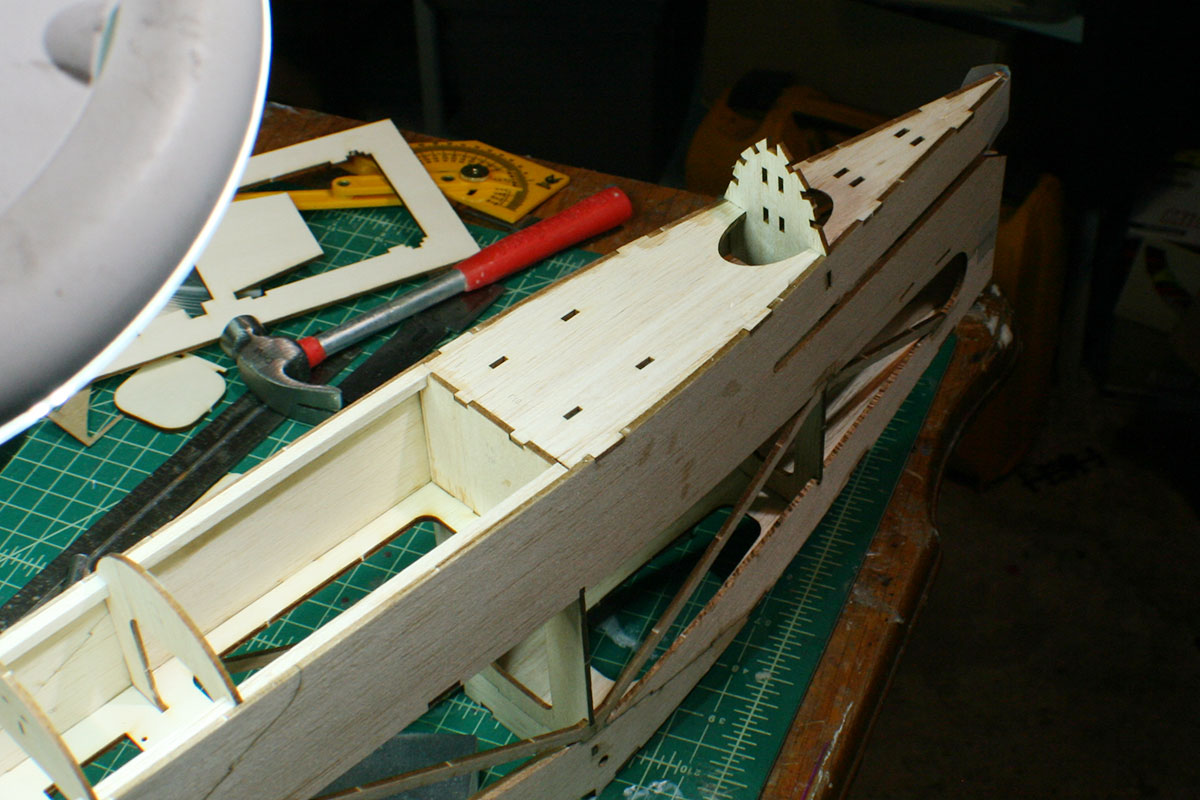
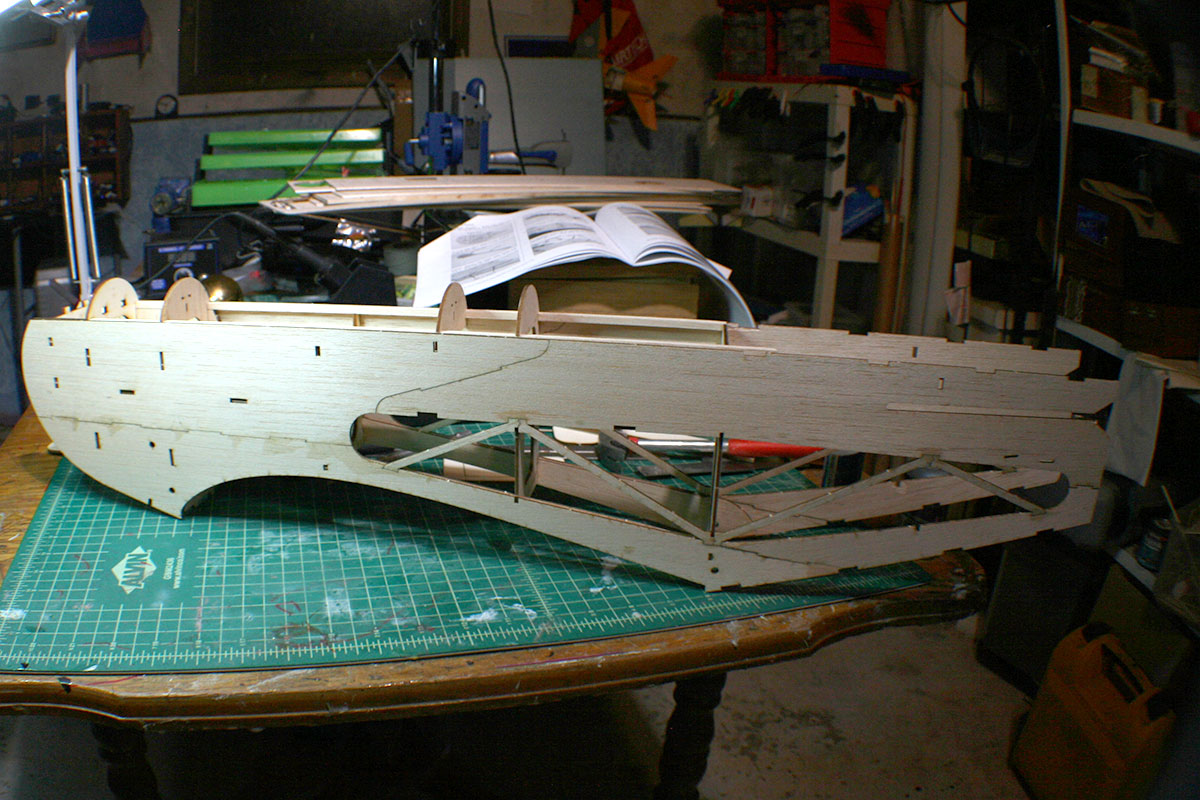 Beginning assembly of the back, top of the fuselage – the ‘turtle deck’ area.
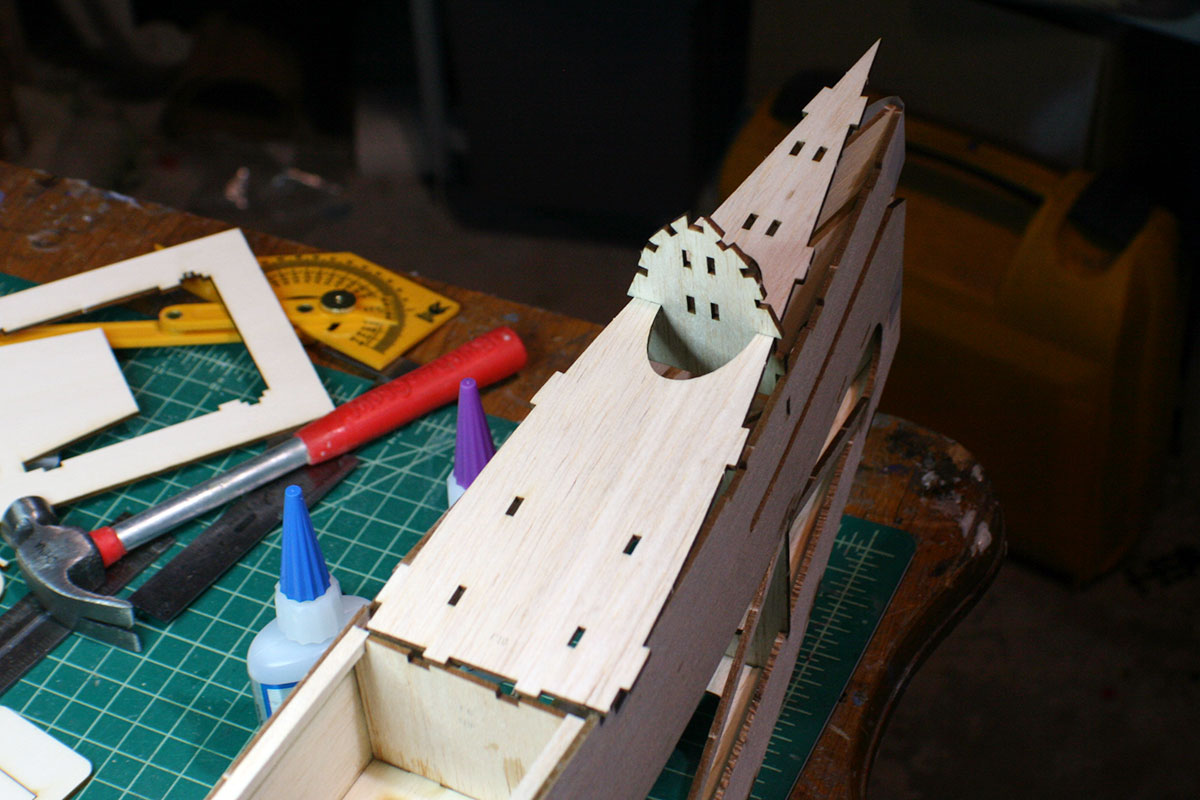
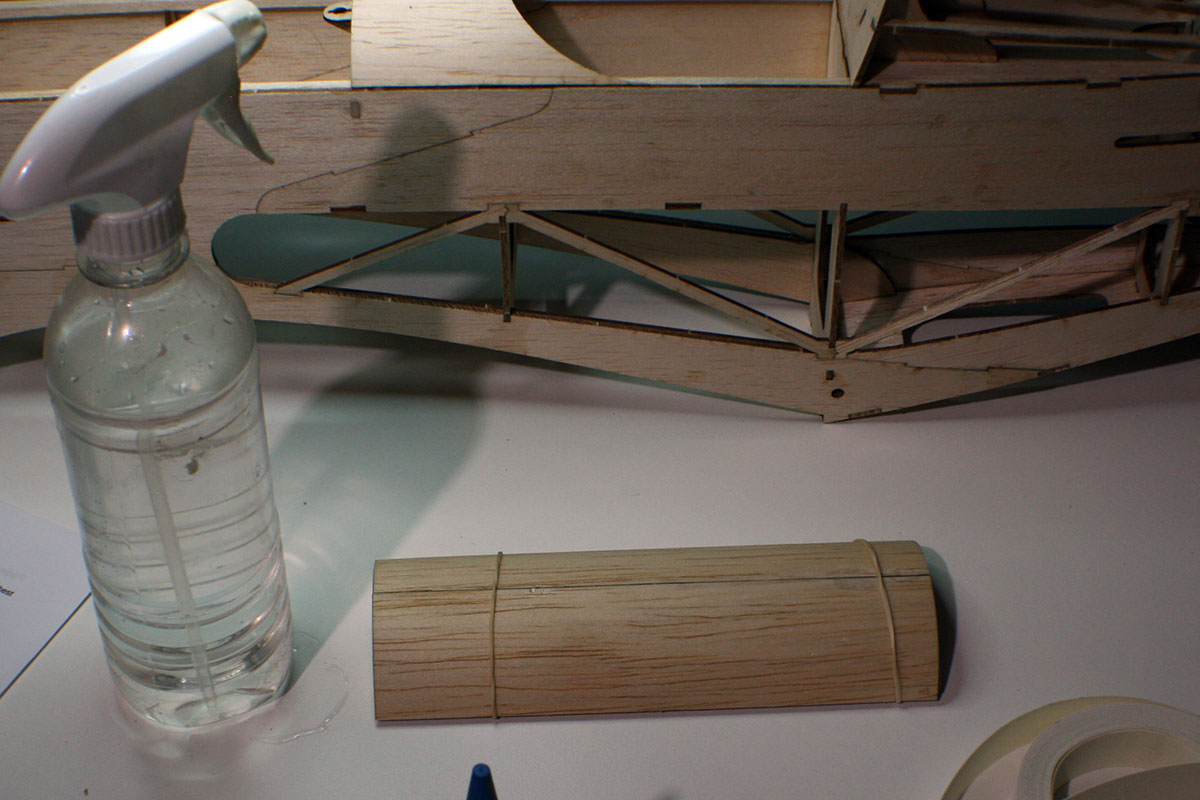
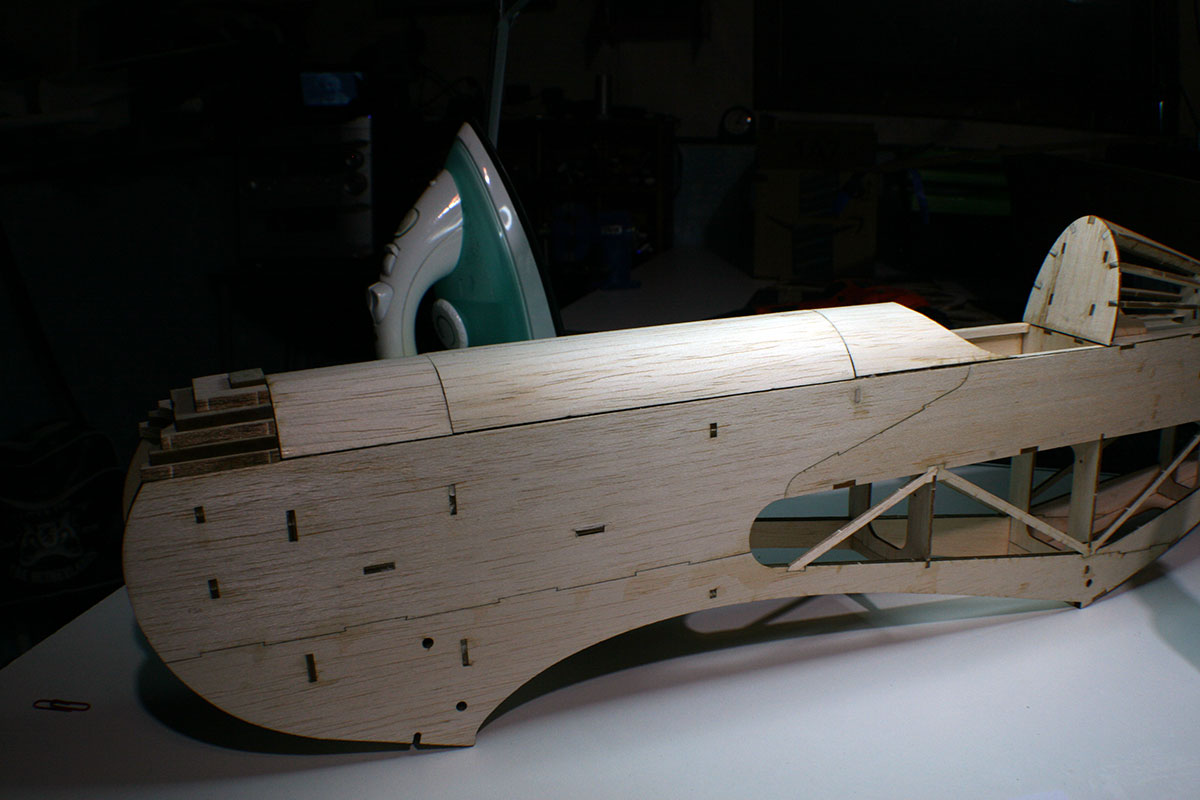
Stringers to give the turtle deck its shape.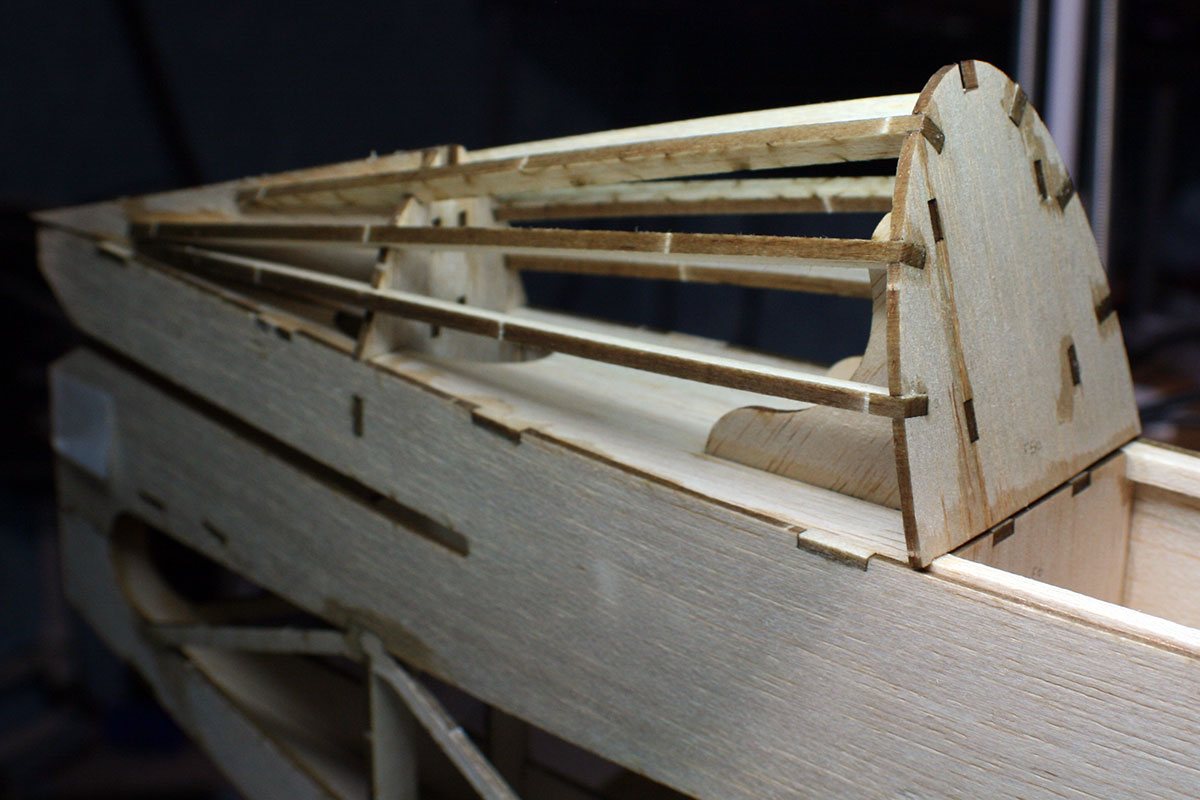 Skinning the top of the fuselage.
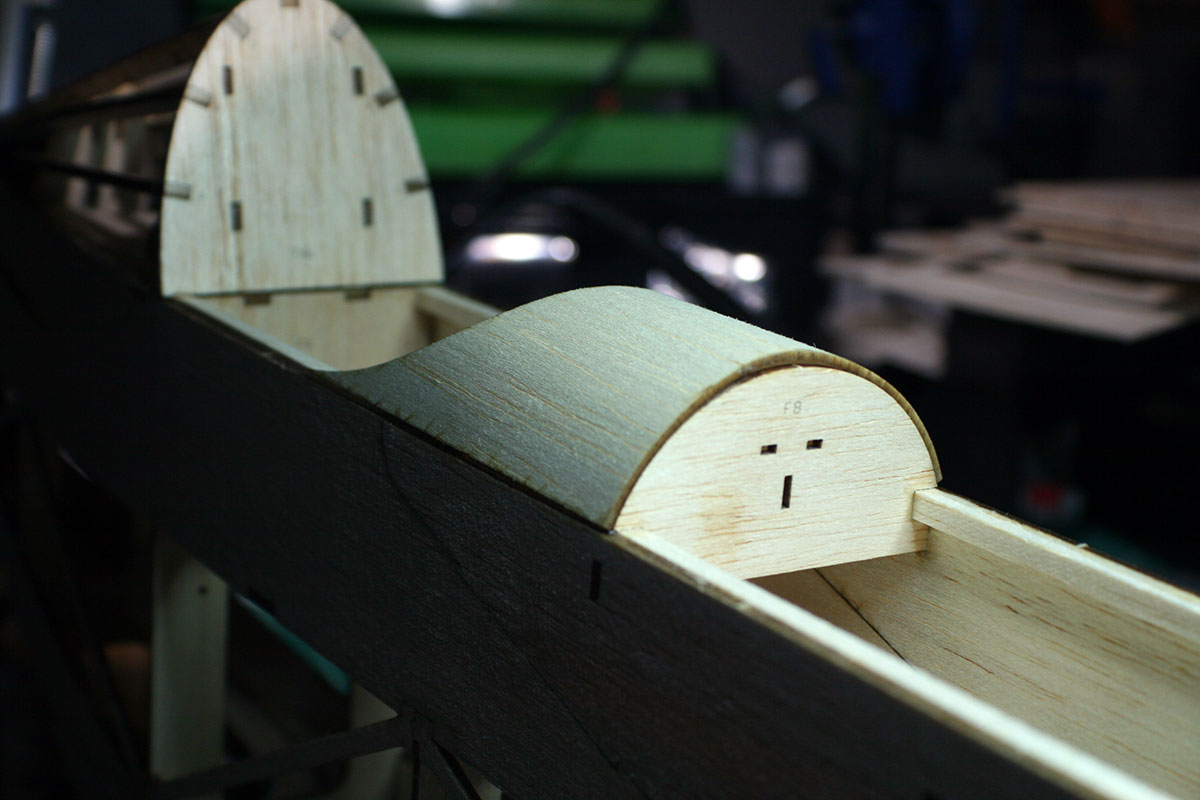
The battery hatch magnets.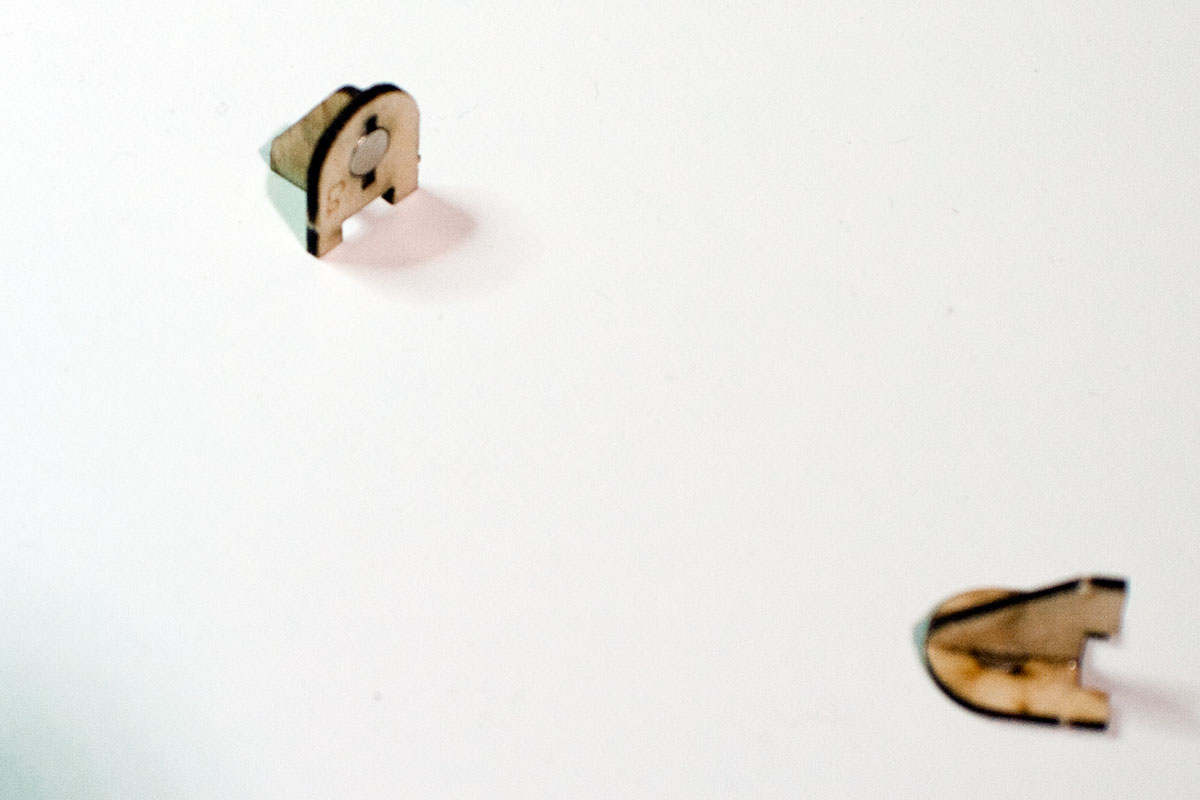
The battery hatch // in place.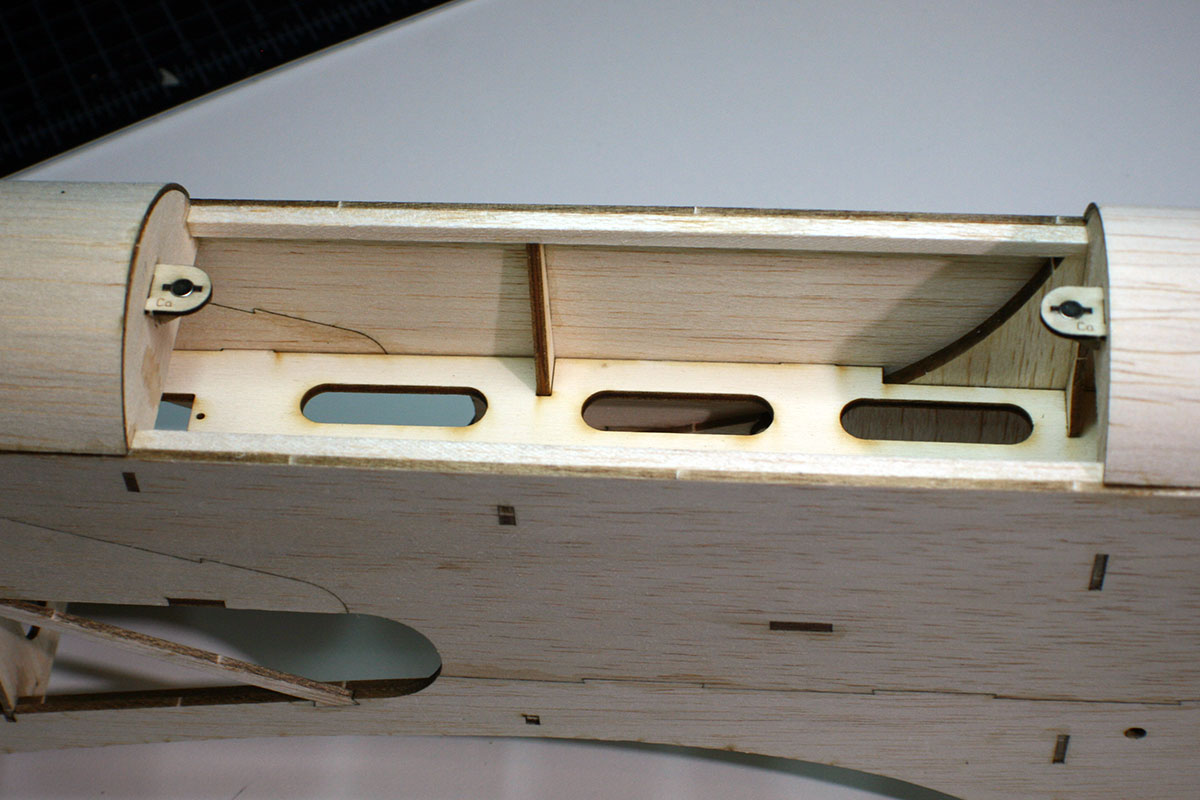
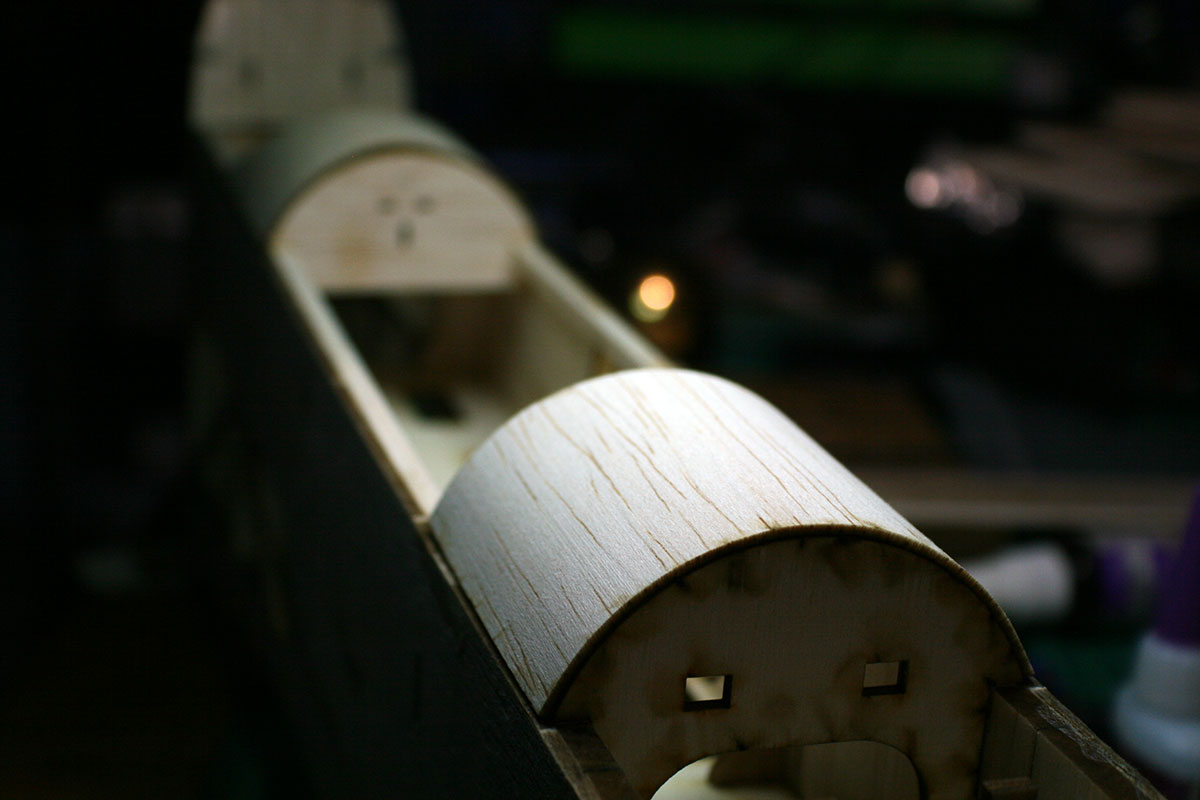
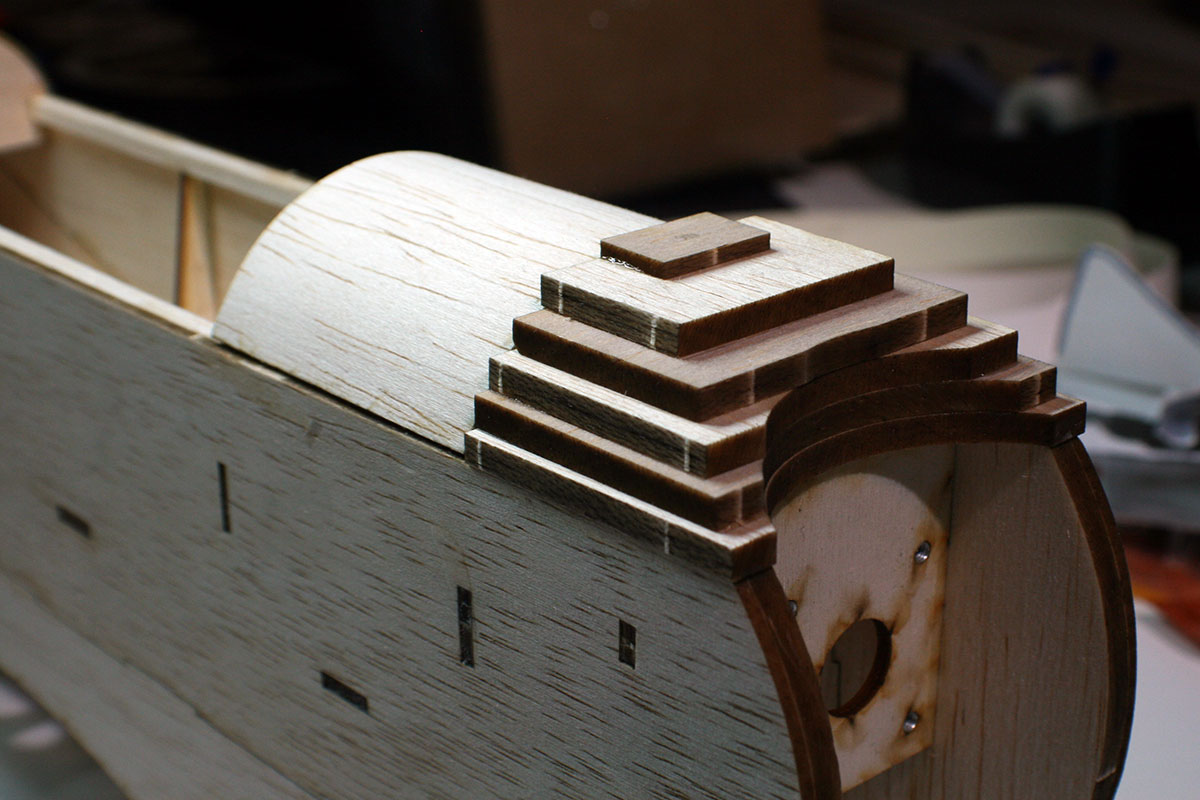
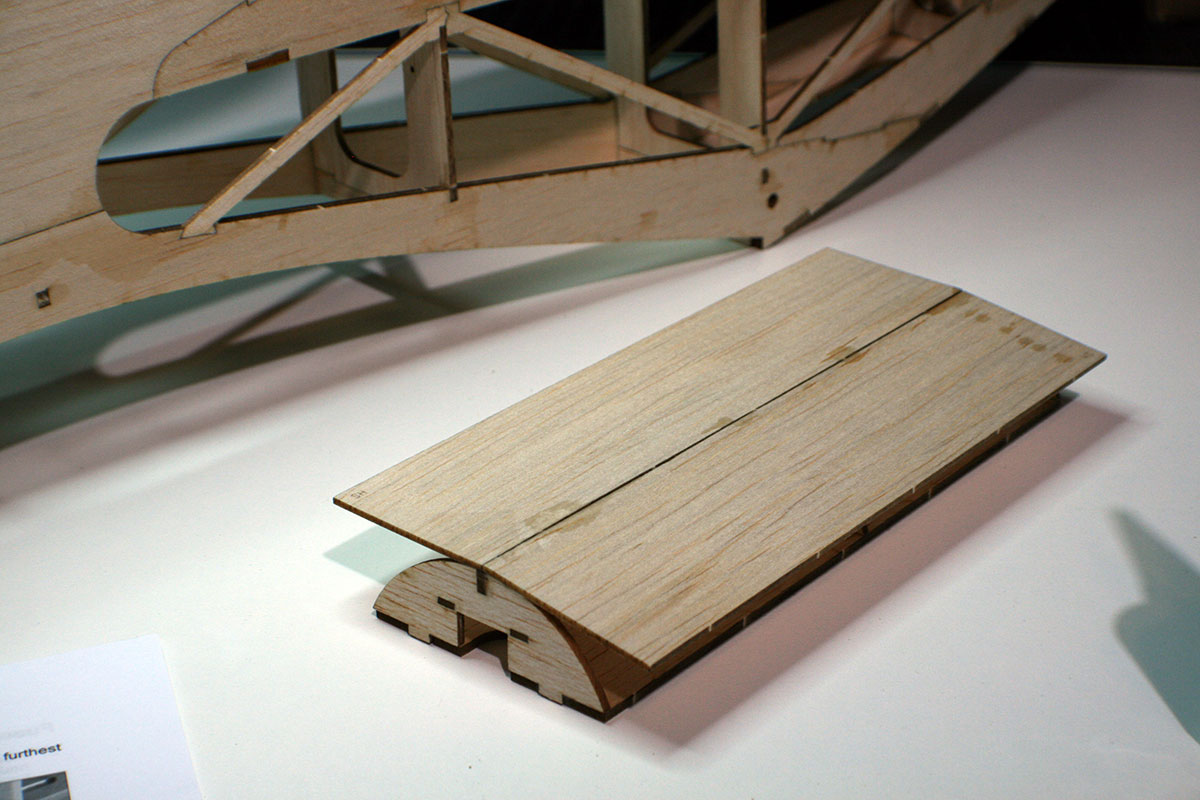
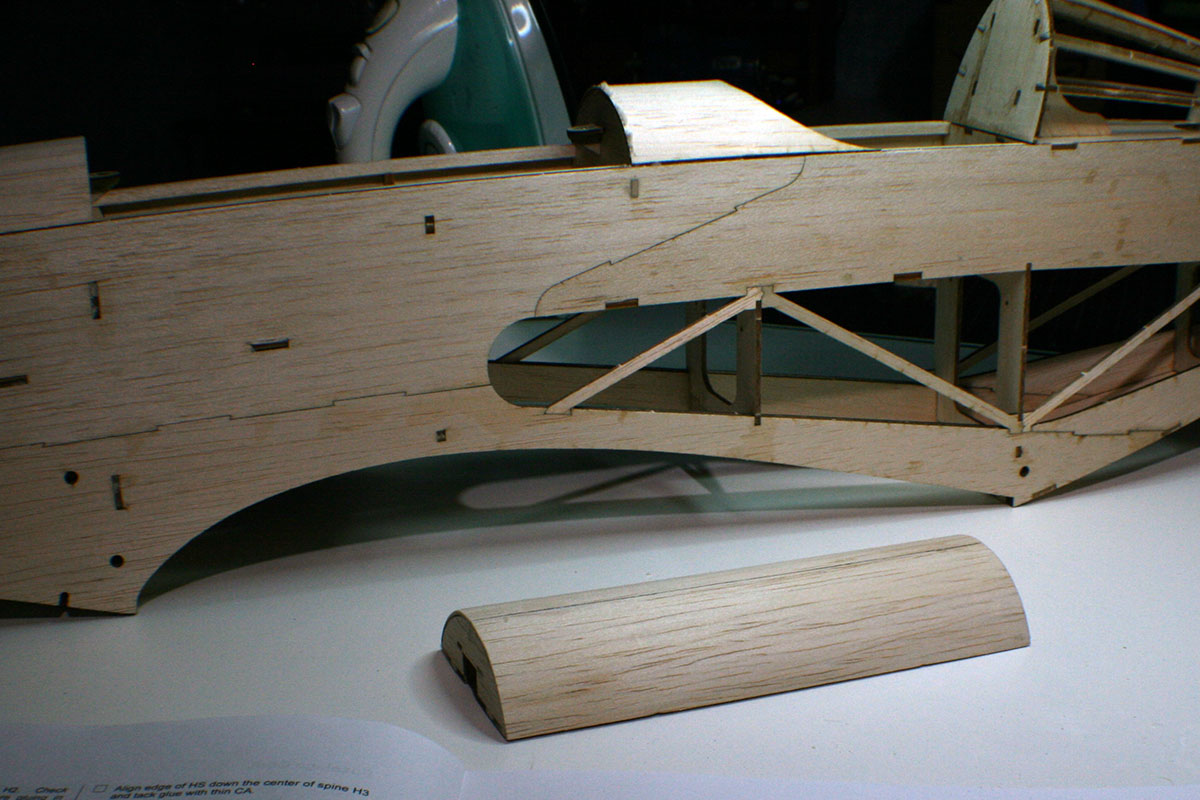
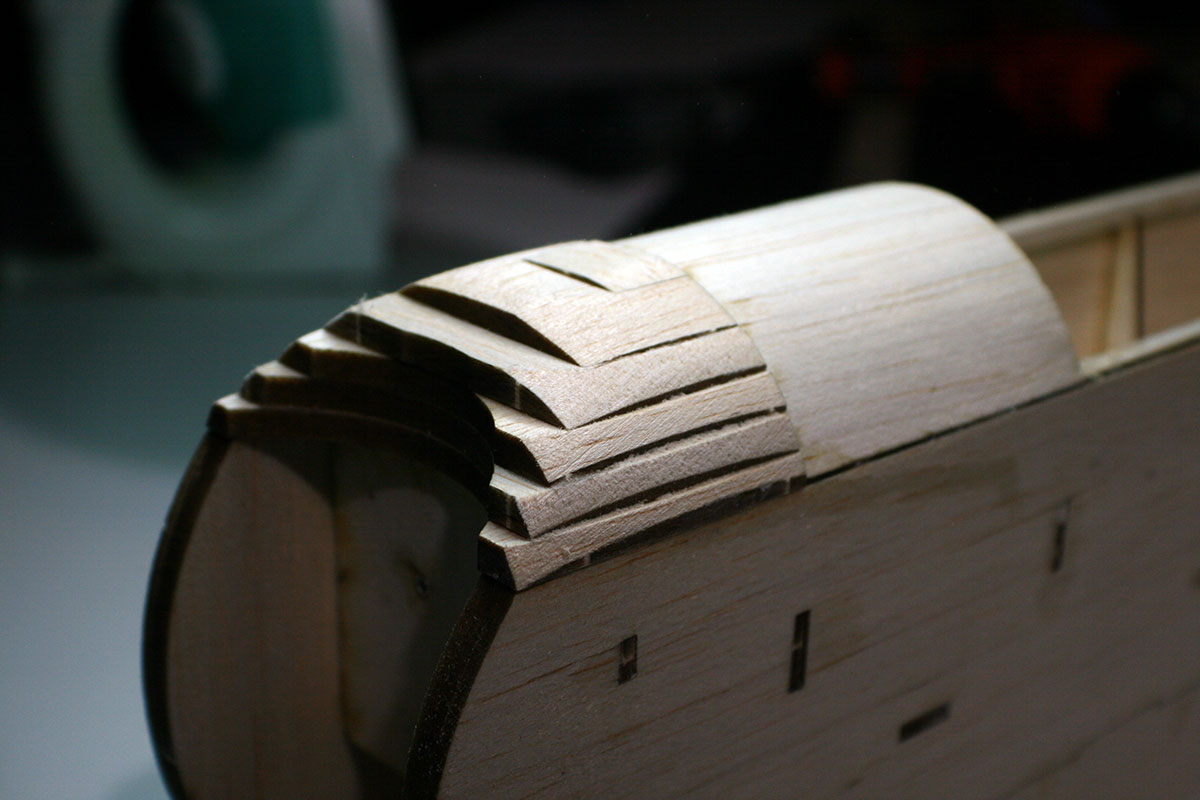
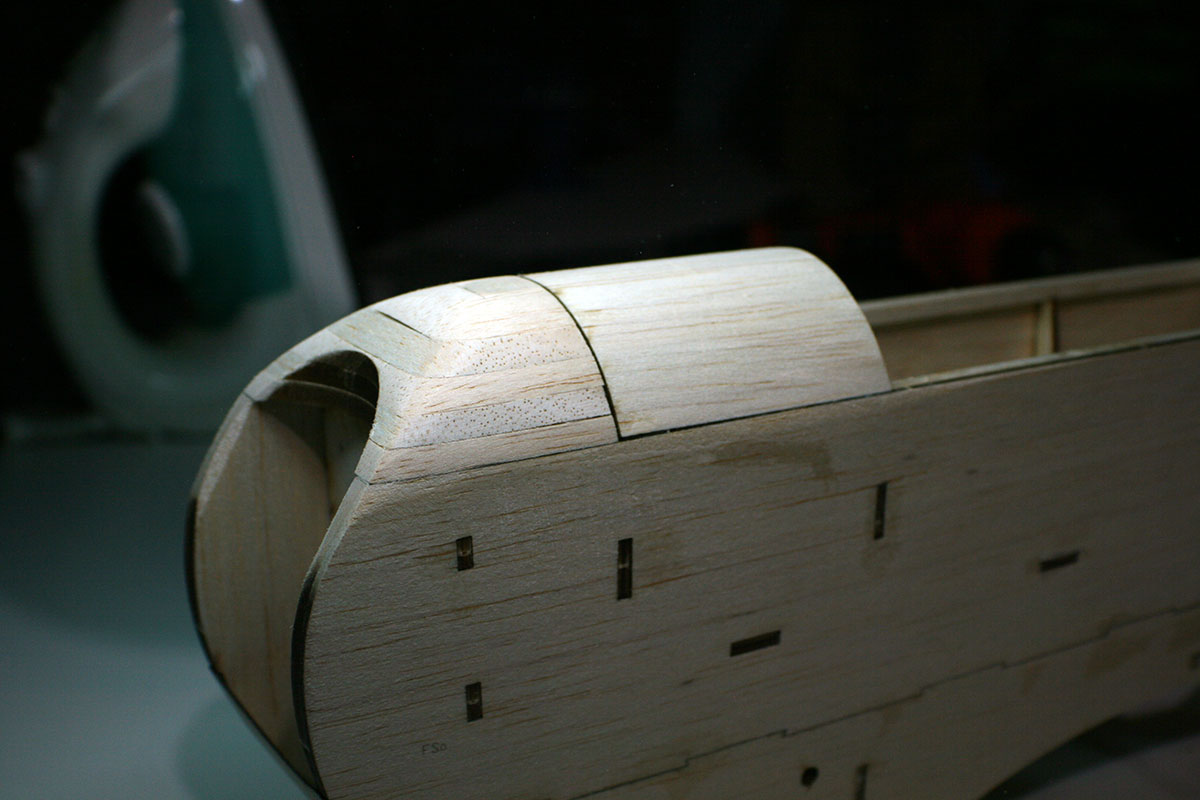
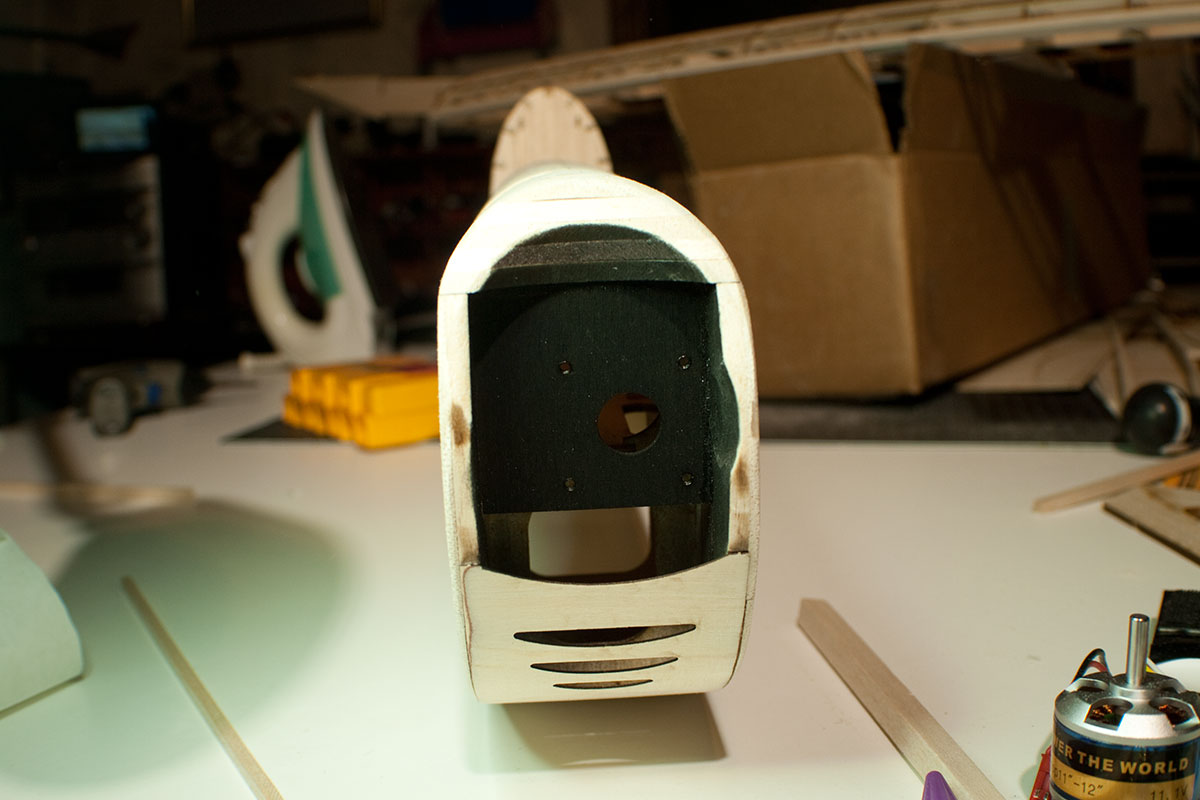
Building up the top of the nose, step-by-step, to be sanded into shape later.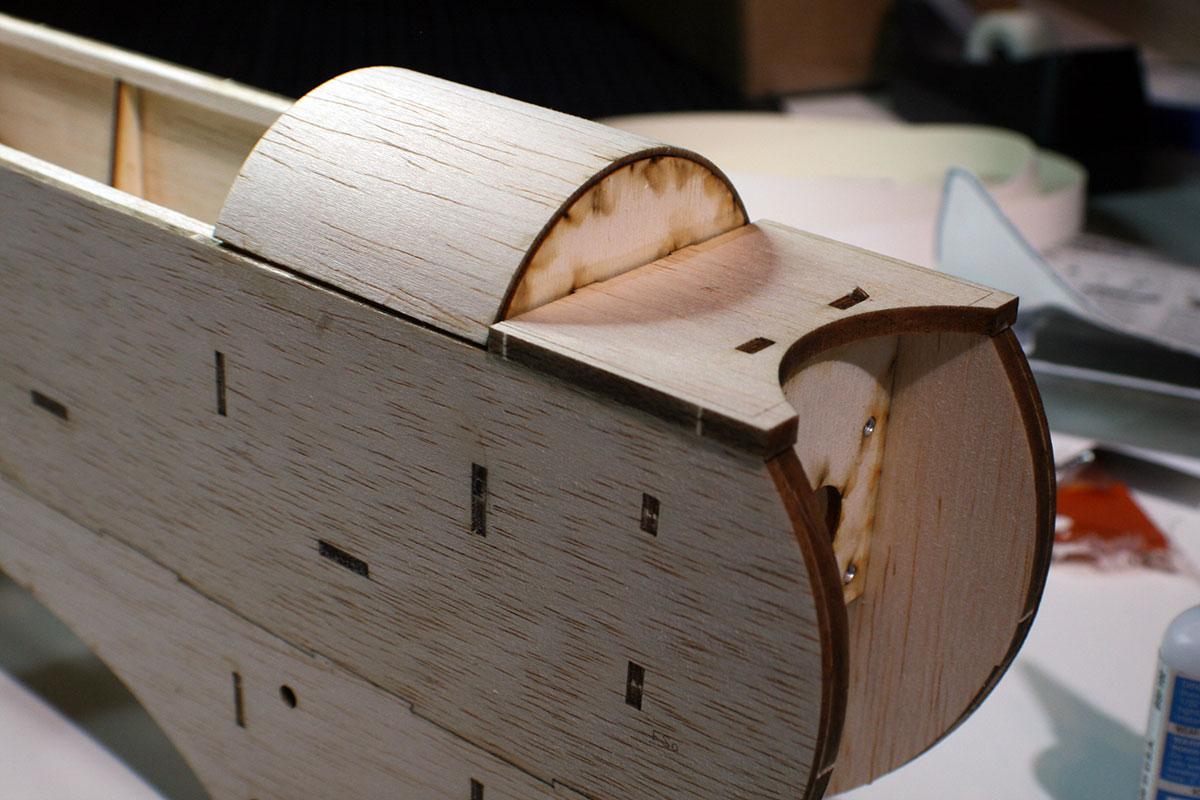

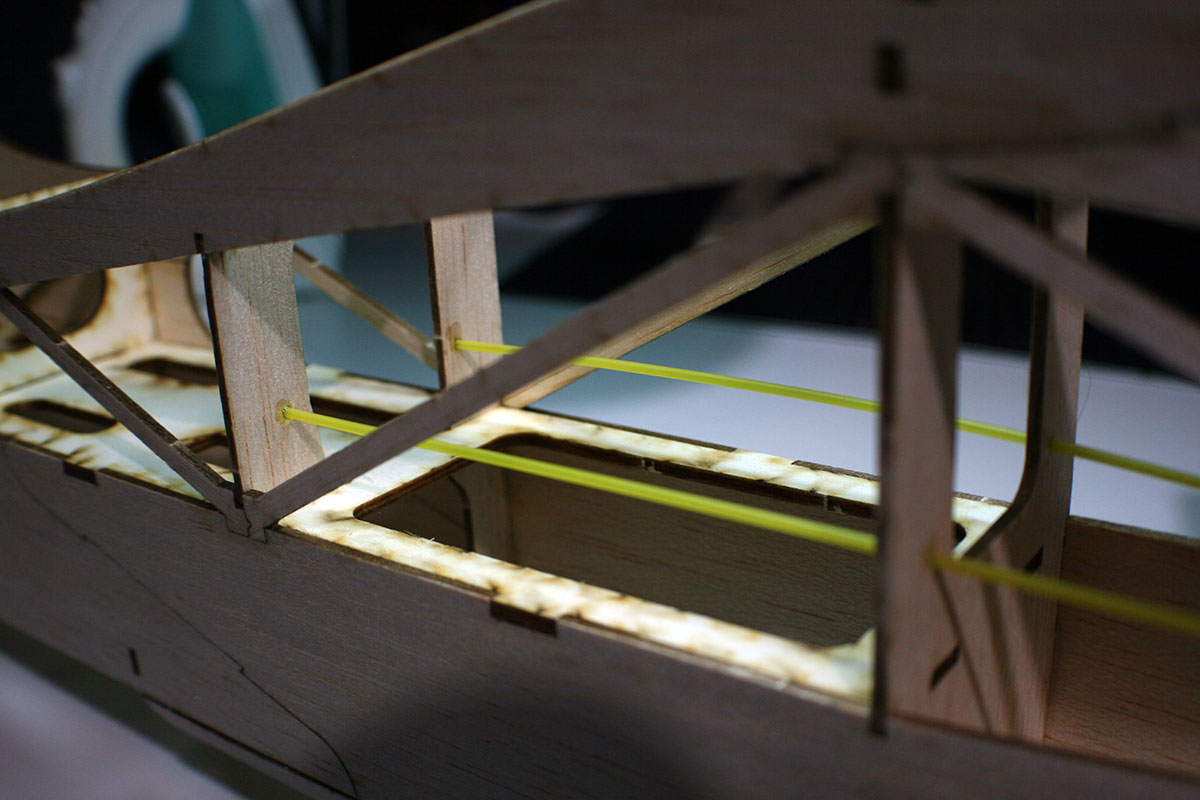
The landing gear wire will go through here.
The bottom ‘grill’ is in place. The plane is on its back in this photo; these slots will be beneath the motor.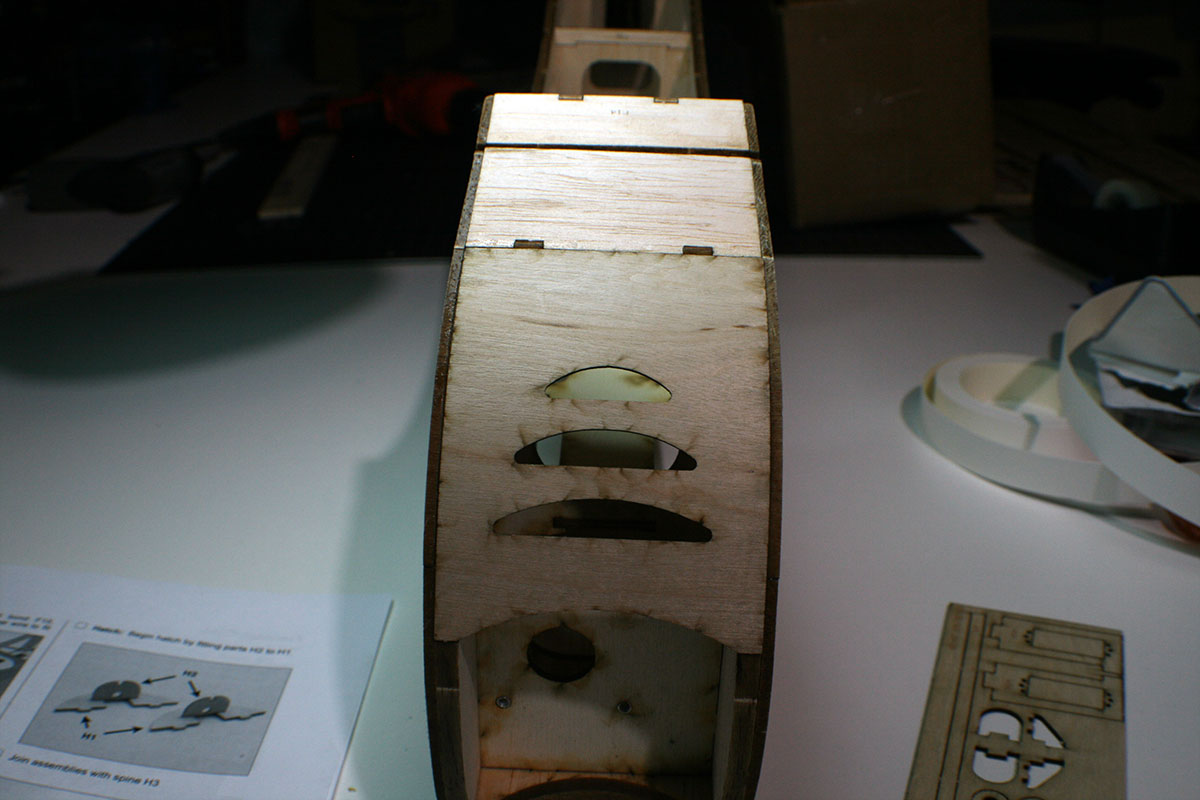
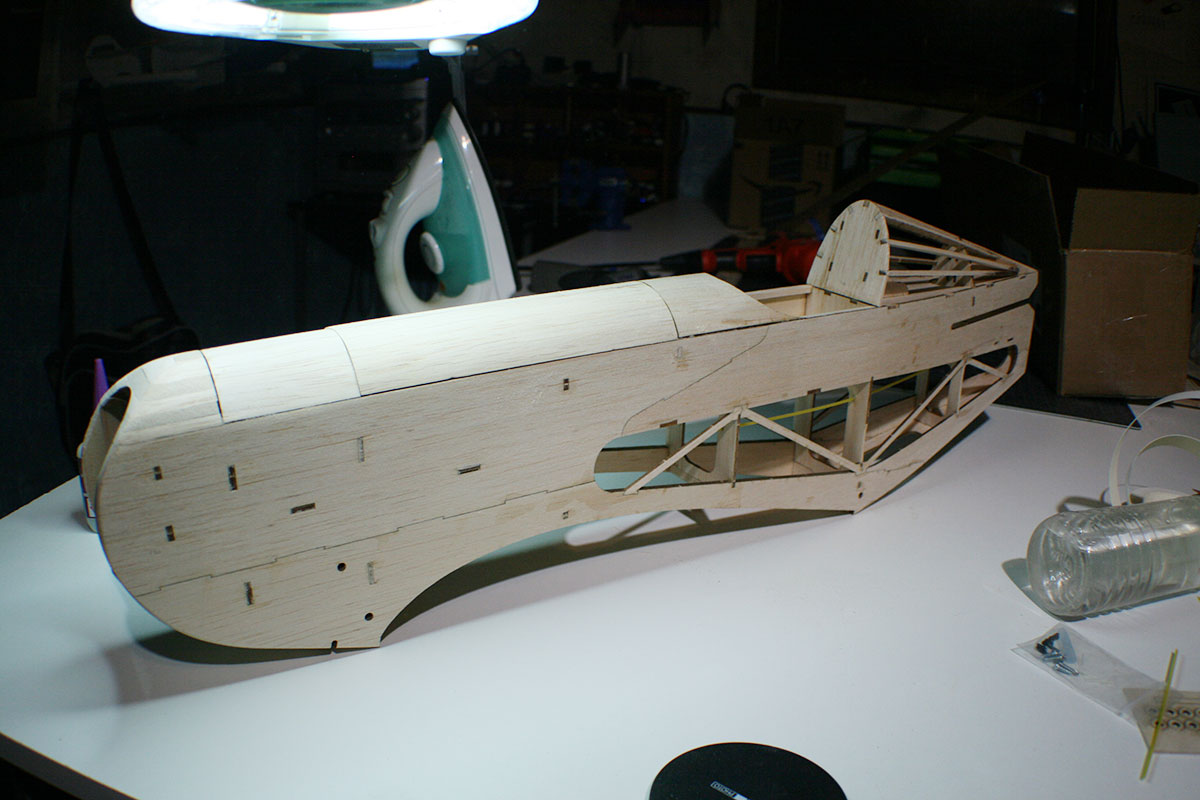
Here’s the progress so far.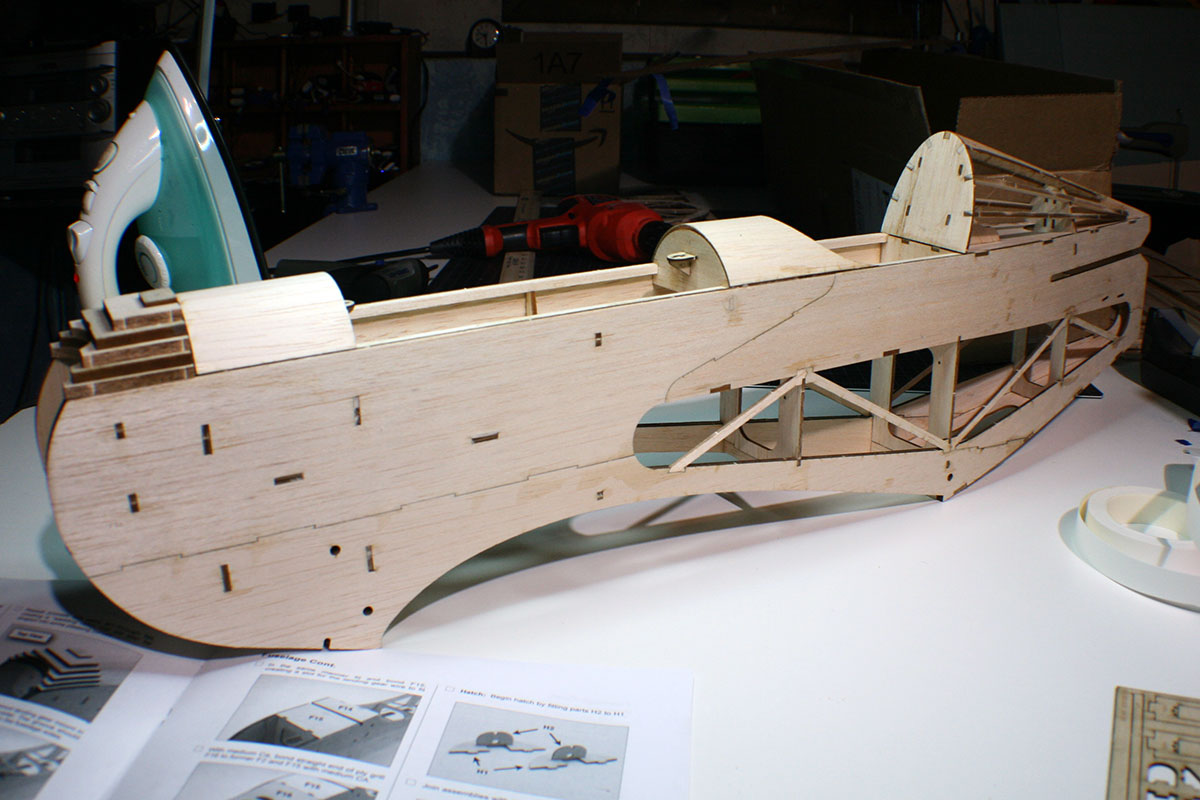
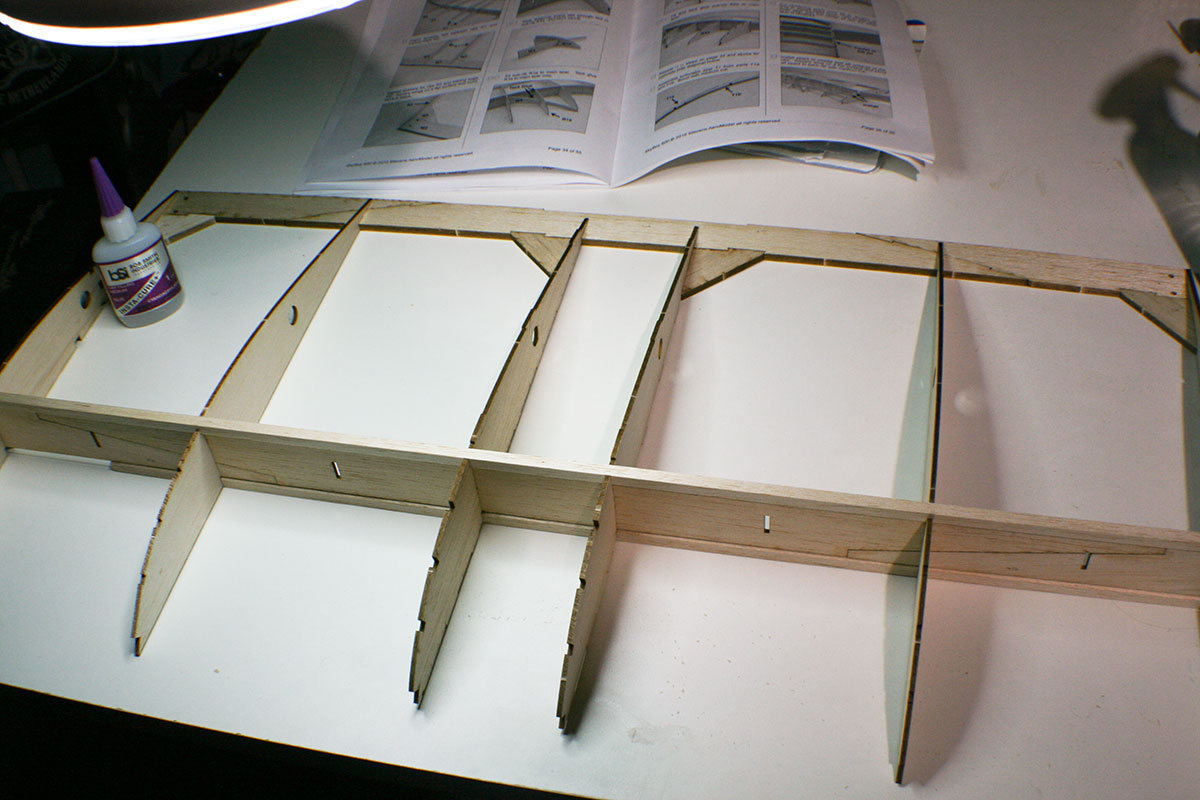
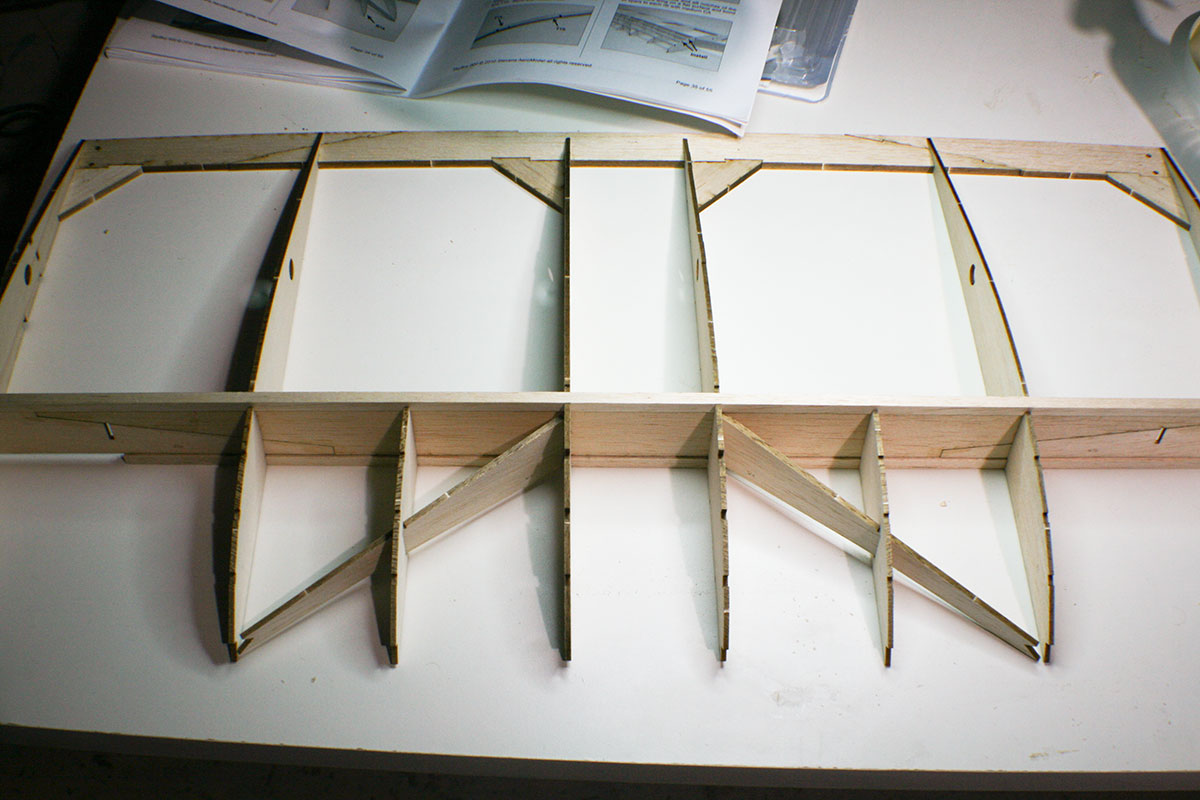
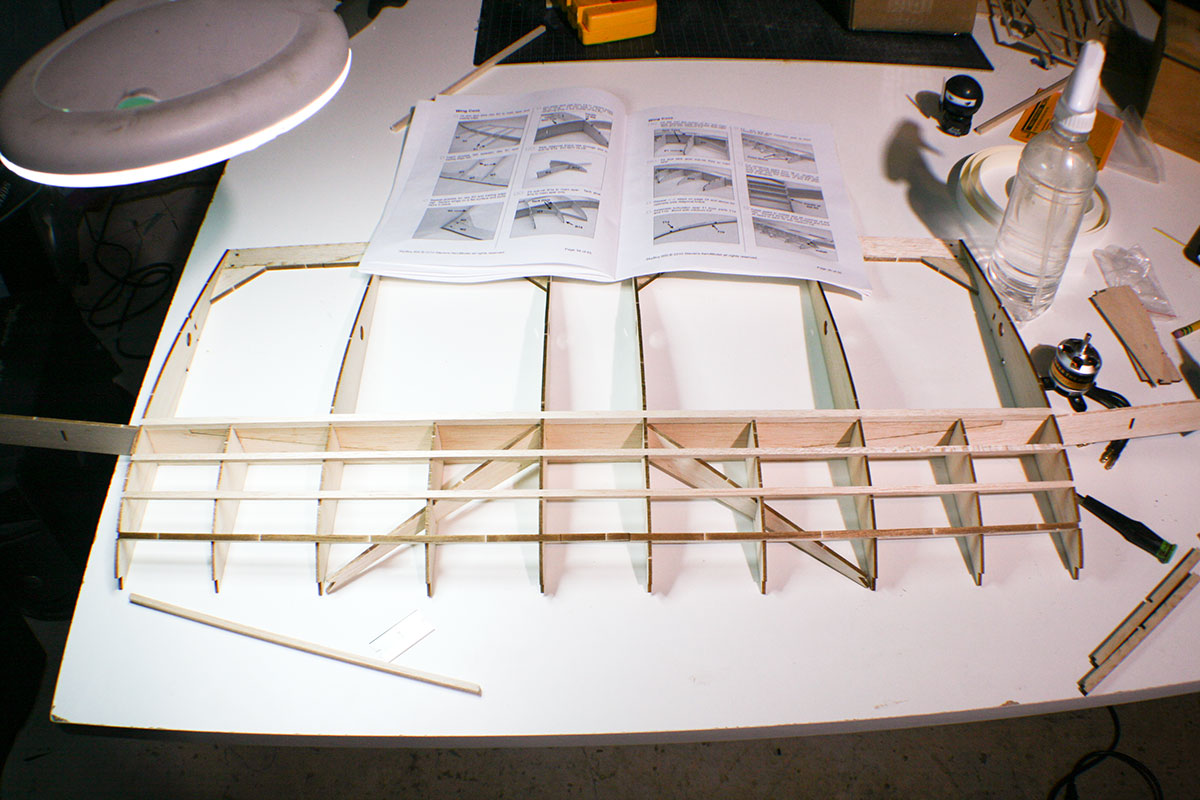
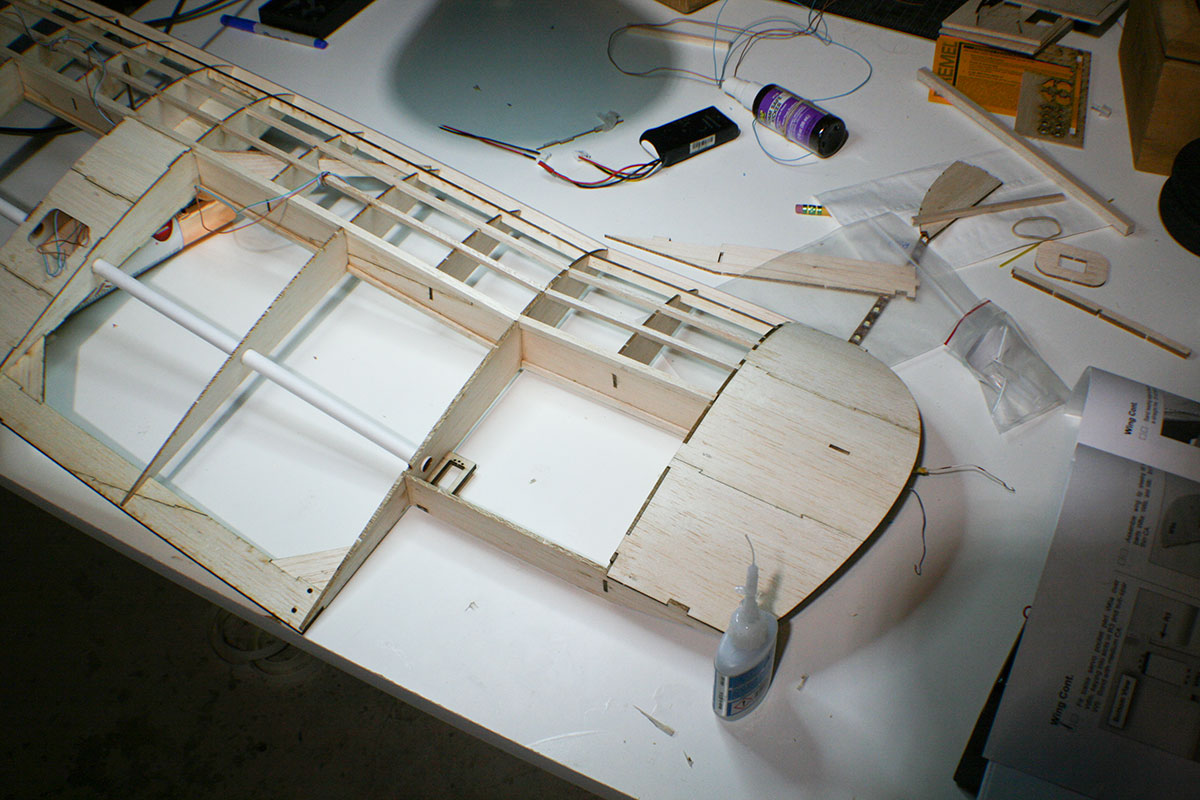
Let’s build a wing!

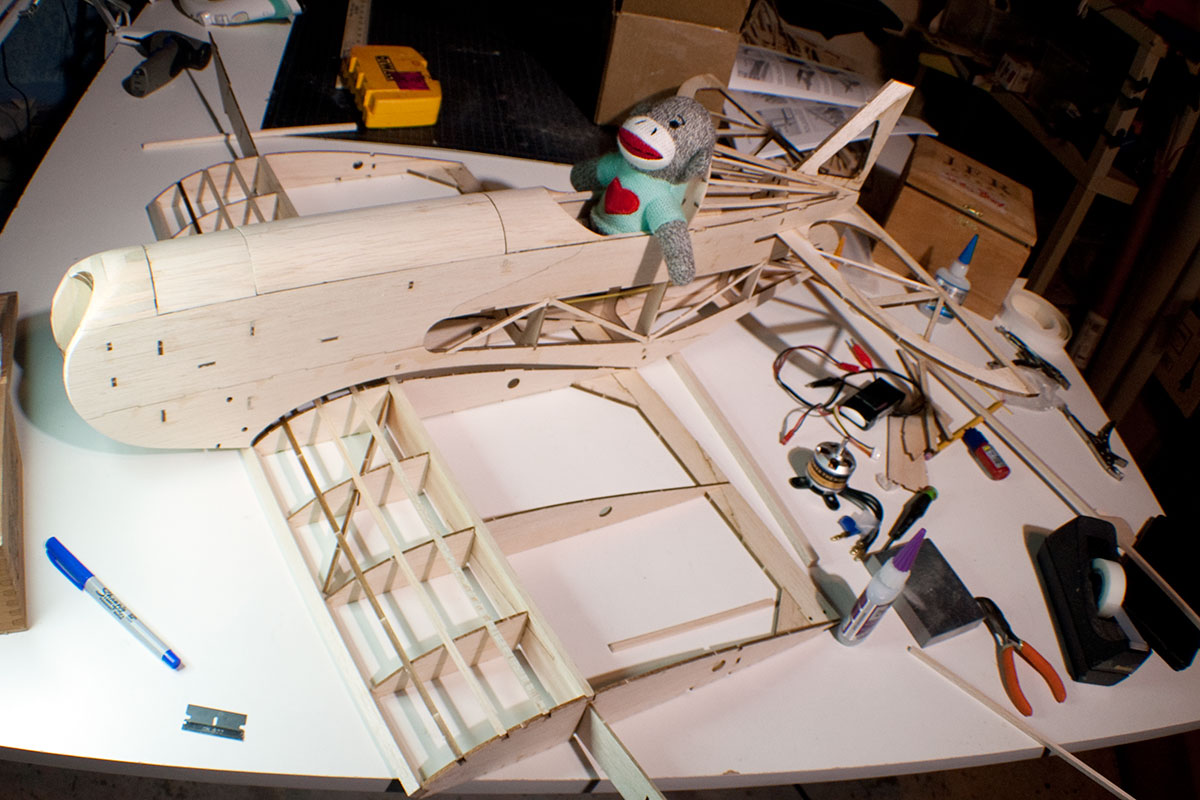
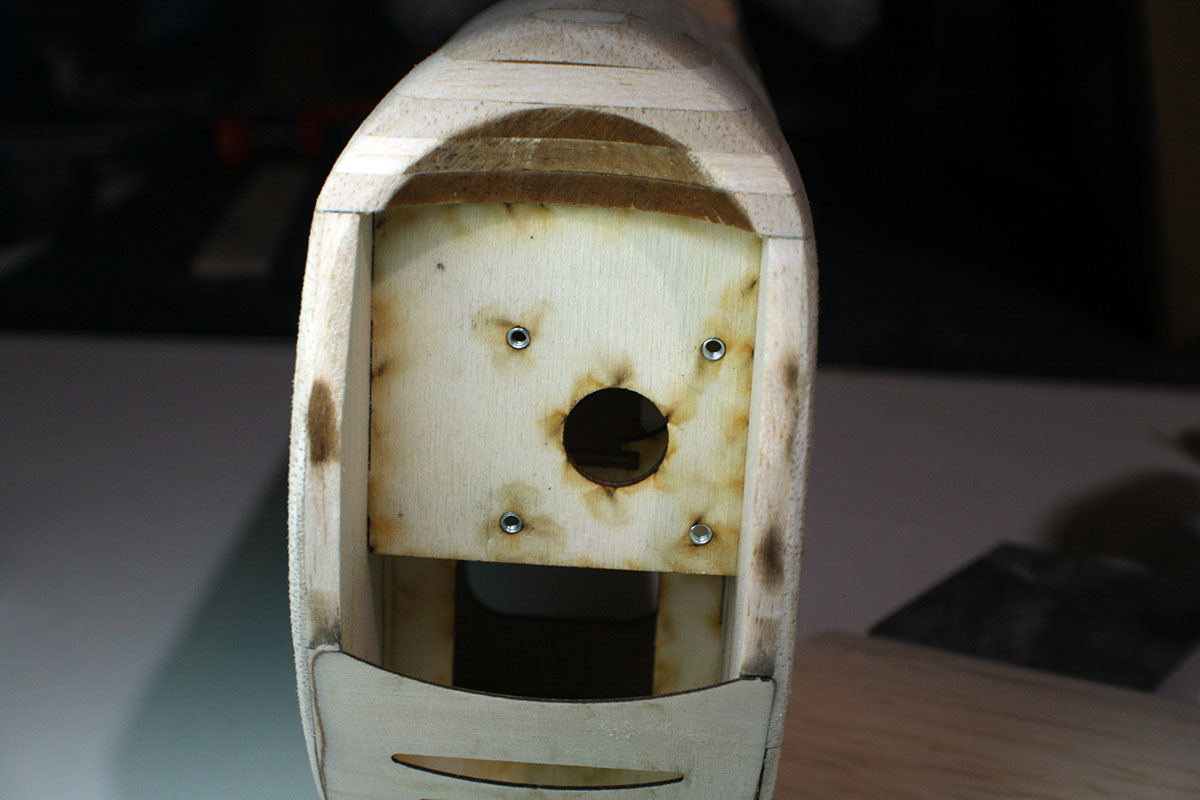
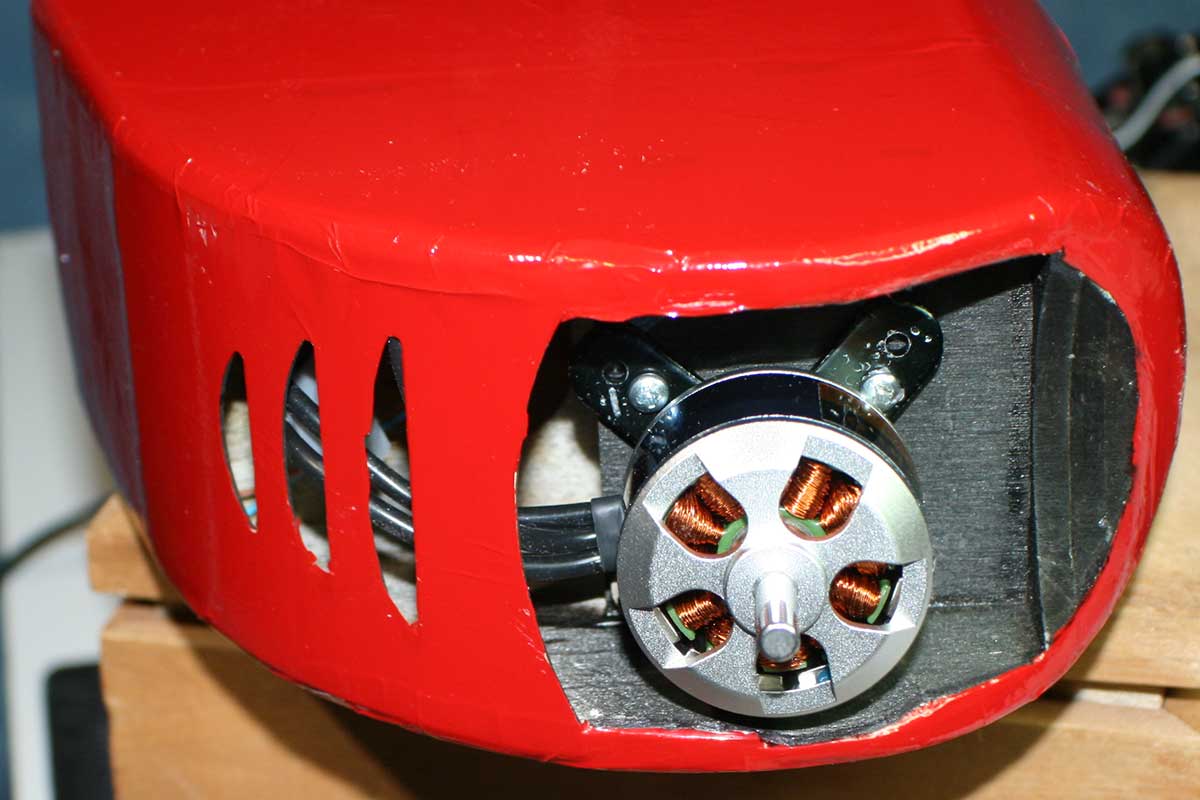
I took some time out from wing building to paint the engine compartment black.
I’ve determined that this plane must light up at night. I’ve gotta get everything in place before the covering goes on.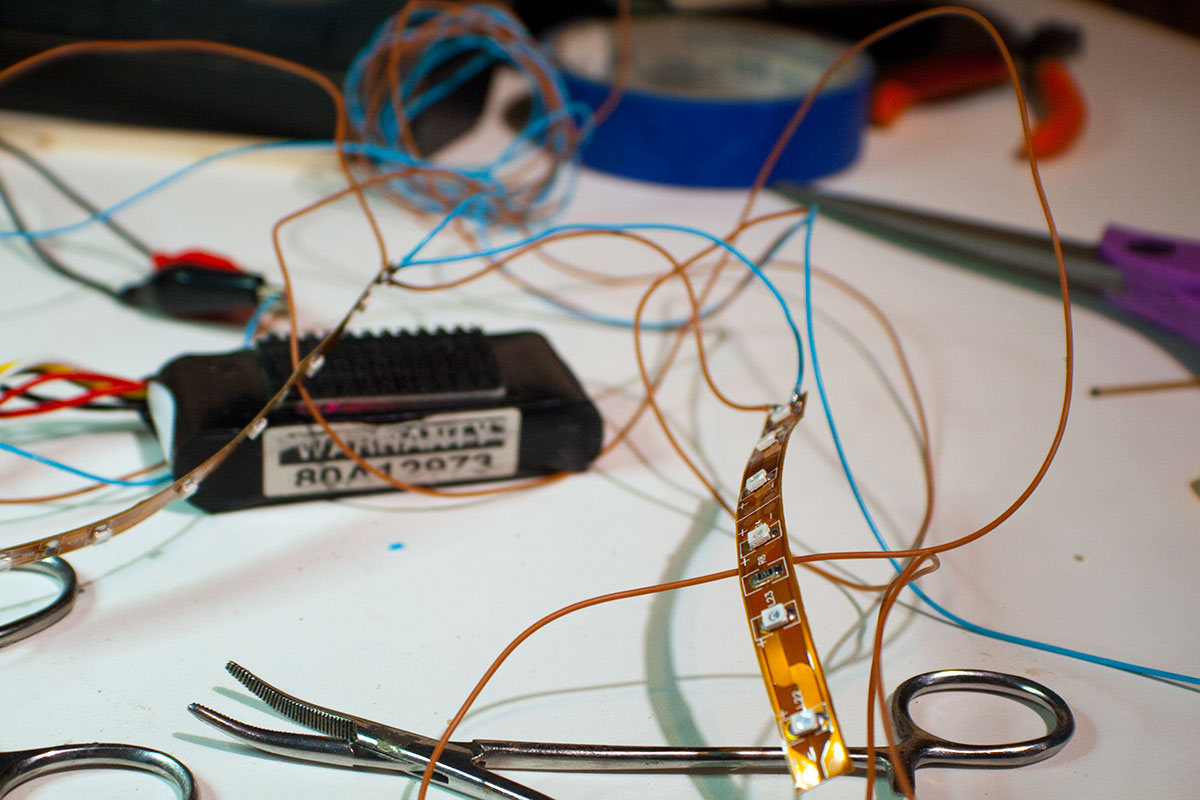
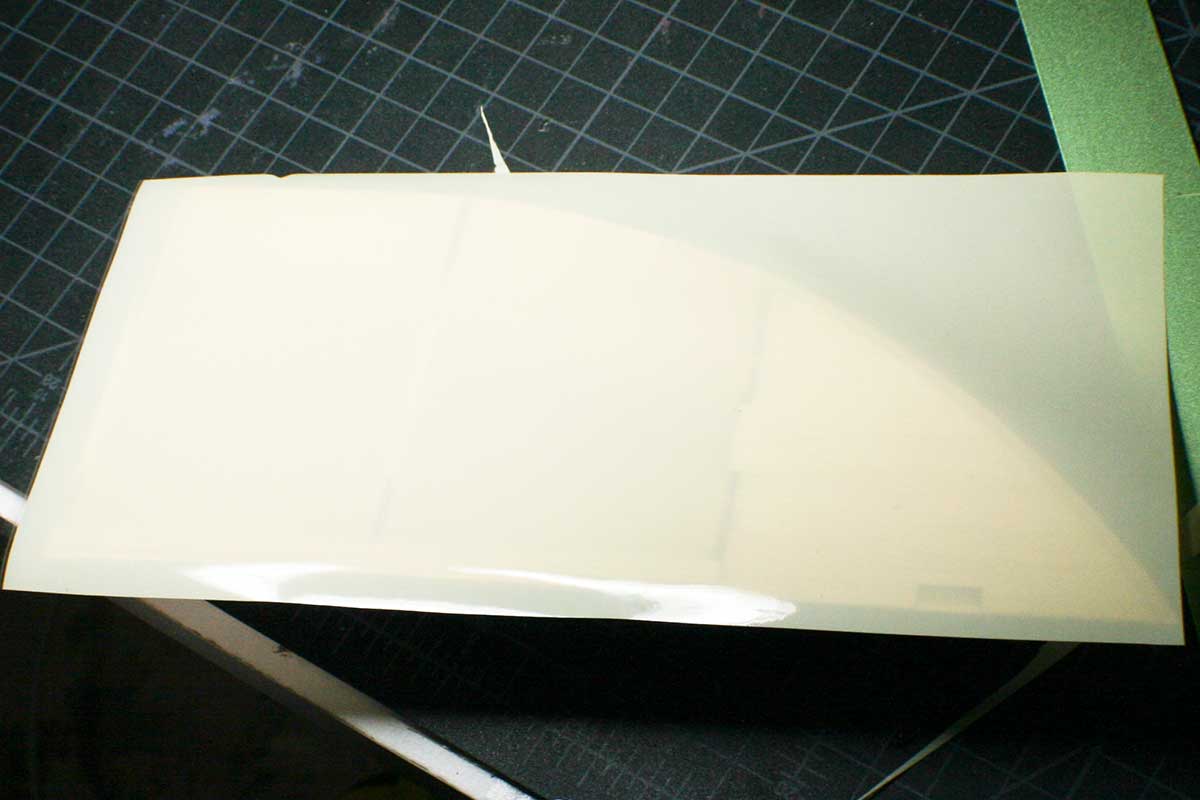
 I draped some of my covering film over the fuselage to get a rough idea how it’ll look when finished.
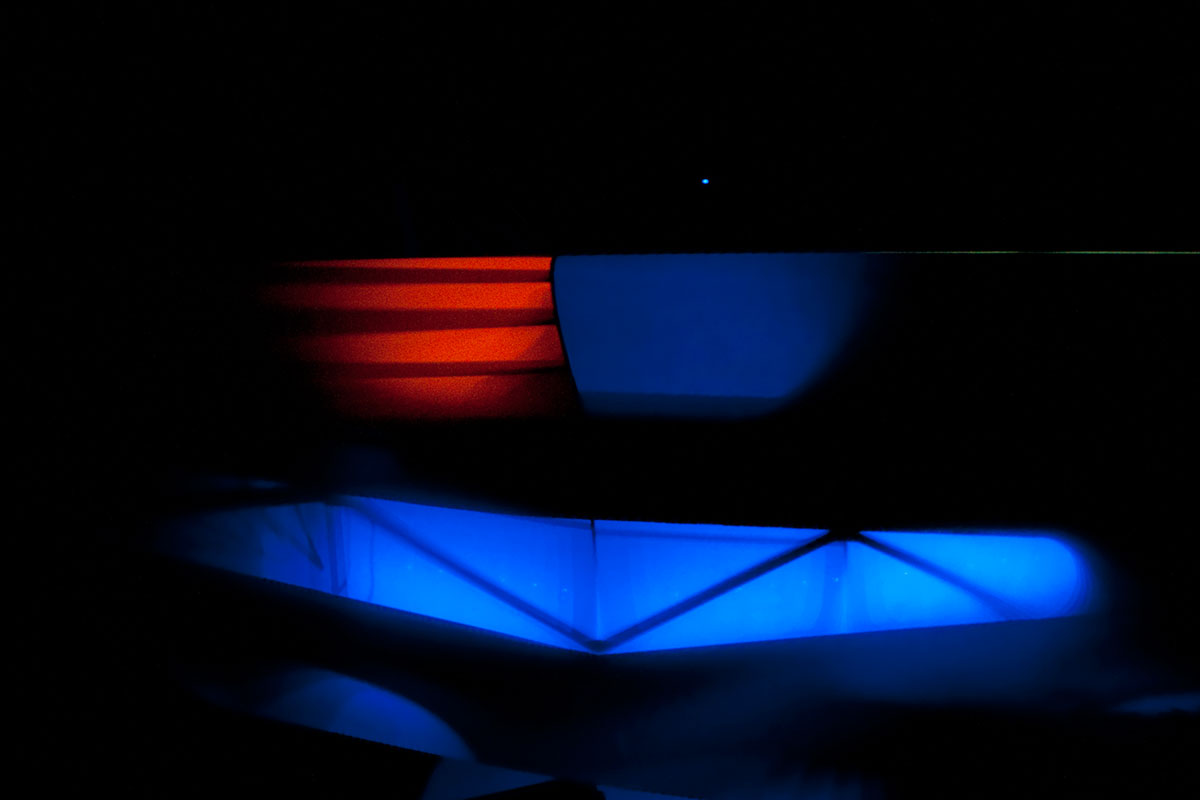
I use these plugs to power my lights from the balance tap. It’s important to pull power from the first and last leads – usually black and red.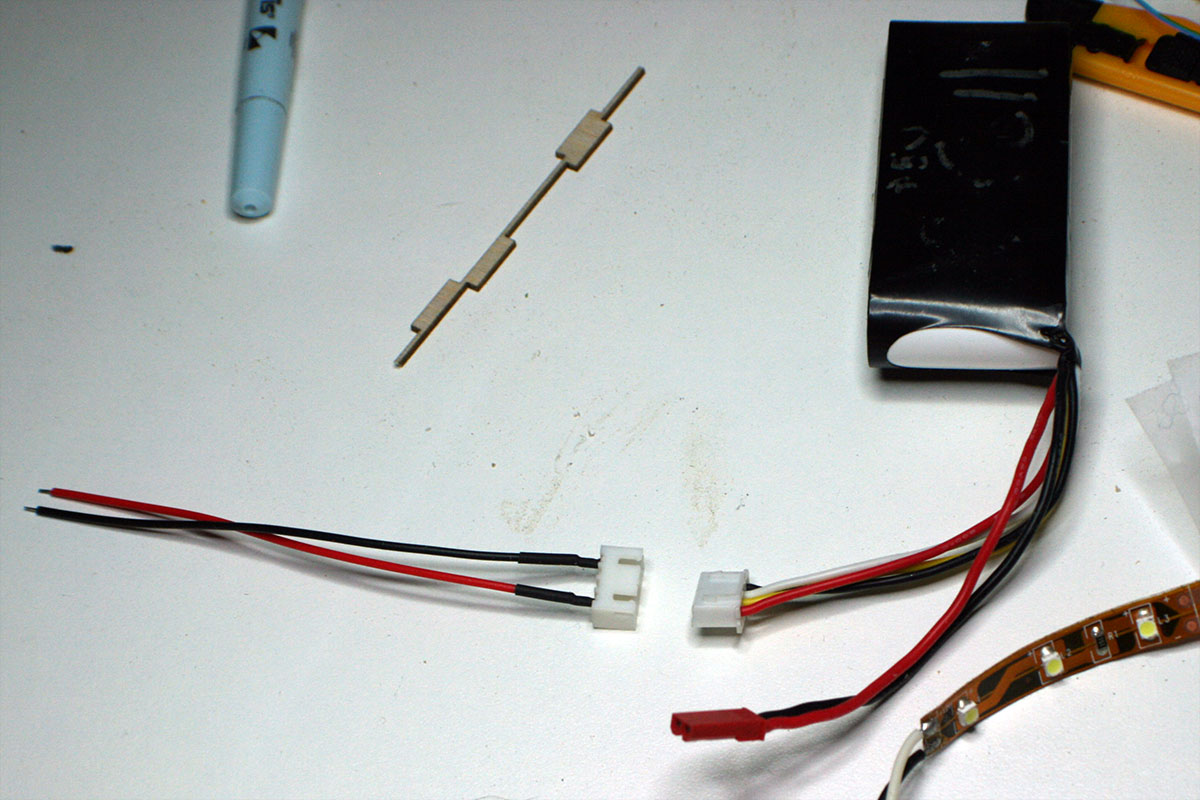
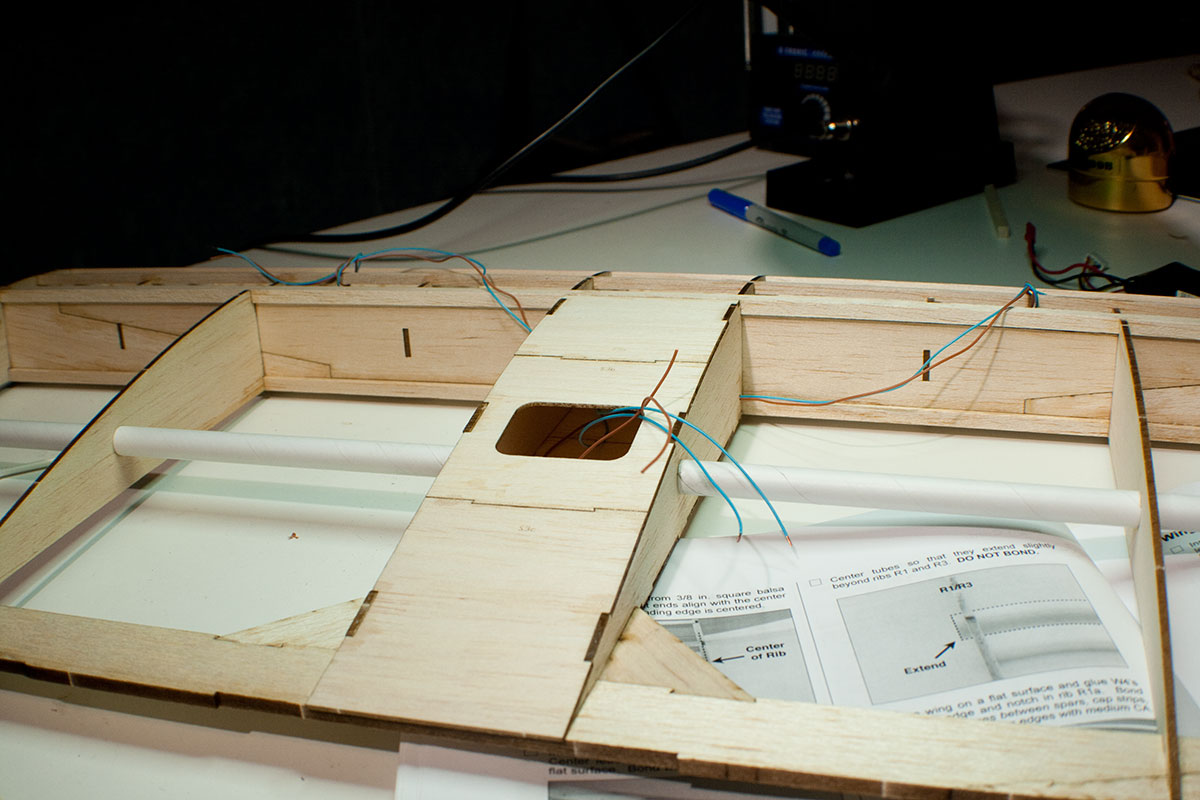
Back to building the wing. I wanted to get the wiring started before moving to the next step. I ran some wire from the center section through the first set of ribs via two tiny holes drilled with my X-Acto knife.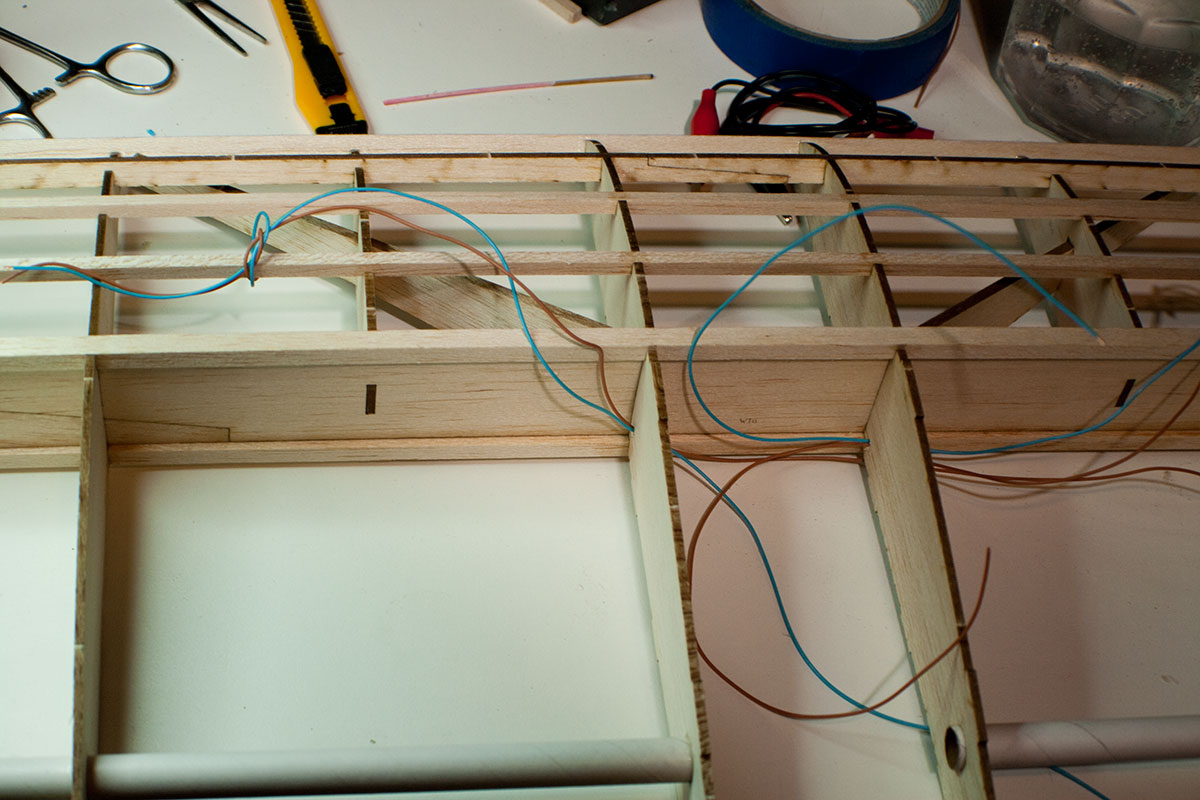
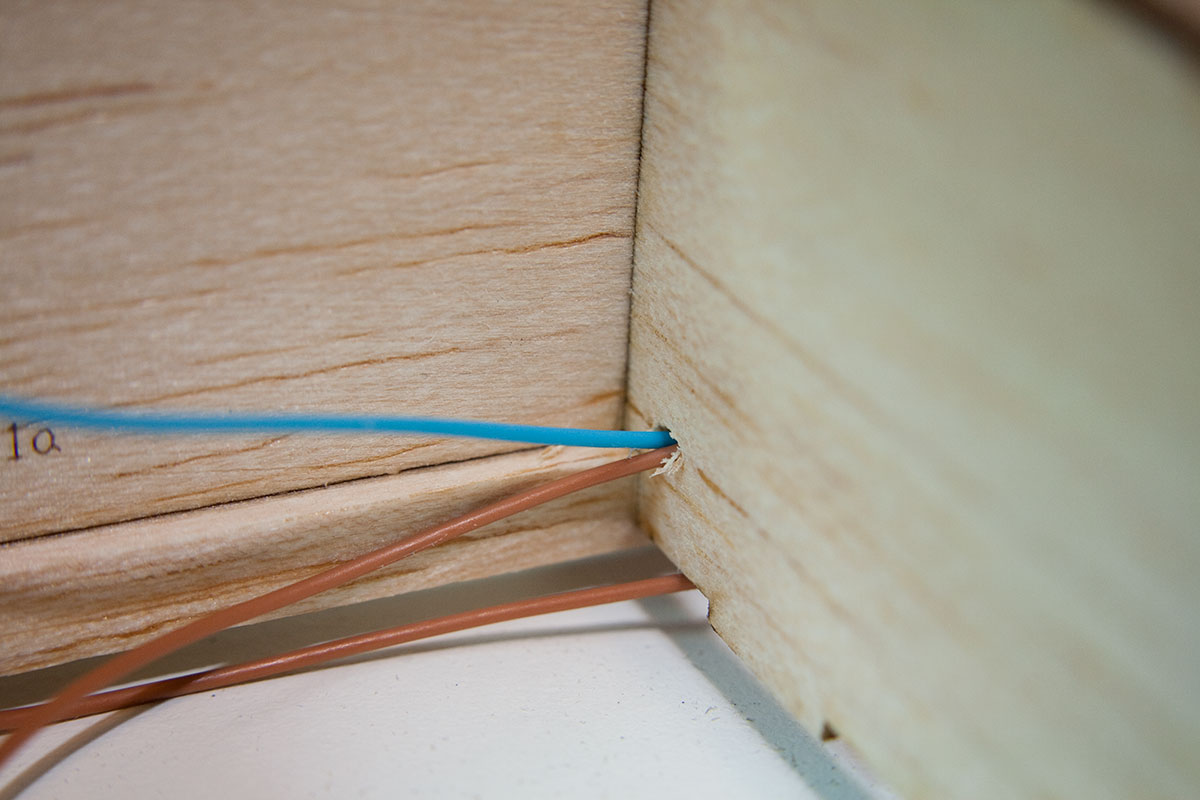 I wanted to get my wiring run before this next step covered over the center of the wing, blocking my access.
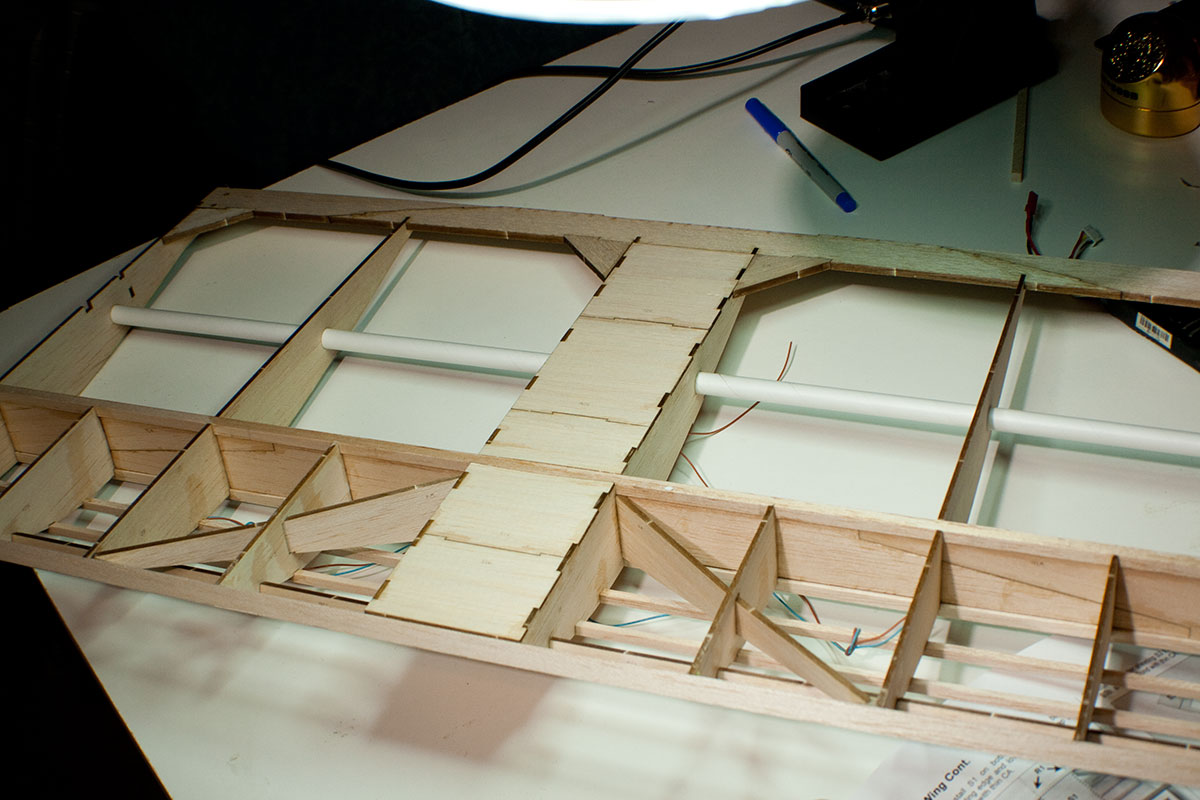
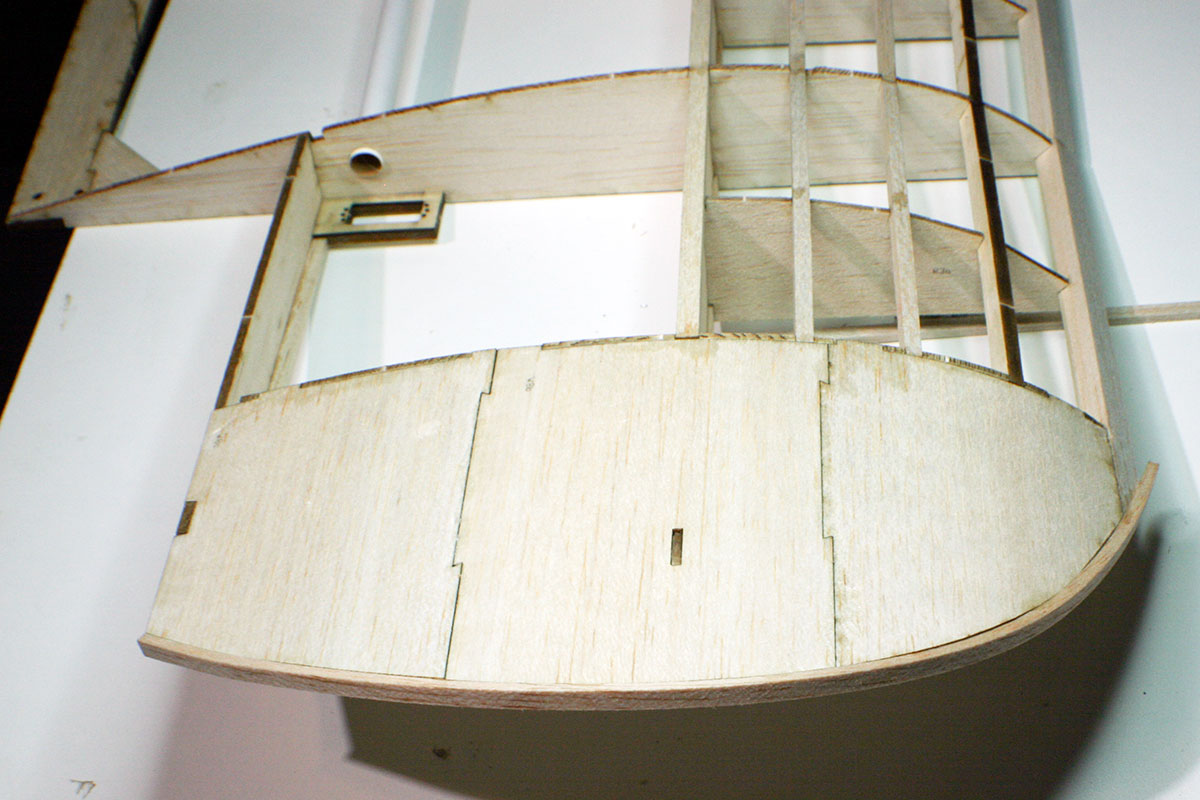
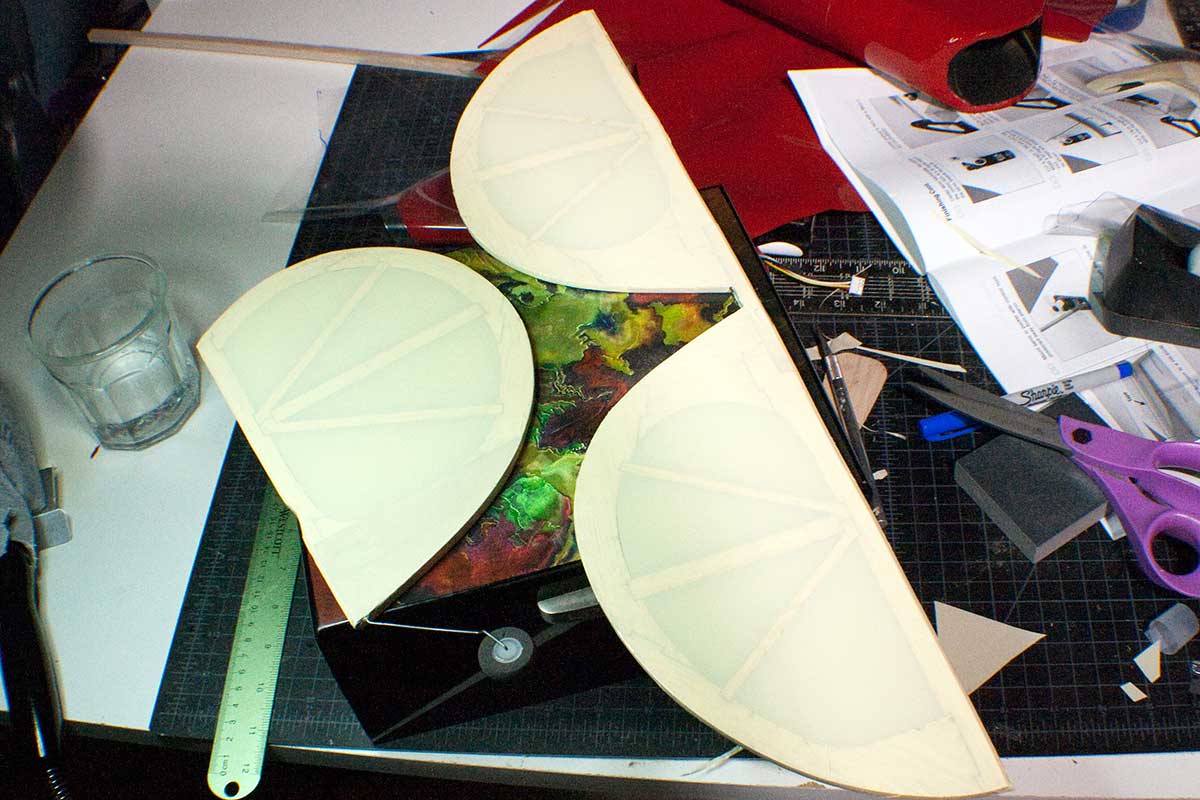
 Starting the starboard wingtip.
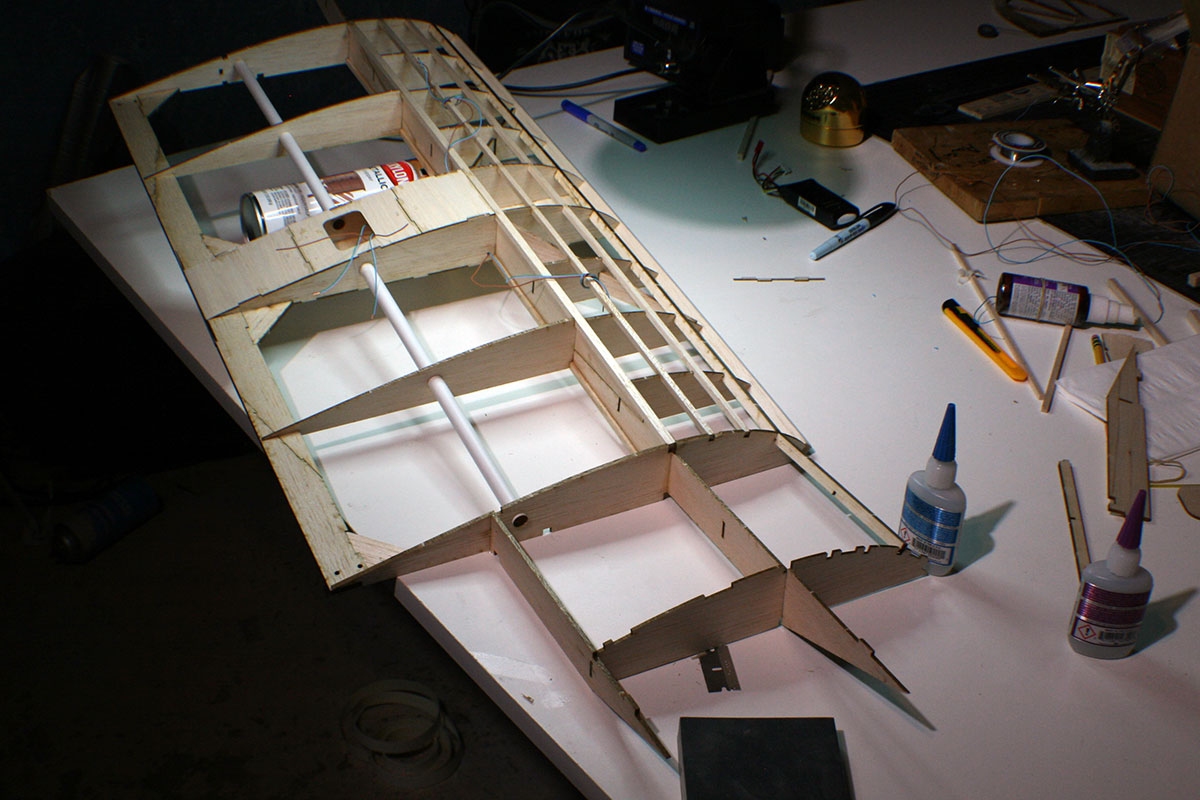
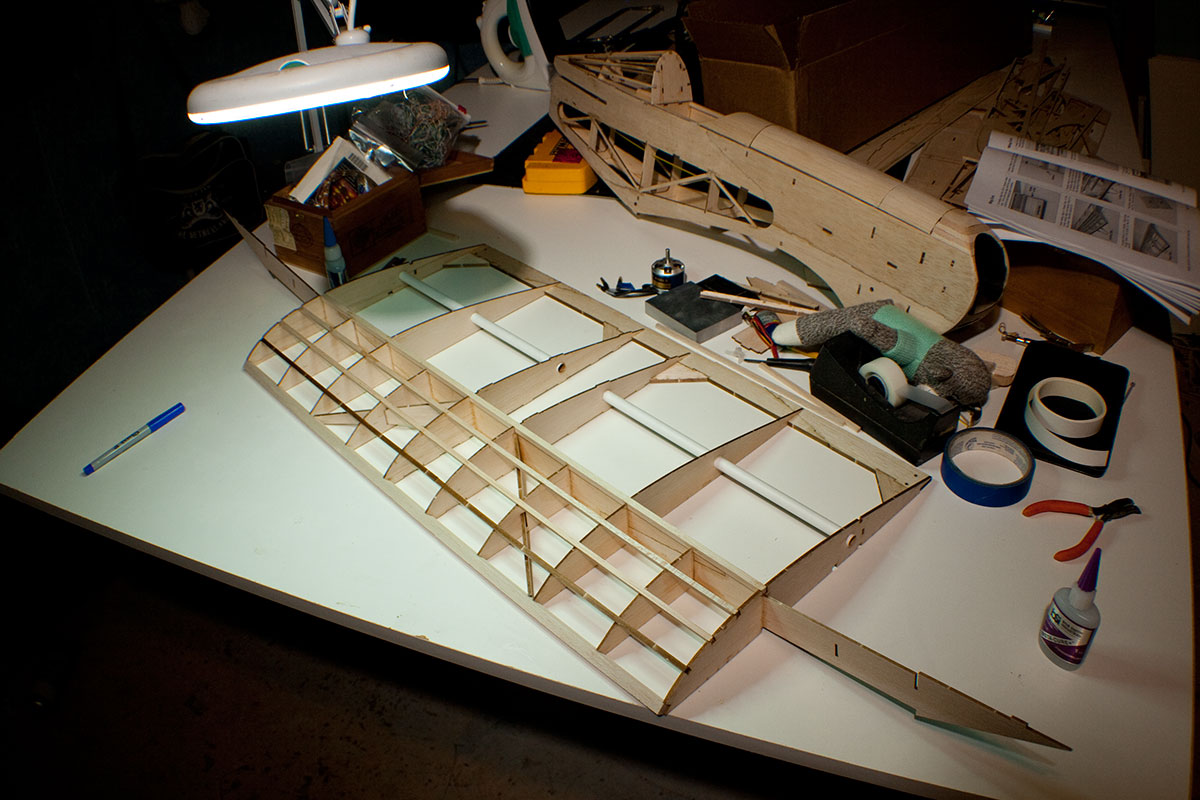
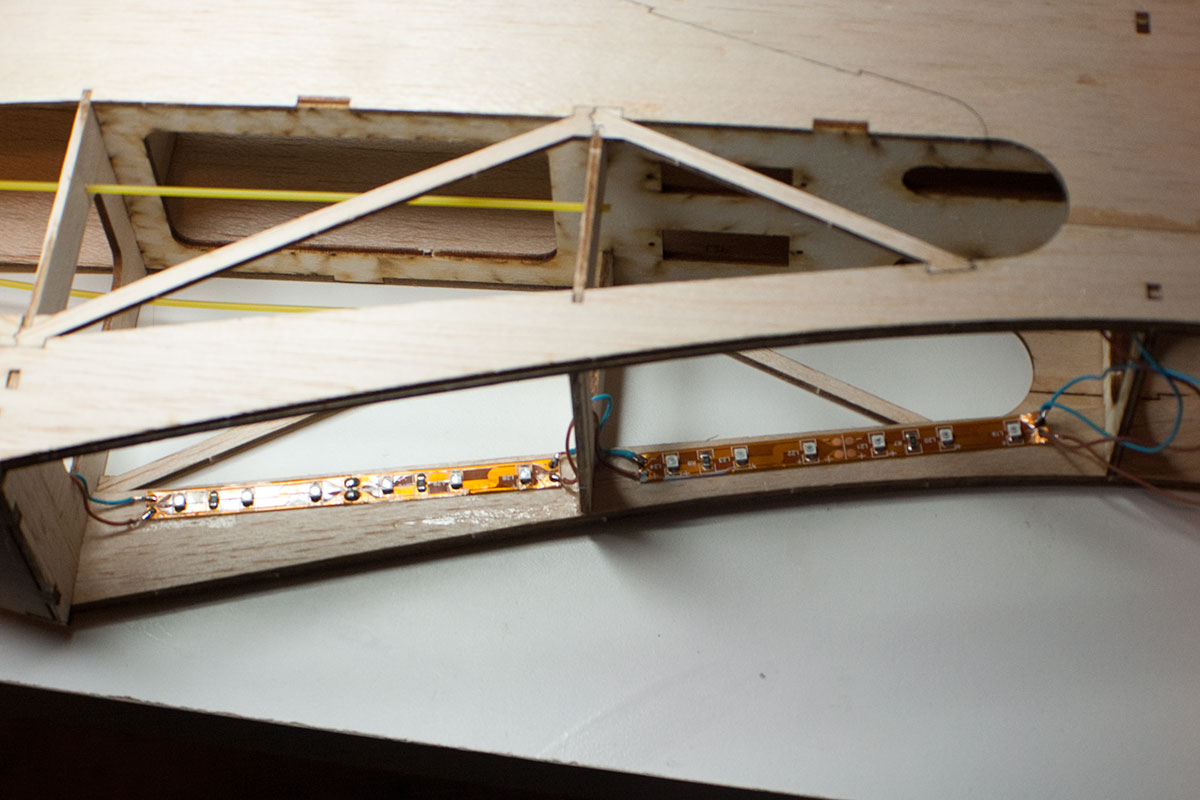
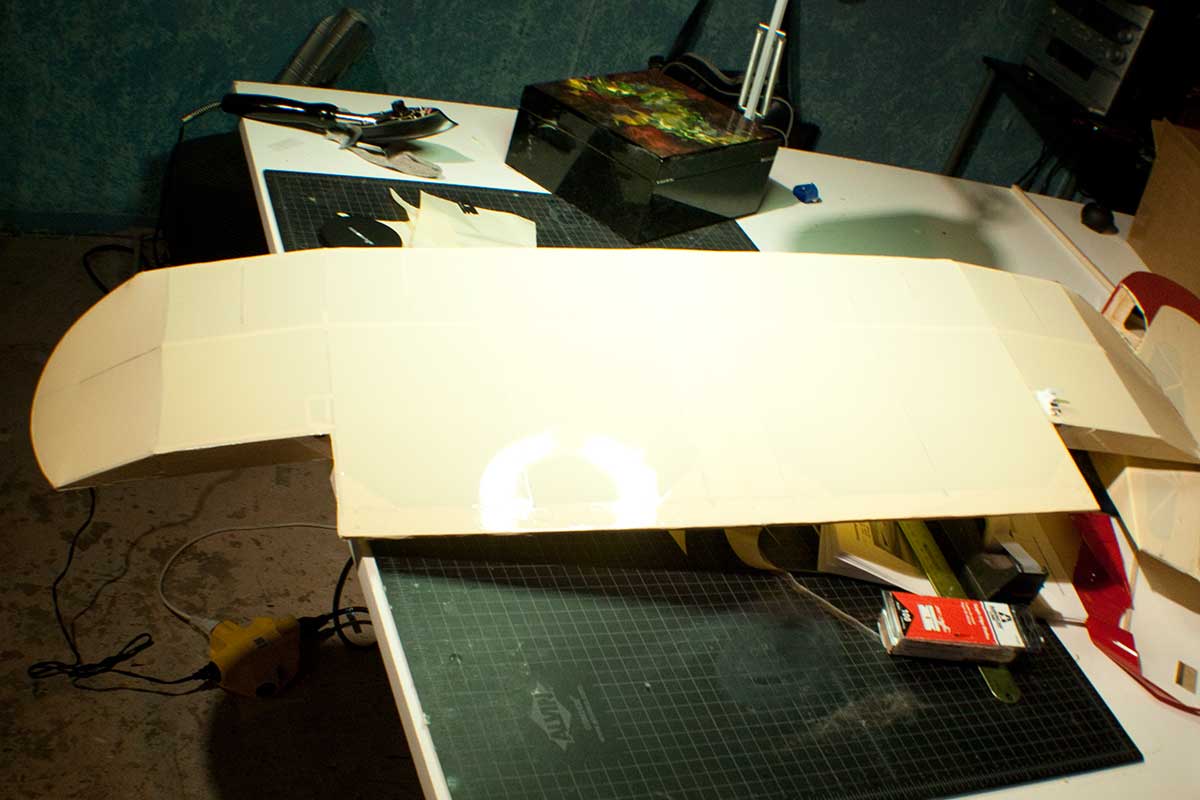
 The starboard half of the wing is all done.
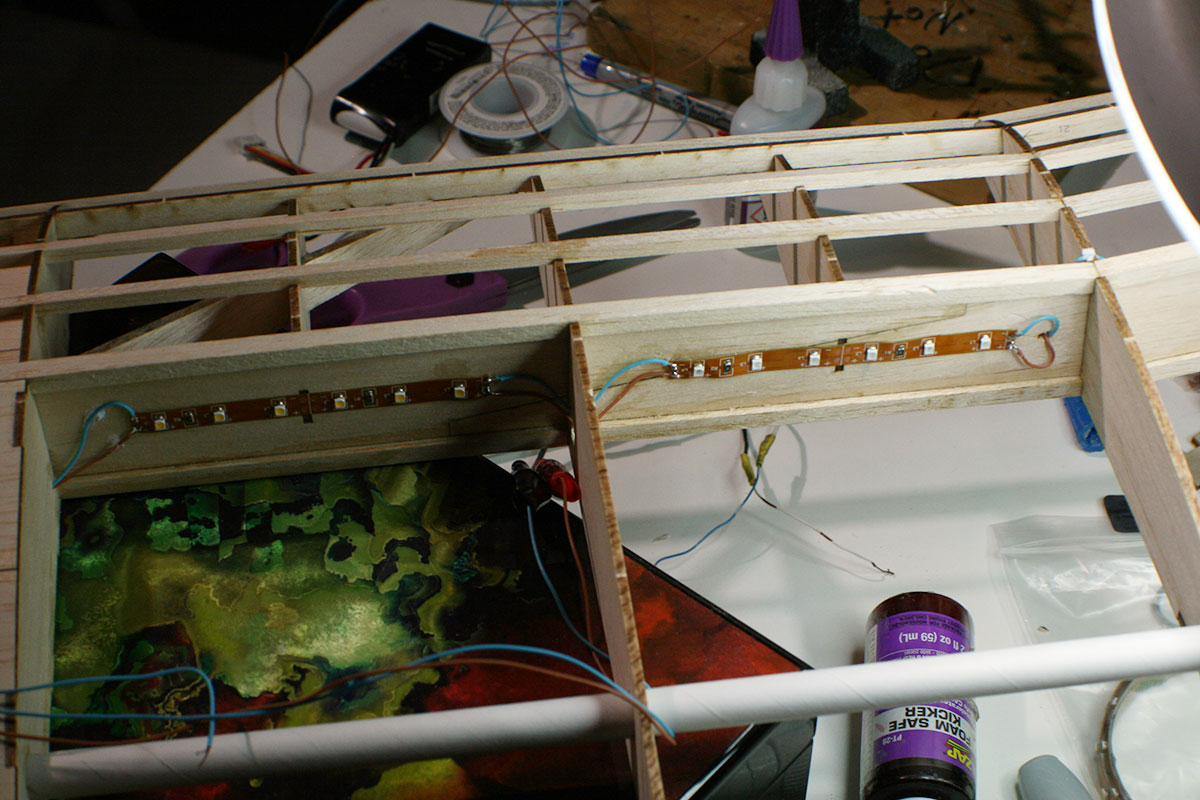
 It’s time to give some serious thought to where those LEDs are going, and what color(s) they should be.
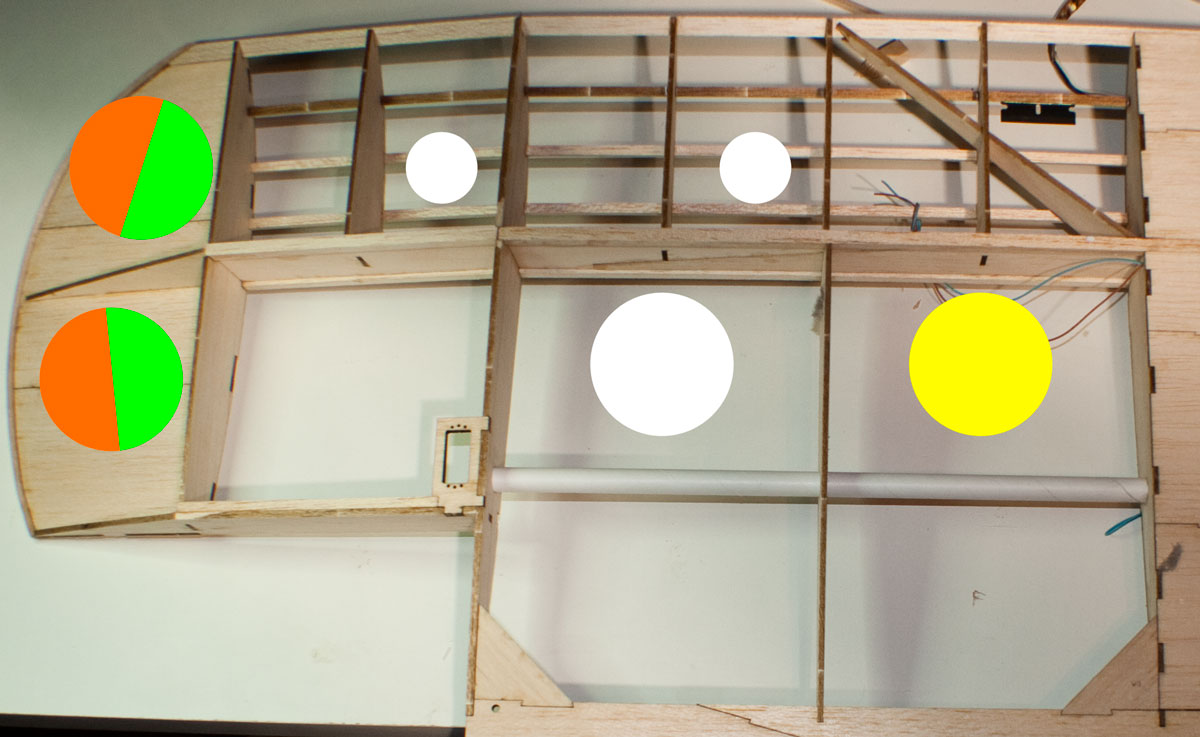
The actual layout differs a bit from my plan. Every build decision was a compromise between punching big holes in the ribs and struts, or soldering tiny wire inside of a balsa wood framework.
 Draped in some of the ivory film to get a quick preview.
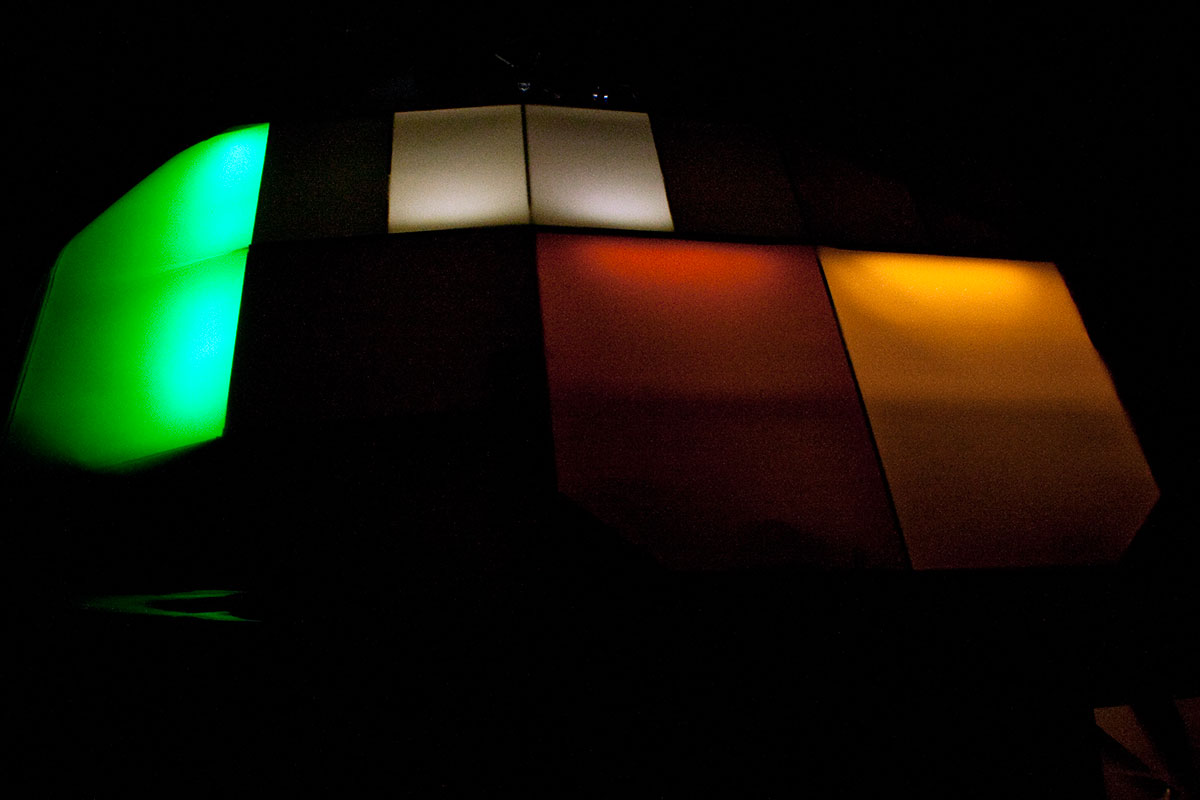
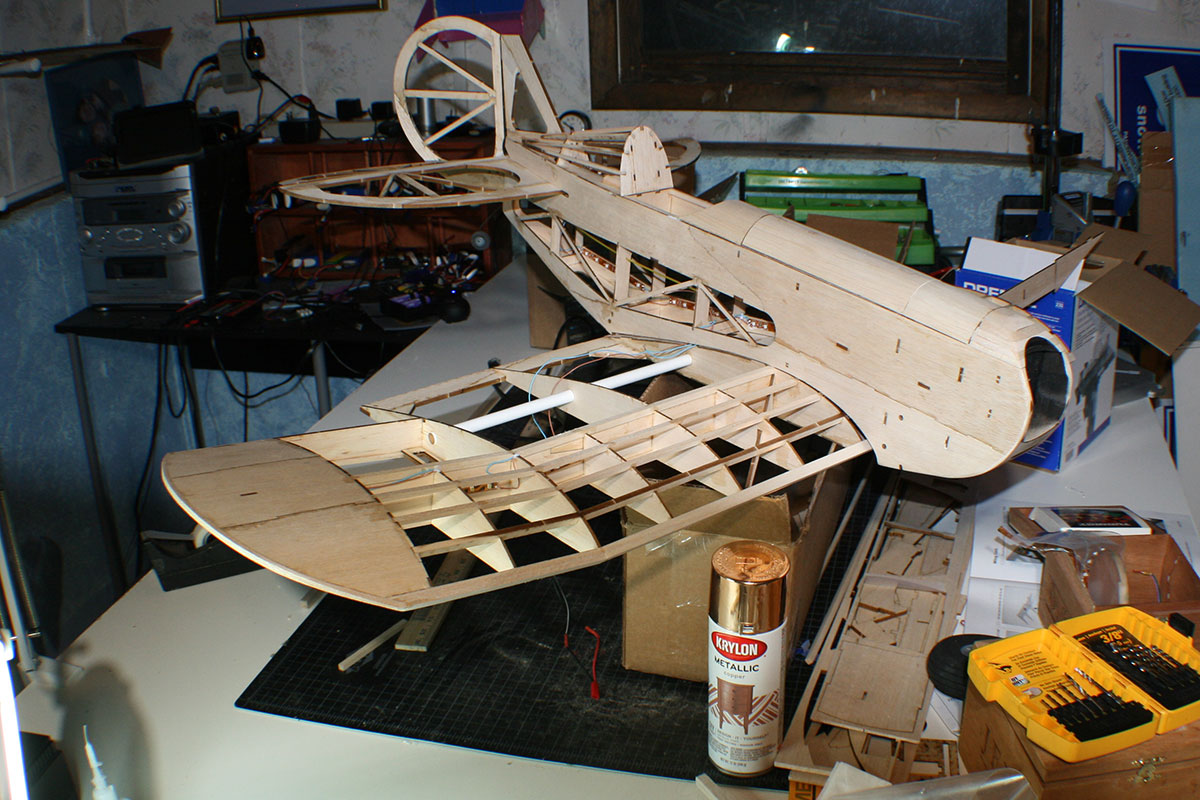
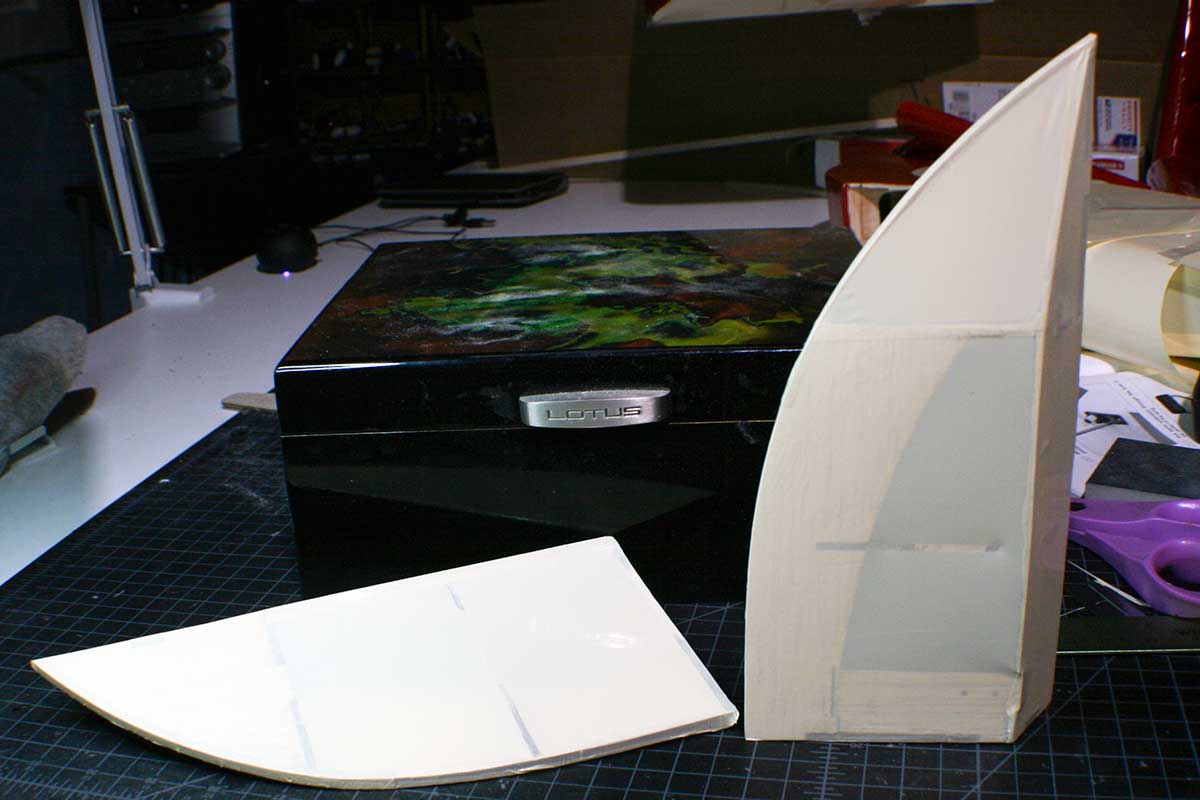
Stacking the parts together to get a feel for how big she’s gonna be. Turns out, pretty big. 🙂
I needed much longer leads on the aileron servos. Fortunately, I never through anything away, so I have a supply of dead servos in a box. I chopped the leads off a couple and grafted them onto my aileron servos.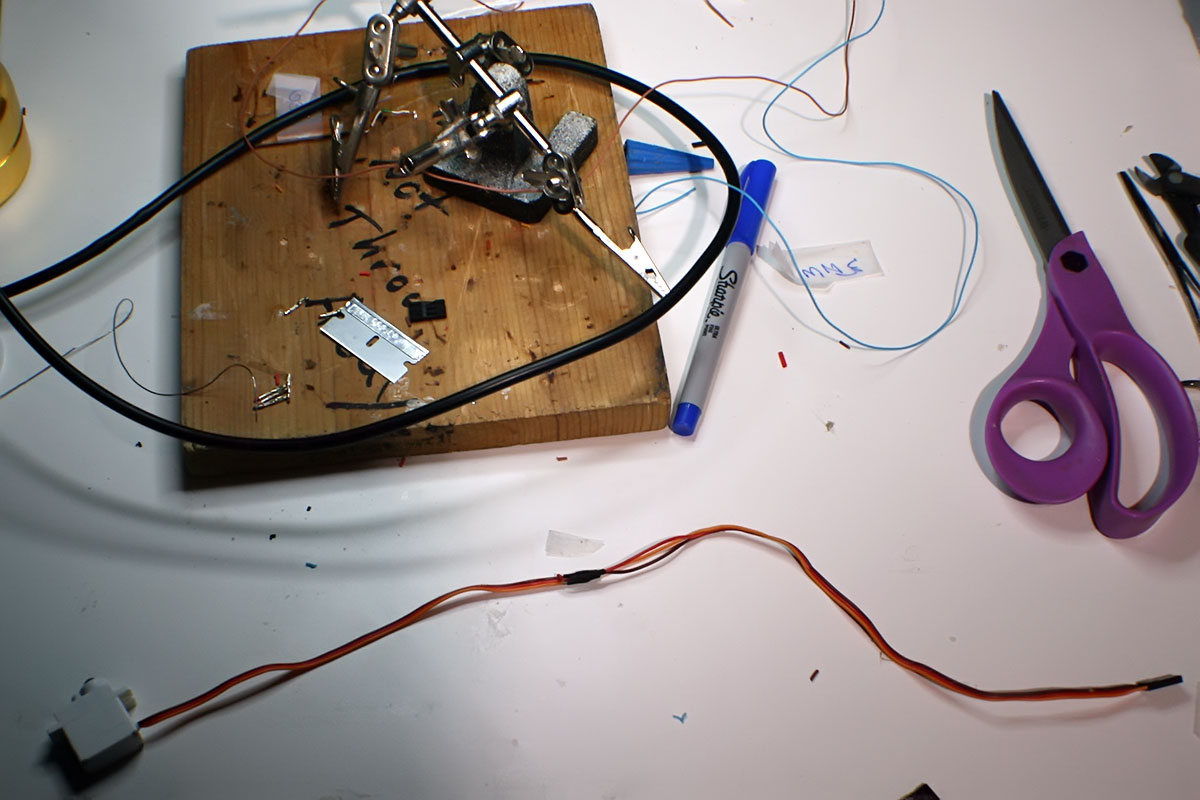 Second verse, same as the first. Building the port wing tip.
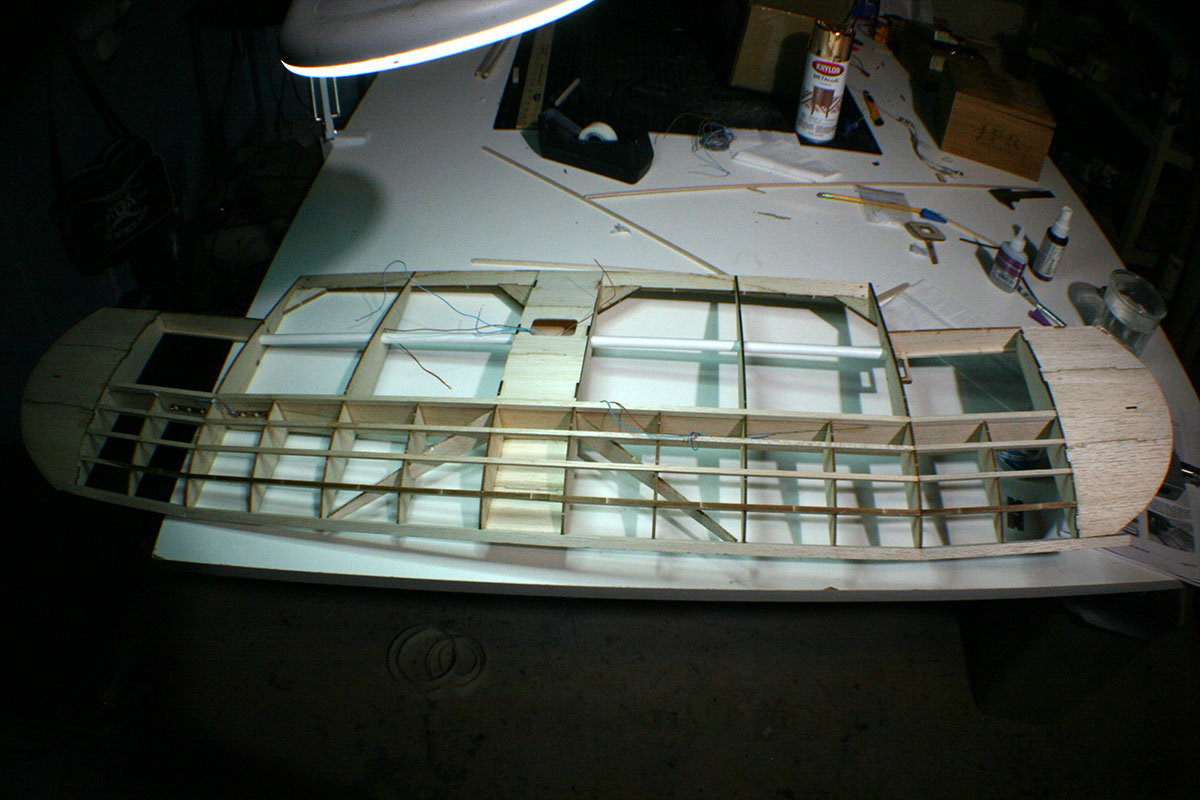 I wanted to put red LEDs under one wingtip and green under the other. Unfortunately, I only had 2×3 red LEDs, and I need 4×3. Rather than order some and wait, I soldered the reds onto some yellows, in the hopes that it’ll at least make orange.
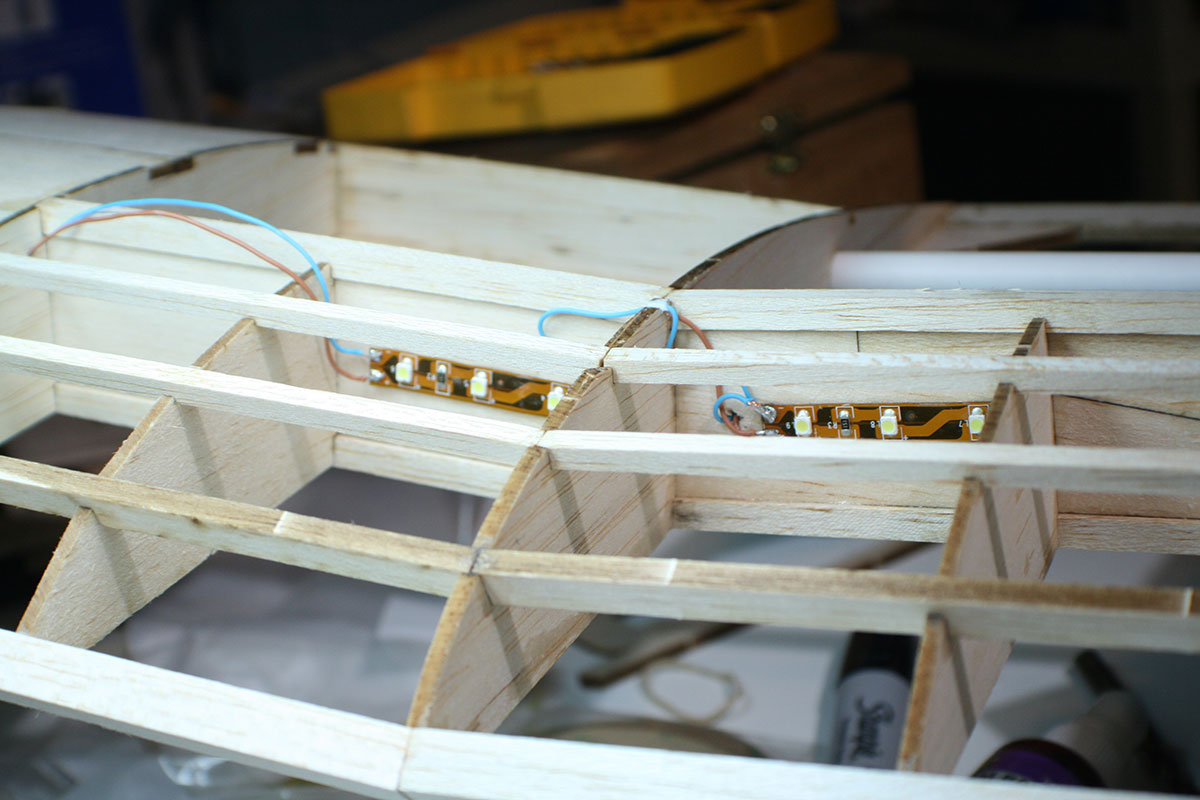
 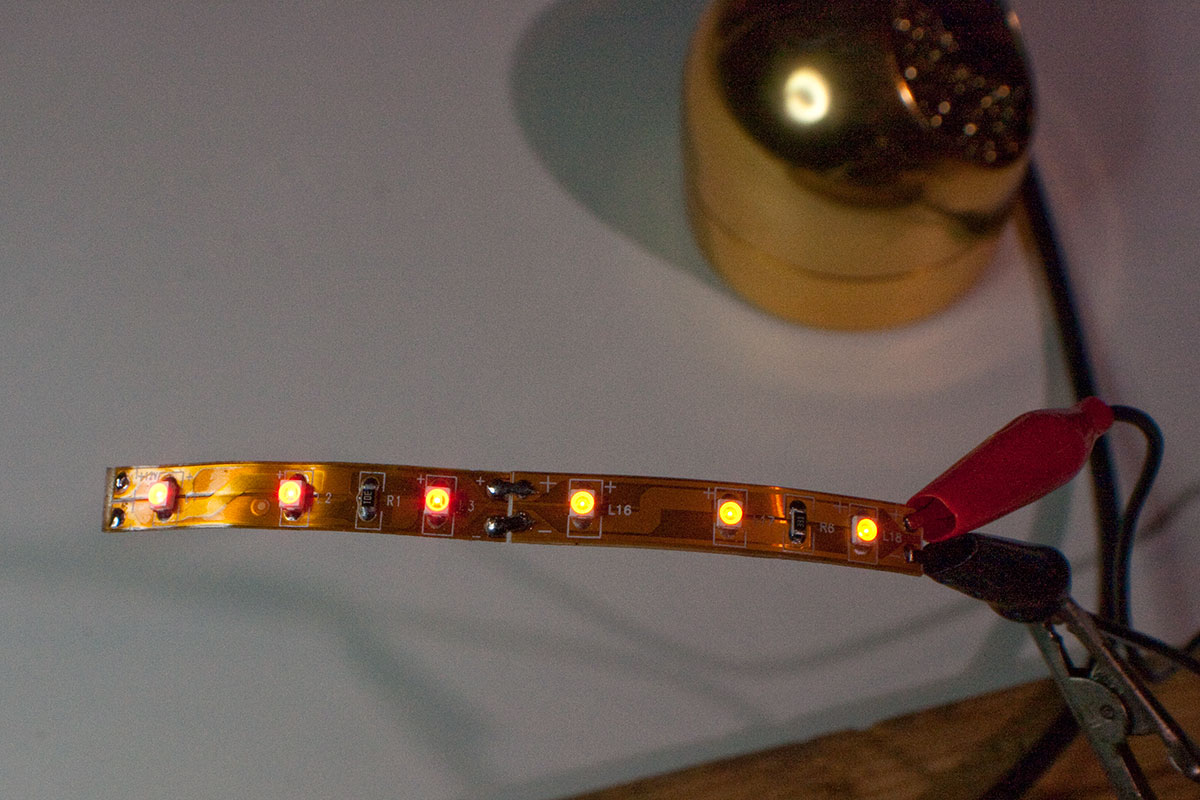 Once I got the first segment of LEDs in on the port side of the wing, I could put in my permanent connector: a female JST. I’ll have a male JST in the fuse for this to plug into.
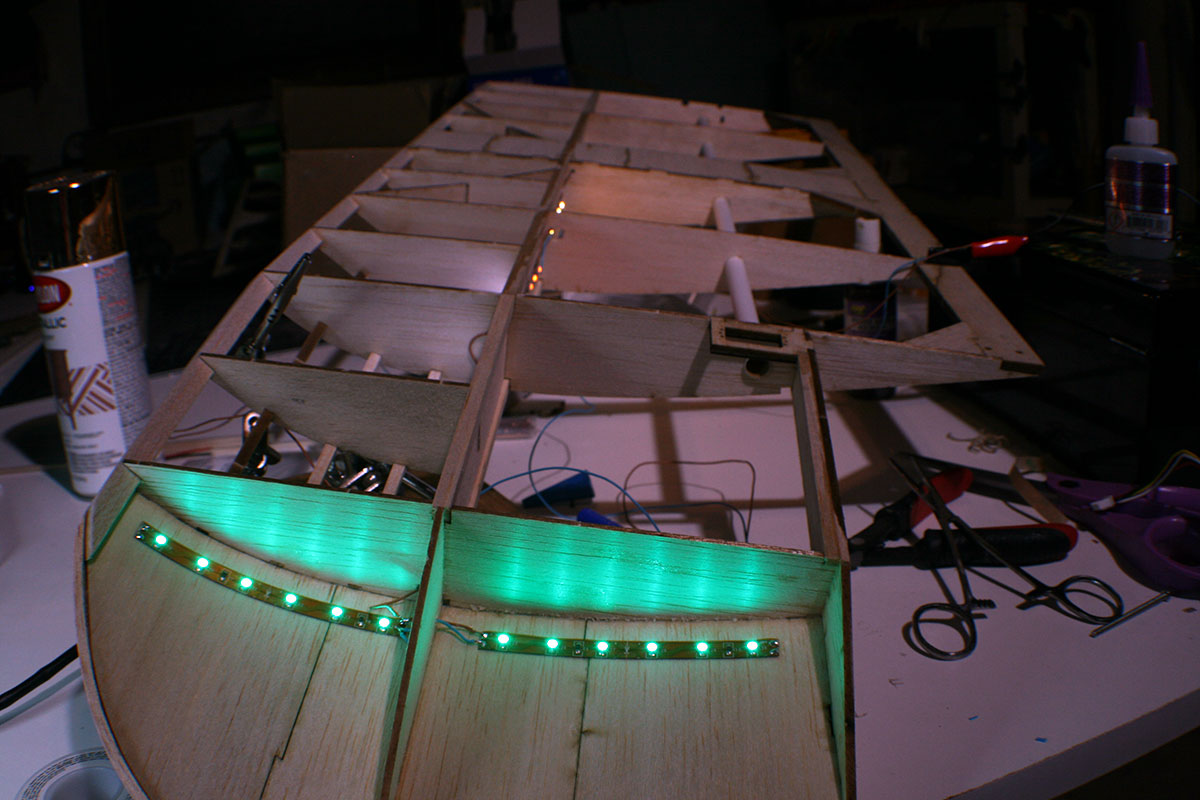
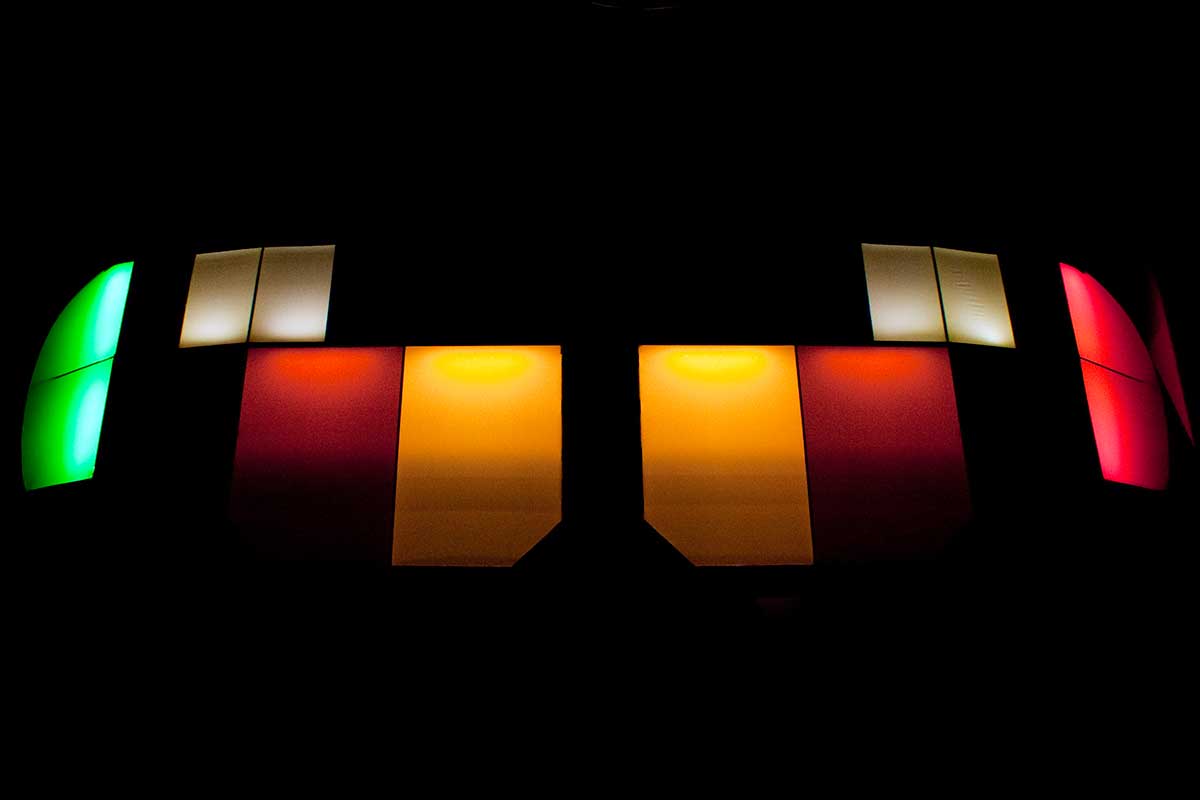
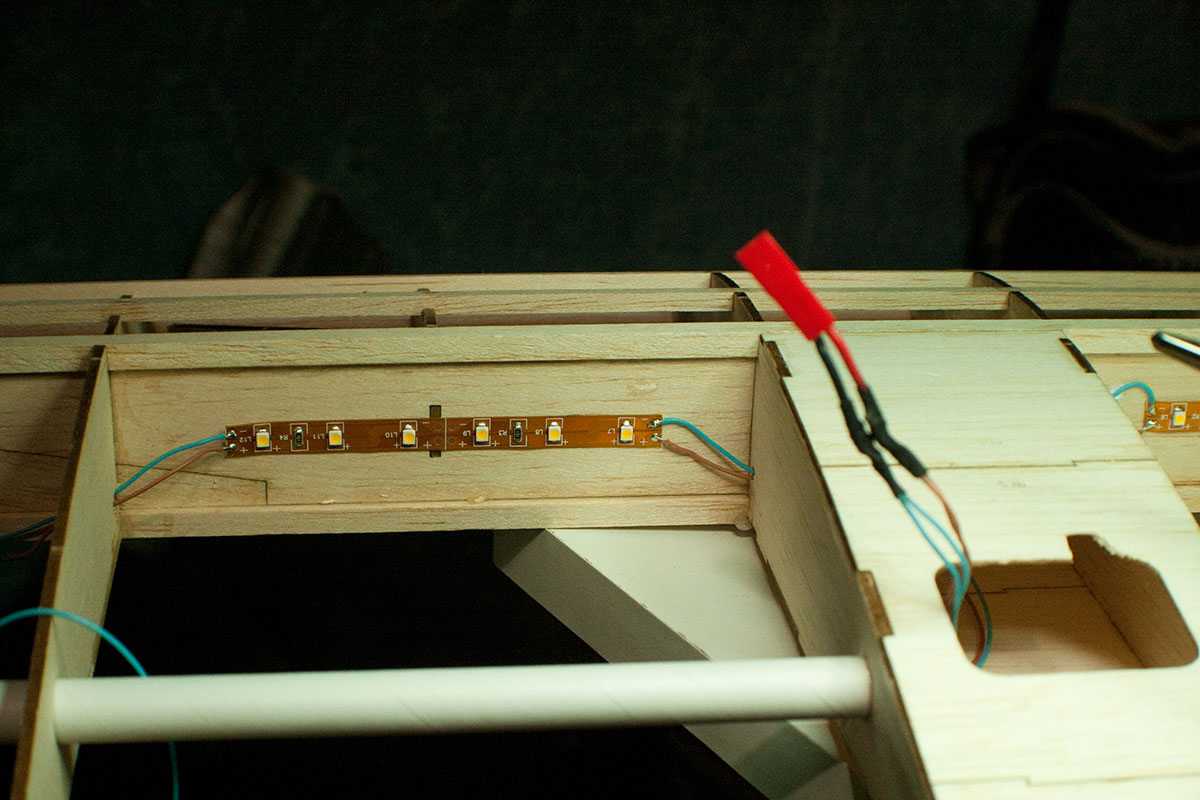 Testing out all the wing lights at once.
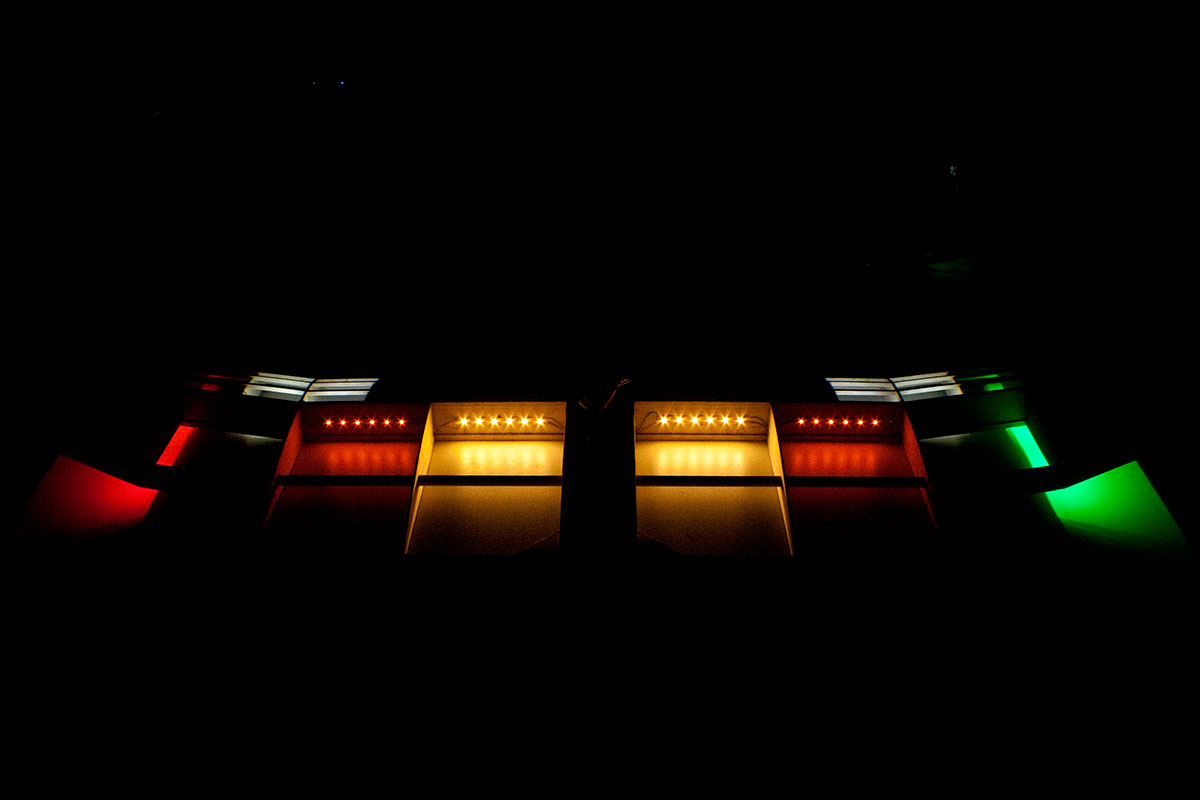 My red+yellow=orange lights came out okay.
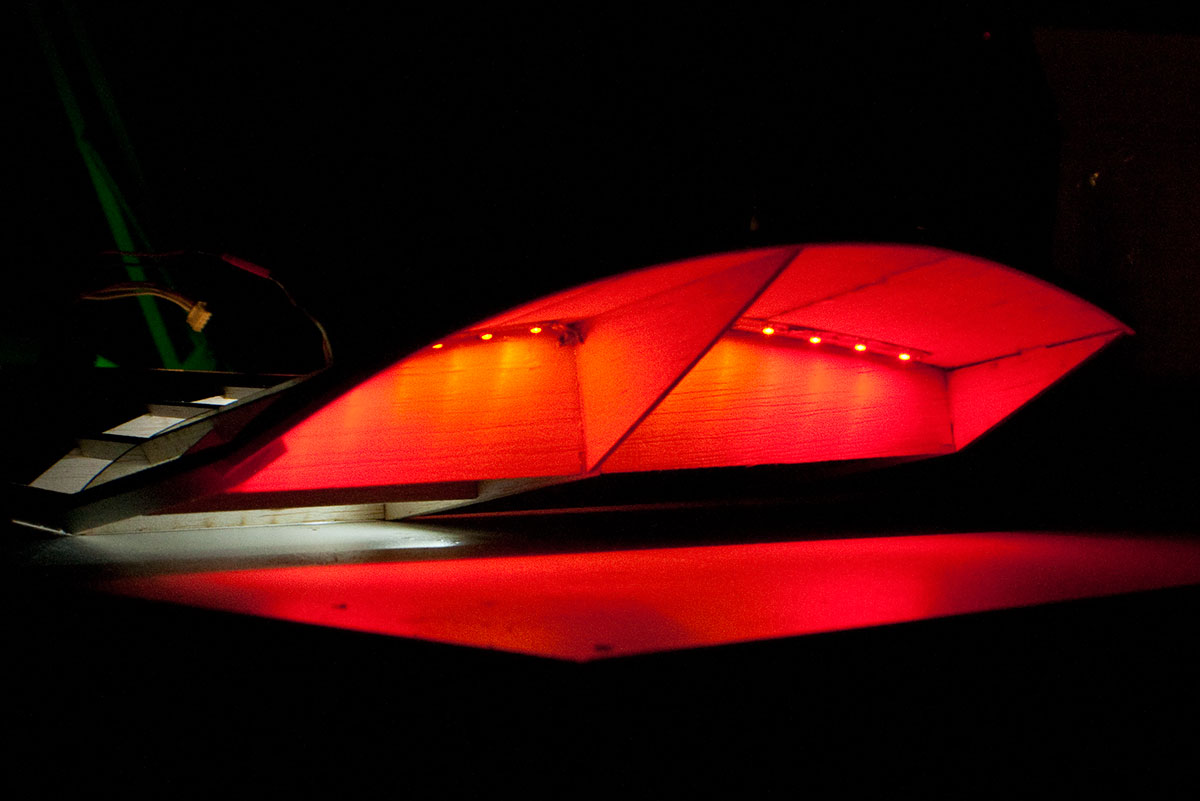
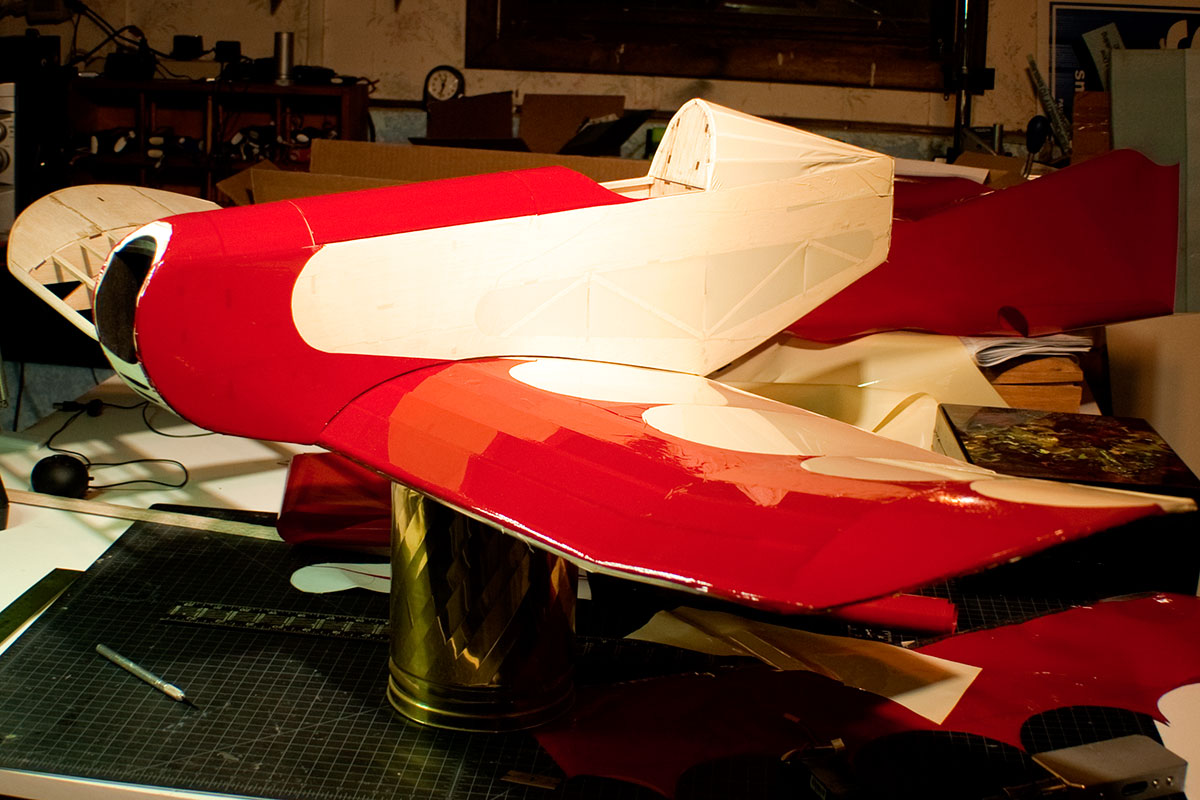
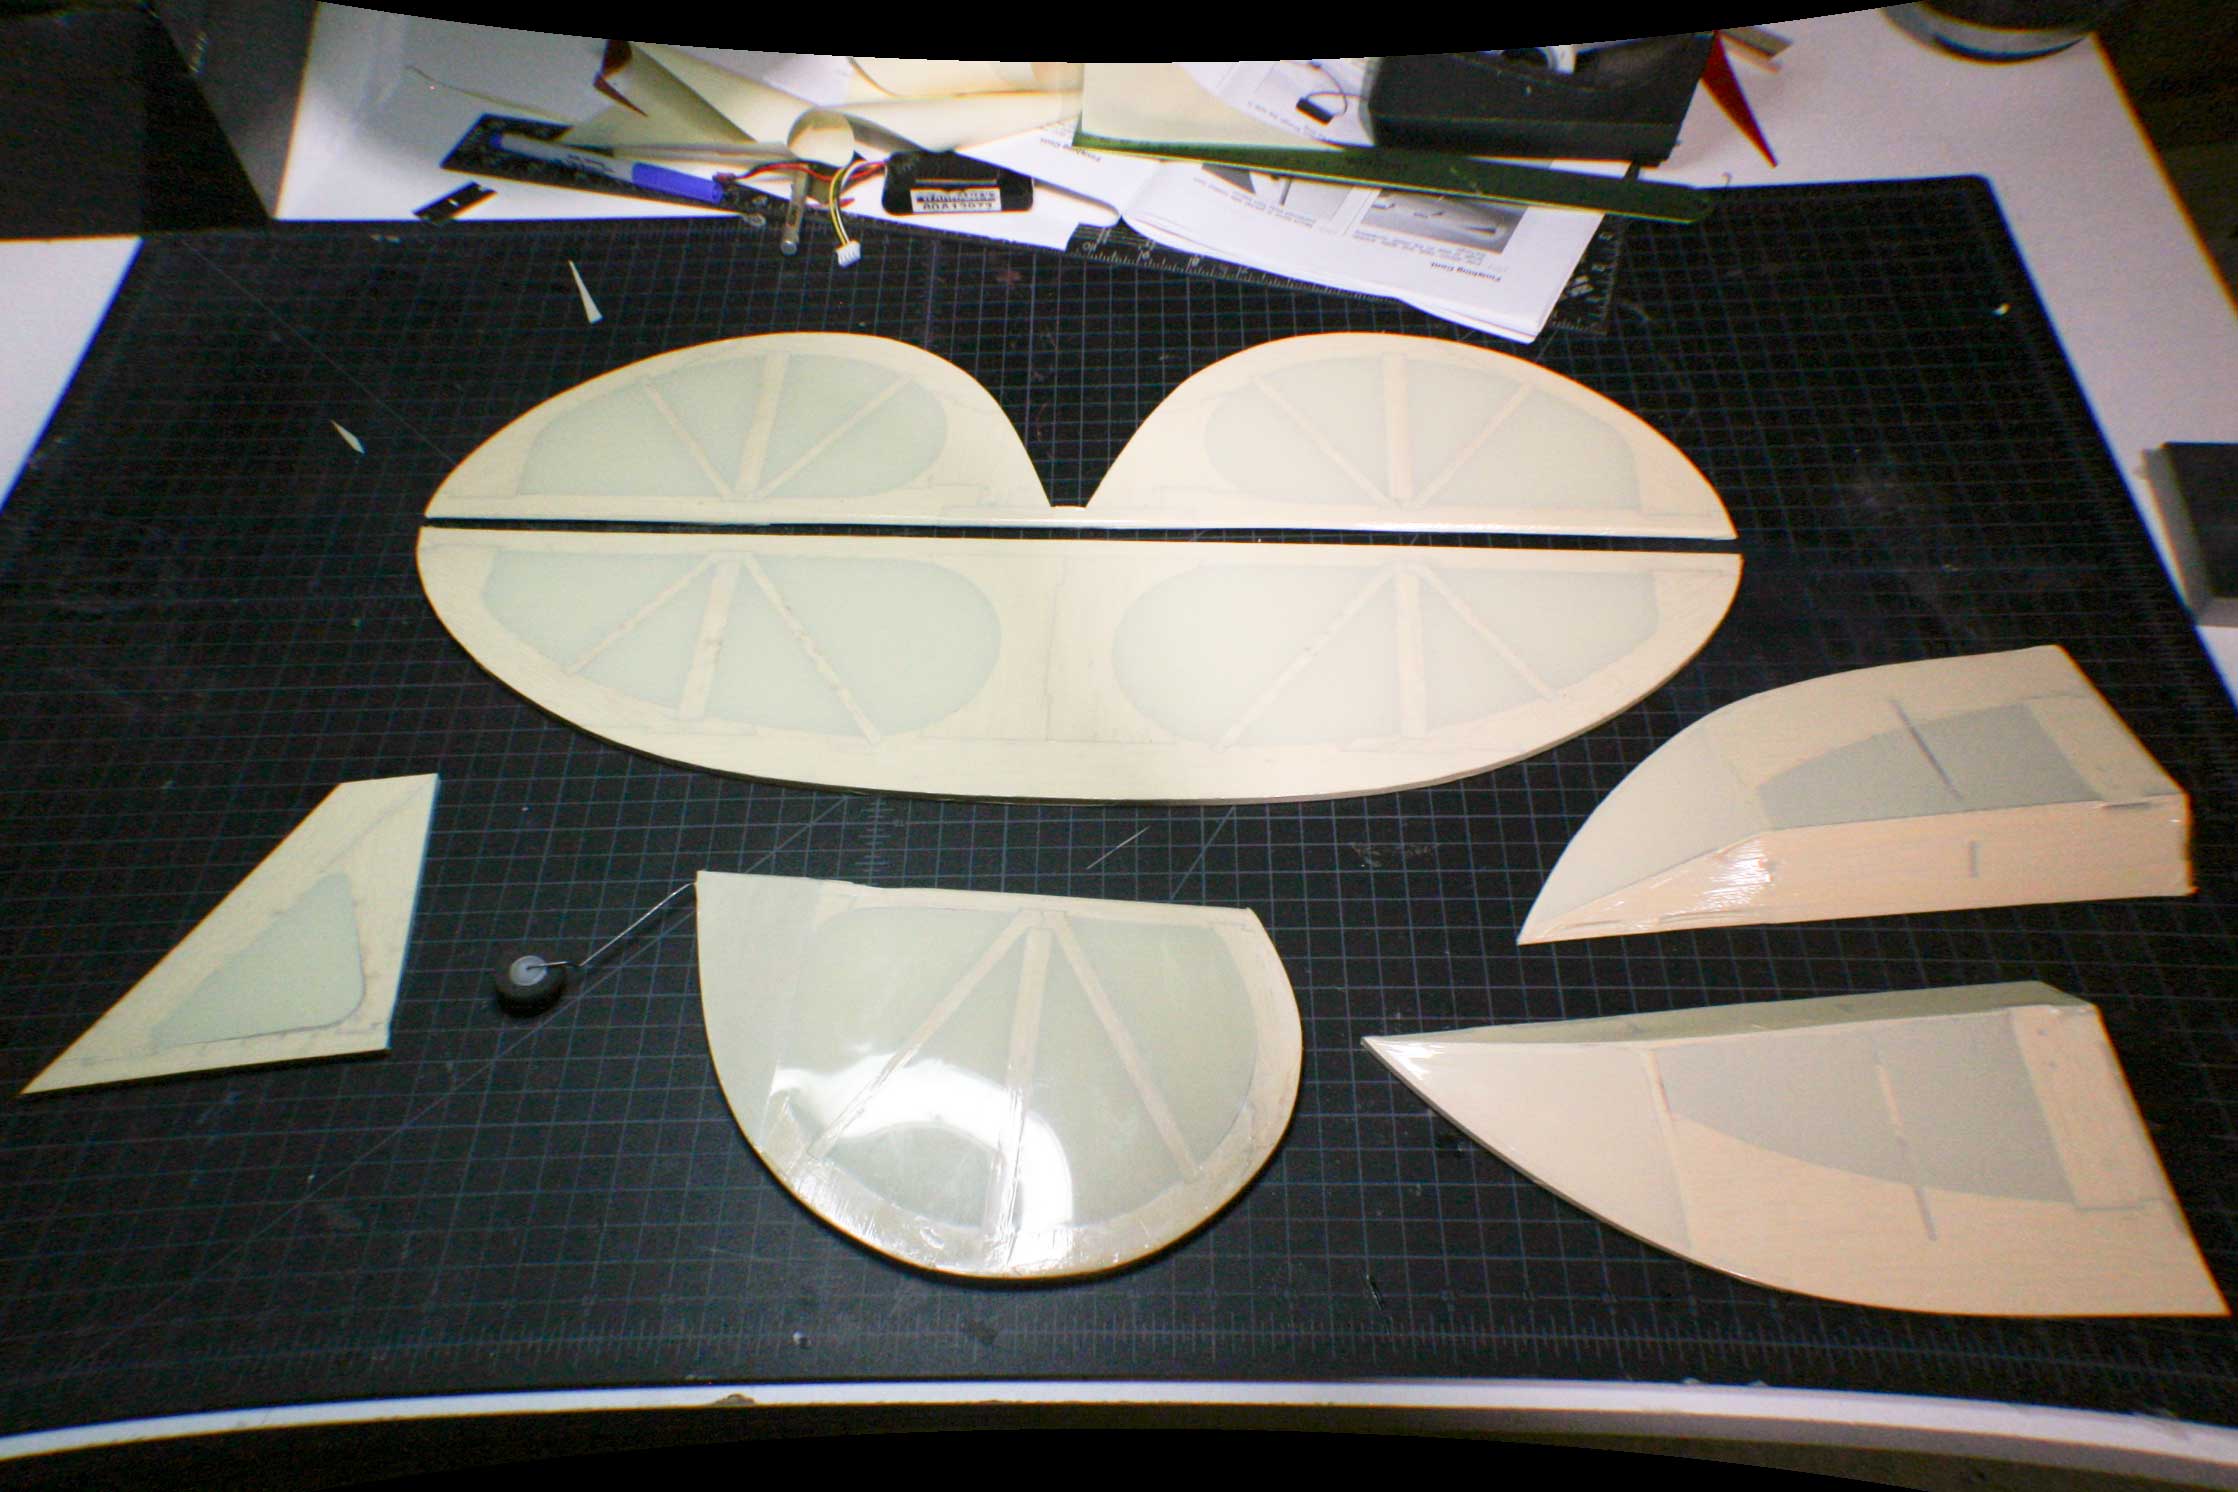
The ailerons, waiting to be trimmed and sanded.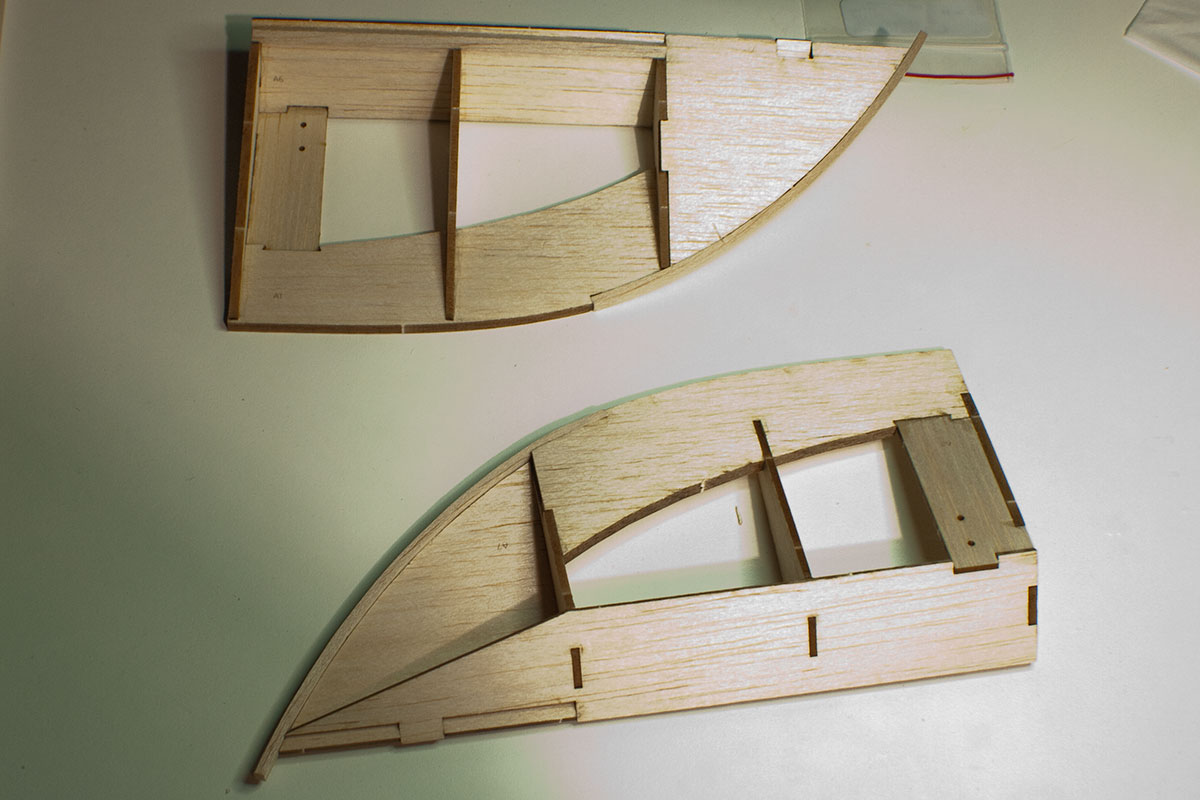 The entire plane, fitted together for the first time and held up for scale.
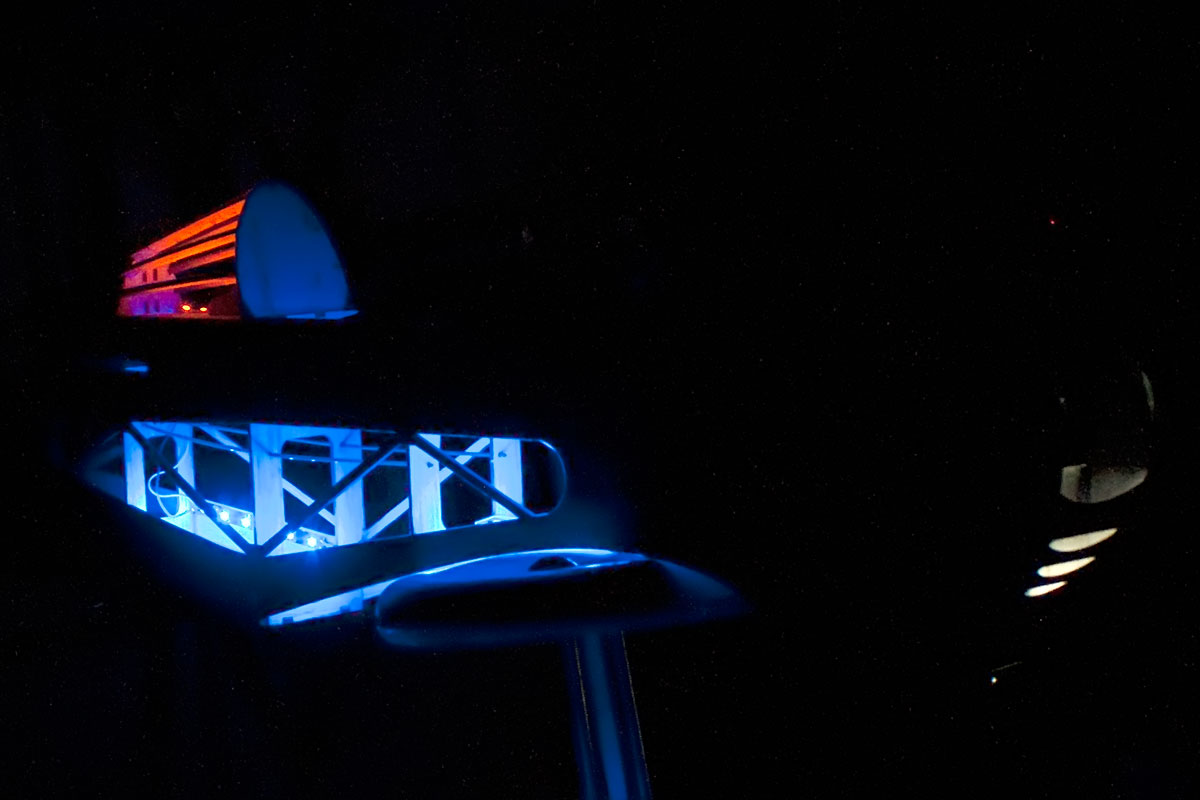
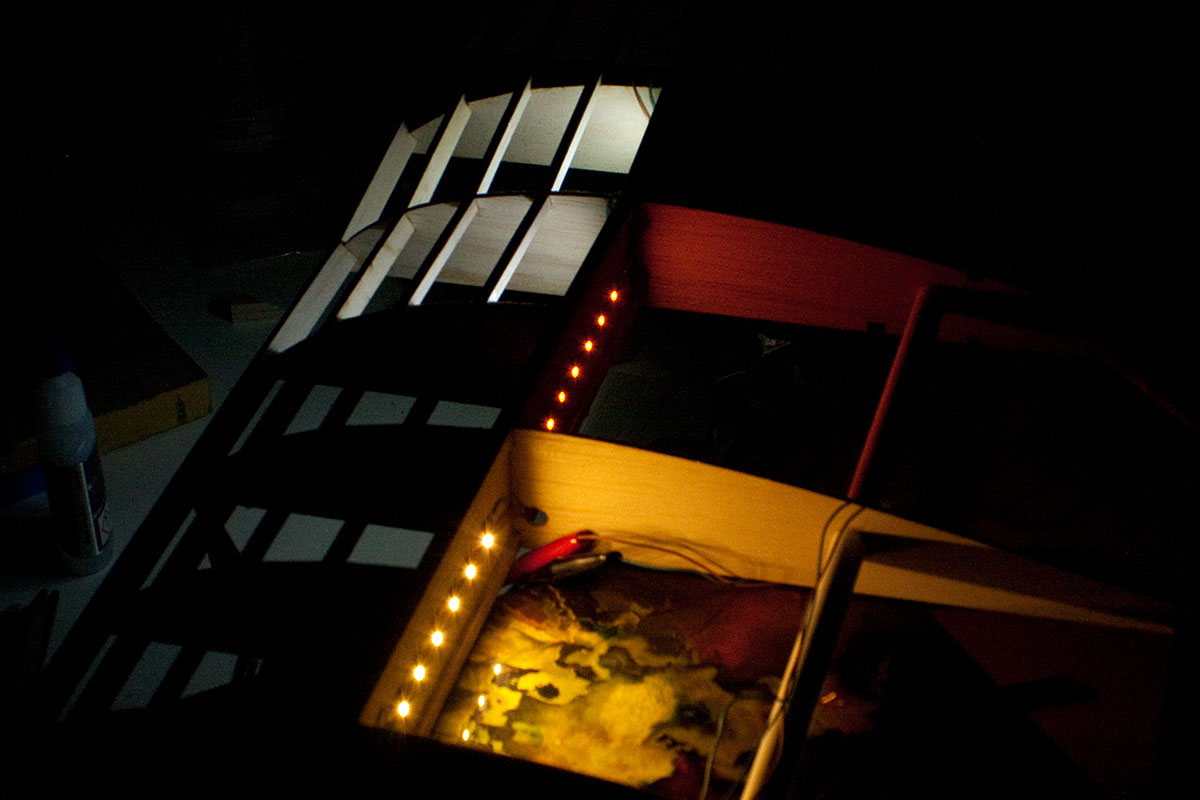
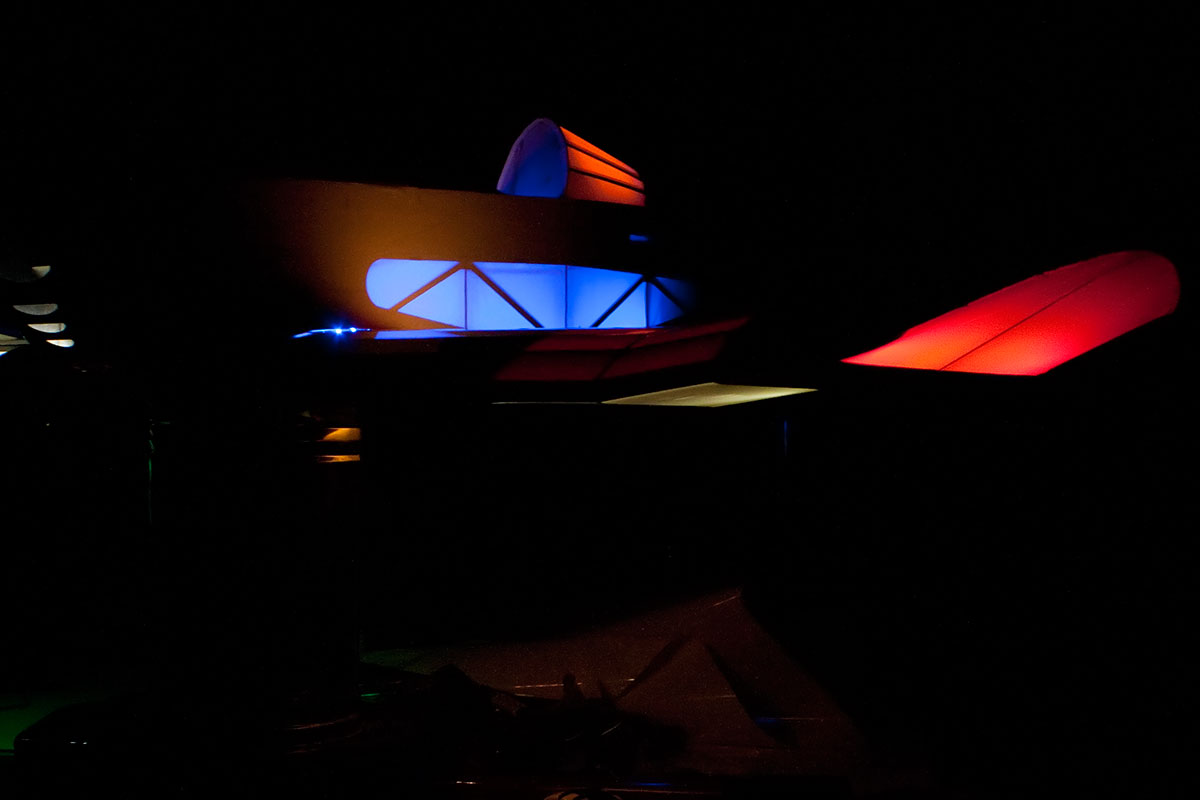
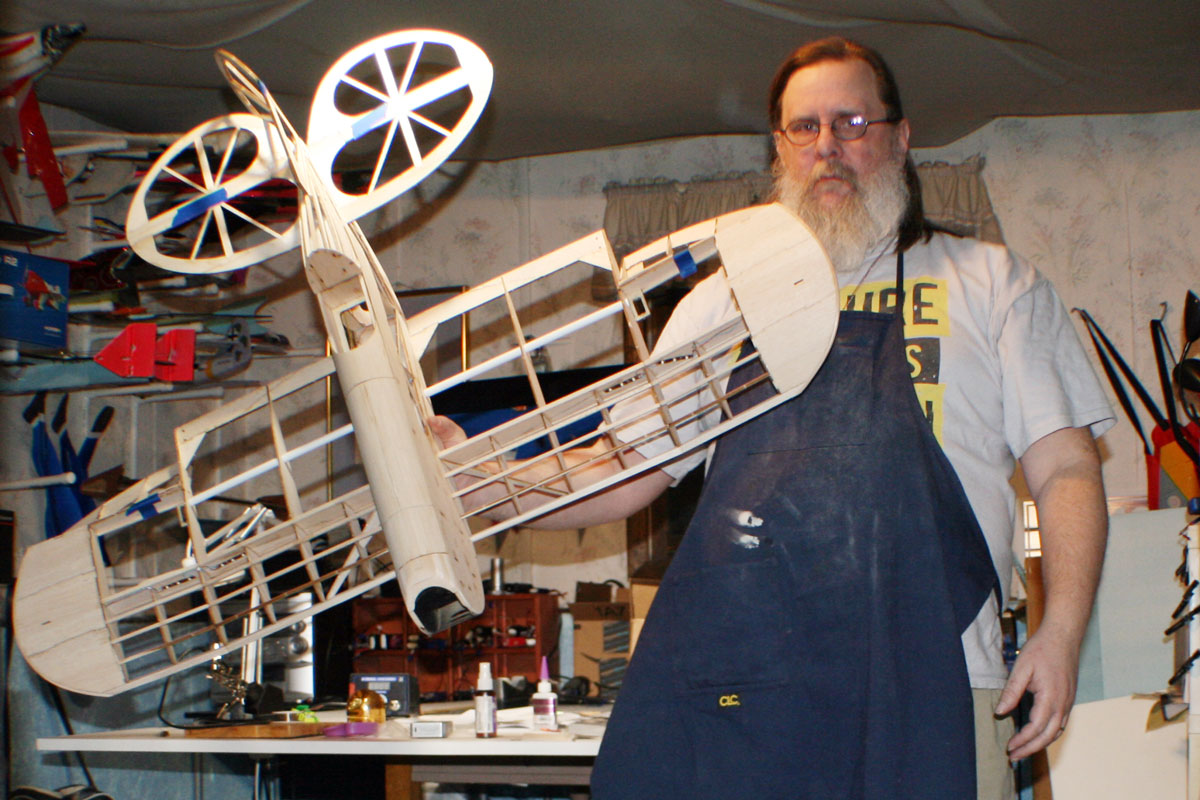 Assembled with all LEDs plugged into the battery.
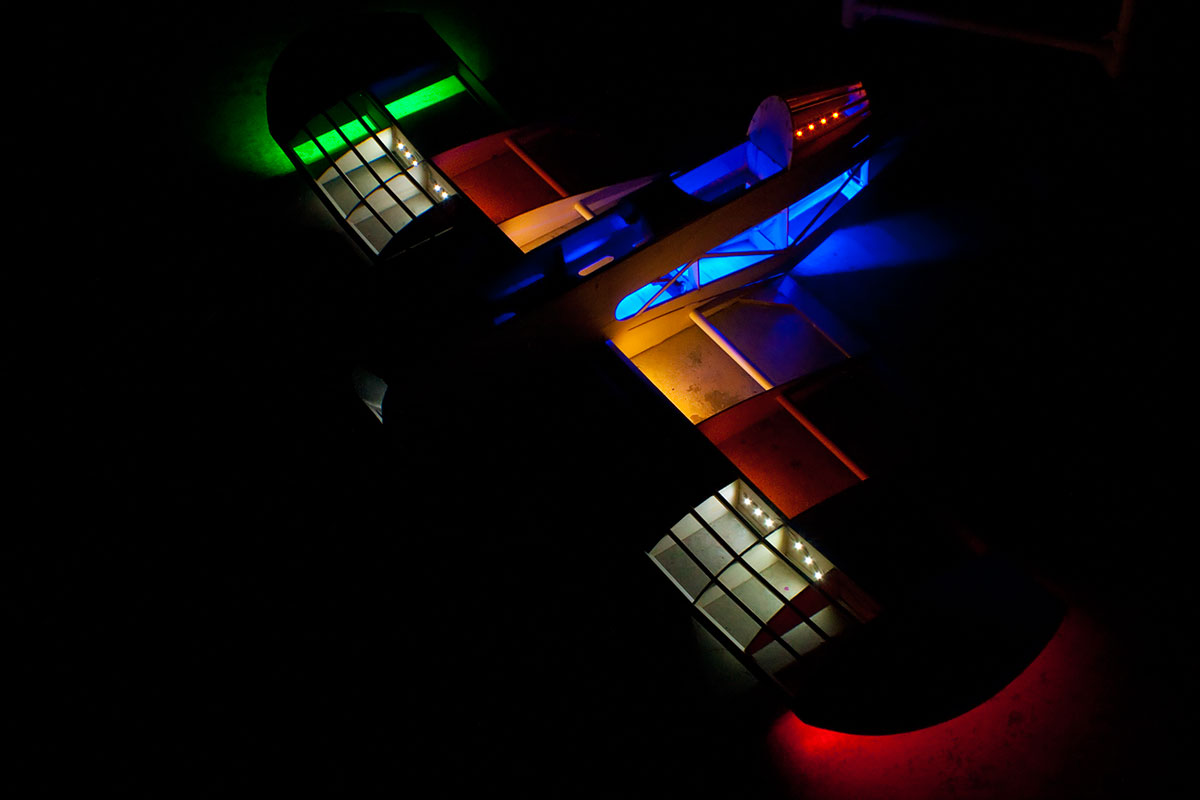
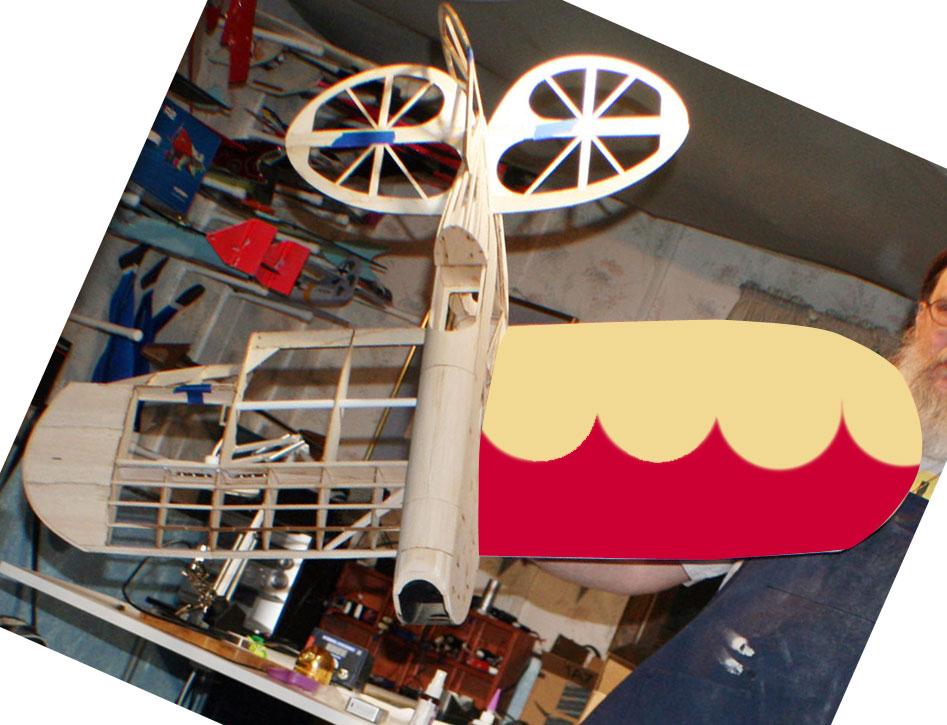
Playing around with paint jobs in Photoshop before I move on to the next step: applying the covering. I think the final color scheme will look pretty much like this.

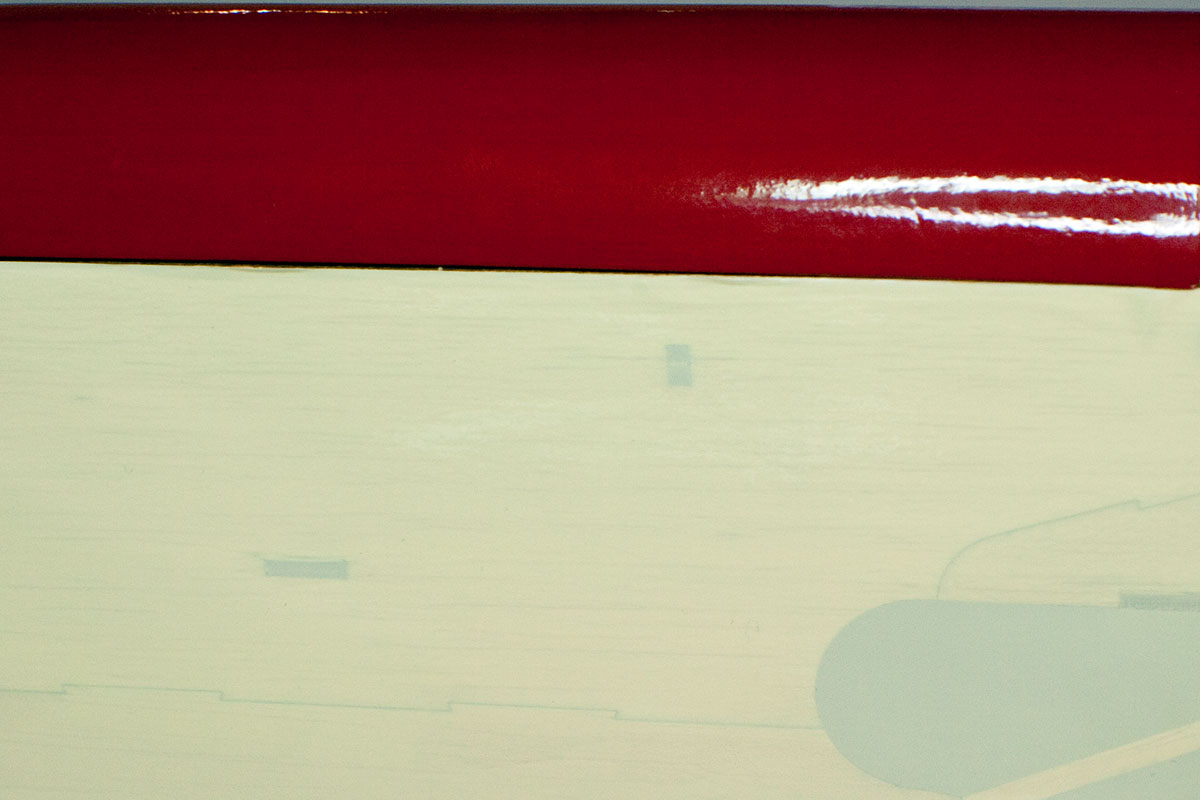

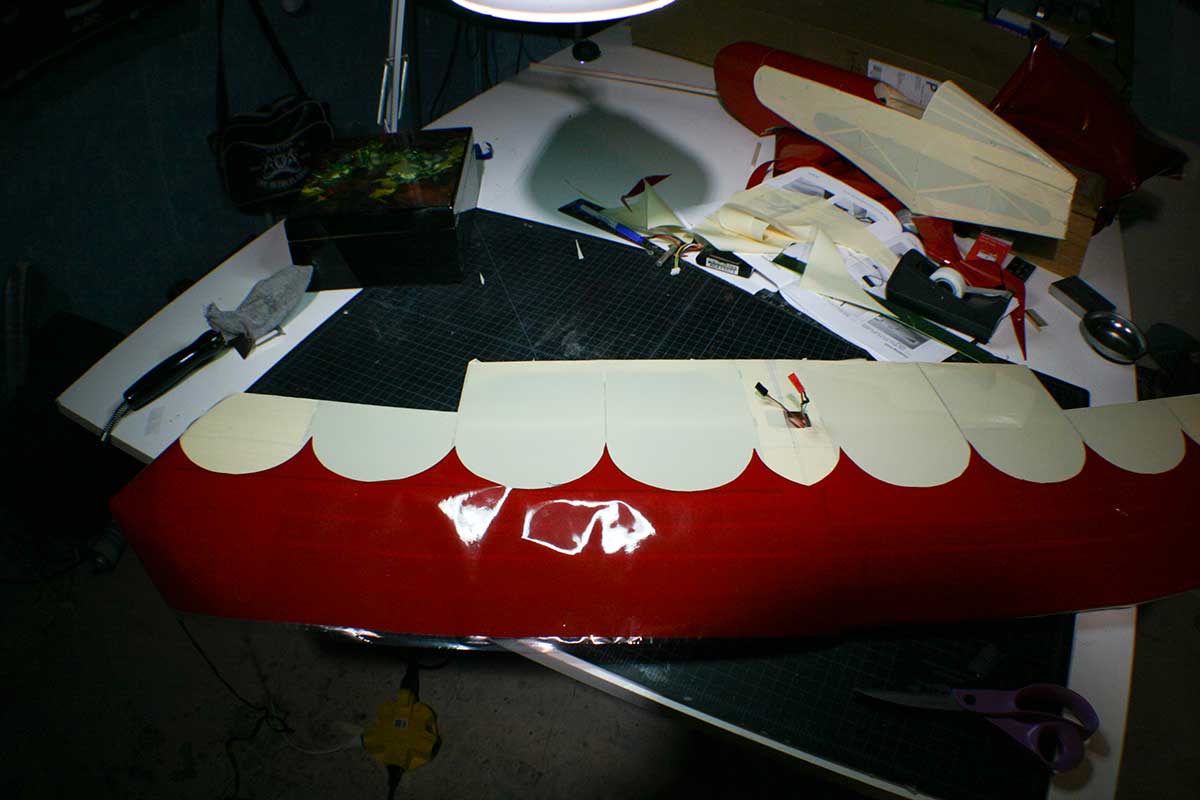
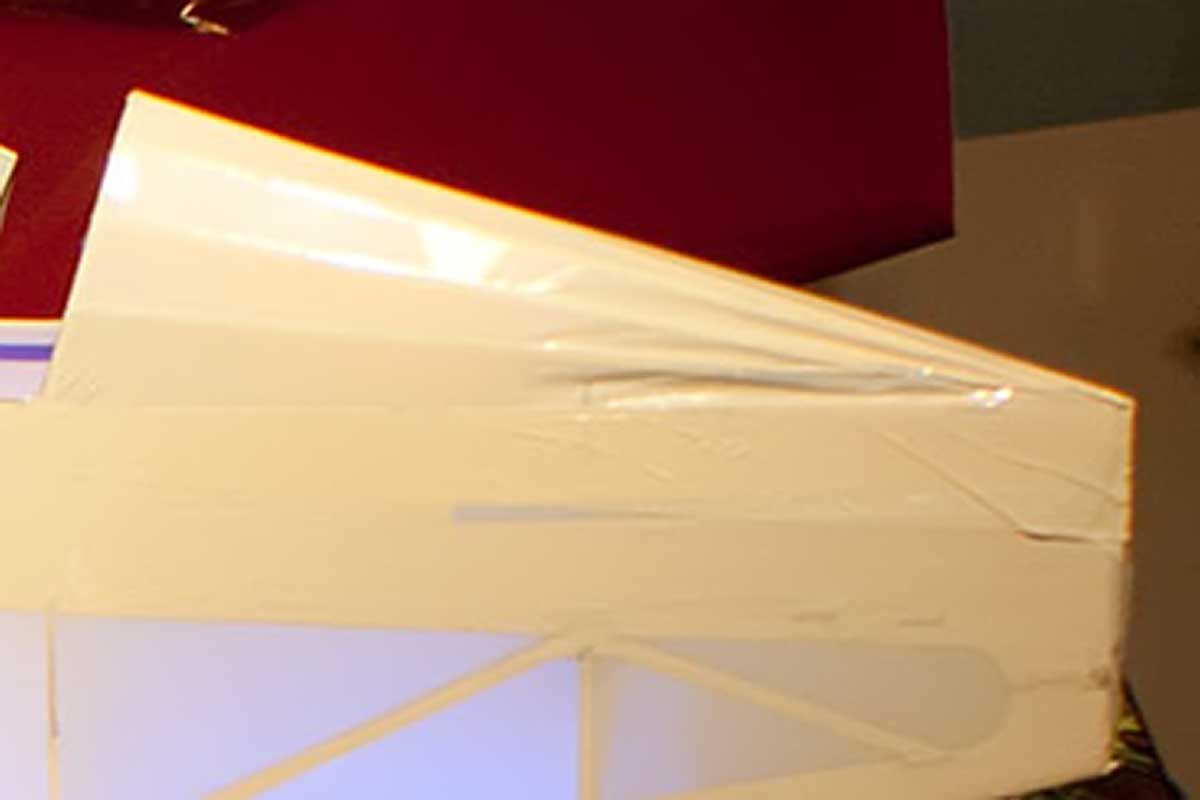
Applying the trim/scallop to the starboard side of the fuse.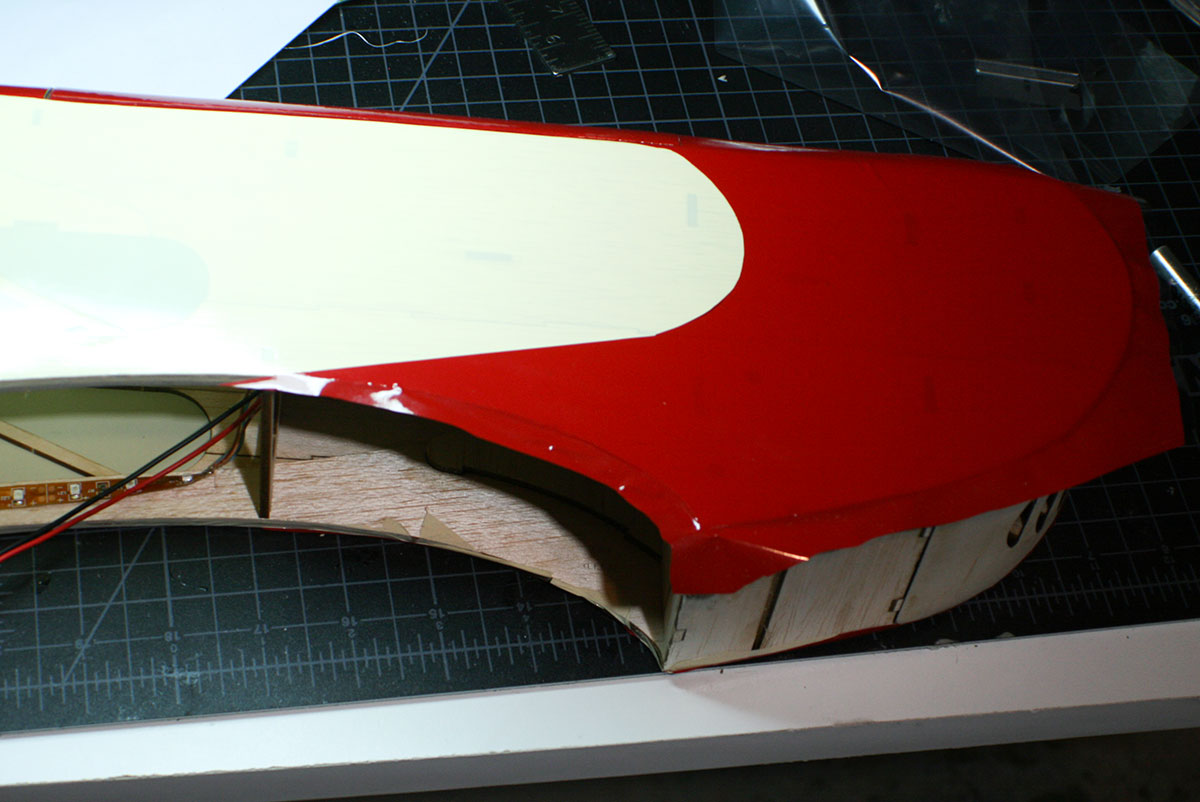 I’ve got the port half of the wing more-or-less covered.
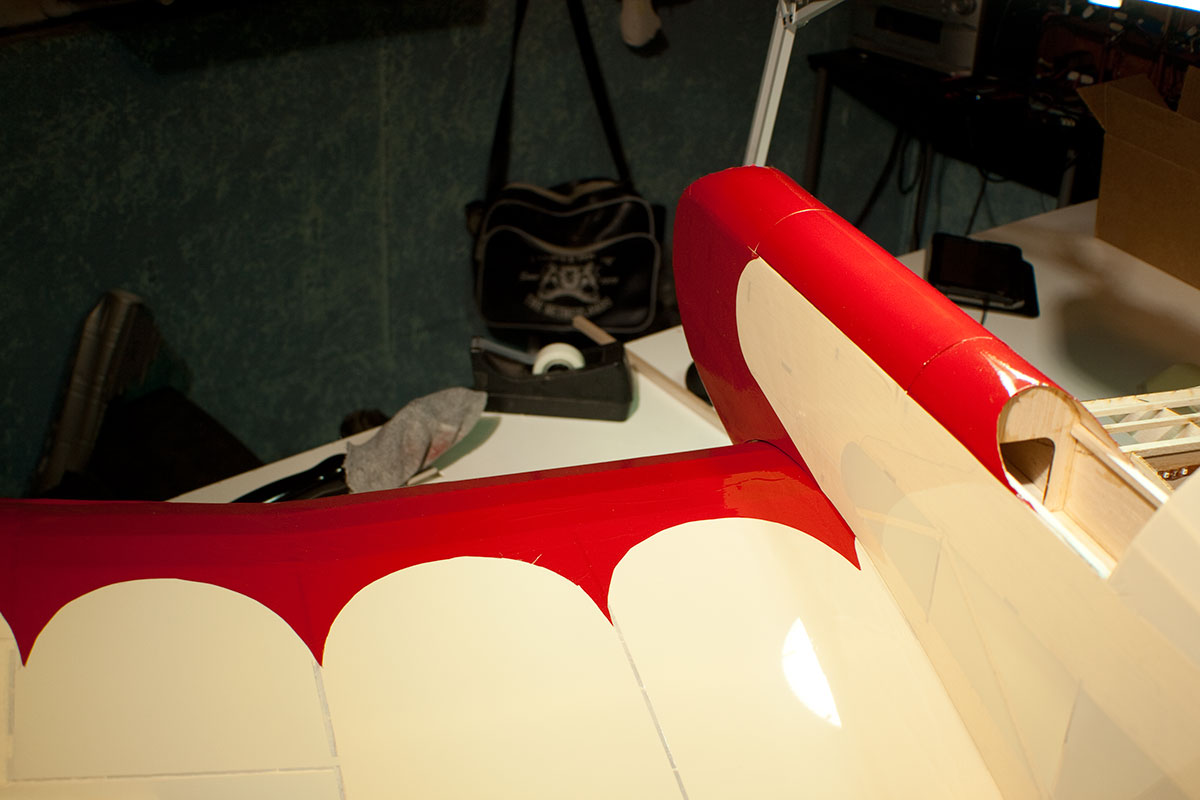

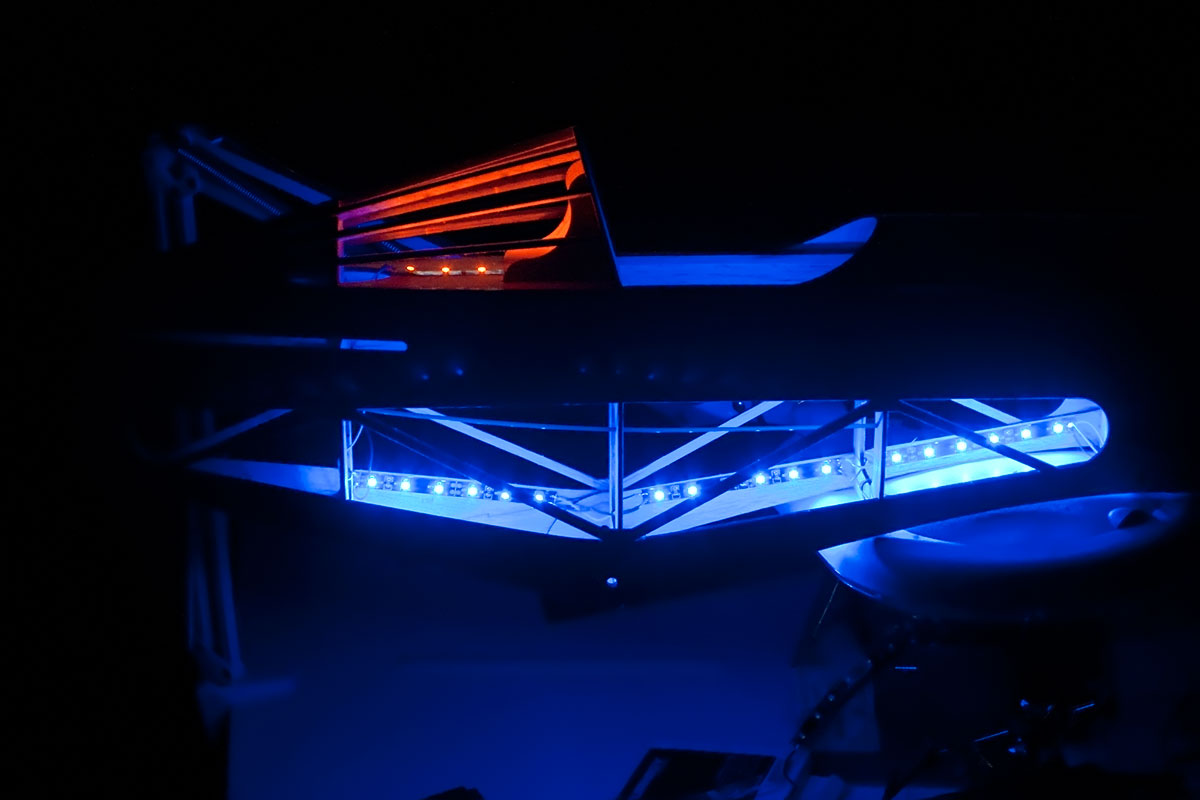
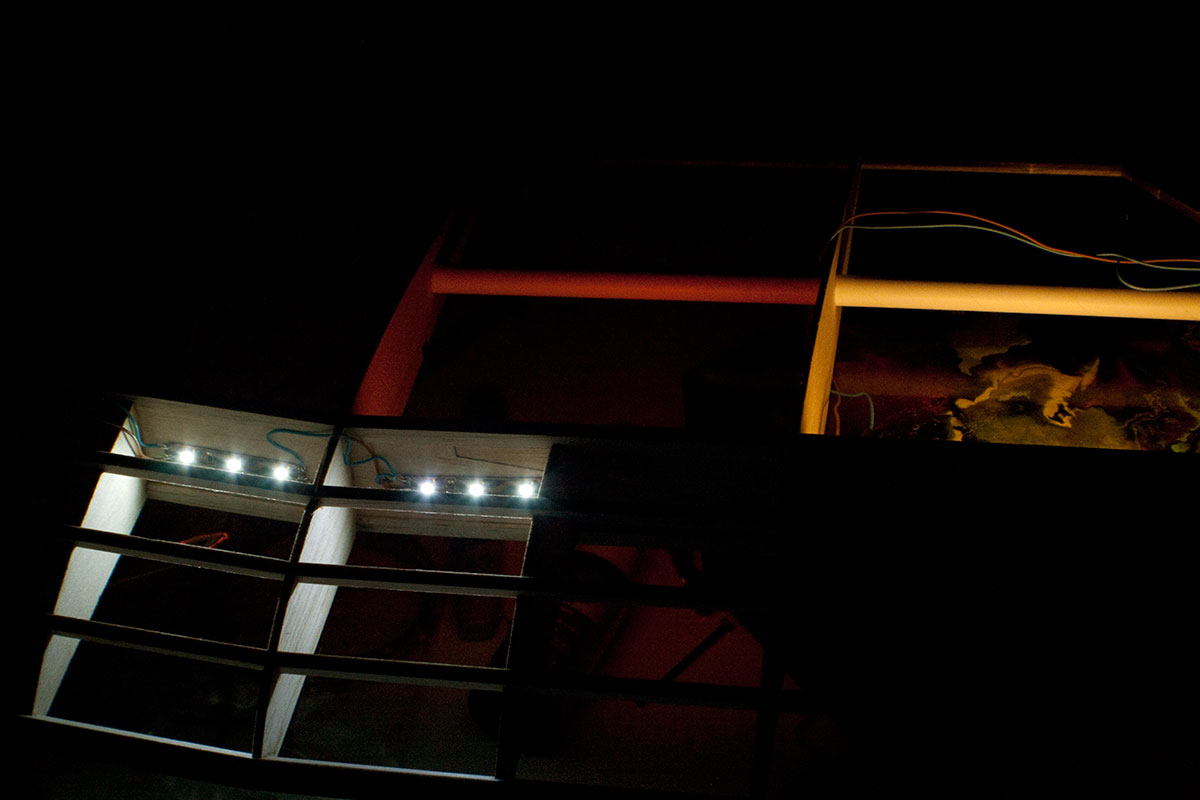
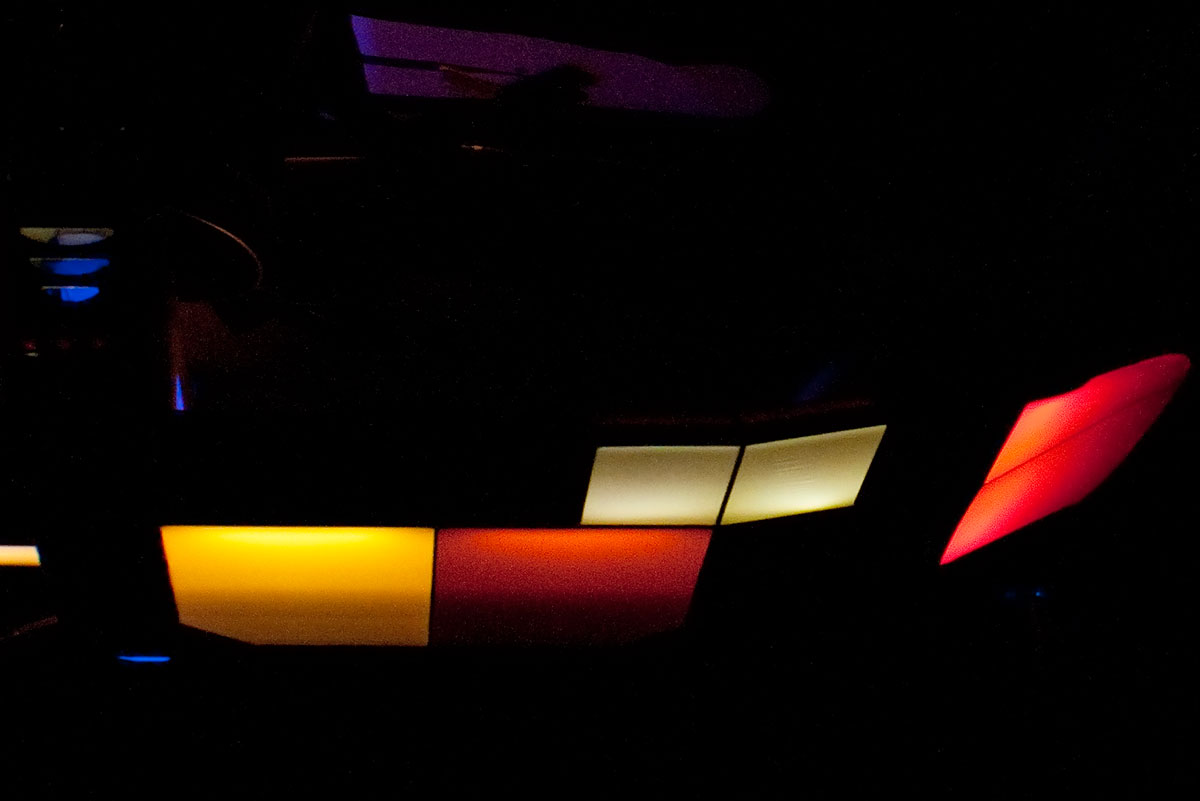
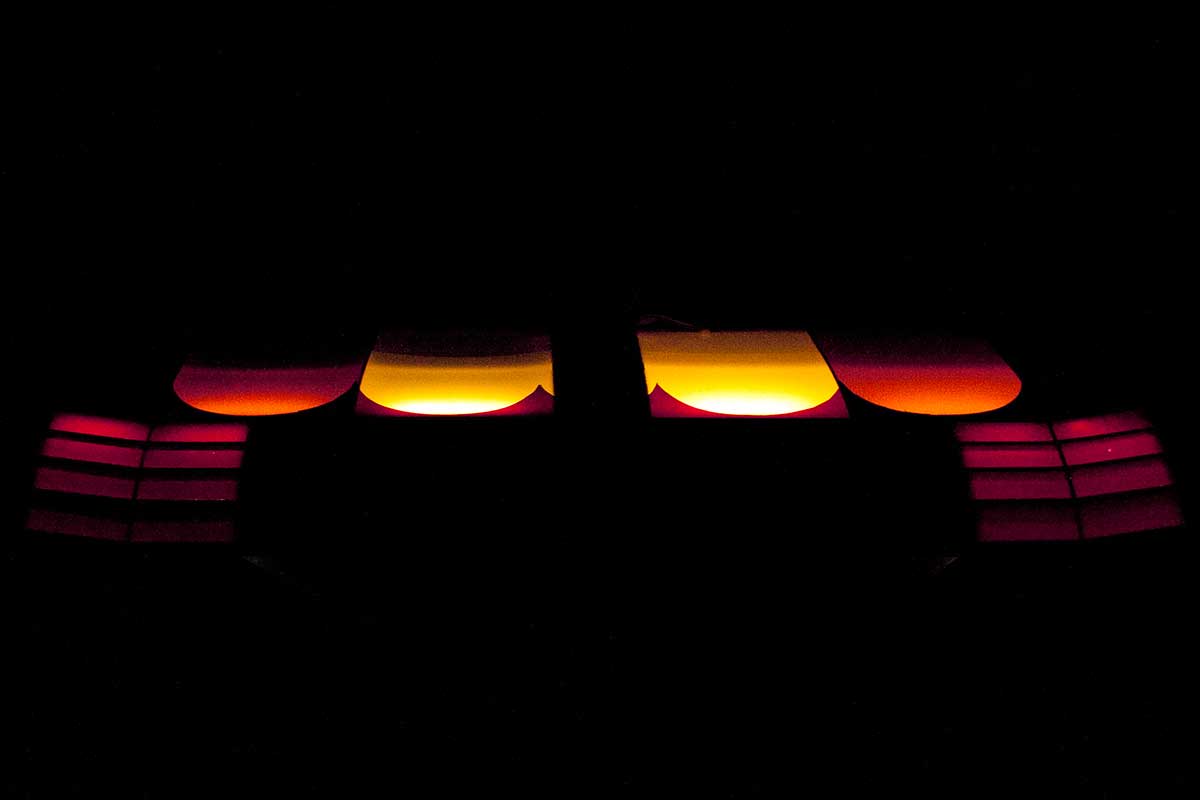
 LED test with finished starboard wing.
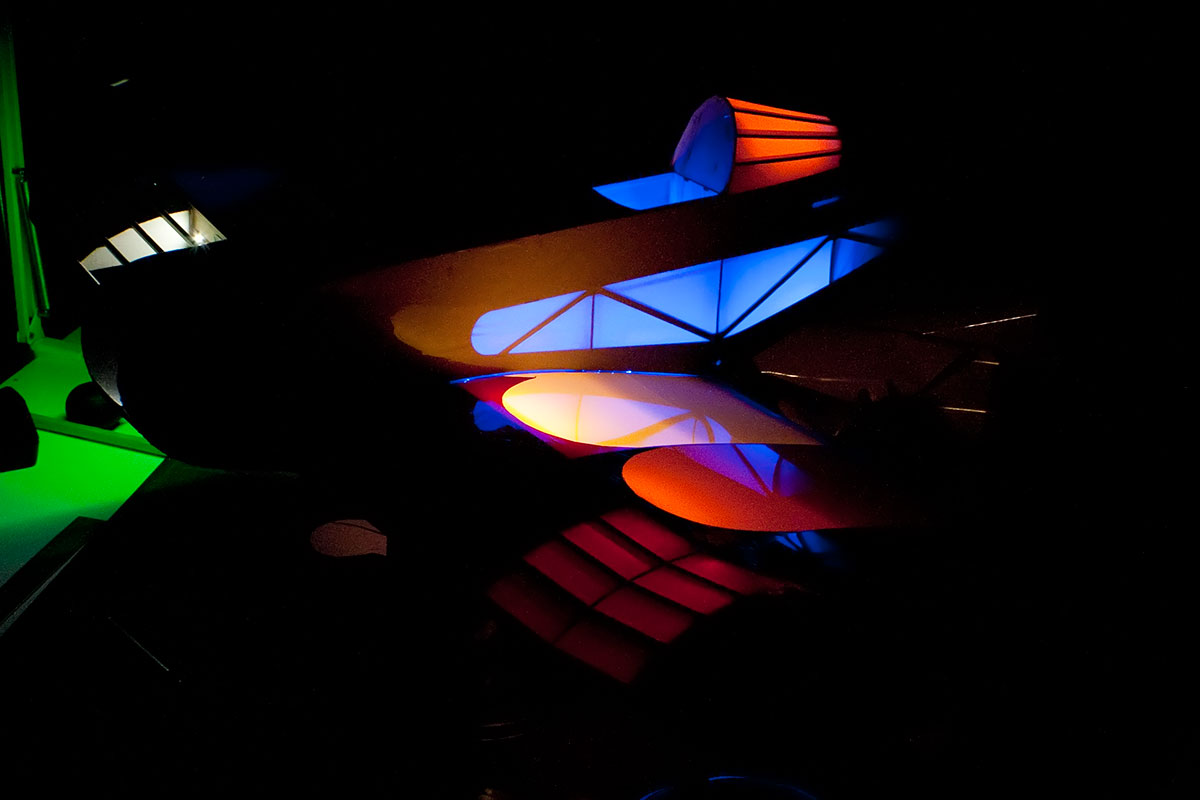
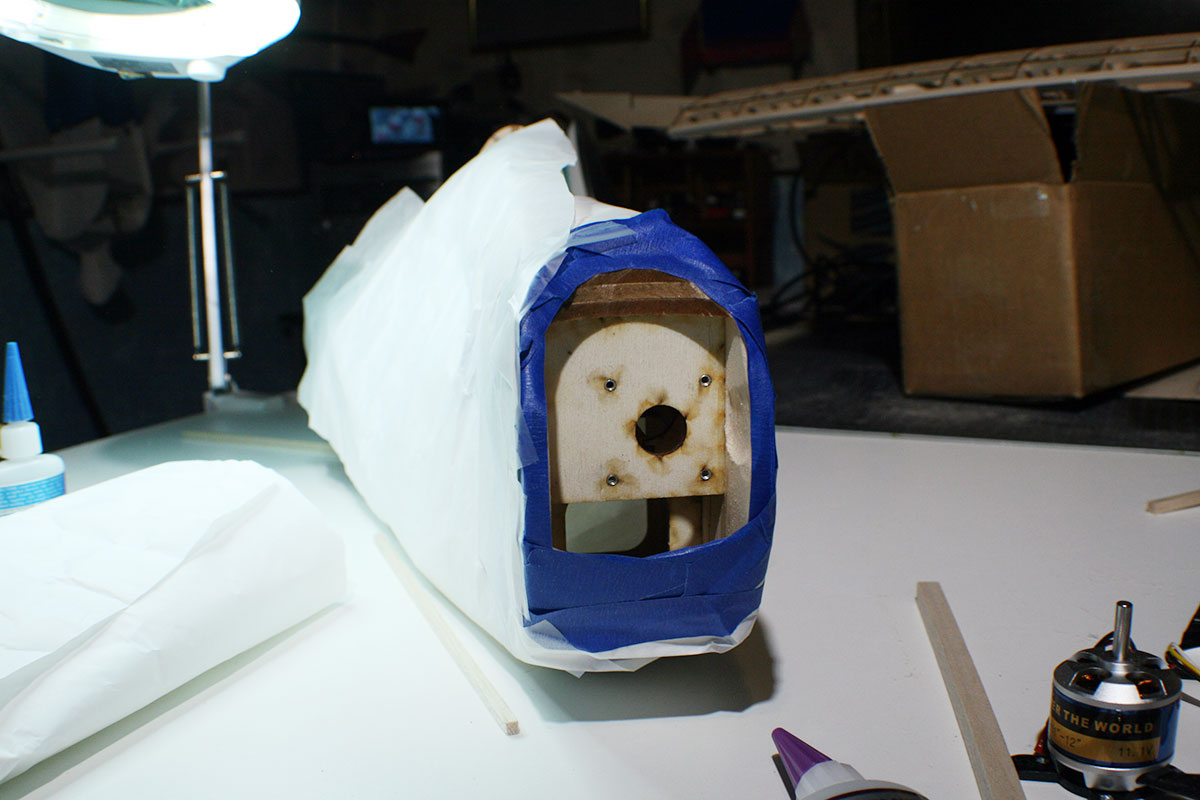
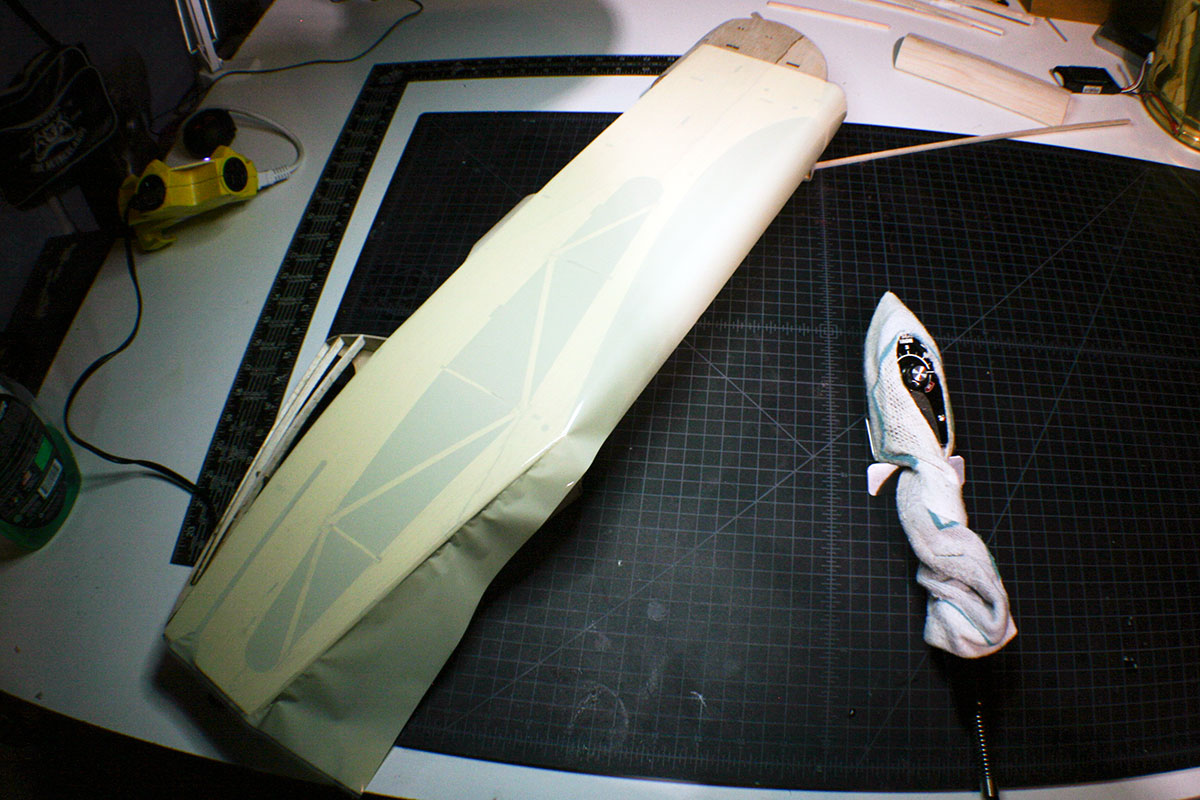
My second roll of ivory film arrived, so it’s time to finish covering the plane.
Covering the top of the starboard wing

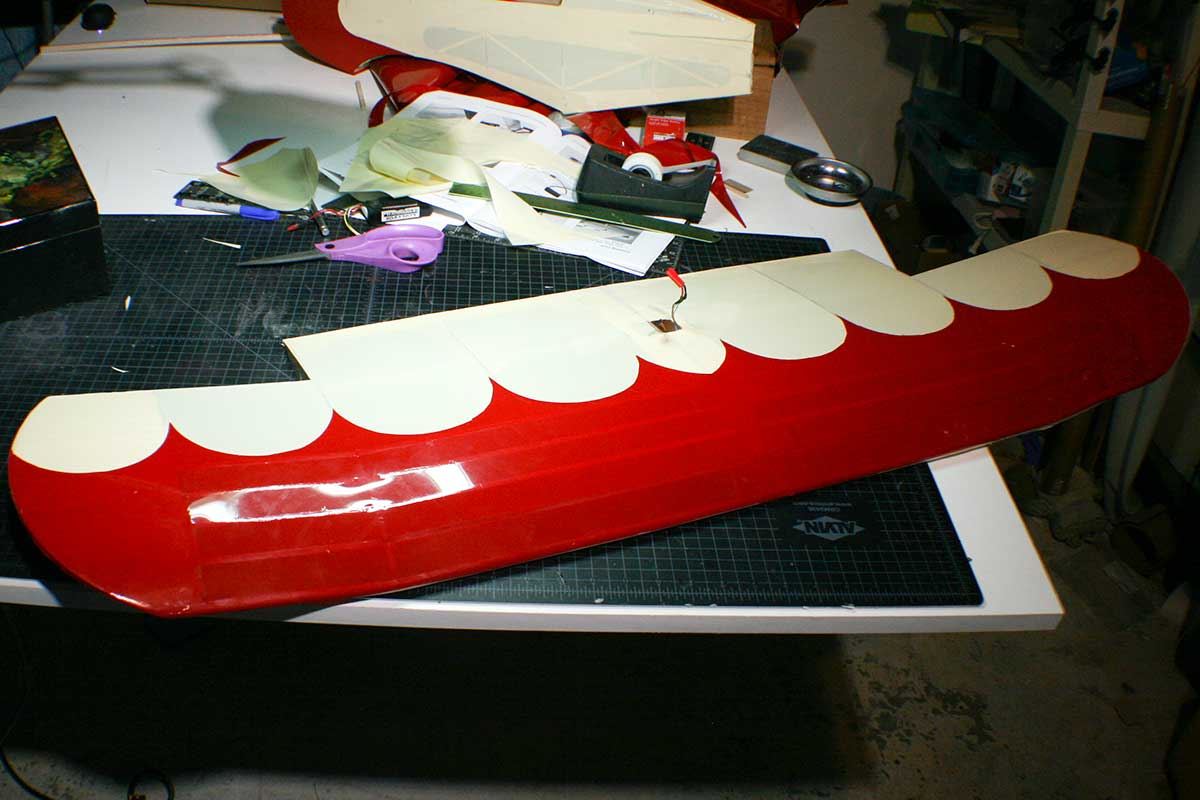
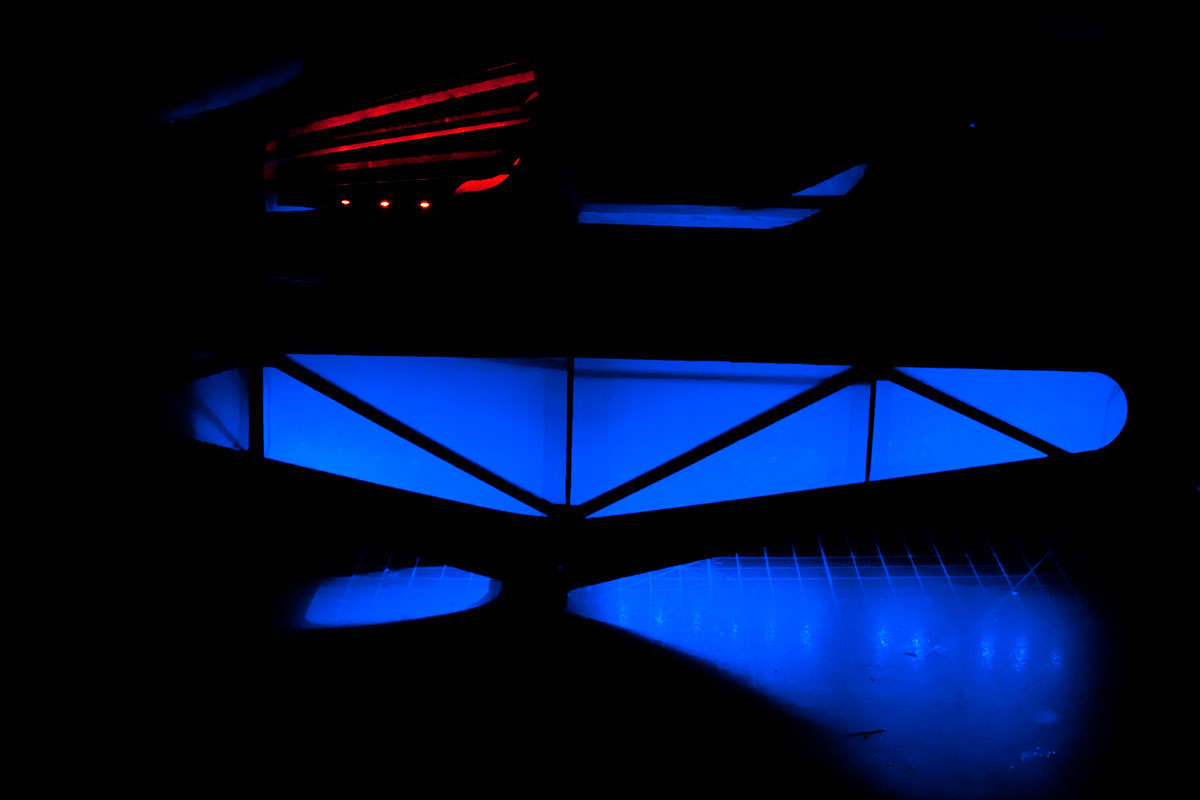
Covering up the bottom of the wing and testing out the LEDs:
That gives me 102 little LEDs in total. (fuse: 12 blue, 1 yellow, 1 white; wing: 4 whites, 8 yellow/white, 8 red/green)
Finally installing the guts.
 Setting on its wheels for the first time.
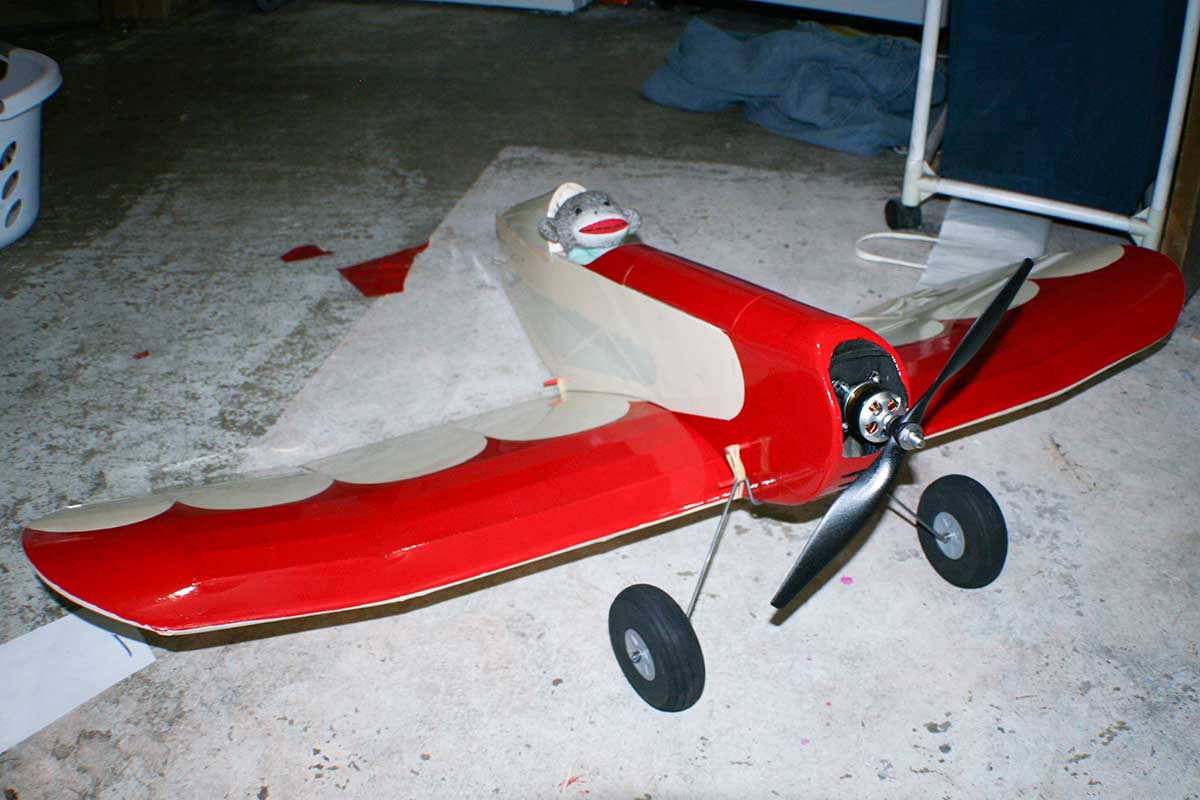
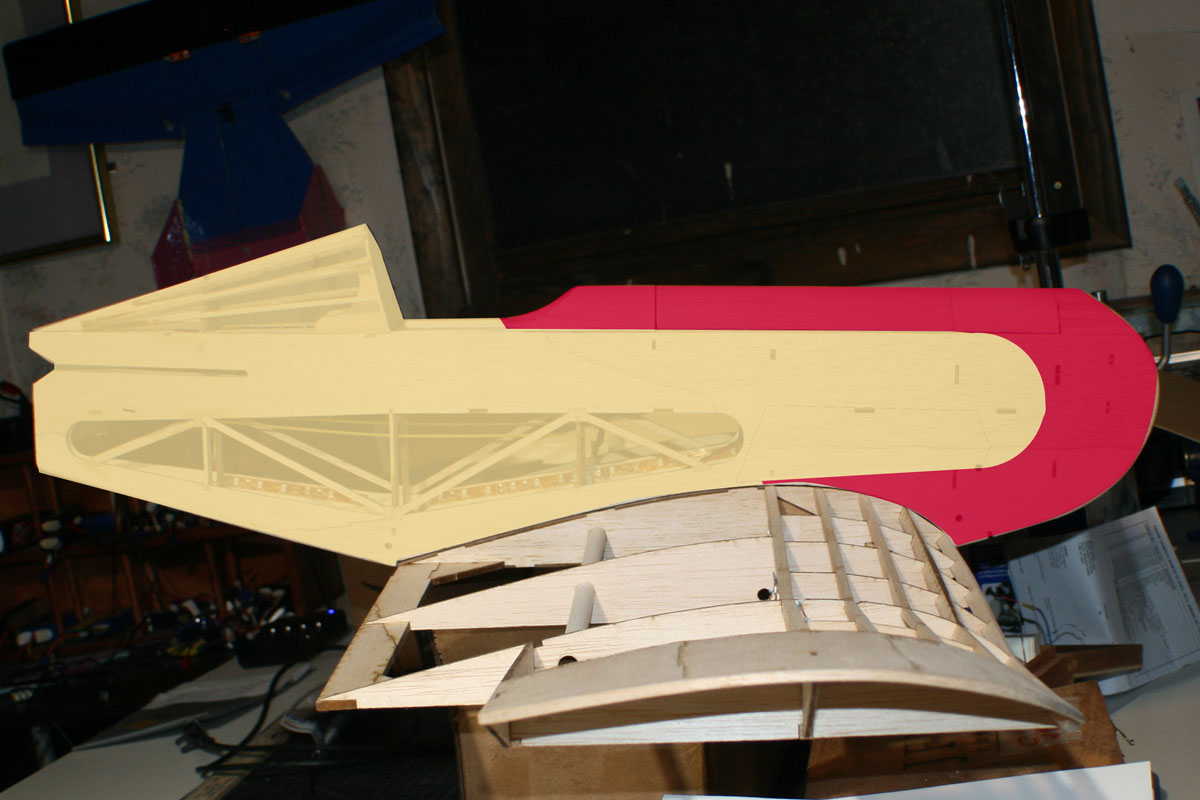
I decided that I just couldn’t abide the ugly mess that was the rear of my turtledeck.
I cut the original ivory covering off and replaced it with two pieces of red. (I decided if I was gonna hide my repairs, I’d hide them flamboyantly in plain sight.) I don’t think an added spot of color will hurt anything, and the turtledeck LEDs are forward of a solid bulkhead, so they don’t really illuminate this area anyway.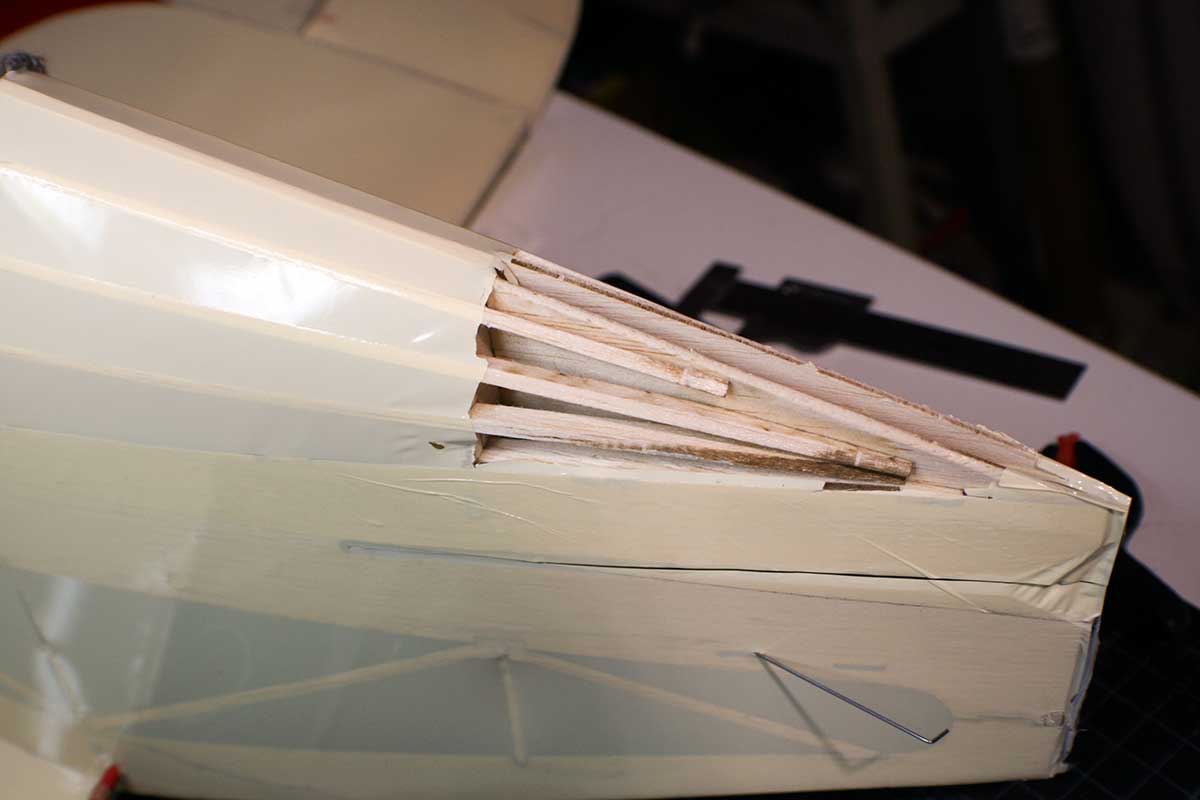
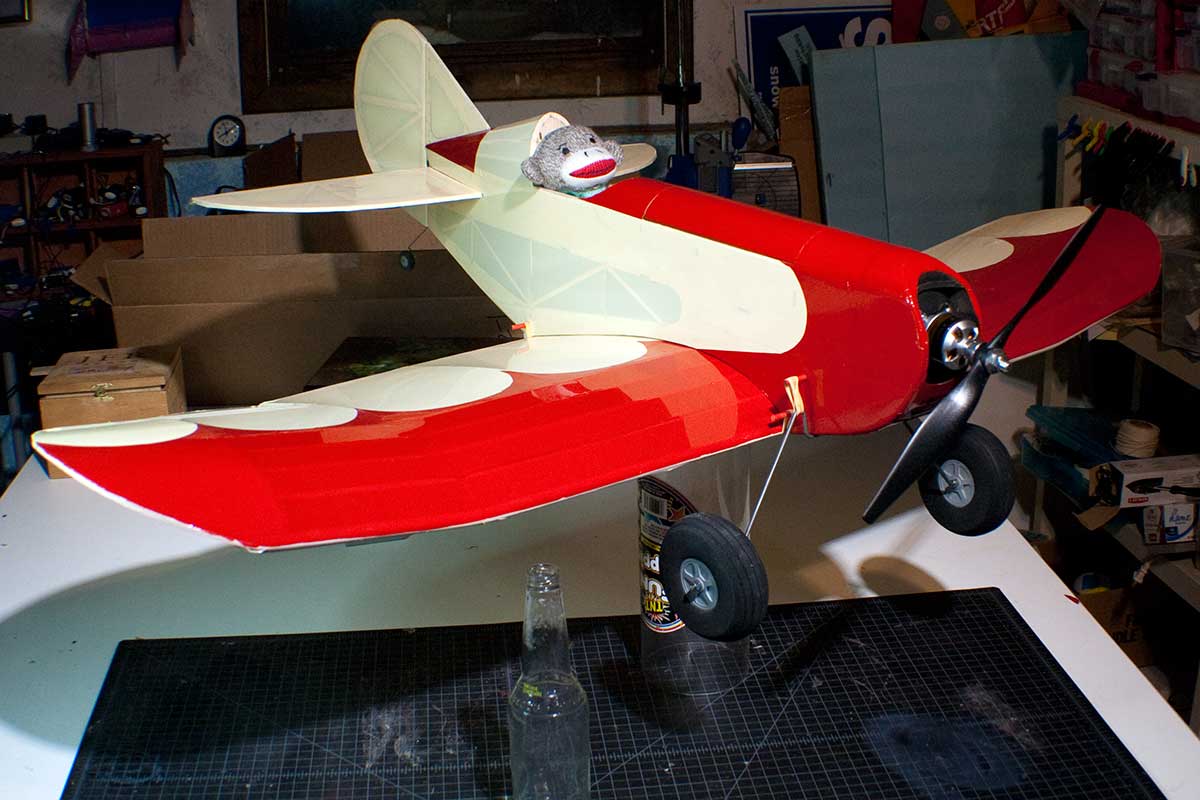
Fully covered assembly test. (Beer bottle included for scale.)
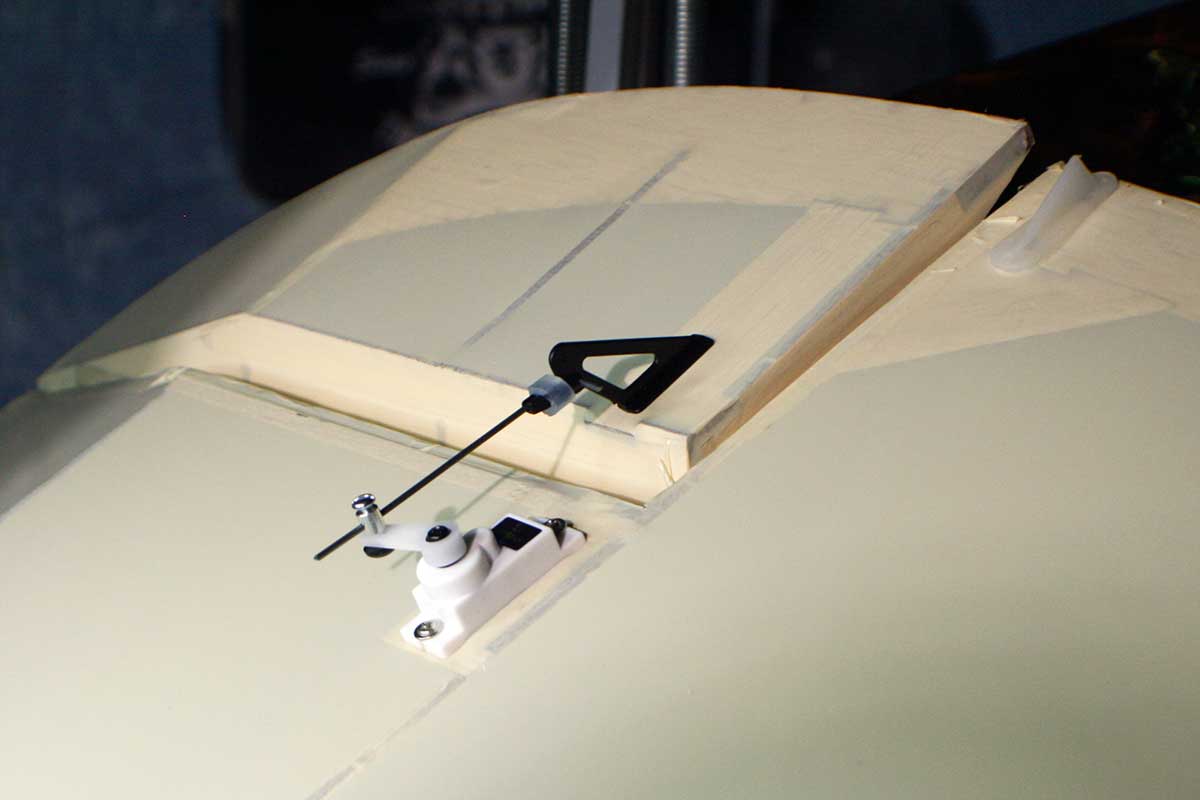
Gluing the CA hinges into the rudder (and elevator), preparatory to gluing them in place.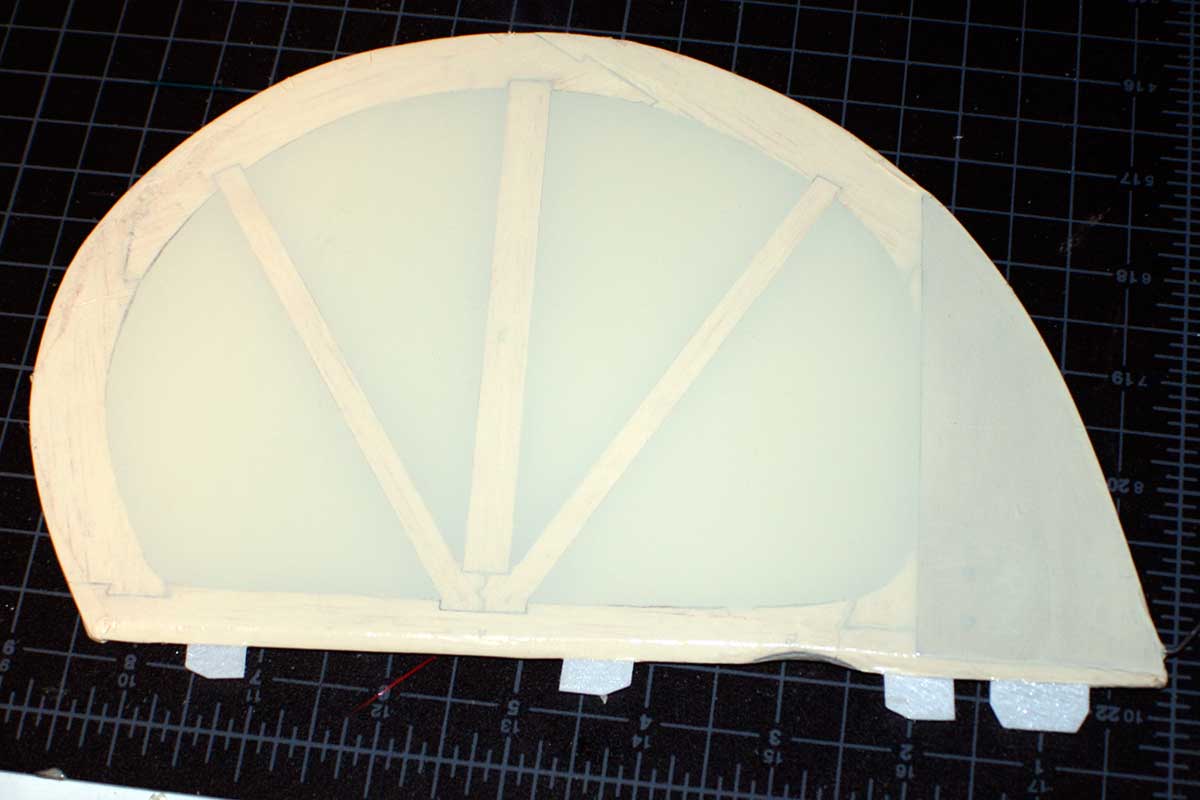 Installing the control horns and skids on/near the ailerons.
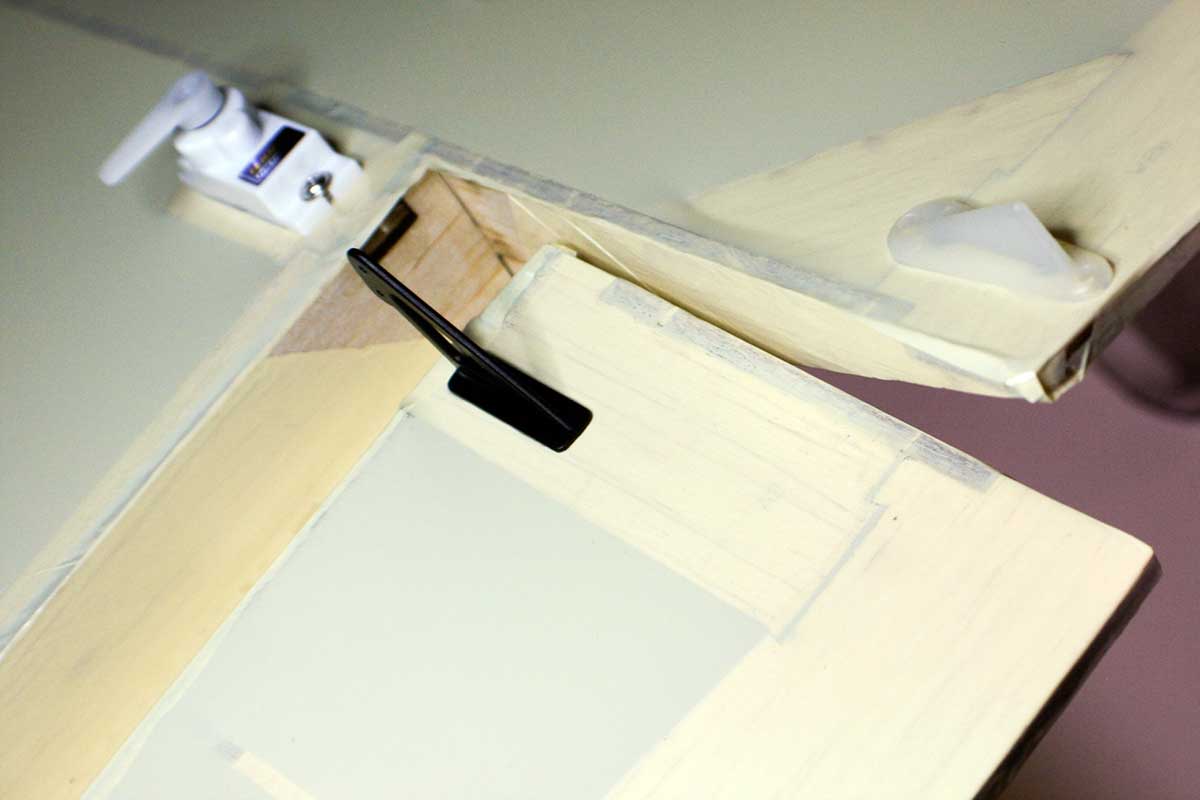 Hooking up the ailerons.