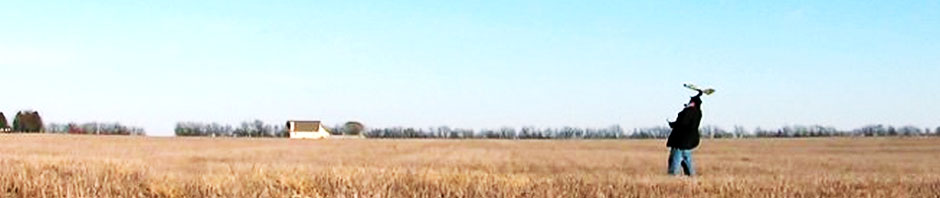
This is the StevensAero SkyBuggy (300), the subject of my next build: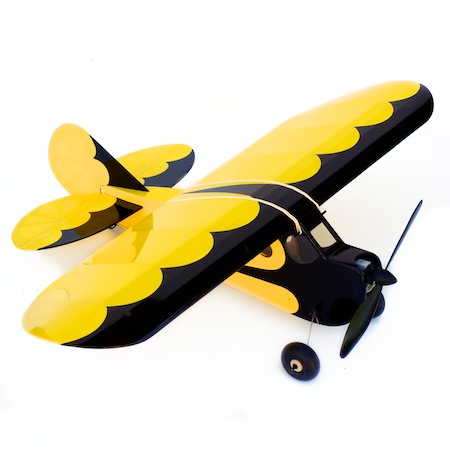
Planned setup:
Emax CF2822 1300kv outrunner, or …- AX 2308N 1100kV outrunner
- (2X) Emax 8g ES08DE digital servos
- #6 Trexler balloon tires
- Turnigy Plush 18 amp ESC
- OrangeRx R610 receiver
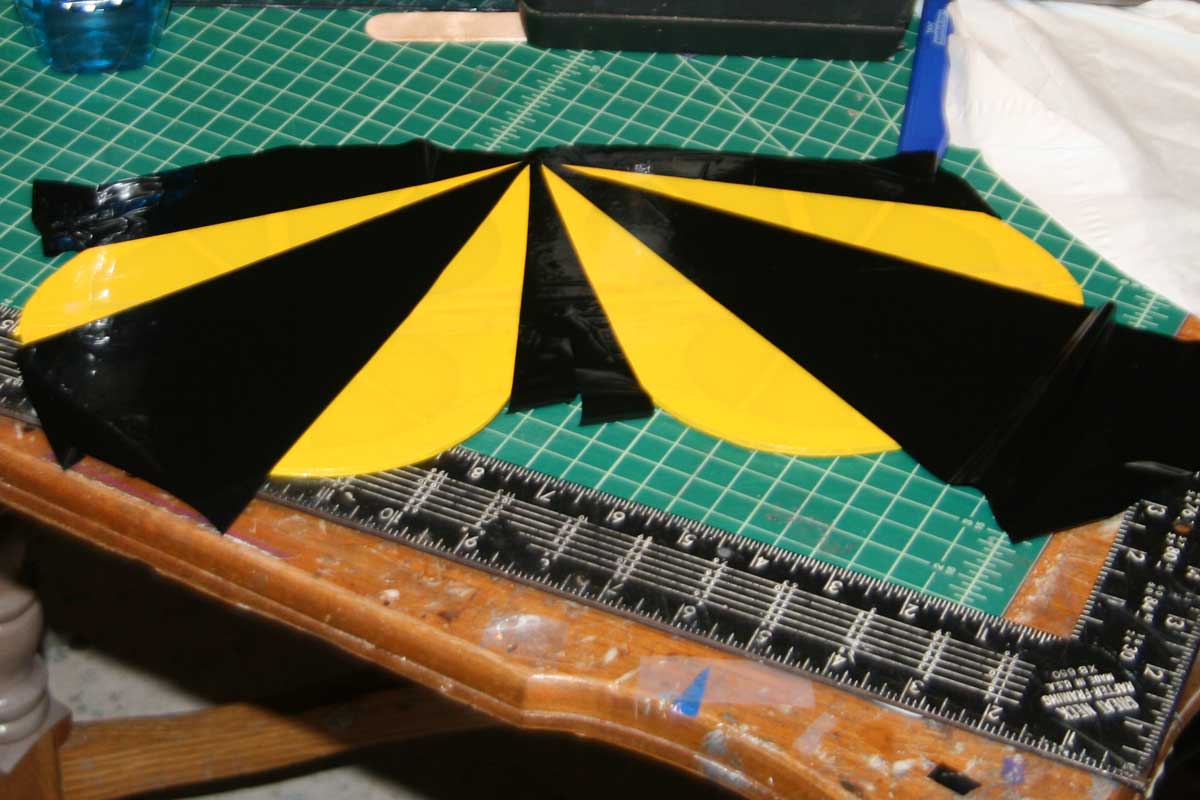
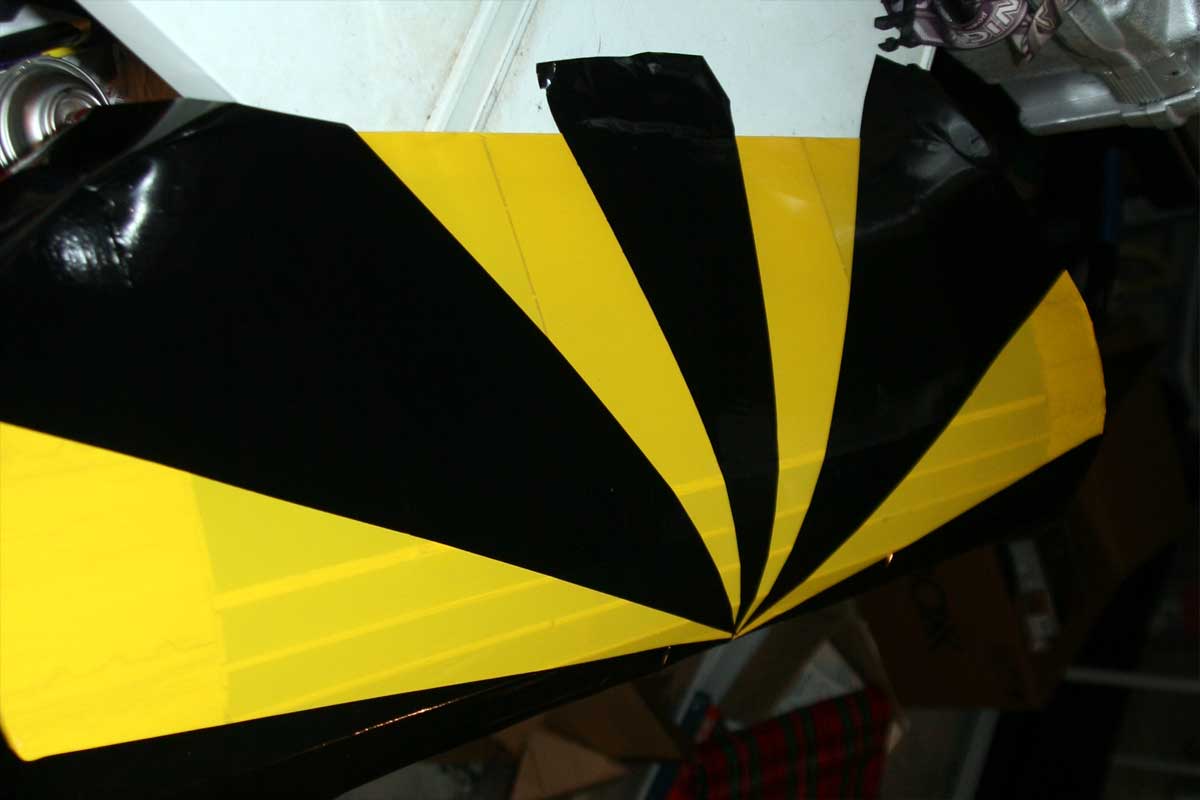
- AeroLITE covering film (yellow and black)
This is my first ever balsa build, and the first time I’ll be trying to use covering film. Wish me luck!
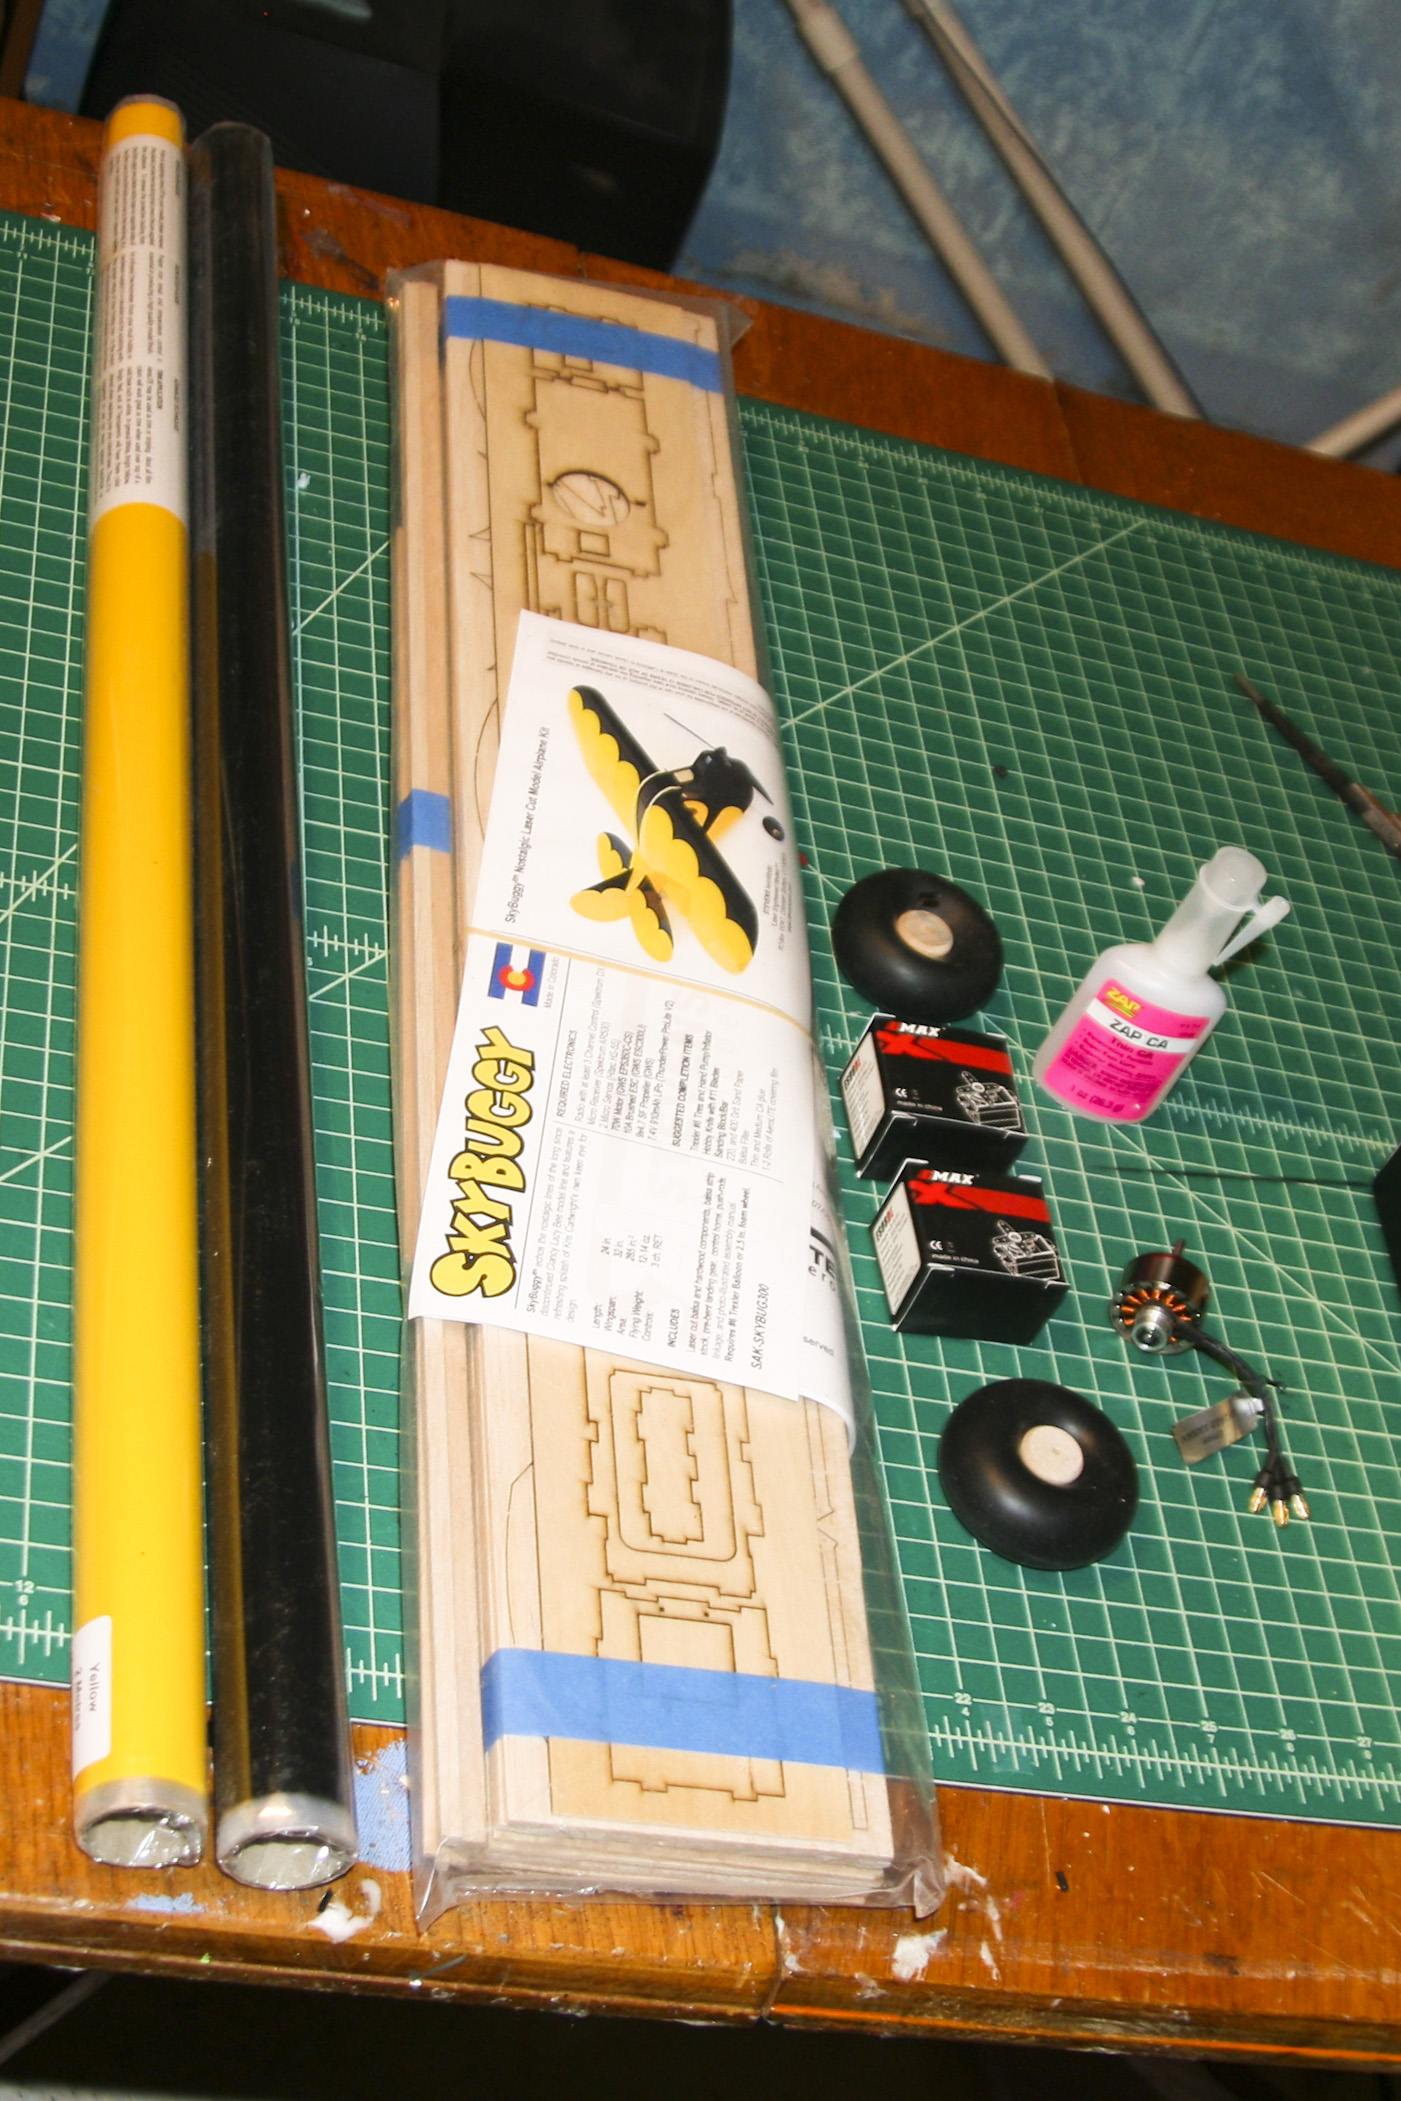
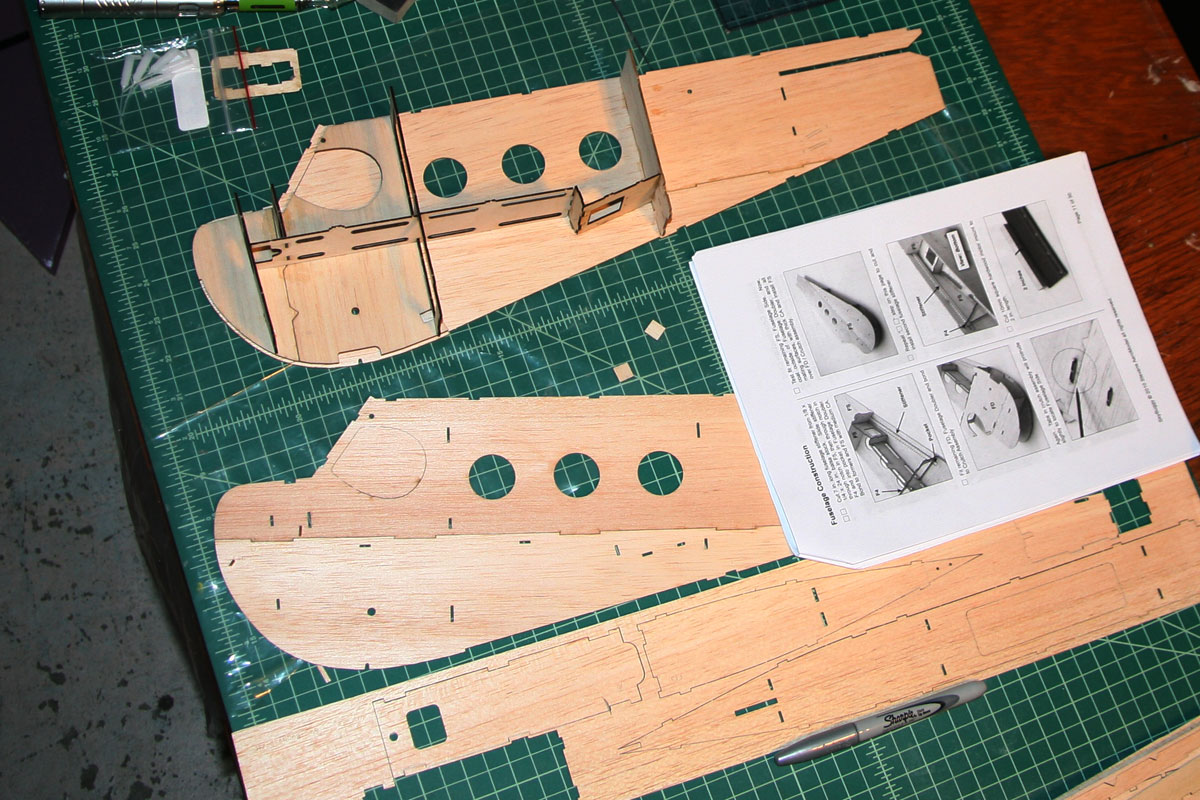
The parts have arrived!

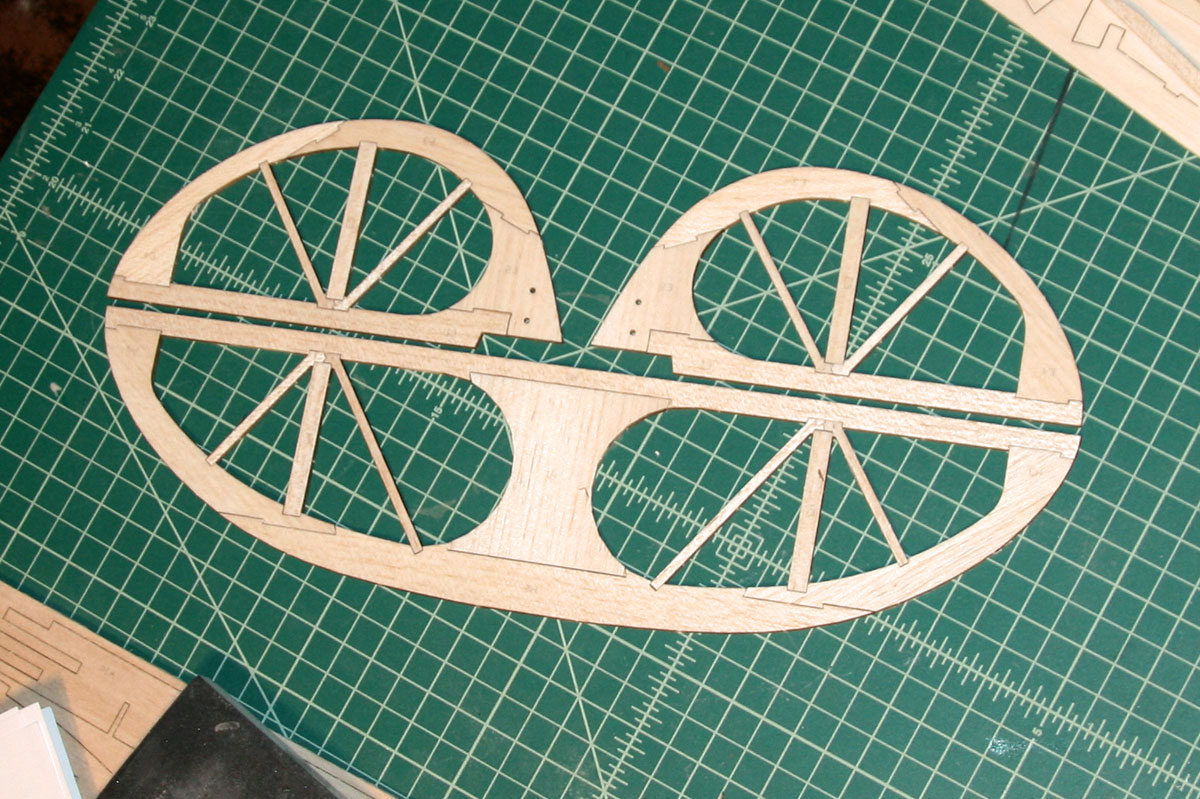
All the wooden parts laid out for a light sanding, per instructions.
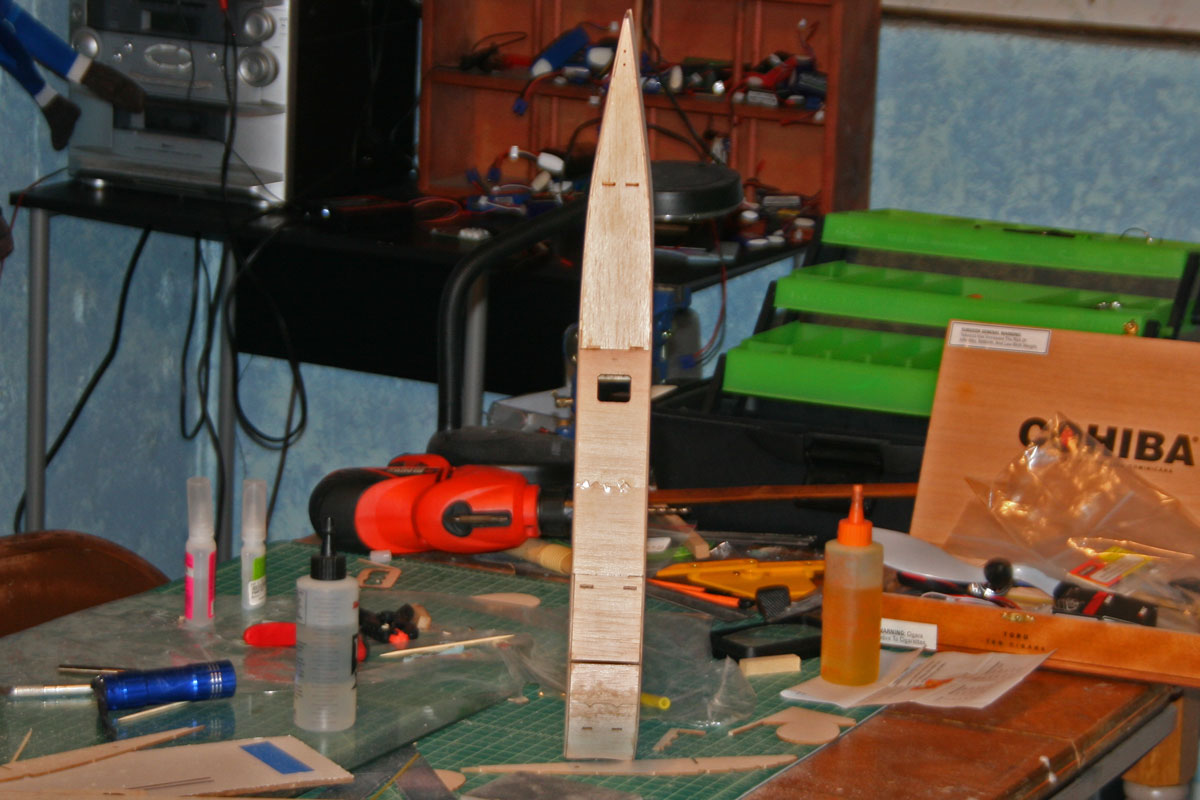
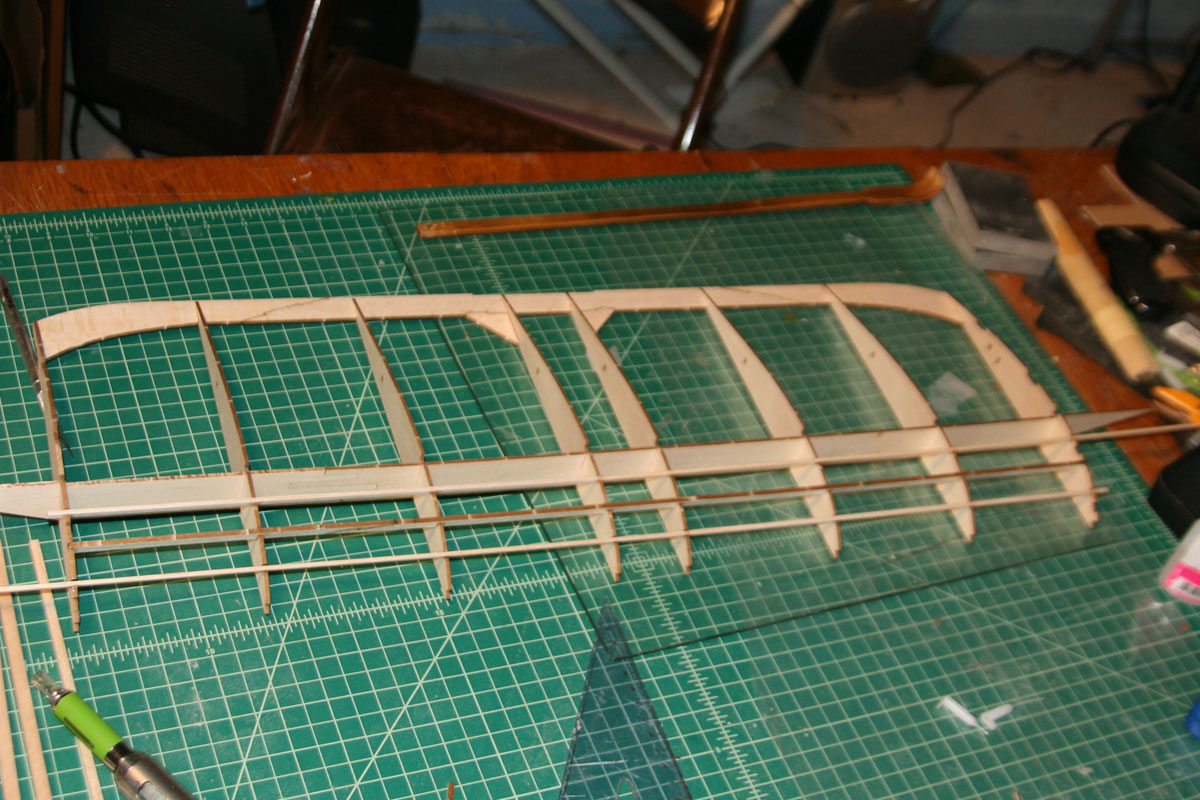
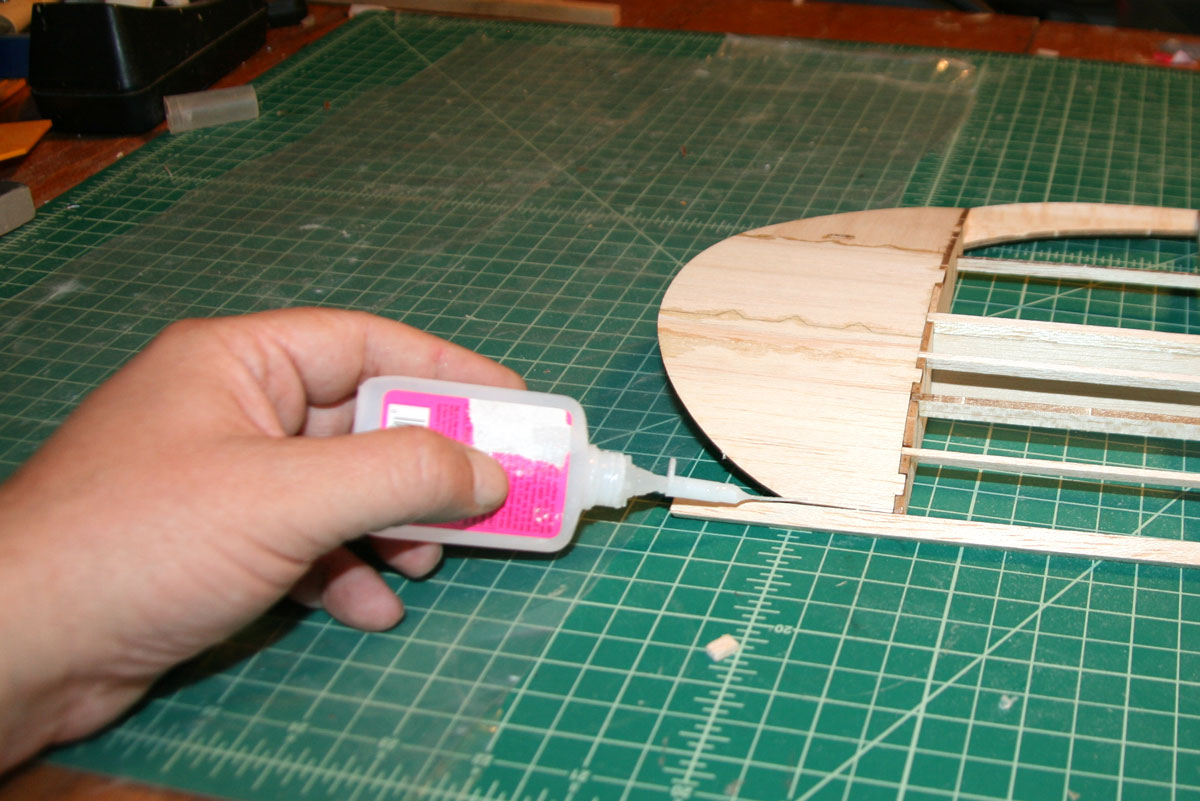
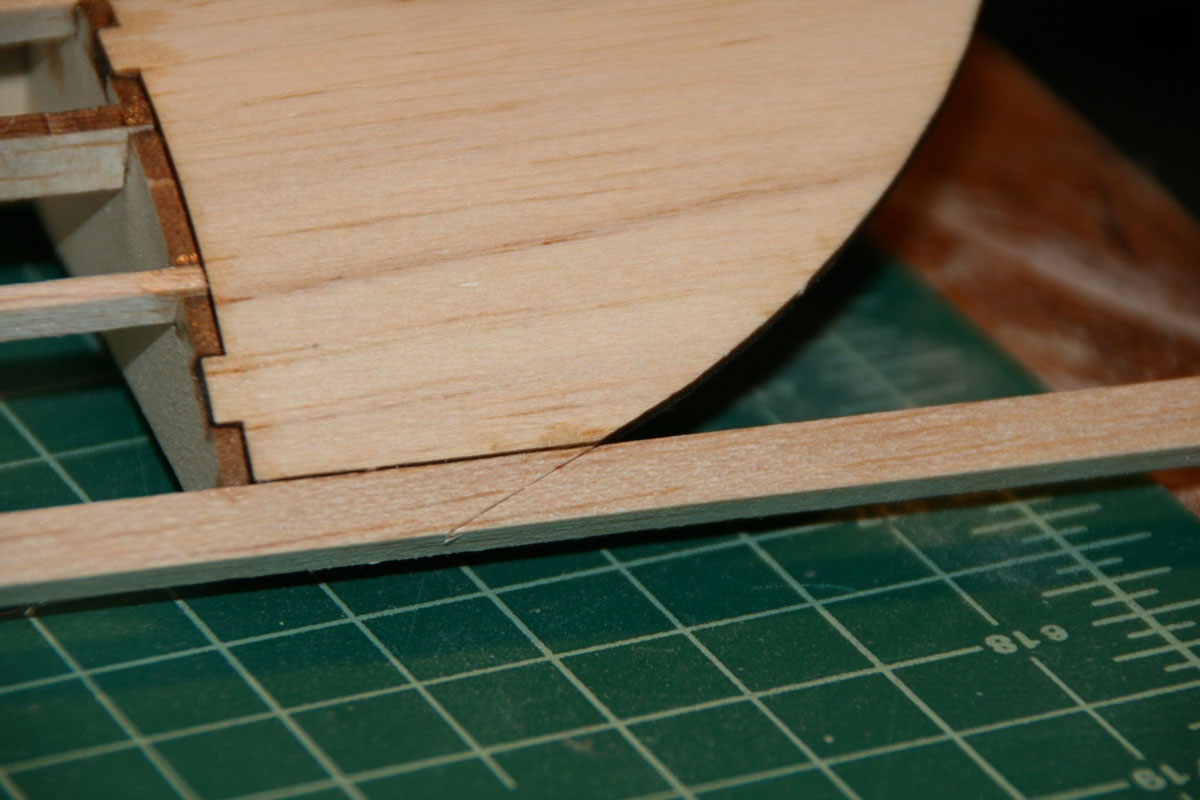
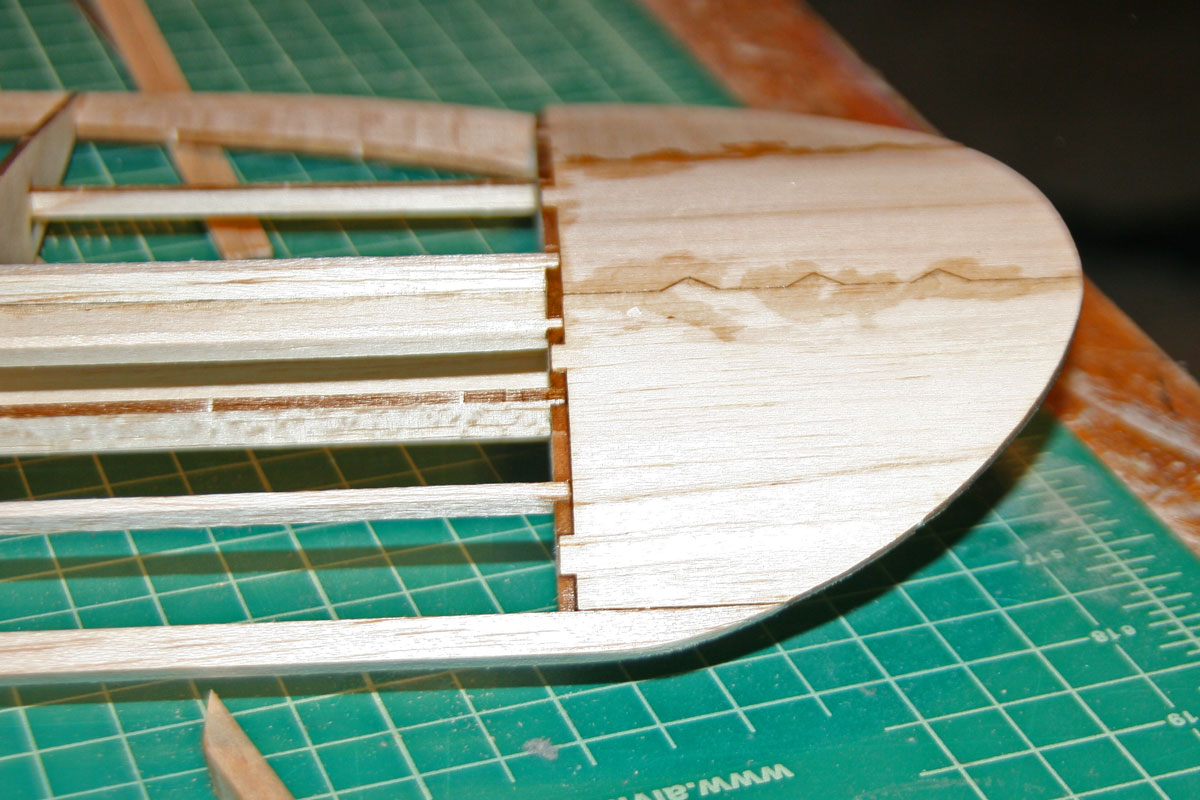
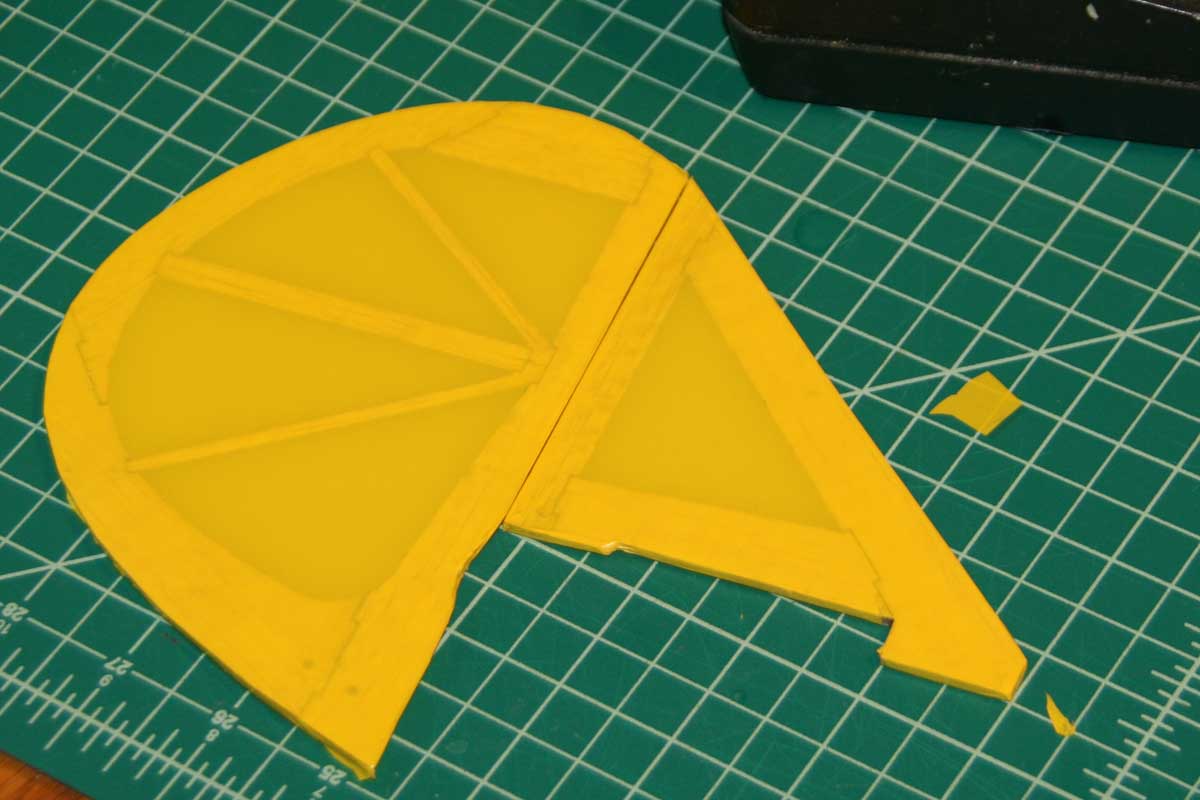
Empennage
Completed sections of the horizontal stabilizer
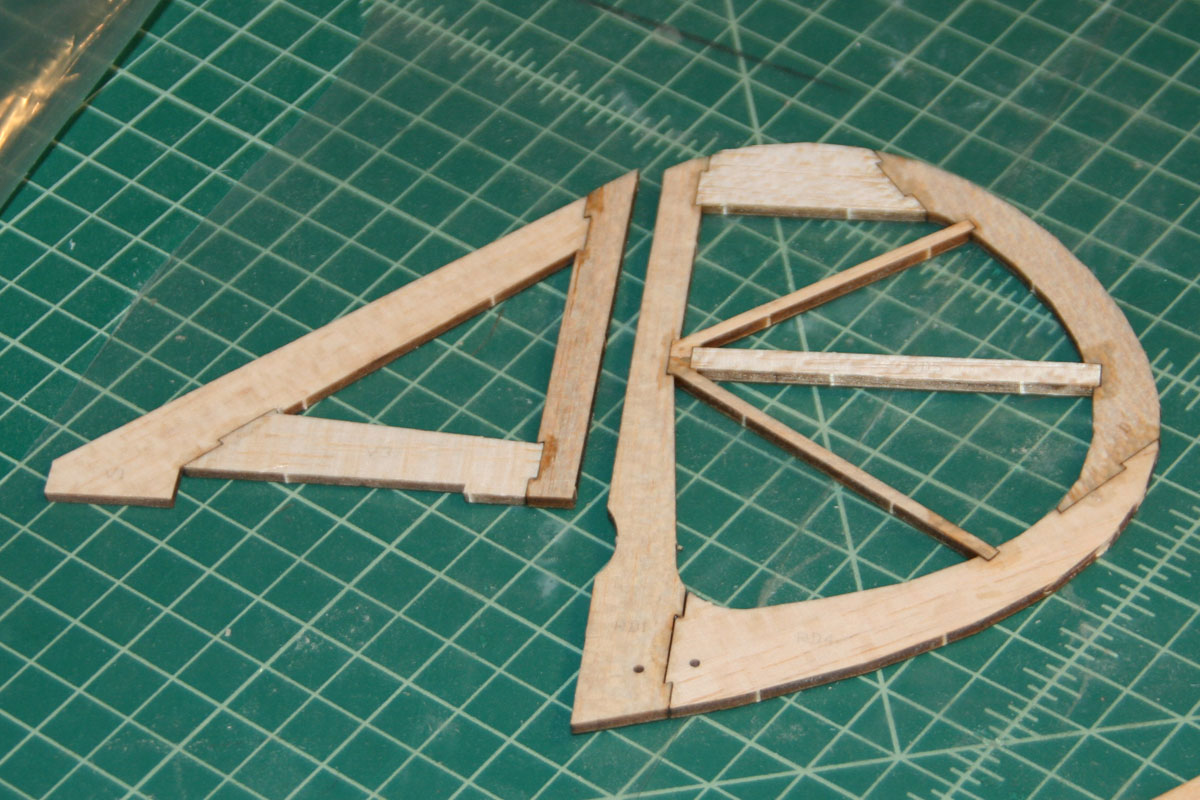
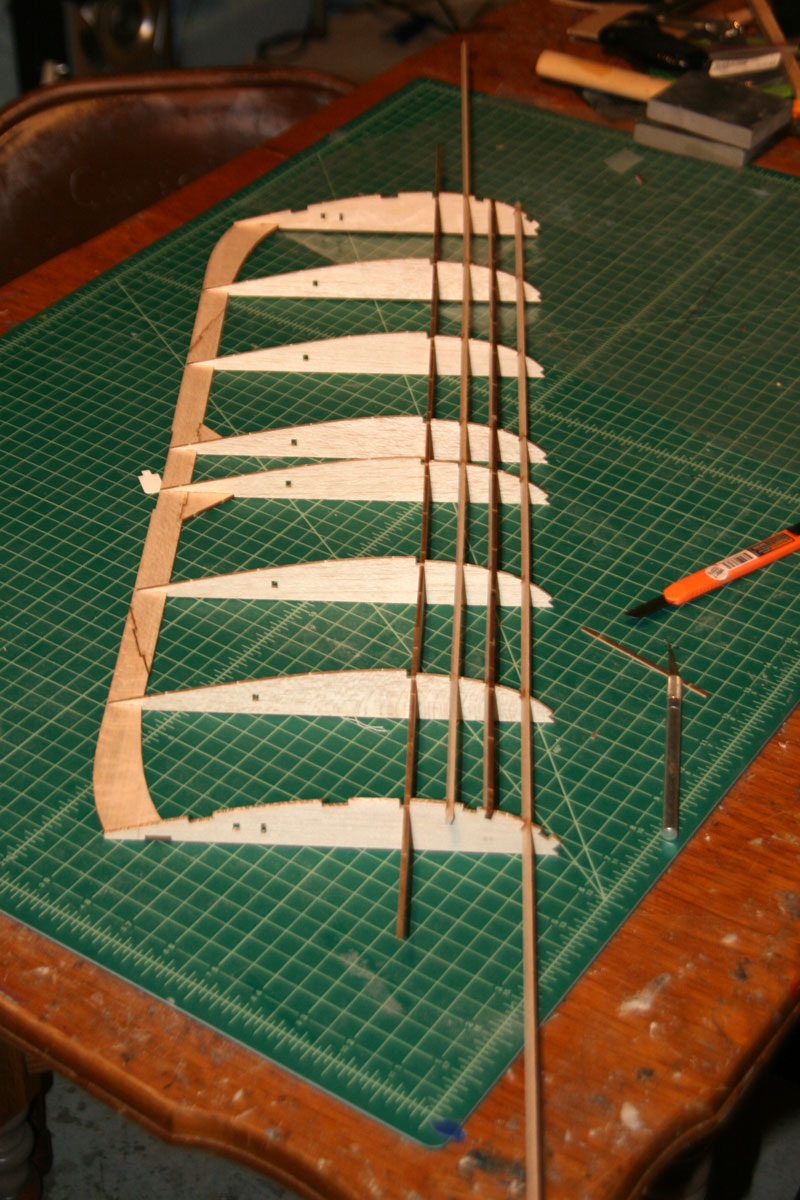
Vertical stab and rudder
Fuselage
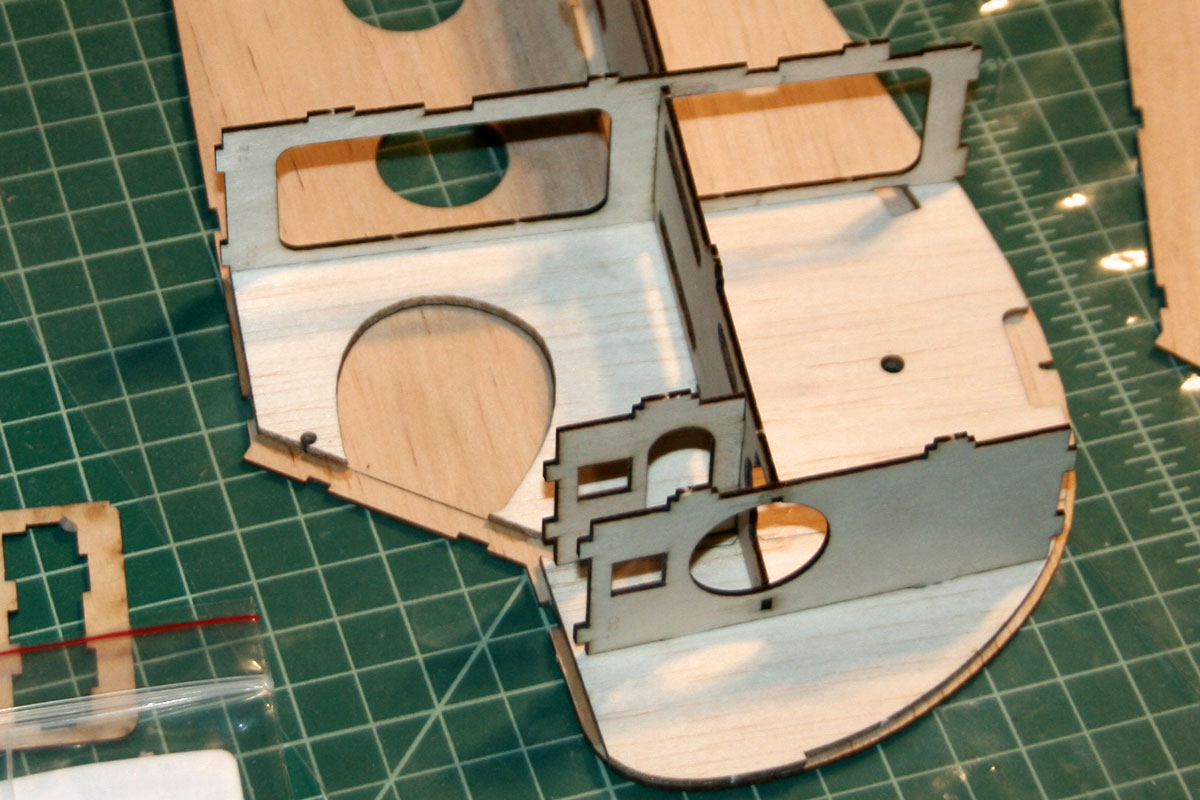
Got a fuselage half built

Interior ‘ladder’ forms fuselage bracing

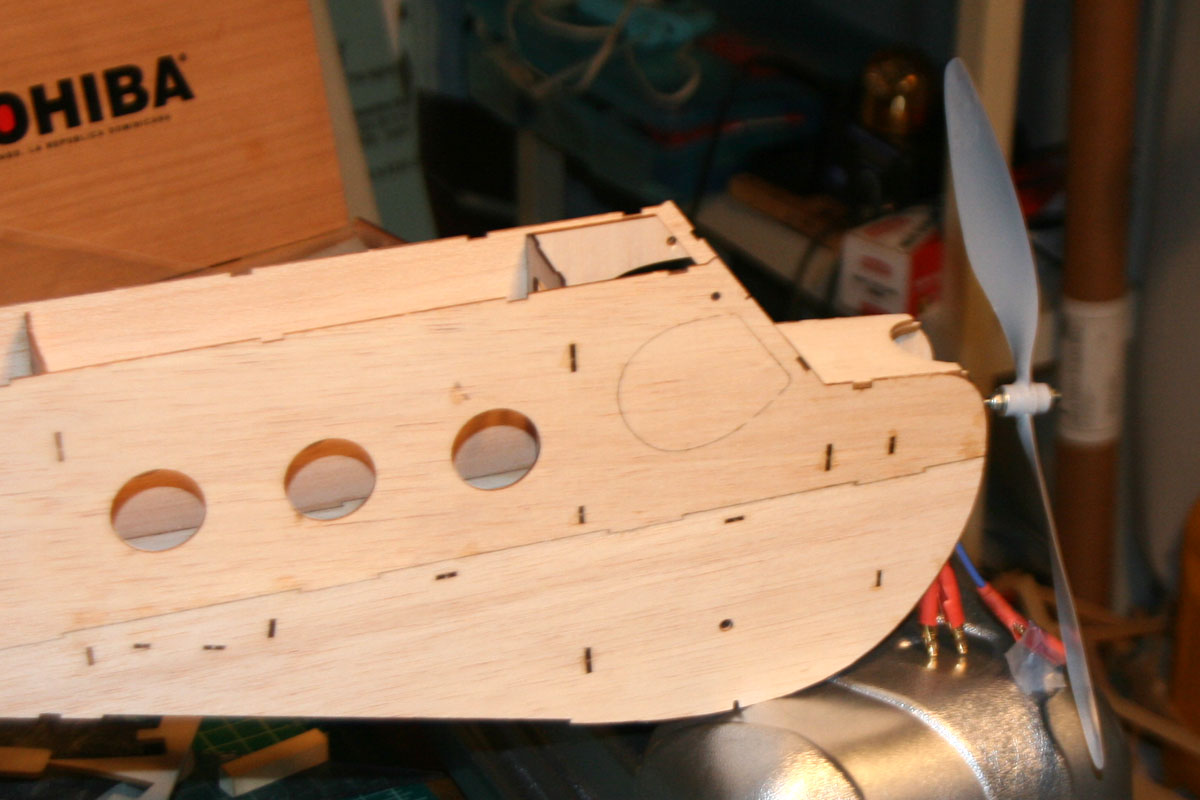
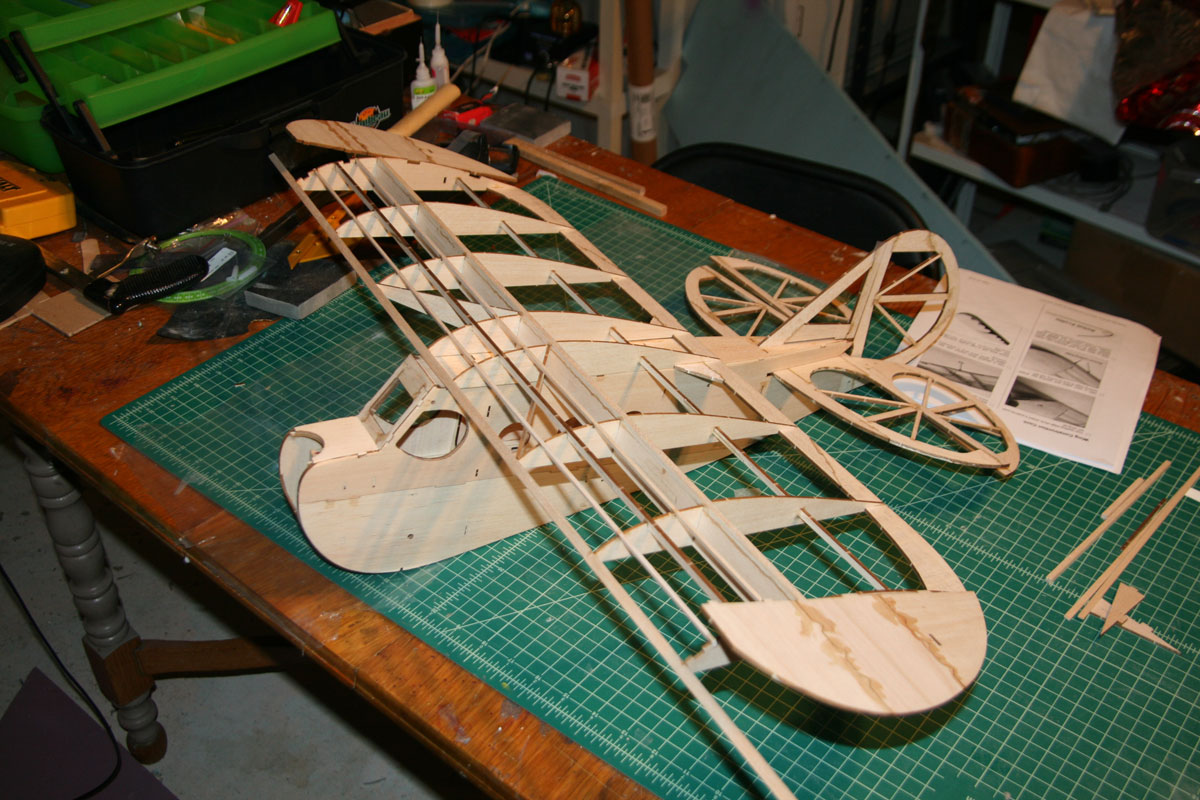
Starting to get an idea of the size of the finished plane. (The Grolsh is included for scale.)
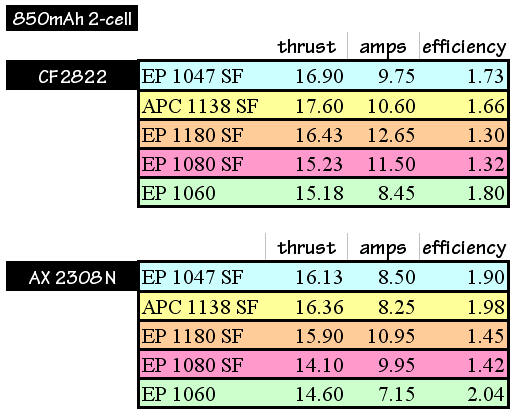
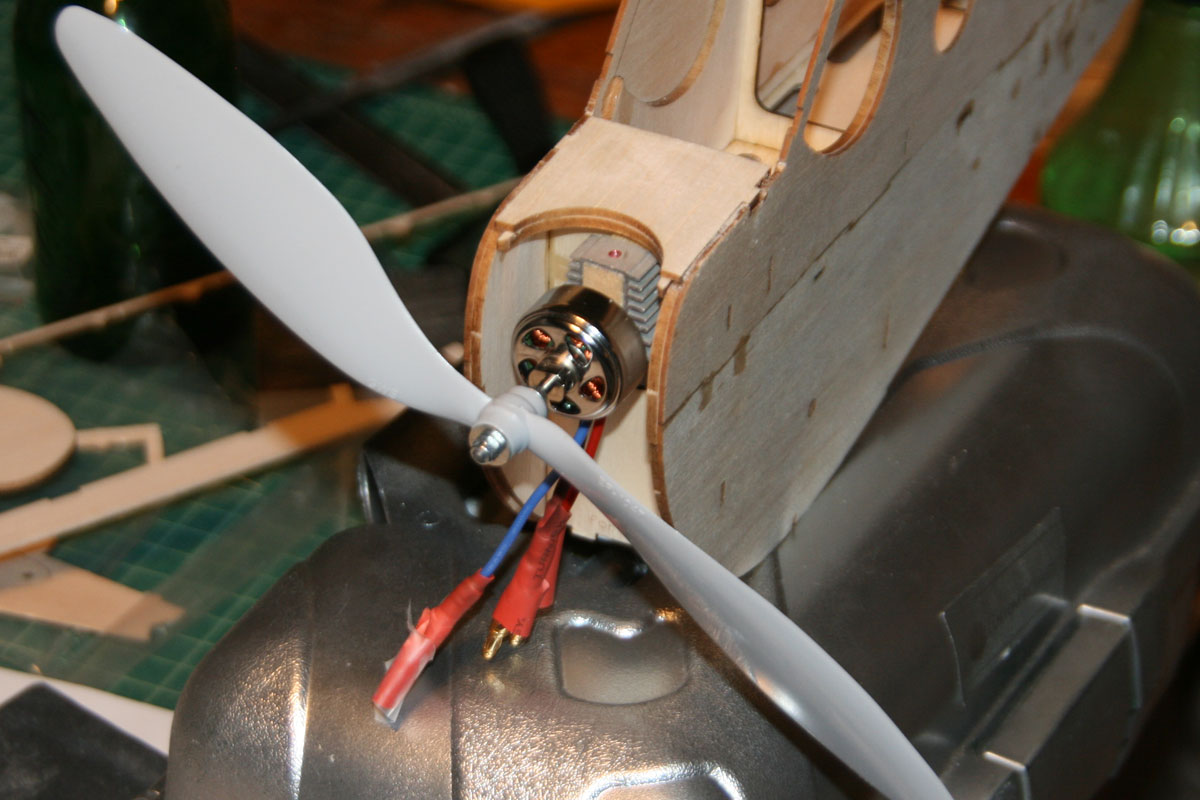
After several experimental runs on my new motor test stand, we settled on the AX 2308 N bell motor to propel the ‘Buggy through the air. Its lower kV seems to translate into higher efficiency and, hopefully, longer flight times. StevensAero estimates its flying weight at 12.5 ounces, so I should be getting better than 1:1 thrust with any of these setups.
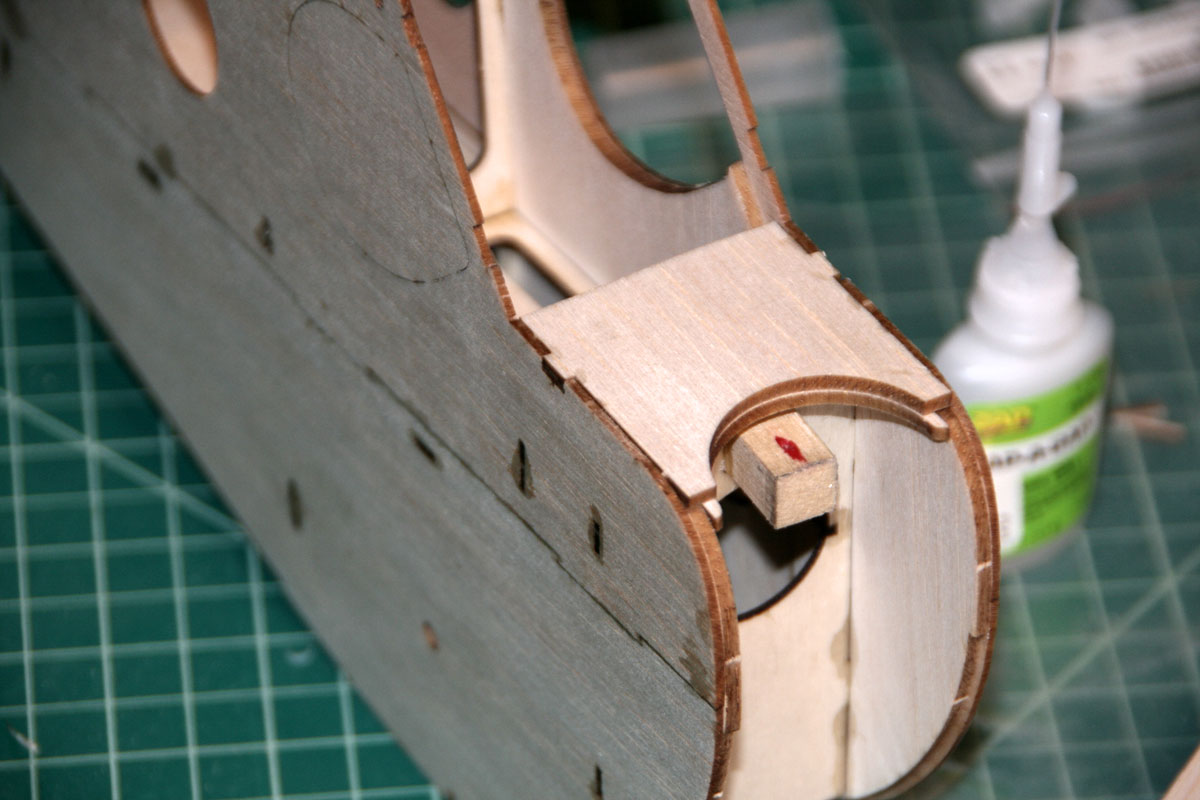
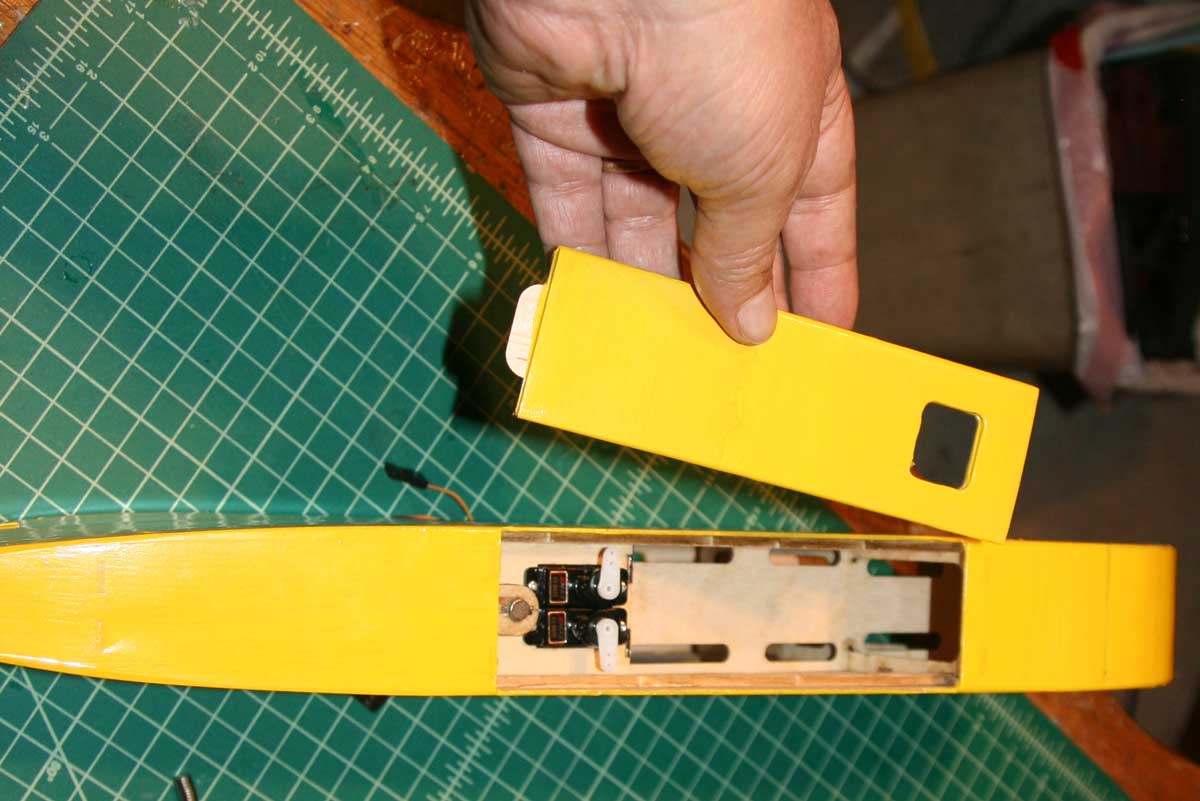
The stick for the motor mount, measured, cut and glued.
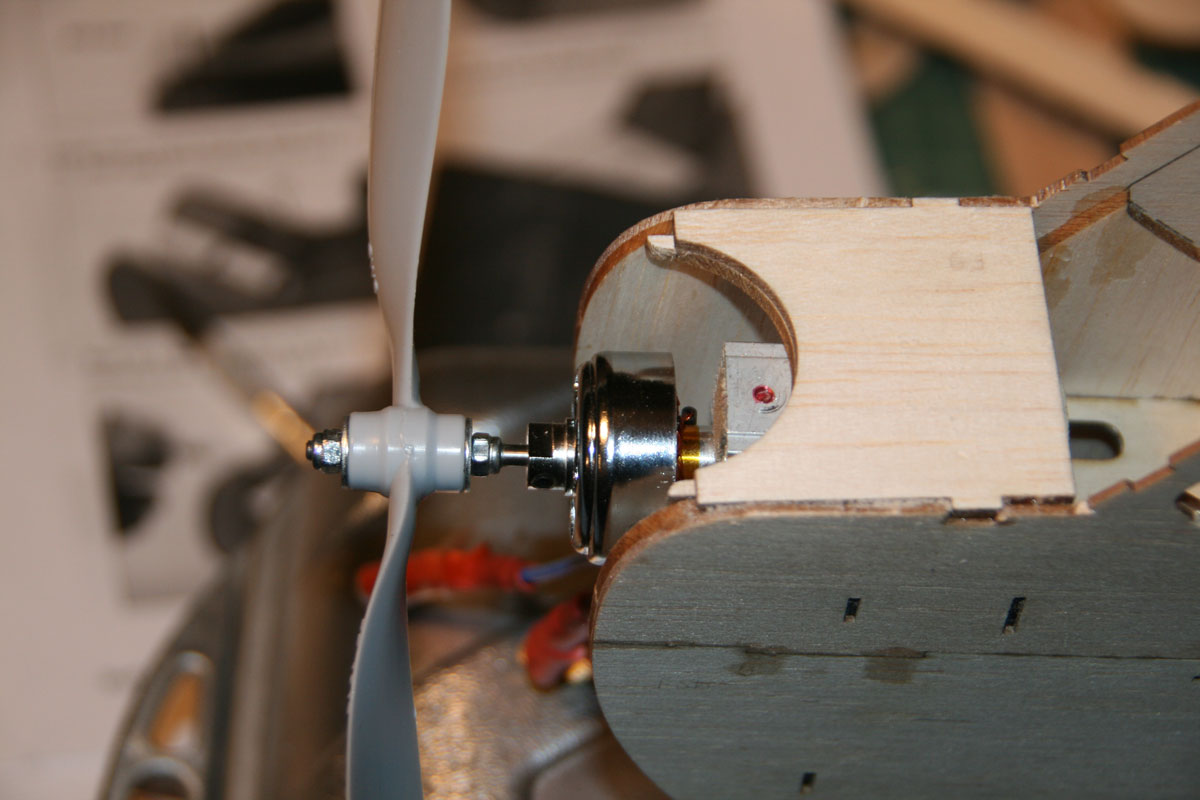
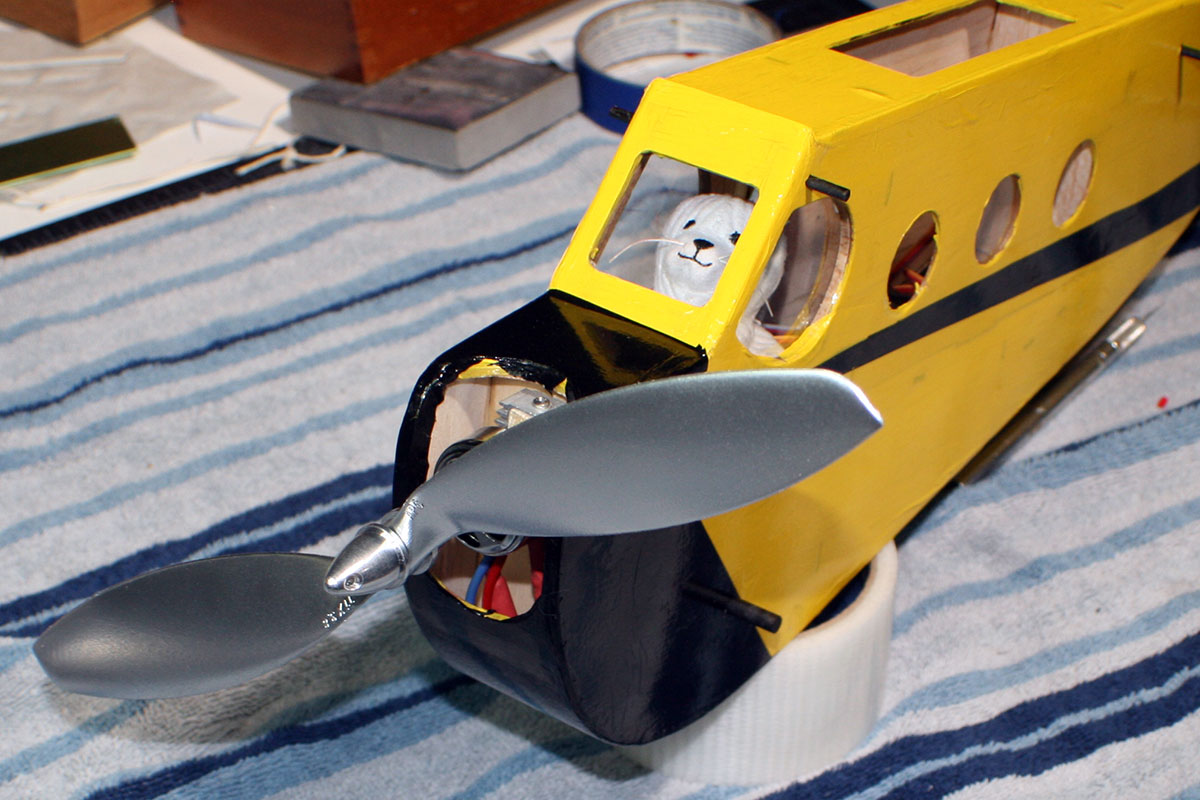
Here’s where the motor goes.
A side view of the motor placement.
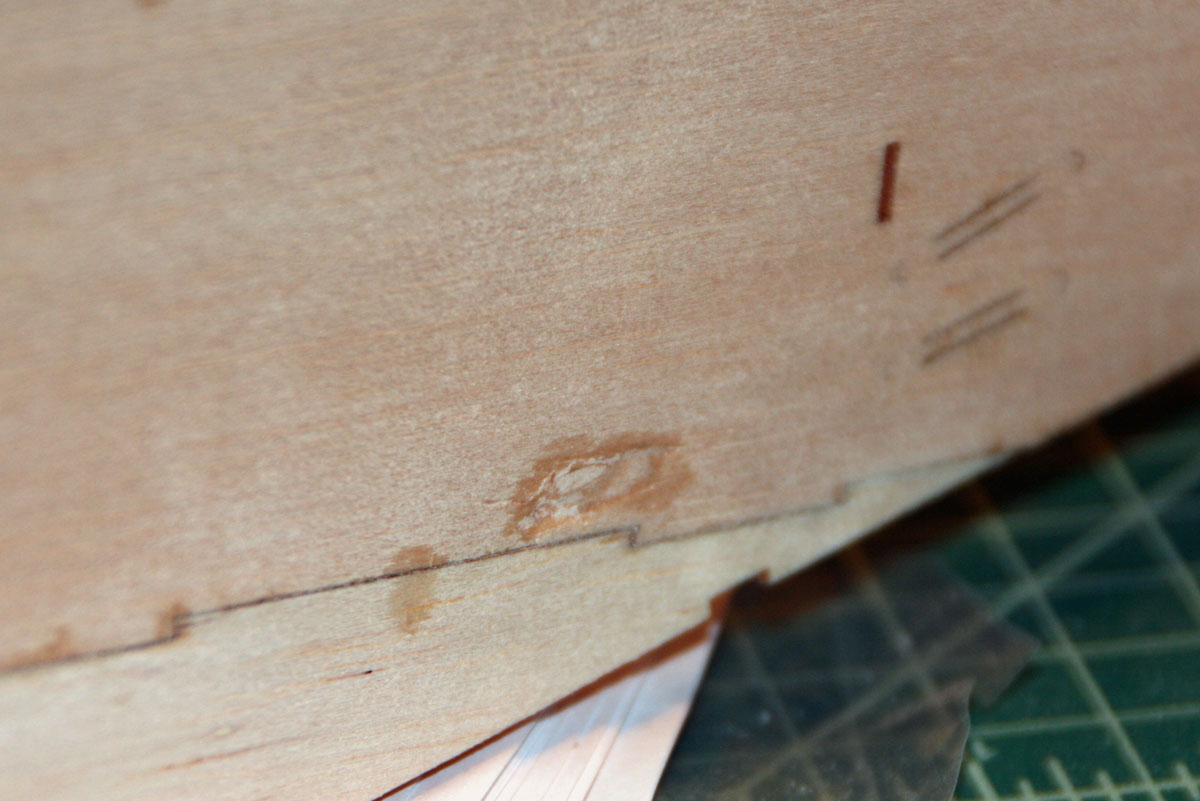
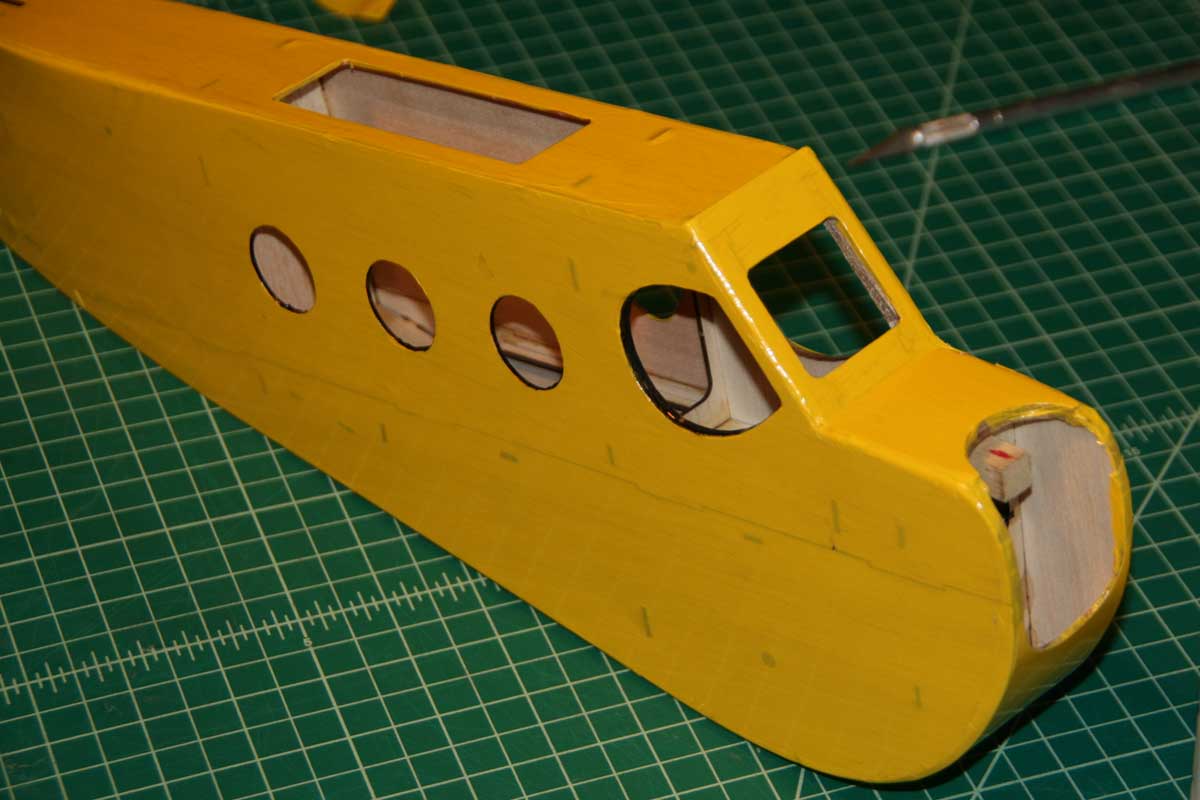
Here’s where *somebody* tore a hole in the side and tried to patch it up.

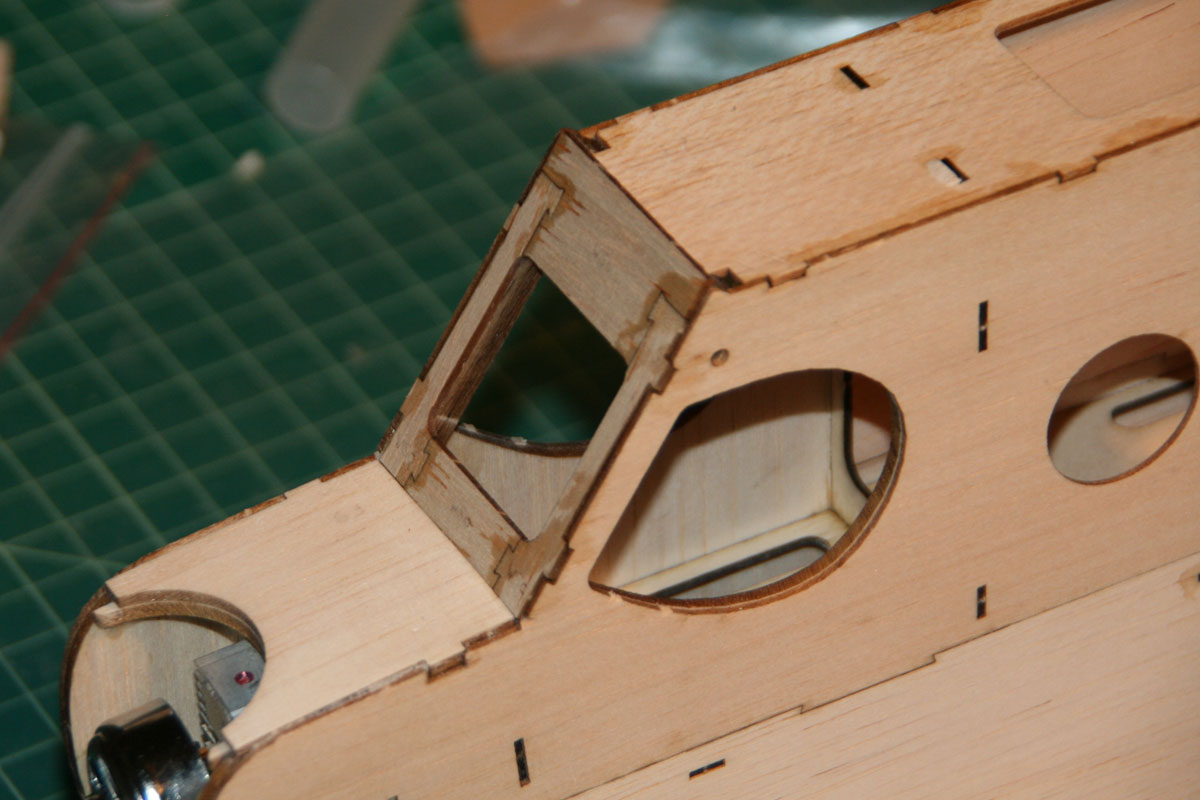
The windshield frame in place
I hit my first snag on the model at this point. The instructions call for a pair of magnets. Search as I might, I could not find any magnets in the kit. The solution seemed to me to be to replace the magnets with a few I had on hand. Unfortunately, none of mine were exactly the correct dimensions, so I was forced to drill out the holes a bit. This resulted in much unfortunate breakage to half of the latch mechanism. It’s more epoxy than wood at this point. There’s actually a second magnet sitting on top of the latch in this photo.
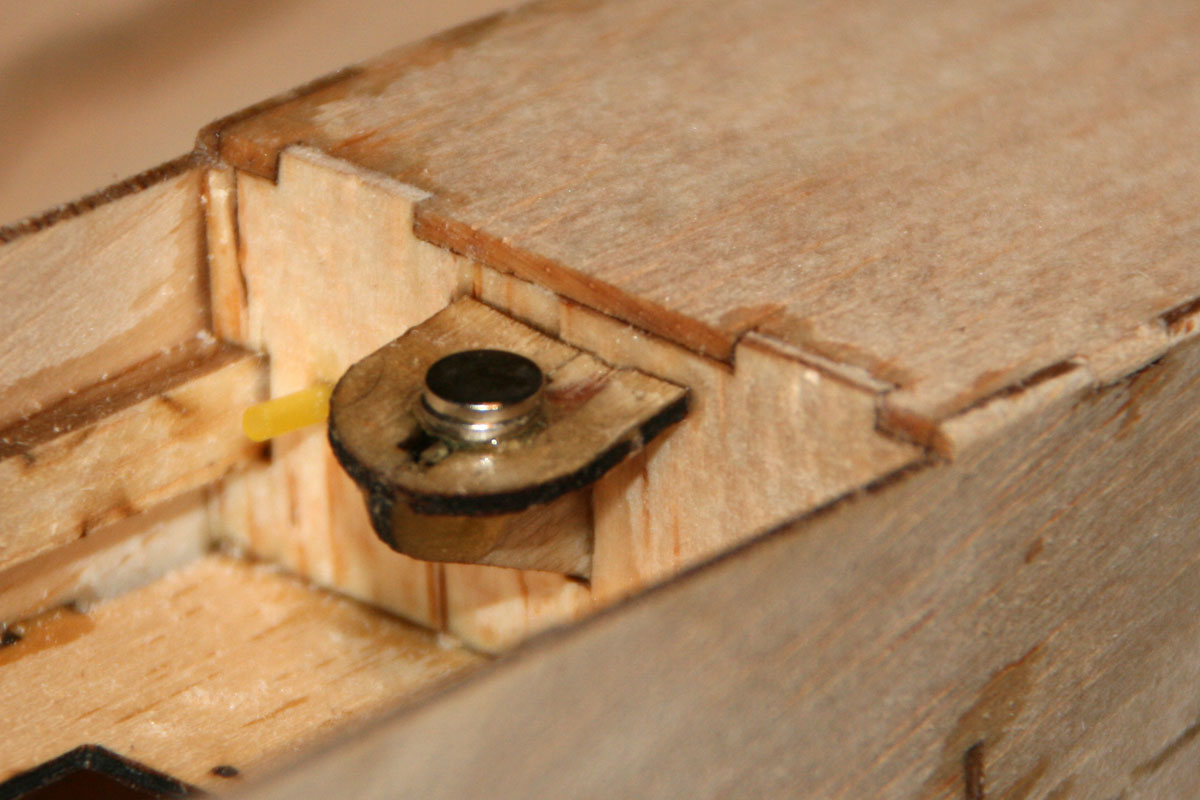
The messed-up magnet latch is more epoxy than wood.
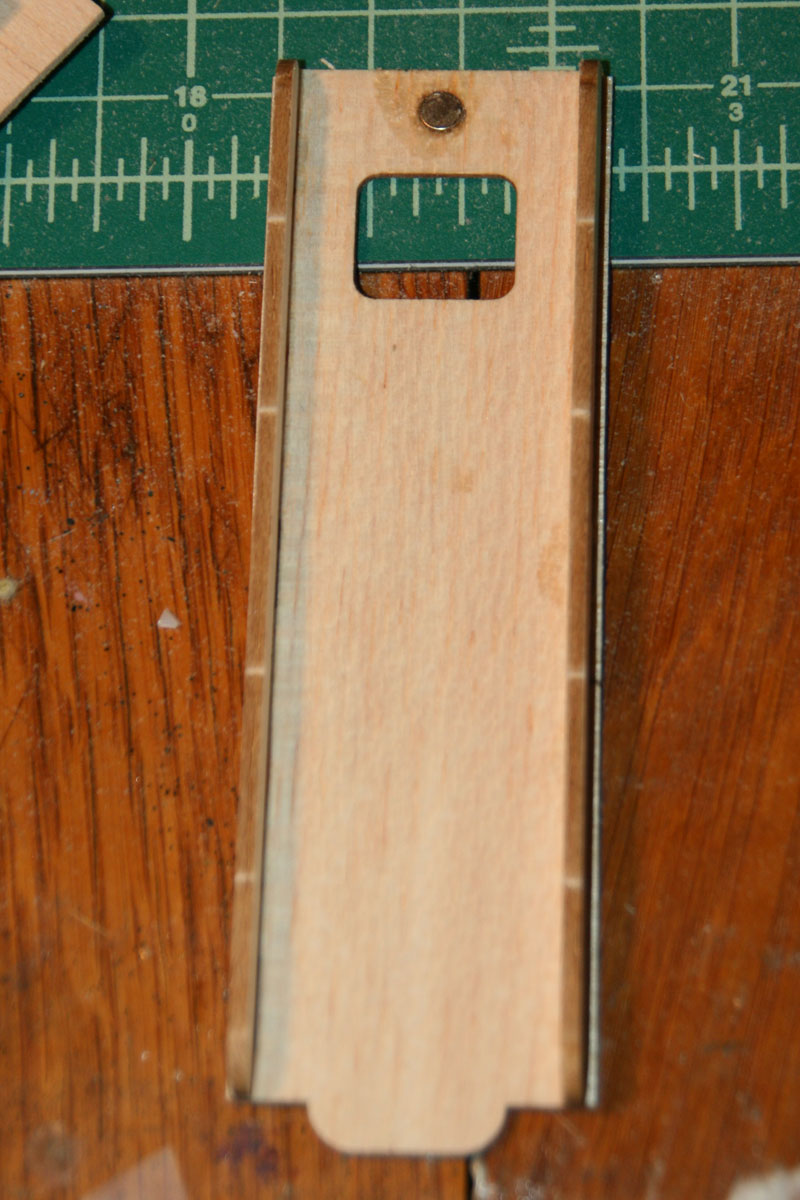
Lower hatch cover with an oversized magnet epoxied in place.
The lower hatch goes here.
… and closes like this.
The finished fuselage bottom.
The fuselage is done!
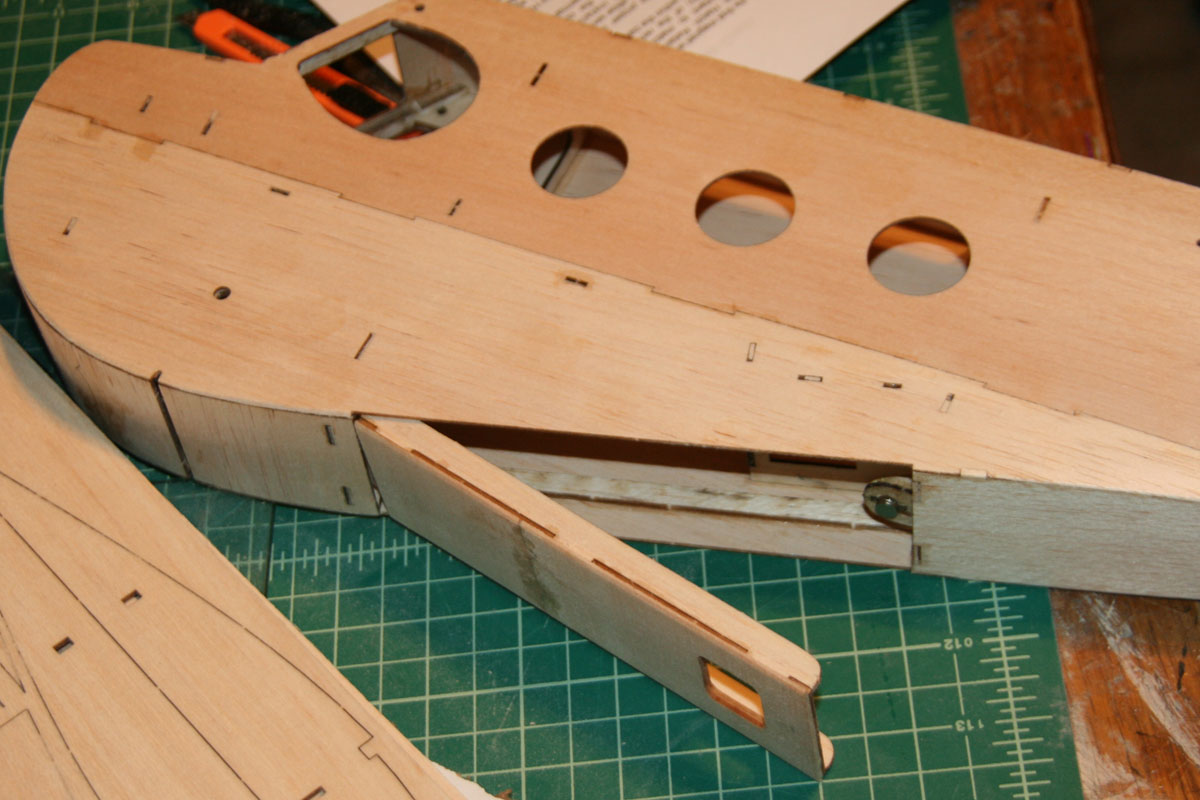
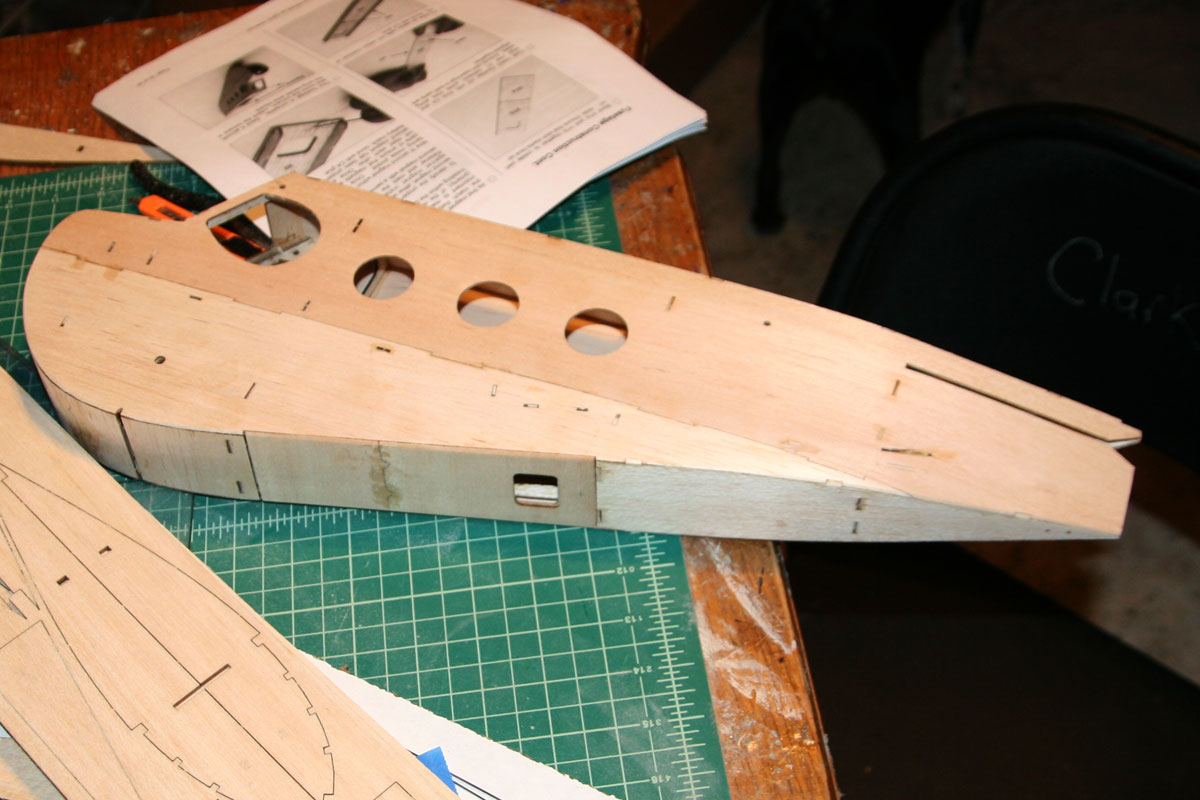
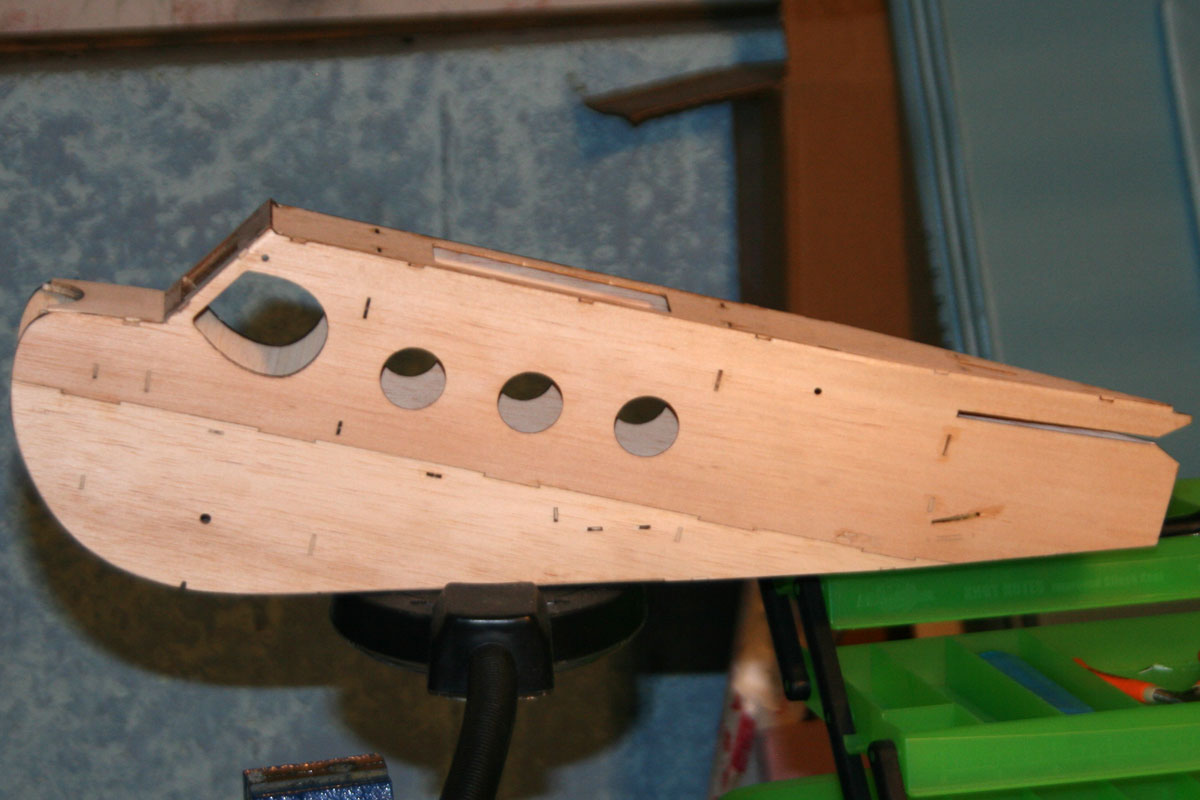
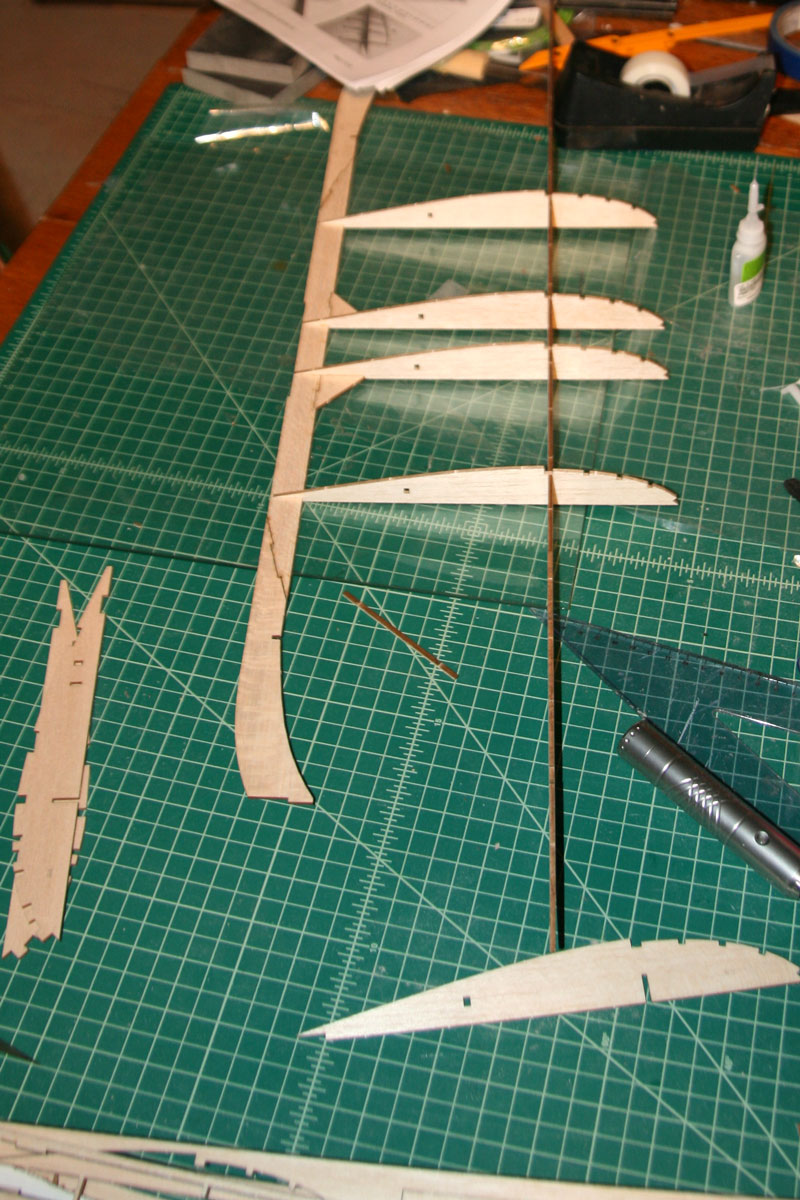
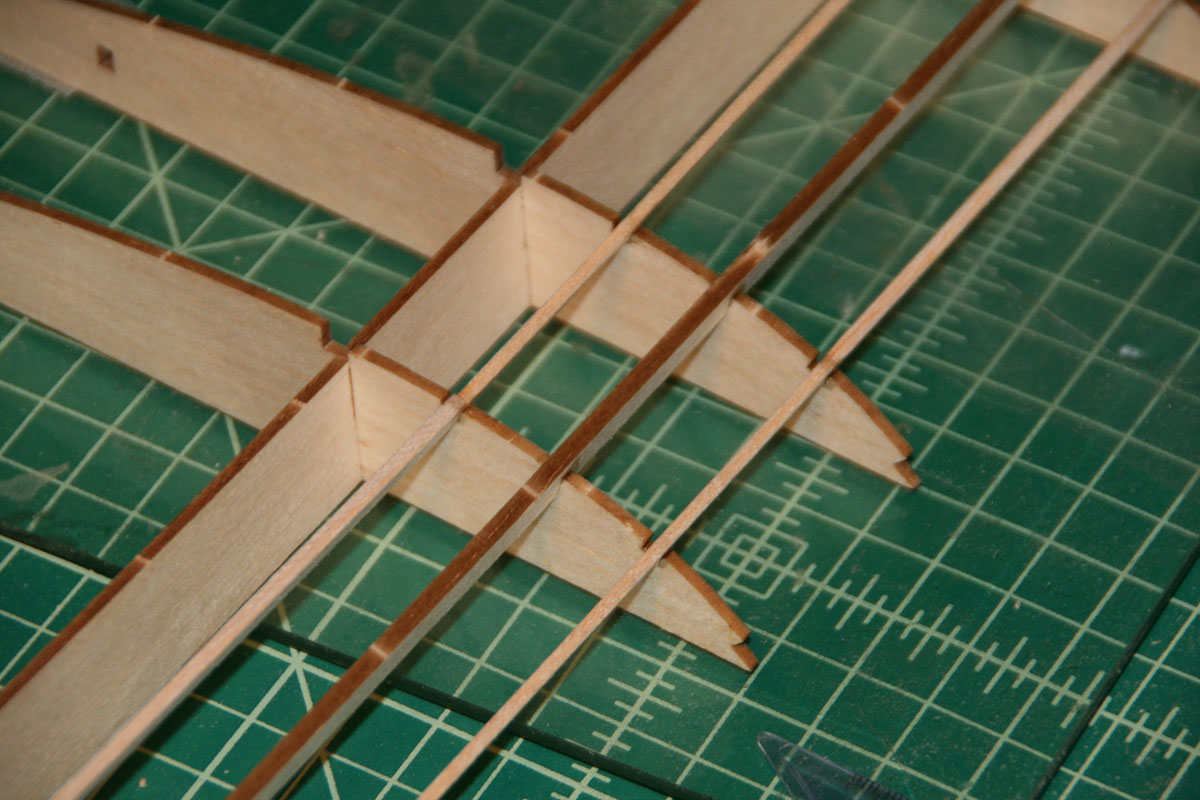
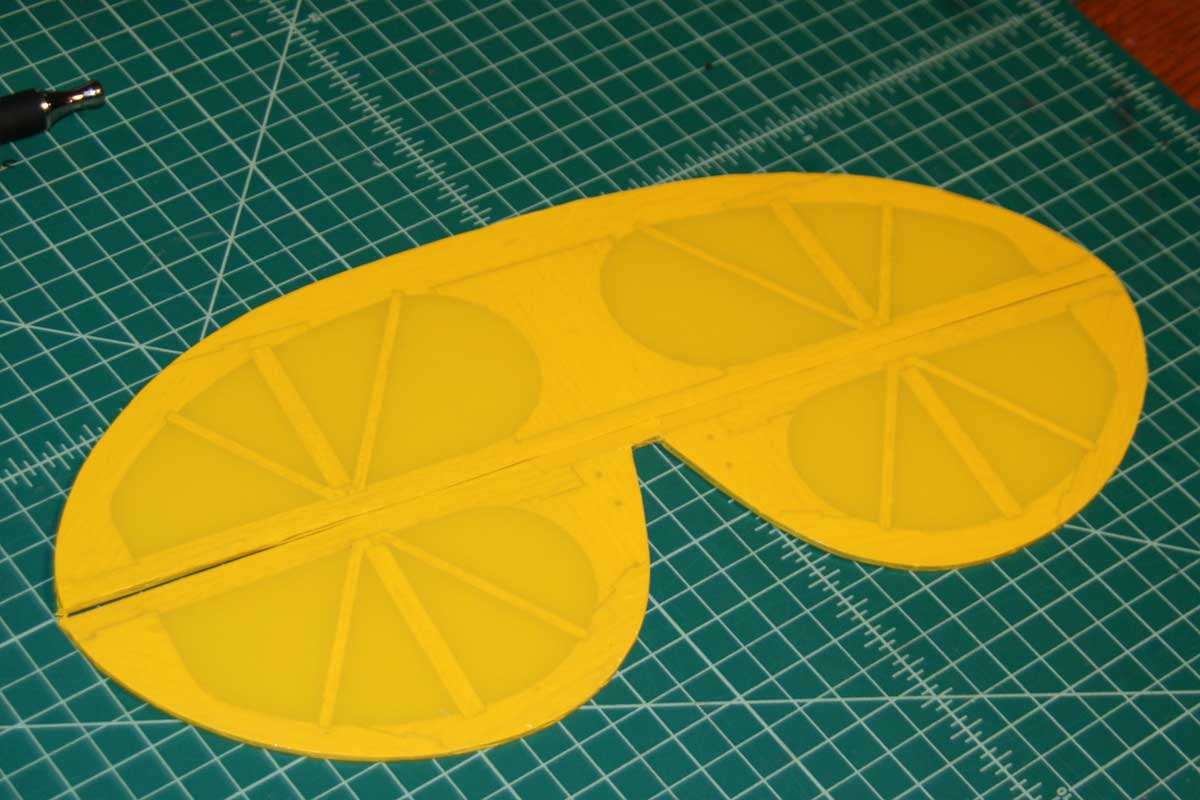
Wing
With the fuse finished, it’s time to build us some wing.
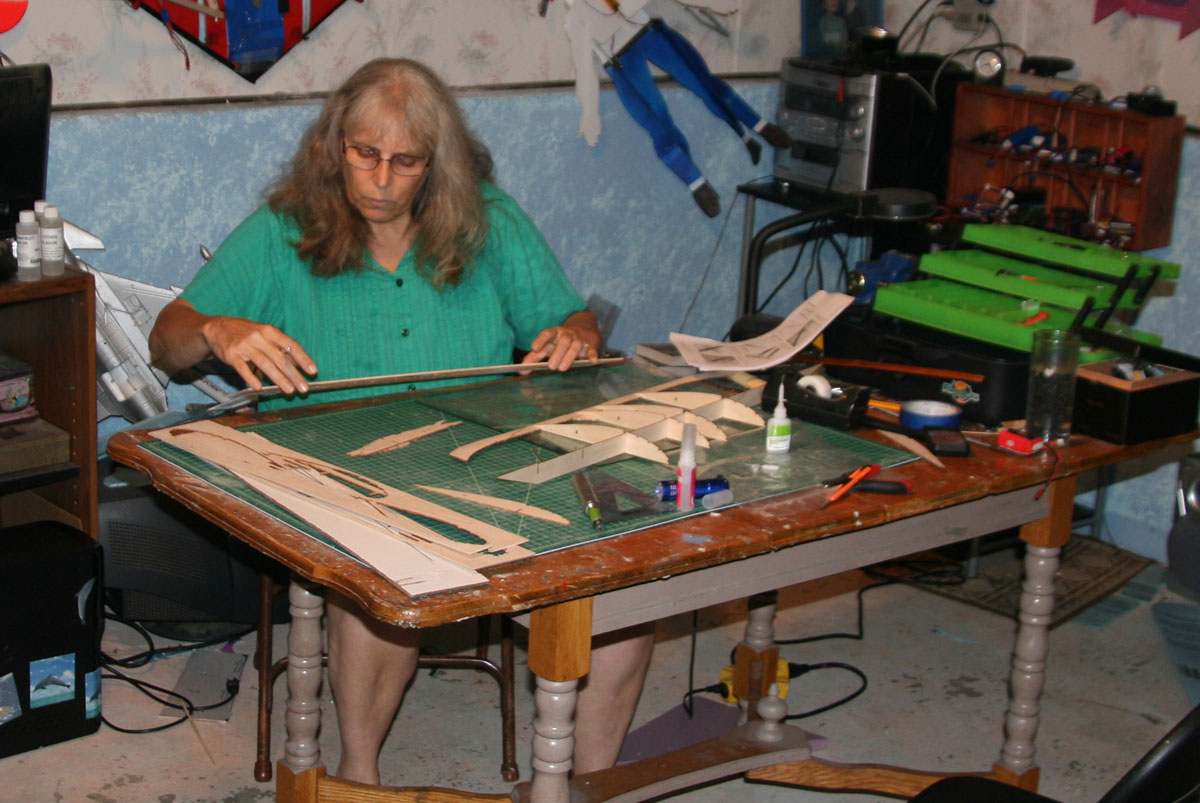
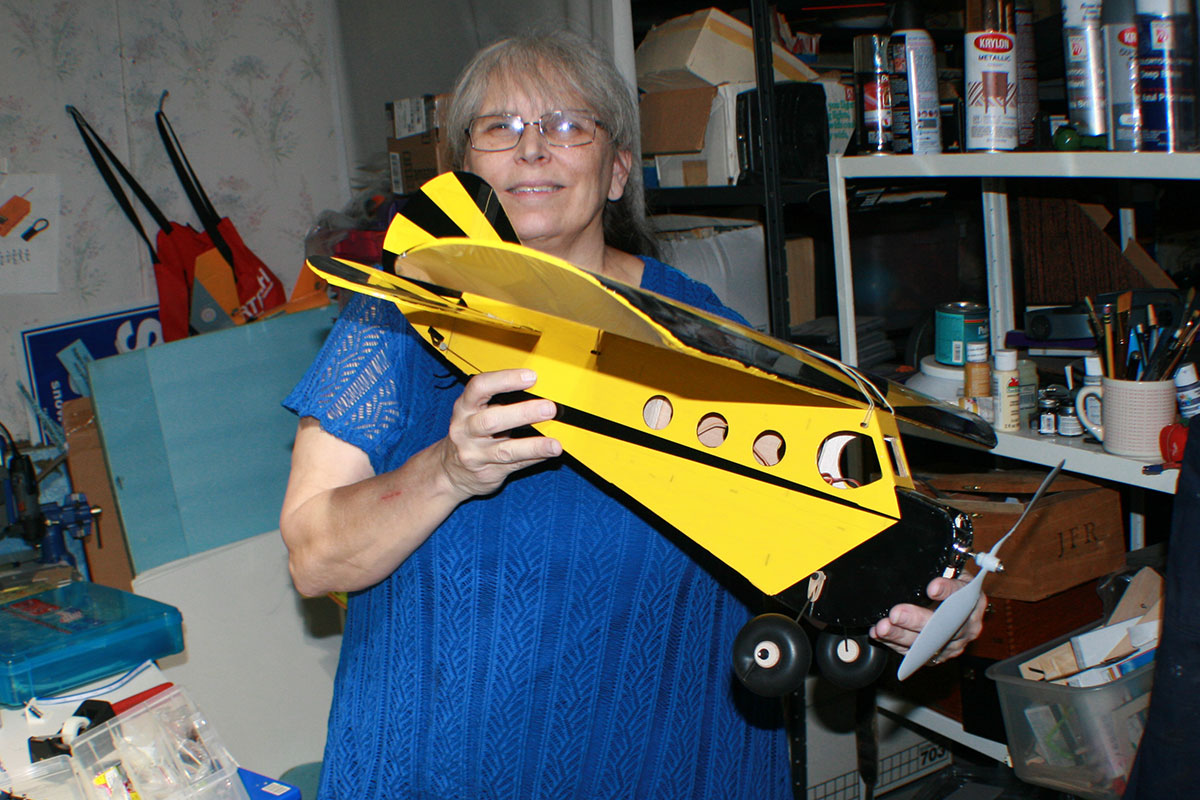
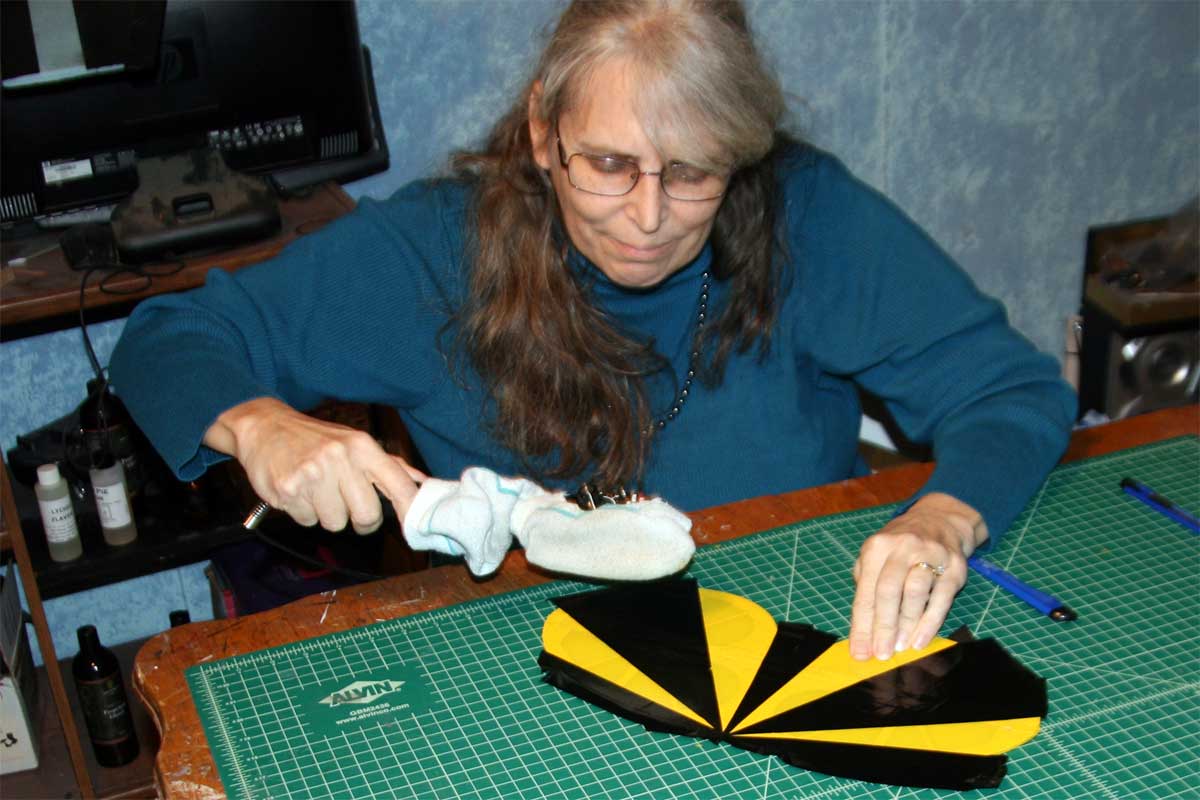
My wife, building the wing.
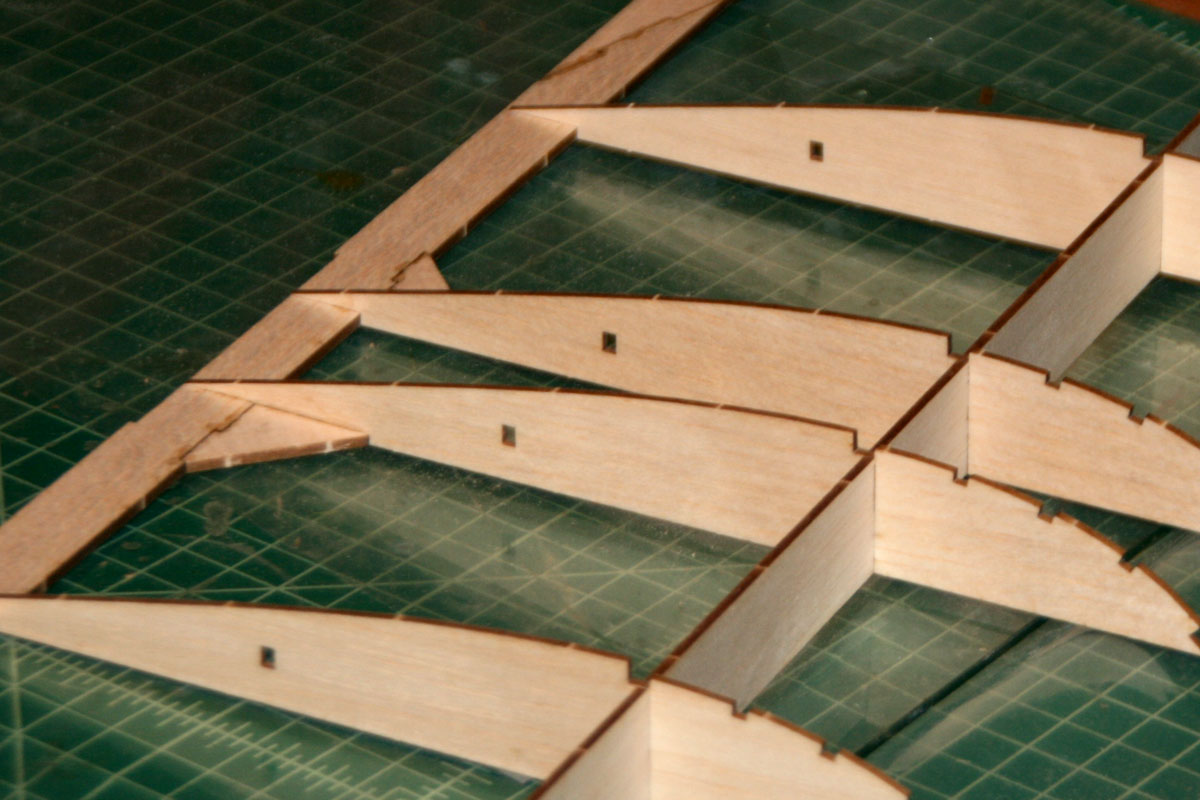
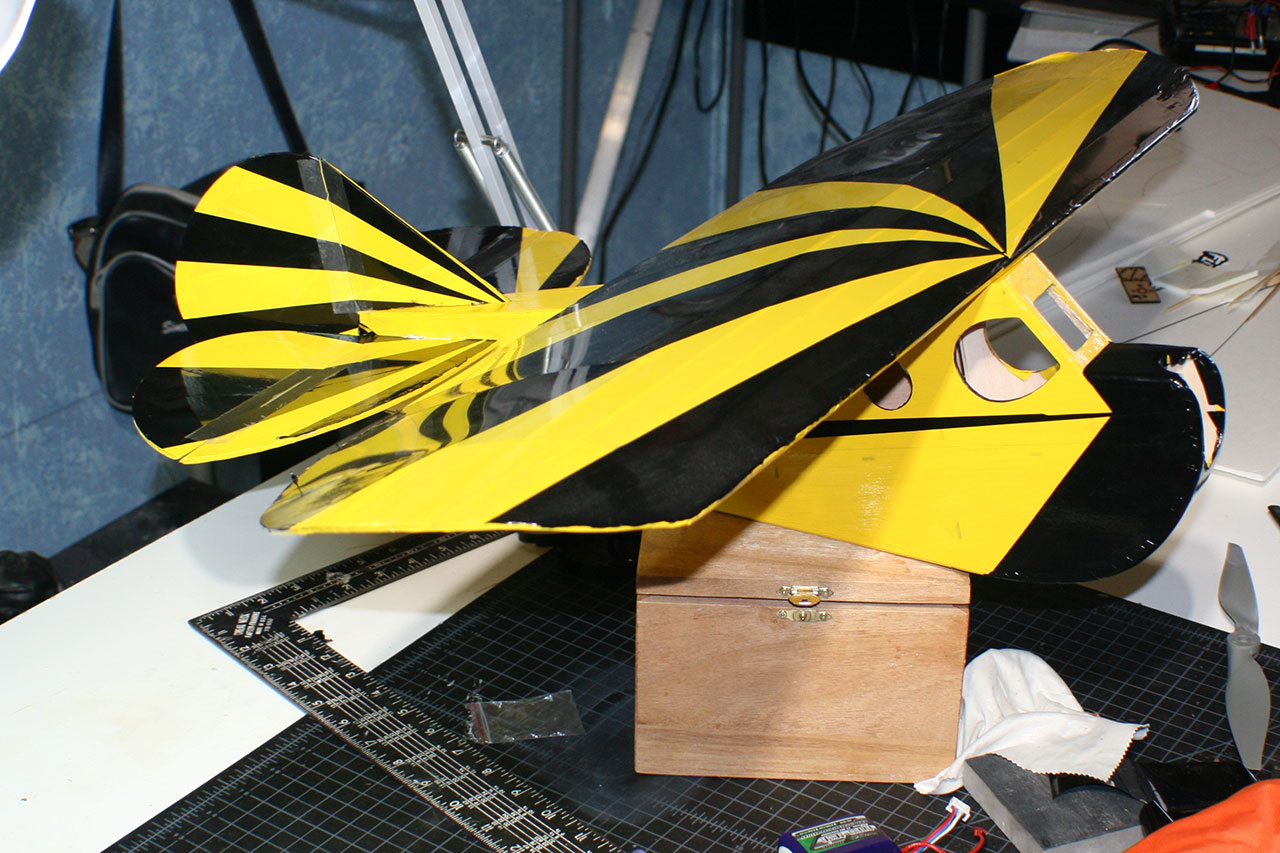
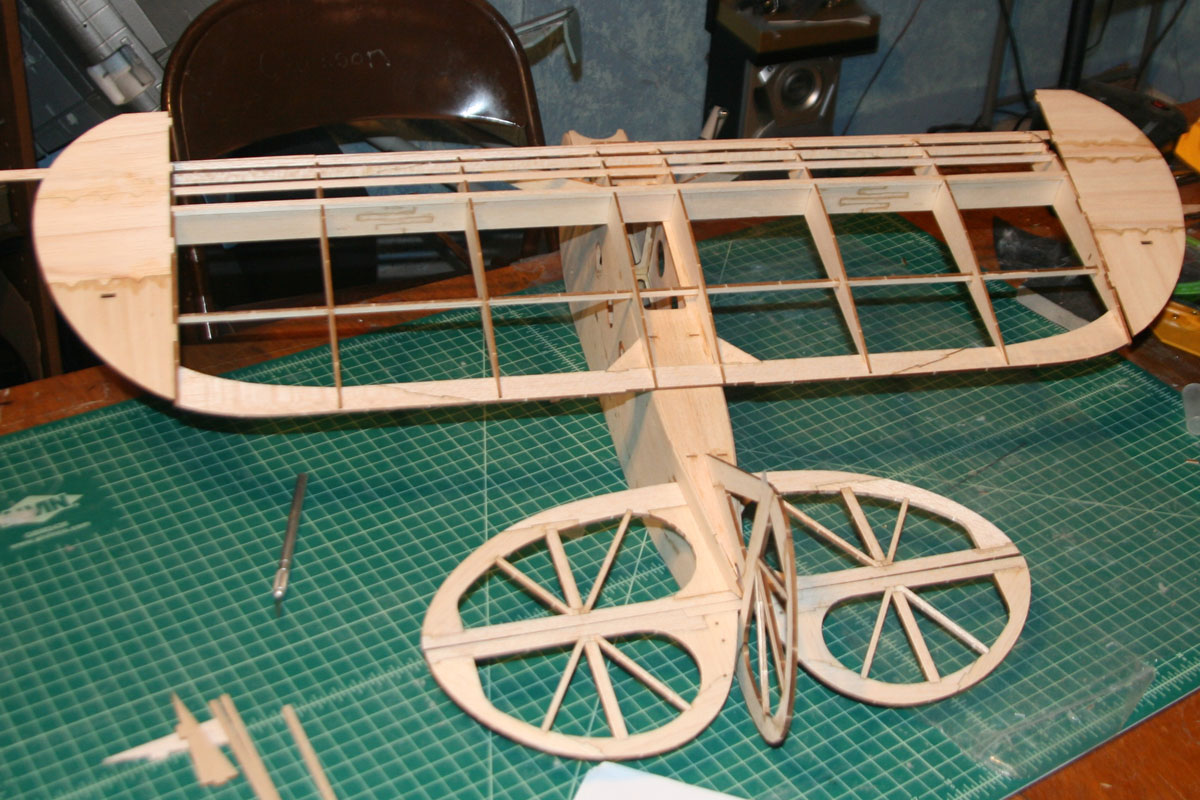
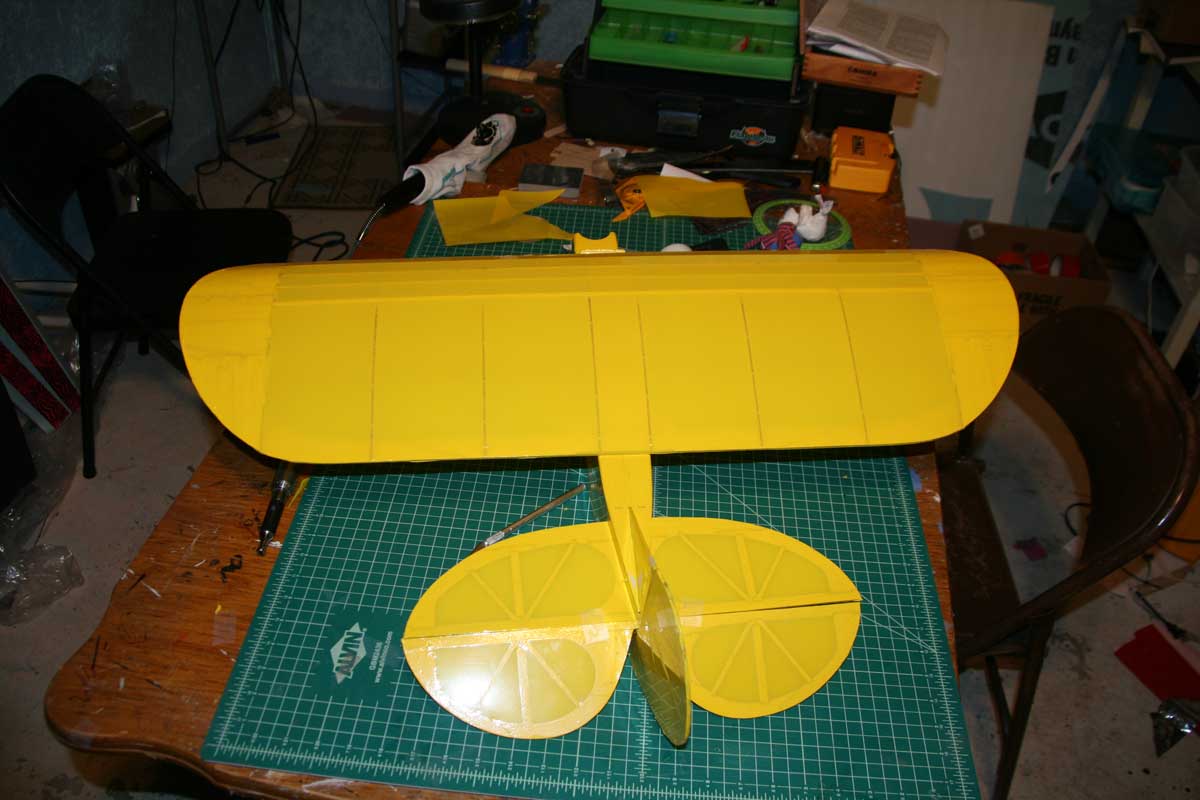
With the wing nearly finished, it’s time to see how it all looks. 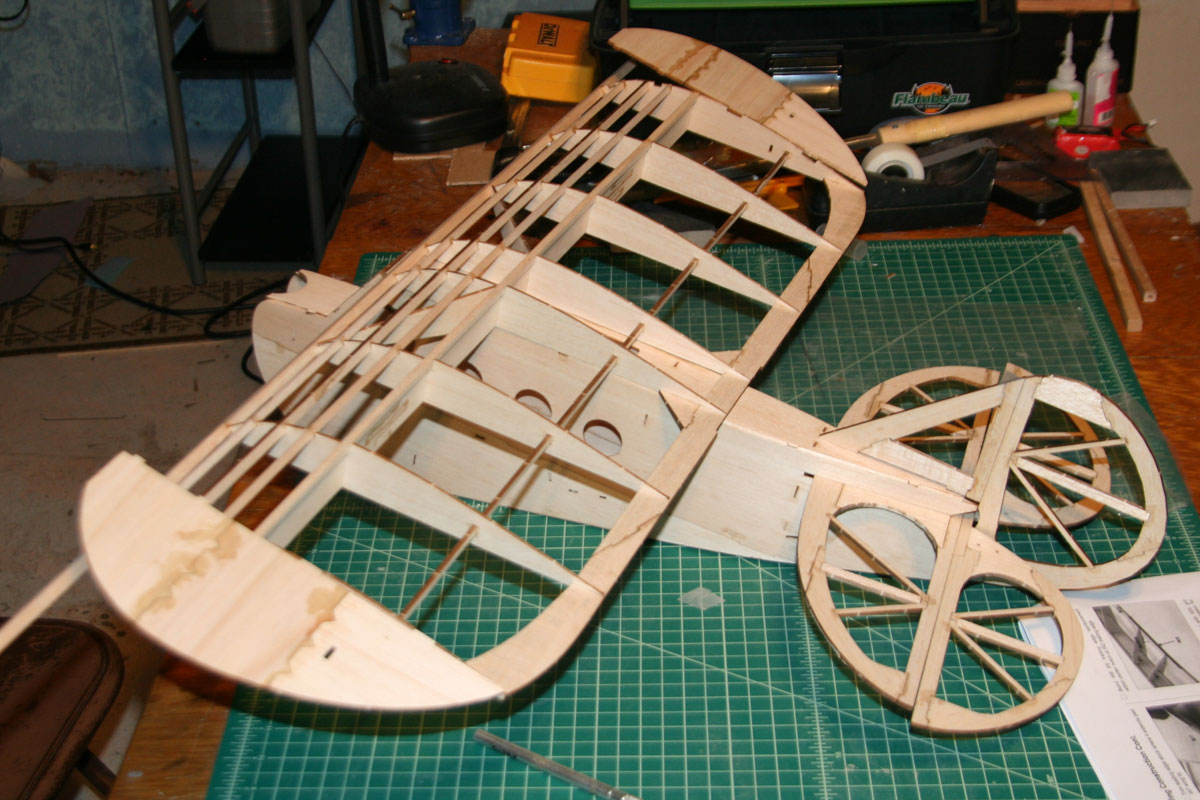
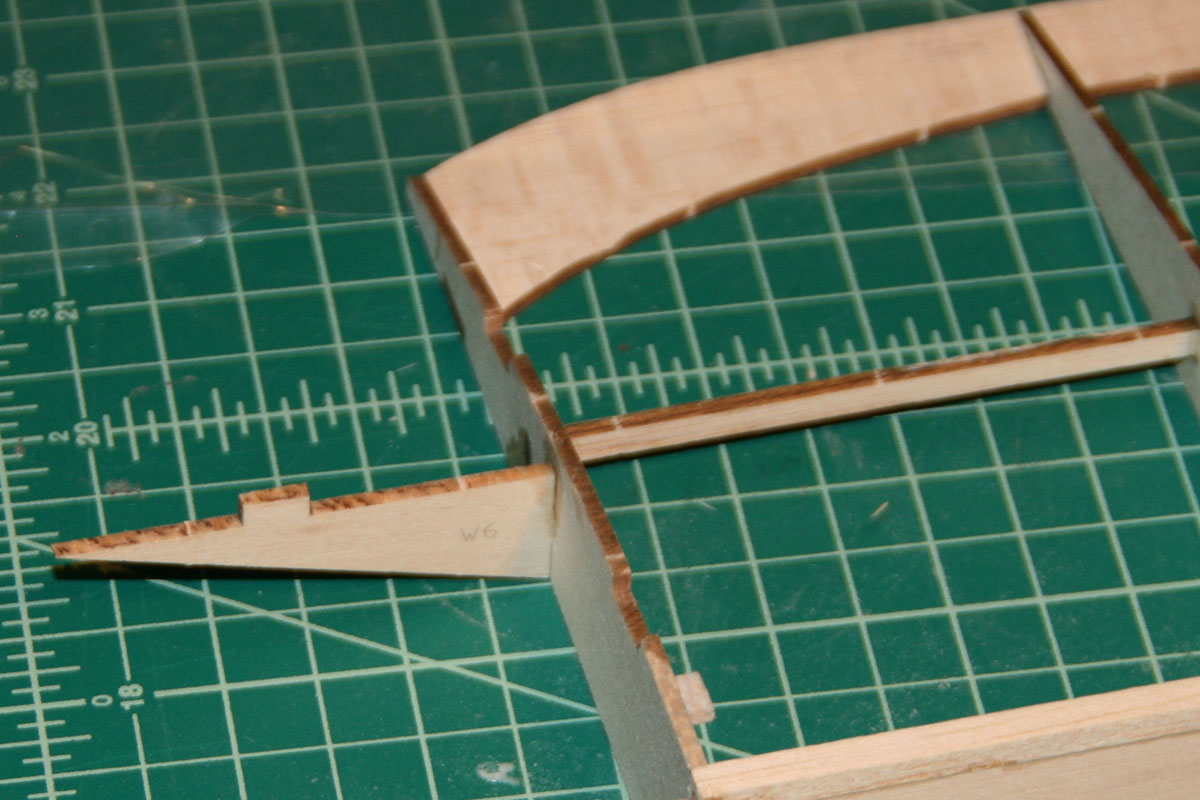
W6 – the last brace is glue in.
The left wingtip in place.
Gluing the last bit of the last part – right wingtip.
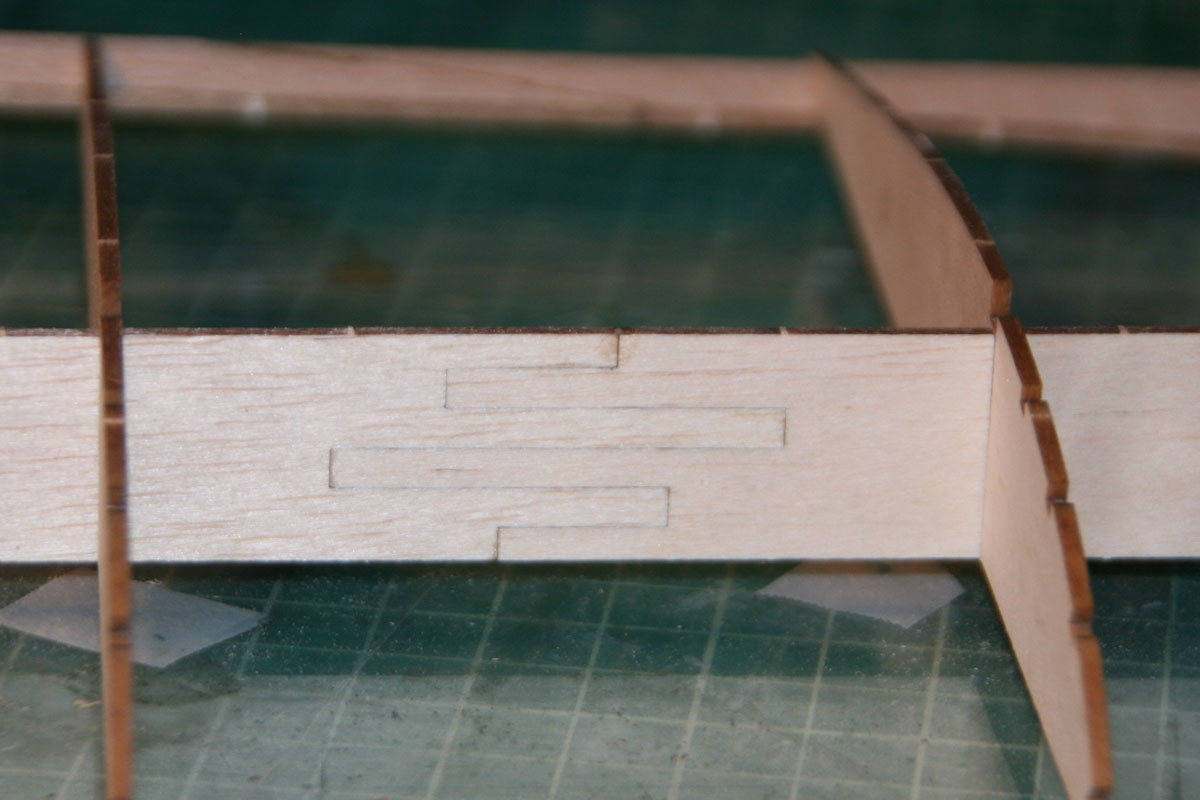
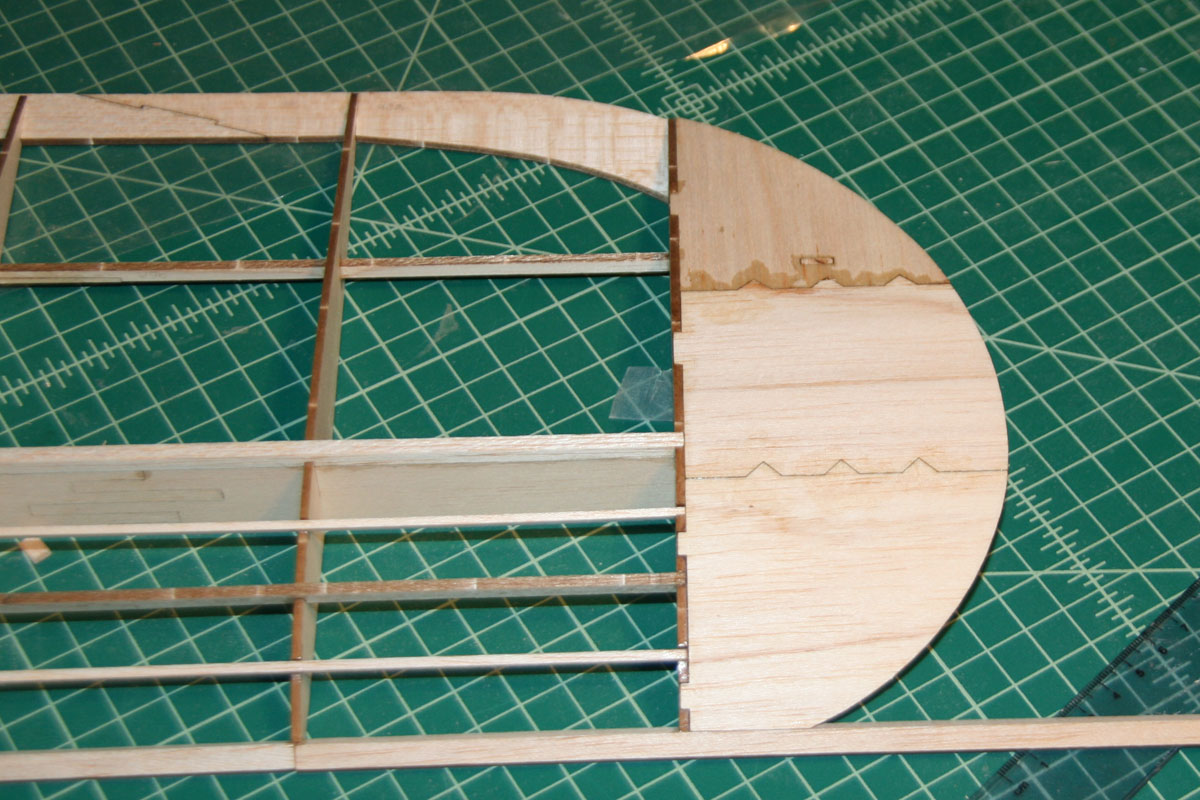
Marking the leading edge, getting ready to cut off the excess.
Leading edge cut and sanded to match wingtips.

The finished wing weighs about 51 grams before covering.
Covering
After nearly a month of fearful vacillation, I finally bit the bullet and did my first bit of covering today.

 The yellow film is translucent but, fortunately for me, both my wife and I enjoy the resulting look.
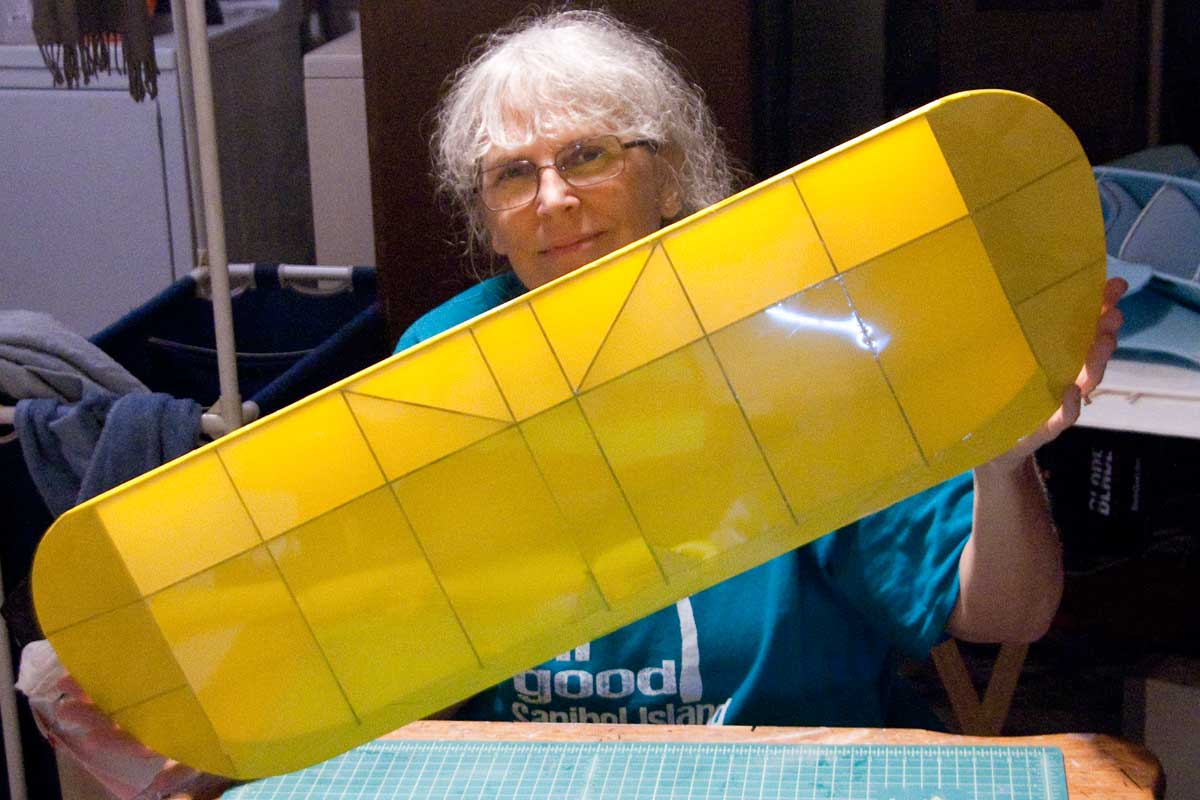
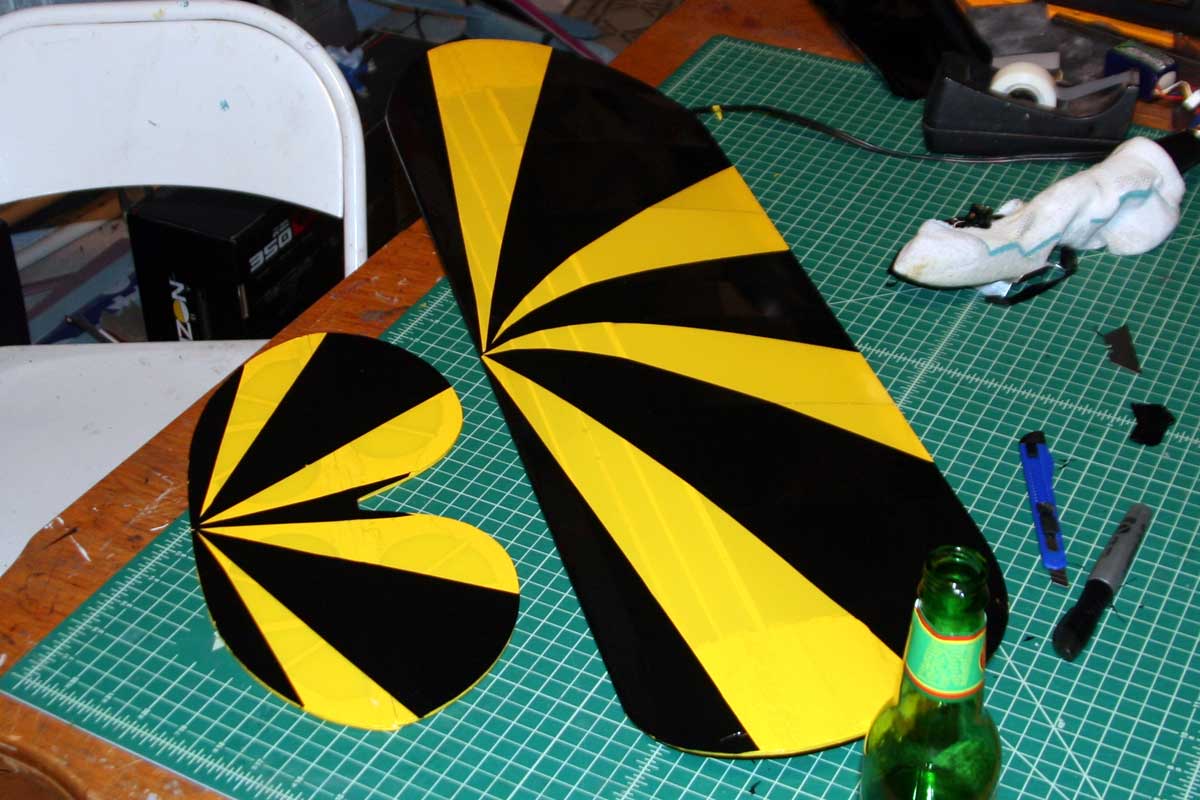
The vertical stab, covered:
Getting ready to start covering the fuselage.
Here’s the very last piece of yellow: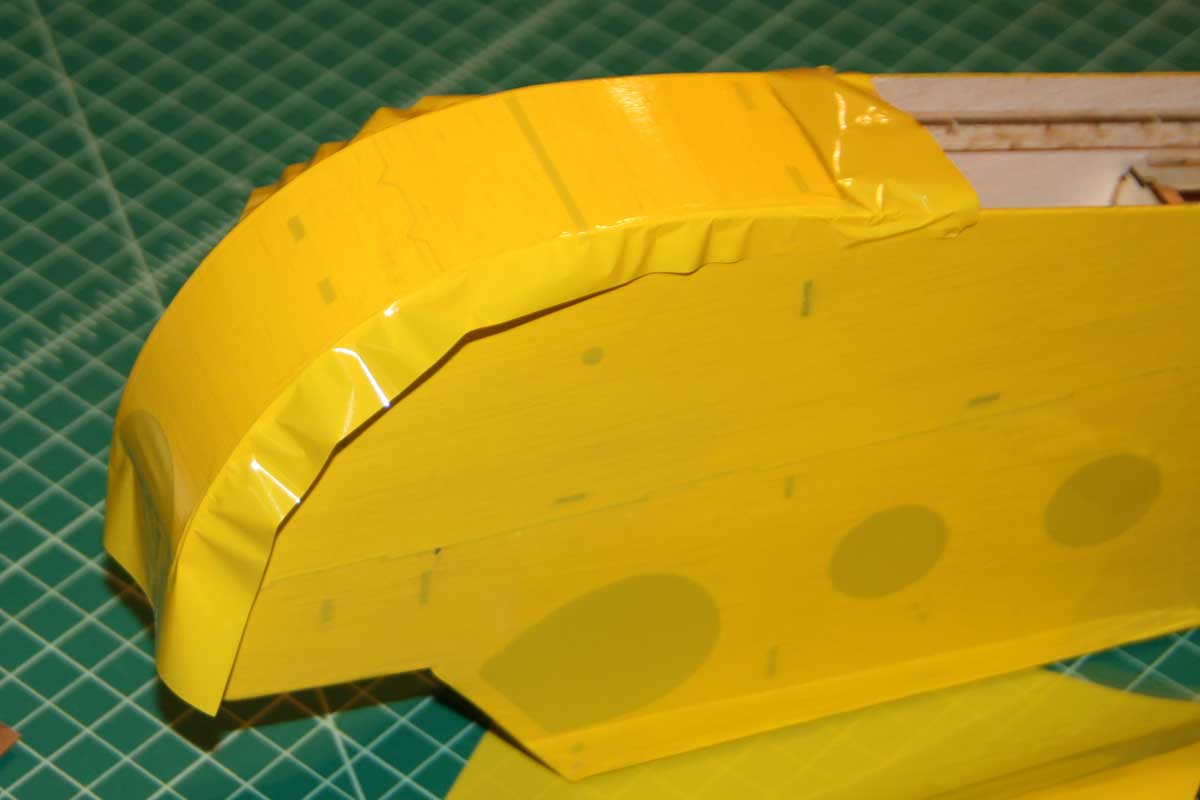
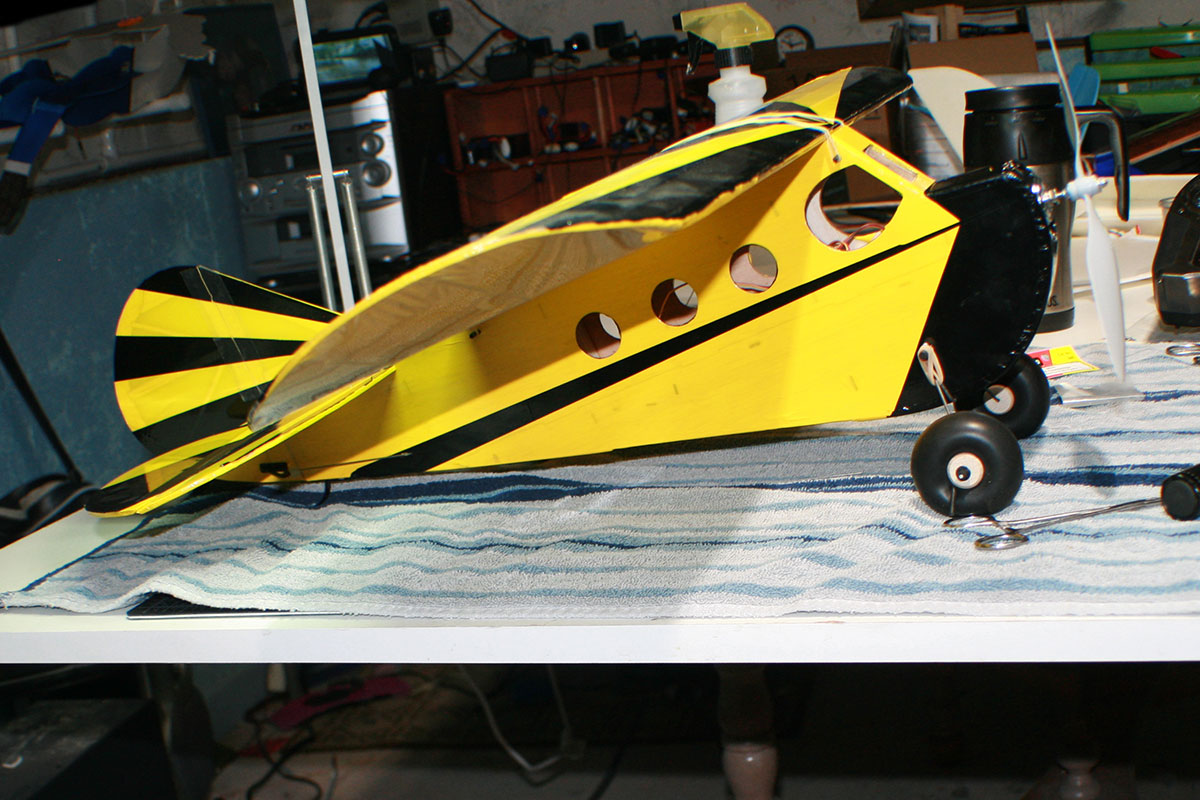
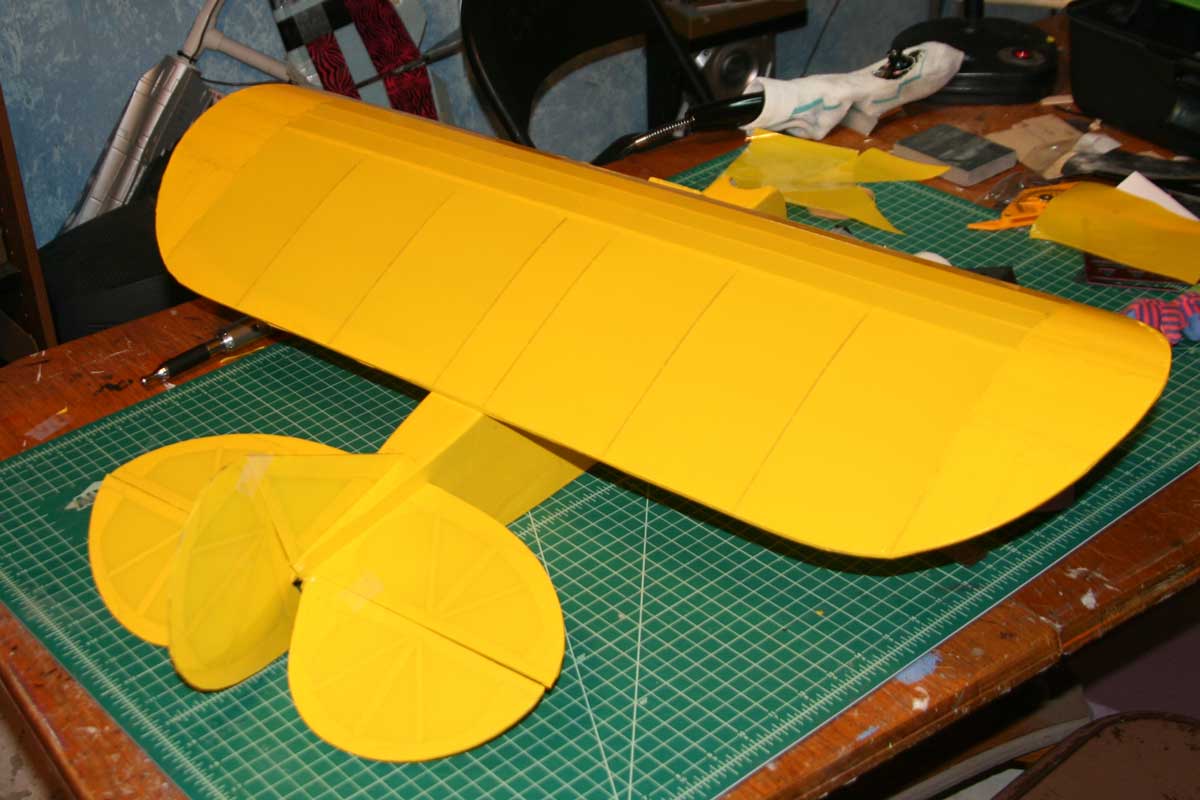
And the base yellow color is done!

The covering is FINALLY finished and the control surfaces hinged and mounted.