I love my P115 flying wing and have been wanting to create a similar wing for some time. I built the little P1 wing to test out the idea of building a hollow foam wing with ribs. That turned out pretty well, so I decided to try it on a bigger scale.
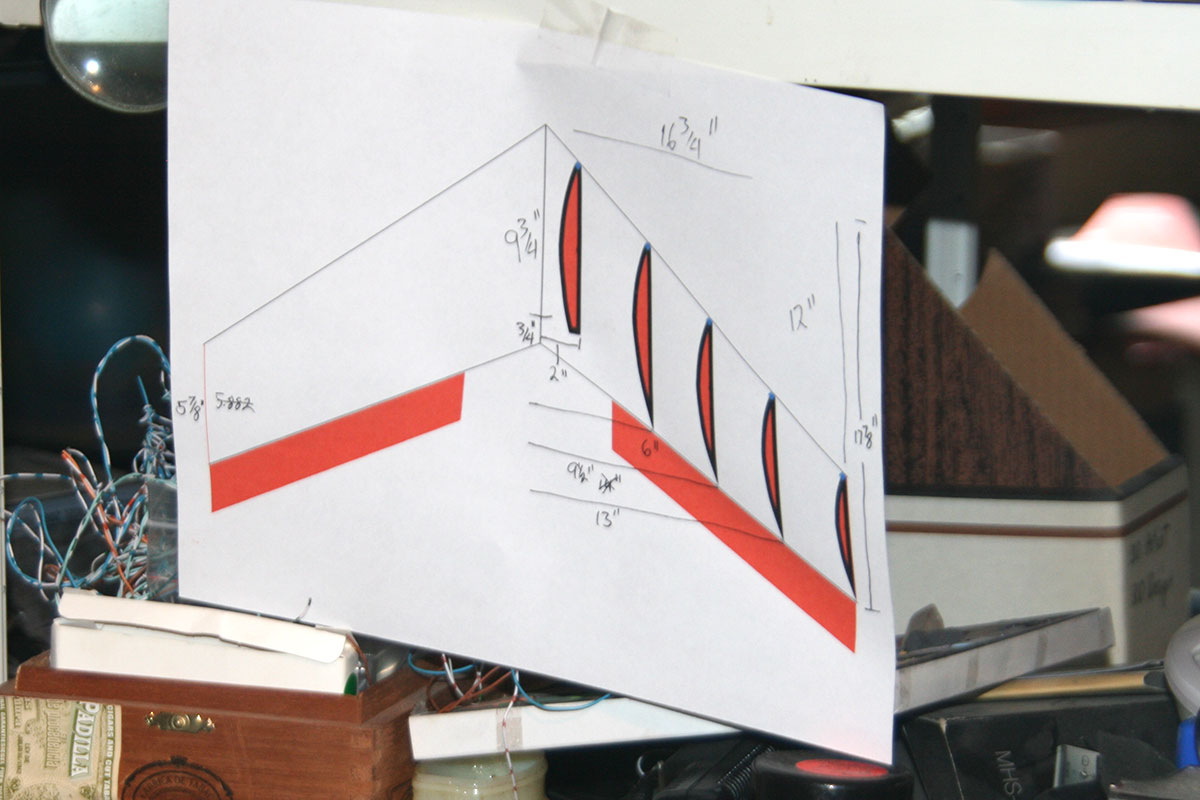
I recently realized that my P115 does not follow the ‘official’ plans. The wings are longer, and swept further back.
Green lines = .plans. Red lines = actual, built wing
For this build, I decided to try to replicate my actual wing, rather than the paper drawings (which the P1 is based on.)
I’d like to point out that I’d probably do things differently, or in a different order, if I went into these projects with the faintest hint of a plan. Which I don’t. Here’s my detailed plan for the build.
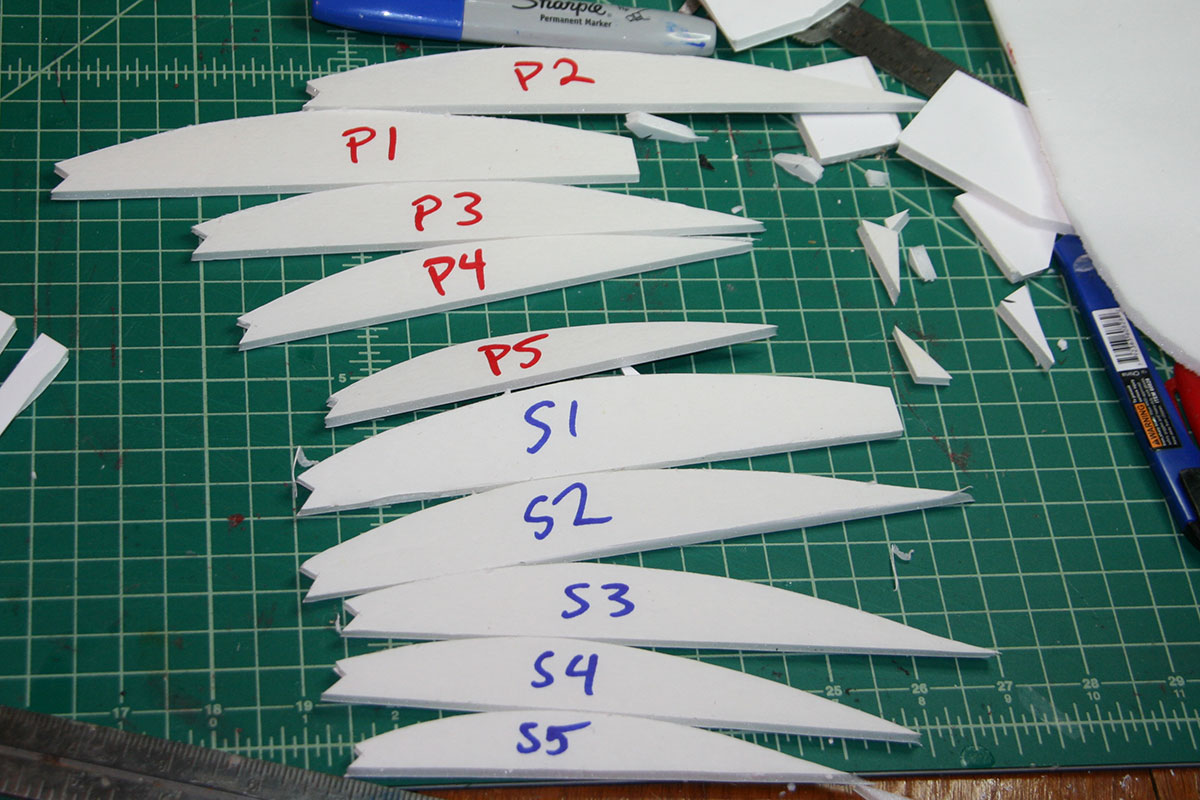
I started by picking an airfoil – again, based on my P115 wing – and cut out a number of wing ribs. I left the paper on for added strength and notched them in front to accommodate a balsa wood leading edge spar to be added later.
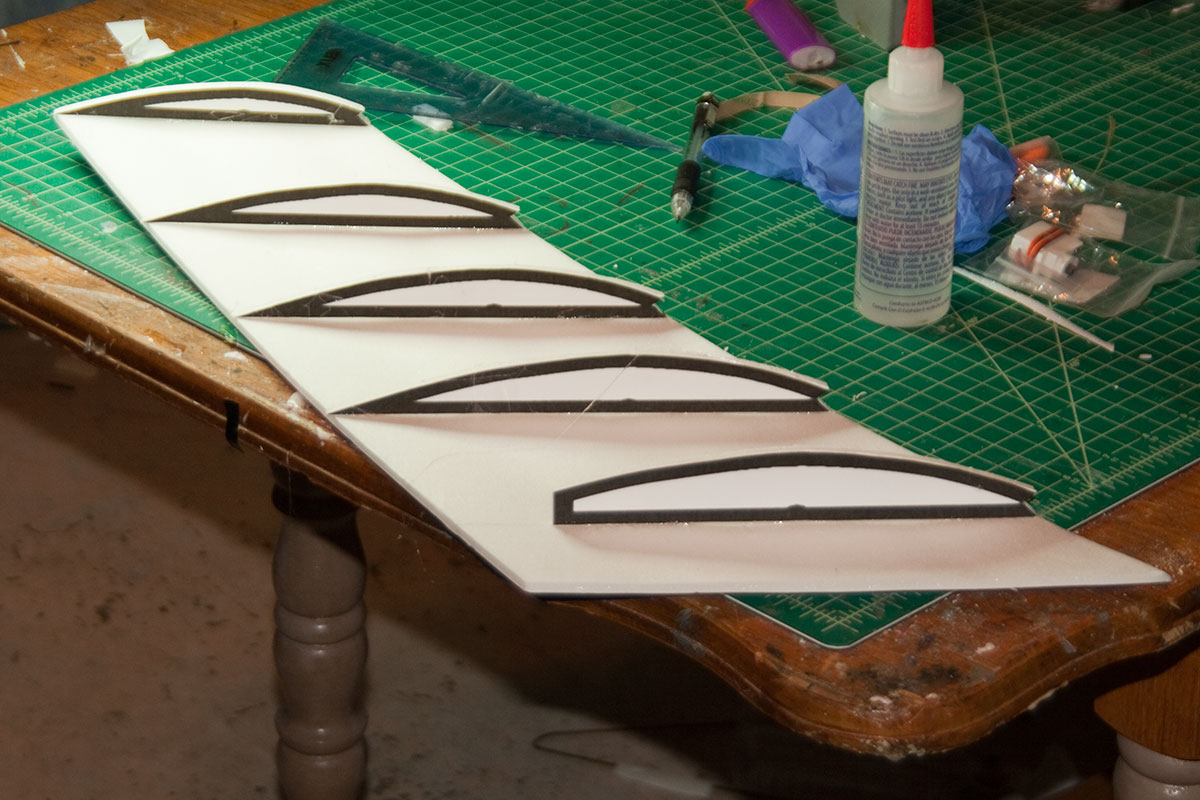
Placing the ribs on the cut out bottom section of the starboard wing.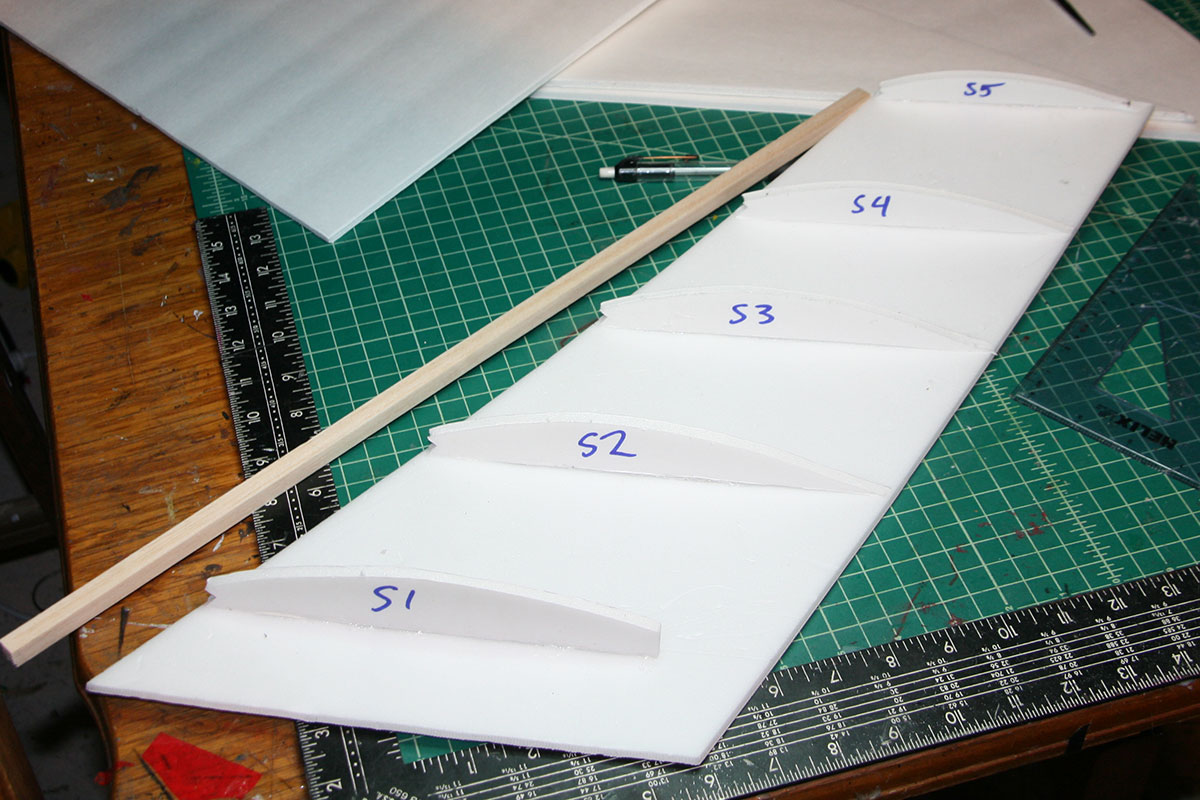
Next, I glued a section of 3/8″ balsa to the leading edge. The balsa is rotated to present a corner, rather than a flat side, to the front.
Gluing the balsa spar in place.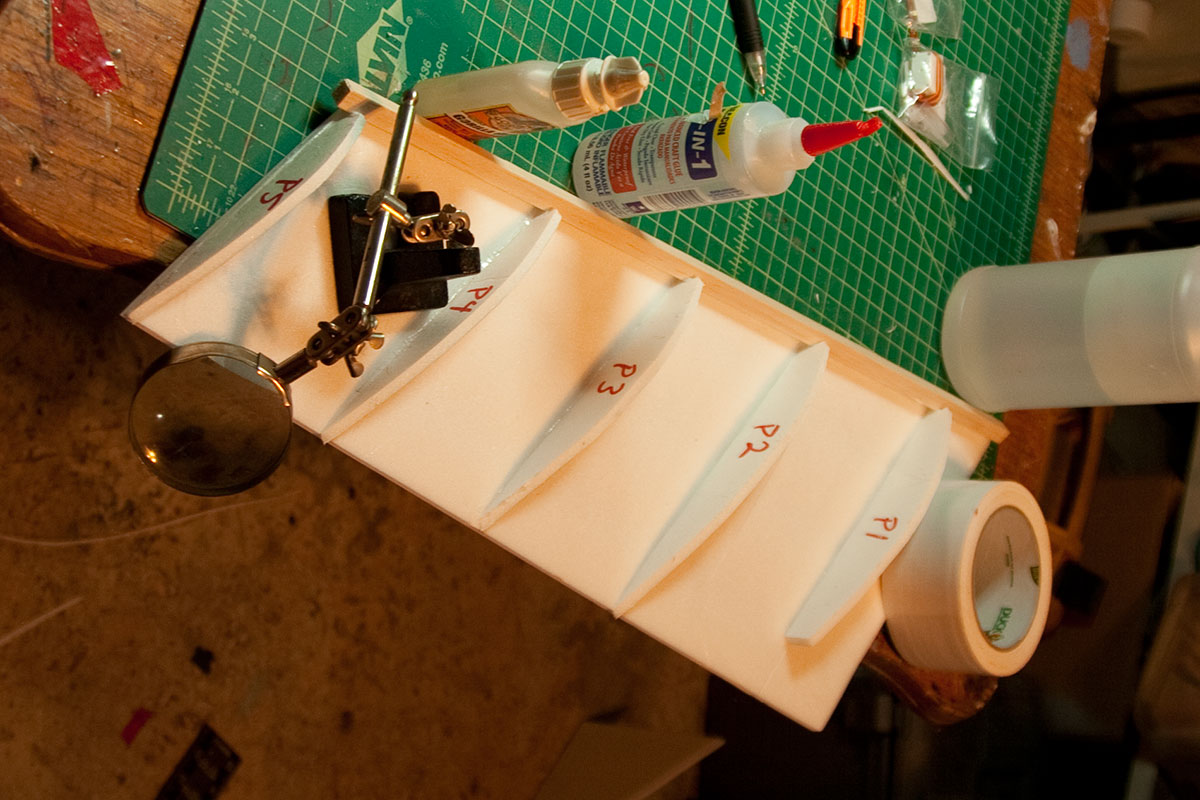
I wanted to add lights for night flying. Rather than place them outside the wing, I attached them to the ribs inside the wing.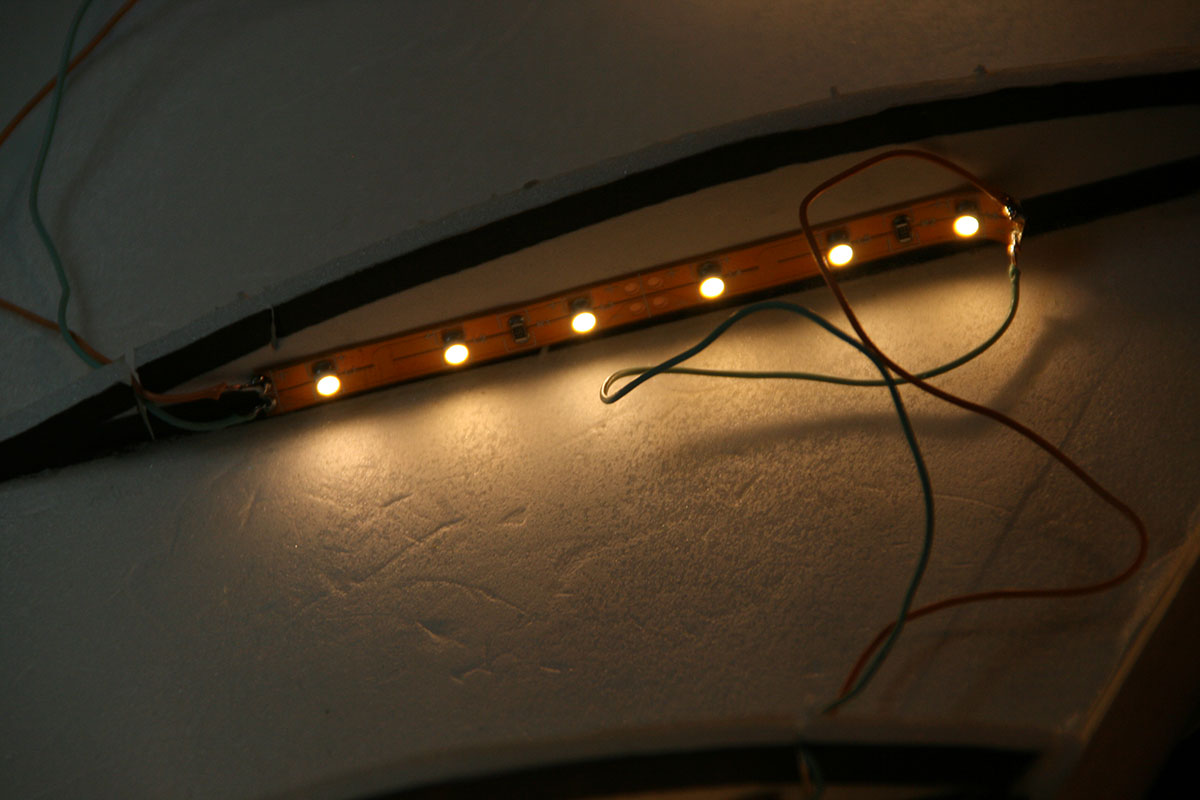
There are four sets of six LEDs inside each wing.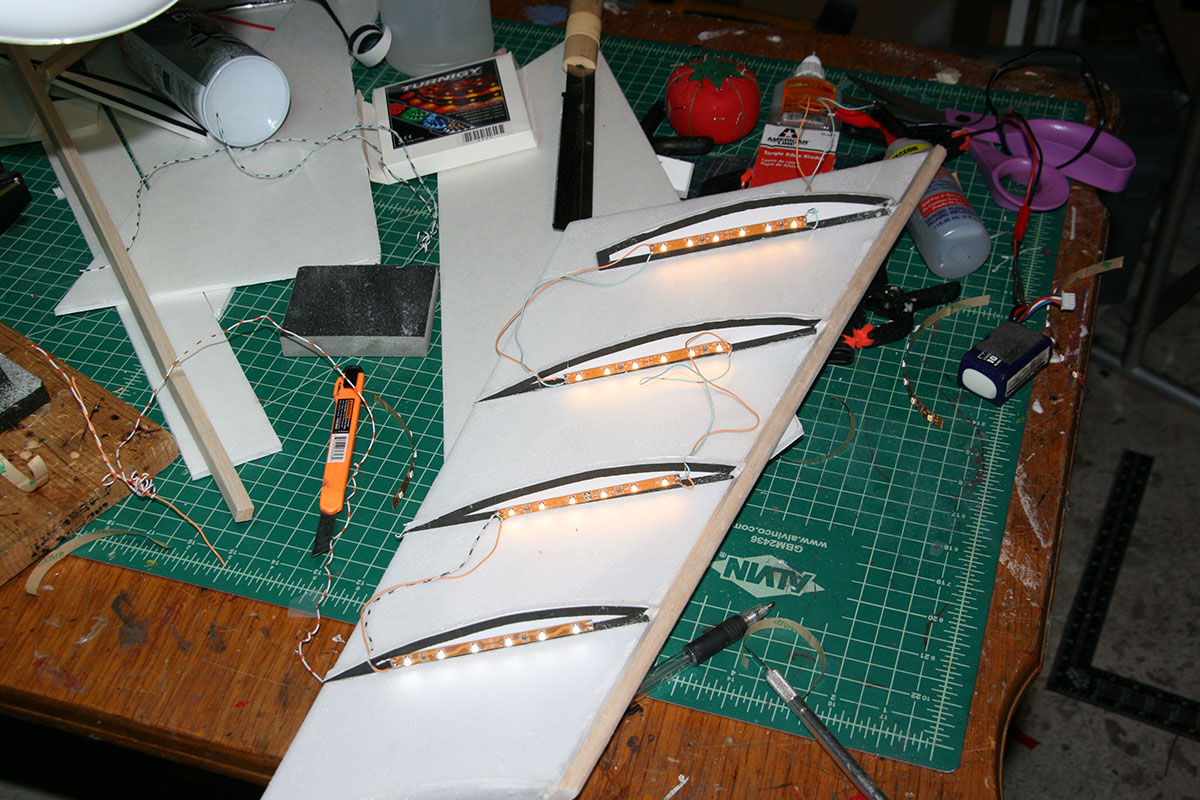
Testing out the starboard wing’s wiring.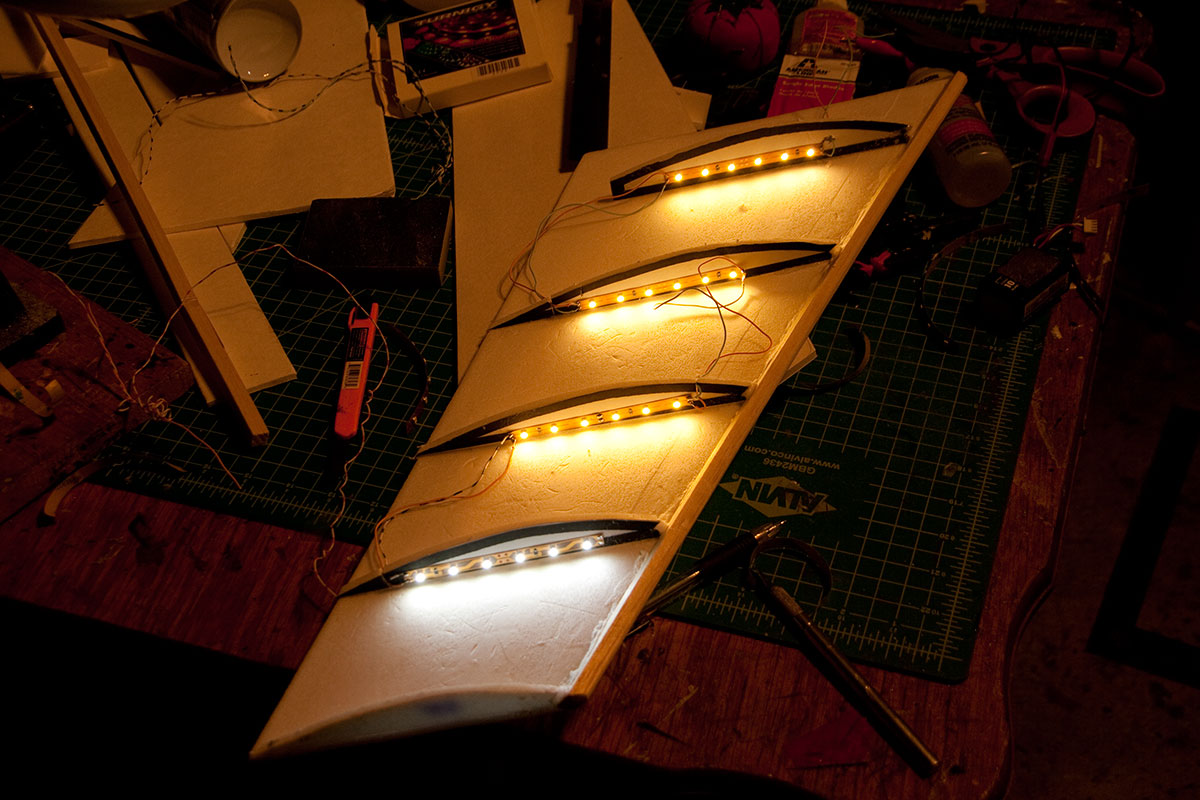
The same thing inside the port wing.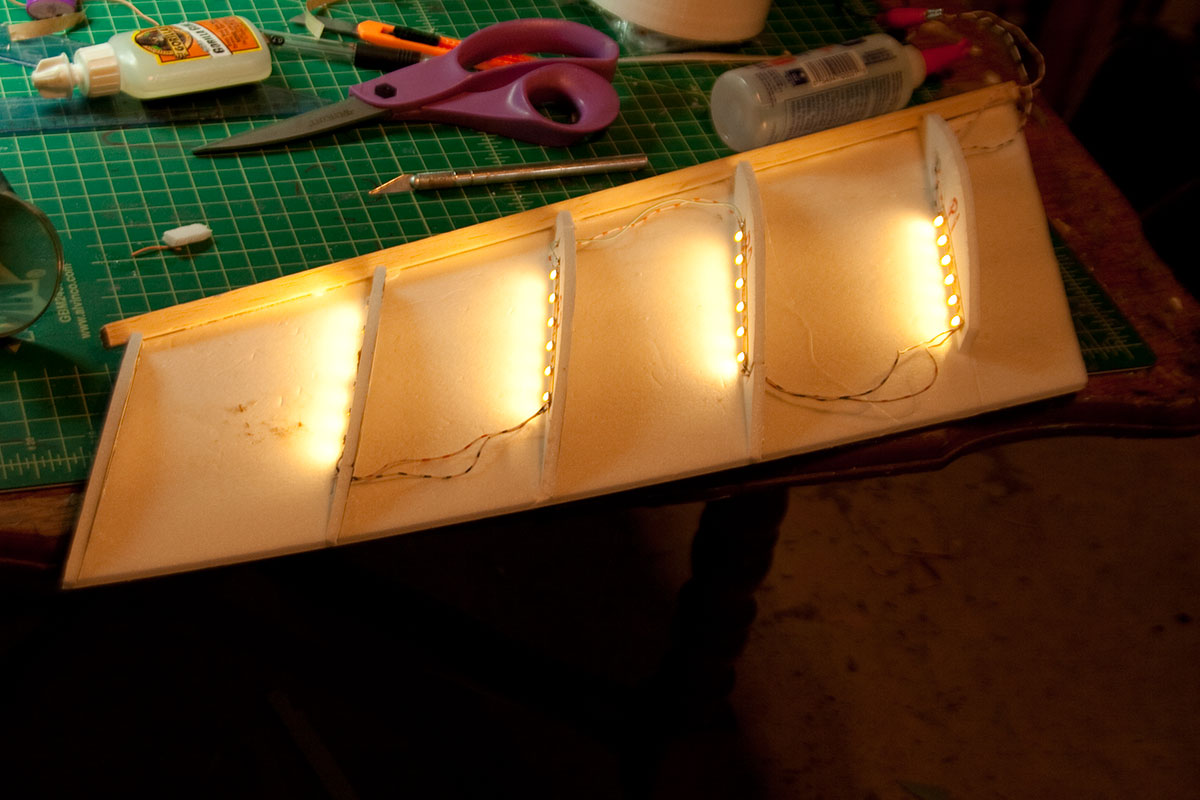
Rather than try and measure things exactly beforehand, I cut a piece of foam larger than needed. I stripped the paper off and glued it to the balsa wood spar at the front.

Once the glue had set, I wrapped a length of white duct tape around the leading edge. Then I glued the top down onto the ribs.
The finished port wing.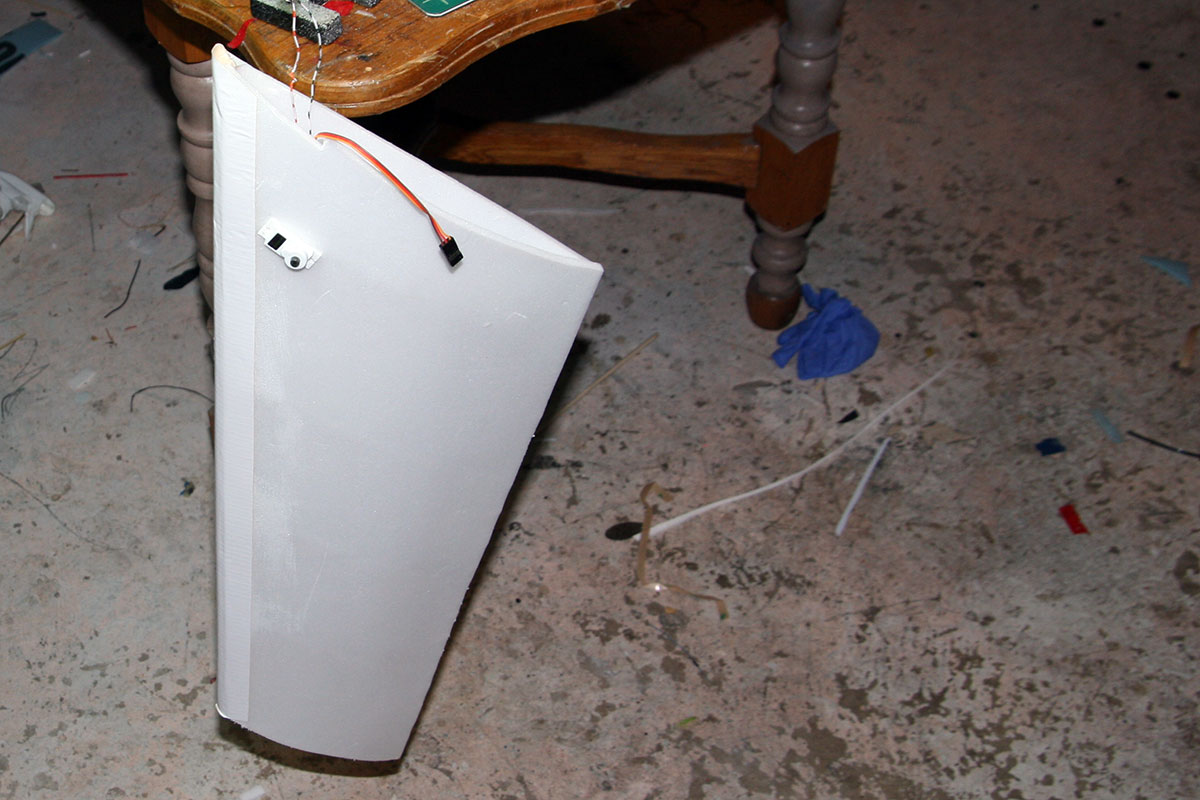
The lights shining from inside the port wing.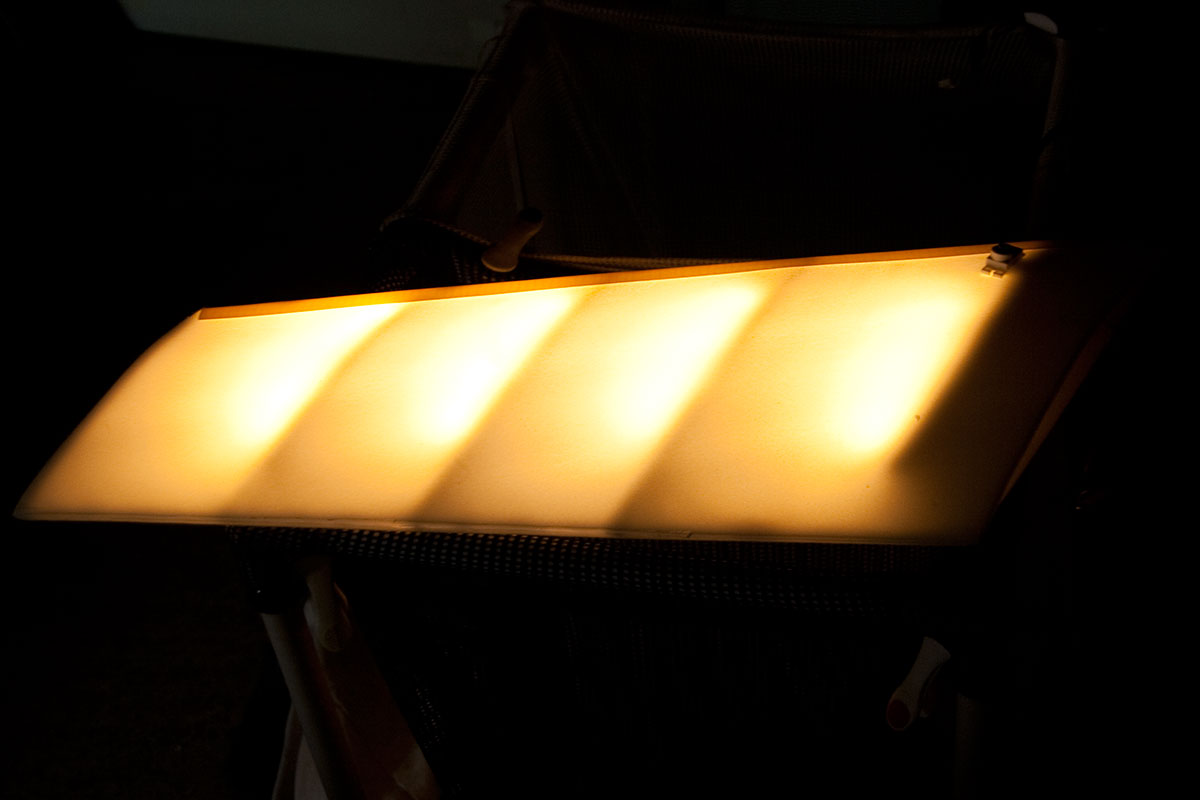
Finally getting an idea of the size and shape of the finished product. (The addition of ailerons will make the whole thing a couple of inches longer.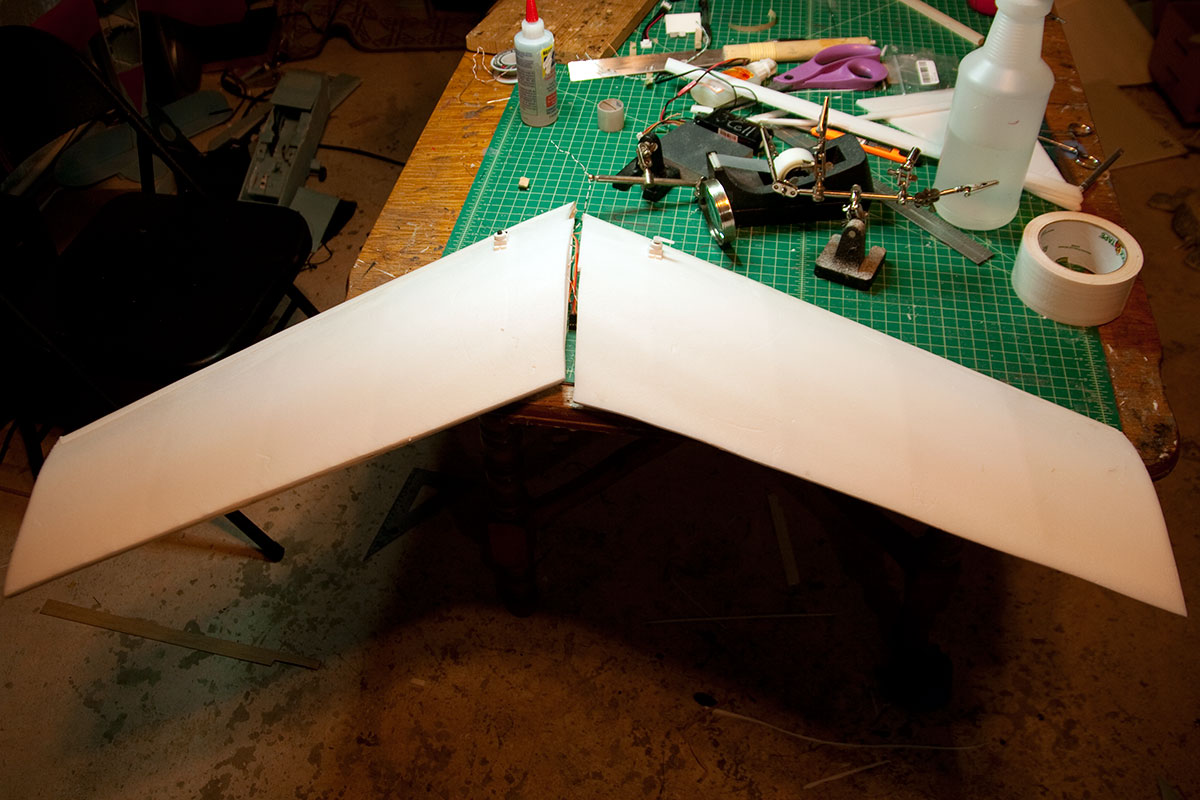
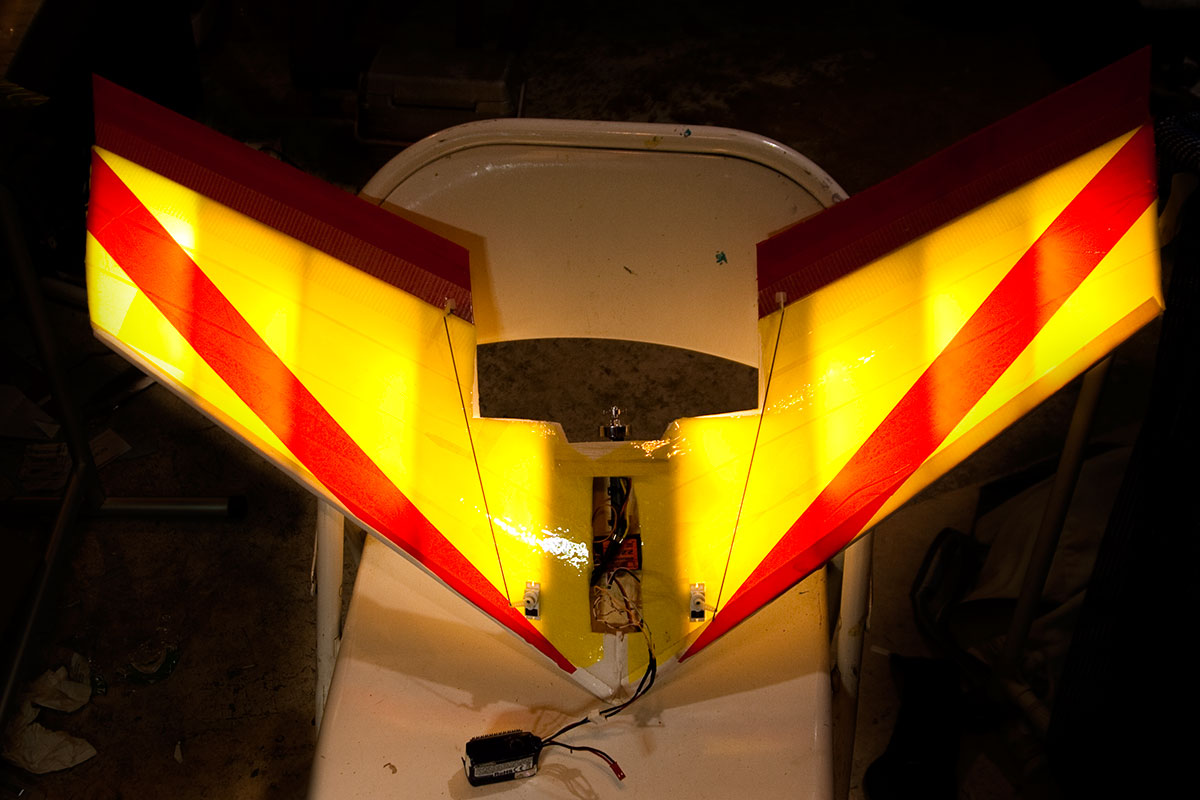
Testing the lights on both sides. You can clearly see that all my LEDs are not equal. I wish I could remember where I’d purchased which lights, ‘cuz that one section is WAY brighter than the others.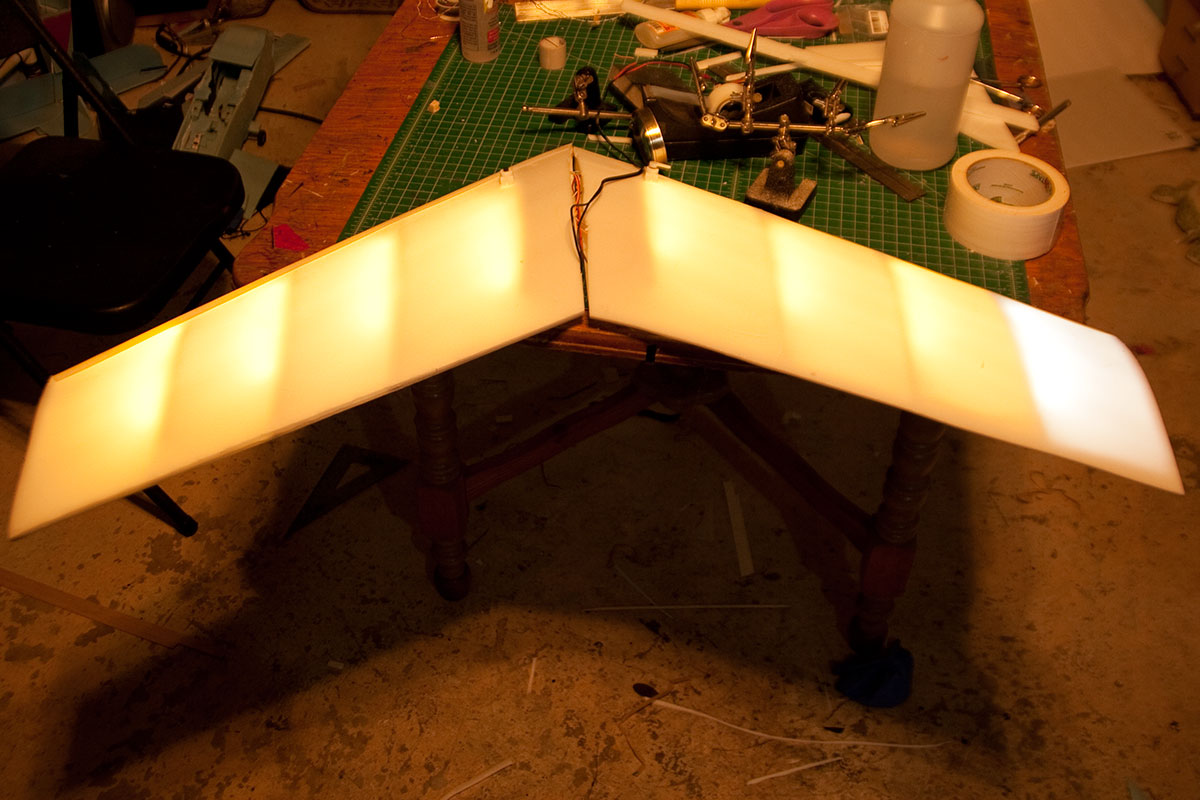
I glued in a ‘floor’ of 3/32″ basswood, to give me a sturdy place to mount the batter and other components, lend some overall stiffness, and tie the two wings together.
Next, I decided I should have made provisions for some kind of strut to give the wings a little stiffness. Since I hadn’t, I settle for epoxying a CF strip to the bottom.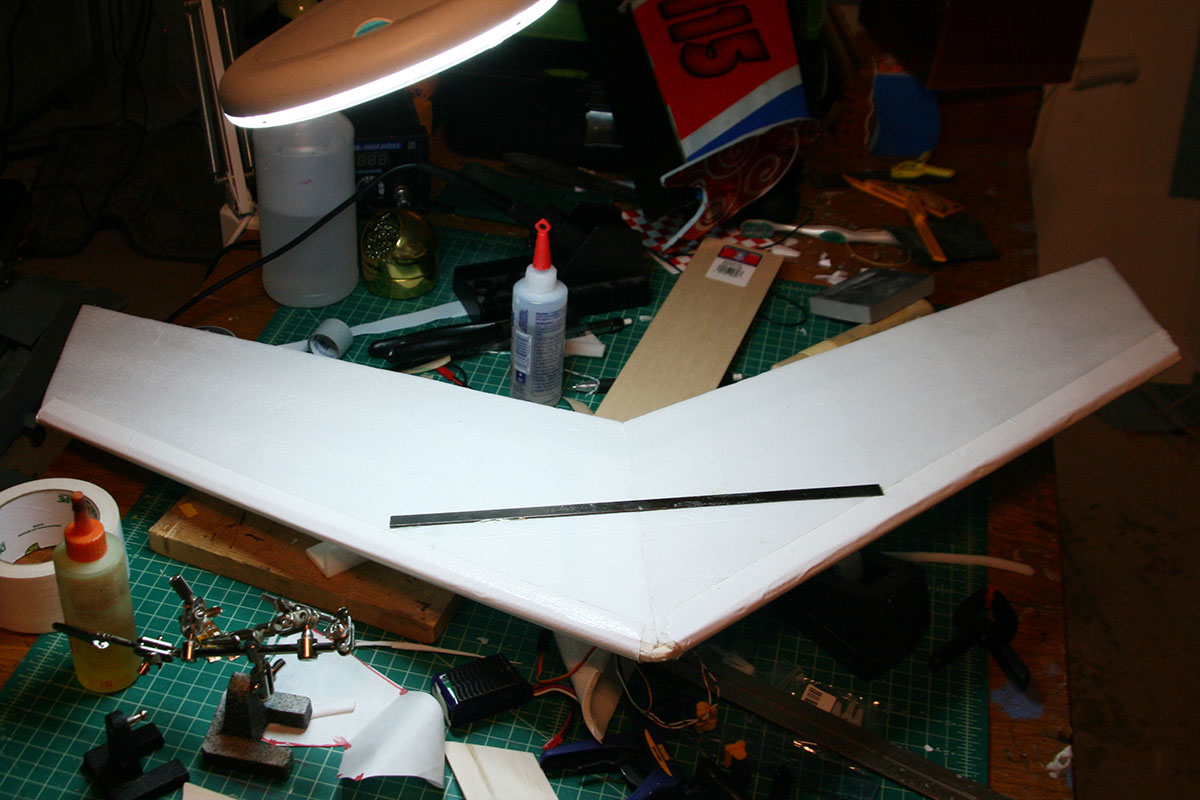
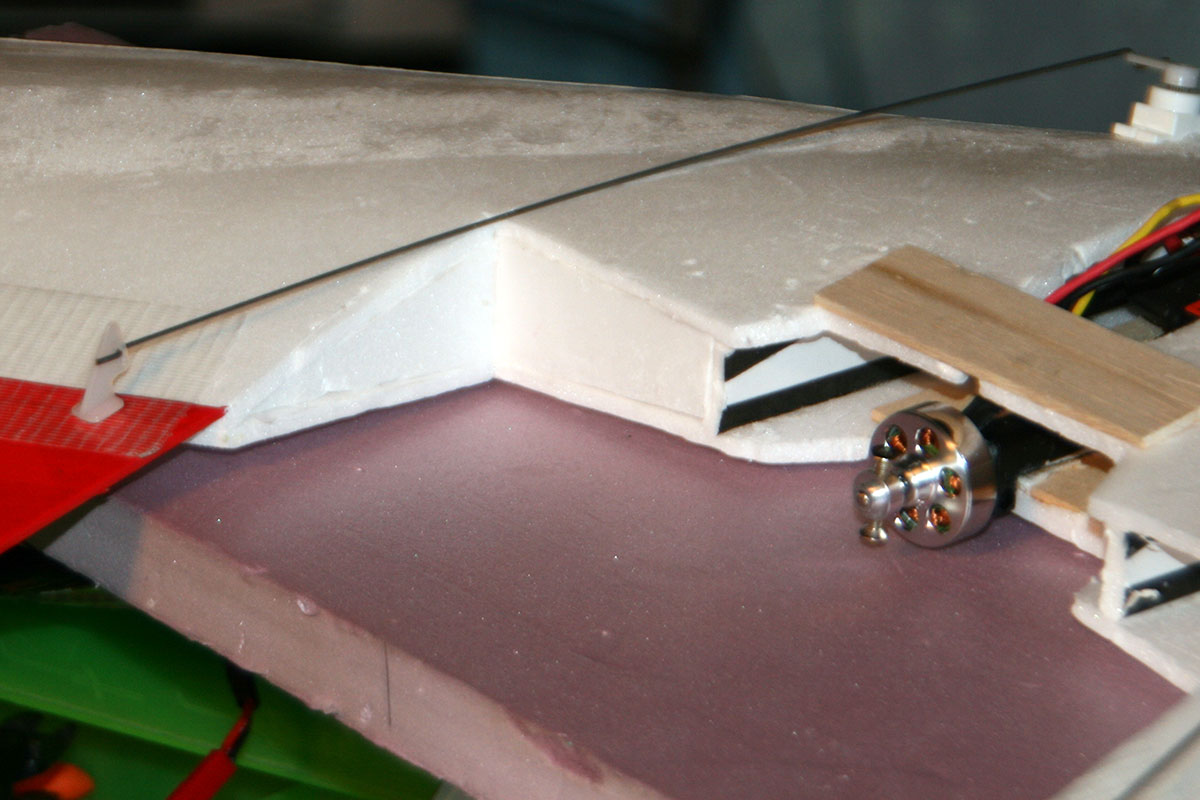
The motor mount is one of those cheap plastic stick mounts. It’s glued to the floor and also held down with a couple of zip ties.
There’s no room for the propeller, so I started hacking at the foam.
Next I filled in the resulting gaps with small bits of foam.
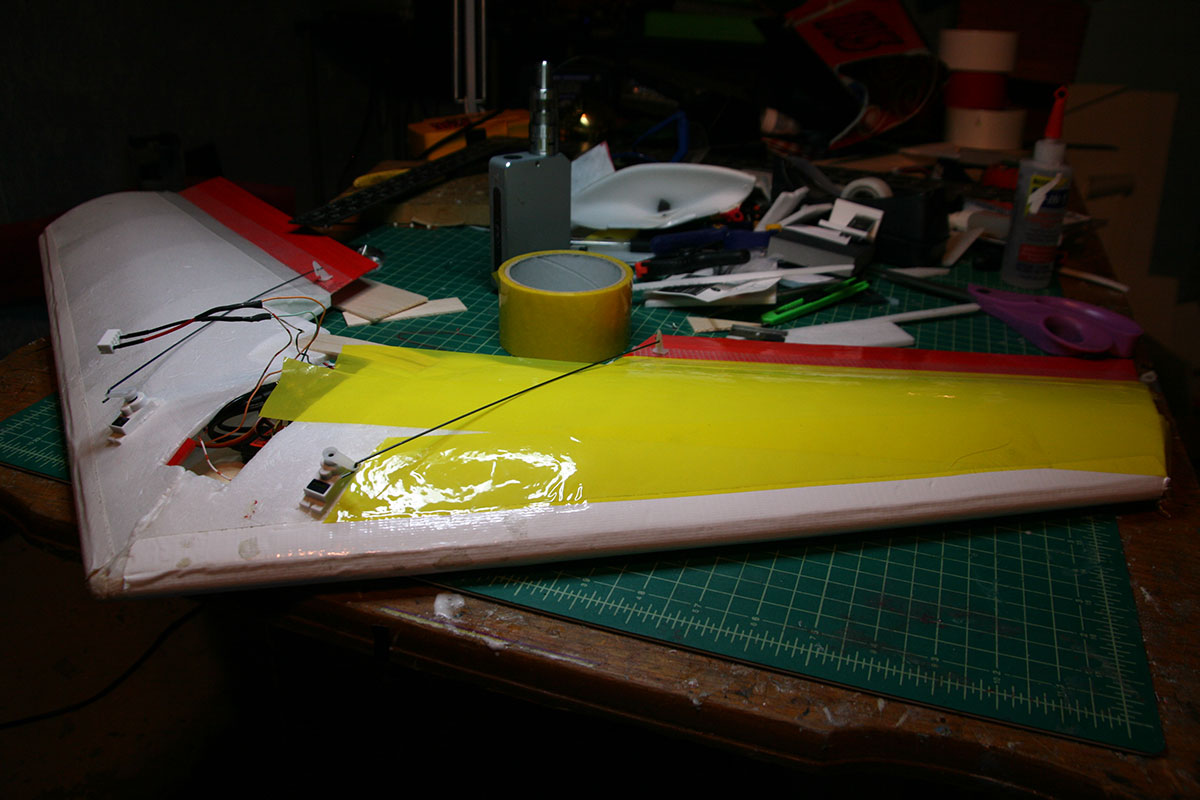
You’ll notice that, at some point, I’ve fitted the elevons which are made of 3/32″ balsa, covered in packing tape. I decided it’s time to “paint” the wing with colored packing tape before proceeding.
It looks pretty cool with the lights on.
The bottom looks a bit like a Mondrian painting. 🙂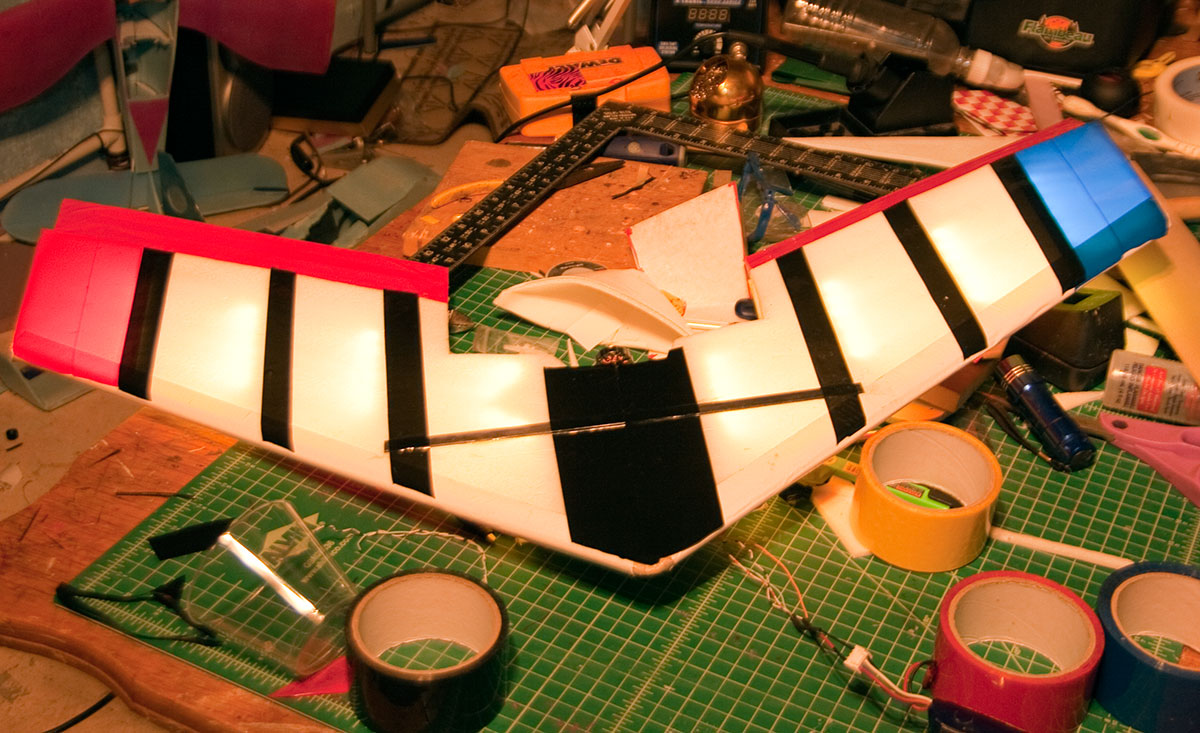
Adding some winglets, made of Dollar Tree foam with the paper removed, covered with packing tape.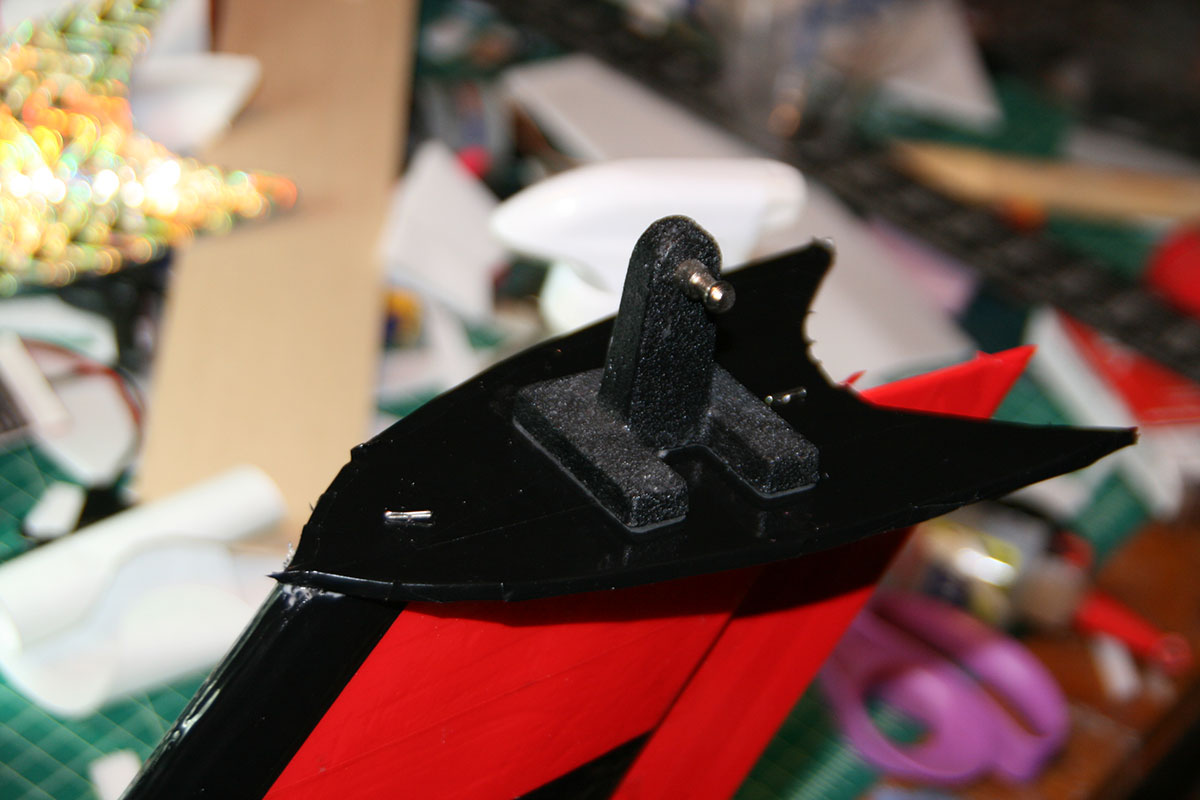
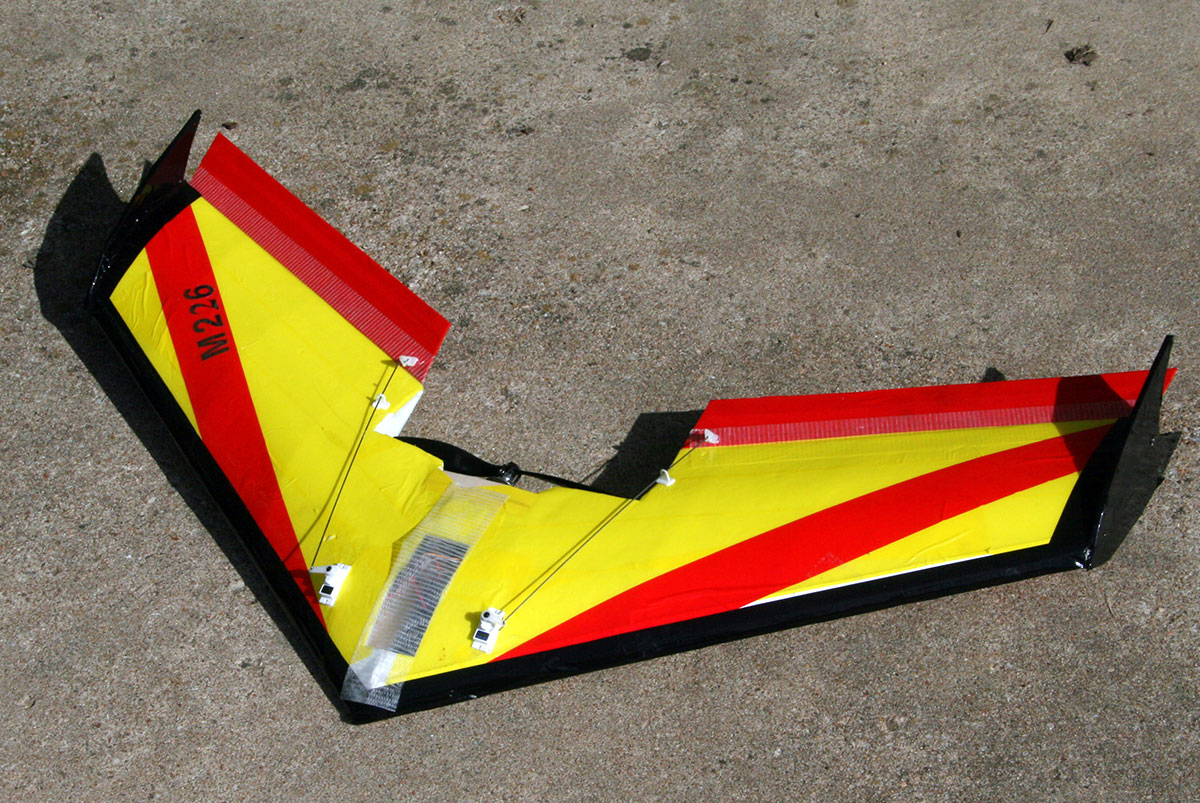
Ready for maiden. I’m going to wait to complete the hatch cover until I’ve got everything settled inside.
TOP:
BOTTOM: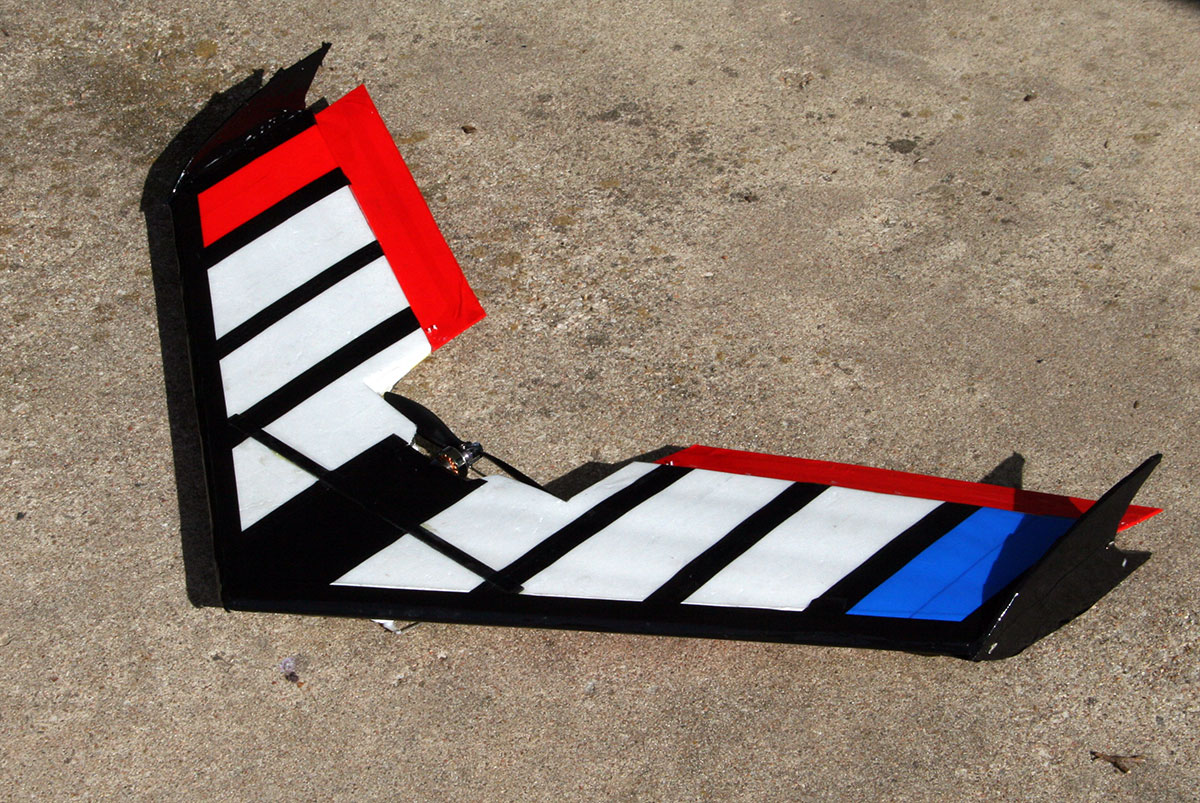
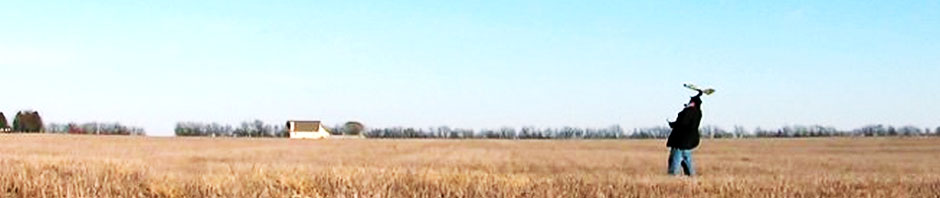
I actually had a successful maiden flight before finishing up all the little details.
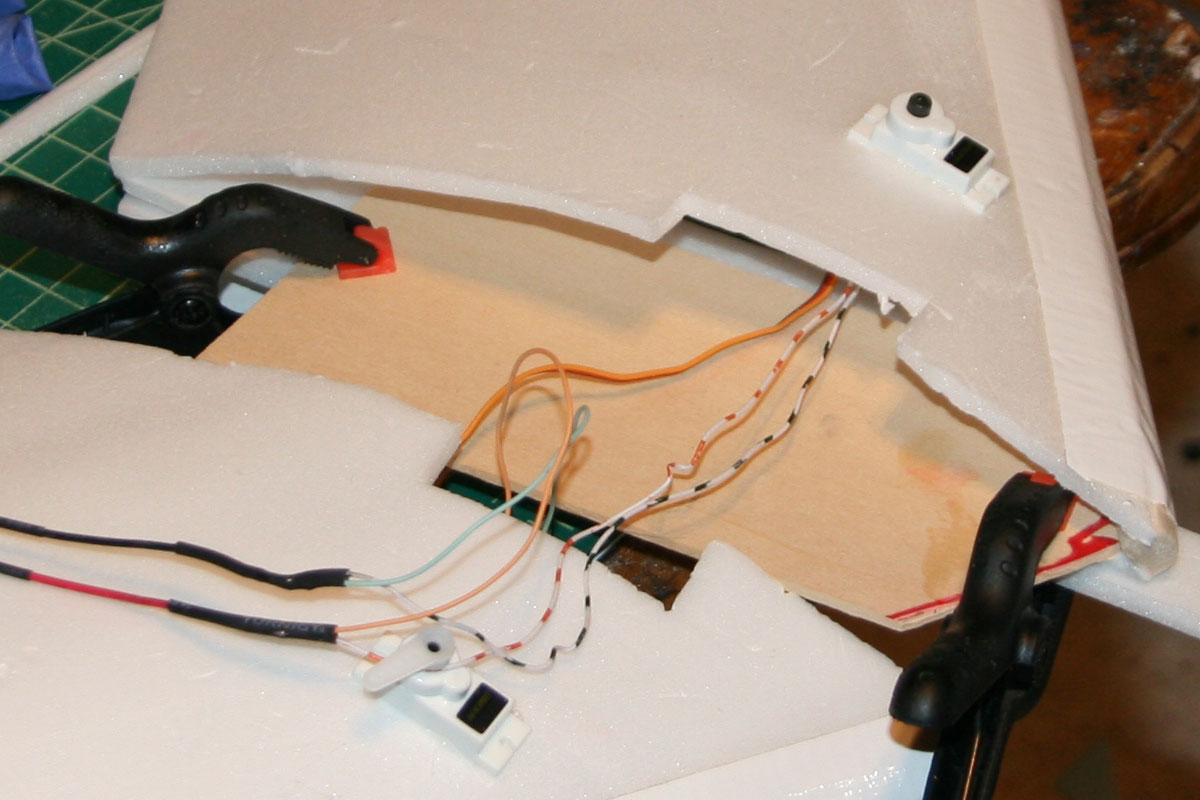
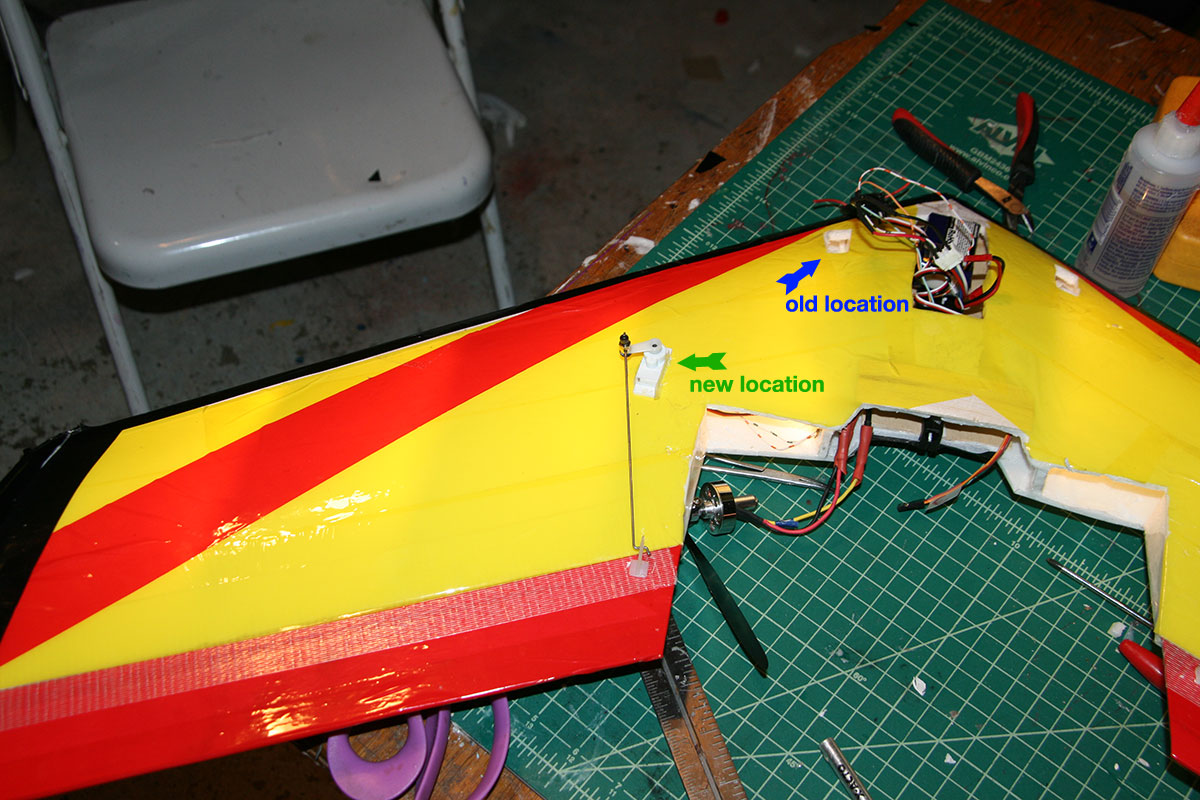
I had slavishly put everything as far forward as possible – flying wings tend to build tail-heavy if you’re not careful – but the resulting plane was actually a bit nose-heavy. This was fine, as the old location of the servos was problematic. The pushrods were long and tended to drag against the top of the airfoil. So I moved them back significantly. Since the wing is hollow, I had to locate them against – and in line with – one of the internal ribs, to give them something to hold onto.
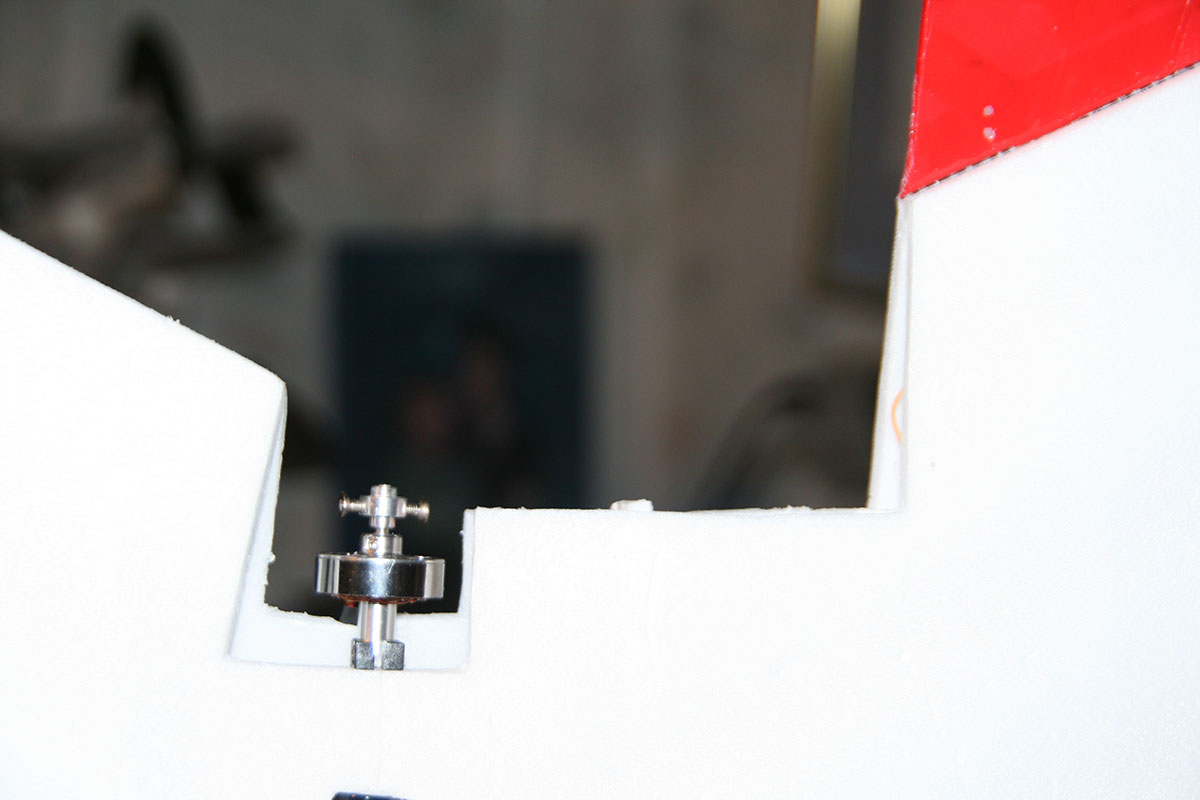
Next, to build a battery hatch. I drilled 2 holes in this thin plywood – originally glued here to help hold the two wing halves together – and epoxied some little rare earth magnets in there. There’s a tall stack of them in this photo because that’s how I register them against the hatch. I make a stack on one surface, then push the other surface down into it. I use the resulting indentations to figure out where the matching magnets go.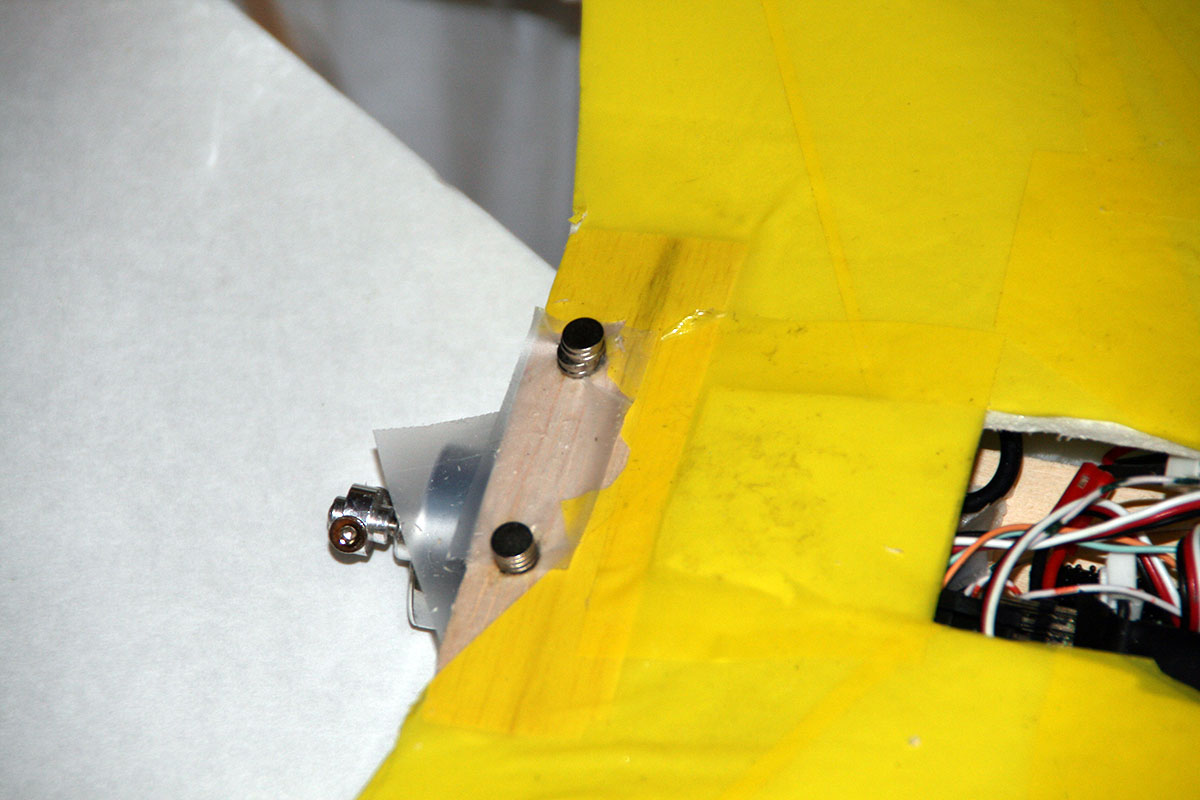
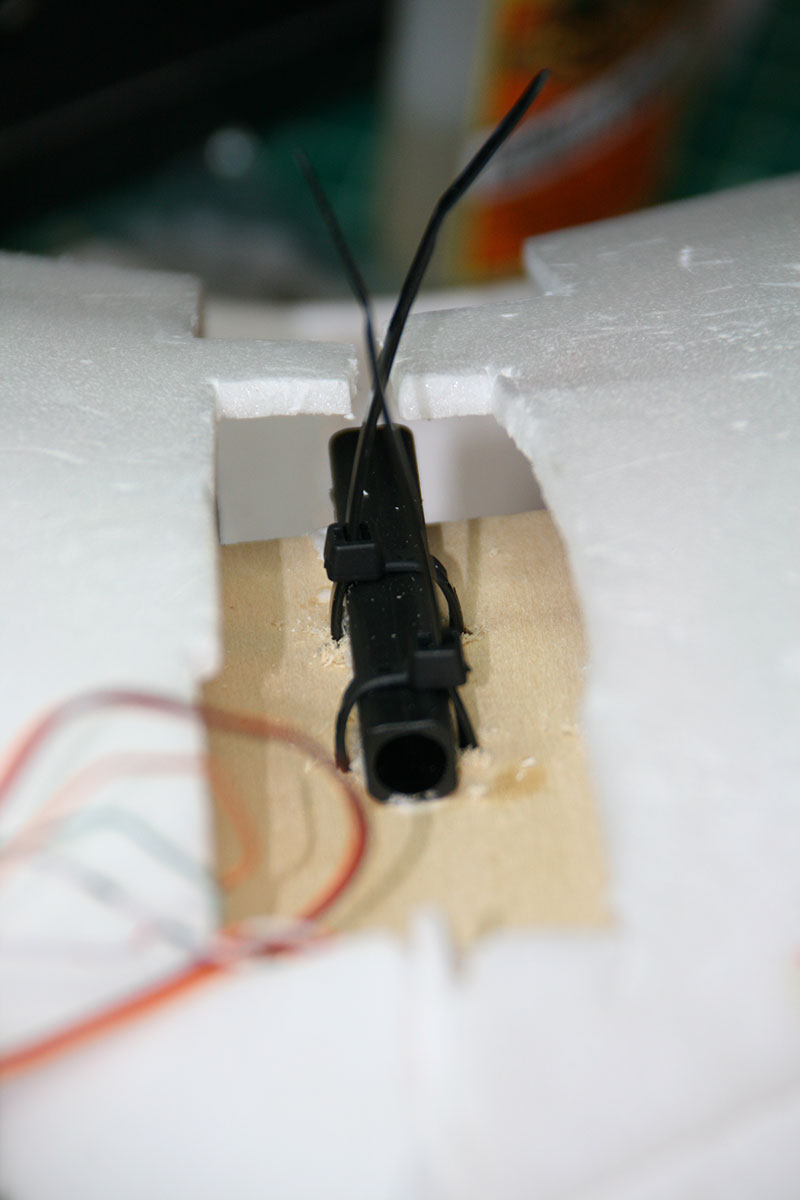
Here’s the actual hatch, again, made from paperless Dollar Tree foam. If you look closely near the top you can see the two impressions from my stack of magnets. The hatch is glue onto a couple of hinge pins that I’ve had forever and never used.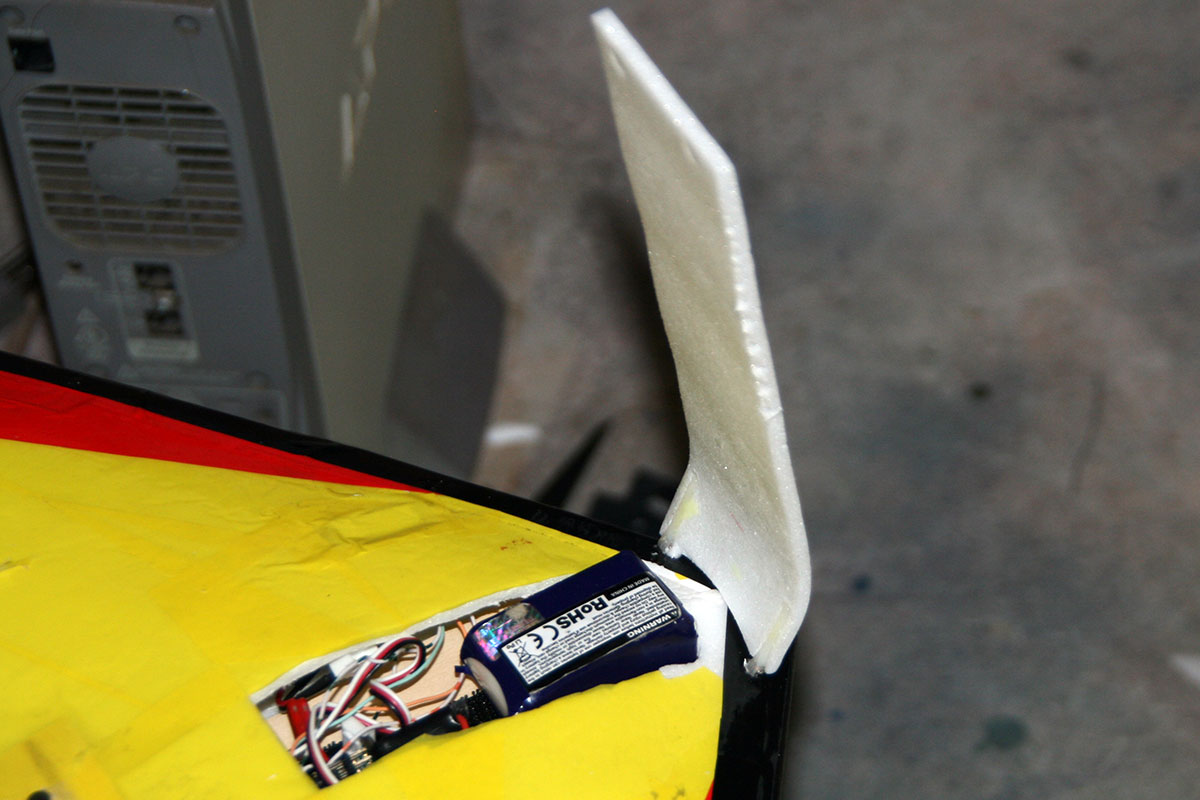
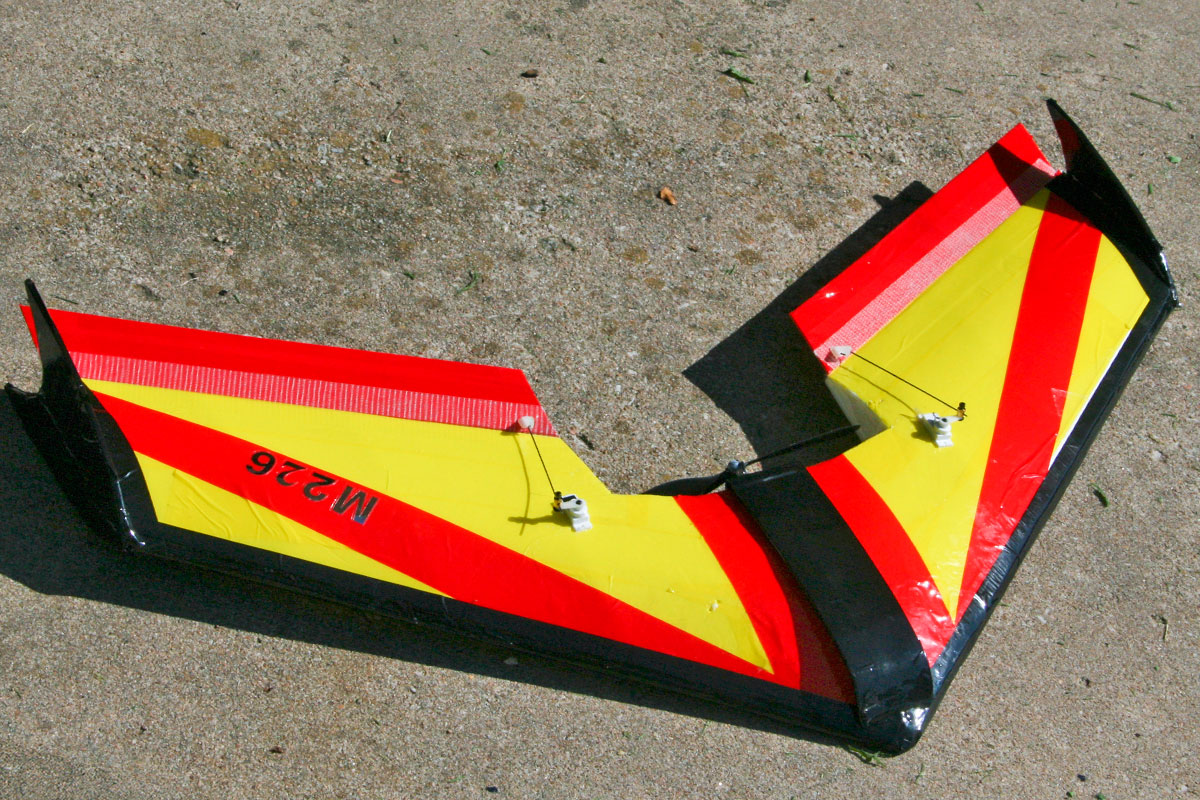
And here’s the more-or-less final bird.