Computing the area of a plane’s wings can be complicated, involving lots of geometry and assorted arithmetic. This method requires none of those, beyond some very simple multiplication, and handles any shape, no matter how convoluted. Here’s how it works:
Load a plan into Photoshop.
IMPORTANT NOTE: Even though your plans may be in grayscale, and we will be working in black-and-white, Photoshop must be set to RGB color mode for this to work. (Image / Mode / RGB Color)
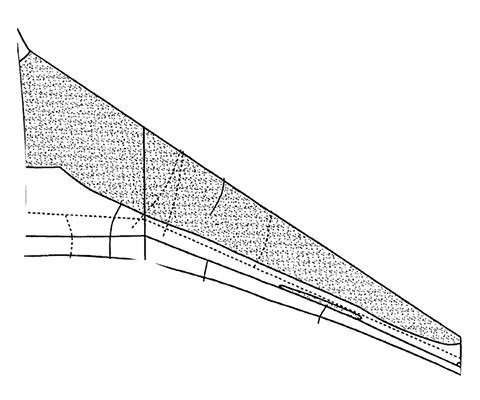
Let’s say we have this wing.
Using whatever method works best for you – I generally select an area with the ‘magic wand tool’ and fill it with the foreground color – convert it into black and white, where white is the wing and black is the background. Make sure these colors are pure, 100% white and black.

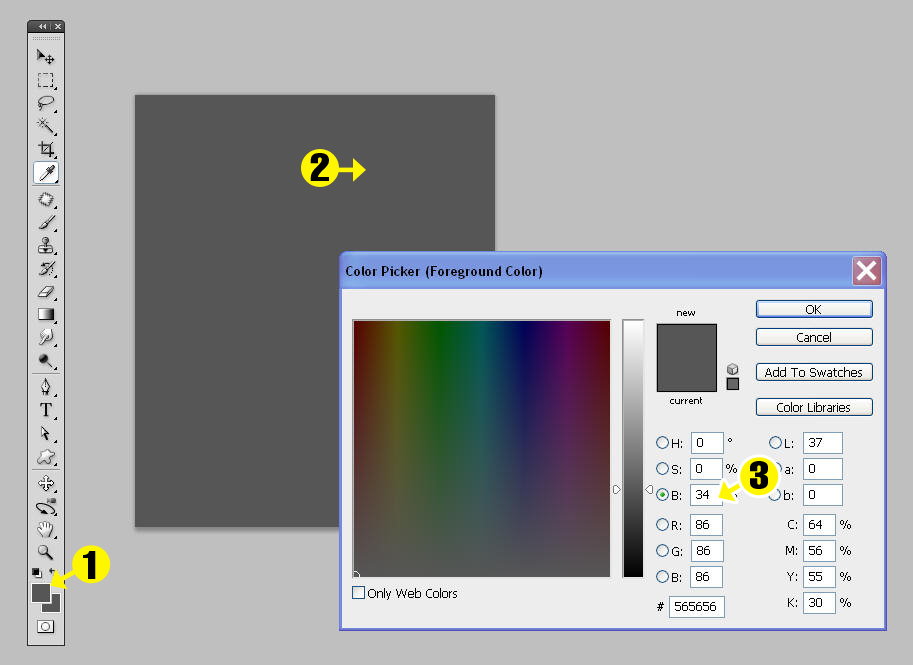
Now, from the menu, choose Filter / Blur / Average. This will turn the entire image into a solid rectangle of gray:

All that remains is to measure how light or dark the resulting gray is.
- Click the foreground color swatch on the toolbar to bring up the Color Picker dialog box.
- The cursor changes to an eyedropper tool. Click anywhere in the gray rectangle.
- In the Color Picker dialog, find the brightness value. In the image below, it reads 34%
Now we’re ready to make the final calculation. Let’s say the original plan – the entire sheet – is 24″ tall by 20″ wide. That’s 20×24 = 480 in^2, or 480 square inches. Photoshop tells us that, in our example, 34% of those pixels were white (that’s why our resulting gray had a brightness of 34%). That means the surface area of the wing, itself, is 34% of 480 in^2 or 163.2 in^2.
This method isn’t only useful for wings. Let’s say these rough plans for a plane are to be printed at 28″x16″
Converting them to black and white, then averaging them…


…yields a brightness of 59%.
The plans were 28-by-16; their area is 228 square inches (28*16). 59% of 228 is 134.5. So the surface area of all the parts on that plan will be about 134.5 square inches (134.5 in^2). I happen to know that Dollar Tree foam weighs 0.19 grams per square inch with the paper on. That means that all the parts on this plan, when cut from Dollar Tree foamboard, will weigh approximately 0.19 * 134.5 (or 25.5) grams.
[EDIT 3.3.13] My first real-world trial of this method is a qualified success.
I used these plans from a new build:

Printed plans, glued to a sheet of foamboard
My calculations say the parts, cut from Dollar Tree foamboard, should weigh exactly 70 grams. There are a couple of problems.
- I glued paper plans to the foamboard, and I don’t have a good idea what the paper (and the spray adhesive) weigh. They should add a few grams.
- The plans include some slots and holes that I won’t be replicating on my build, so my actual parts are very slightly heavier than plans … but less than a gram, I think.
- There are also my less-that-perfect cutting abilities to factor in, but I don’t think they favor either under- or over-weight parts.
The actual weight should, in any event, be slightly above 70 grams and it is; the actual weight of the parts was 75.5 grams. All things considered, that’s about as close to perfect as I have any reason to expect.
Pingback: Part 5: Make Room for Hacking