I fly a lot, therefore I crash a lot. Not all the time; the overwhelming majority of my RC flights are without serious incident. But sometimes, you’re gonna lose one. I thought I’d dedicate a post to the repair process. People are nervous about their ability to repair a broken airplane but foamies are surprisingly easy to put back together again.
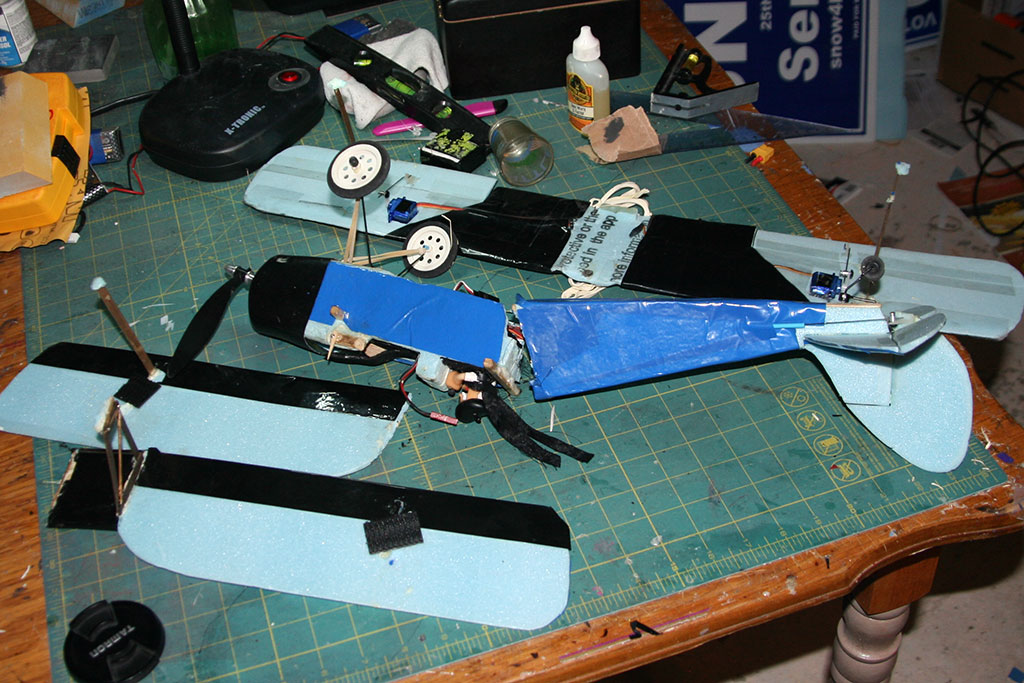
I’m not entirely sure what went wrong, but the plane went straight in, nose first, from about 25-30′. The fuselage snapped clean in half. The top wing broke free of the plane and snapped in two. The motor was shoved back on its mount, which was knocked loose. The starboard cabane struts shattered and disappeared in the grass.

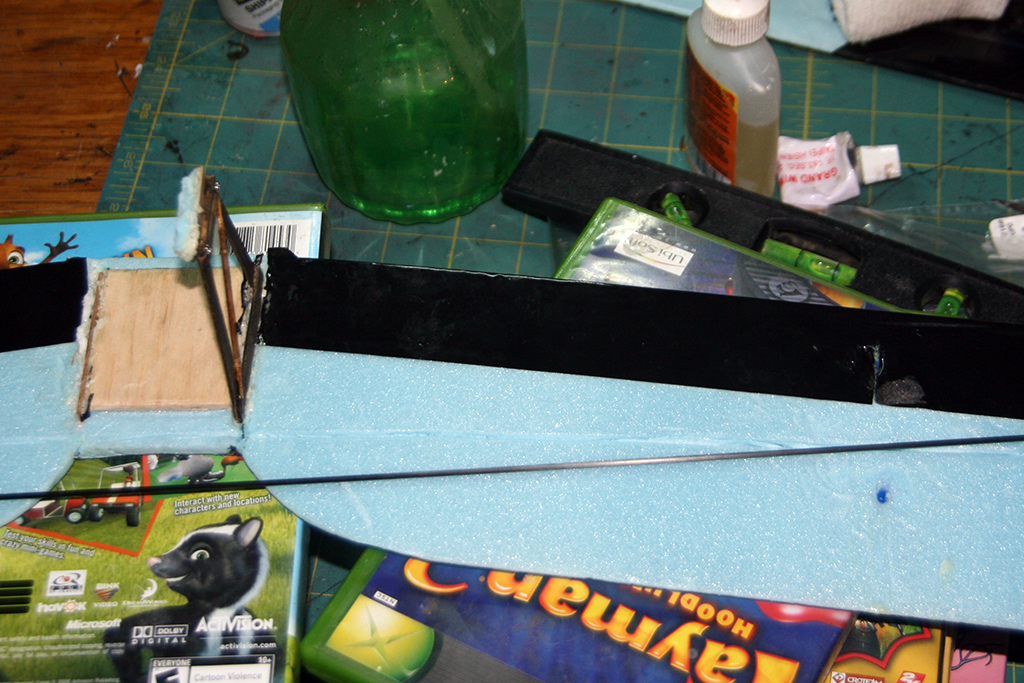
Step 1 was to glue the top wing back together. Gorilla Glue is my go-to glue for foamie fixing jobs. It foams up, which can be an unsightly problem if you let it get away from you, but which also fills in cracks and gaps in the foam quite nicely.

I use XBOX games to build level platforms, as they’re all the exact same size.
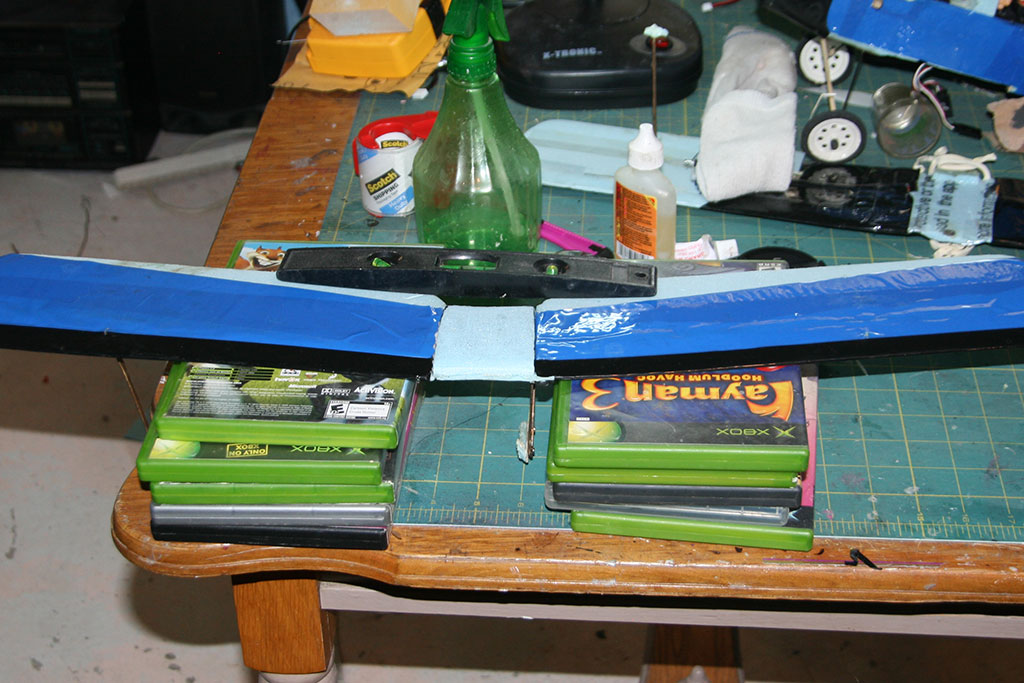
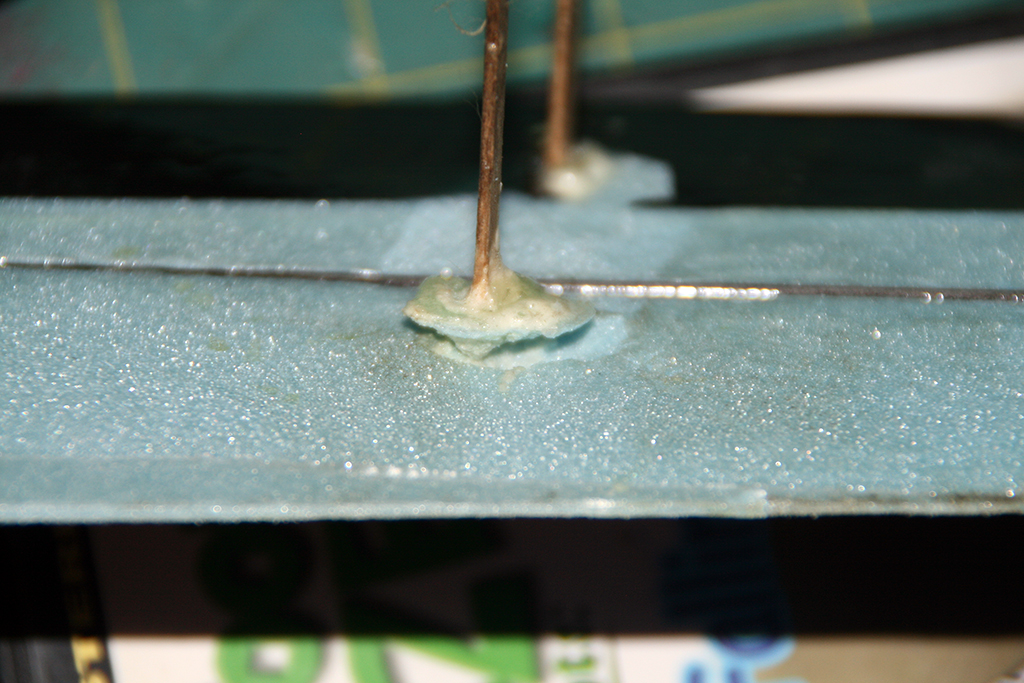
These wings have been repaired before (several times!) and I wasn’t sure I trusted them like I used to. I decided to add a length of thin carbon fiber rod as a spar across the wing to add stiffness and help hold the two halves together. I pressed the rod into the foam to mark a channel, the gouged it out a bit more with the tip of the rod itself.
I sanded the rod to help the glue grab hold of it, then used epoxy to secure it in its channel. The CF rod weighs next to nothing and is sitting right on the plane’s center of gravity, so it won’t affect the balance.
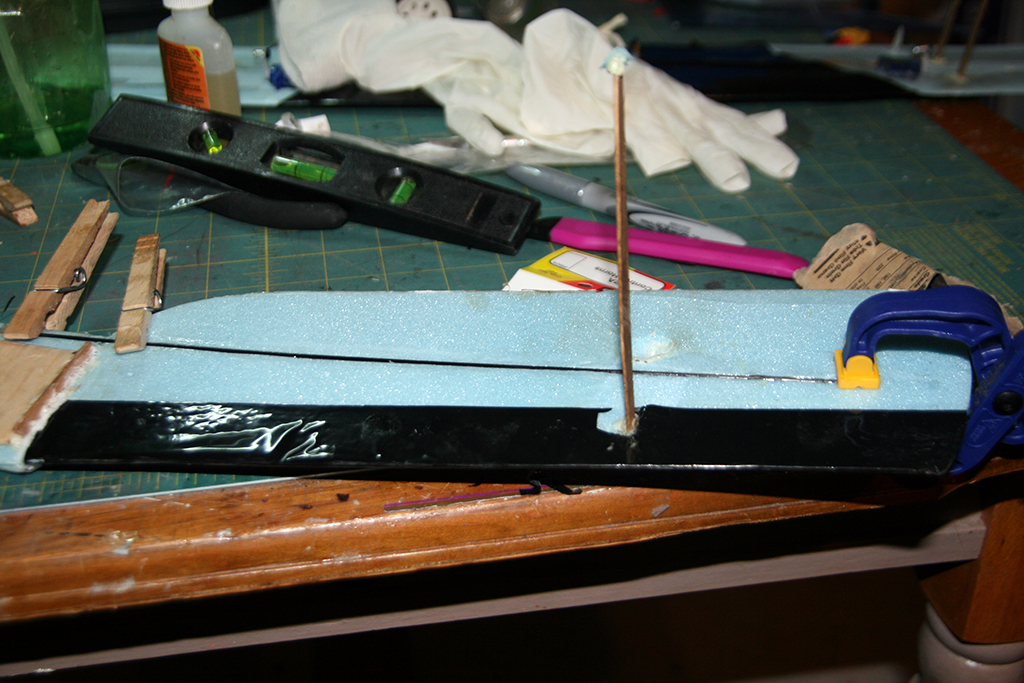
The new wing is light but stiffer.
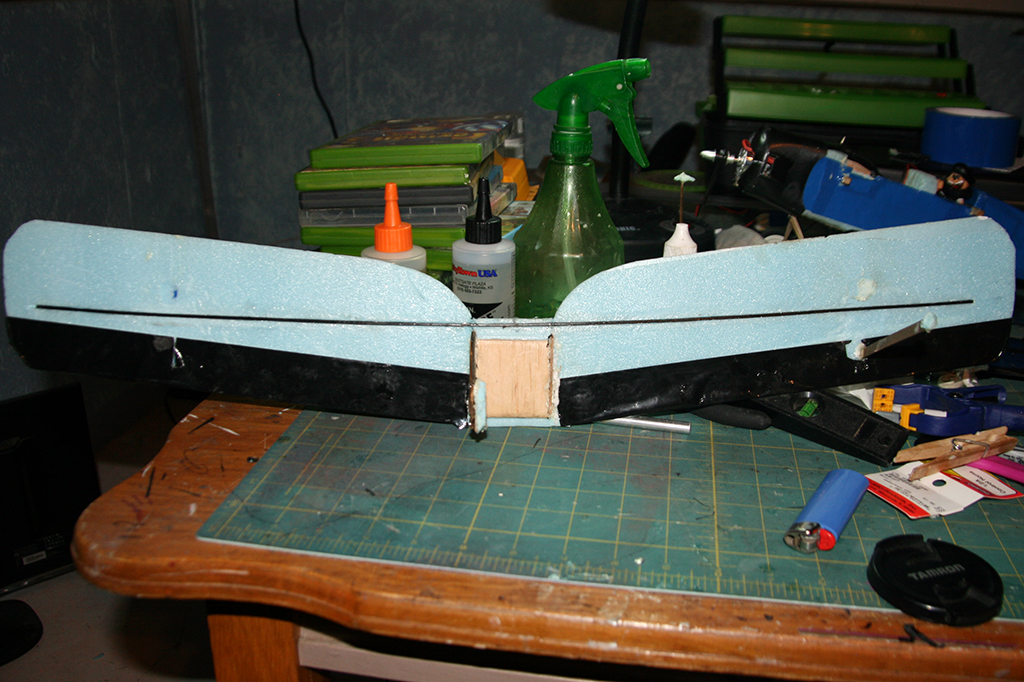
The fuselage had a clean break. I put Gorilla Glue on the edges and added some blue packing tape to cover the repair.
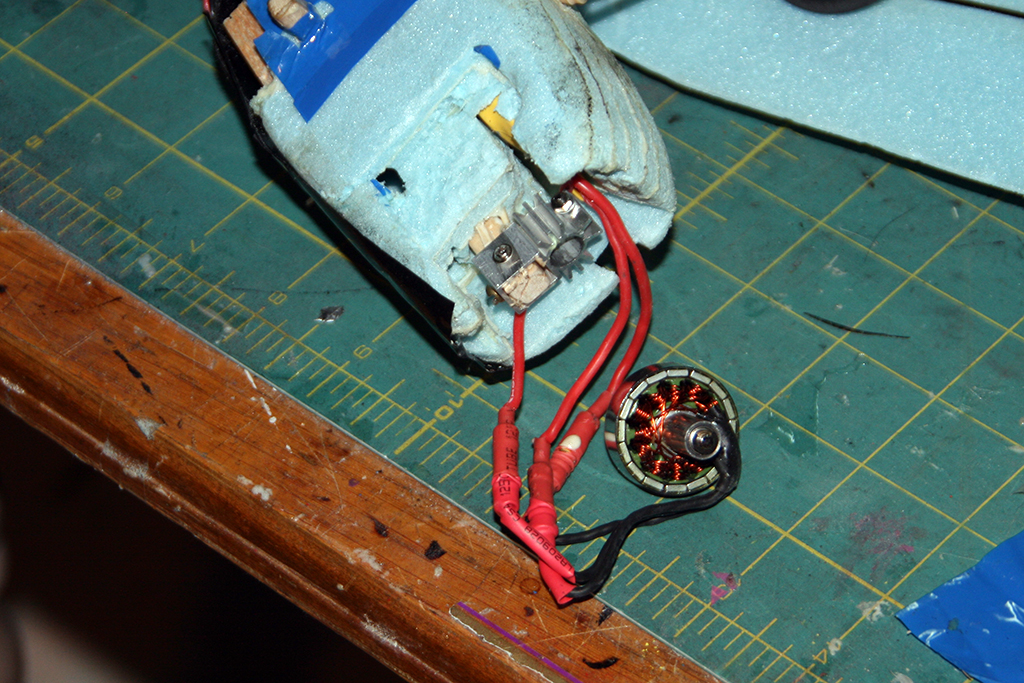
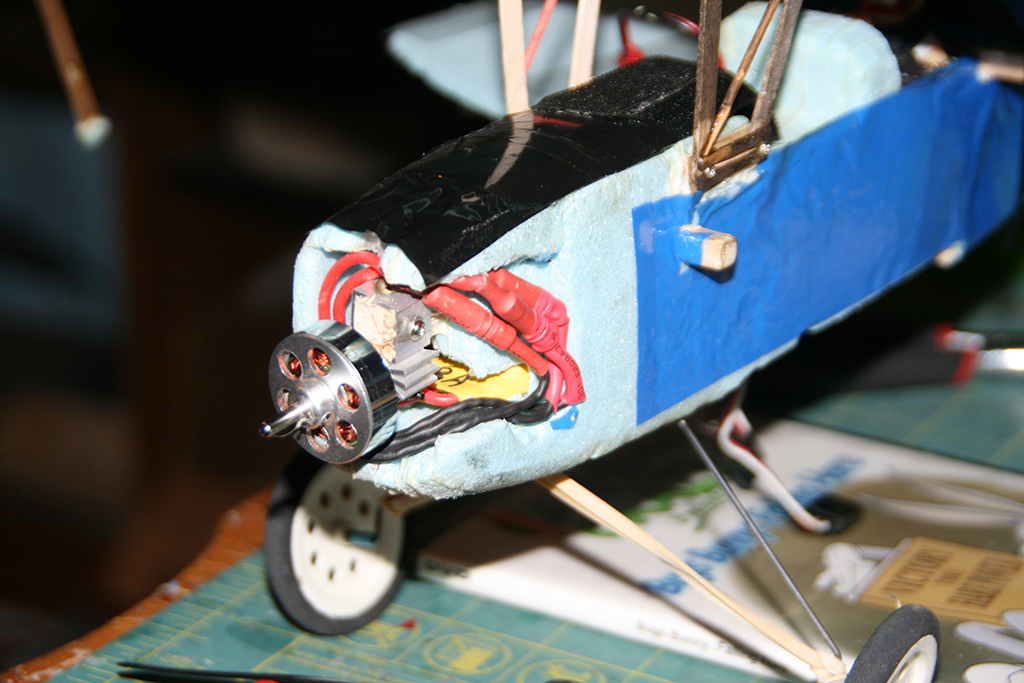
The plane landed on its nose, so I pulled the motor out to check all its connections and magnets. I didn’t see any problems.
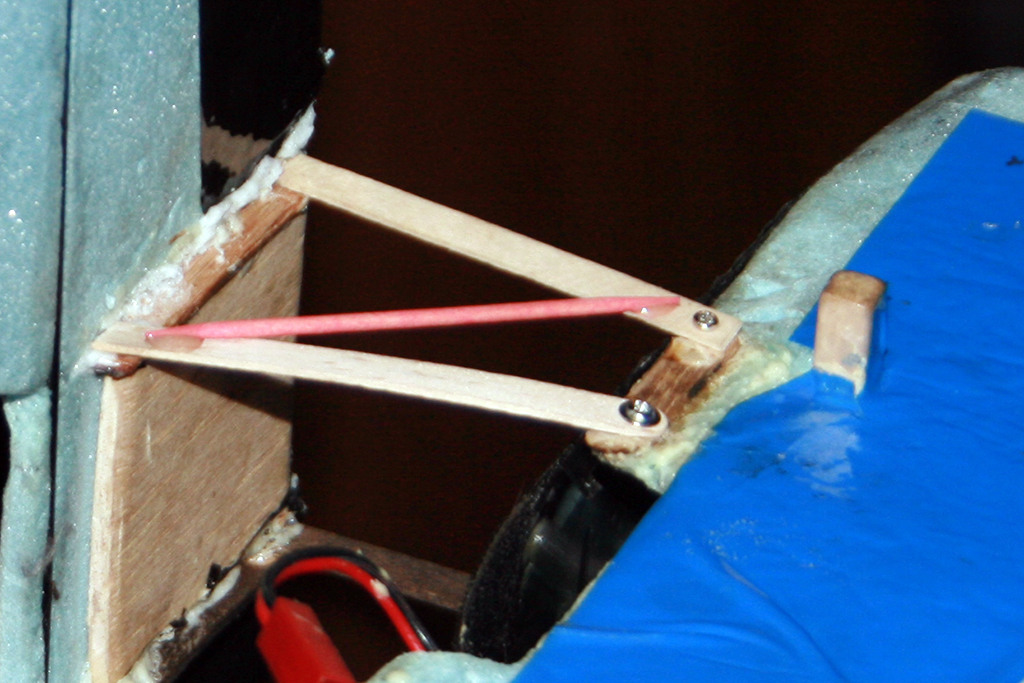
Next, it’s on to the cabanes. The starboard cabane struts simply disappear at the field so I had no choice but to make another set. These are made from coffee stirs and toothpicks so it’s no huge expense. I don’t have my original templates anymore, so I started by cutting some coffee stirs down to the same dimensions as the port struts.
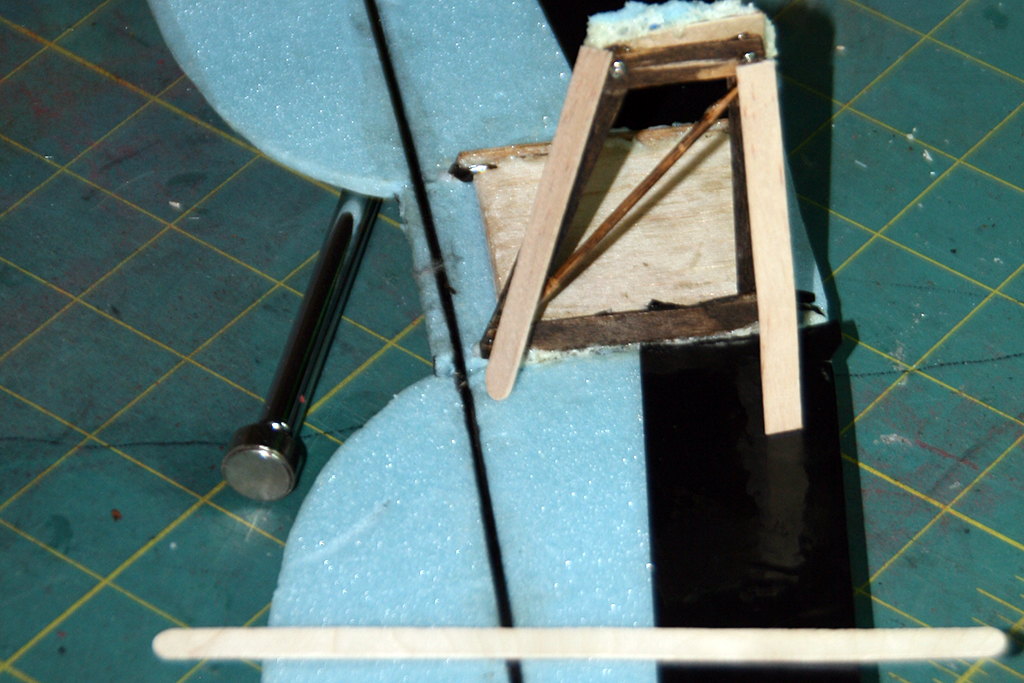
The bottom mounting plate was still on the plane, so I screwed the new struts onto it. The hardest part of this whole repair was getting a screw hole bored through the stirs without splitting the wood!
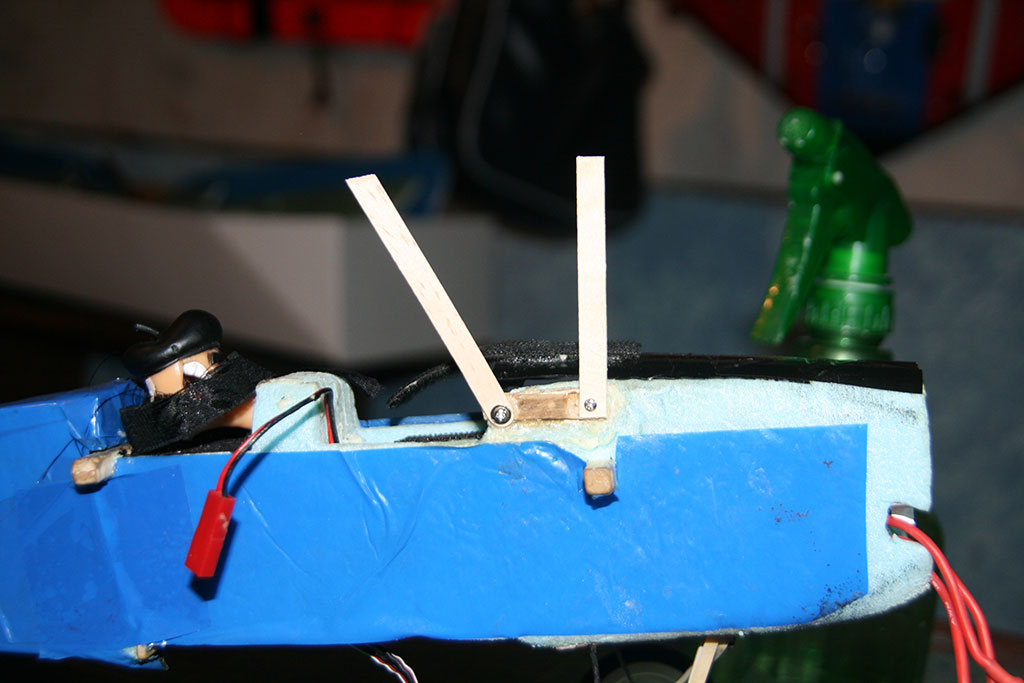
The top mounting plate was still in place on the wing. I glued the struts to this with Gorilla Glue. (The top part of the strut is not designed to be removable, so no screws.)
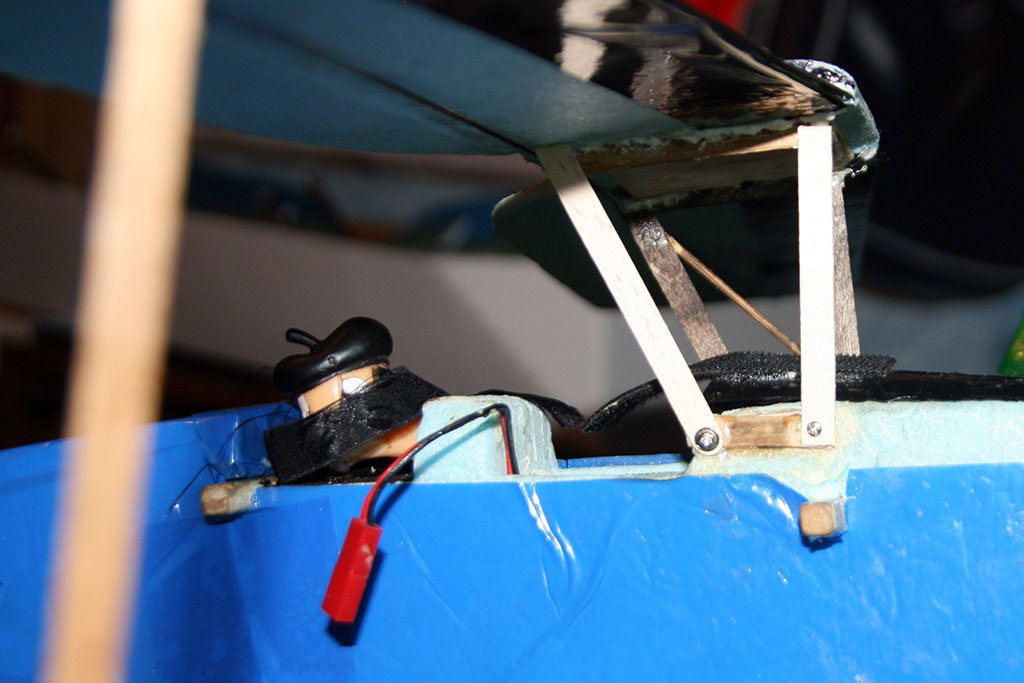
The little cross-brace is a toothpick, which I attached with epoxy.
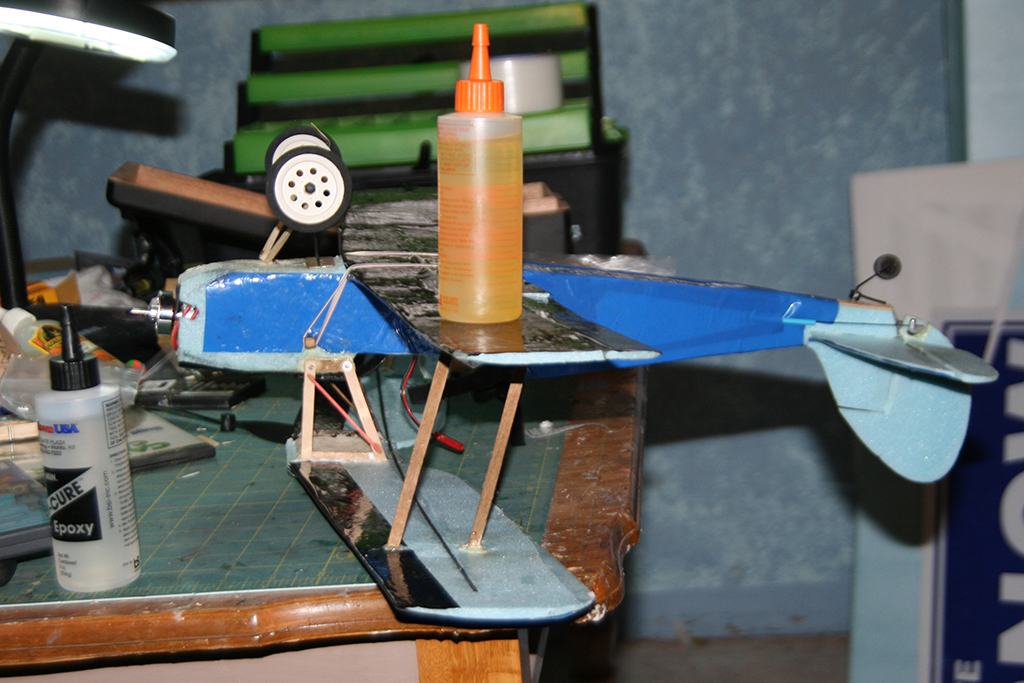
Next it was time to reattach the interplane struts – the ones that connect the top and bottom wings. These have been broken and repaired several times already. Since the Gorilla Glue I used to build and repair the plane is stronger than the original foam, breaks tear out new, bigger chunks of foam.
I smeared the foam with a thin coating of Gorilla Glue, pushed it back together and placed some weight on top to hold things in place until the glue set.
I remounted the motor and its wires.
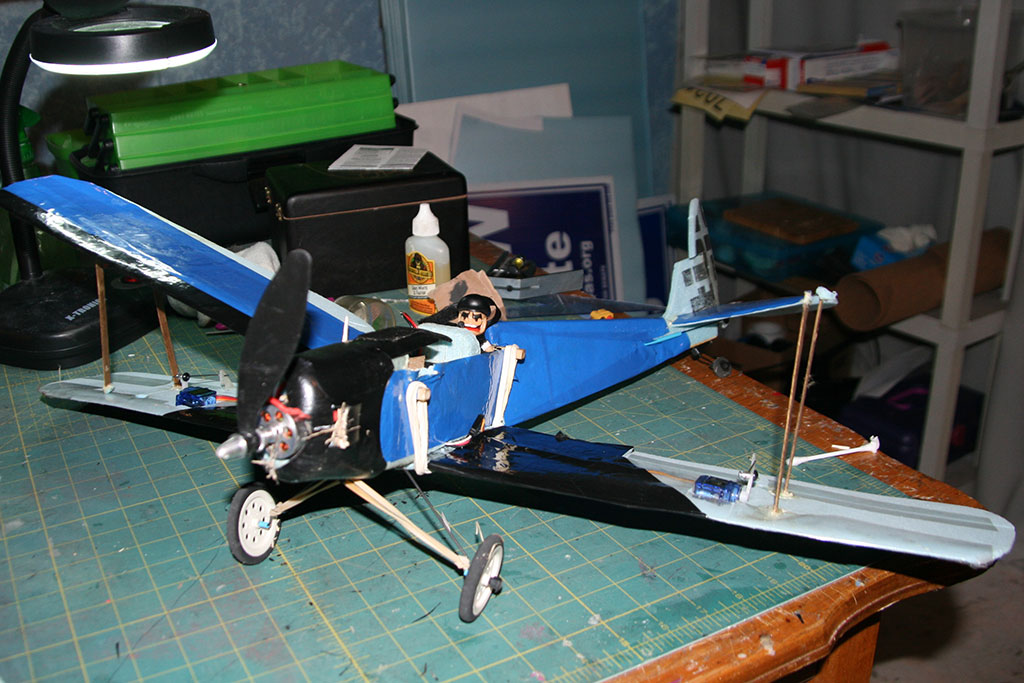
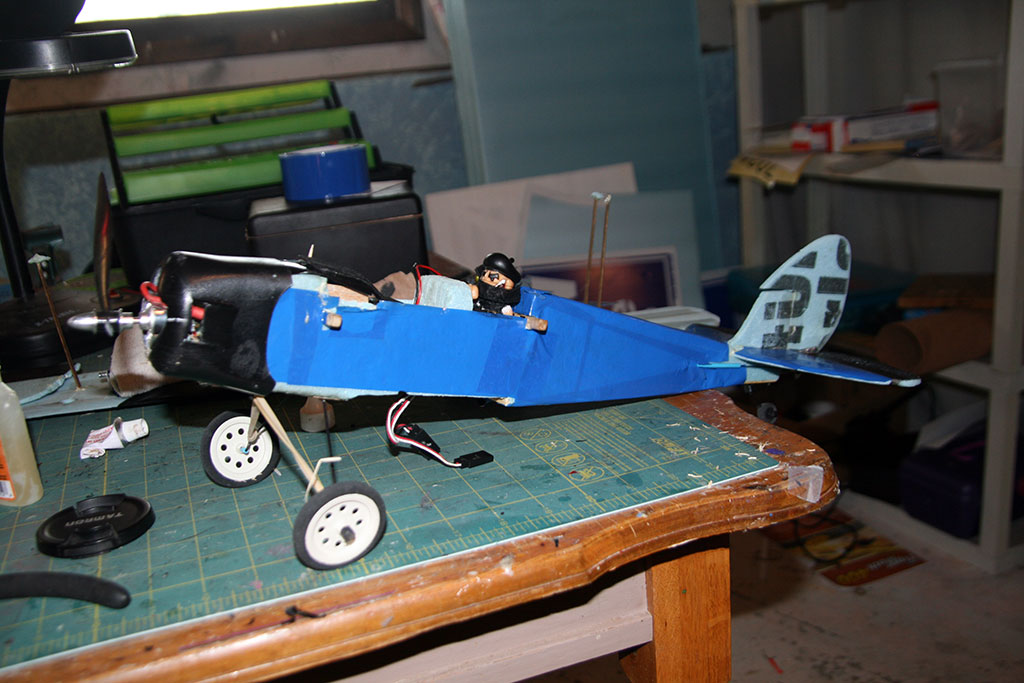
That’s all there is to it. A little glue, a new propeller, the cowling back in place and it’s ready for its next crashflight.
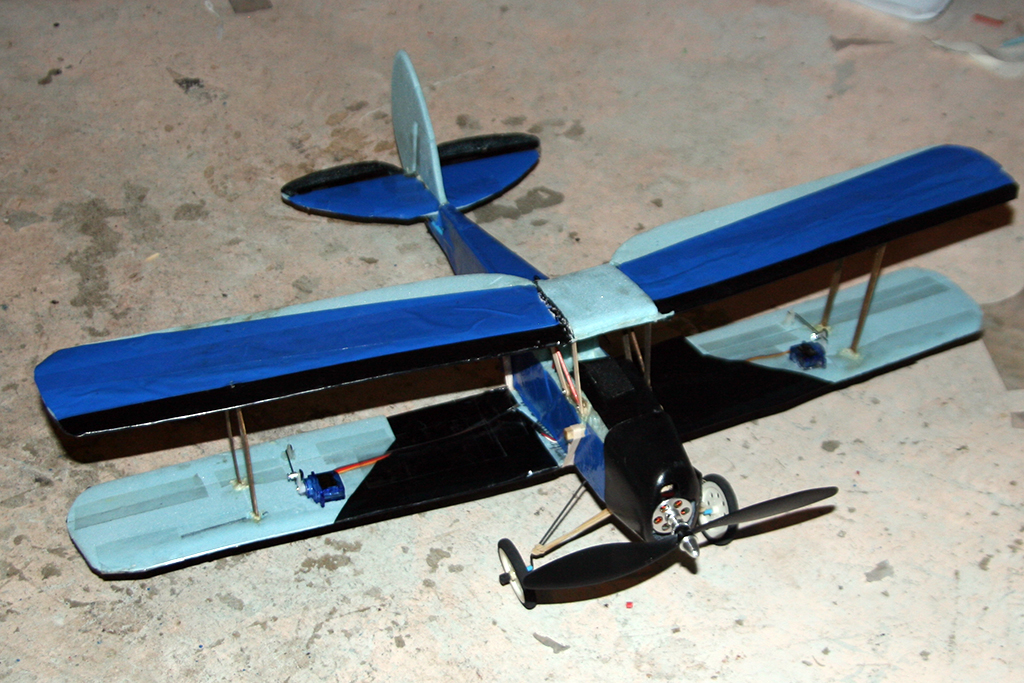
Back on the wall, waiting for the weather to improve.
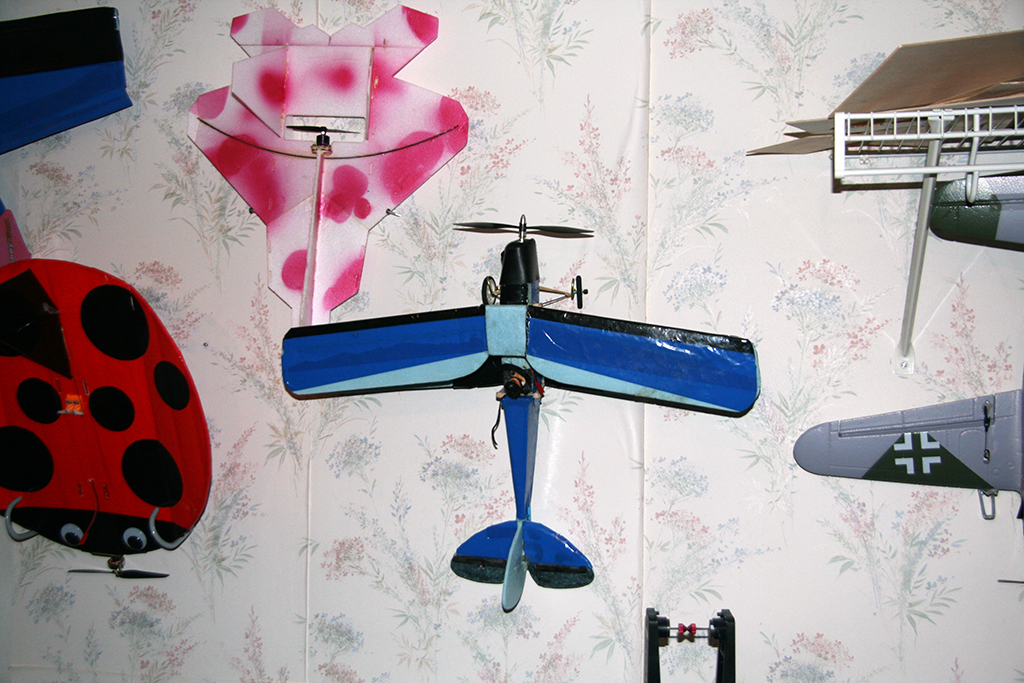
p.s. I realized after I took this final photo that I’d forgotten to replace the strip of black packing tape that covers the ‘gas tank’ between the top wings. It’s back on there now. You’ll have to use your imagination.
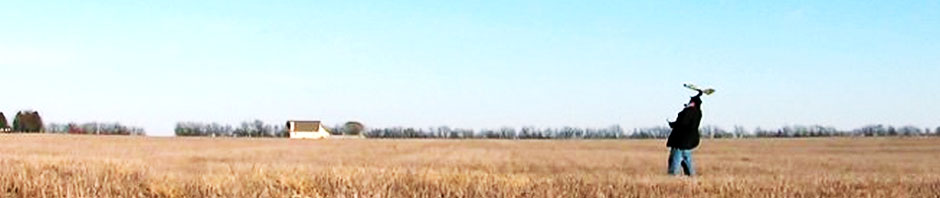
Here’s the plane, back up in the air: