This is the Double Down, a plane of my own invention. I’ve had a few requests for plans so I’ve decided to attempt to put some together. This is my first attempt at drafting plans for others to follow so comments and corrections are welcomed. Feel free to build, modify, and share.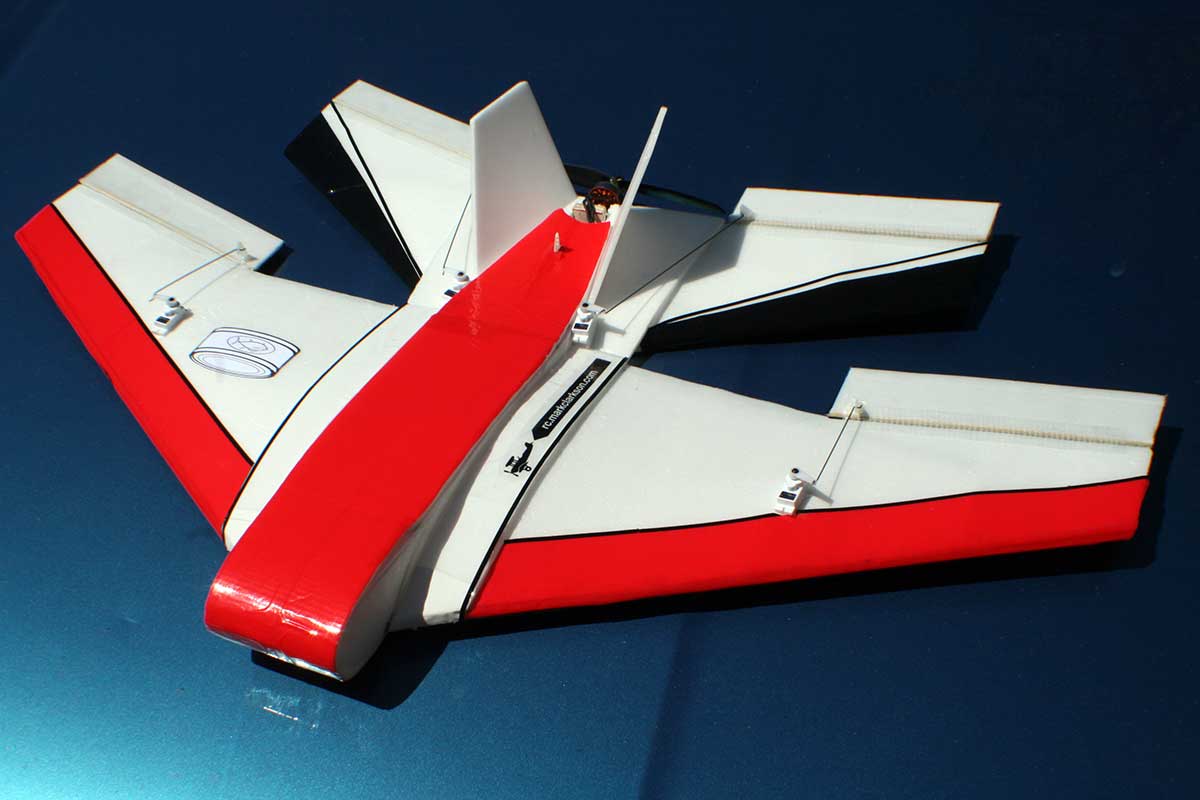
Wanna join the fun? Start by downloading the plans:
- Double Down V1 – PDF (Acrobat)
- Tiled Plans – PDF (Acrobat)
- Double Down V1 – Sketchup
- Rib and spar locations (JPG)
Print out the plans to scale. Glue two pieces of Readi-Board (Dollar Tree foamboard) together along the long edge to create a 40″ x 30″ sheet.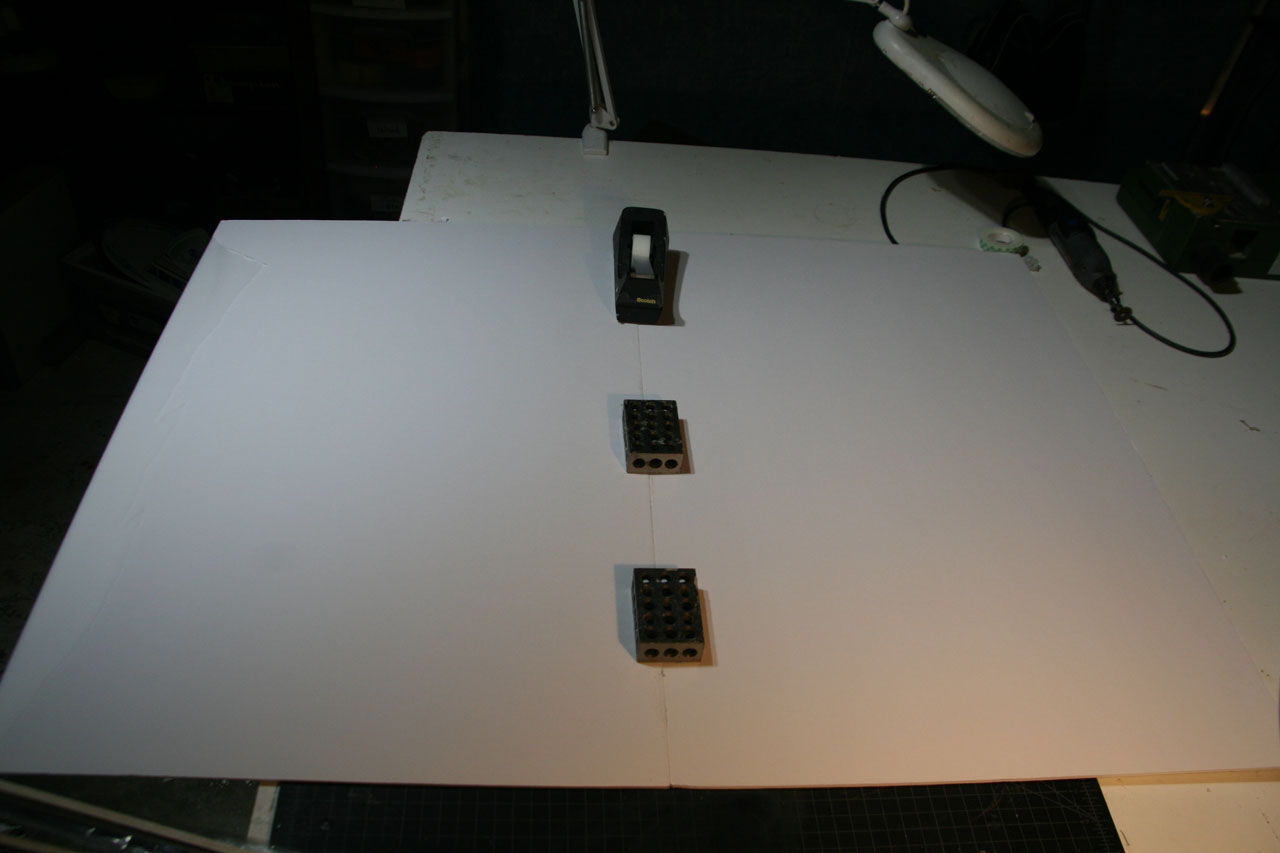
Cut out the bottom skin of the plane. 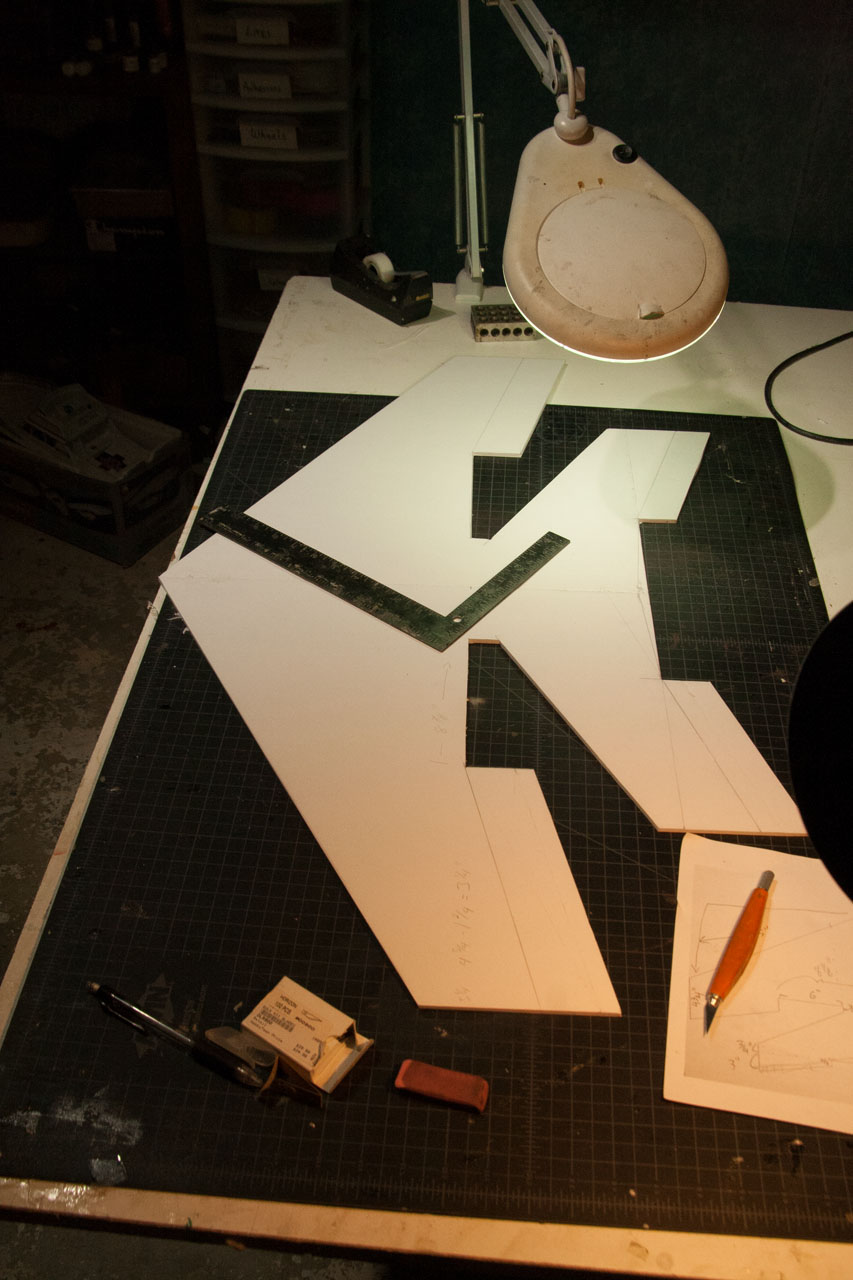
Cut off and save the elevons. Remove the paper from the top side of the foam board. You can remove the paper from the bottom, too, but I generally leave it on for now to help protect the bottom of the plane during construction.
Sand the leading edge at a 45 degree angle to accommodate the balsa spar.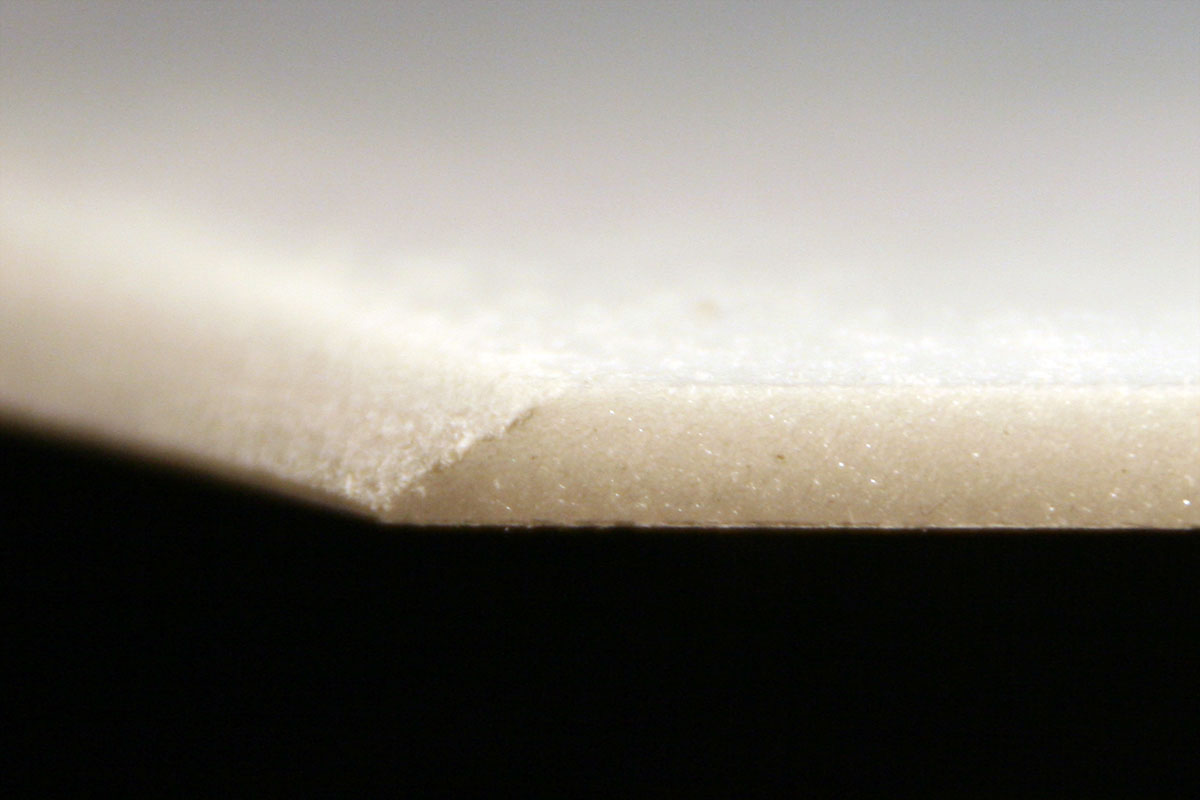
Glue a length of 1/4″ balsa wood to the leading edge to form the leading edge spar. Position it at a 45 degree angle to match the leading edge.


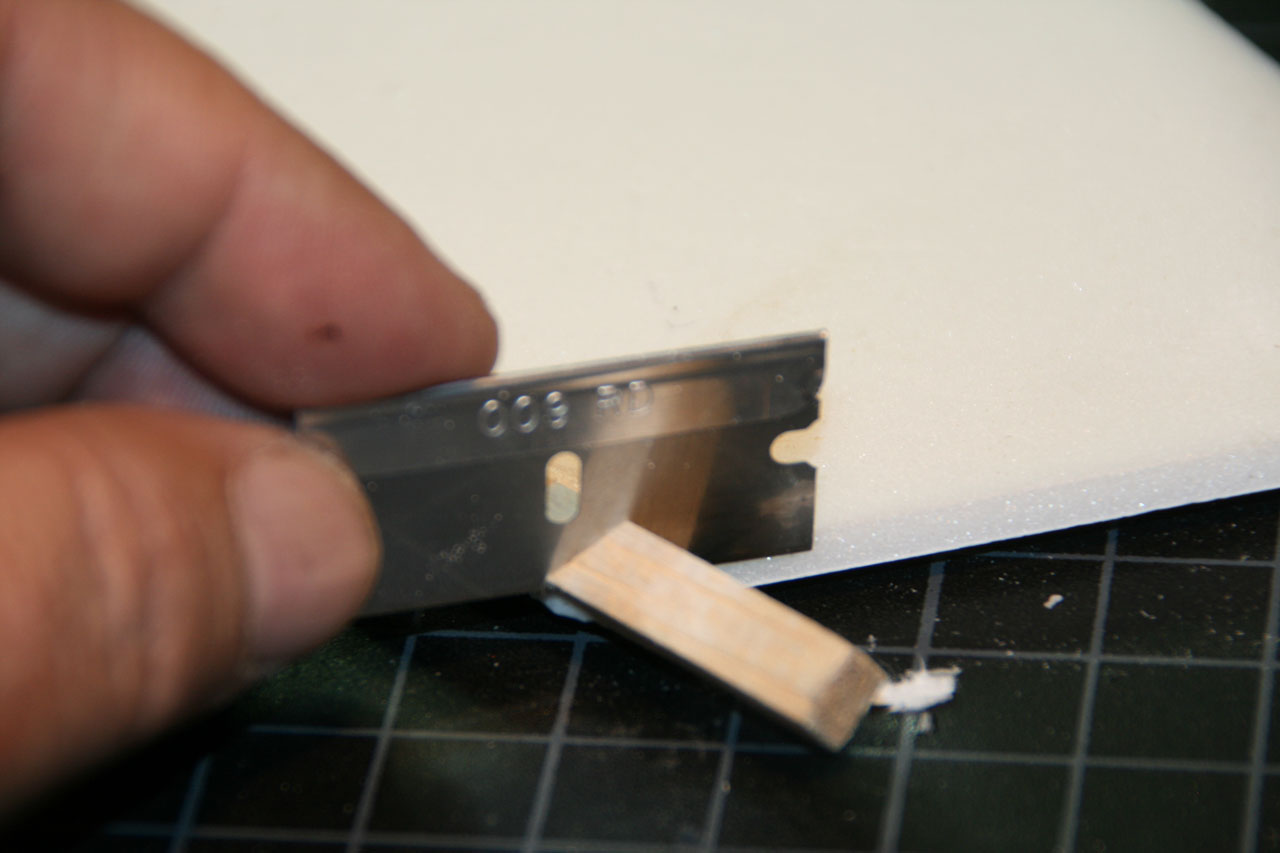
Trim any extra balsa wood, then add the second leading edge spar.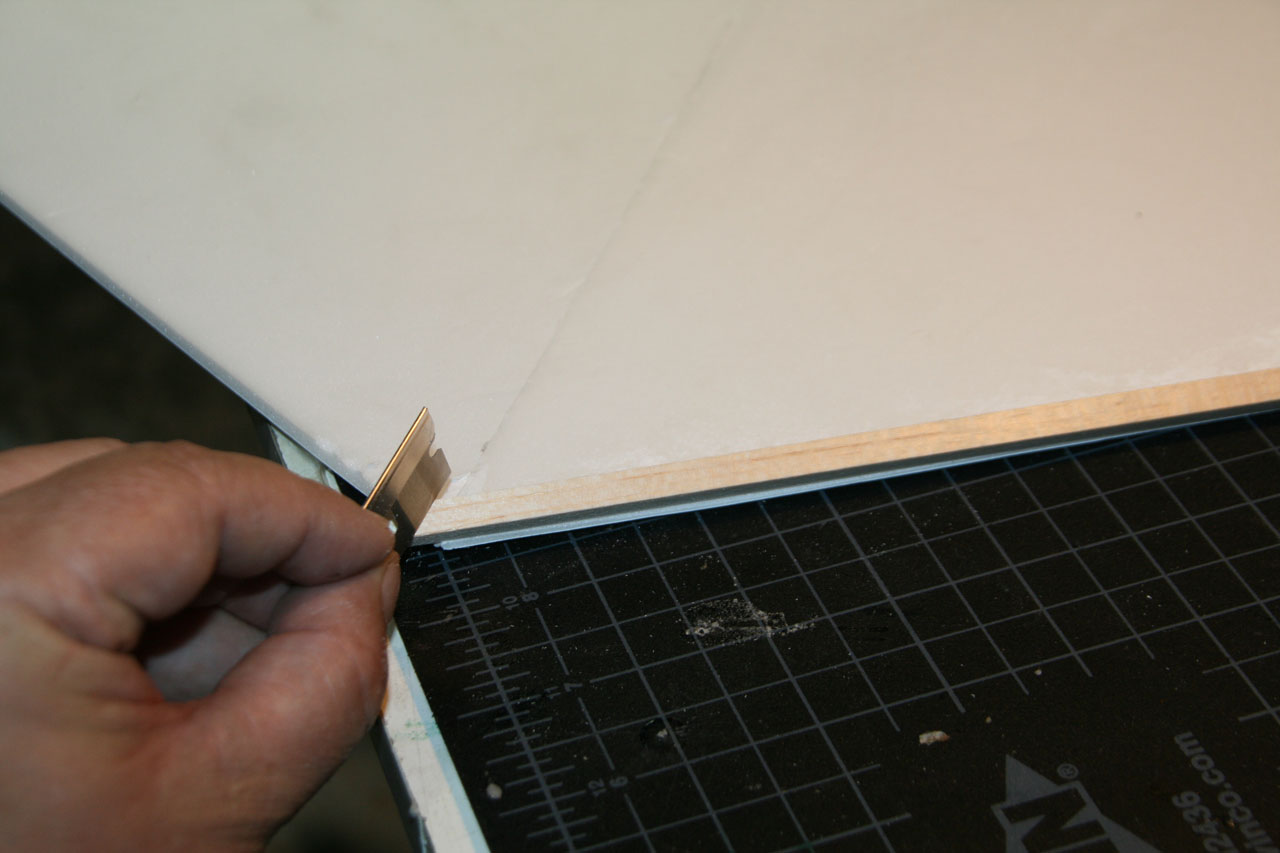
Glue to plywood ‘floor’ – cut from 1/16″ ply – in place, all the way forward.
Cut a 25″ length of 0.21″ carbon fiber tube to form the main spar. Mark the location of the main wing spar – 5/8″ forward of the trailing edge – and cut / gouge a channel for the spar to sit in. 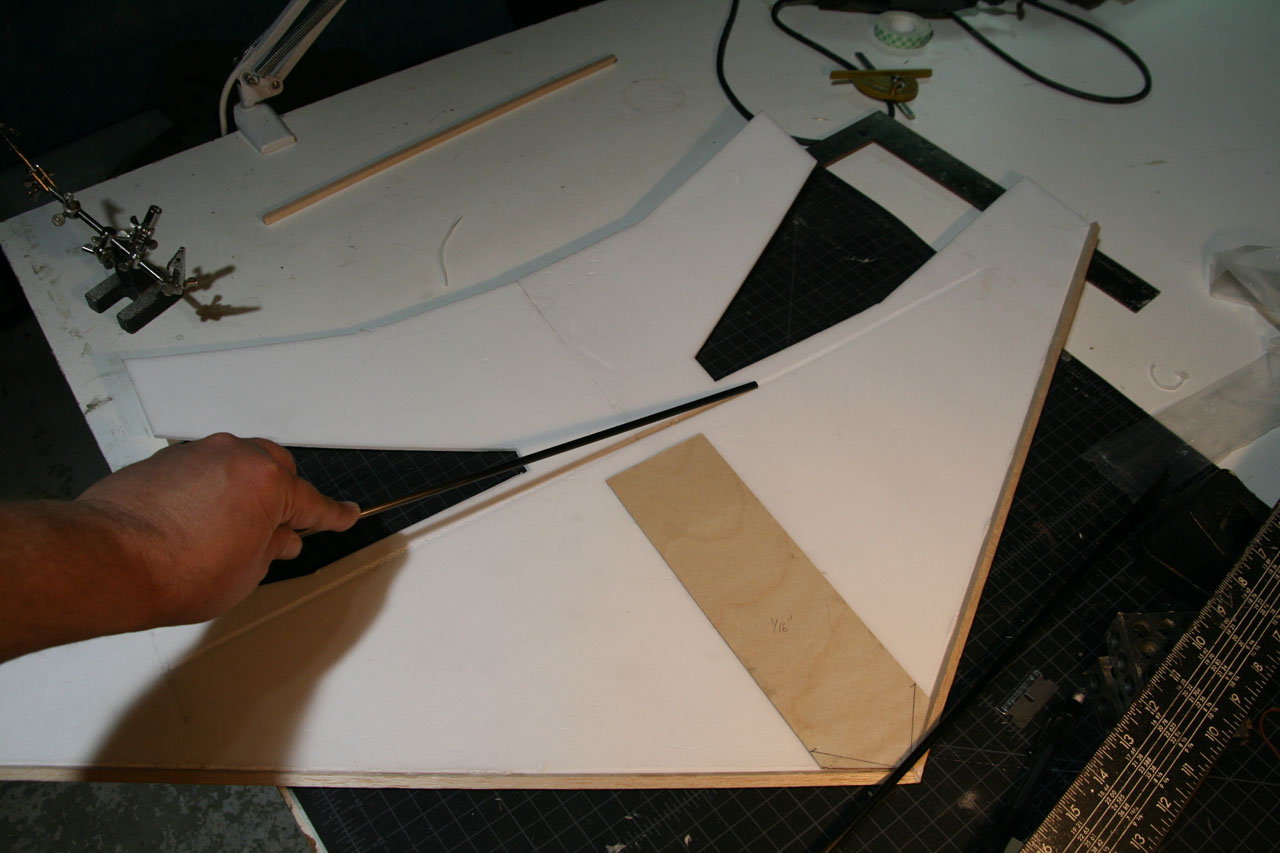
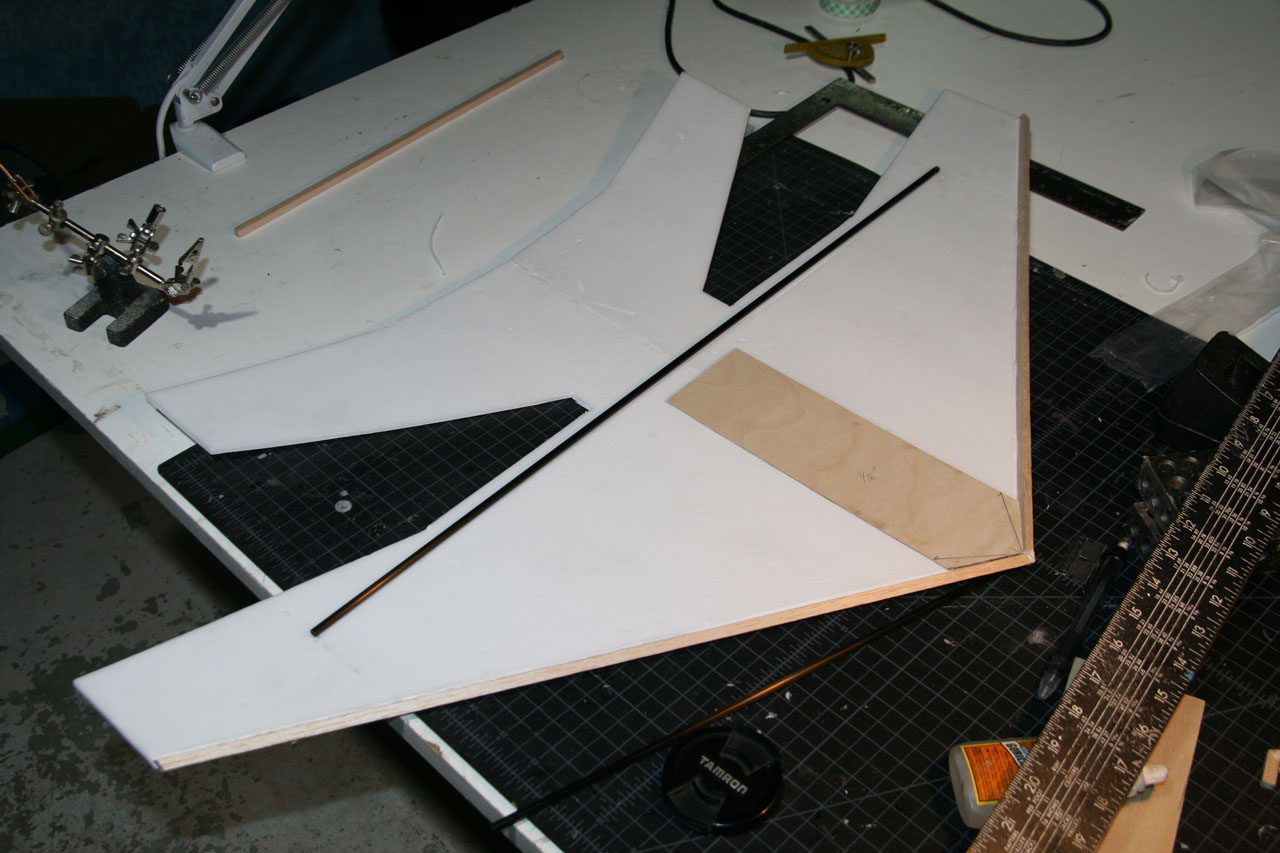
Glue the spar in place.
Remove all paper from the ribs.

Rib and spar locations
Glue the first of the ribs in place, 3″ from the center line and all the way forward, against the leading edge spar. The inside face of the rib should be 3″ from the center line.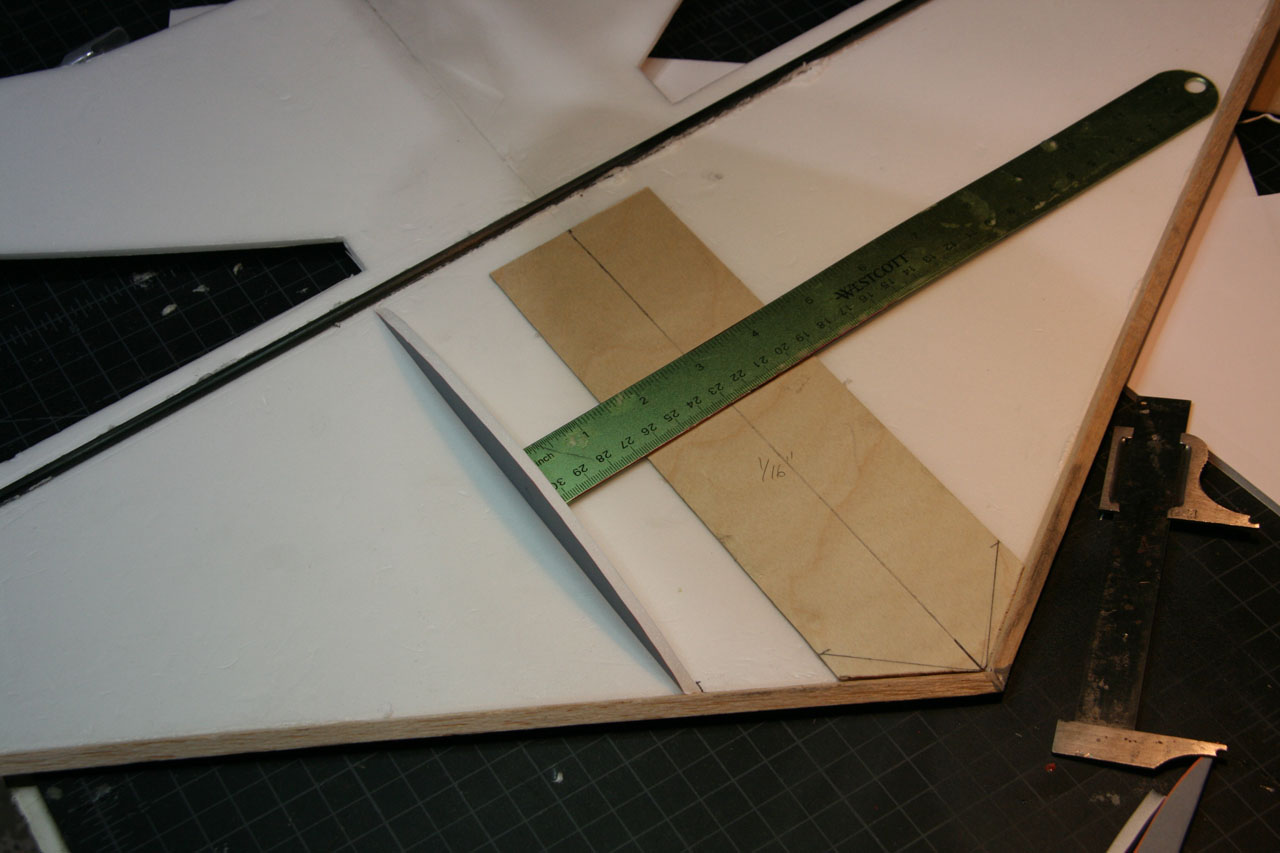

Glue the remaining ribs in place, as shown in the above diagram at 3″, 9″, and 12.5″ from the center line. Glue the final rib at the very tip of the wing.
The third rib fits just outside of the main wing spar.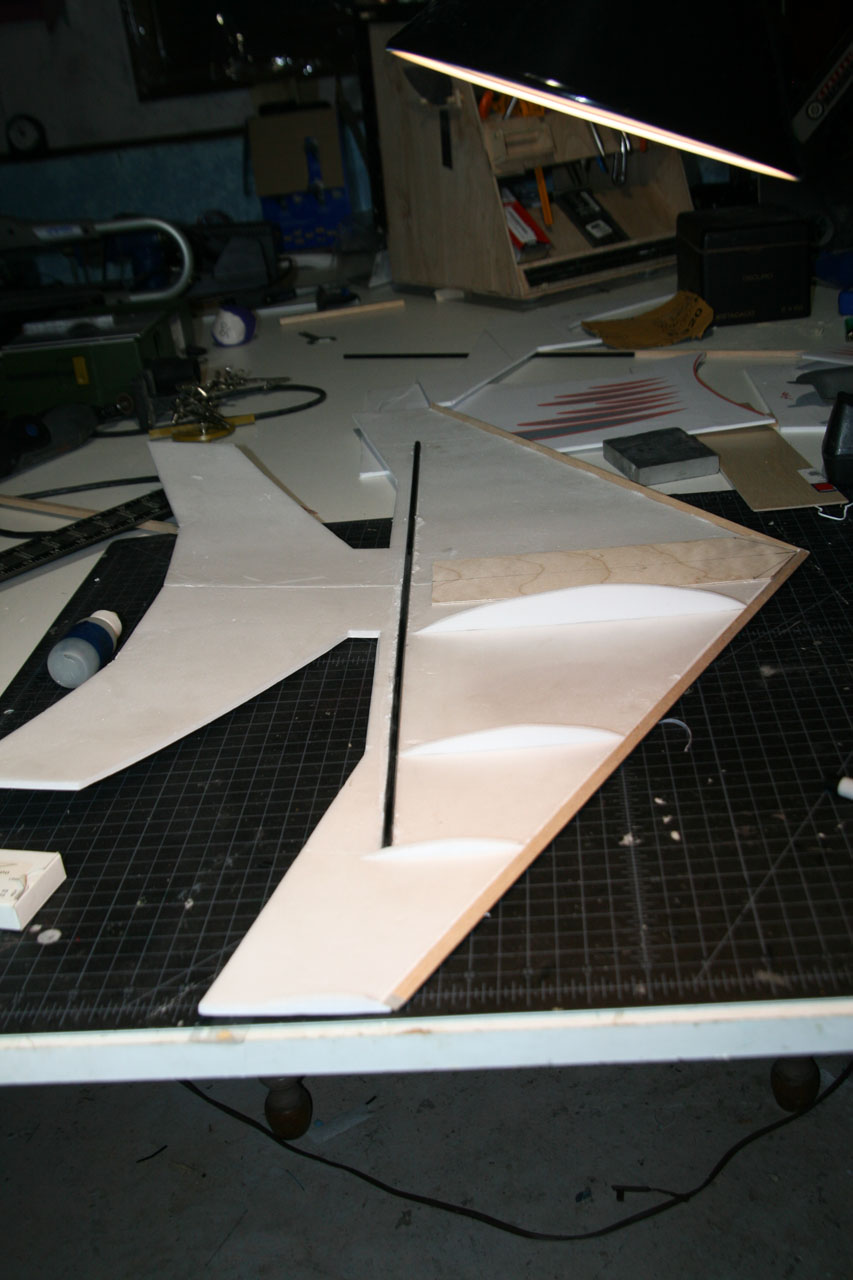
Remove all paper from the front wing skins. Butt the upper wing skin in place against the balsa leading edge spar and glue to the spar.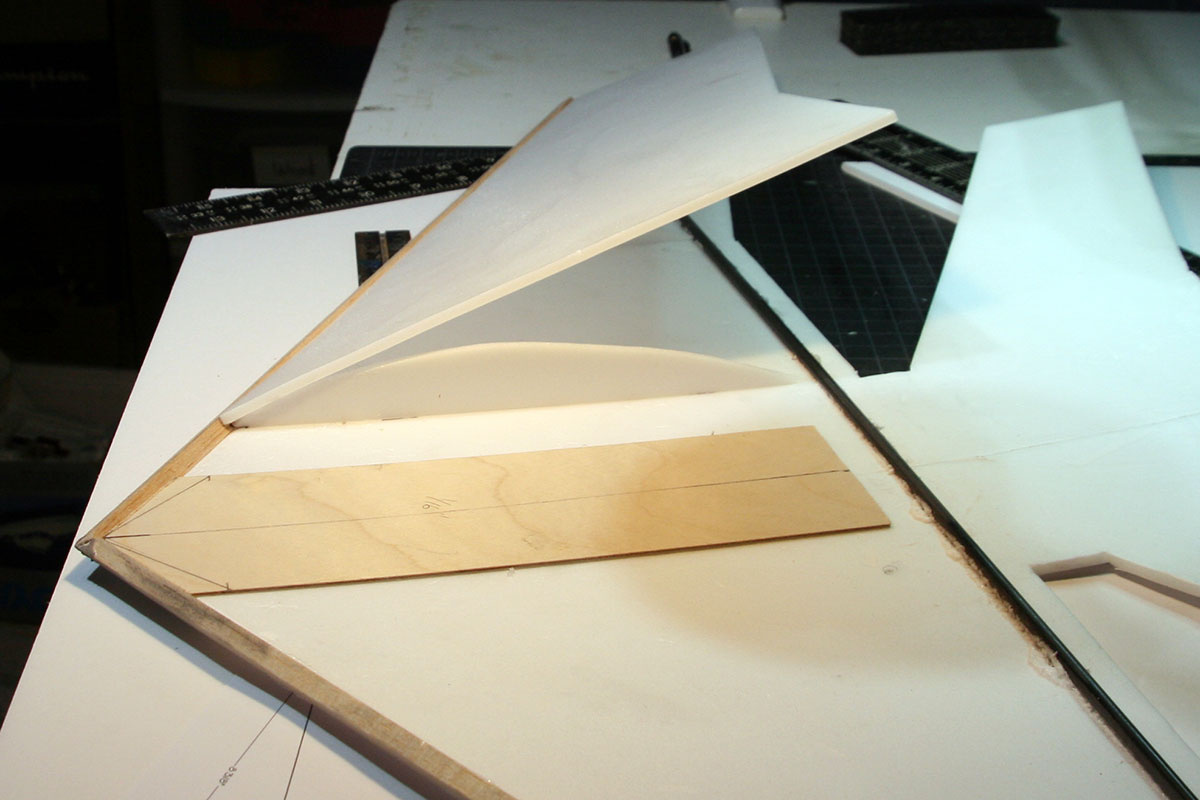
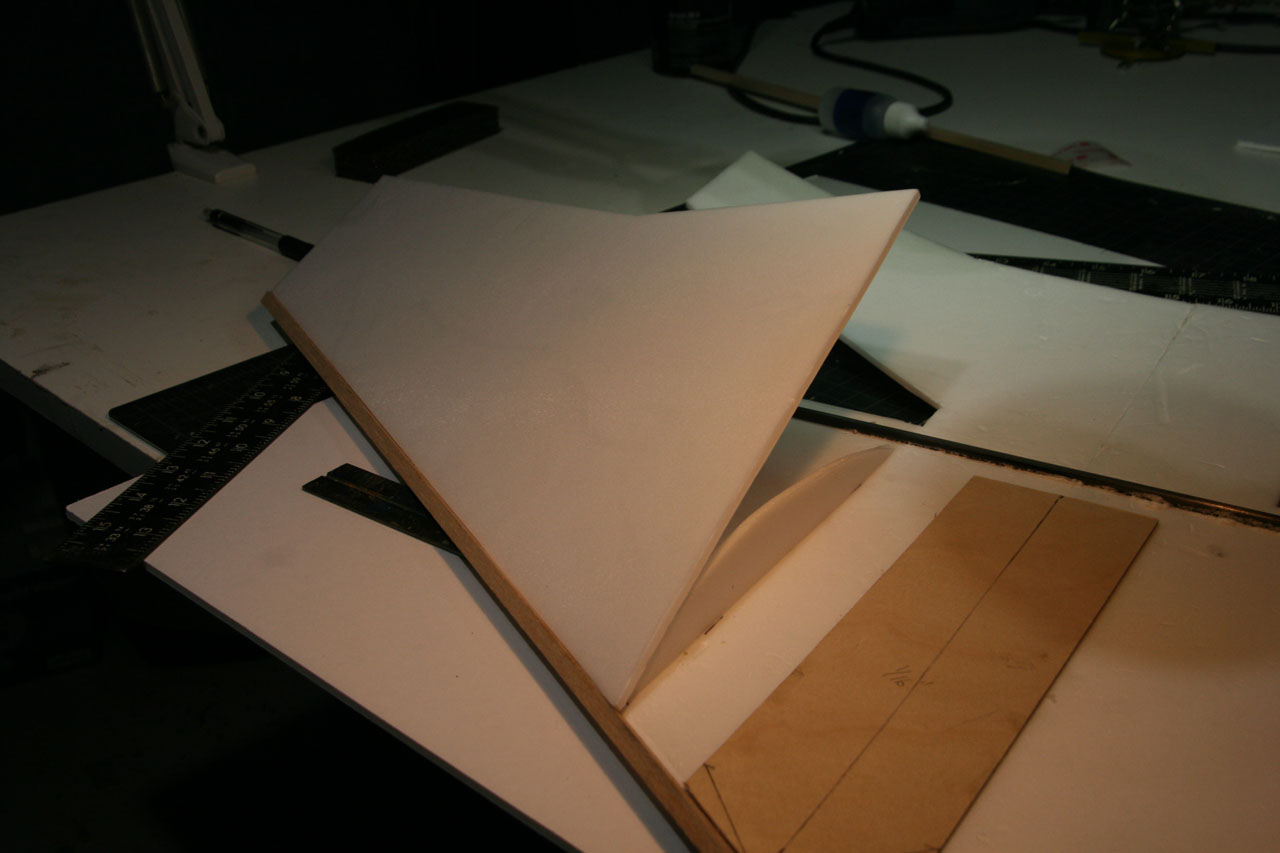
Lay glue along the top of each rib, and on the bottom wing skin at the trailing edge. Gently bend the wing skin over ribs and glue into place. The skin may not completely meet the rib at the very rear, but that’s okay.
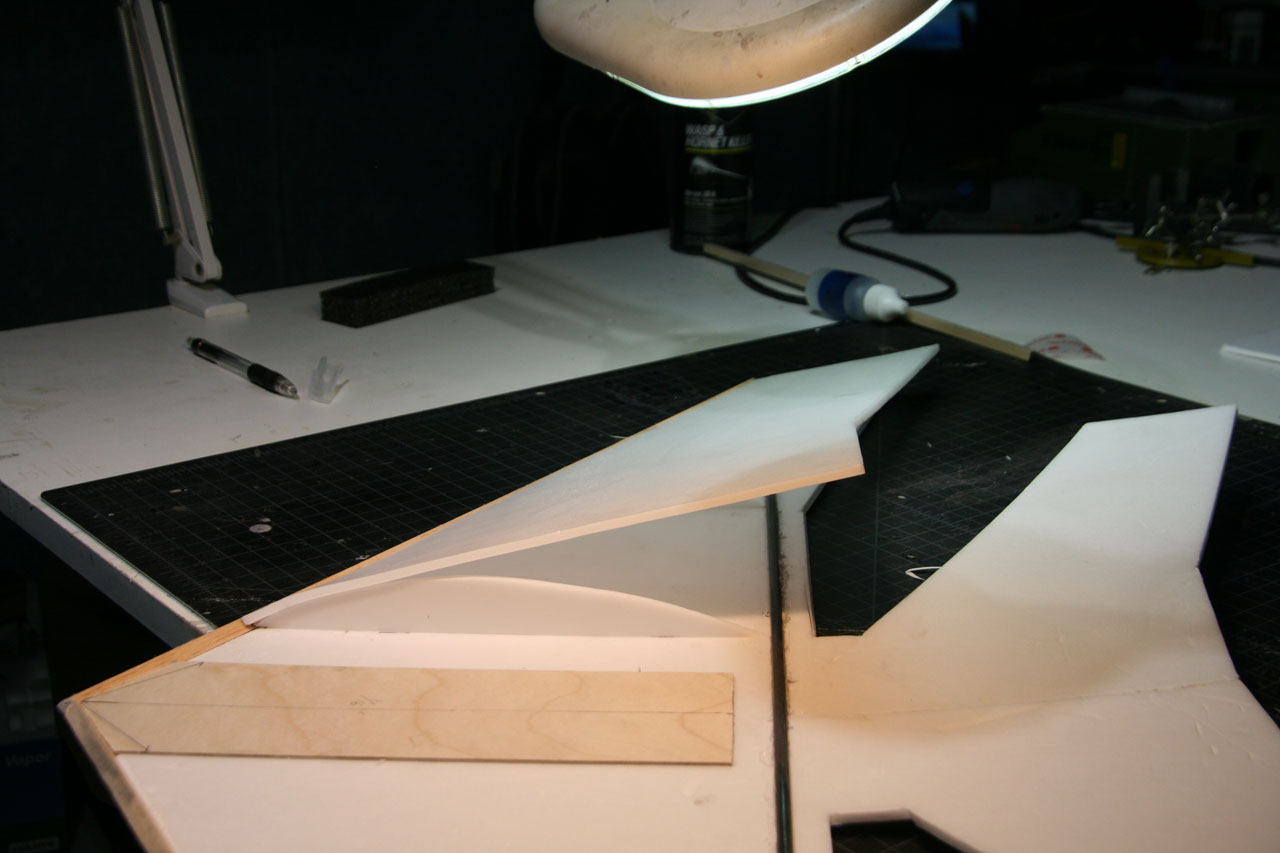
The upper wing skins are slightly over-sized. Remove any excess with a razor knife.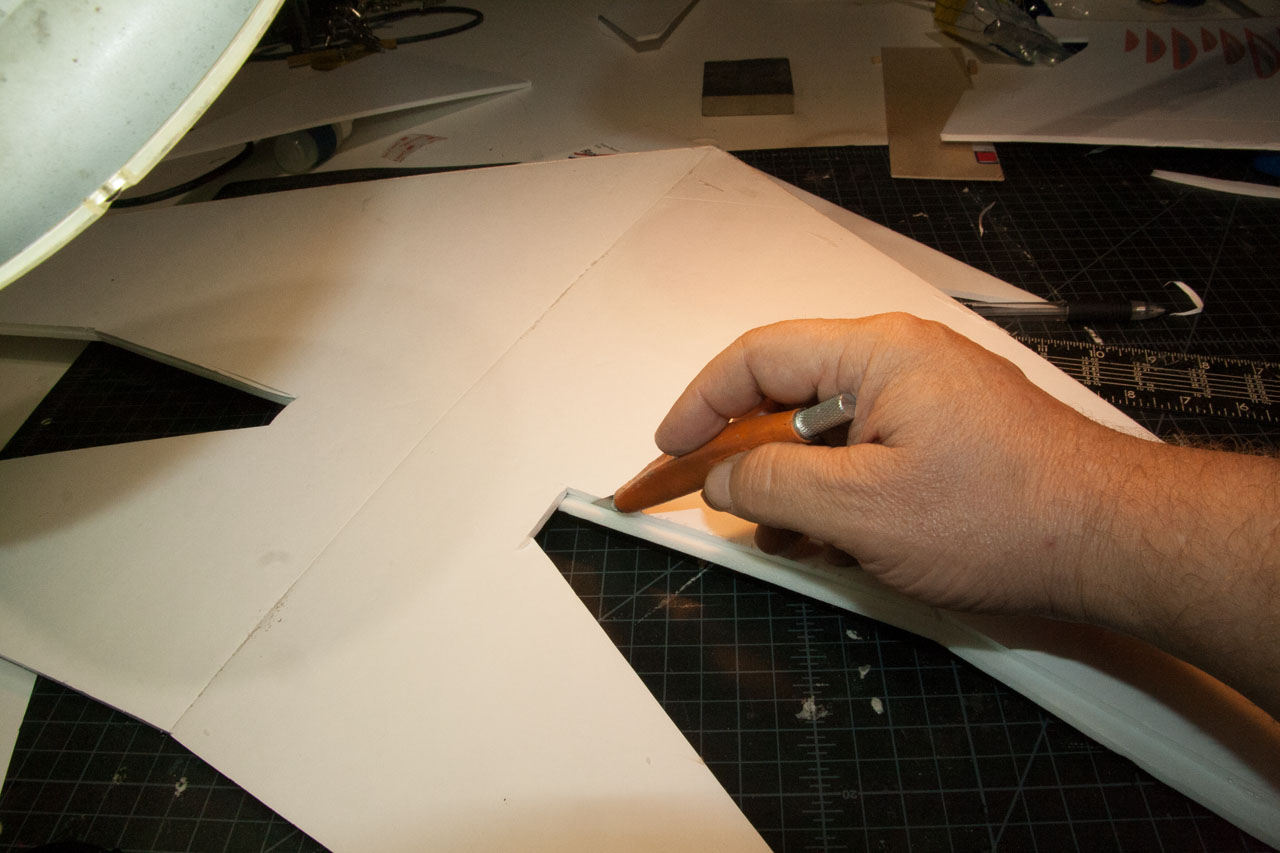
Repeat the process for the second wing.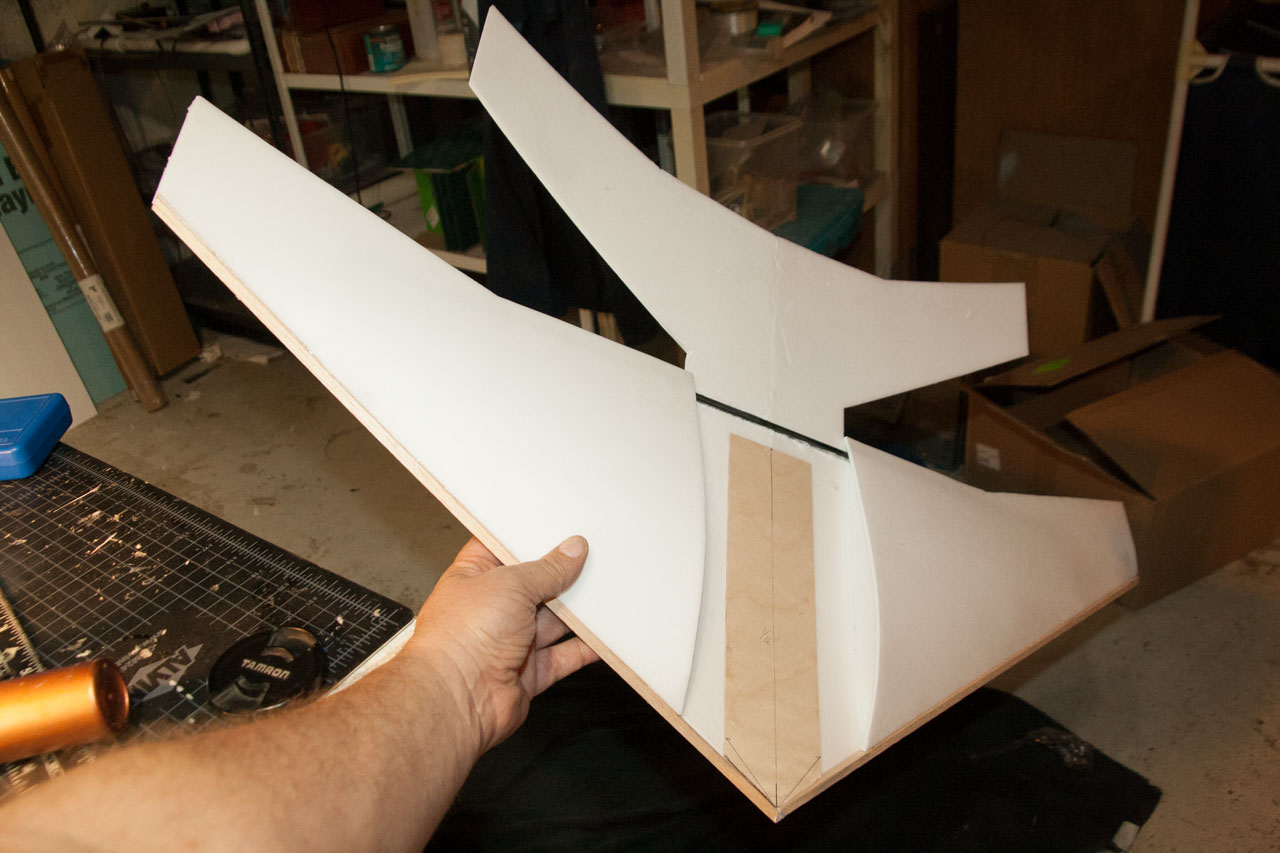
Remove the paper from all four fuselage side pieces. Glue two pieces together to form a double-wide section. 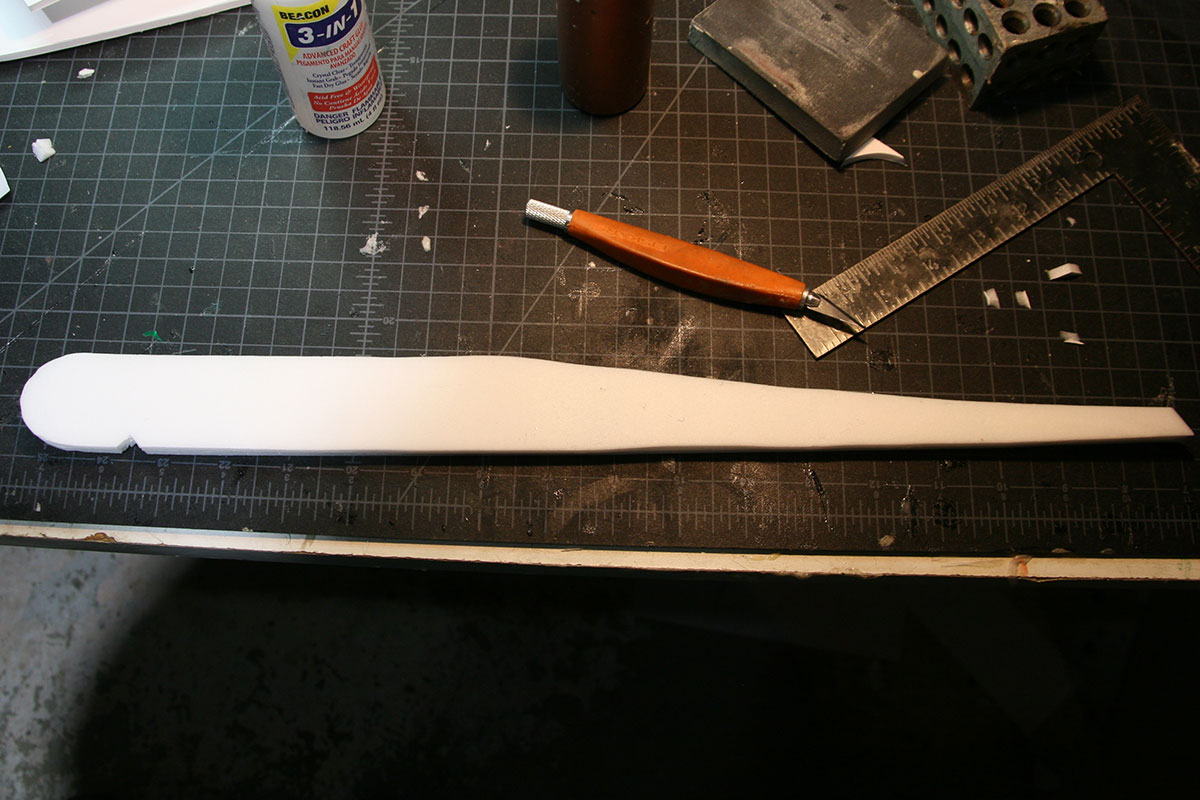
Fit the fuselage side in place over the leading edge spar and press down to mark the location of the main spar. You’ll have to cut a hole in the bottom edge of the fuselage sides to allow it to fit over the spar.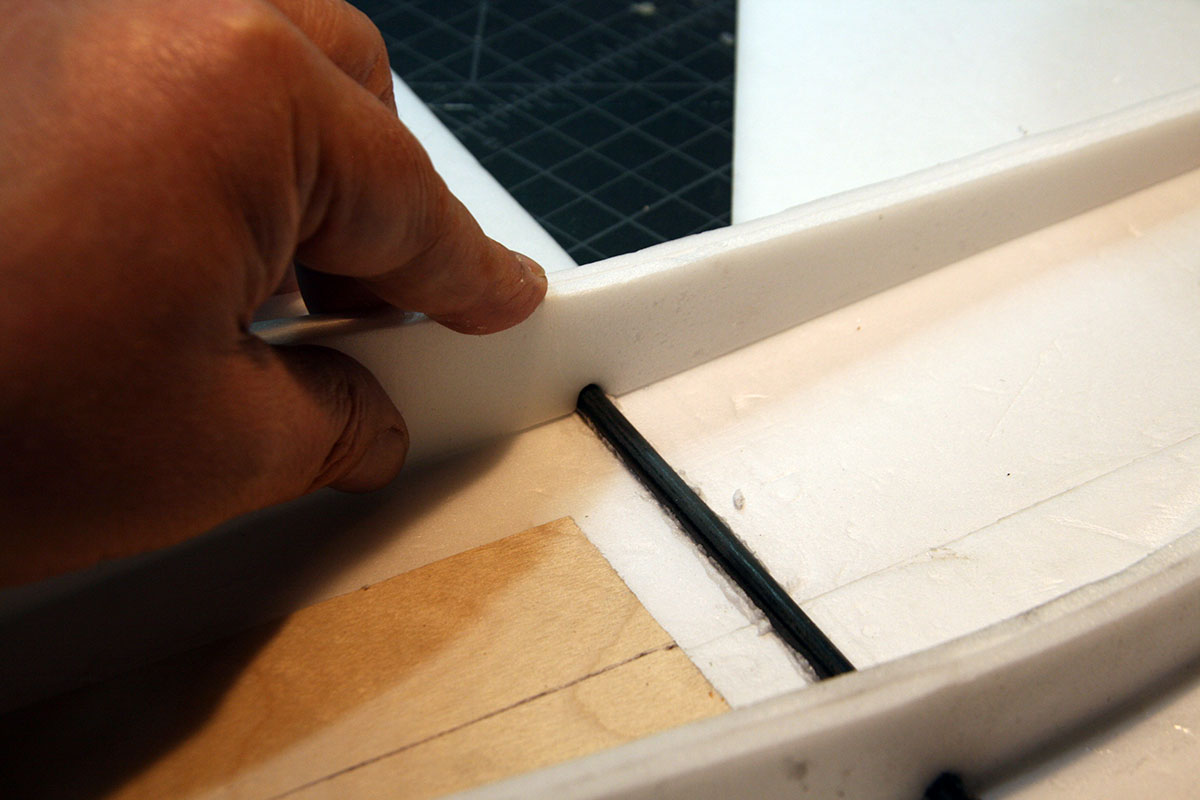
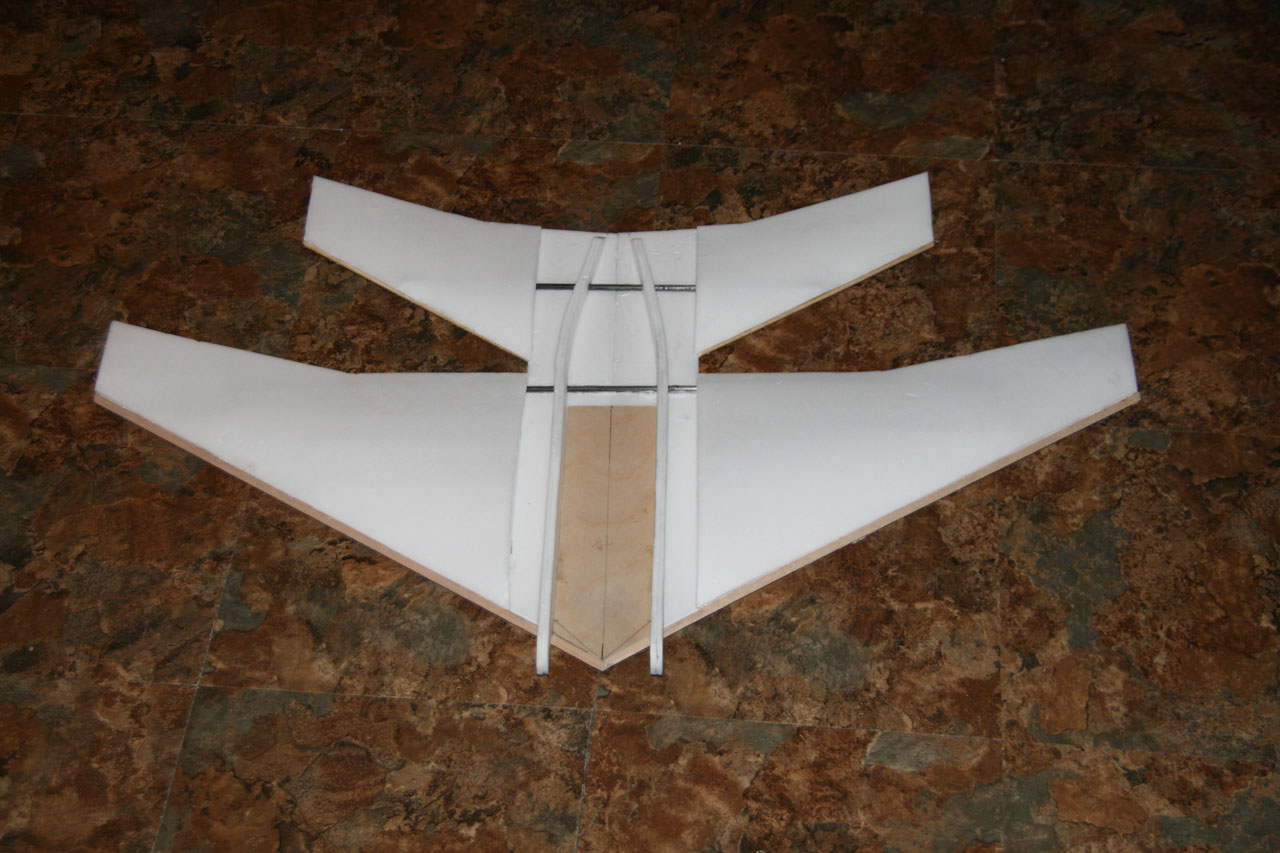
Glue the doubled pieces in place such that it runs parallel to the ‘floor’ from the front to the main spar and then bends gently toward the center line, leaving 1/4″ between the center line and the inner edge of the fuselage side.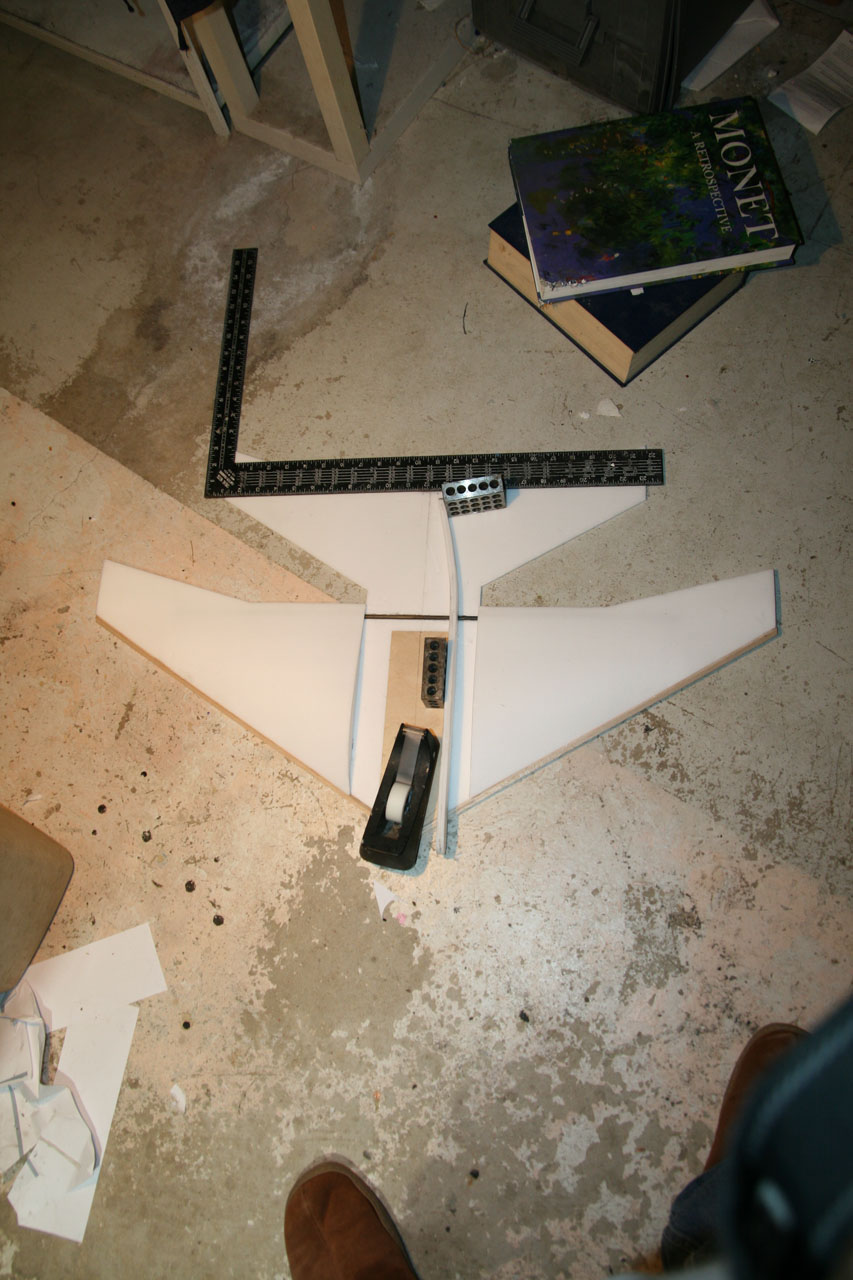
Repeat the process for the other side.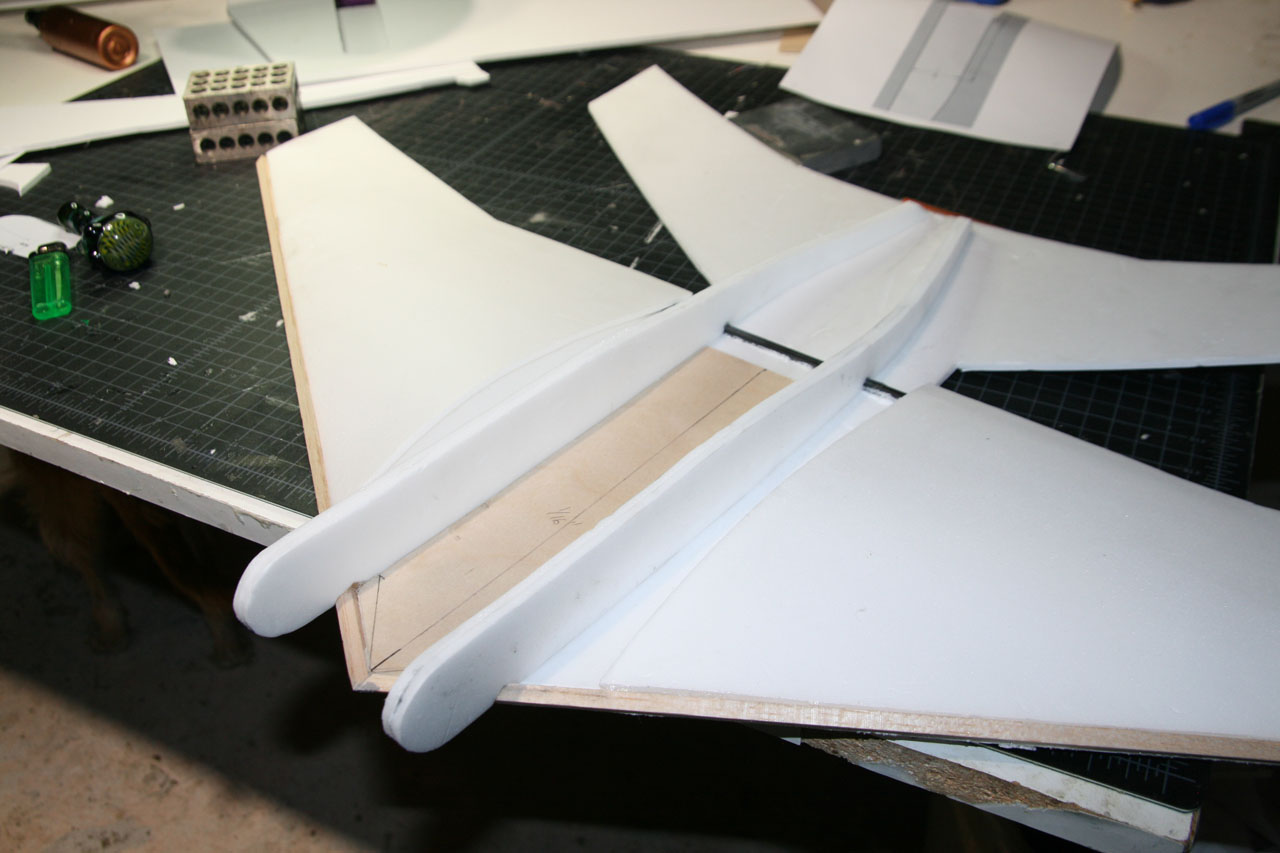
Glue the rear wing spar in place, about 2 1/4″ forward of the rearmost point of the plane. I made both spars from the same 1 meter length of CF tube, so I had about 14 1/4″ remaining. Glue the rear wing ribs in place at 3″ from the center line and 3 7/8″ in from the outside edge. You’ll have to cut some relief in them to fit them over the spar.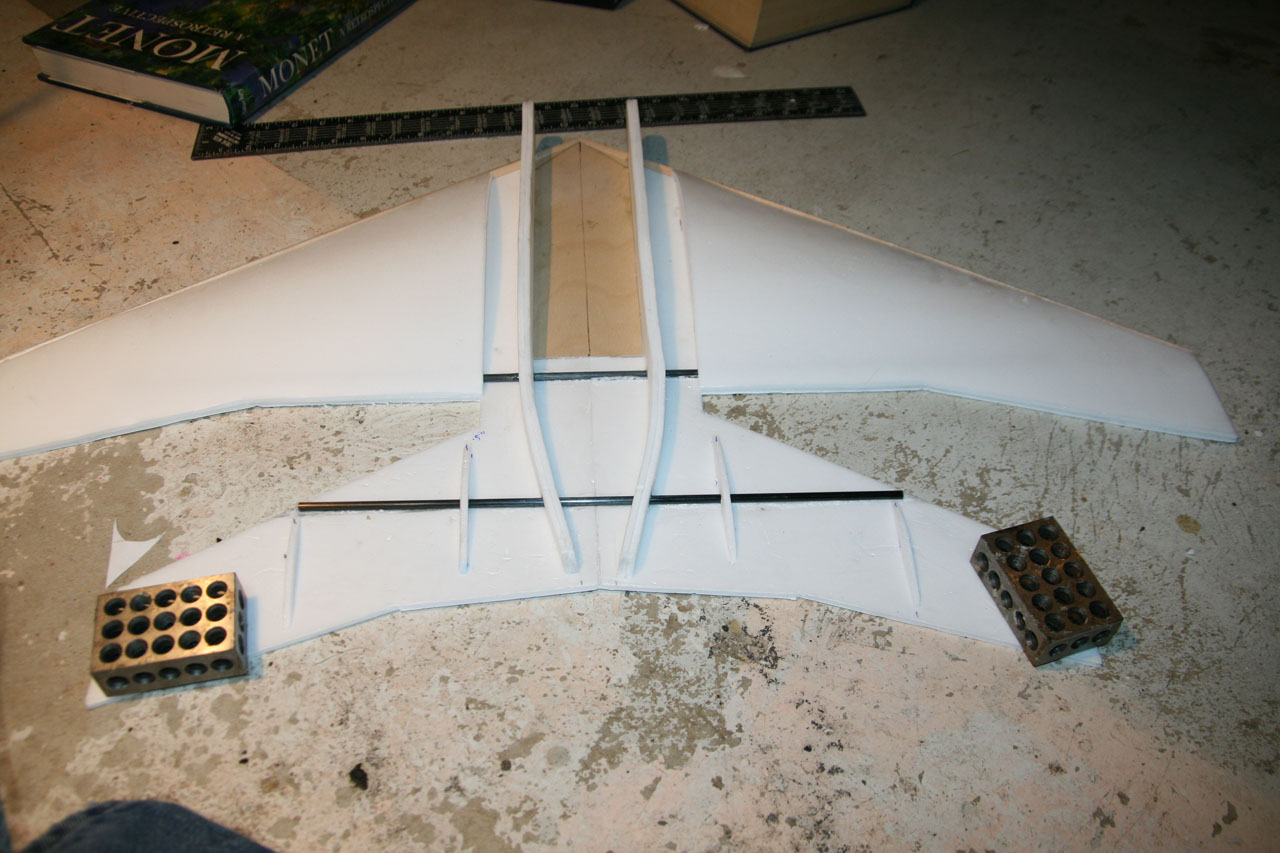
Glue thick bamboo skewers to the leading edge of the rear wings. Cut off any extra.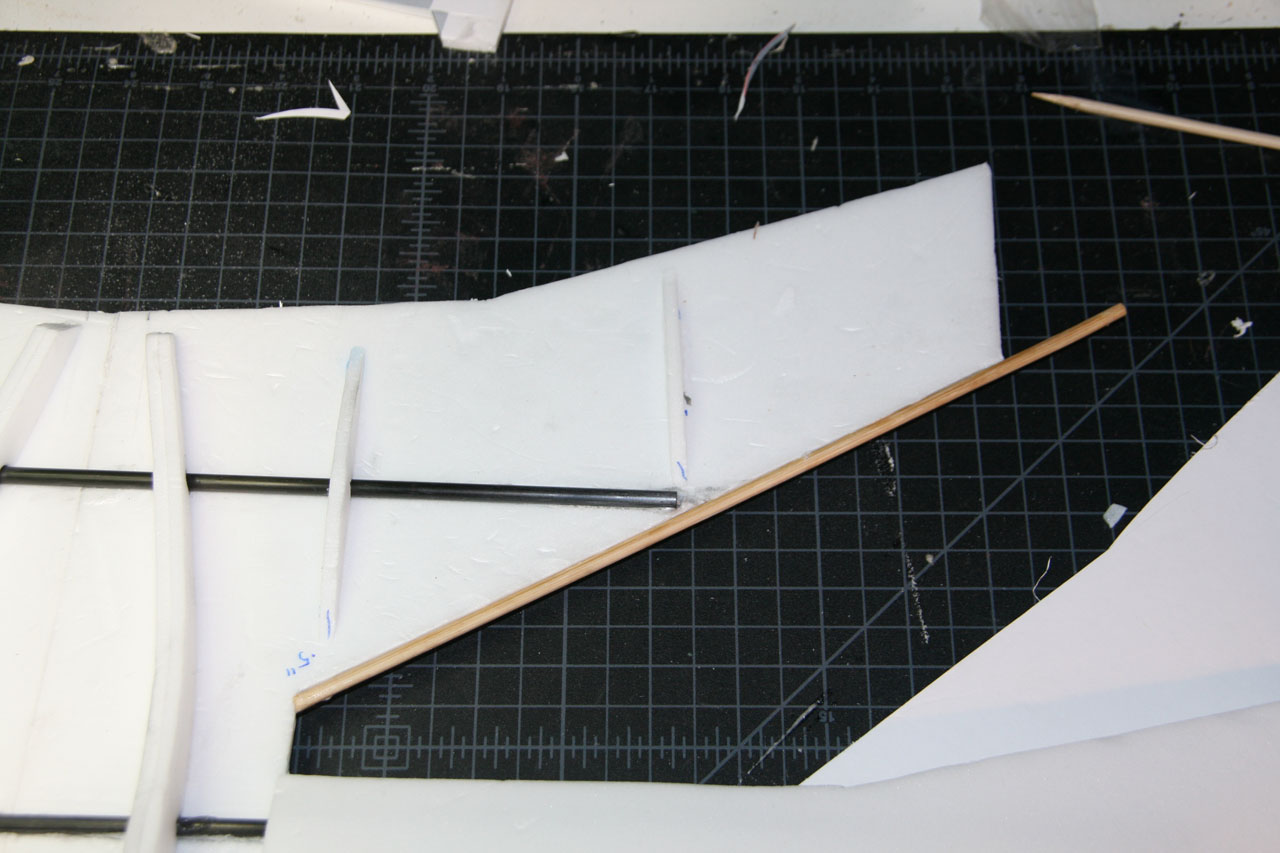
Remove the paper from the rear wing skins. Repeat the process you used for the front wings and glue the rear wing skins in place.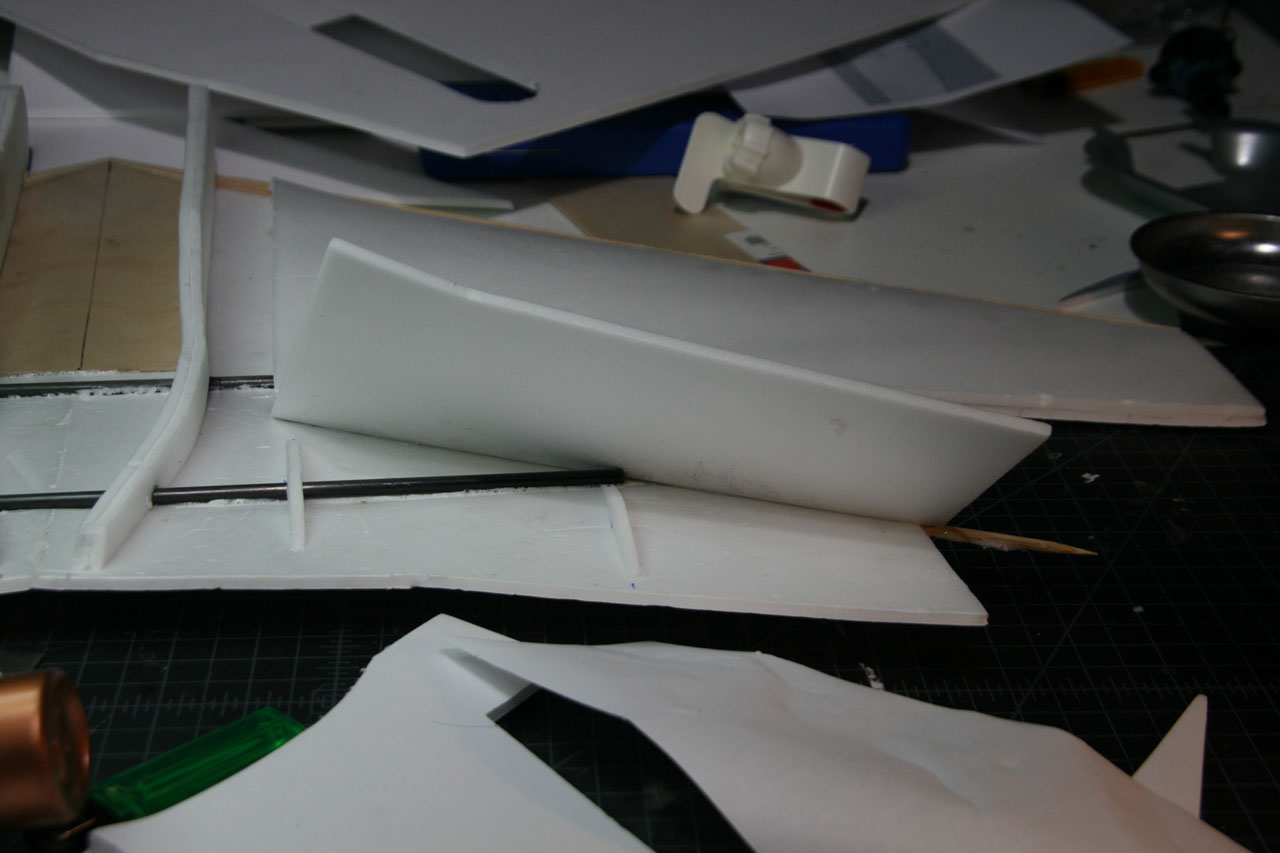
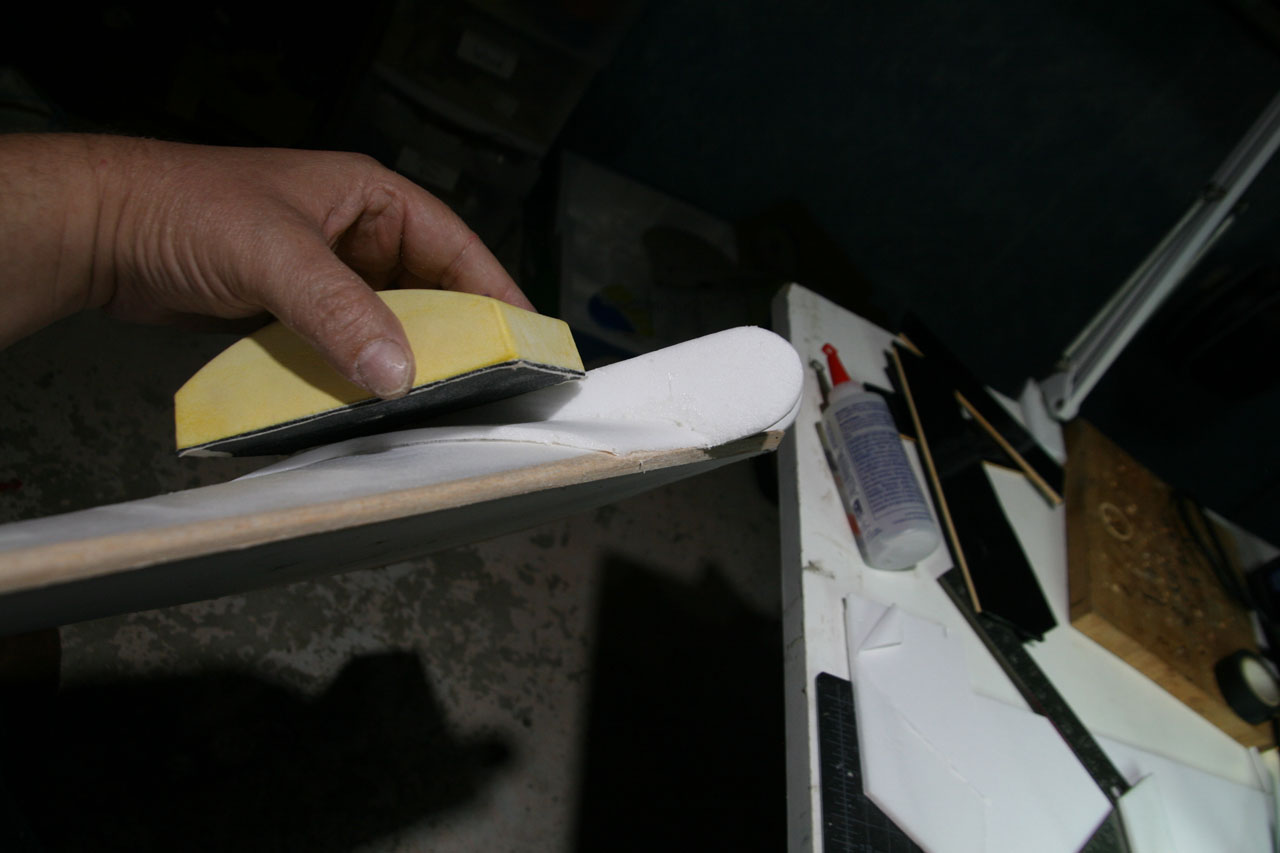
Sand the rear wings into an airfoil shape.
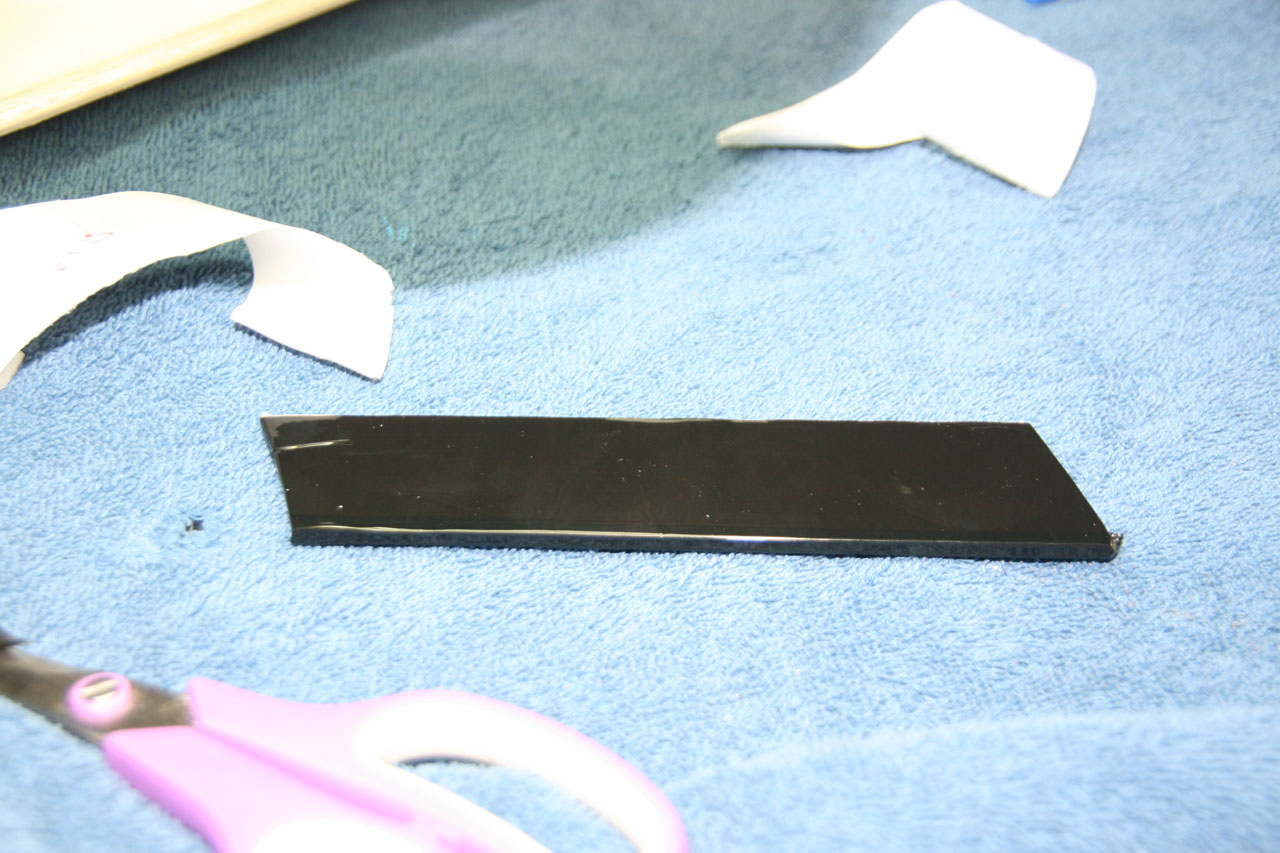
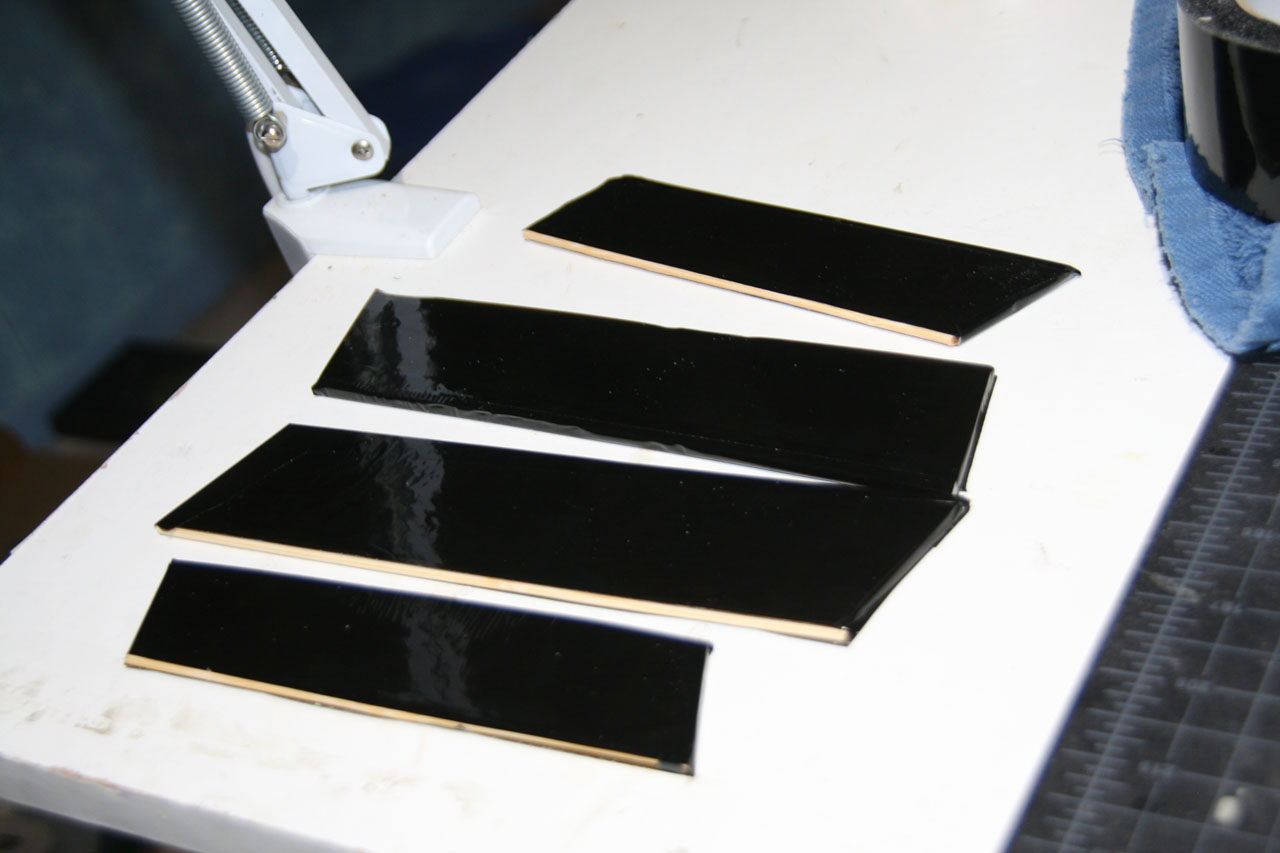
Remove the paper from all the elevons, then glue thin bamboo skewers to the front of each elevon.

Cover the elevons with a layer of packing tape. Pull the tape tight; this tape will provide needed stiffness.
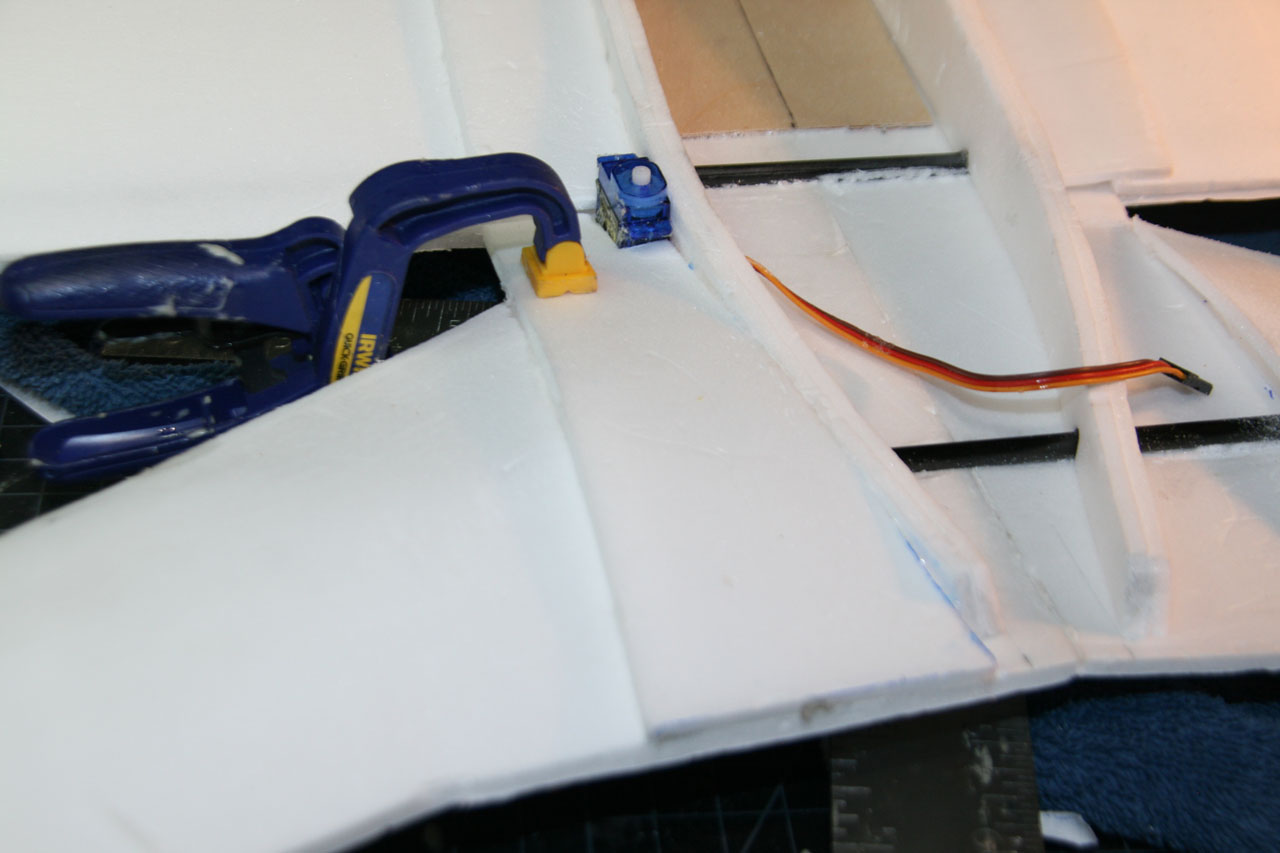
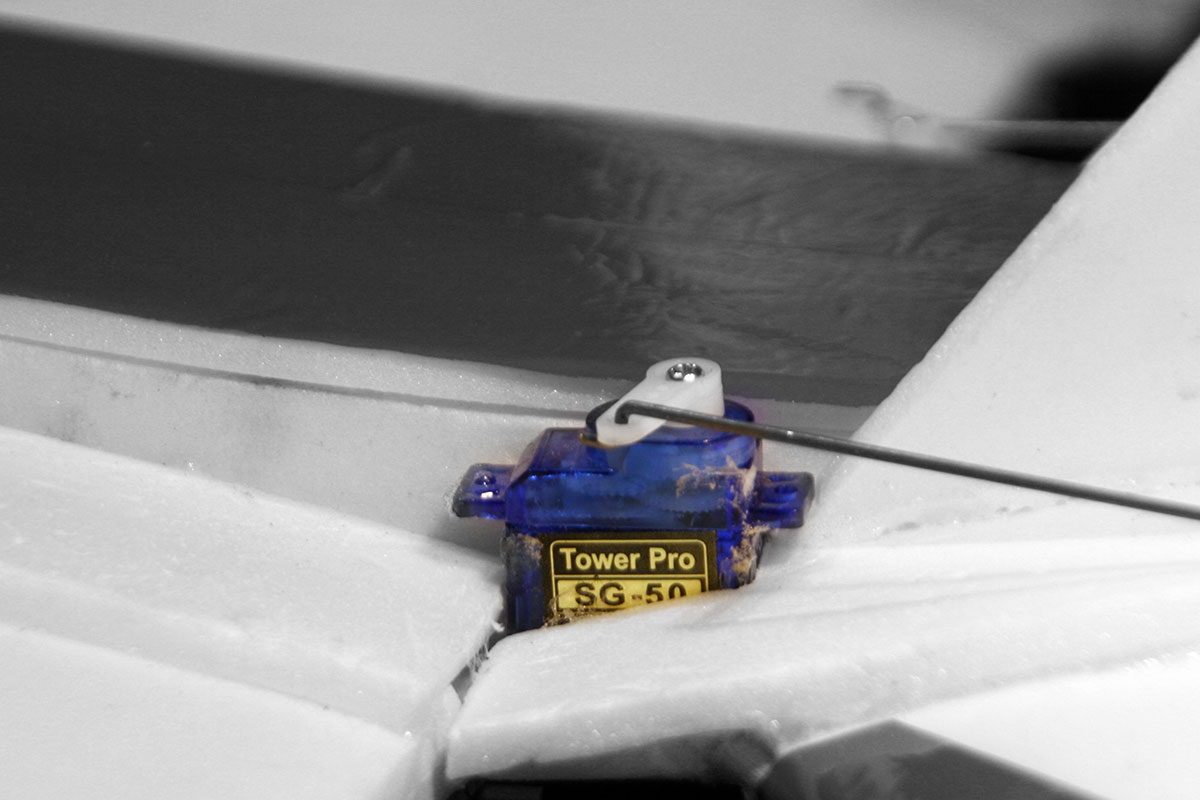
Mount the front (5 gram – 10 gram) servos just outboard of the second wing rib, near the high point of the airfoil. The servo can be glued to the outside of the rib. The front of the servo hole will be about 1 3/4″ from the leading edge of the wing. Poke holes in the fuselage side and the first wing rib, then fish the servo lead through the holes. (You may need to use servo extensions.) 
If you hold the wing up to a bright light, you can see where the ribs and cables are.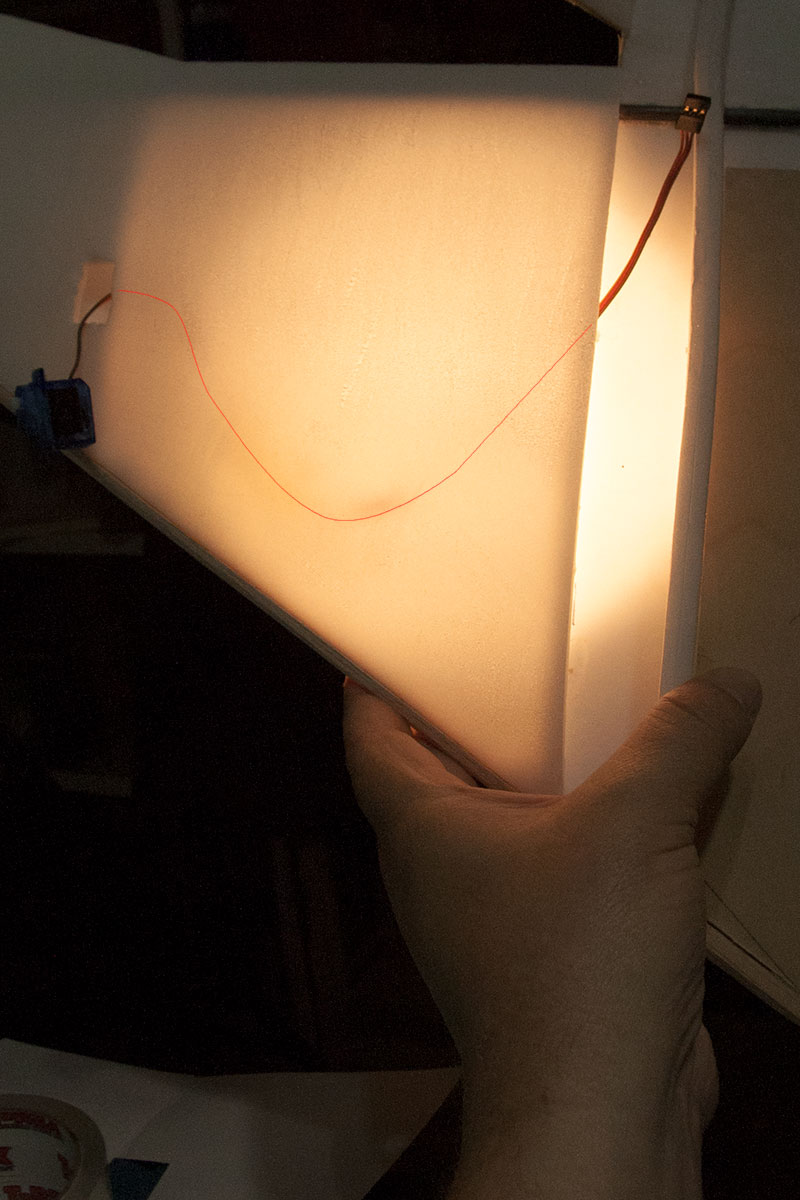
Remove the paper from the front ‘shoulders,’ and glue them in place on either side of the fuselage. The should extend perpendicular from the fuselage sides.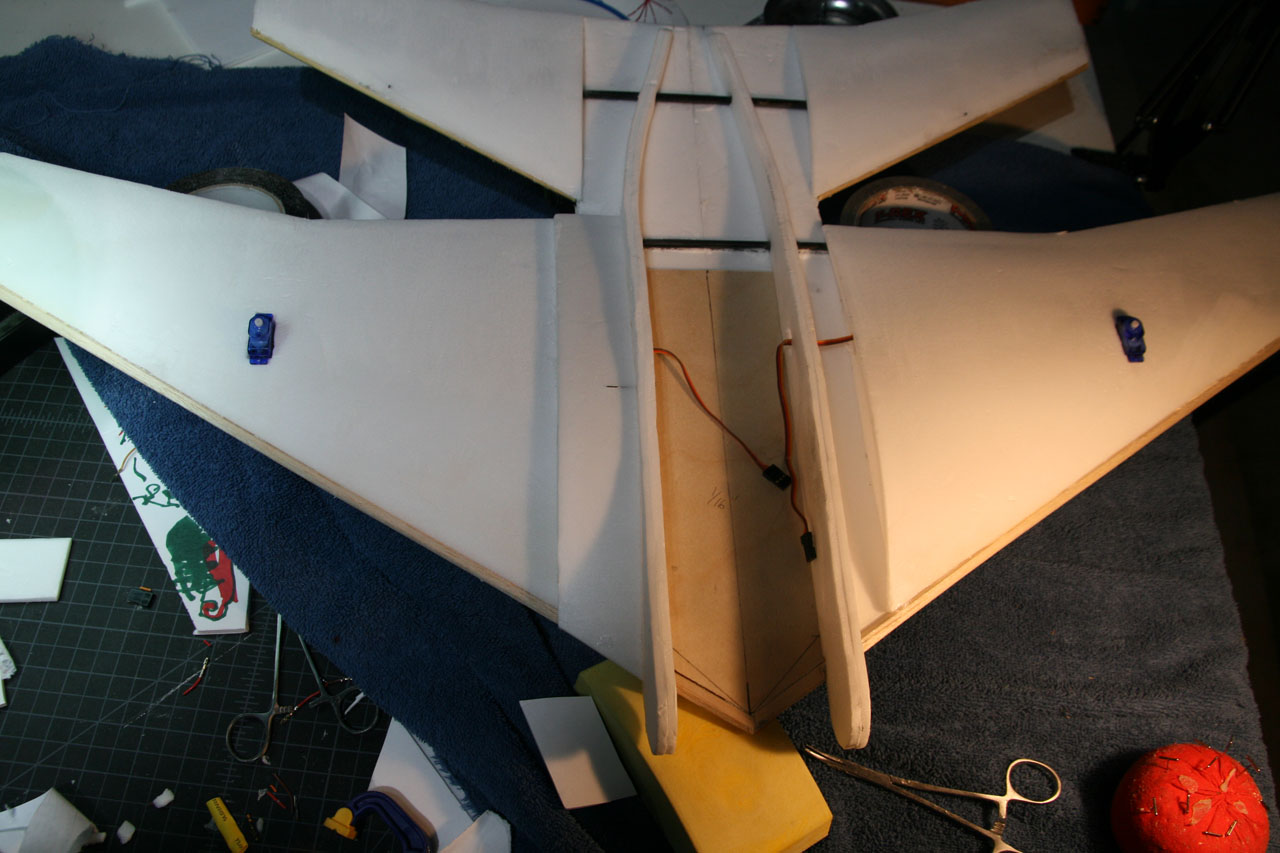
Trim the shoulder to fit, if necessary, and then sand the shoulders, the balsa leading edge spar, and the leading edge of the wings to provide a smooth leading edge.
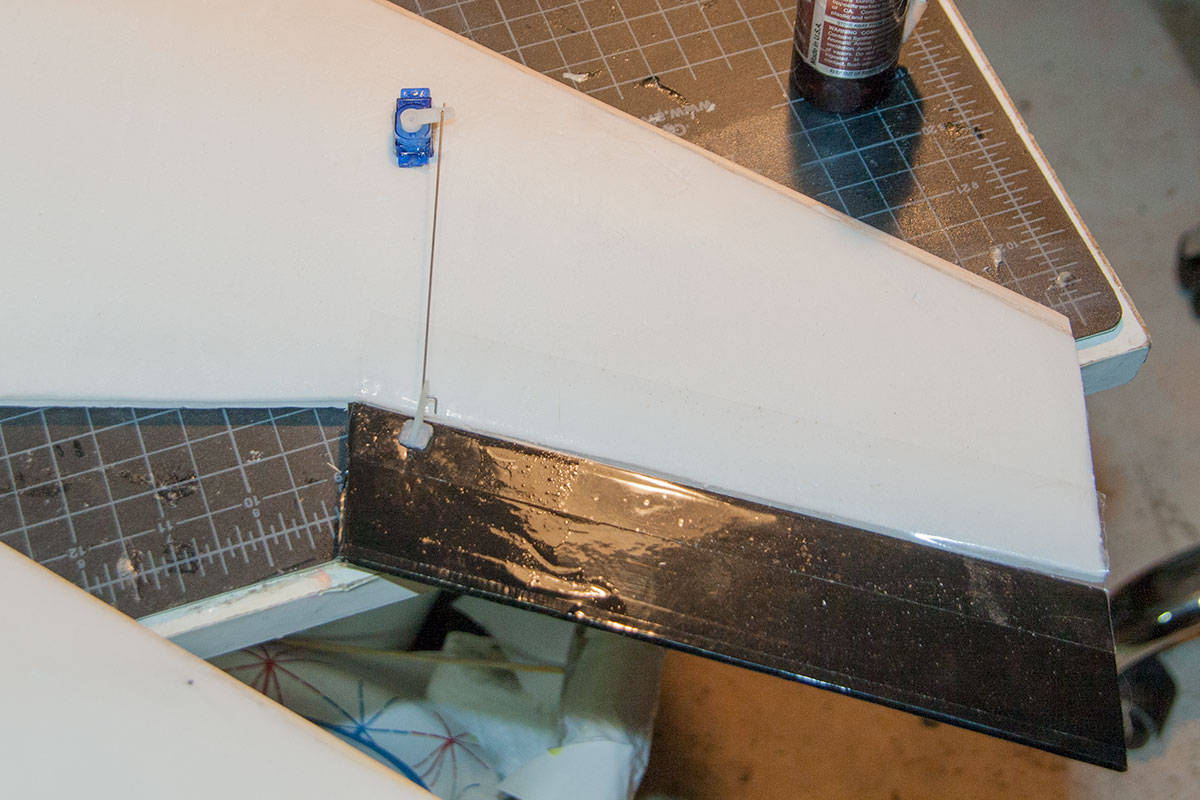
The rear servos mount to the side of the fuselage, just behind the shoulders.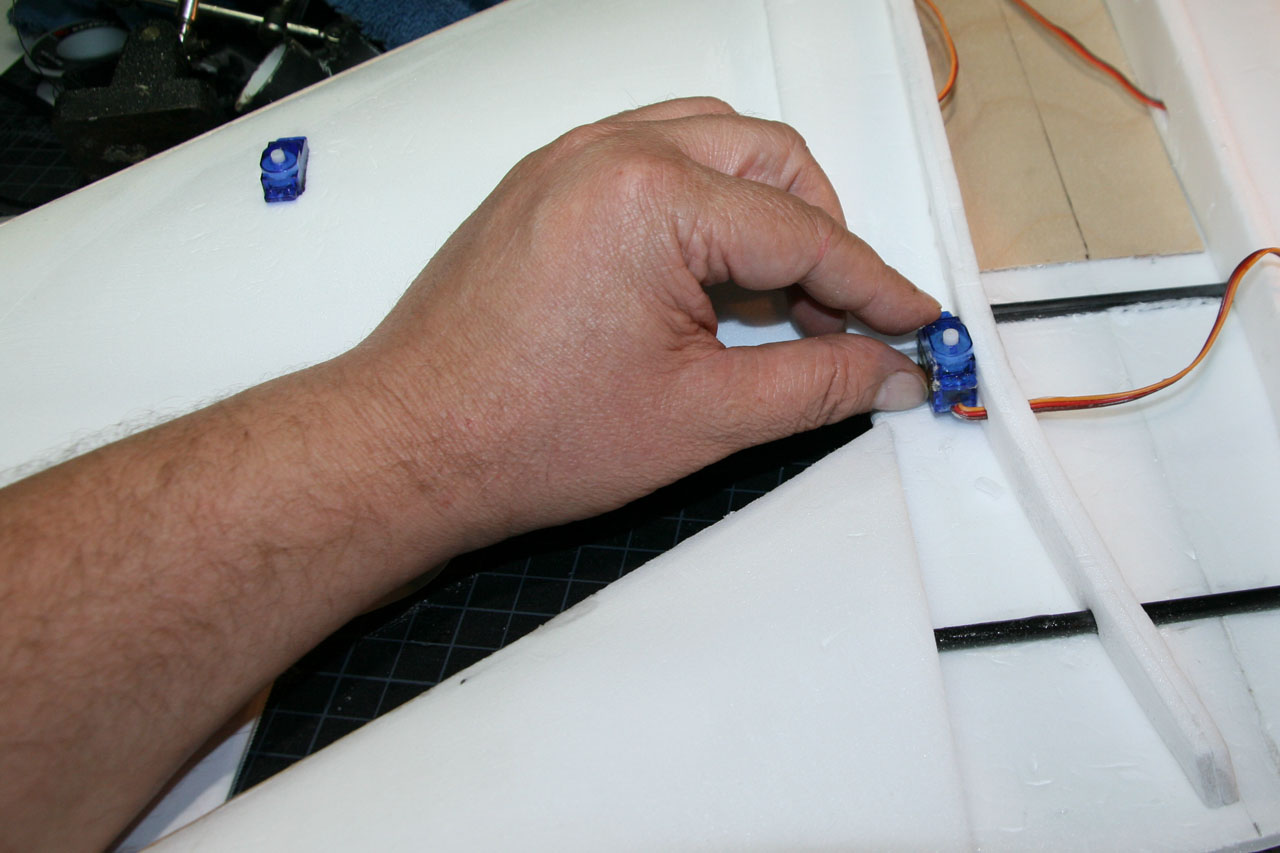

Remove any paper from the rear shoulders. Cut out a section to fit around the rear servos, then glue the pieces in place.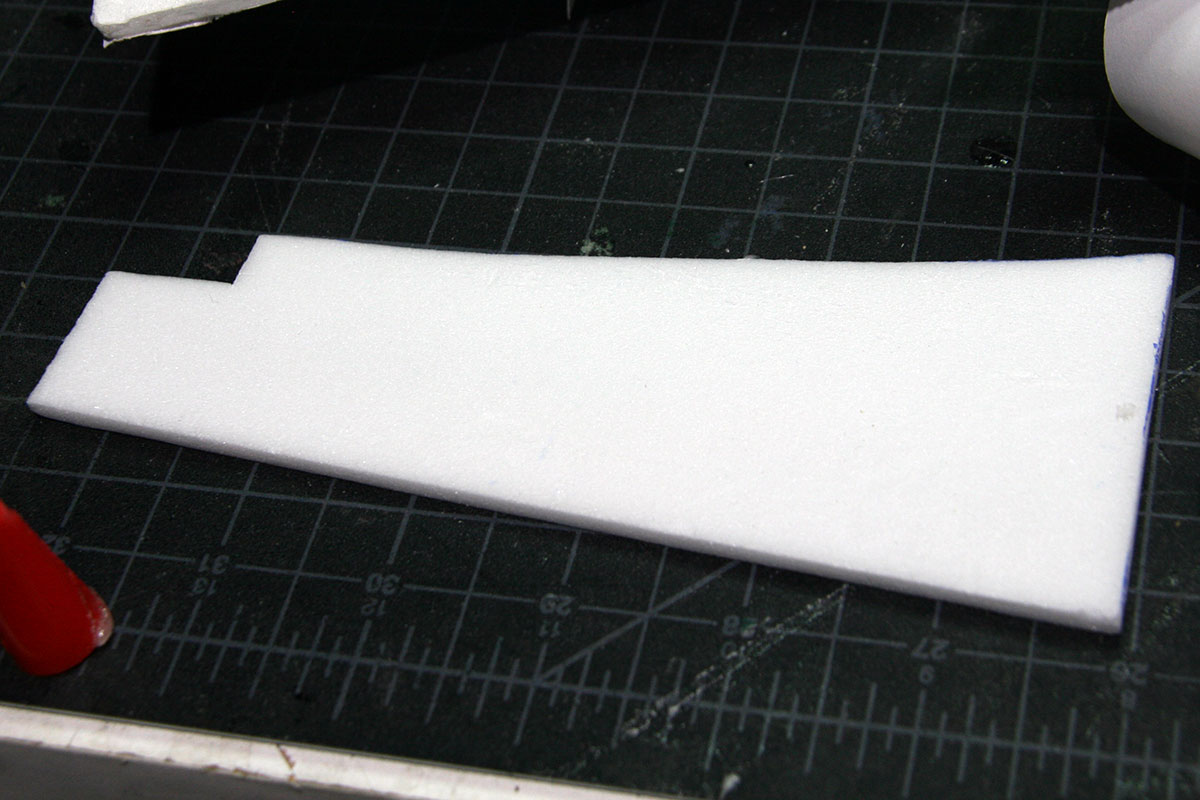
Glue the motor mount / firewall in place at the rear so that the propeller will clear the plane. I used a small square of plywood, Gorilla-glued into slots in the floor and sides.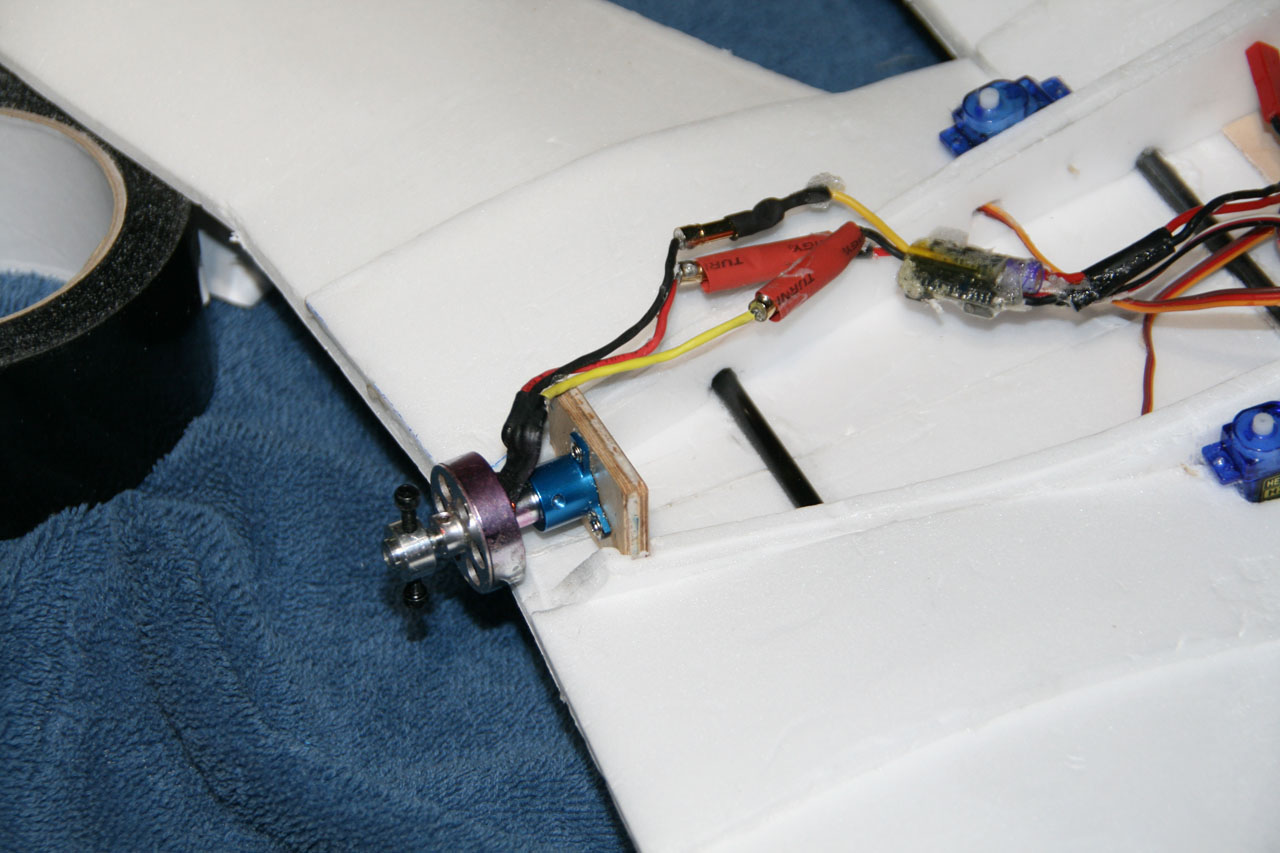
Tape the elevons in place. 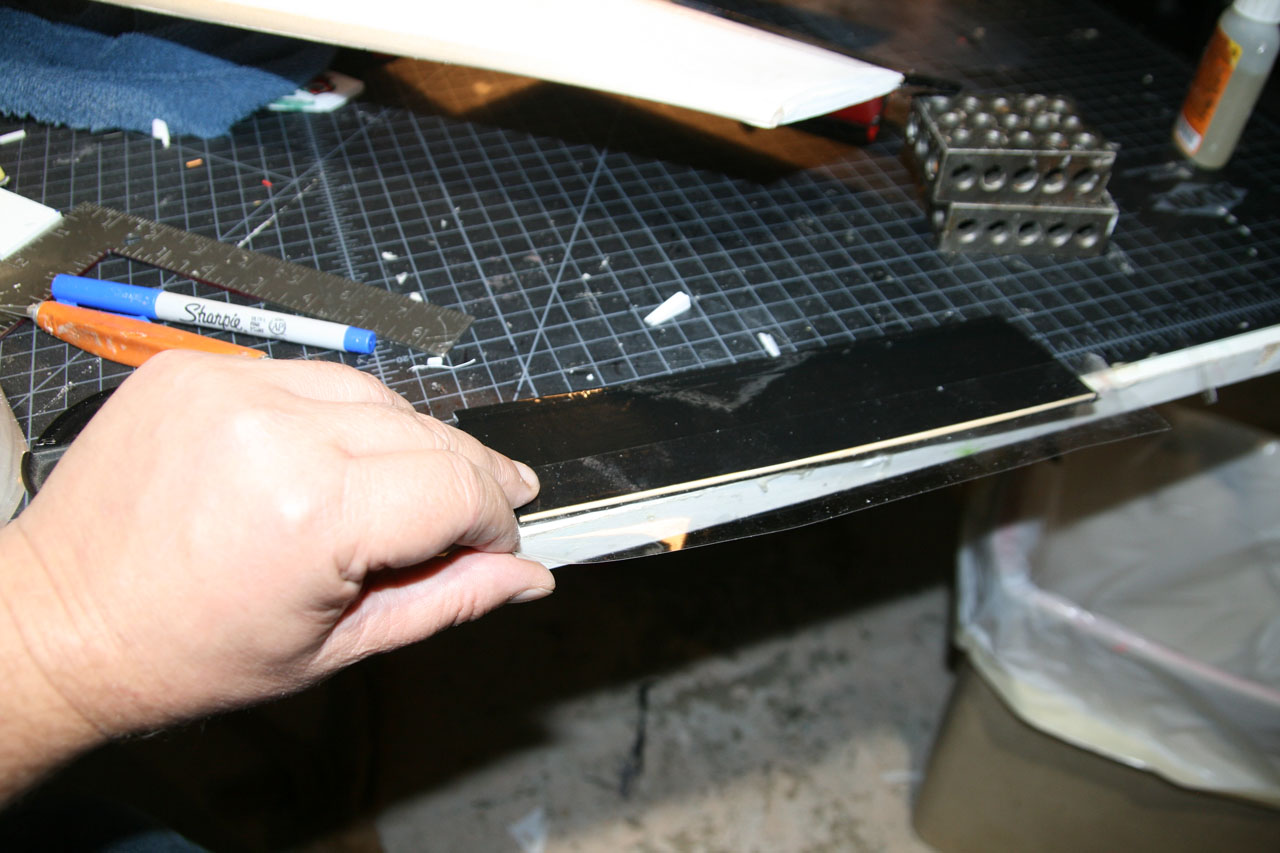
If you haven’t removed the paper from the bottom of the plane, do so now.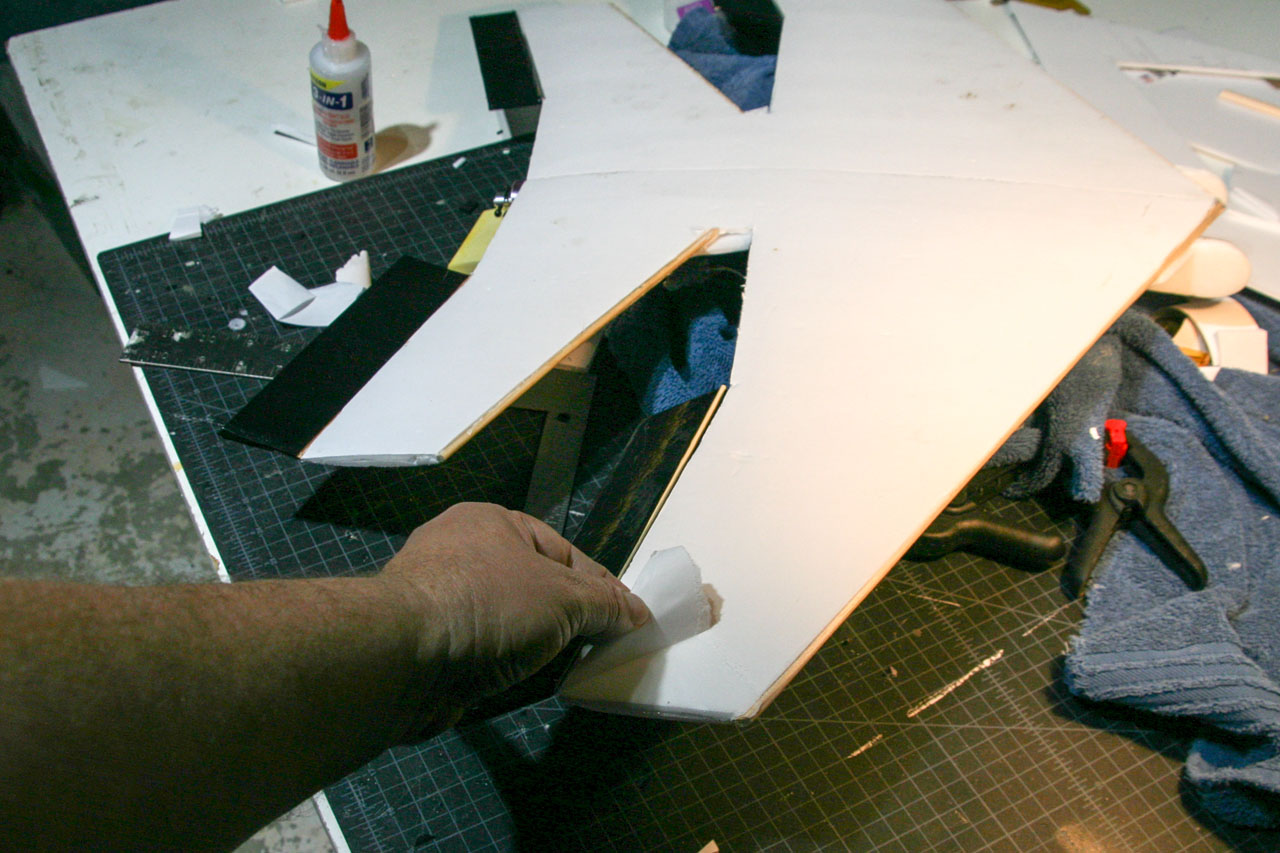 Remove the paper from the vertical fins.
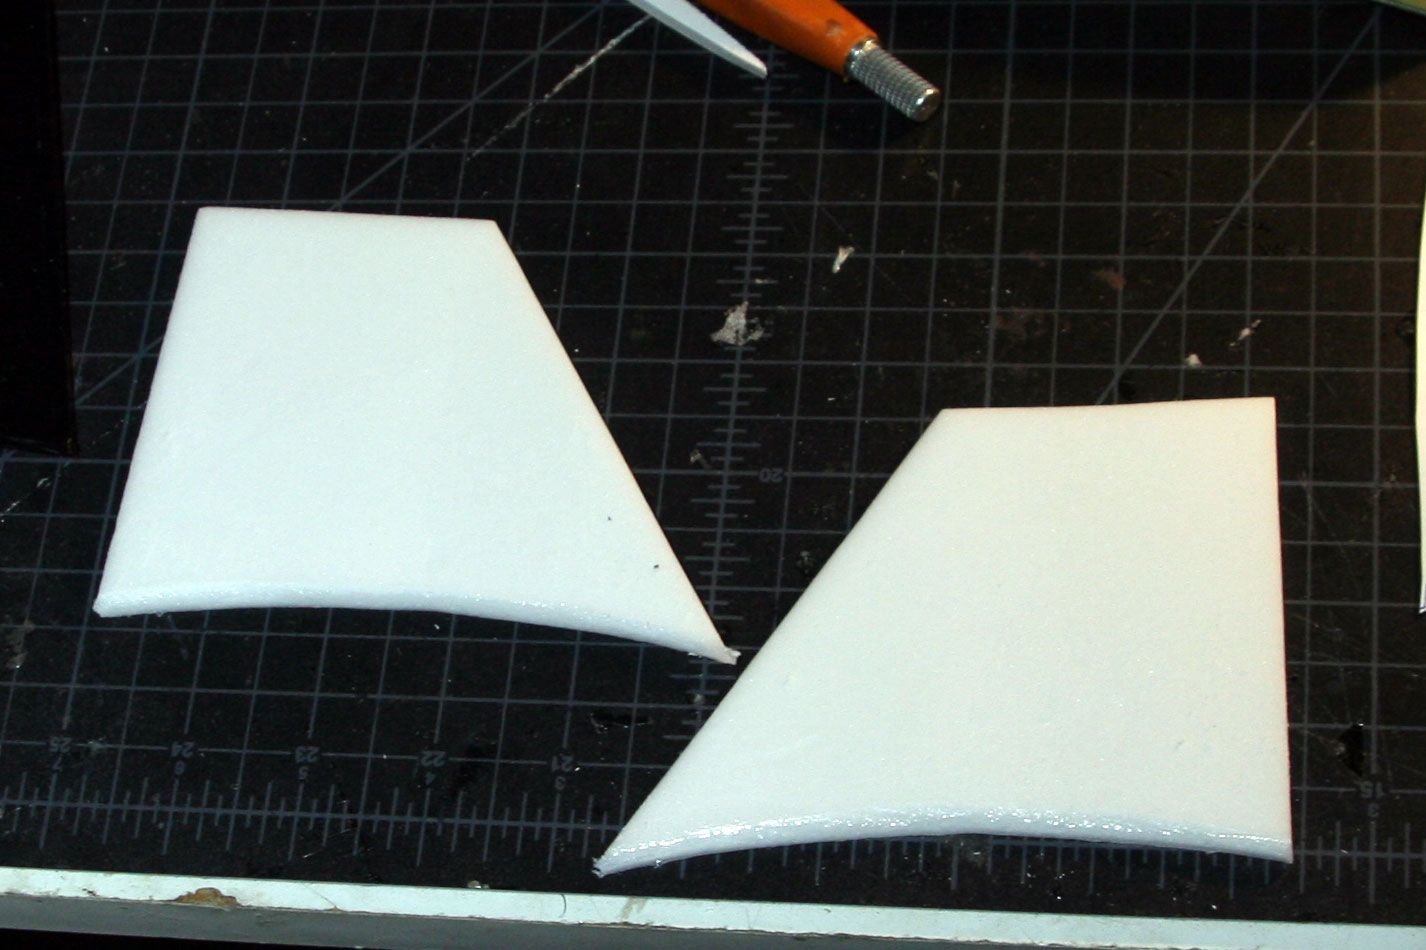
Glue the fins to the top of the rear shoulder, just outside of the fuselage sides, at a 60 degree angle. You’ll need to sand the bottom of the fins at an angle to insure a good fit.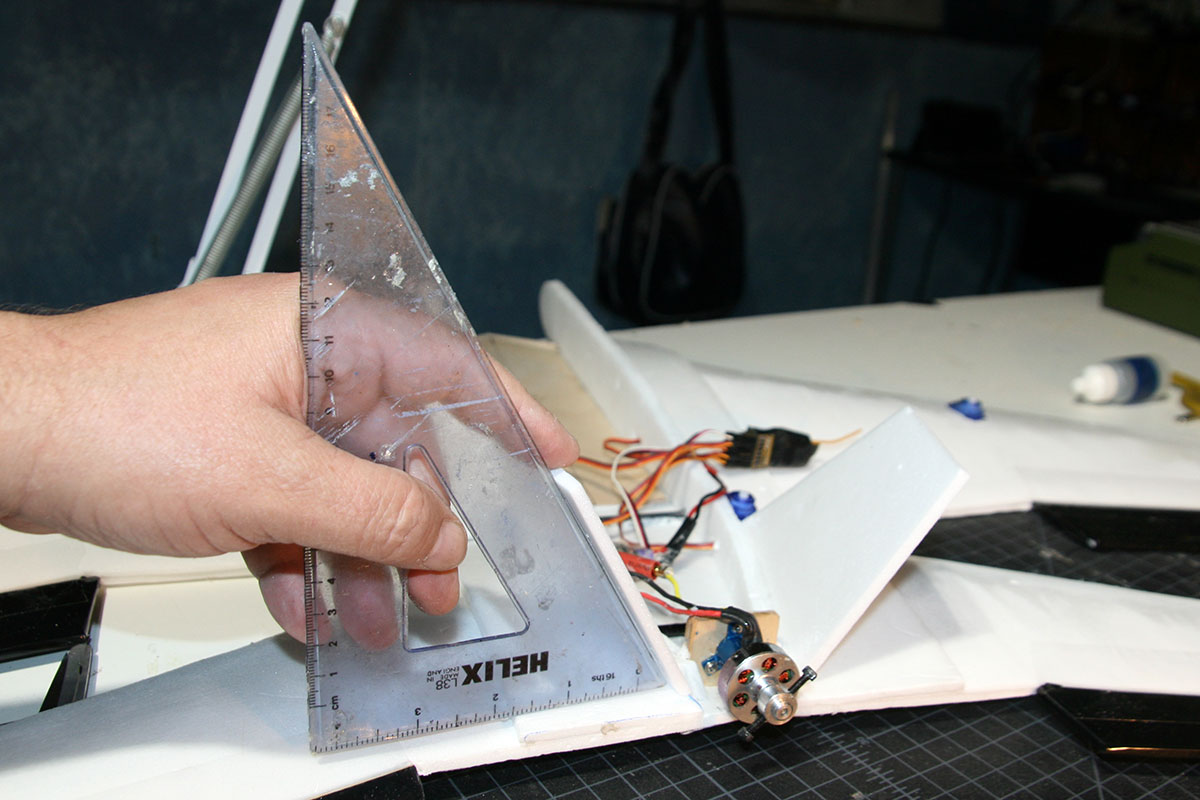
Remove the paper from the hatch.
Cover the top of the hatch with strong tape, over the front 10 inches or so.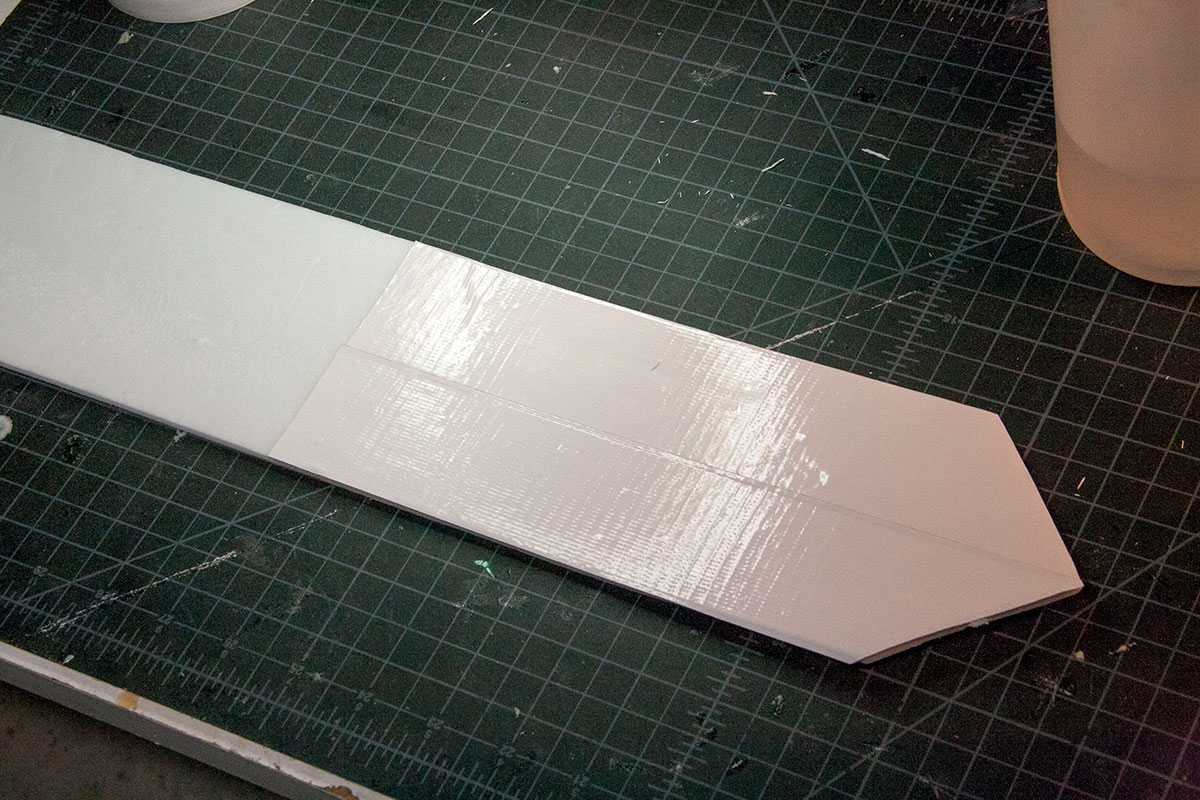
Bend the front of the front of the hatch around a bottle or other round object.
Glue the front of the hatch underneath the nose of the plane. The hatch will bend up around the fuselage sides.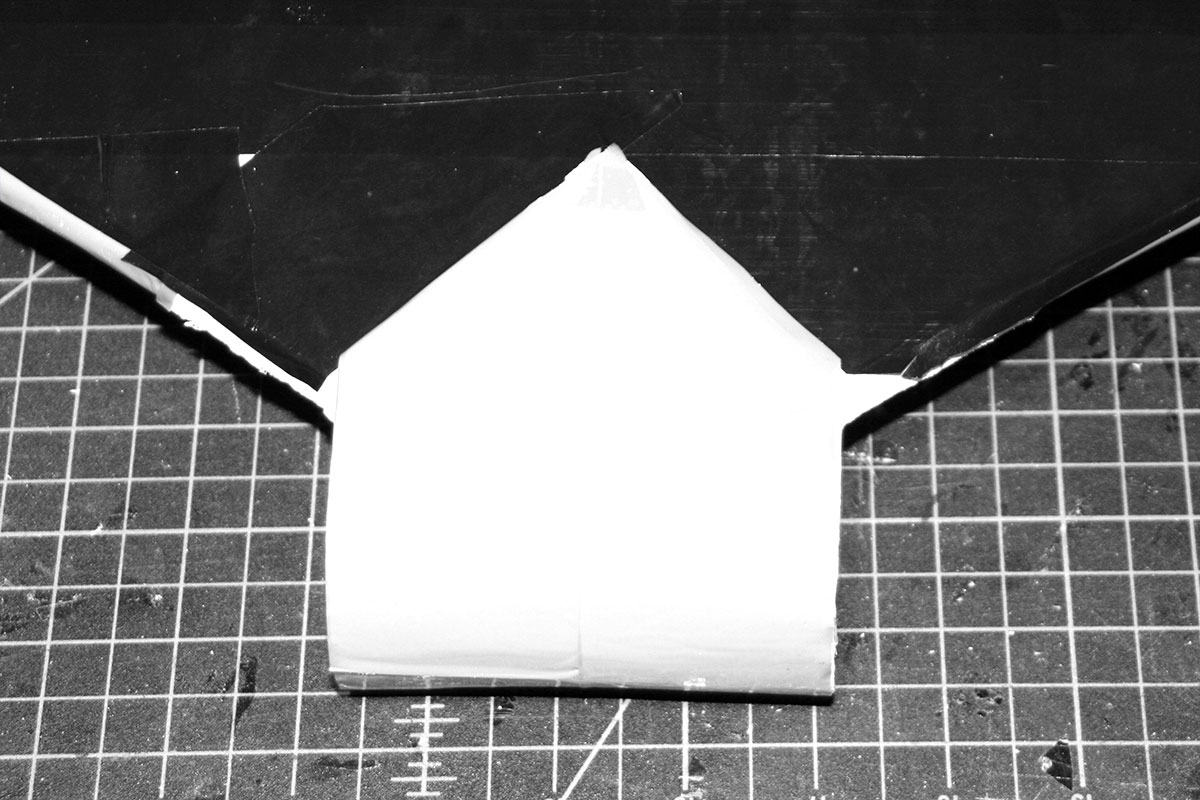
Add magnets near the front, middle, and rear of the hatch.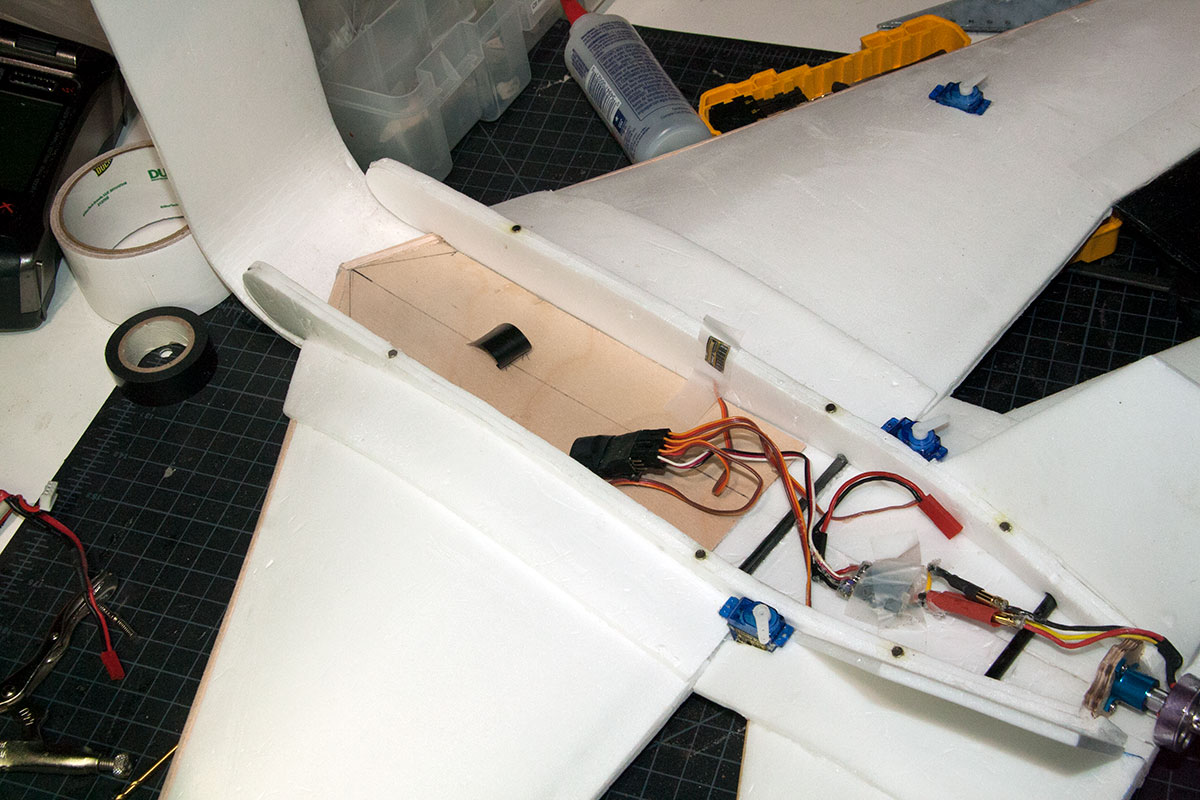
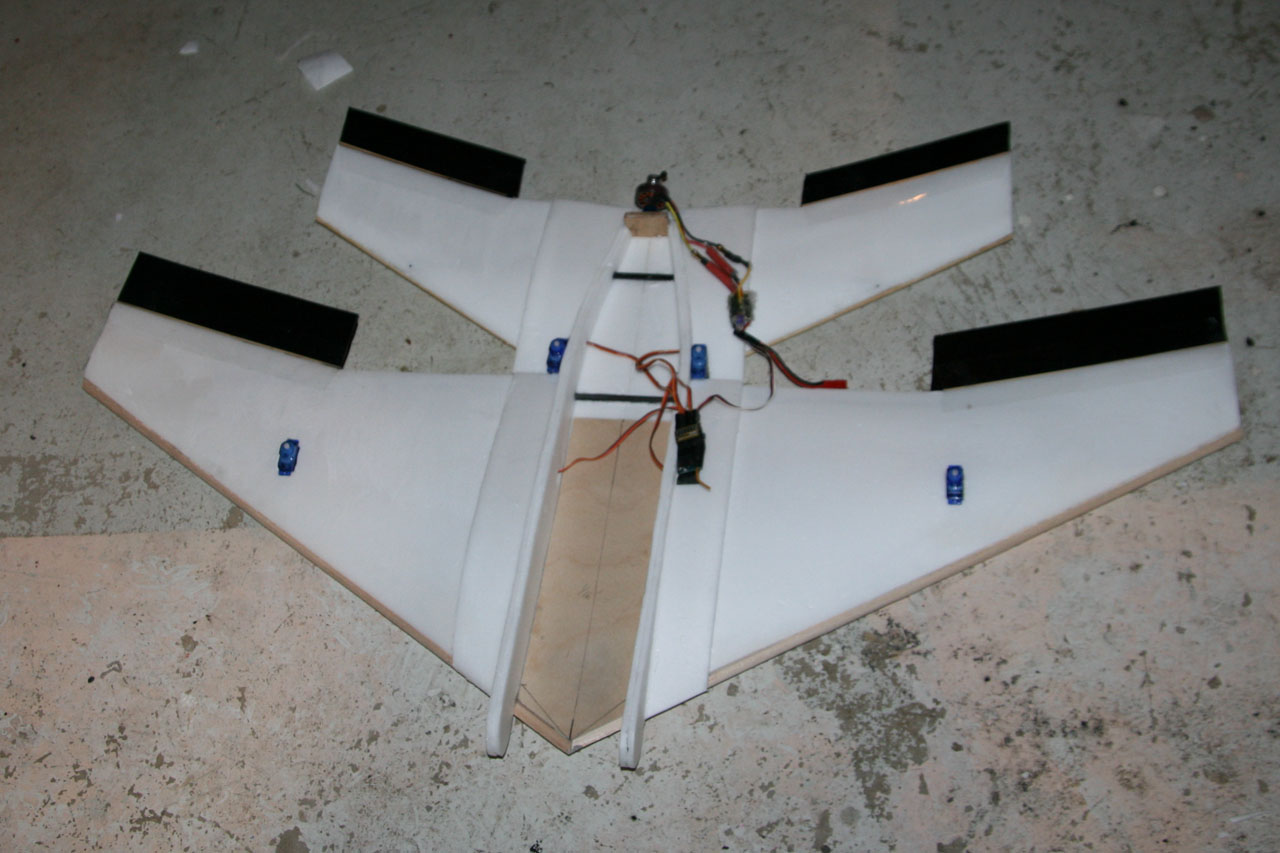
The plane is more-or-less complete. Add control horns and push rods, paint or tape, and finish mounting electronics and battery.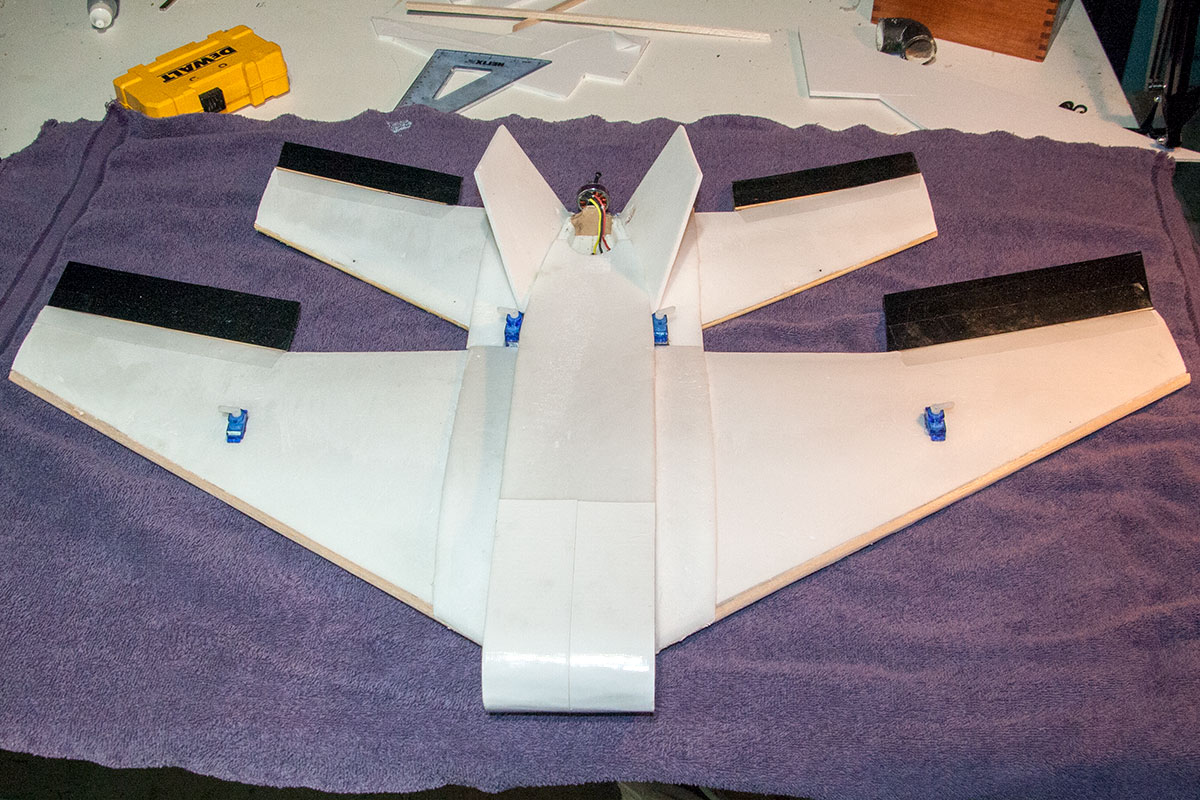
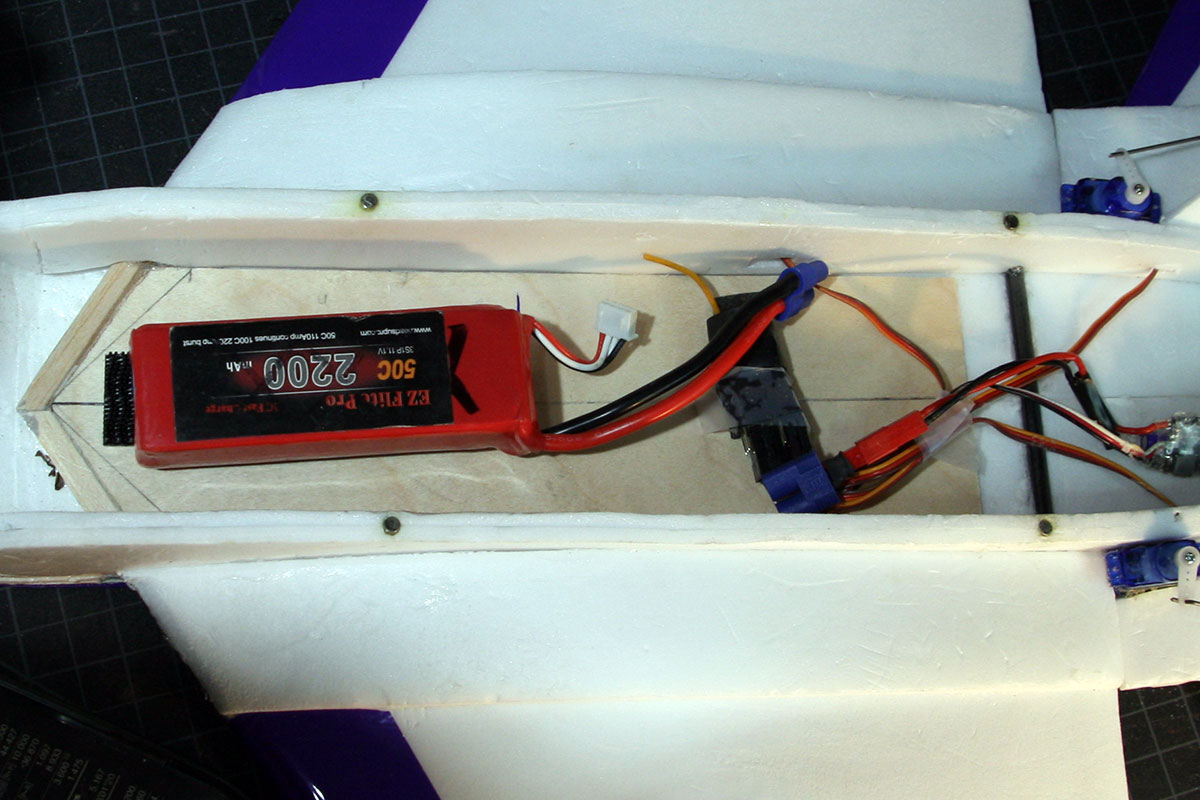
The CG should be about 3 5/8″ forward of the trailing edge of the front wing where it meets the fuselage. I run a 2200mAh 3-cell, positioned here: