This build is about 95% this 60″ glider from RC Groups although, instead of Readi-Board, it’s made from a sheet of 1/4″ DOW fanfold foam which is slightly thicker, heavier and stiffer.
A pile of fresh parts.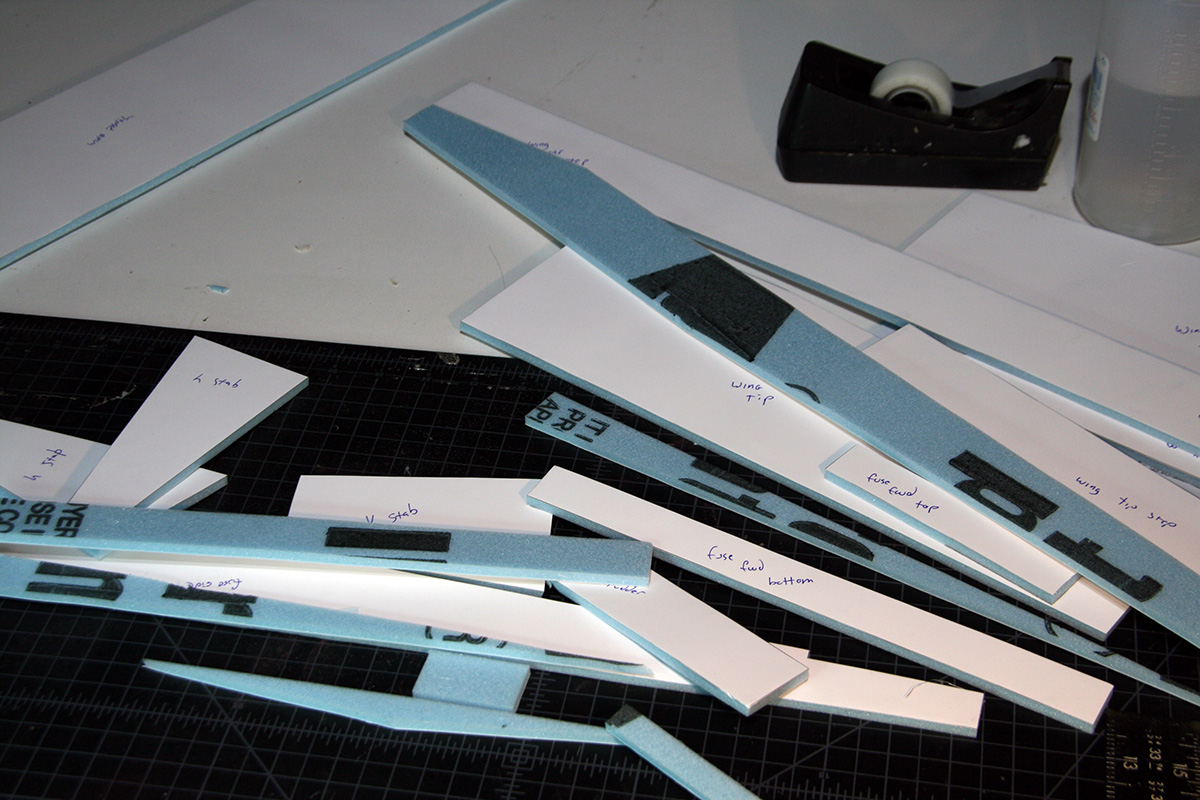
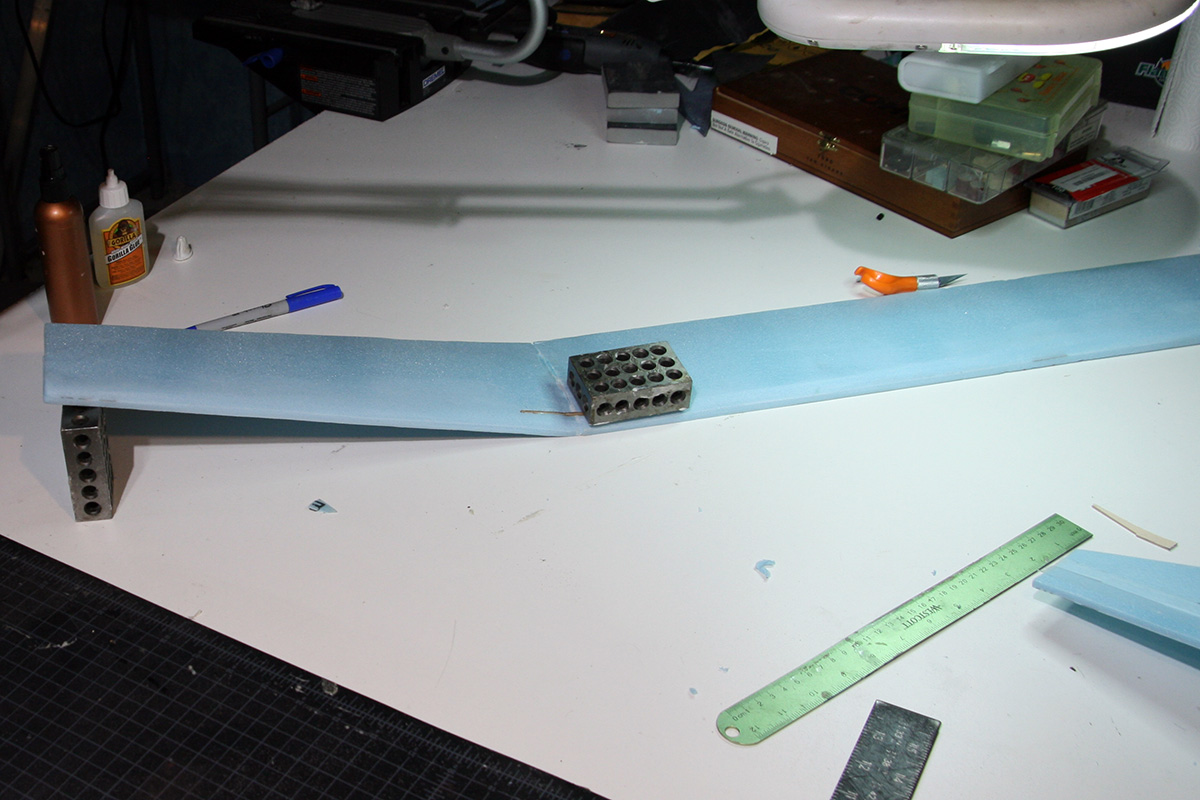
The monoblock will provide some stiffness to the nose.
Gluing the monoblock in place between the fuselage sides.
Gluing the tail.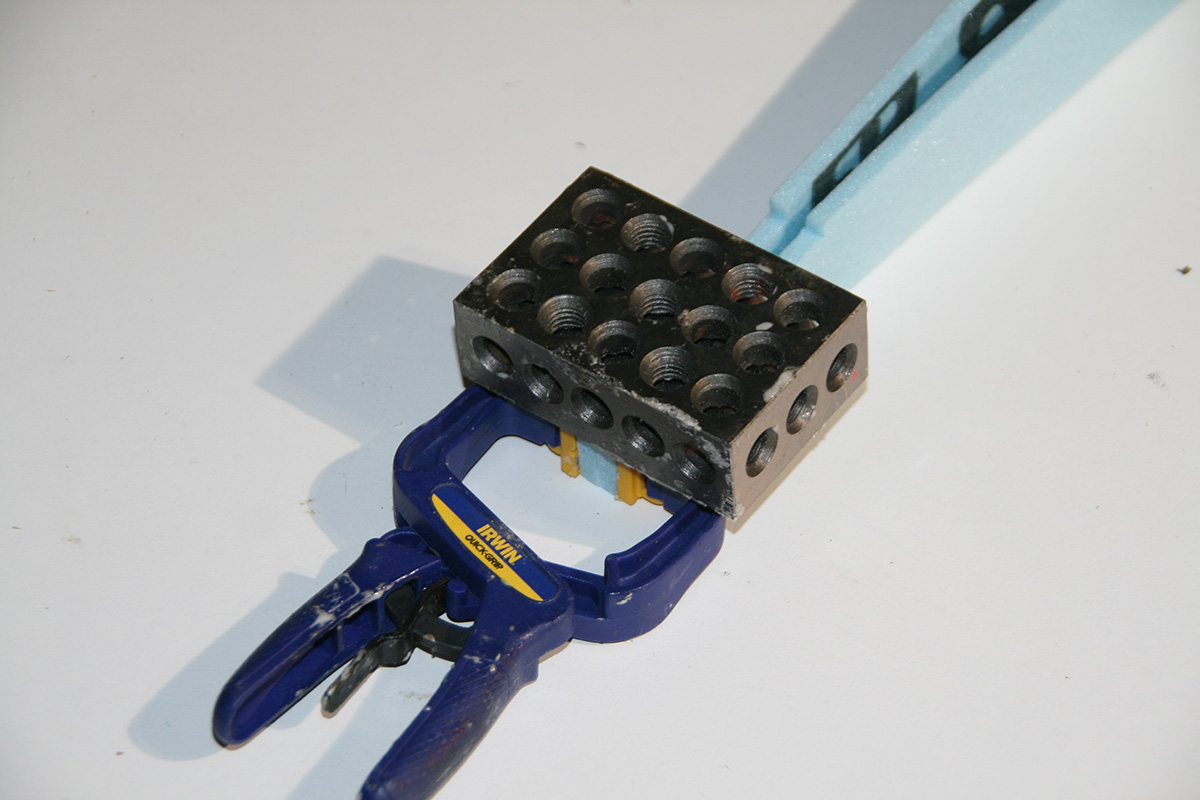
A test fit of the fuselage top sections. I’m actually gonna wait a bit before gluing these in place.
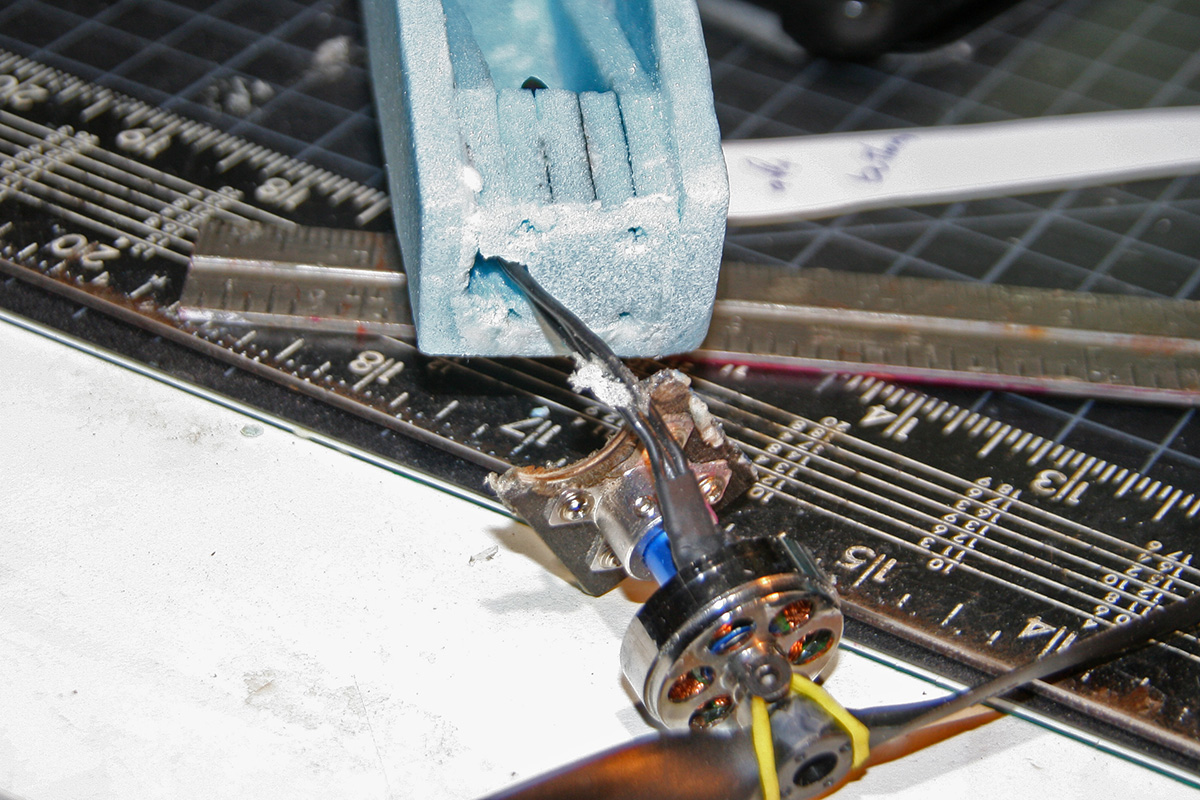
I drilled a hole through the front of the monoblock to pass the motor wires through.
Gluing the firewall on the front.
A length of 0.21″ carbon fiber tube will form the main spar. I tucked it in behind the step in the KFM5a wing.
Gluing the step in the wing tips.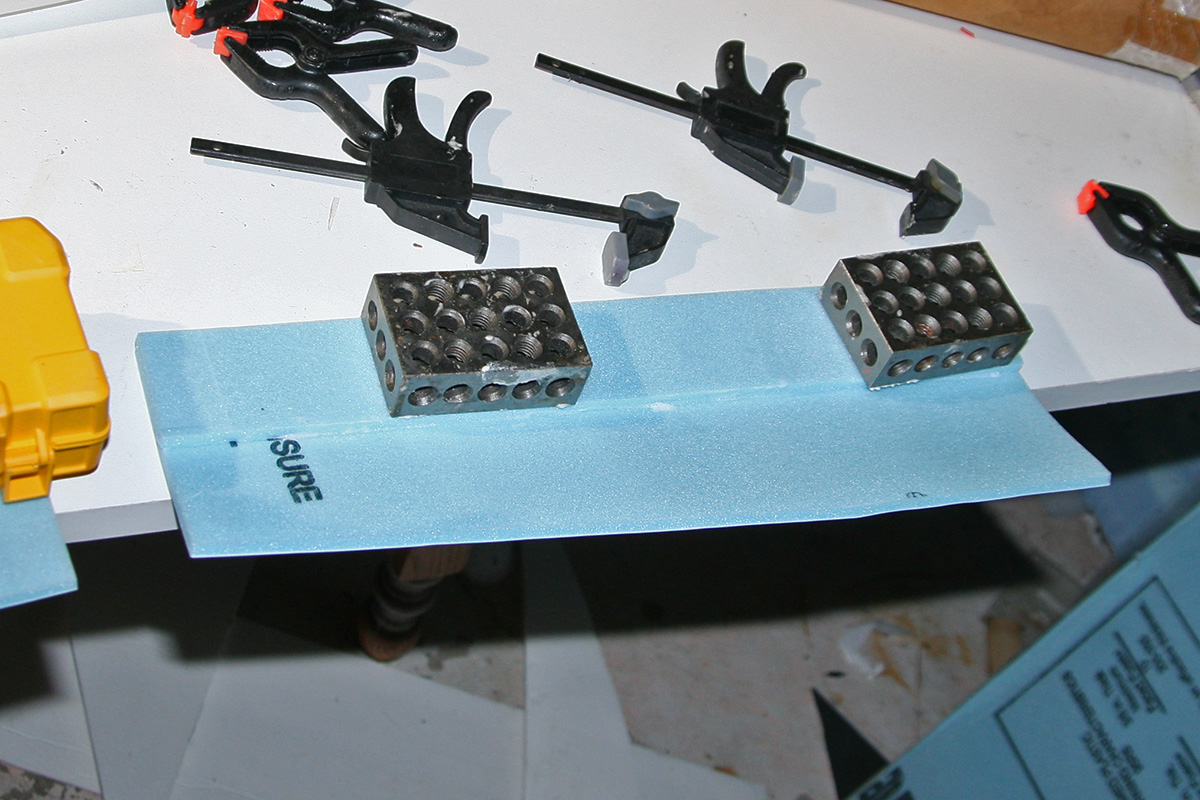
And the wingtips onto the wings.
Gluing the vertical stabilizer in place atop the horizontal stabilizer.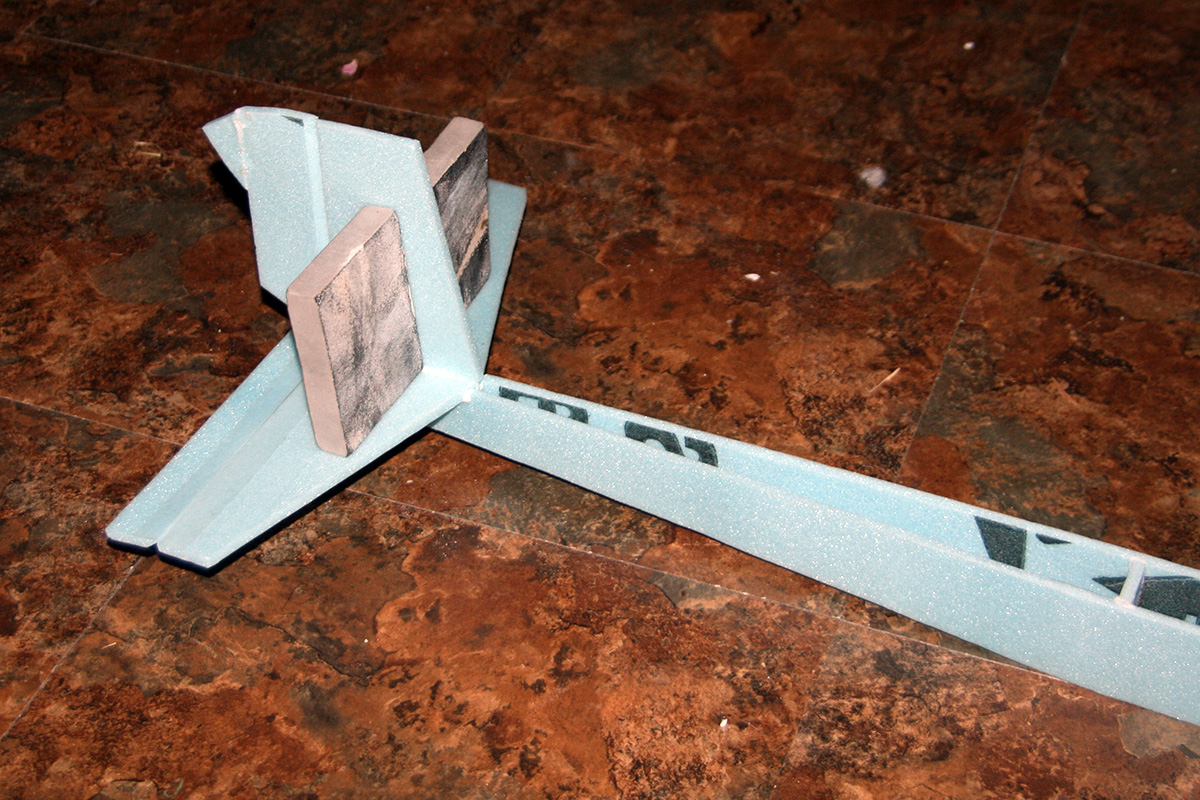
Pieces to form the wing saddle.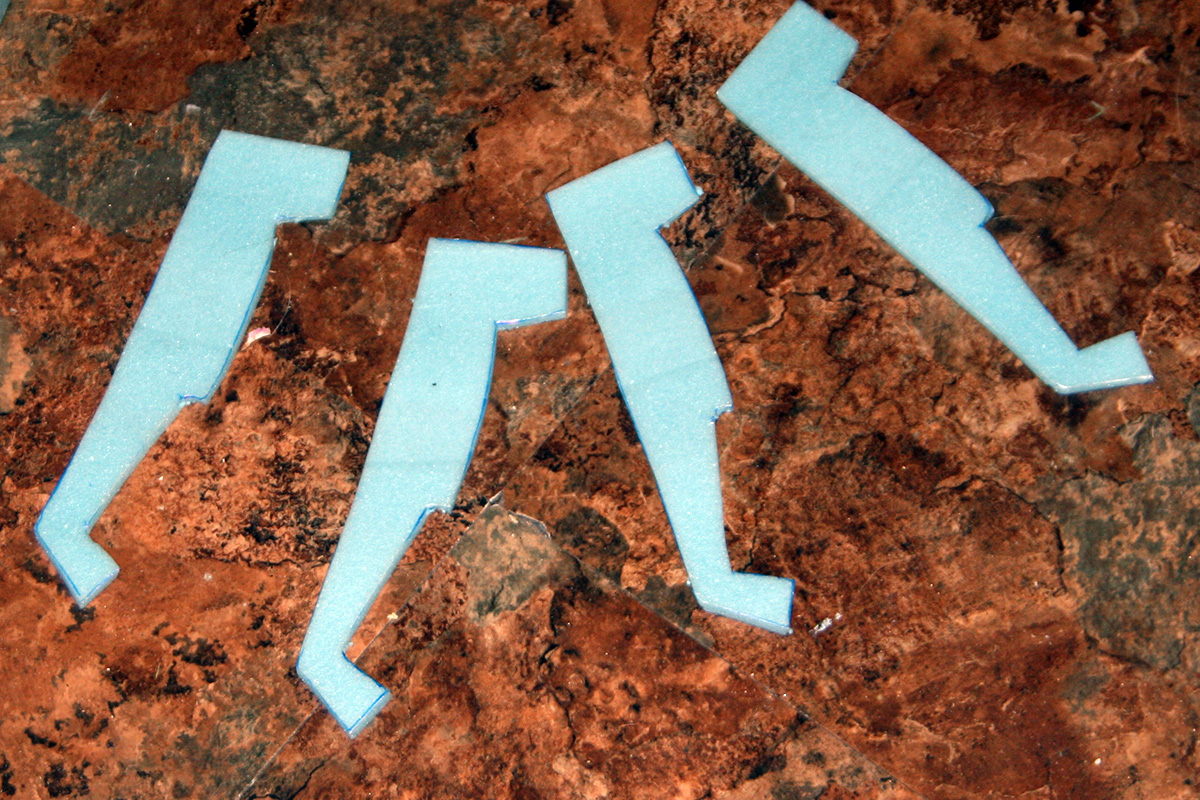
Figuring out where to cut the inner wing saddle.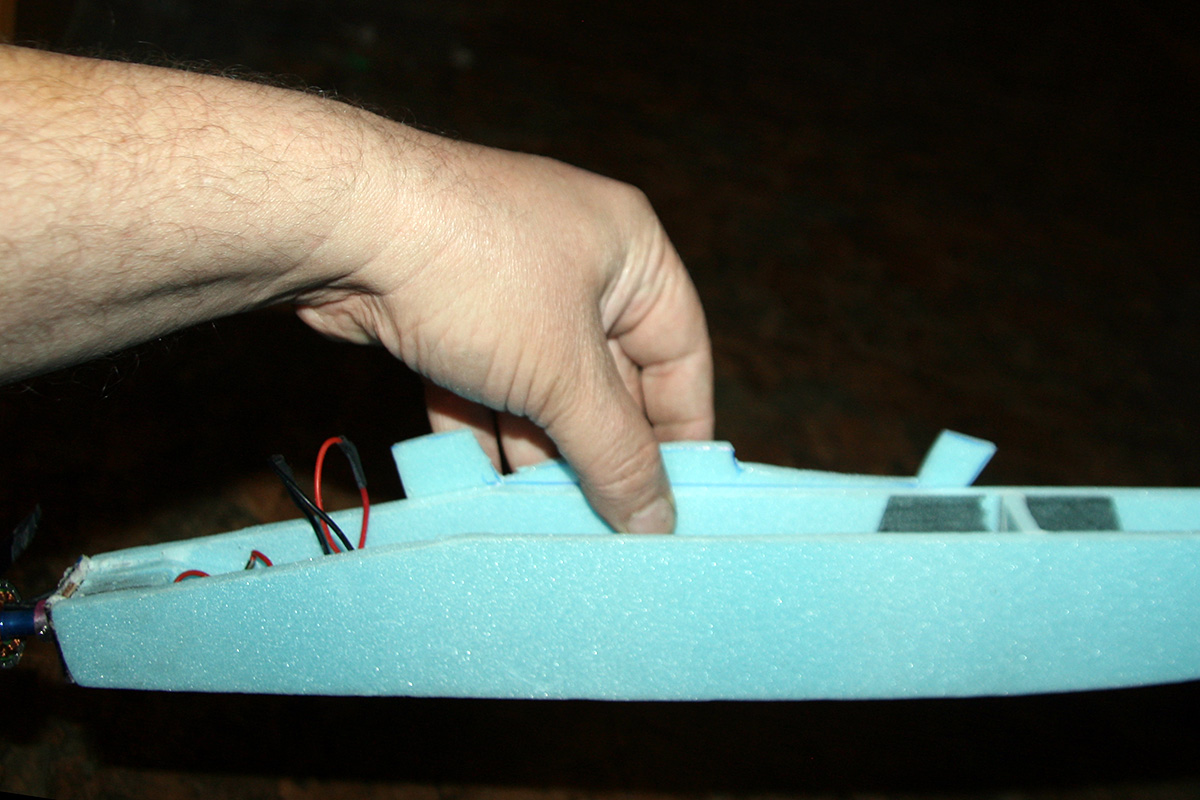
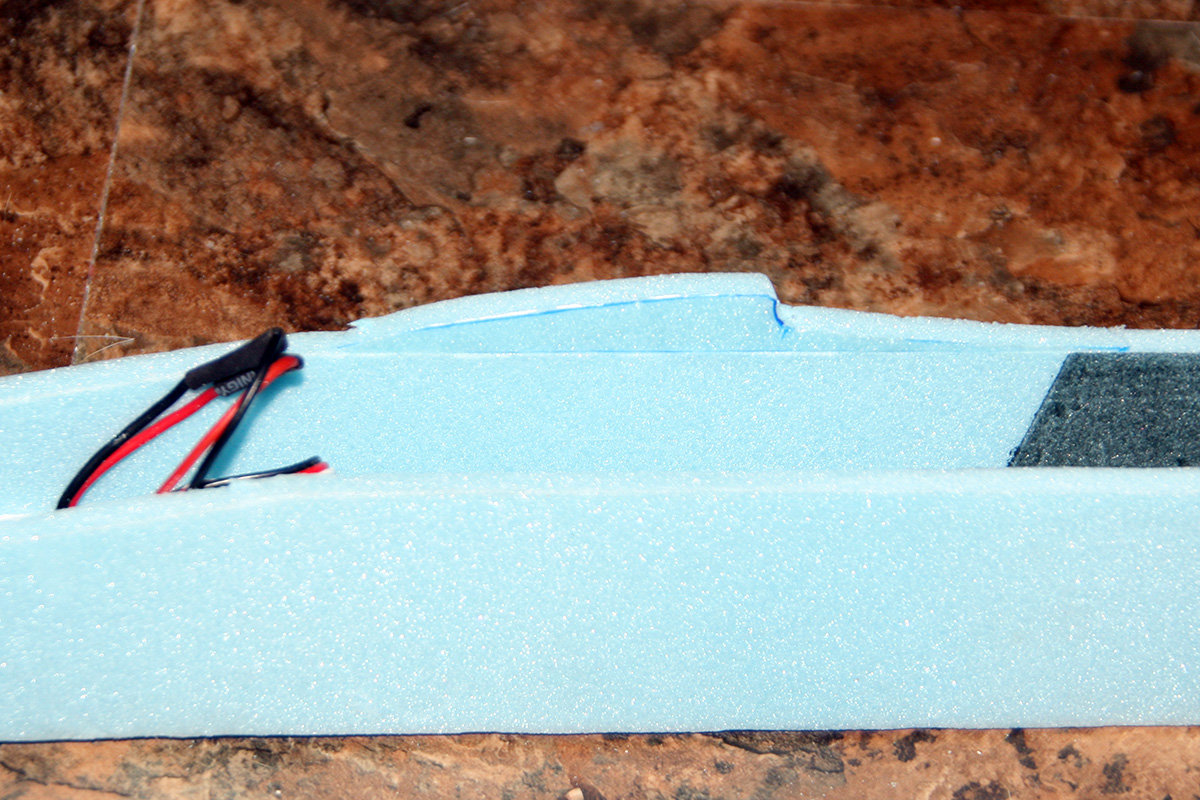
Using a utility knife to make sure the wing saddle is – roughly – straight.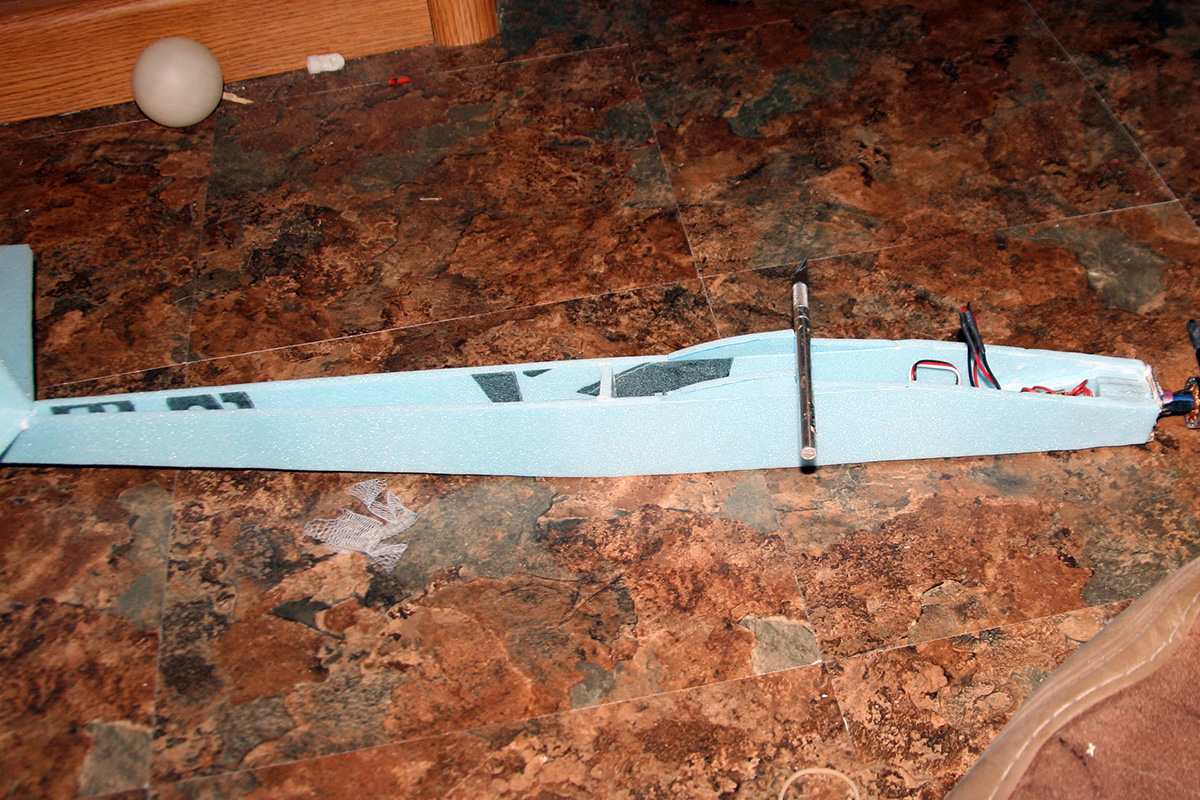
Adding the outside section of the wing saddle.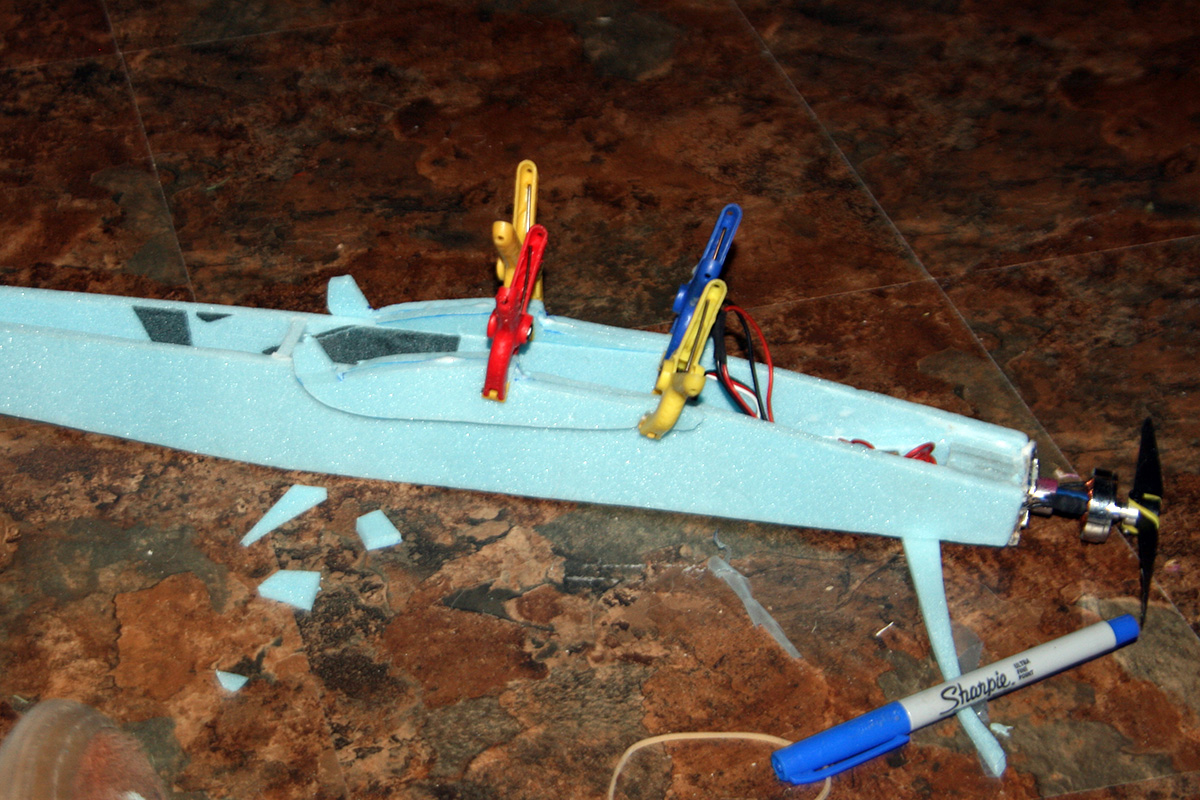
Testing the fit of the wing in the saddle.
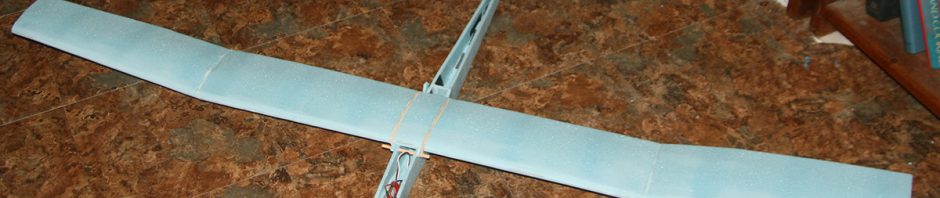
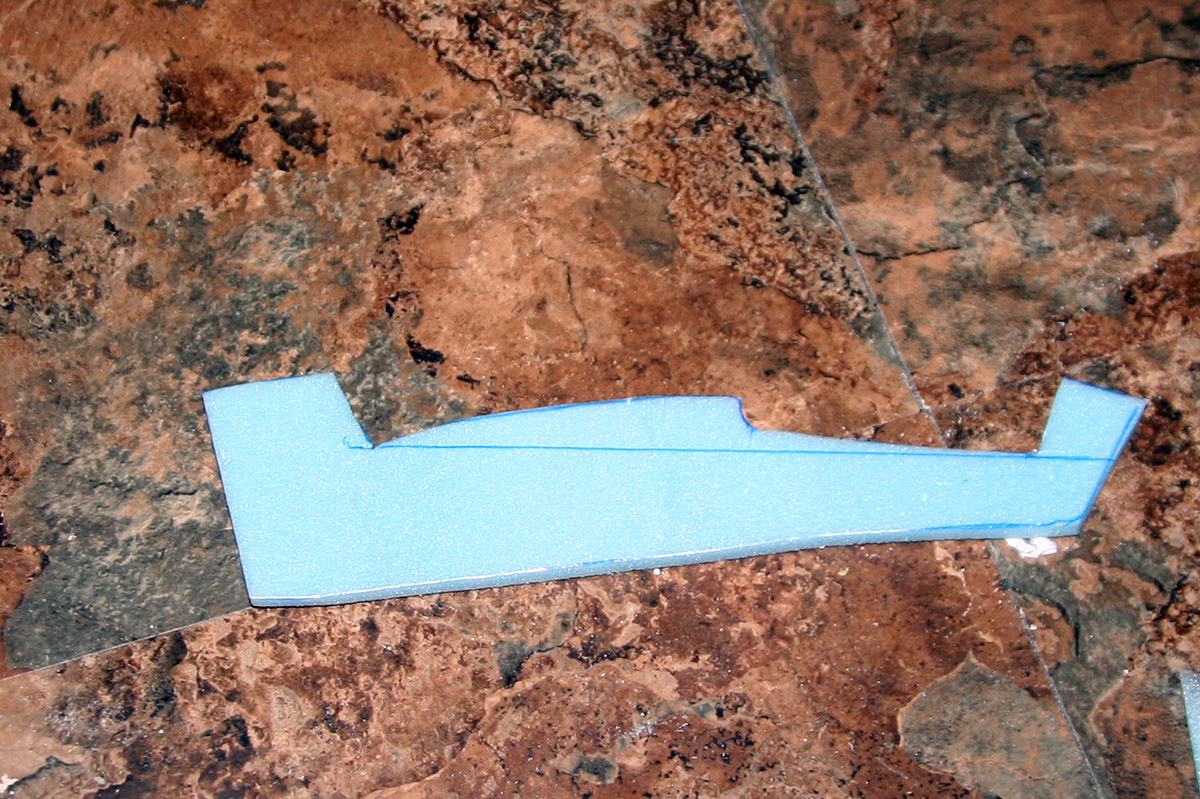
Getting a feel for the size and shape of the finished plane.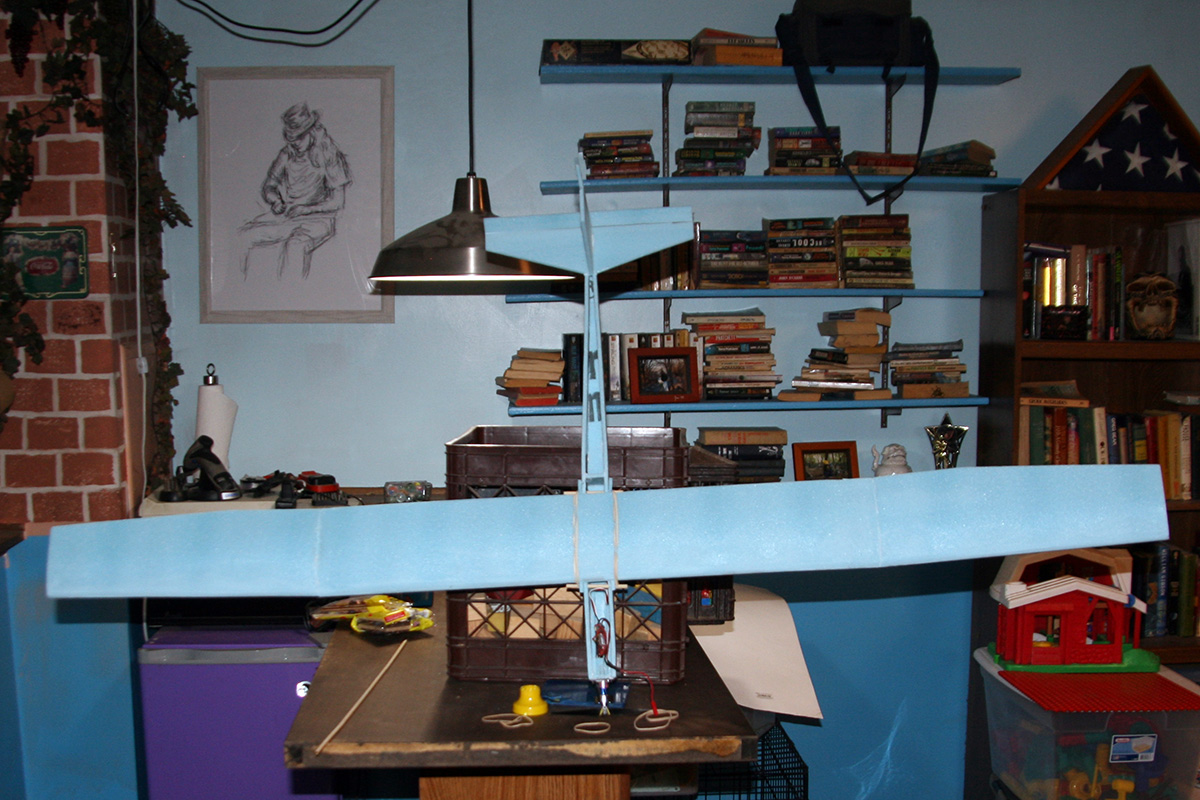
Mounting the servos.

I cut a triangle from the bottom of the rudder to provide clearance for the elevator, then mounted the control horn.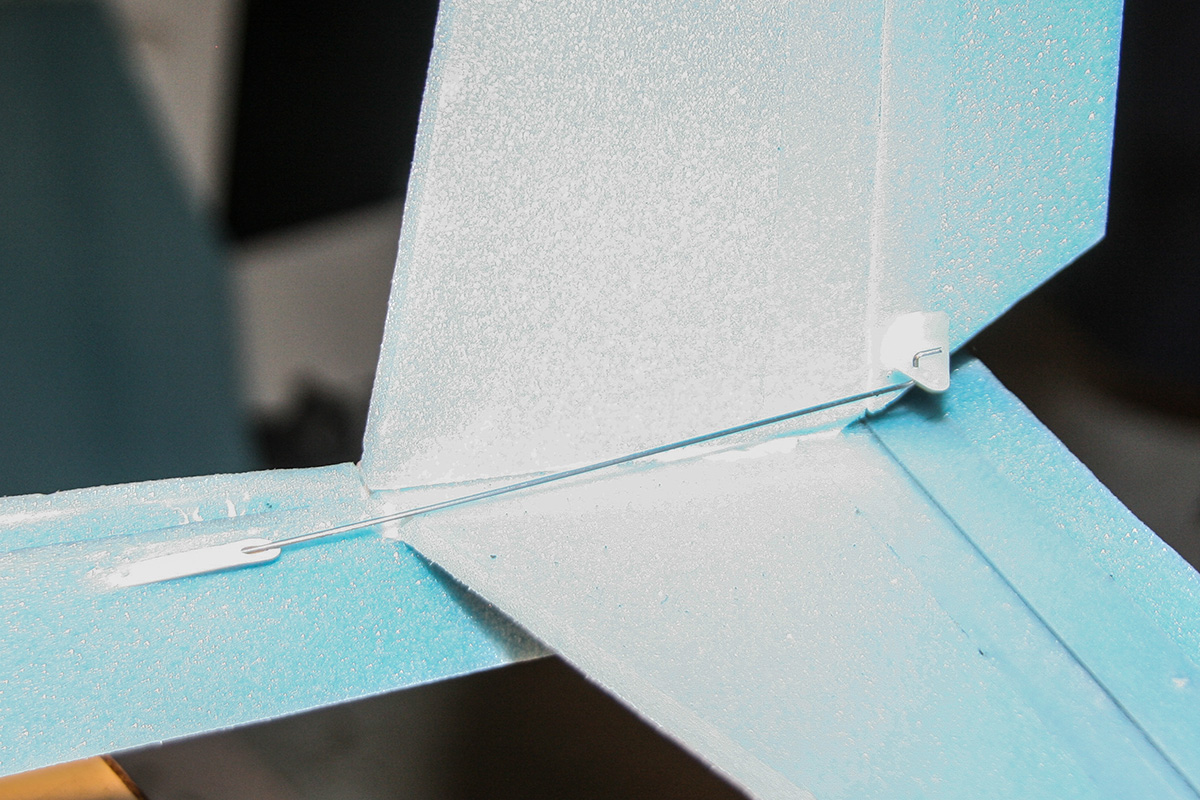
Elevator control horn.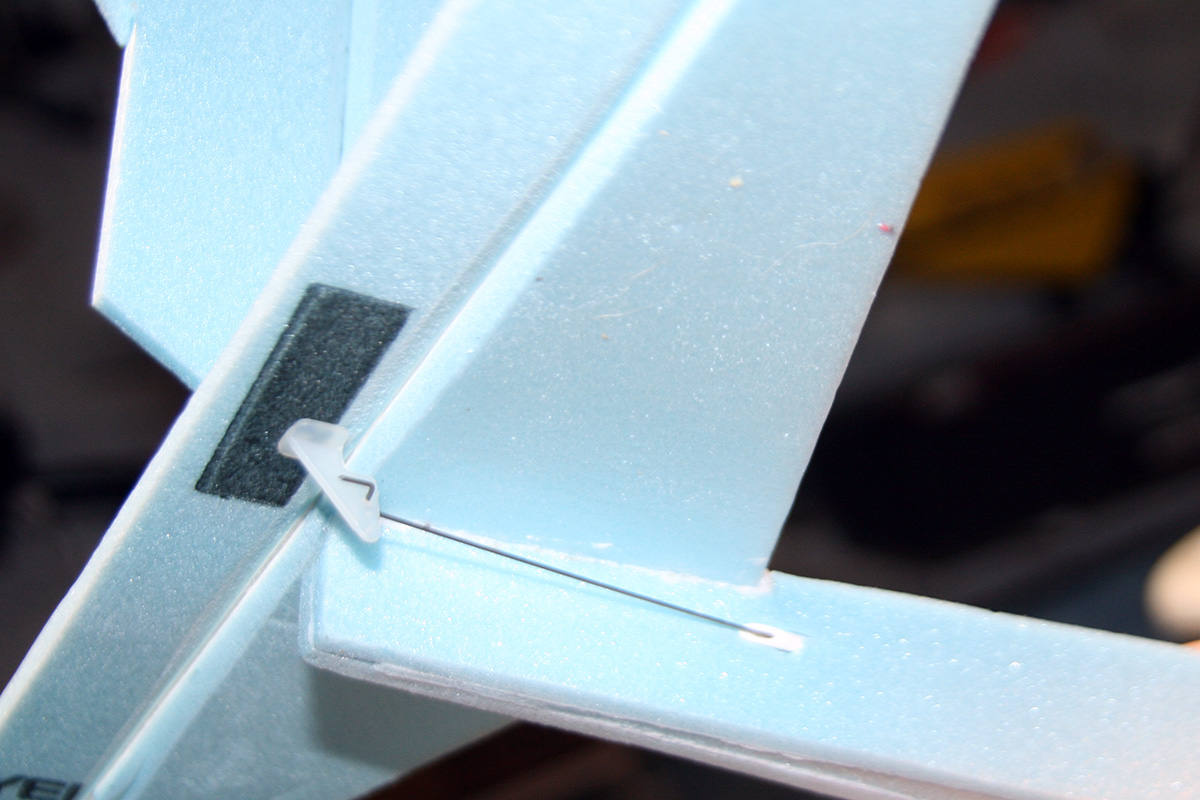
With the servos mounted, control horns installed, and pushrods routed and hooked up, it’s finally time to glue on the top rear piece of the fuselage.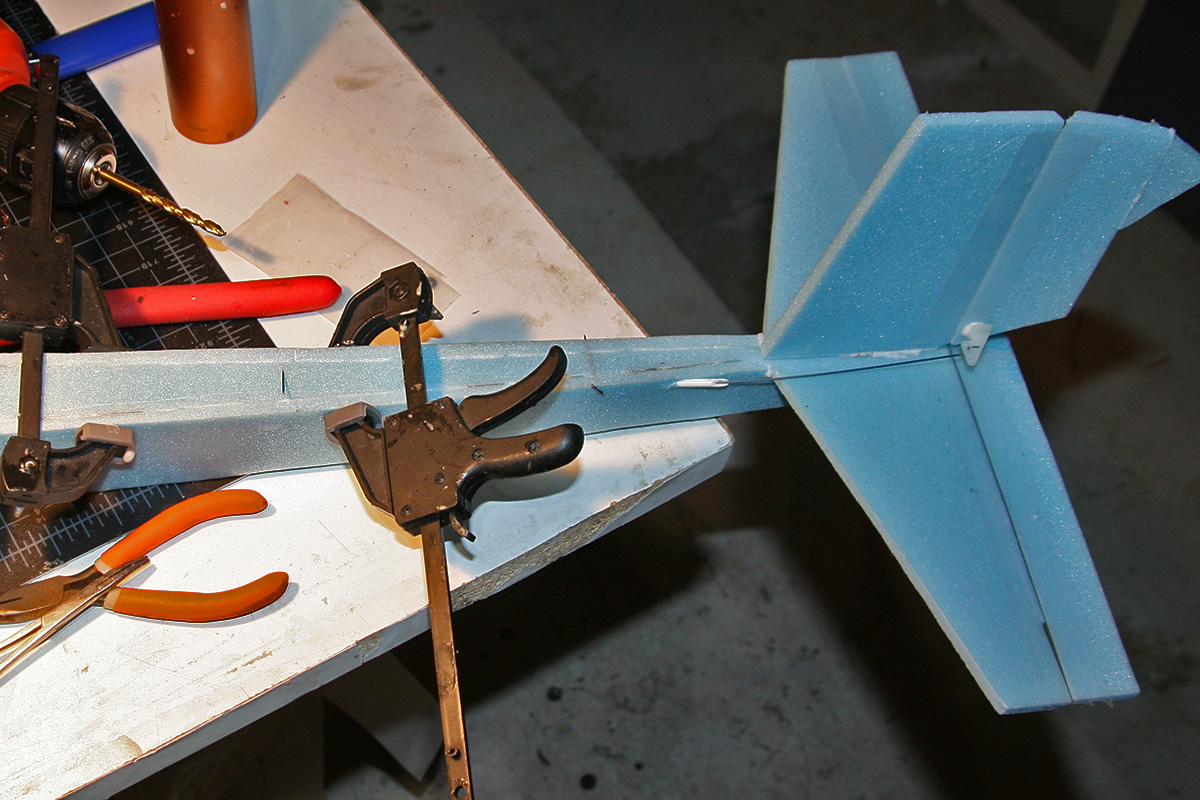
The little 12A ESC gets tucked up front. And now the top front fuselage cover can be glued in place.
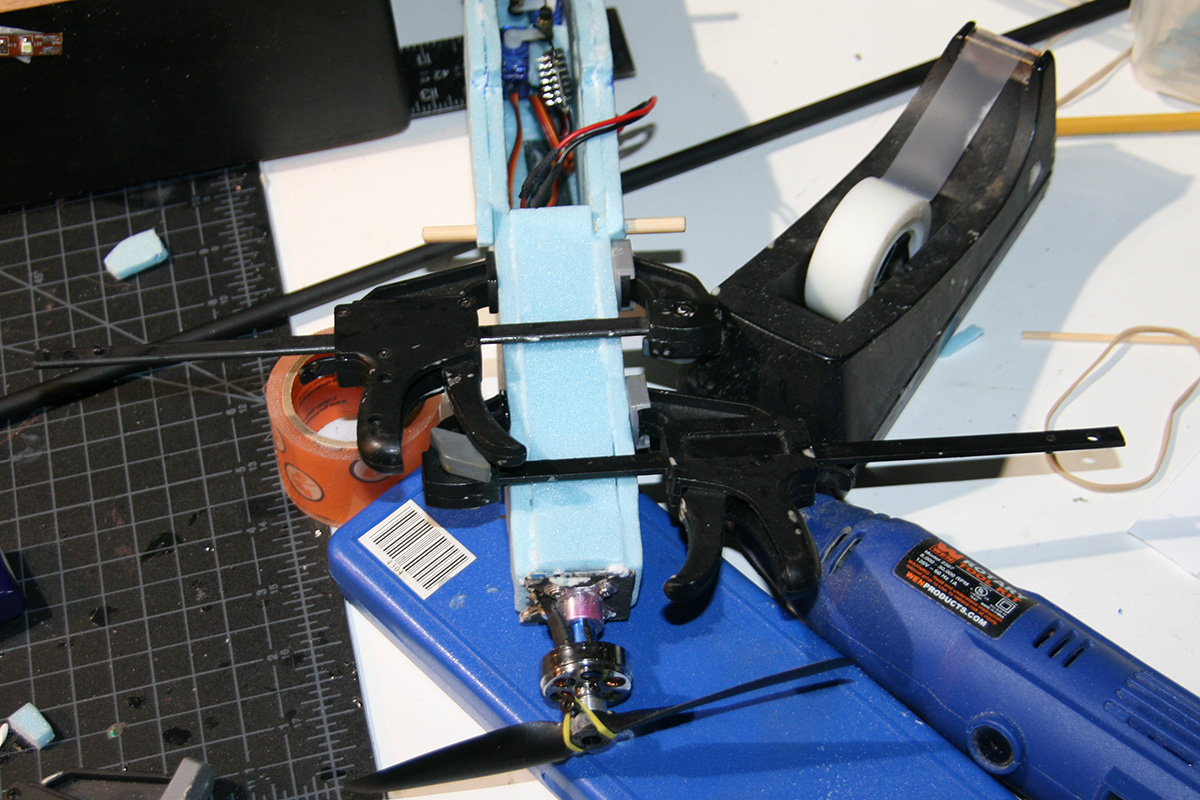
A moderate case of Builder’s Finger.
The wing tips were not holding matching angles so I cut two little pieces of thin, scrap plywood to glue in place at the join, near the leading edge. Hopefully, these will help.
A quick check shows that the horizontal stabilizer is not level with the wing. Some hacking and shimming ensued.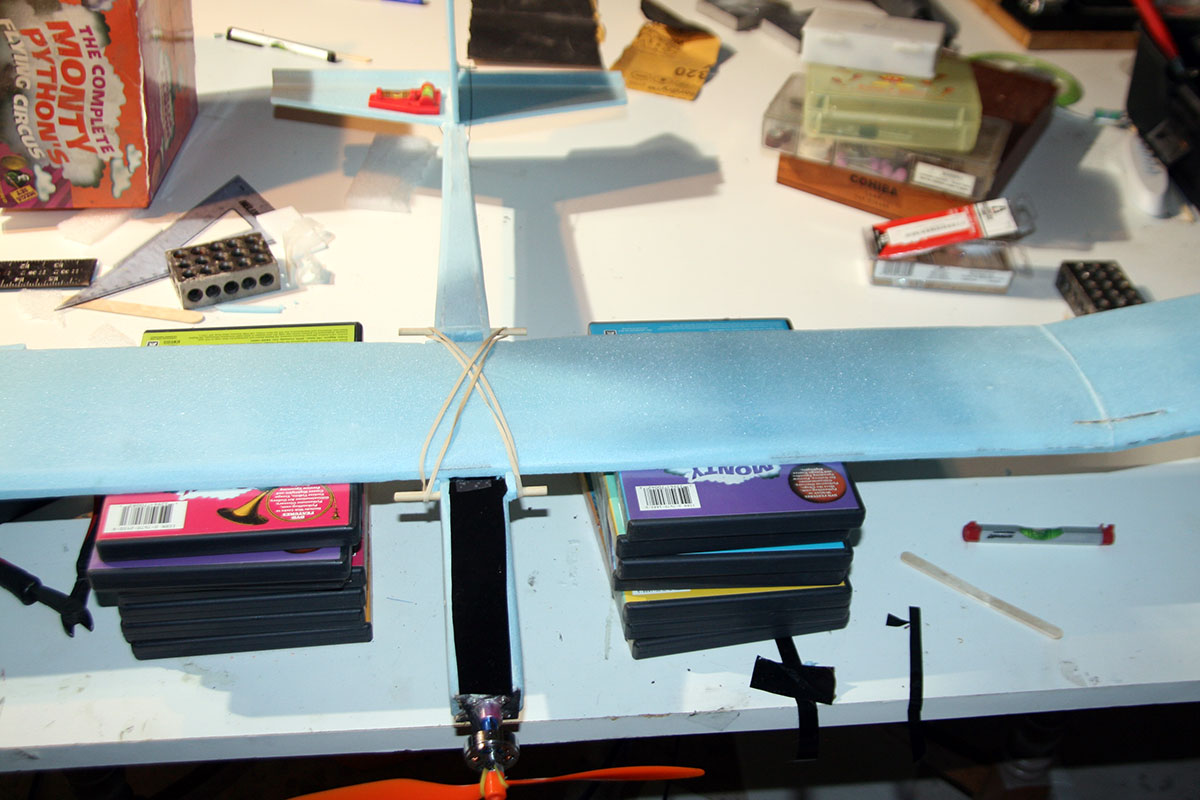

I decided to add just a touch more rudder. This little white extension is the only Readi-Board on the plane.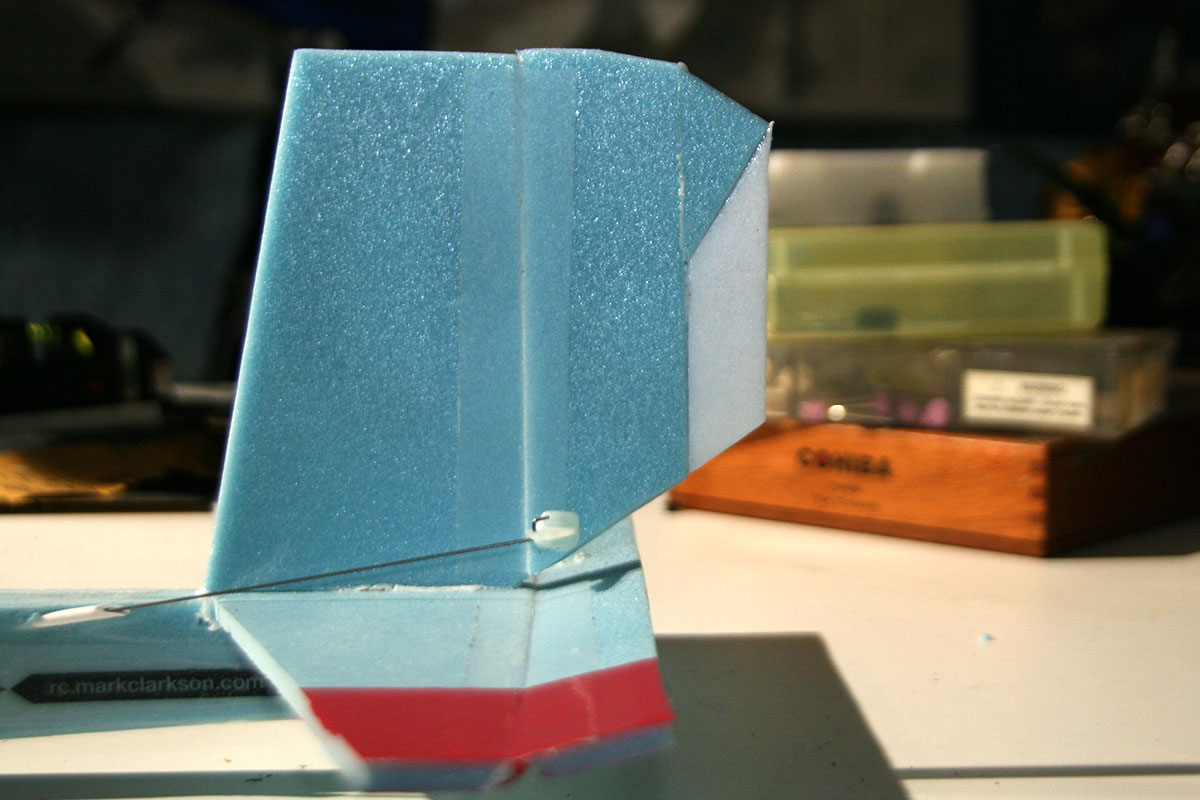
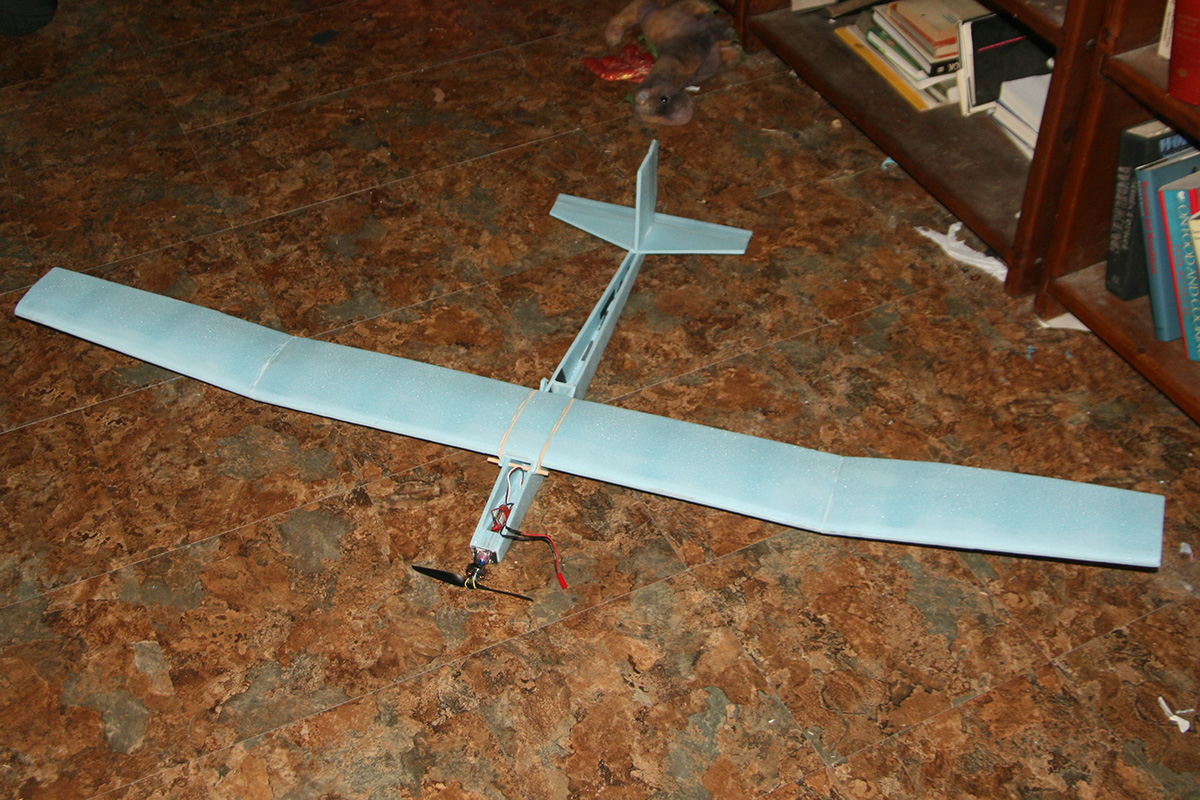
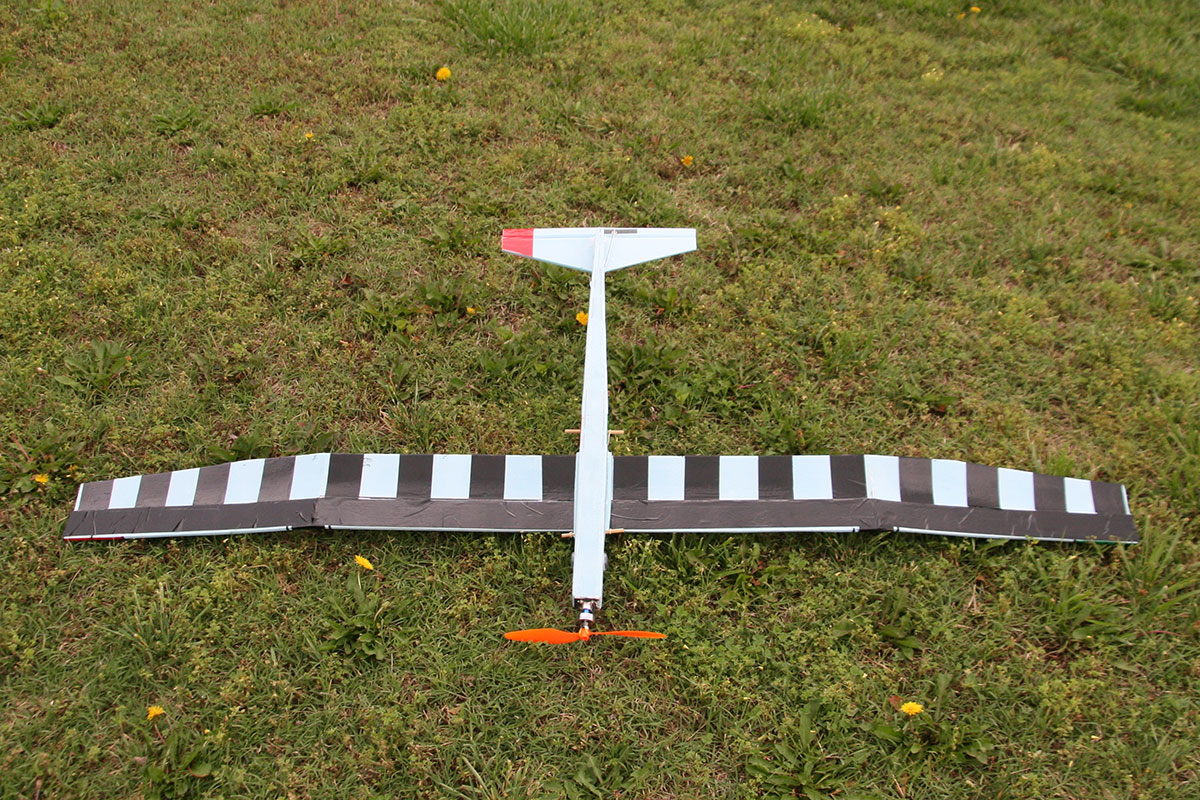
Here’s the finished plane, all dolled up and ready to fly.

Test flights showed that the incidence between the wing and the tail was off, causing the plane to want to dive, rather than float. I eventually placed a foam shim about 0.30″ thick under the leading edge of the wing, increasing the wing’s angle by about 3.5° with respect to the tail plane. The plane’s glide characteristics were drastically improved, but this is clearly a temporary measure.![]()
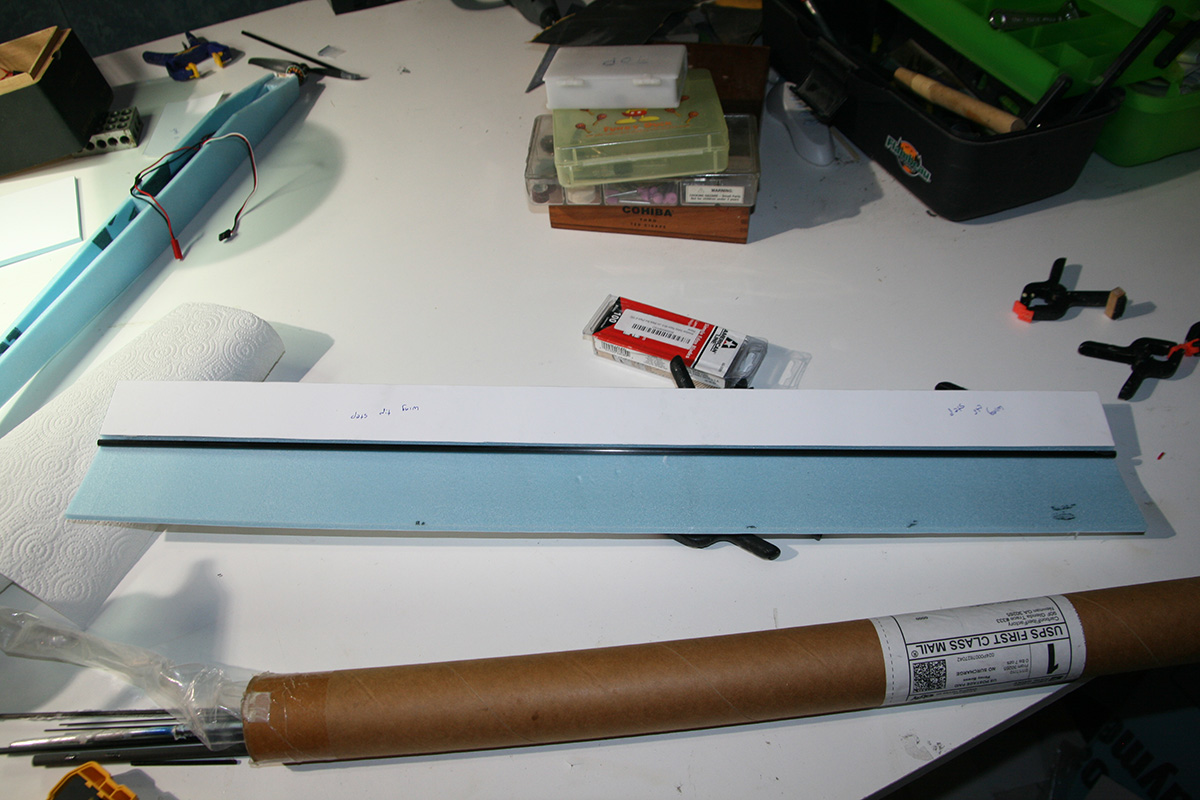
To create a more permanent fix, I decided to restore the wing to its original position and instead lift up the trailing edge of the horizontal stabilizer to create the same angle. After doing some trig, I computed the thickness and angle of the required shim and created a template in Photoshop.![]()
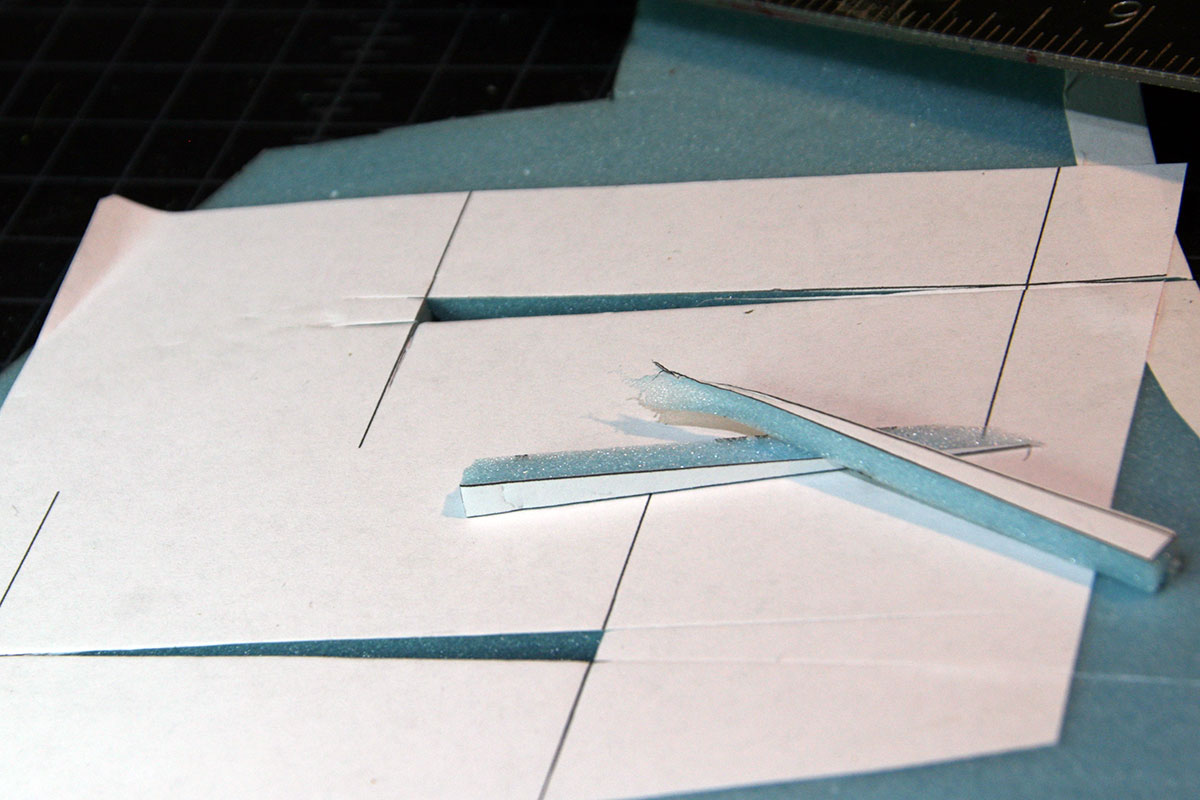
I printed this template out and cut four slices of FFF.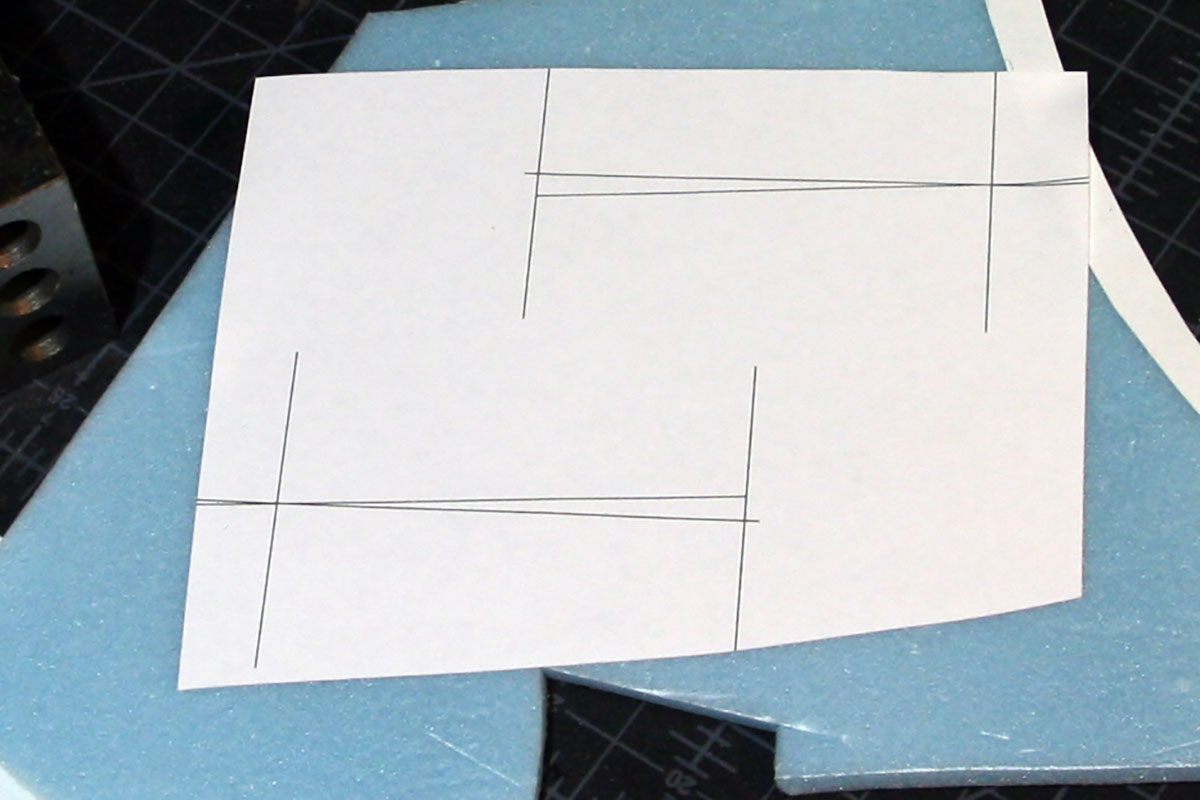
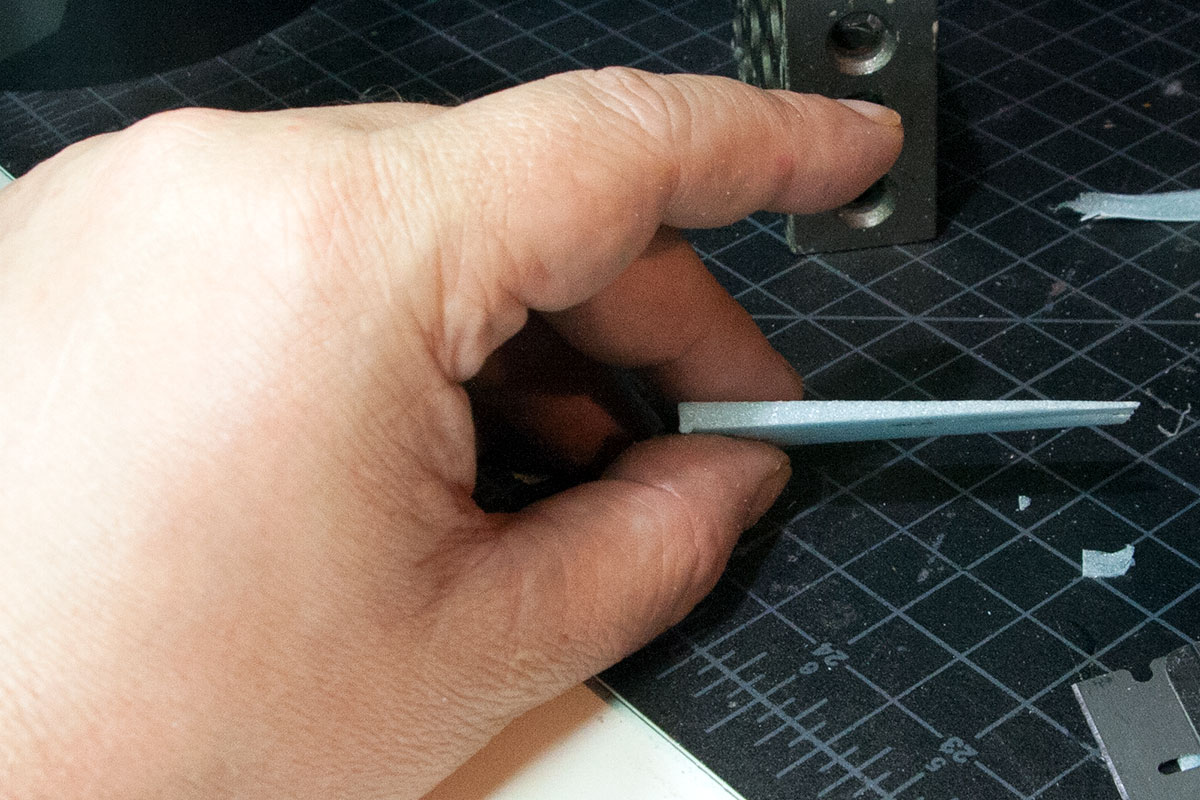
I computed that the shim needed to be a bit less than 0.18″ tall at the back. This looks close enough.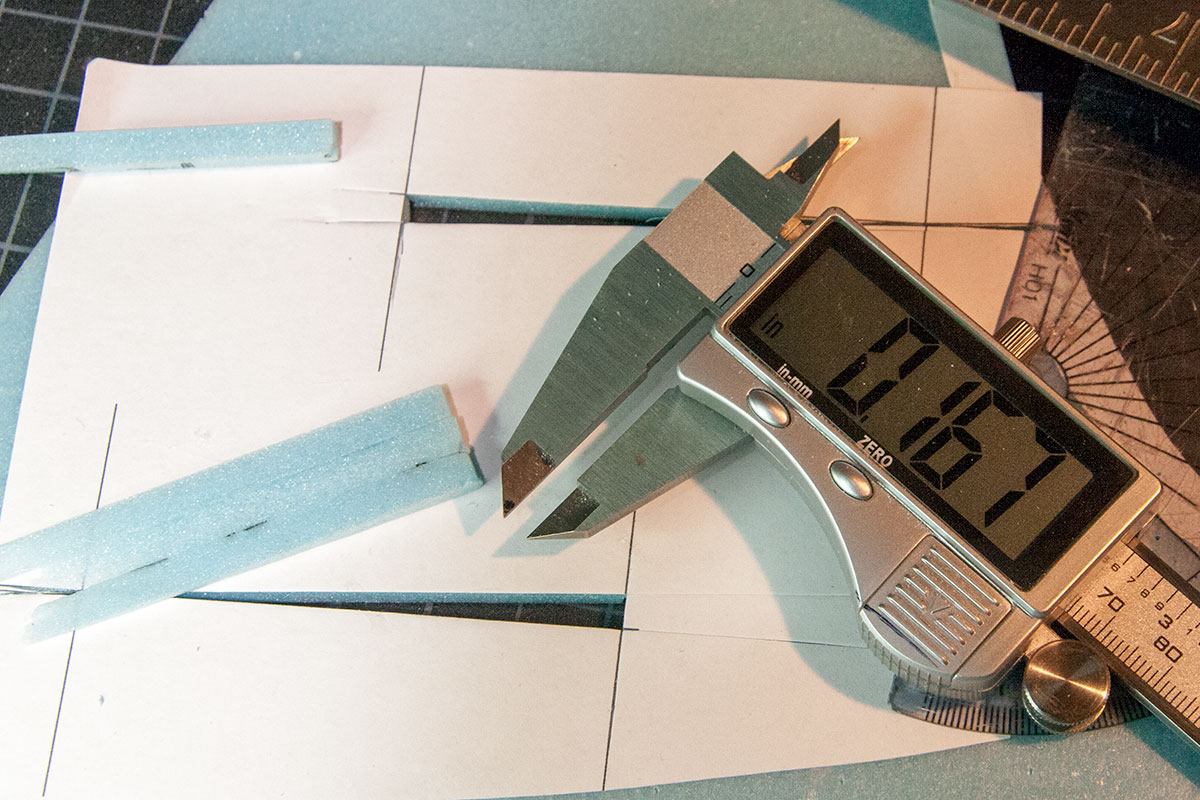
I glued the pieces together, edge to edge.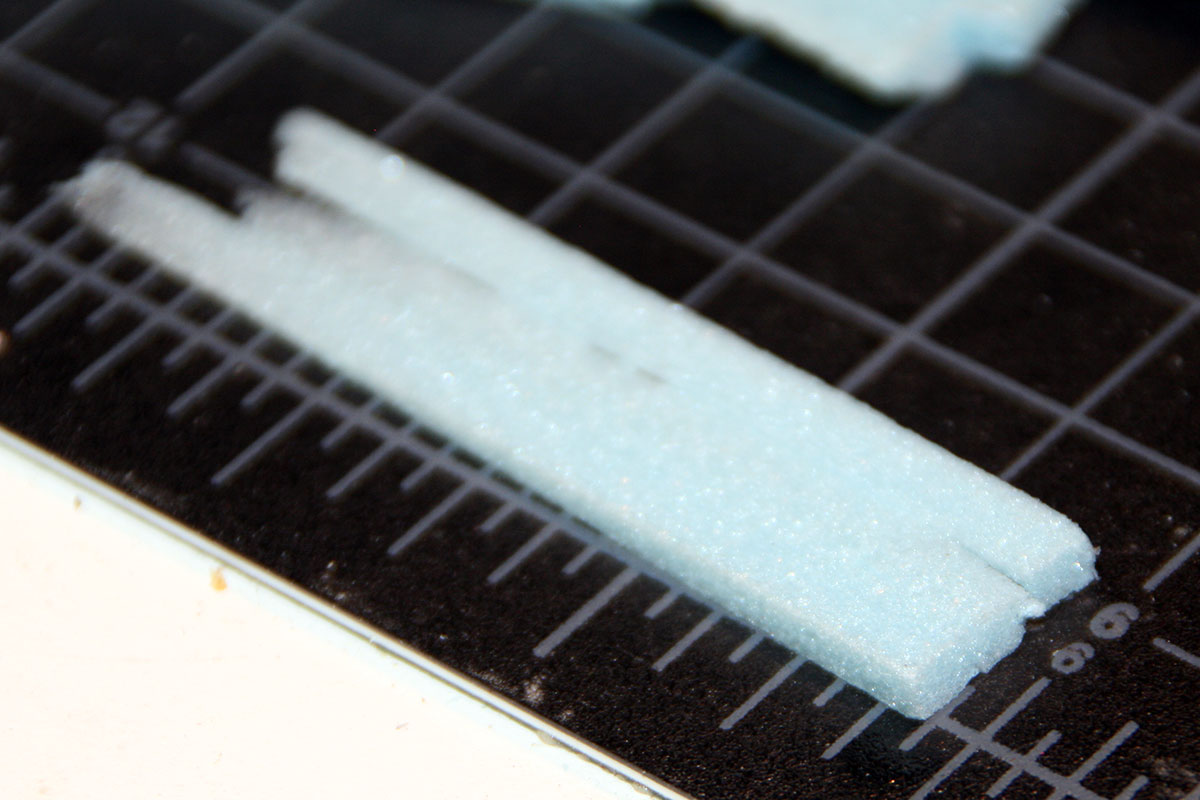
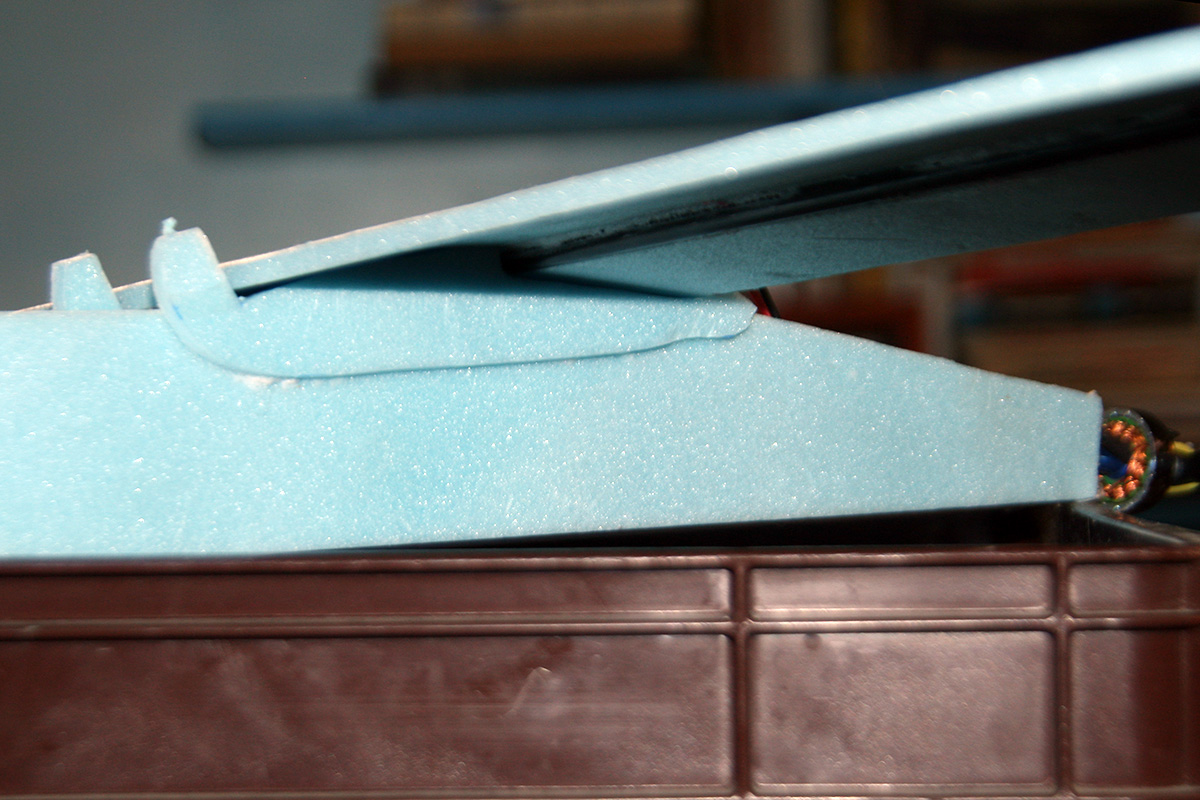
Here’s a test fit of the shim inserted under the tail. I also used the inclinometer on my cell phone to take measurements of the difference between wing and tail angles before I started so that I could make sure I’d recreated them with the old shims removed from under the wing and the new shim inserted under the tail.