I saw a photo on an RC forum which intrigued me. I thought it was a cool-looking, unique design but, when I examined it more closely, I realized that it was two differently sized flying wings, sitting next to each other.
Still, inspiration will not be denied. I decided to try and build the plane I thought I saw. And … here we go.
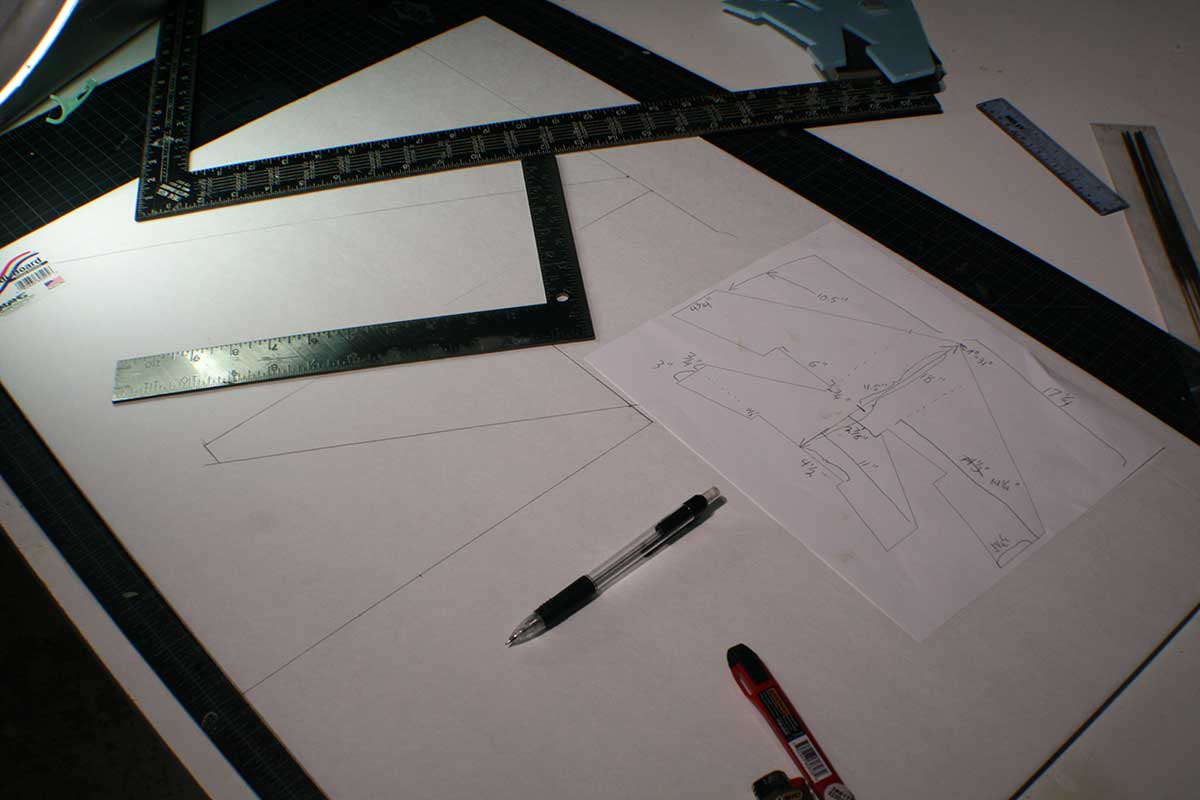
Here’s my super-detailed sketch, complete with approximate measurements.
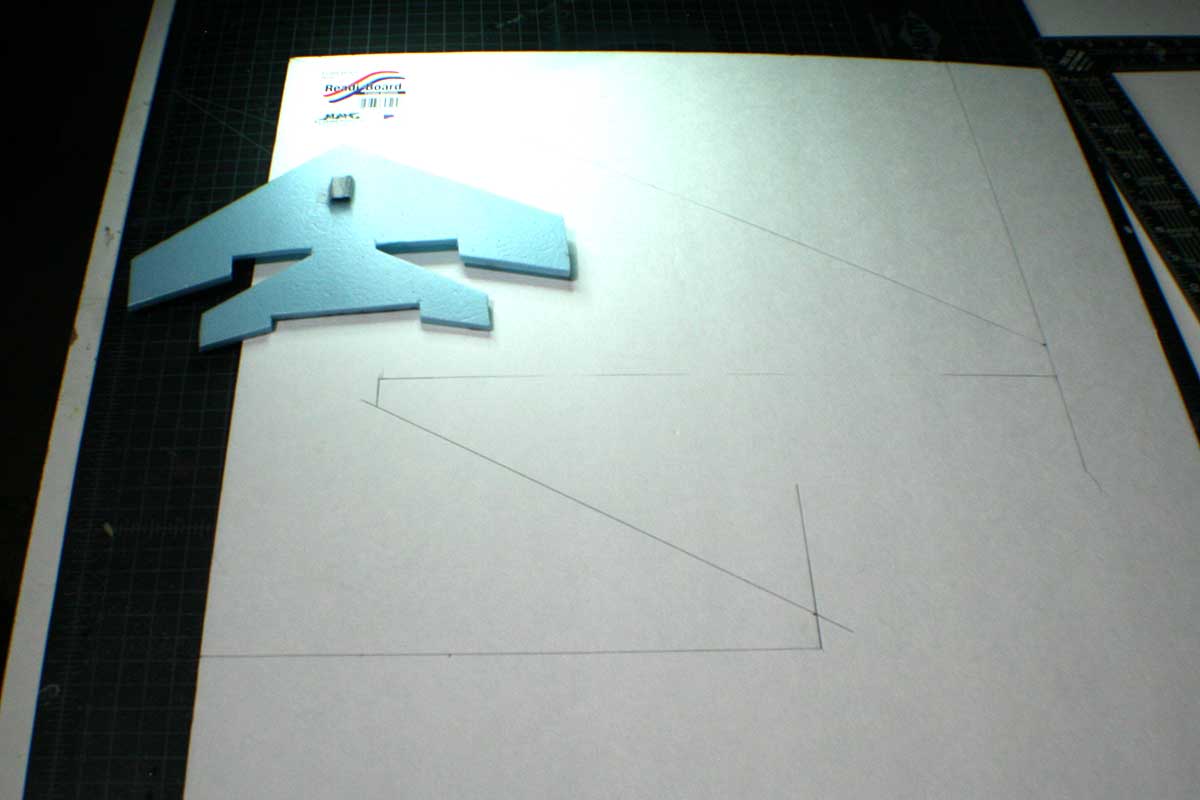
 I started off by making a small cutout from some 1/4″ foam and tossing it around my basement to try and establish an approximate CG for the final plane.
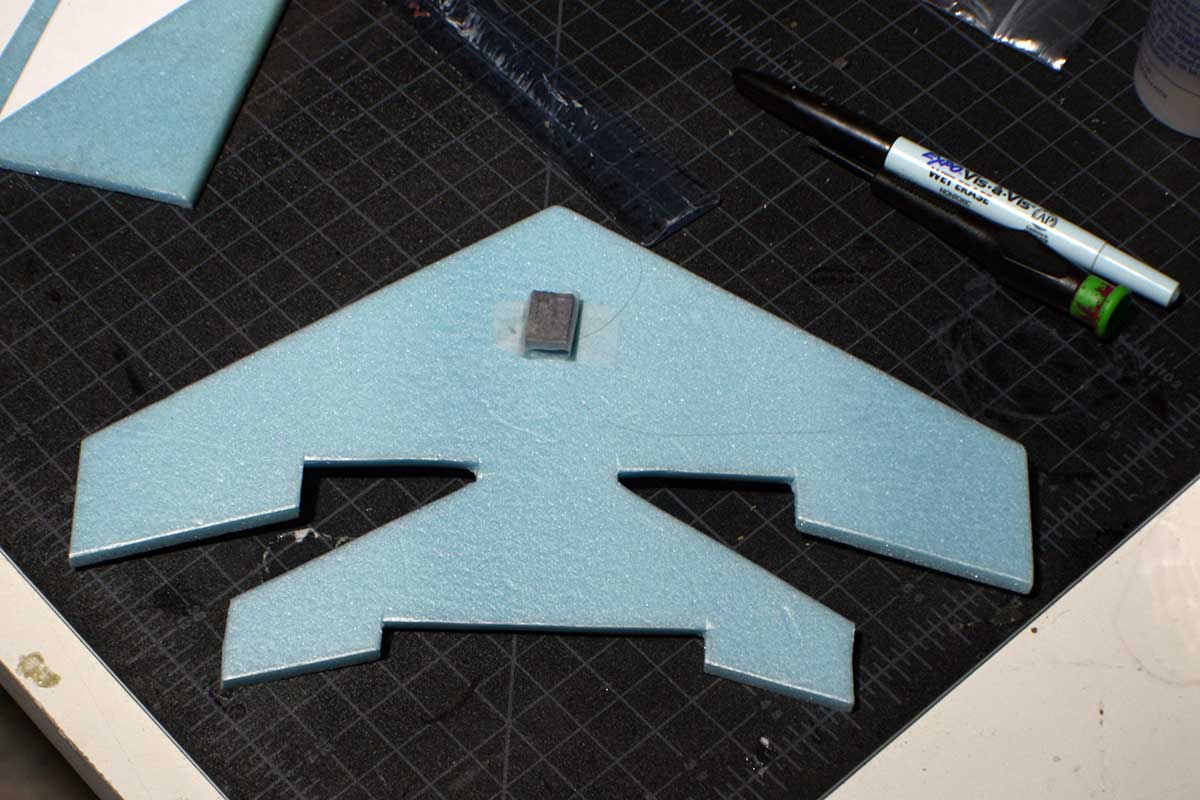 Next, I spent some time transferring my sketch to the foamboard I’m using for the project.
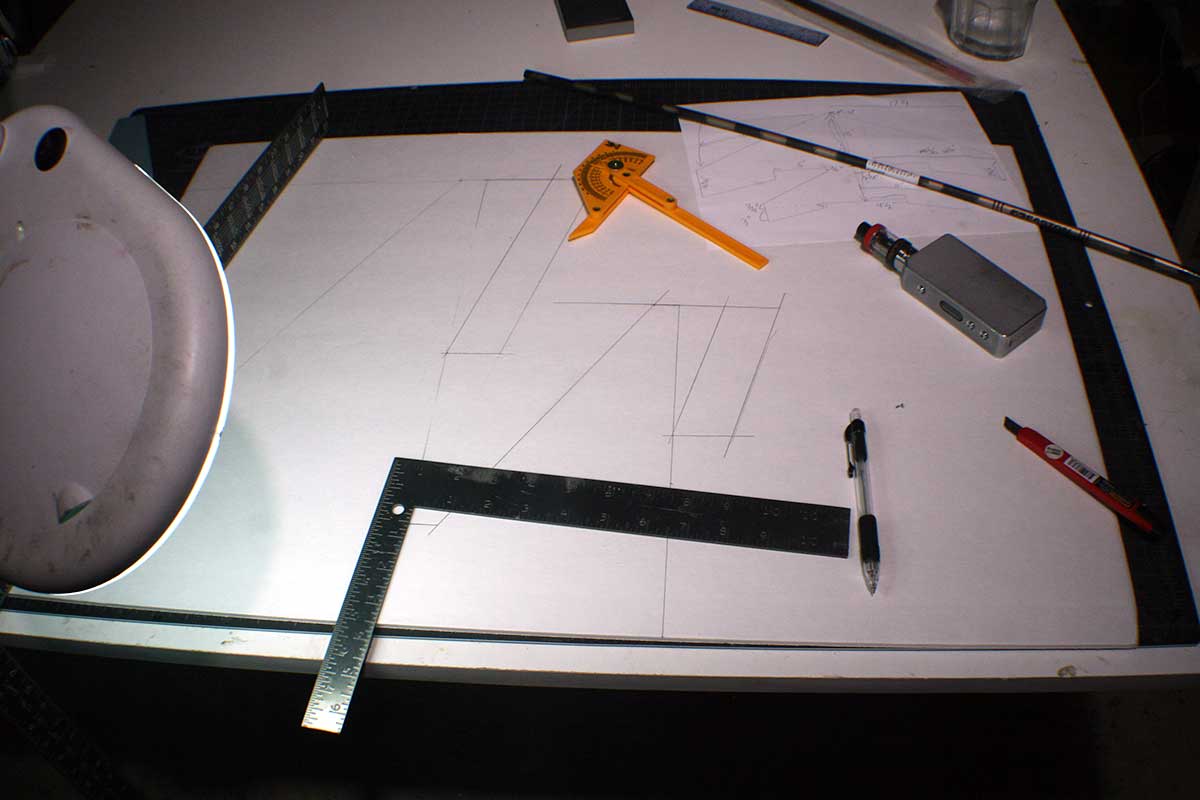
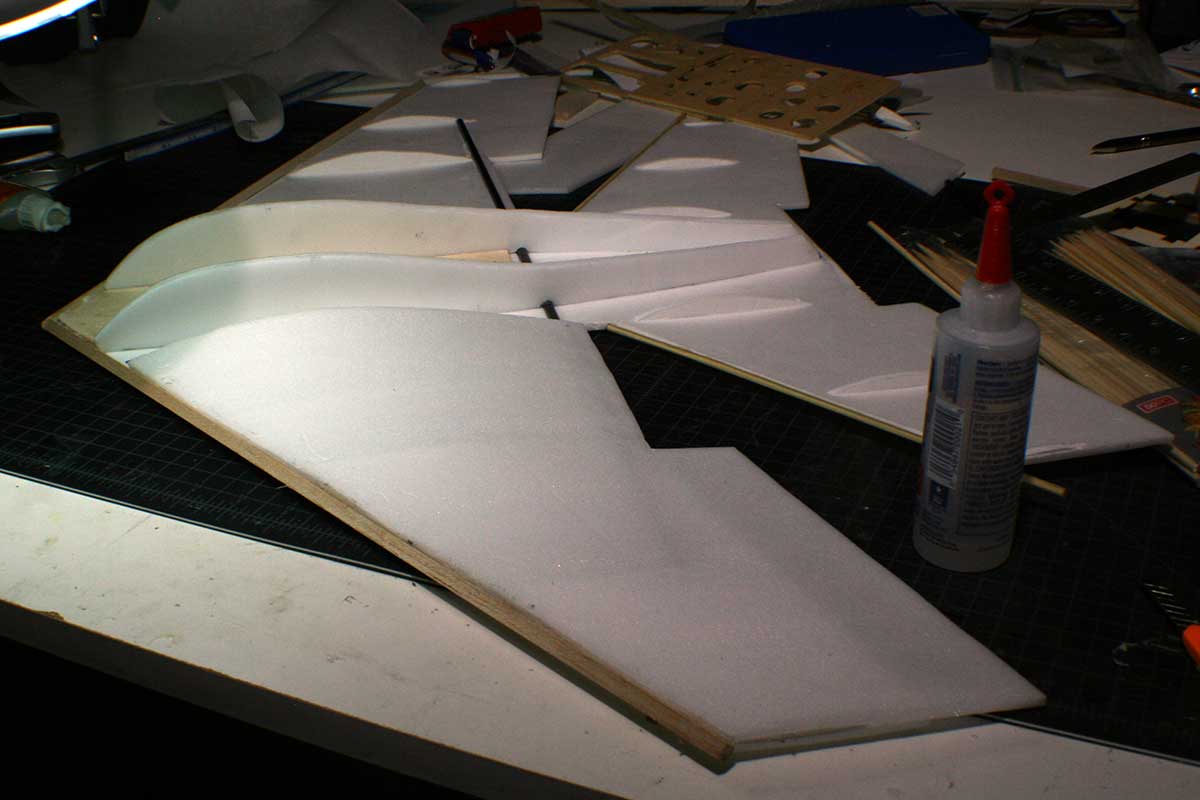
Here’s half of the plane’s basic form.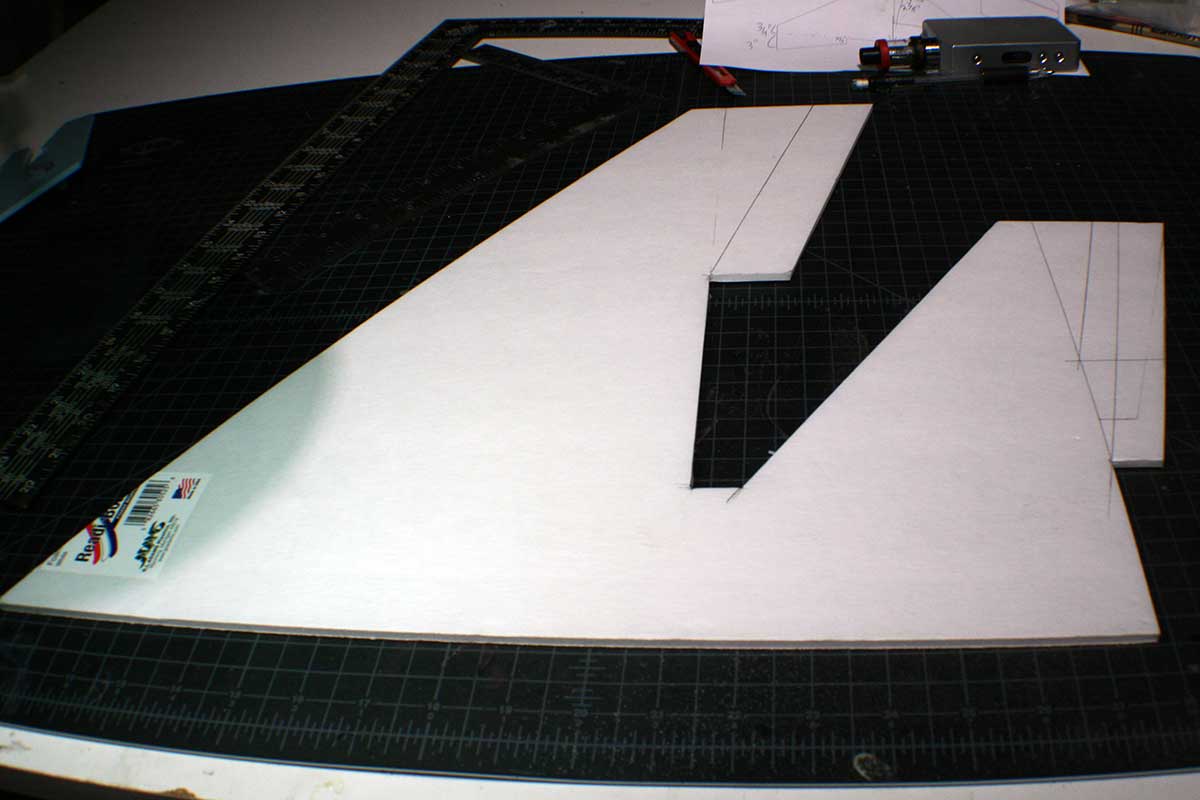
And two halves, glued together.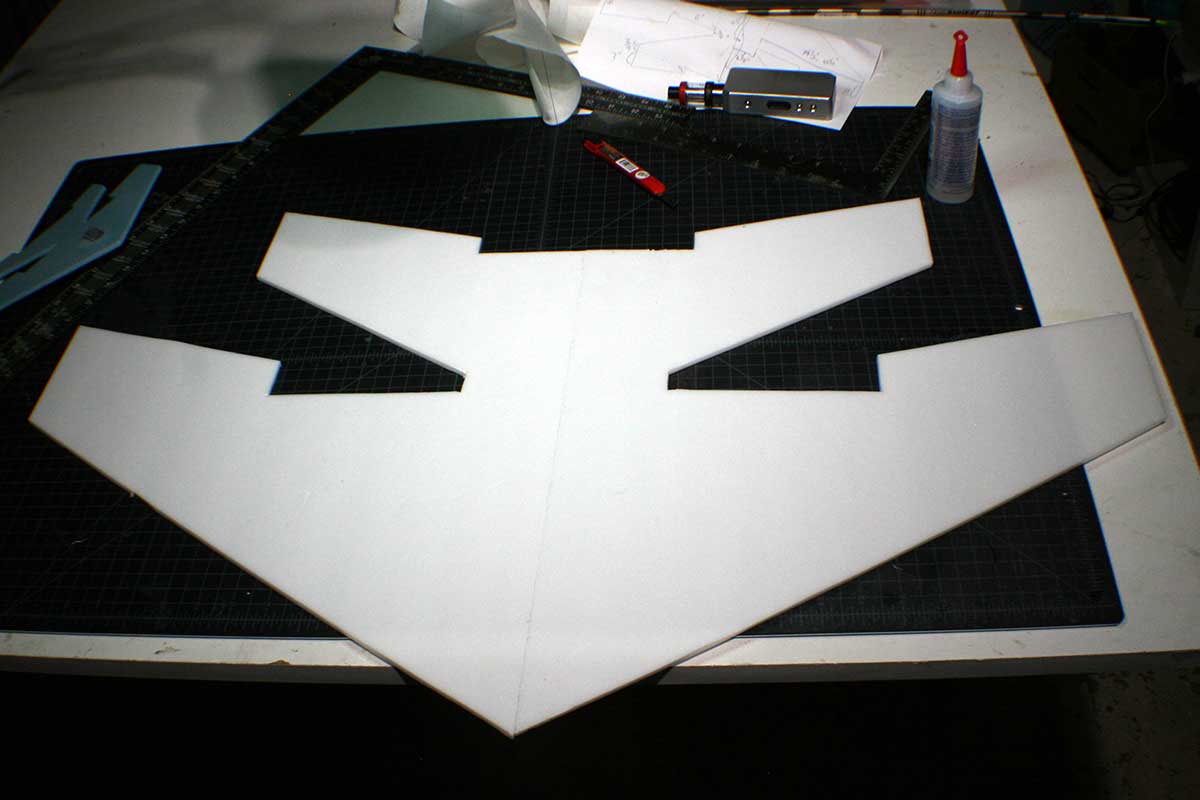
Next, I glued airfoil-shaped ribs to the bottom skin of all wings.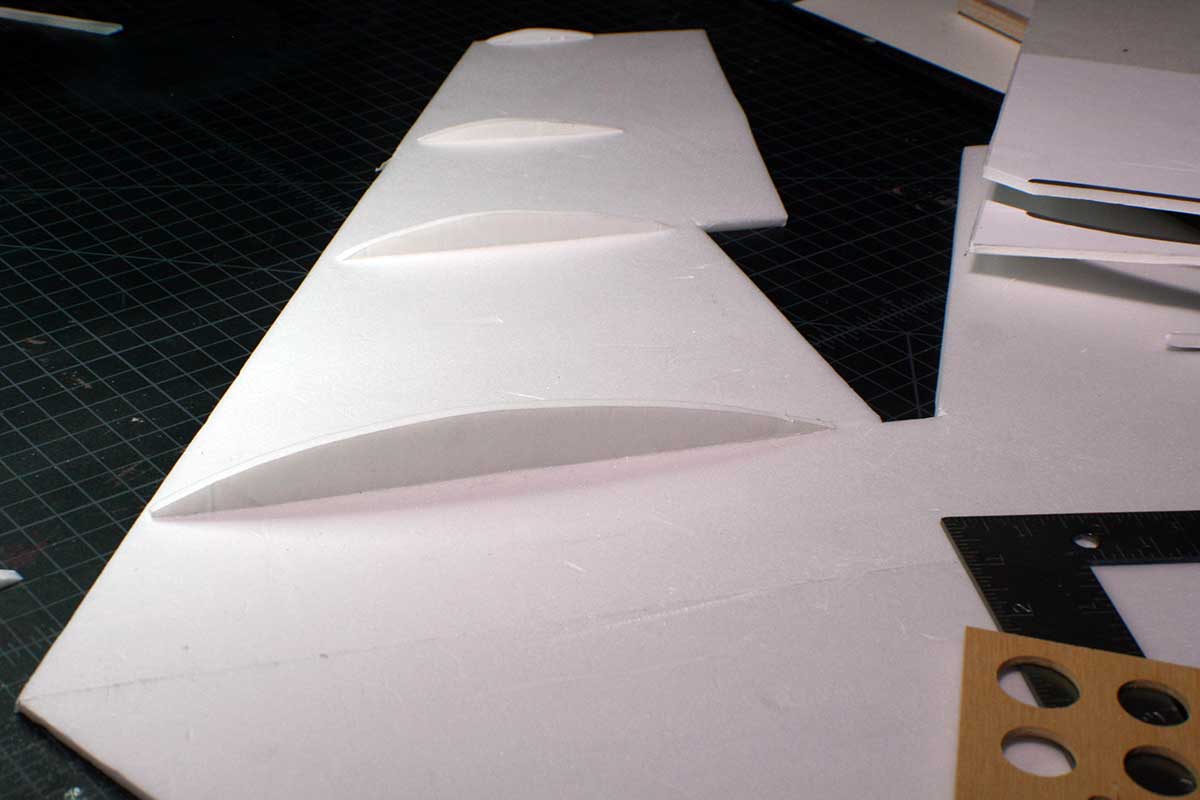
Then I cut out a piece to serve as the shape of the fuselage side. I made four of these.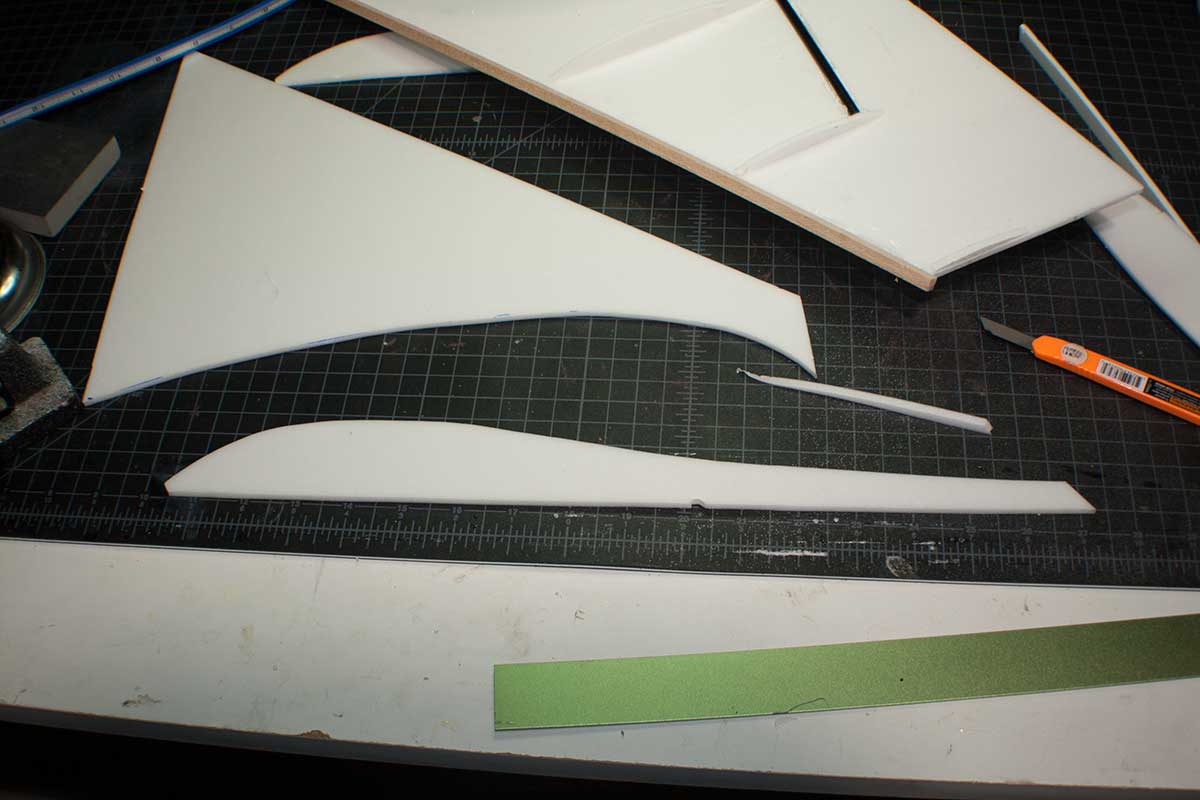
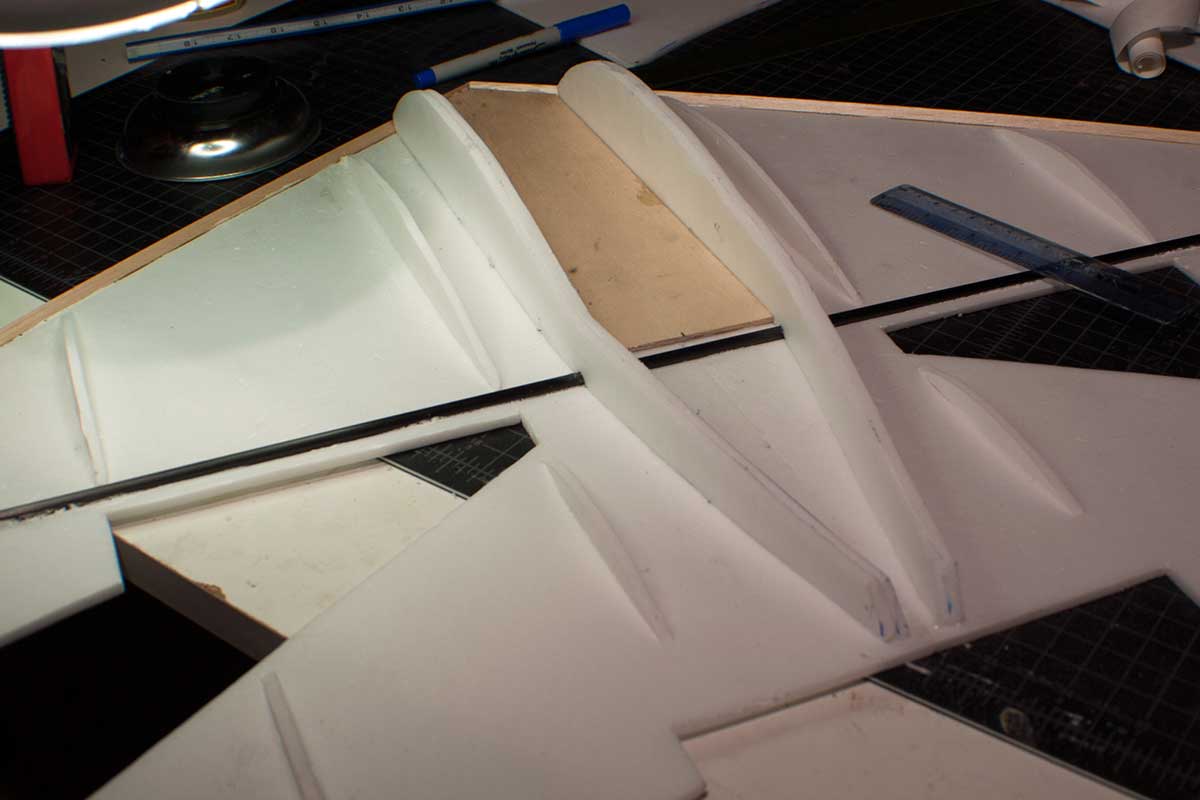
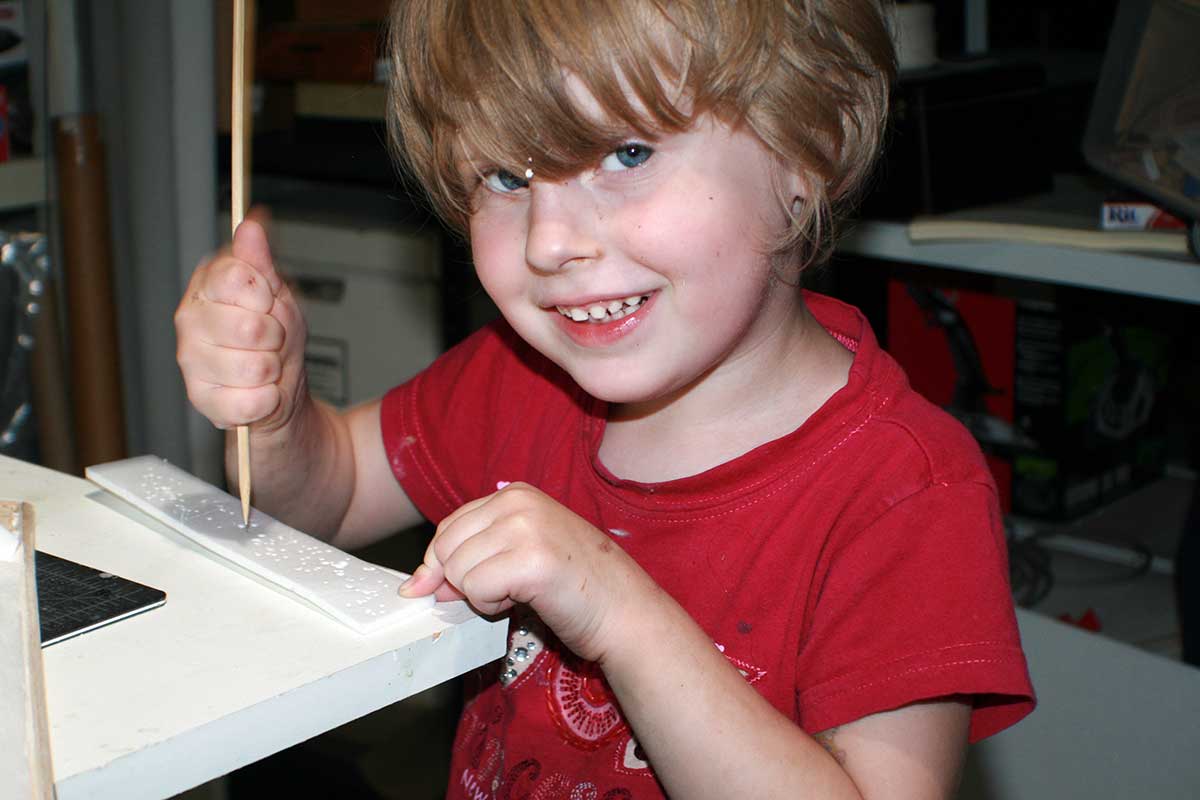
With the sides glued on, I added some CF and bamboo spars to strengthen things up.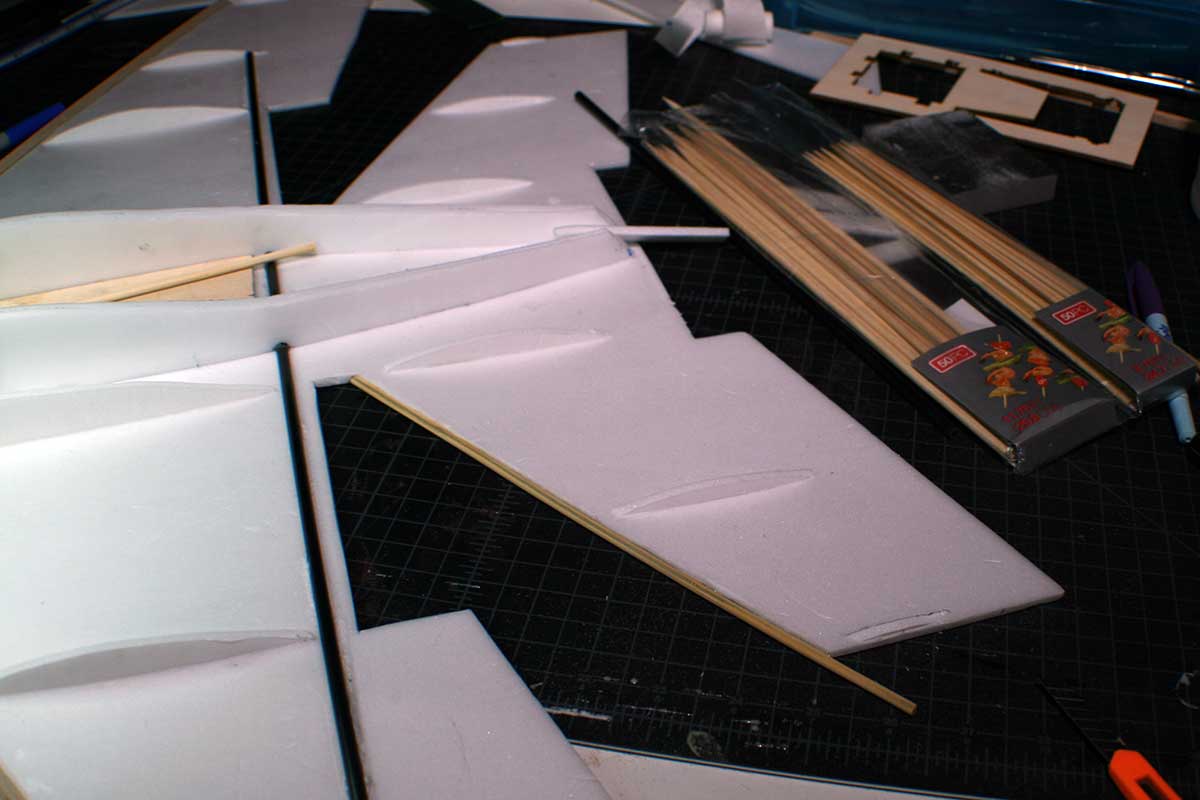 Fortunately, I had plenty of help punching holes into foam.
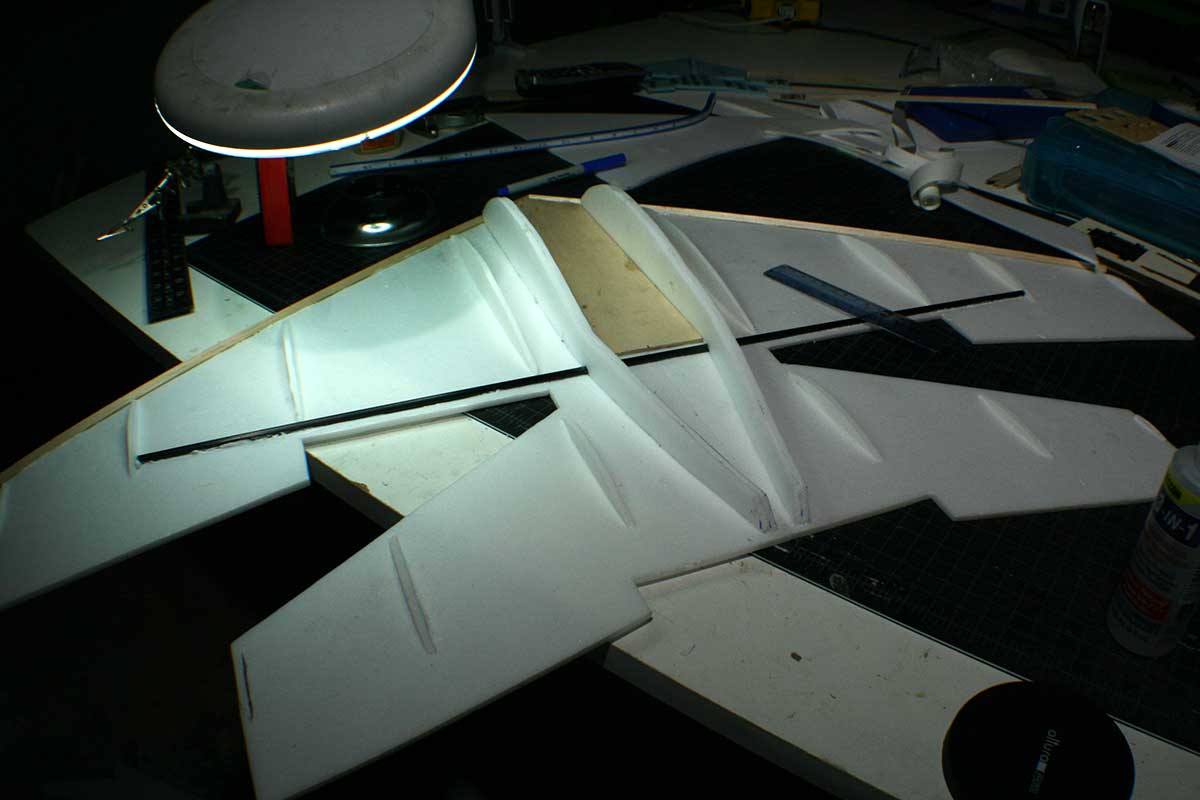
Gluing the upper skin on one of the wings.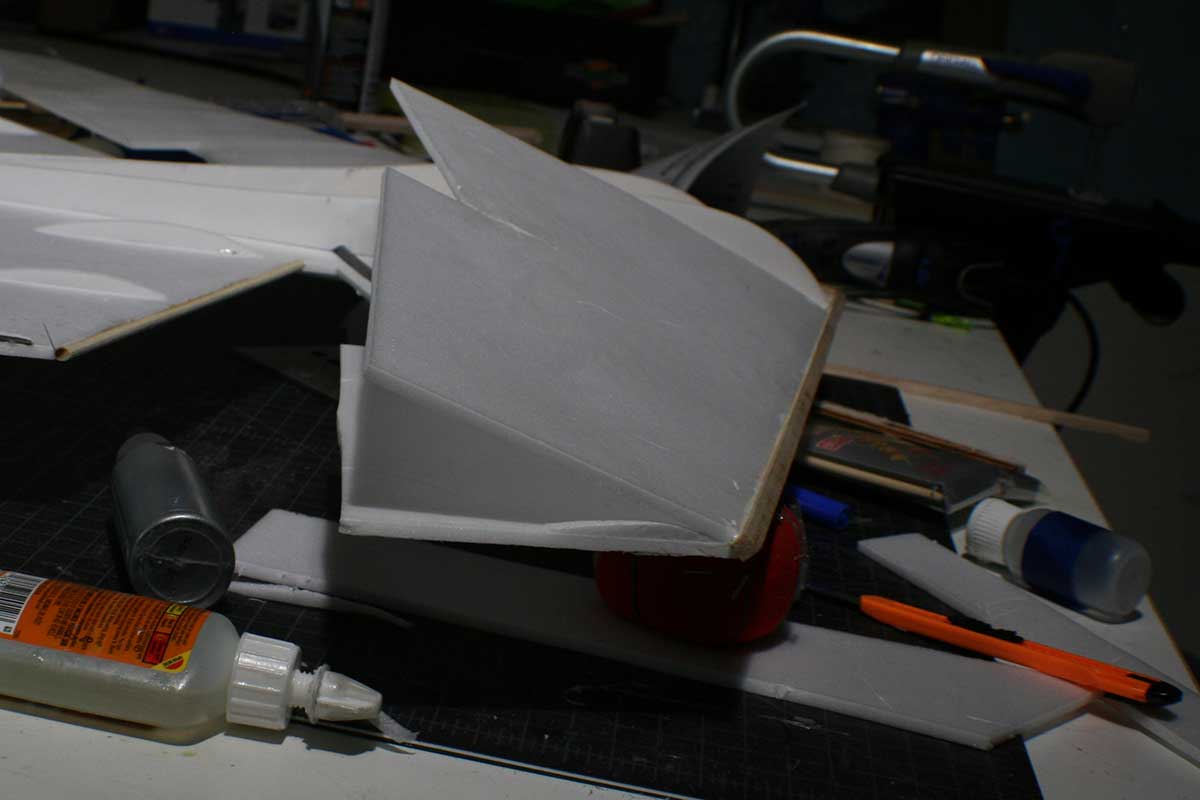 The wings are nearly finished. Time to start filling in the blanks.
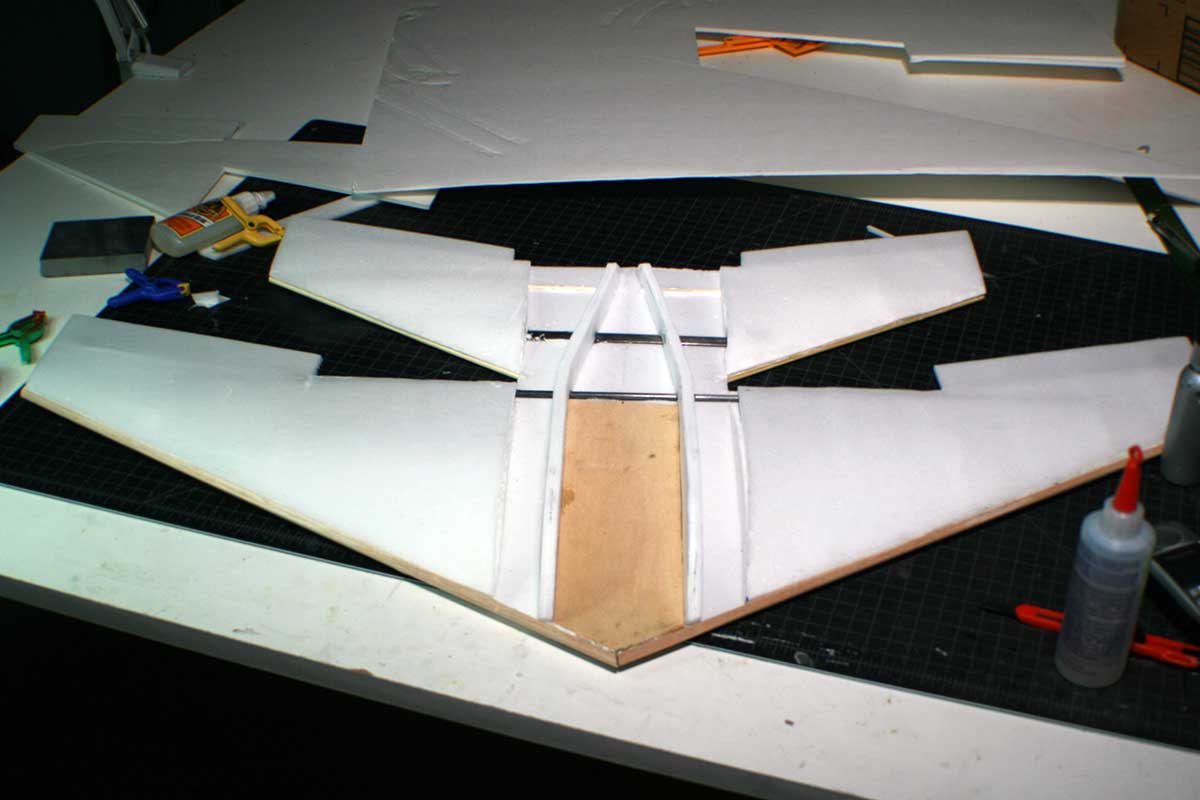

I created some ‘shoulder pieces’ to bridge the gap between the wing and the fuselage.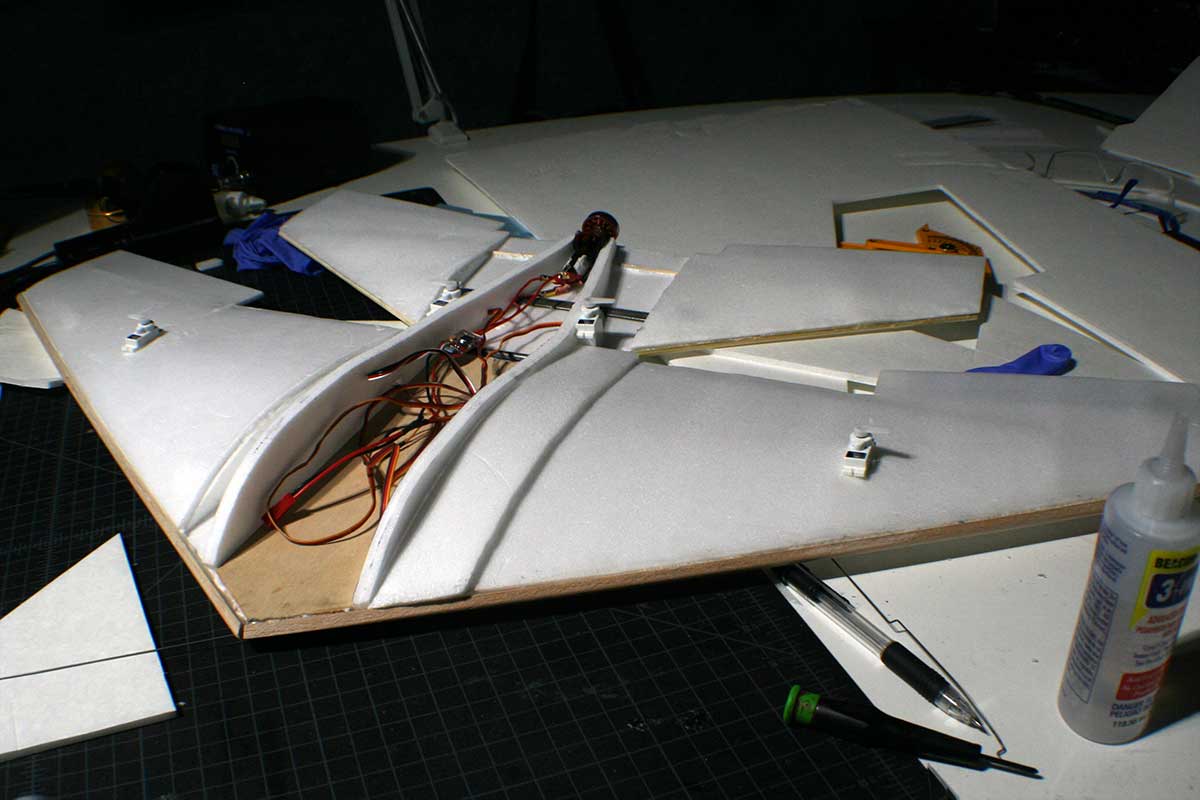
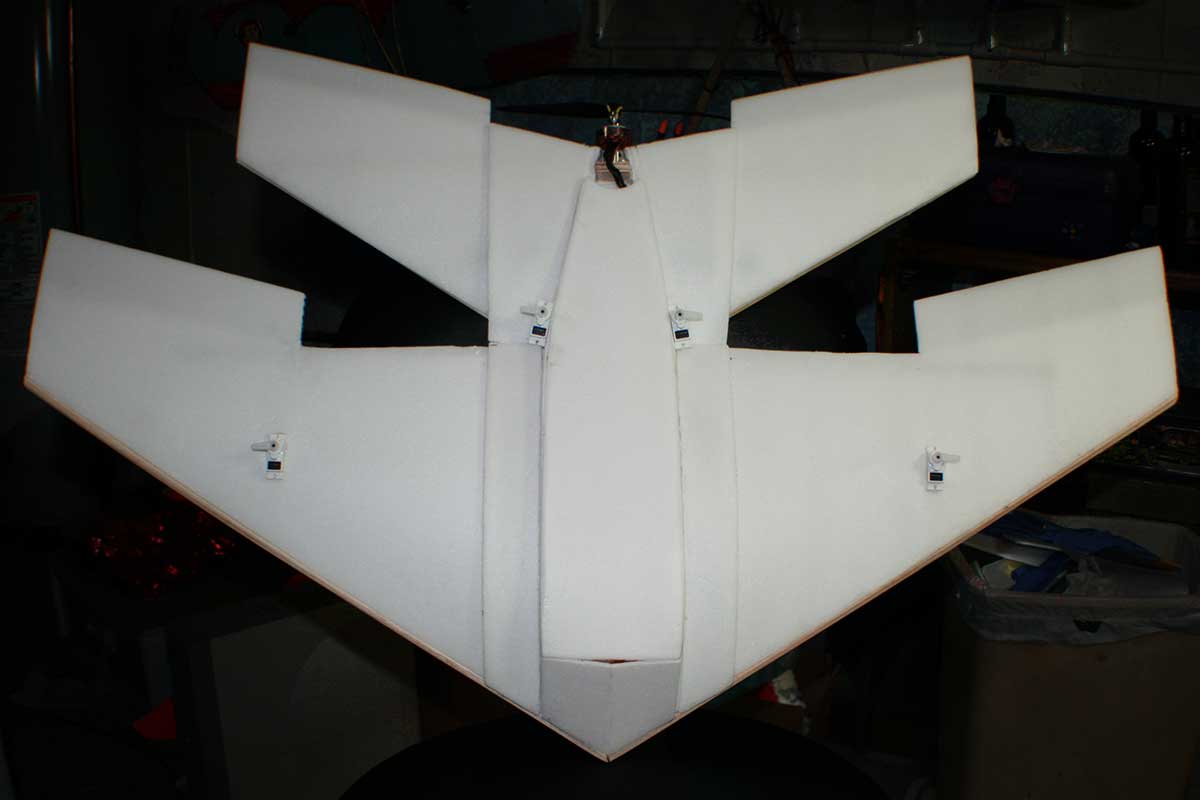
Everything skinned up. Time to make the hatch(es).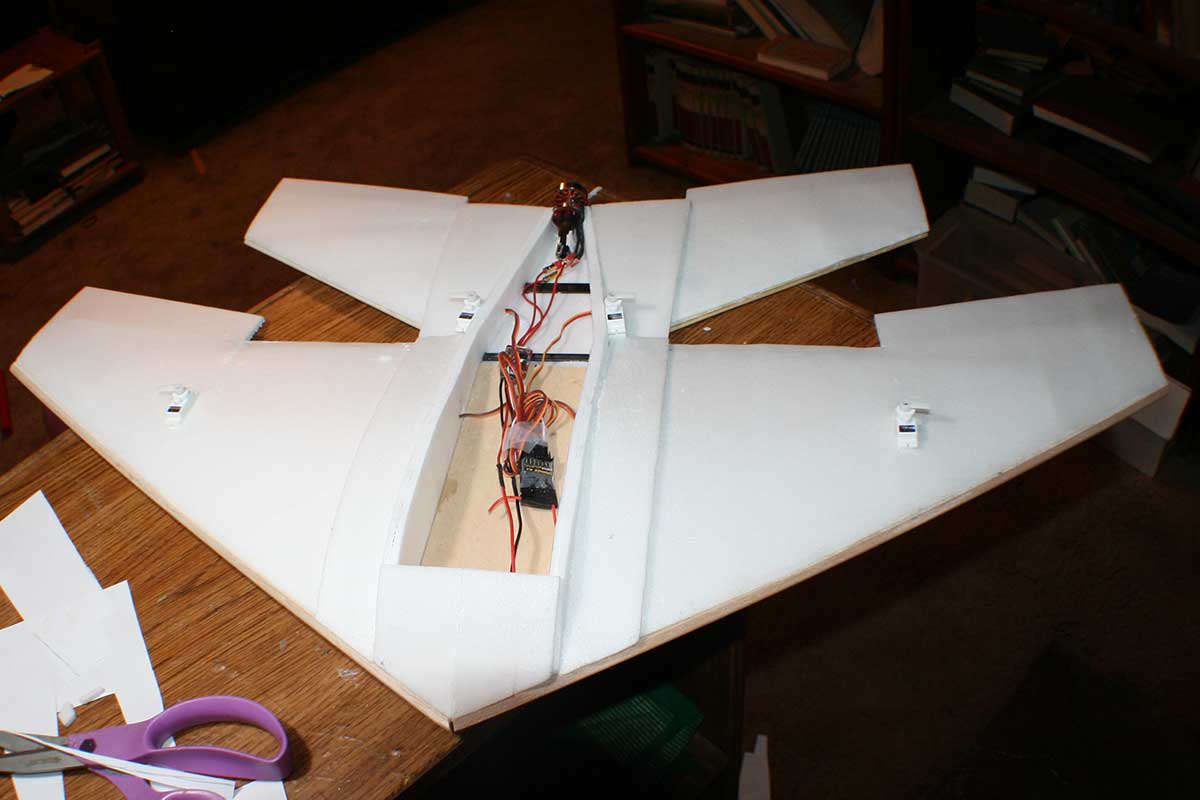 A quick test fit for the battery / electronics hatch.
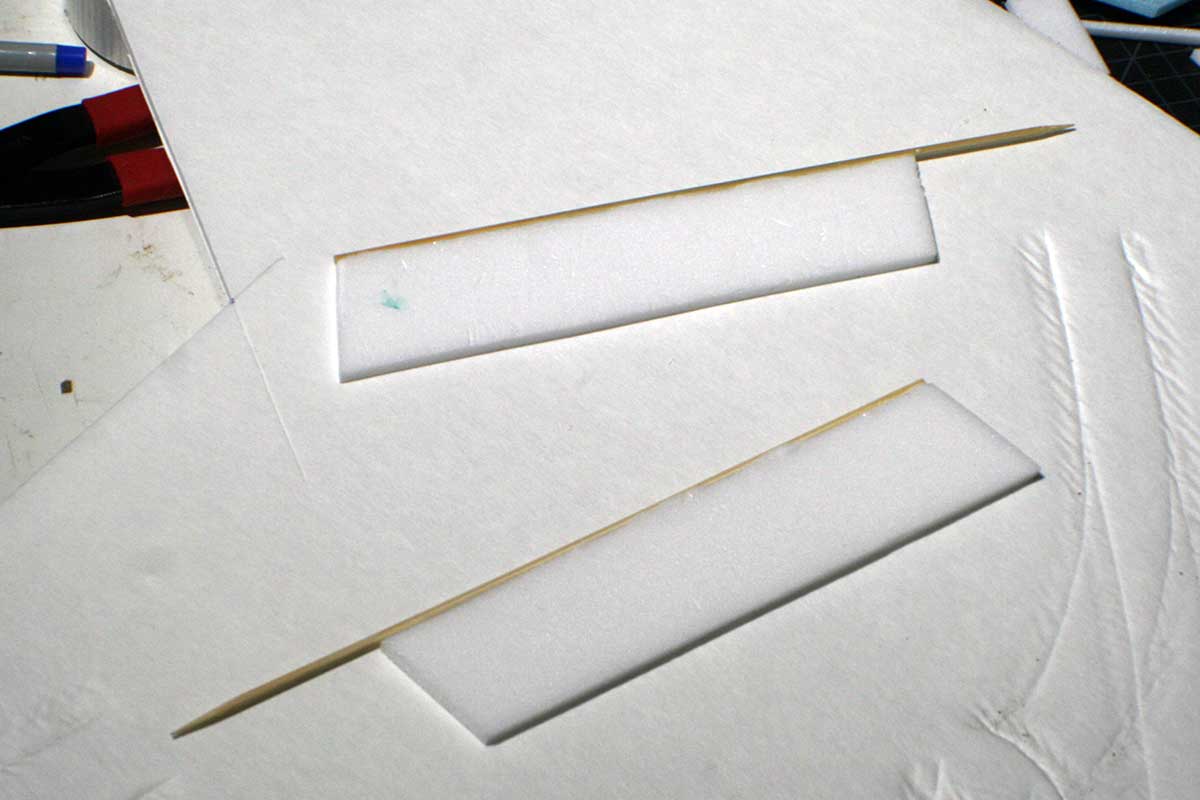
Time to get started on the control surfaces. First, I cut out some foamboard (sans paper) and glue a bamboo skewer to one end. The (hopefully) straightens and strengthens the wobbly foam, and creates a sort of ‘bevel’ to accommodate elevon movement.
 Next, a layer of packing tape skin.
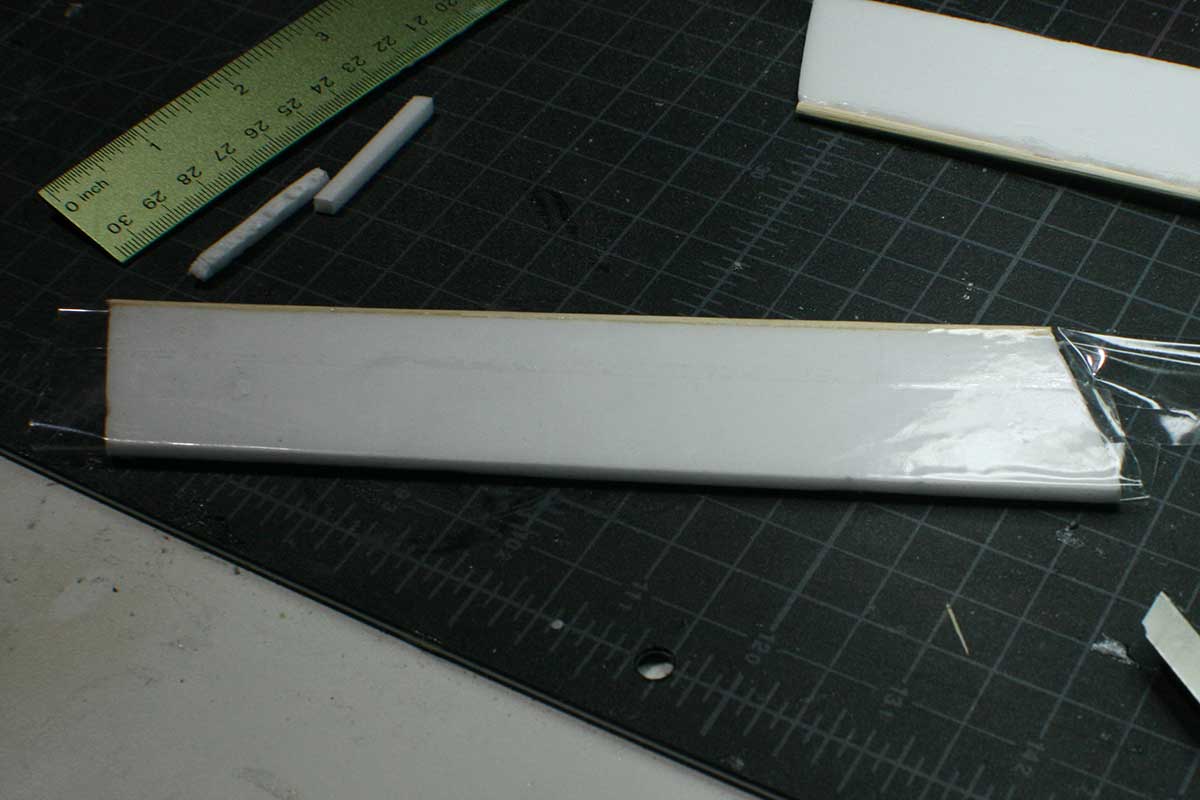 A half strip of fiber-reinforced tape serves as a hinge.
 Everything’s almost done. Time for a preliminary weigh-in.
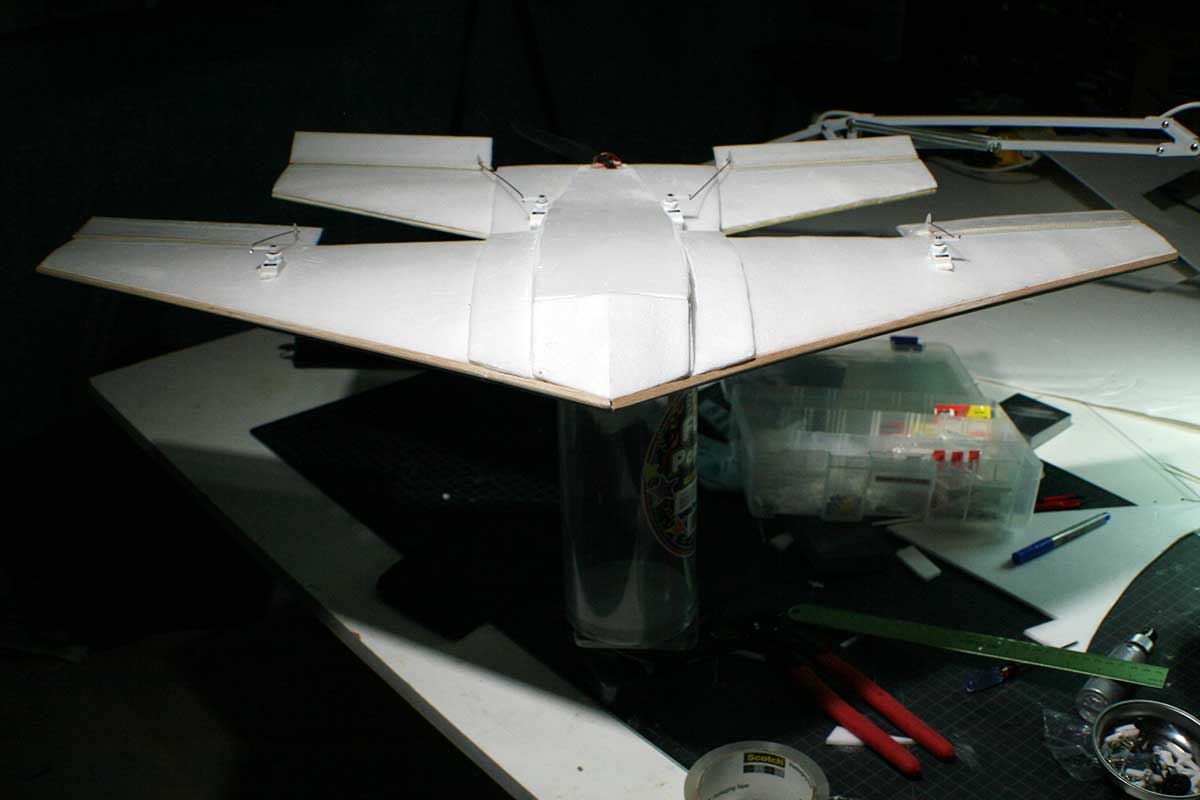 434 grams! Ouch!!
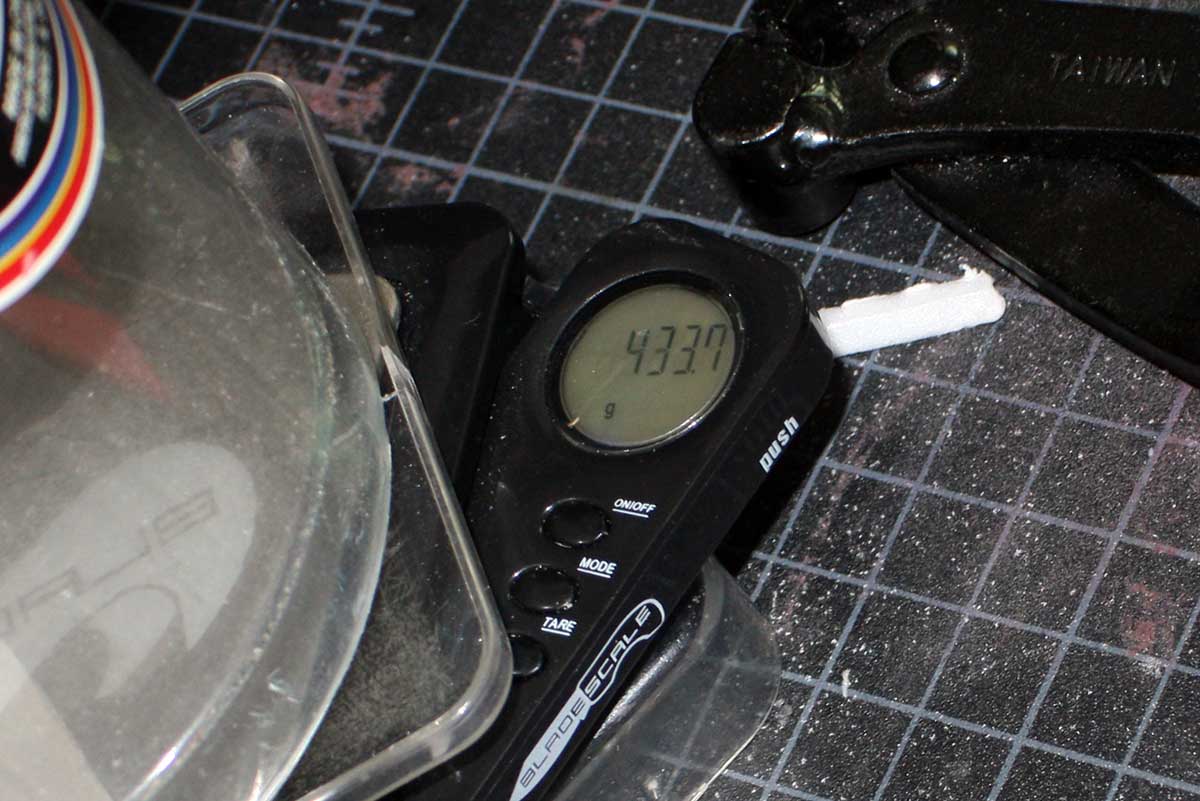
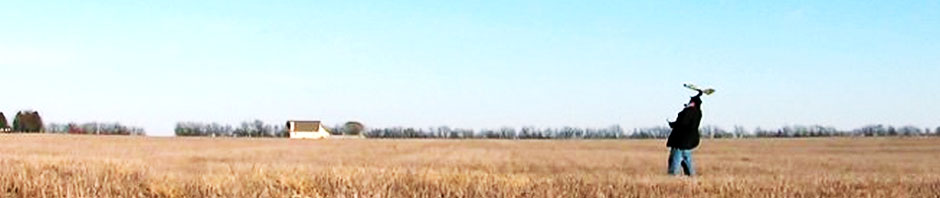
After the maiden
The maiden flight revealed a plane which was problematically tail-heavy, so I’m modding the nose to allow a more forward battery placement.
“Sketching” out some designs in foam and paper.
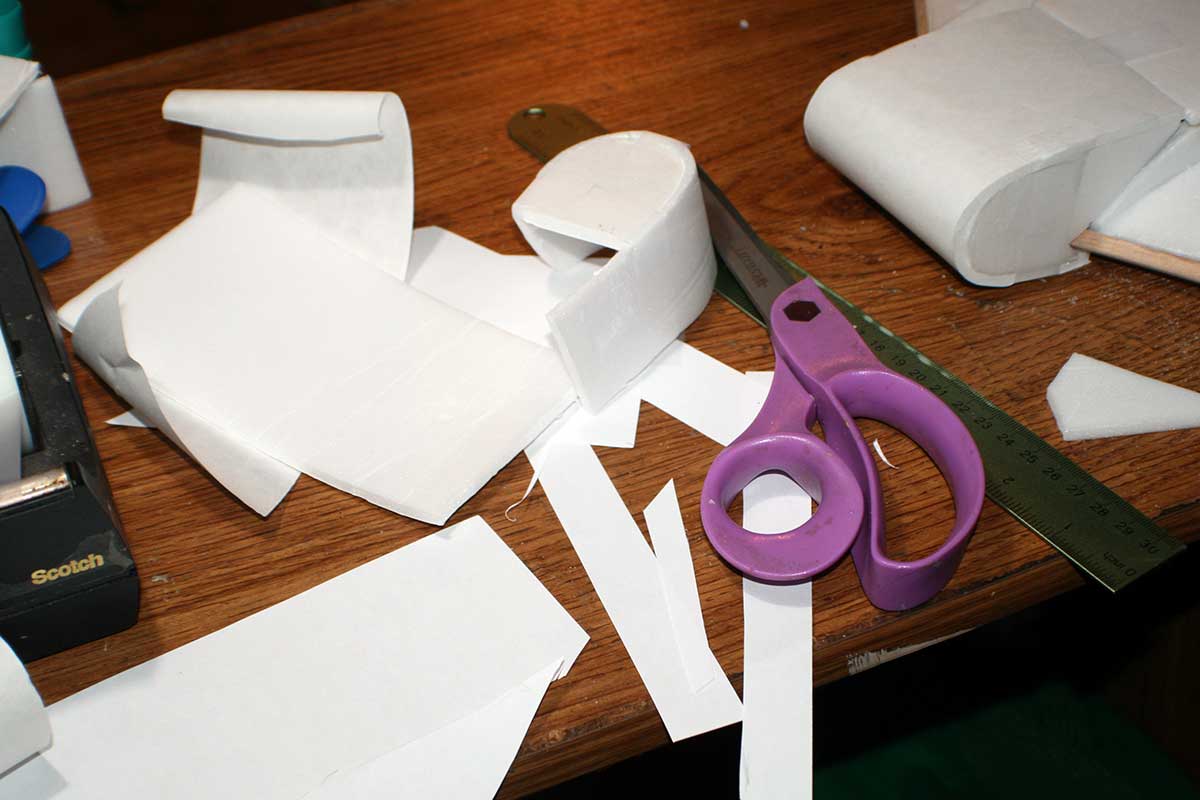 I’m liking the looks of this one.
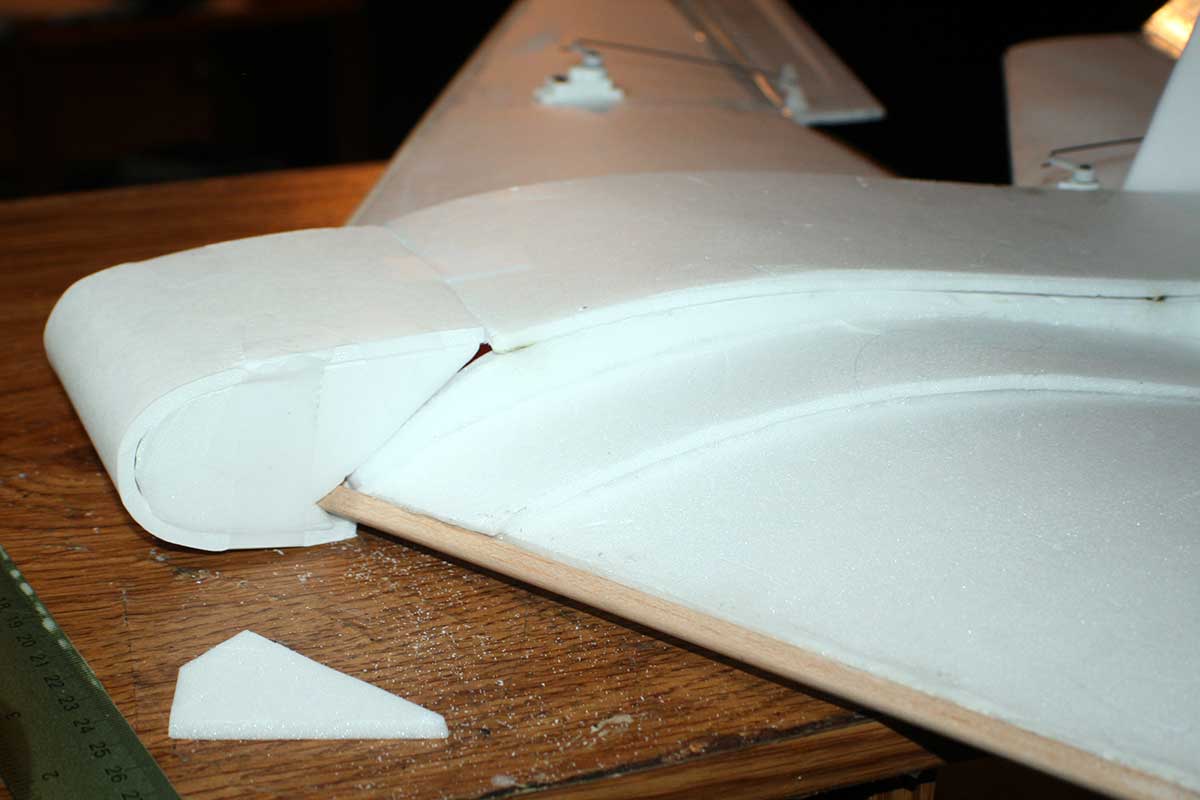
Here are the finished pieces. In place in the side of the new, more bulbous, nose.
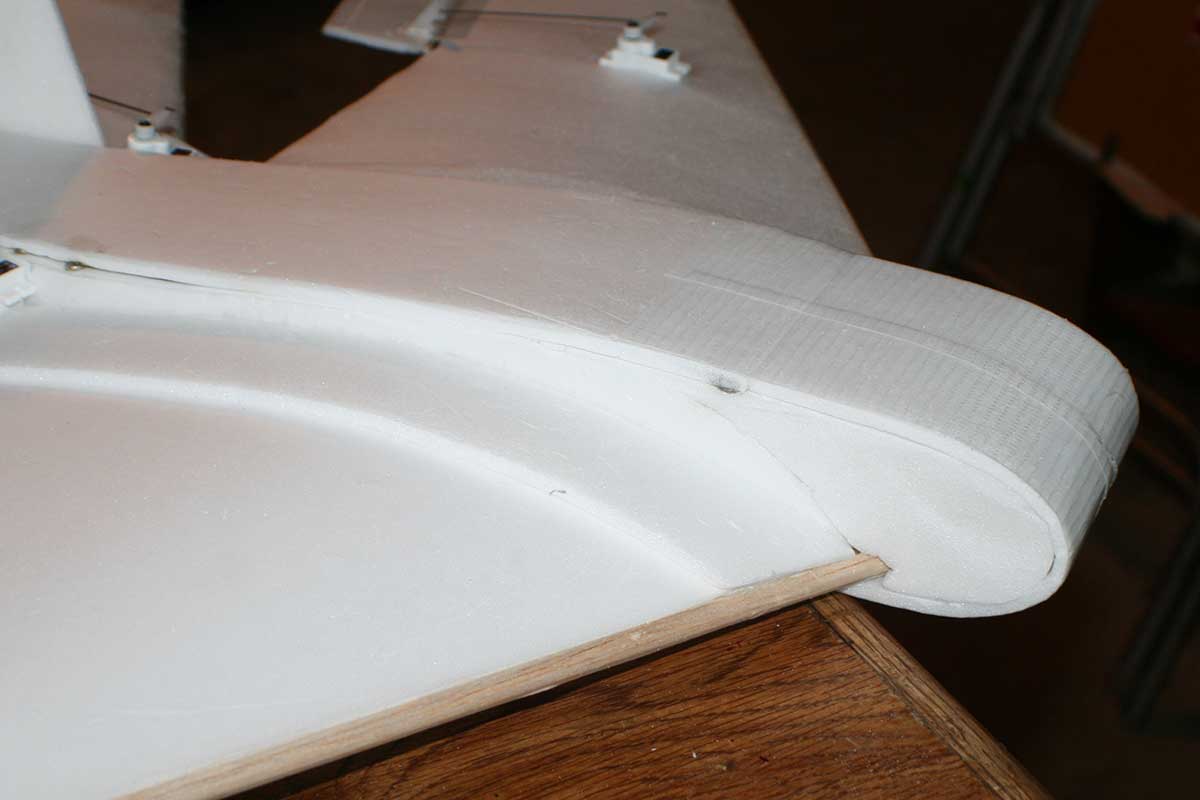
With the bullnose mod in place, I can push the 2200mAh LiPo forward another inch or two, balancing the model perfectly. The 2200 gives me 12-15 minutes of flight time.
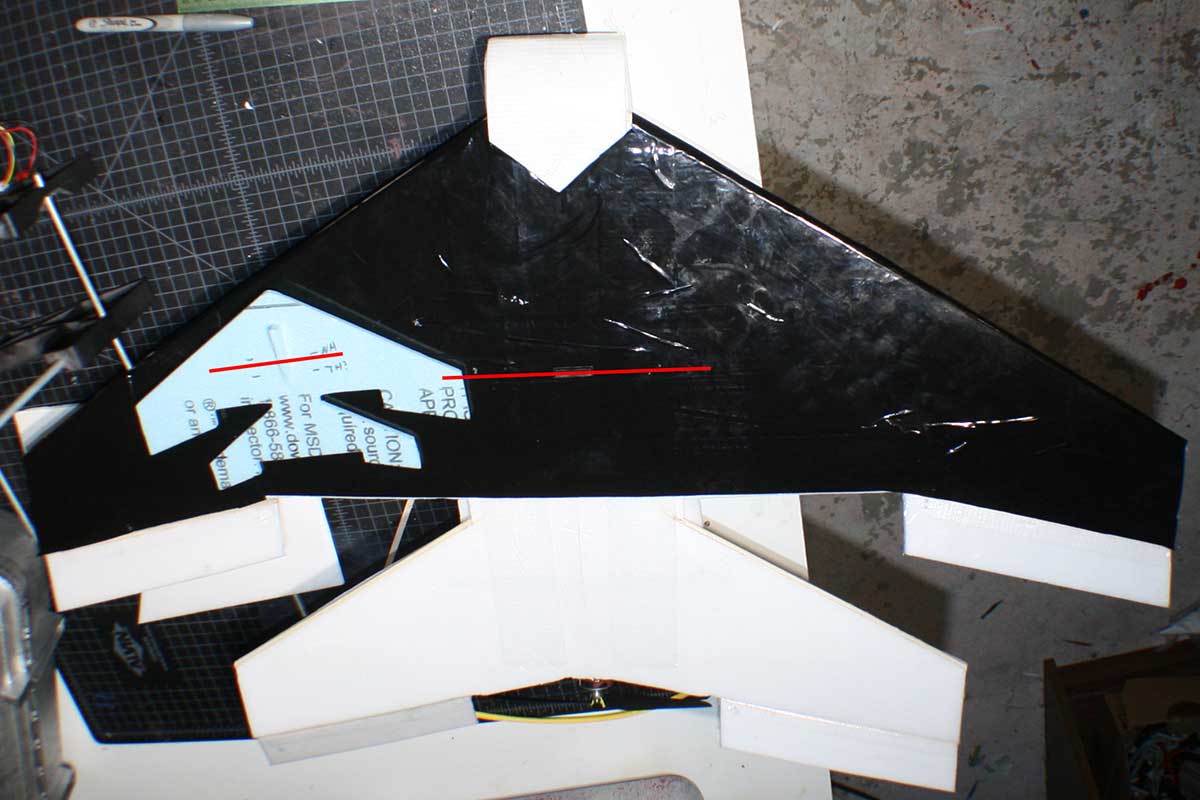
I’m also quite satisfied that, at 7.5″ from the original nose, the CG is exactly where my little model predicted it would be.
Here, I’ve marked the CG, as derived from actually flying the plane, with a red line. I’ve marked the same spot on my little crude model. If you squint you can see that it falls just behind the spot I originally marked NH (nose heavy) and well in front of the spot marked TH? (tail heavy?).