I crashed my Dynam Gee Bee hard last year. I decided to buy a new fuselage, rather than try and piece together all the bits of the original. The cowling was also badly crushed and no amount of steam seemed able to coax it back into shape, so I replaced that, too.
It was actually worse that it looks in this photo.
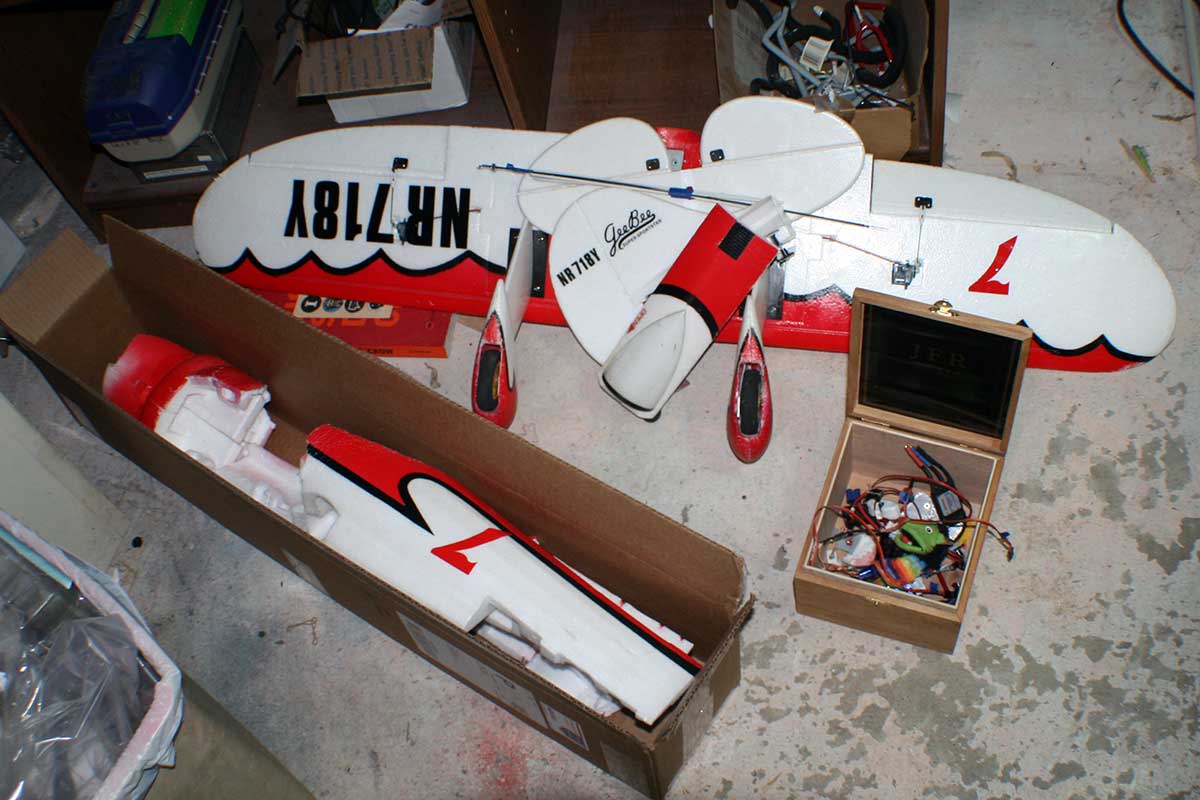
The first job was to tear everything down, salvaging the electronics and whatever else I could from the old plane.
The cowling was crushed, unevenly, and I couldn’t get it back into shape.
So I bought a new one. I added a little detail to the engine when I transferred the cover over.

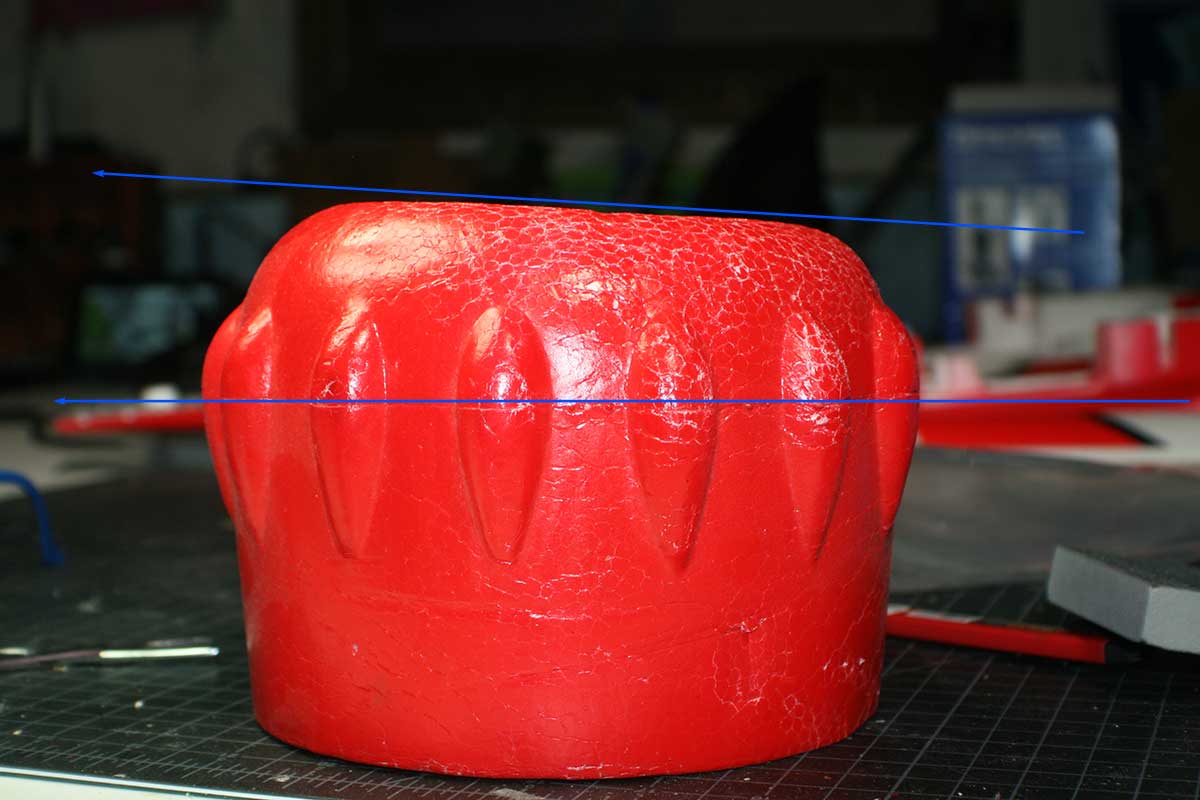
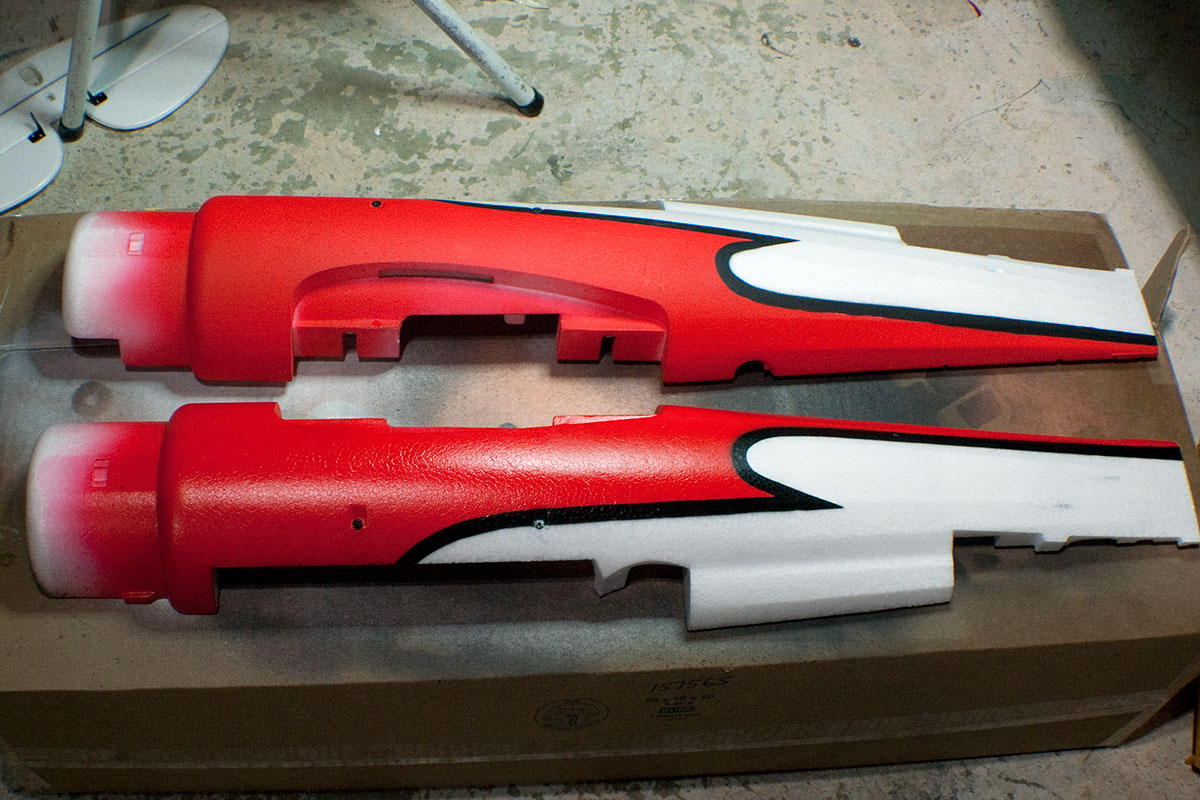
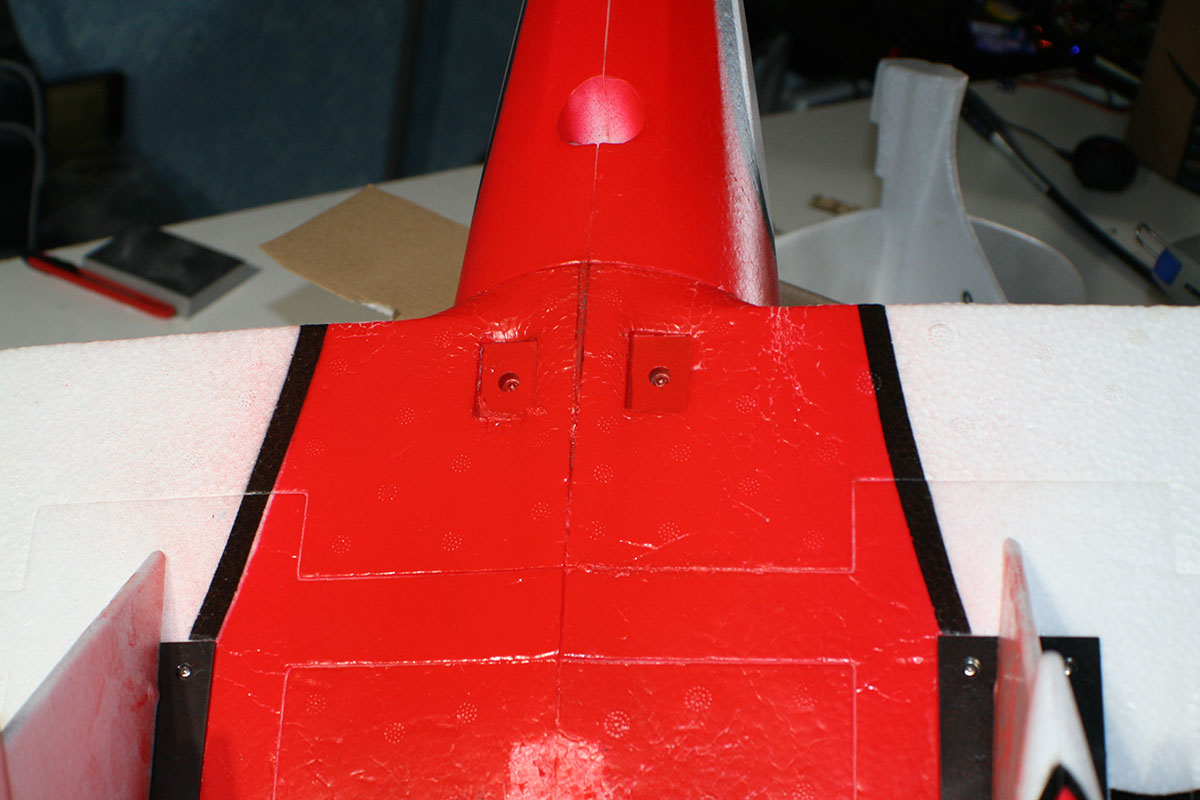
I originally covered the plane with water-based Polycrylic, applied with a brush. This time, I’m trying out some Rustoleum Crystal Clear Enamel from a rattle can I had around. I tested it on the old cowling first and it didn’t harm the foam. Here are the two halves of the new fuselage. The bottom half has been sprayed with the enamel; the top half has not. You can see the difference in shininess and contrast pretty well; the red looks redder and the black looks blacker.
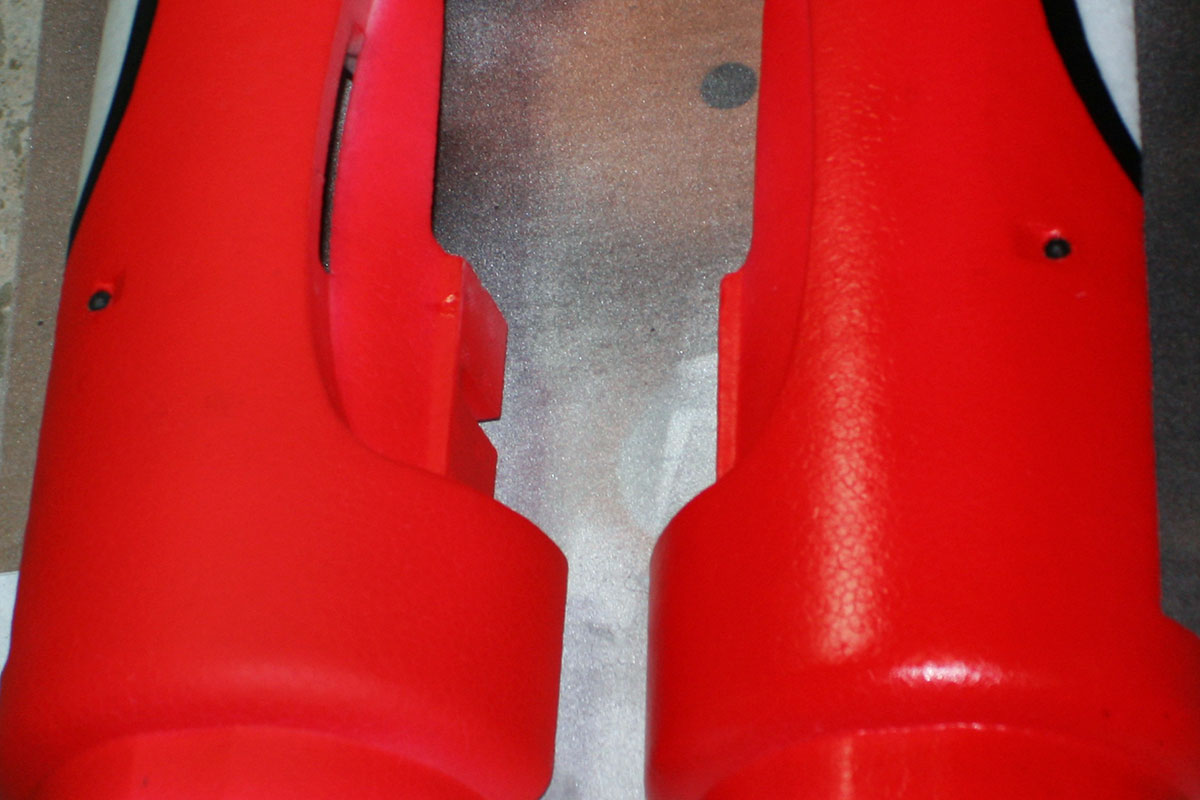
A close-up of the same thing. The untreated half is on the left; the treated half is on the right.
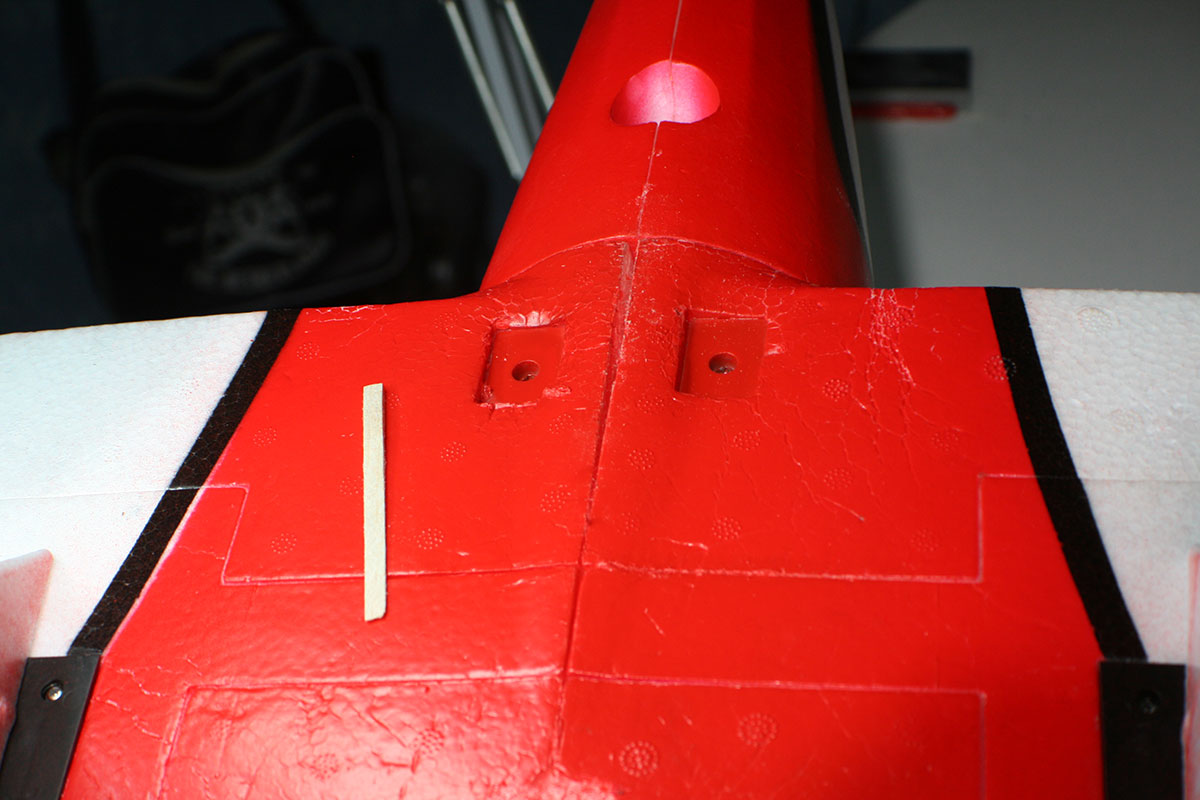
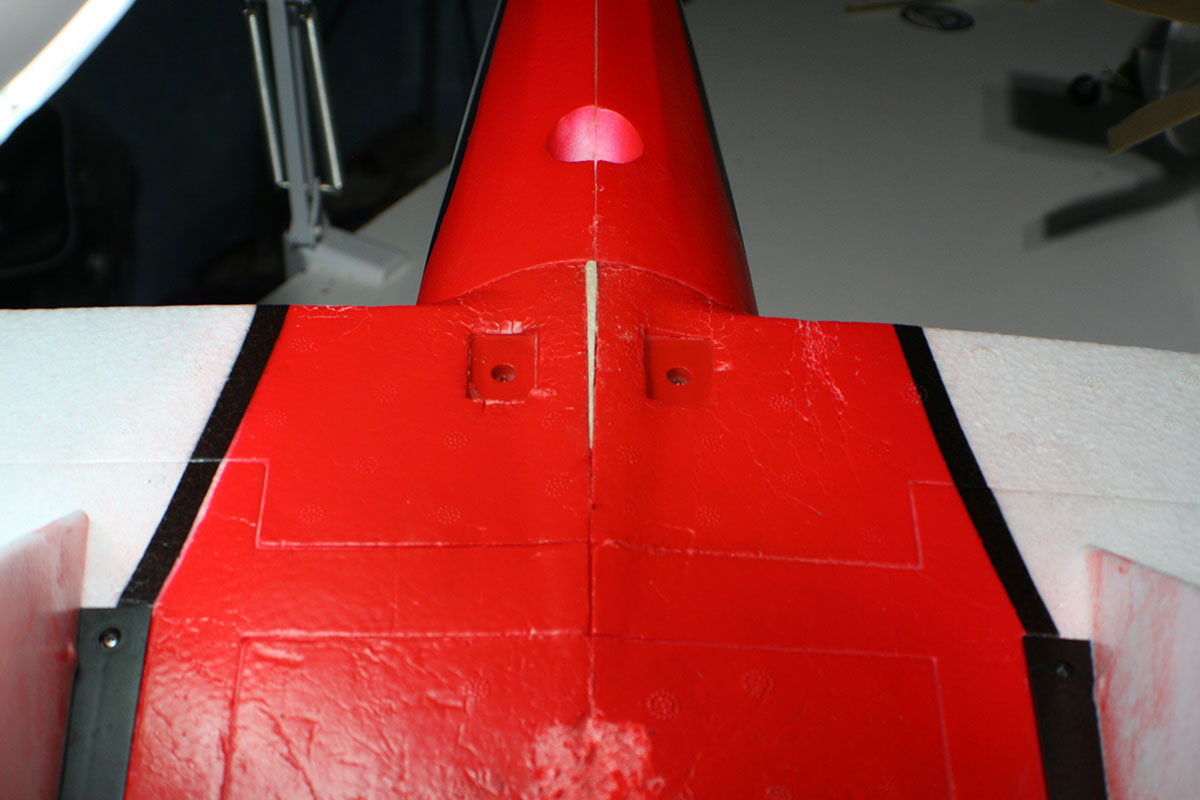
I put the wings back on her and discovered that there was a bit of a gap between the halves and the rear. I decided to fill it in with a piece of balsa, sanded to shape and painted red.
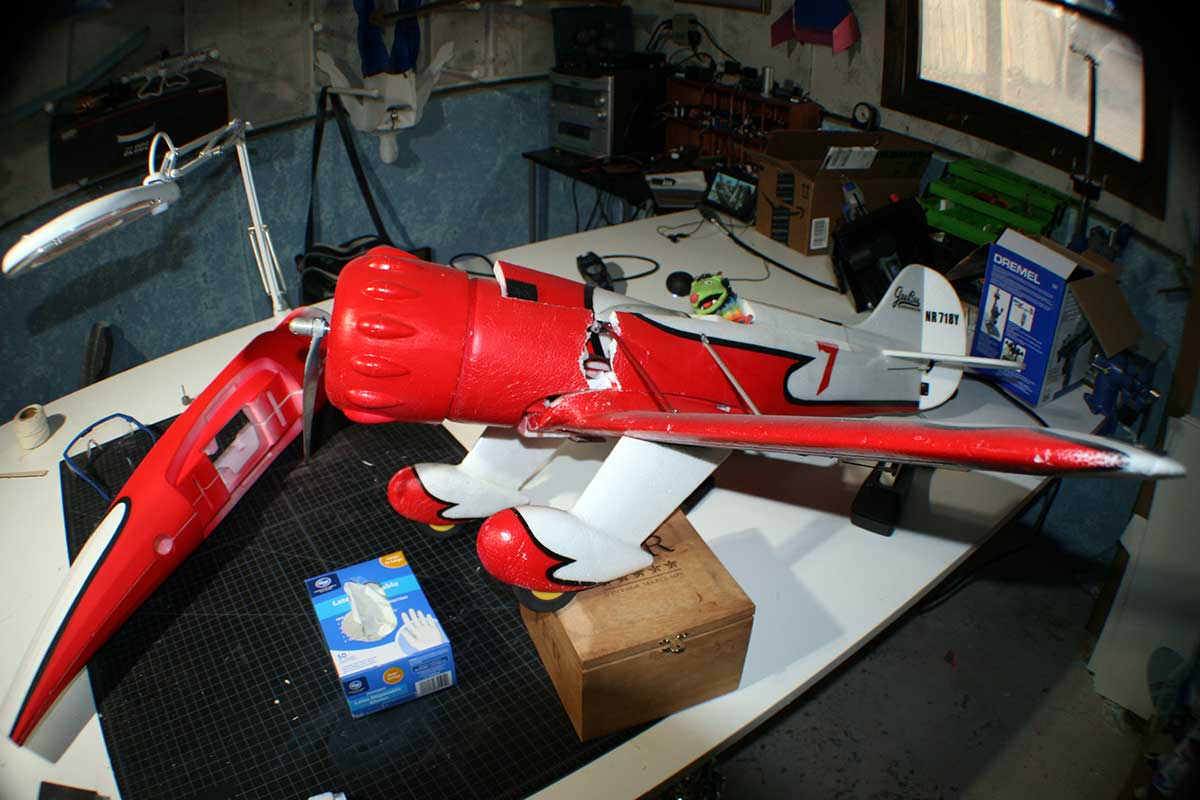
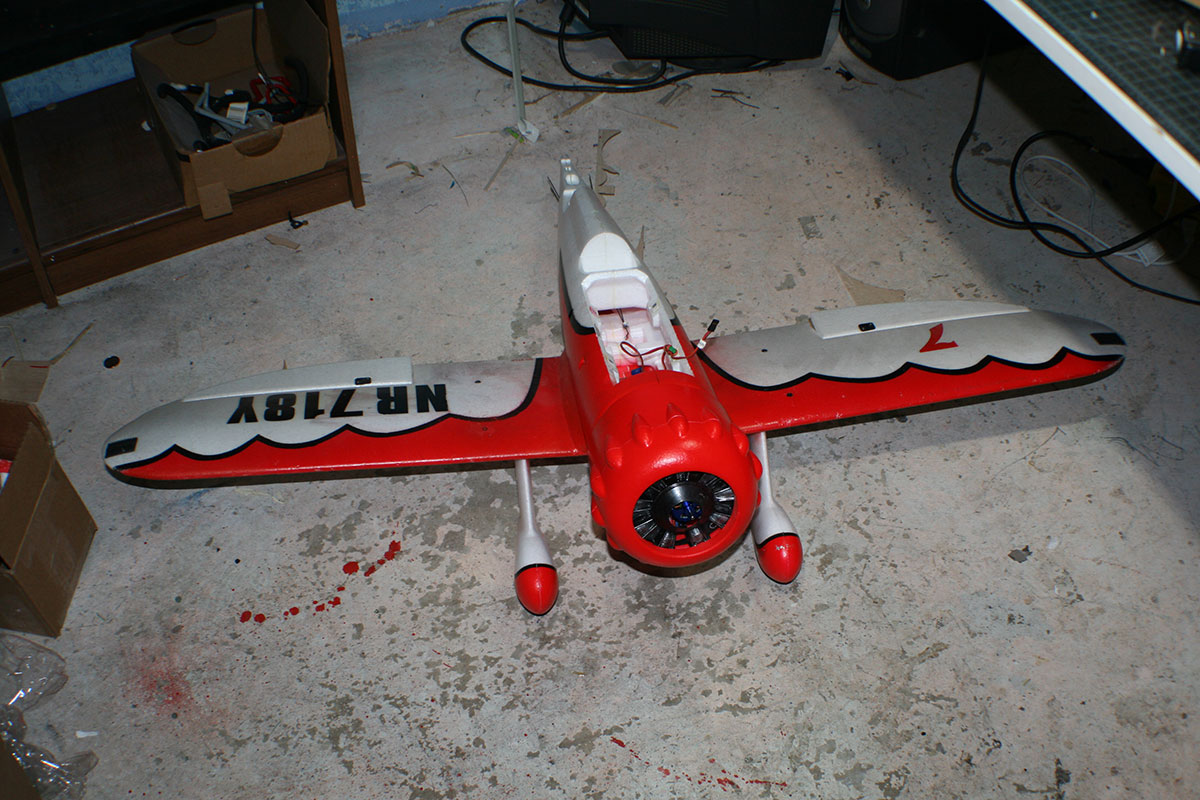
Back on her wheels again.
Argh!!! 🙁 I got everything together and then realized that my motor was pointing slightly up and left – the opposite of the way it should be pointing. Maybe the motor mount was bent in the crash?
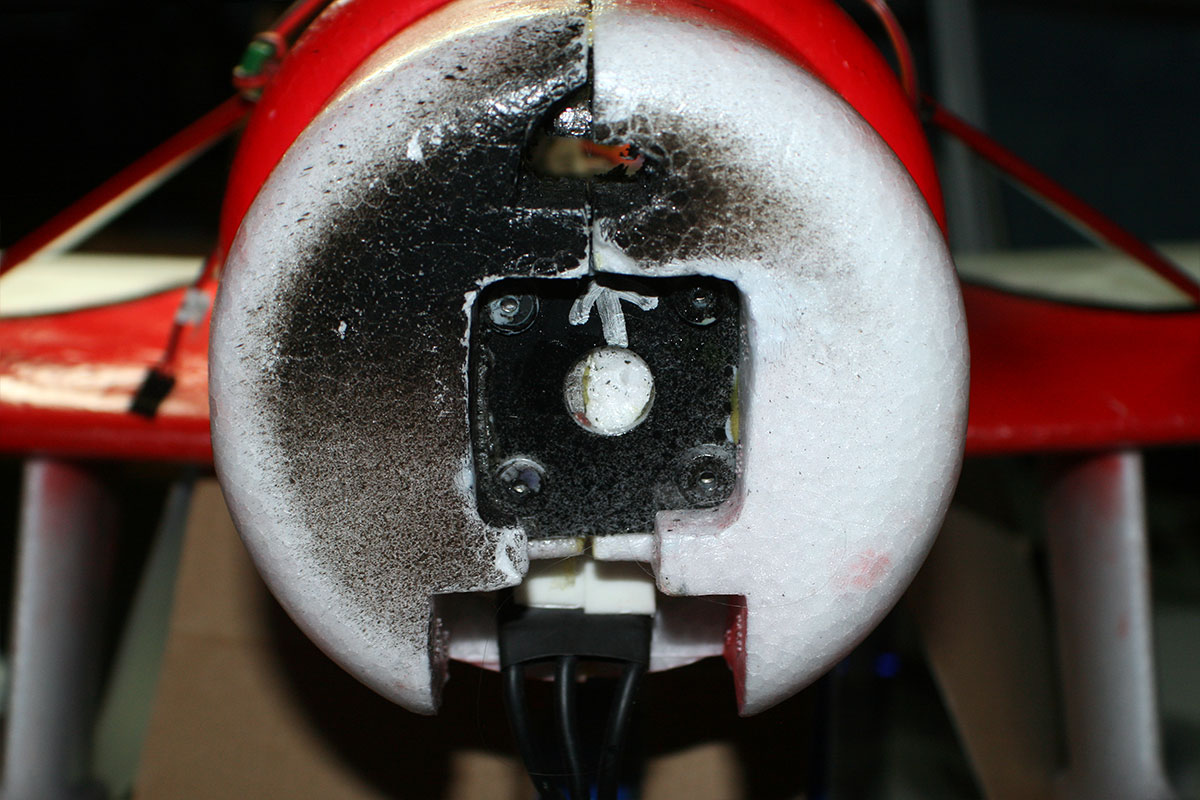
Eventually pulled the motor back off and realized that the firewall is made to mount in a certain orientation. I’d managed to put it in upside down.
So I had to carefully, forcefully, pry the fuselage apart again along the seams so that I could get the dang thing back out and flip it over. This time, I marked it with an arrow before re-epoxying everything back together.
 The bolts holding the motor to the firewall (7/8″ #4-40 machine screws) are a little bunged up. I’m going to hold off re-attaching the motor until I see if I can find some replacements. I’d hate to strip one or more screw heads out.
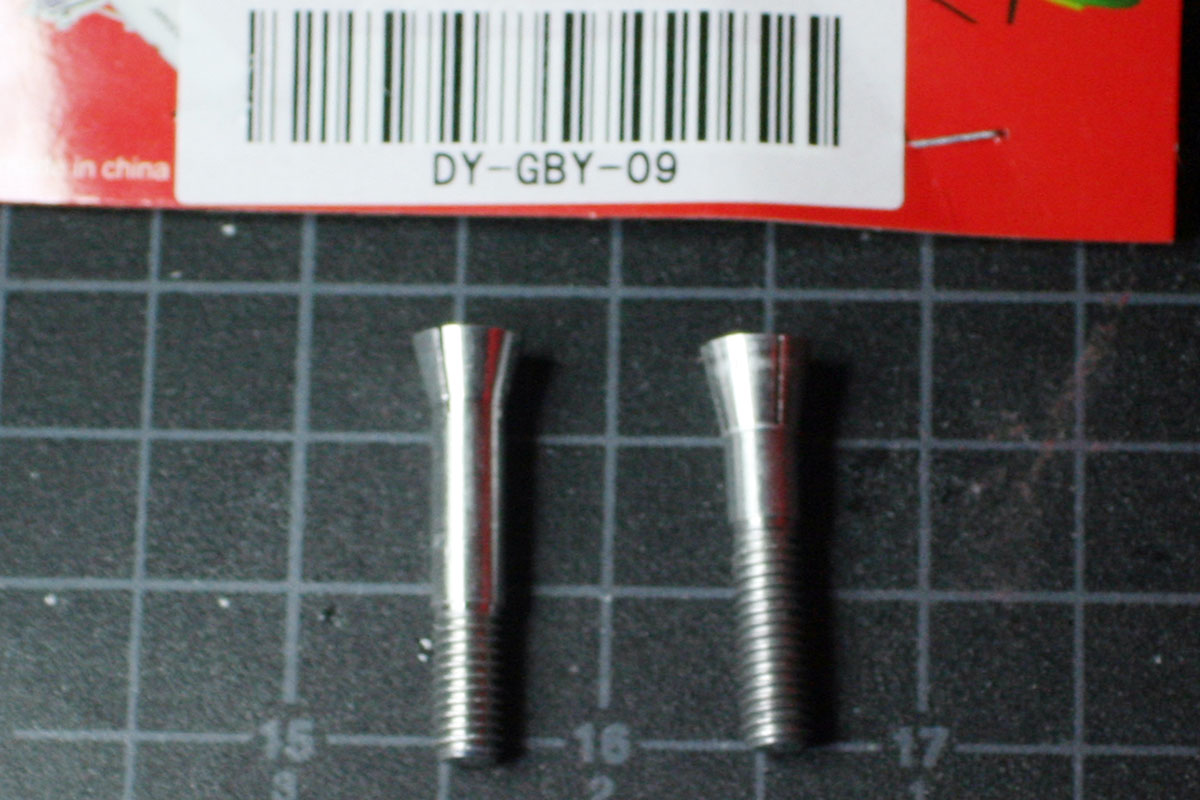
I figured out that the prop adapter was bent, so I ordered a replacement from MotionRC. I tried to put it on today, but I couldn’t get it to tighten all the way down on the prop. Comparing it to my original, bent adapter, I can see that it has a MUCH shorter threaded area. The original is on the right in the photo below. There aren’t enough threads to tighten the nut all the way down. 🙁 Gonna contact MotionRC and see what they have to say.