
I found old plans for a plane called the Mugi Evo, which looked to be a pretty easy build. The original plane was built from something called Plastic Twin Wall Flute Board, but I decided to try and make it from a simple sheet of Dollar Tree foamboard. I knocked together a quick prototype to convince myself that it would, indeed, fly. It did, so I set about to try and put together a slightly less sloppy version of the plane.
I scaled the plans down to 95% to allow the plane to be cut from a sheet of 20″ x 30″ foamboard.
The plans call for the wing to be folded over without cutting but that wasn’t gonna happen with my Dollar Tree foam. Instead, I stripped of the paper from one side, then cut along the wing fold line. Next, I reattached the severed corners with some fiber-reinforced duct tape (which will give just enough to allow me to bend the foam board when the time comes. (My calculations show that I would have saved 8/10 of an ounce (22.5 grams) by stripping the paper off of both sides of the foam.)
I cut a 5″ x 5″ square of foamboard and glued it to the very front of the inside of the bottom half of the wing/fuselage. This will strengthen the nose area a bit, and give me somewhere to mount my servos and battery.

I decided to cover the paper-free side of the foamboard with colored packing tape before going any further. 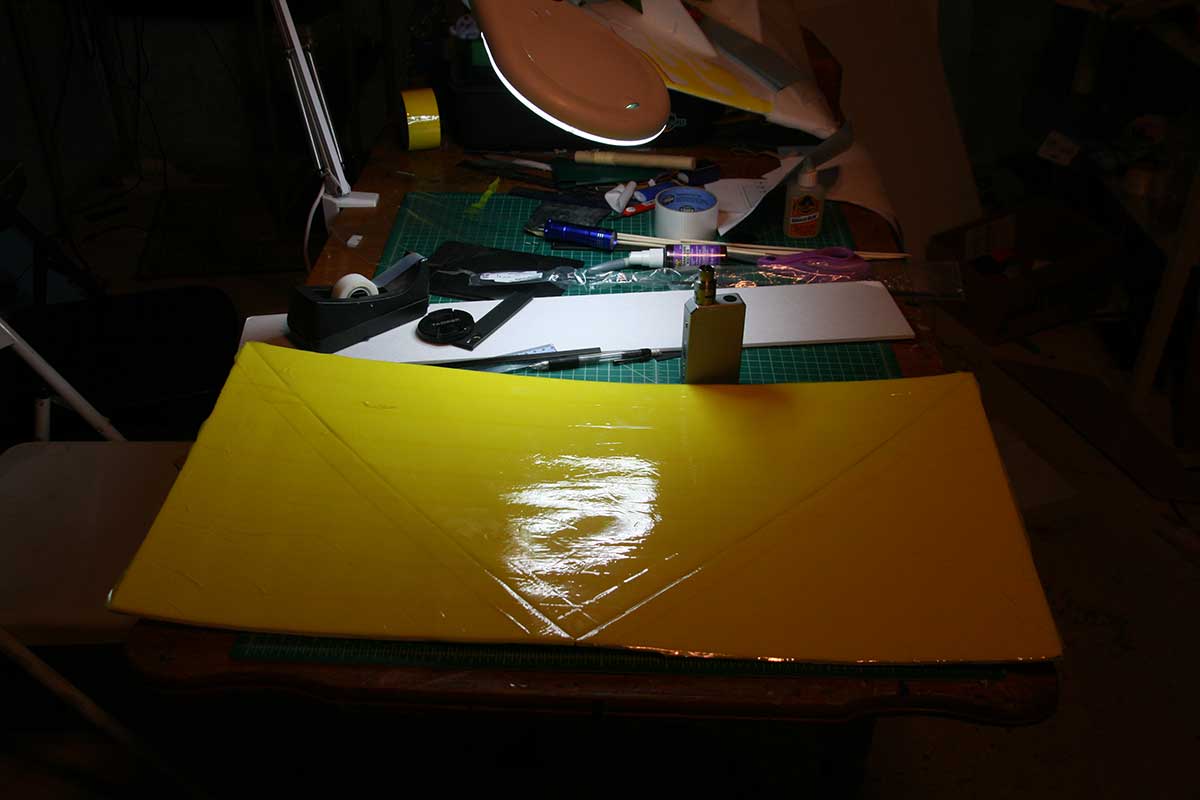
I’m going to try to give the plane a ‘flame’ paint job, so I tried out my technique on the prototype, which is going to be torn down, anyway. It doesn’t look as good as I dreamed, nor as bad as I feared. 🙂
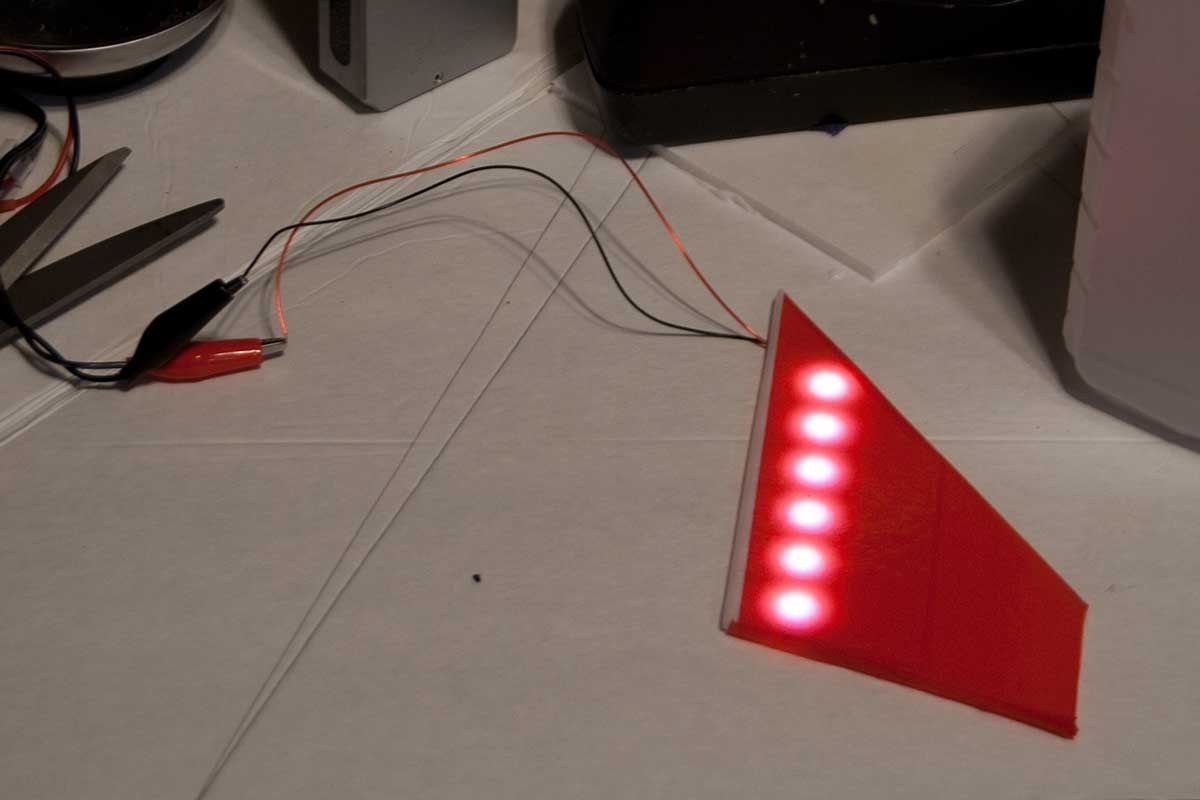
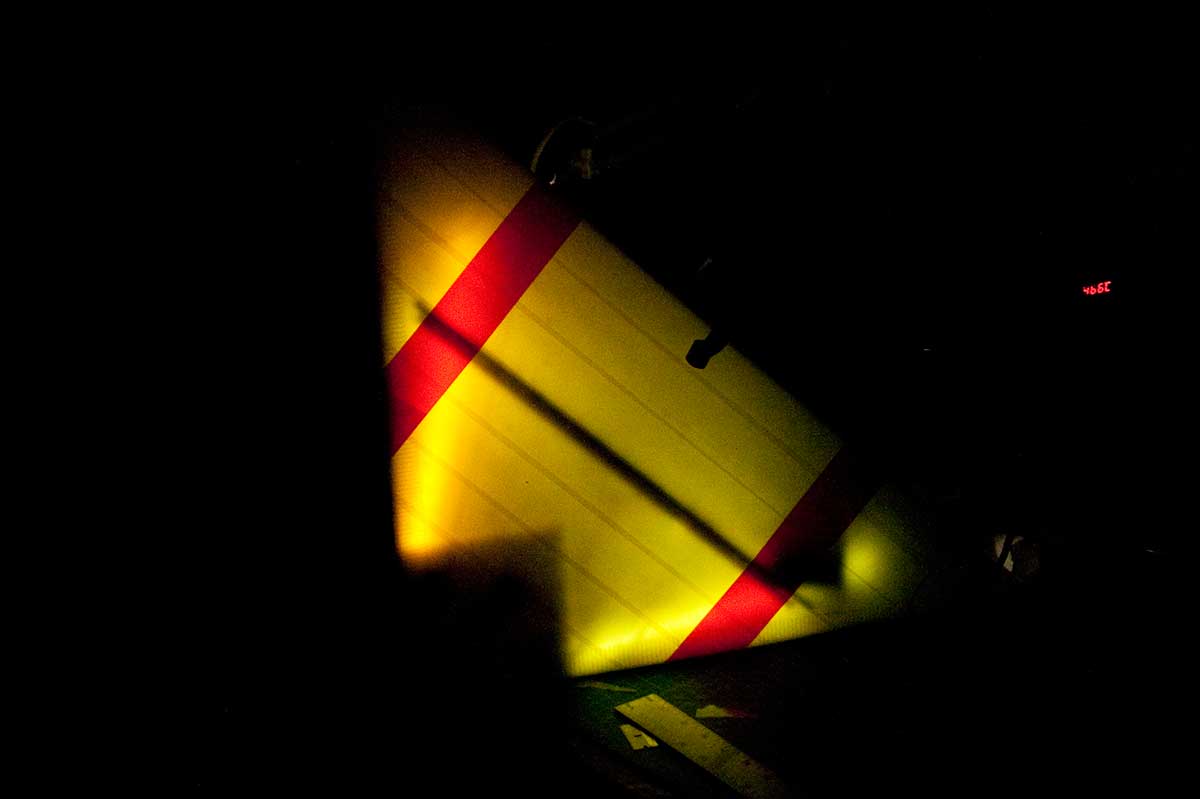
Testing out some LED strip lights in one of the stabilizer fins. The fin has had all the paper stripped off, and been covered in colored packing tape.
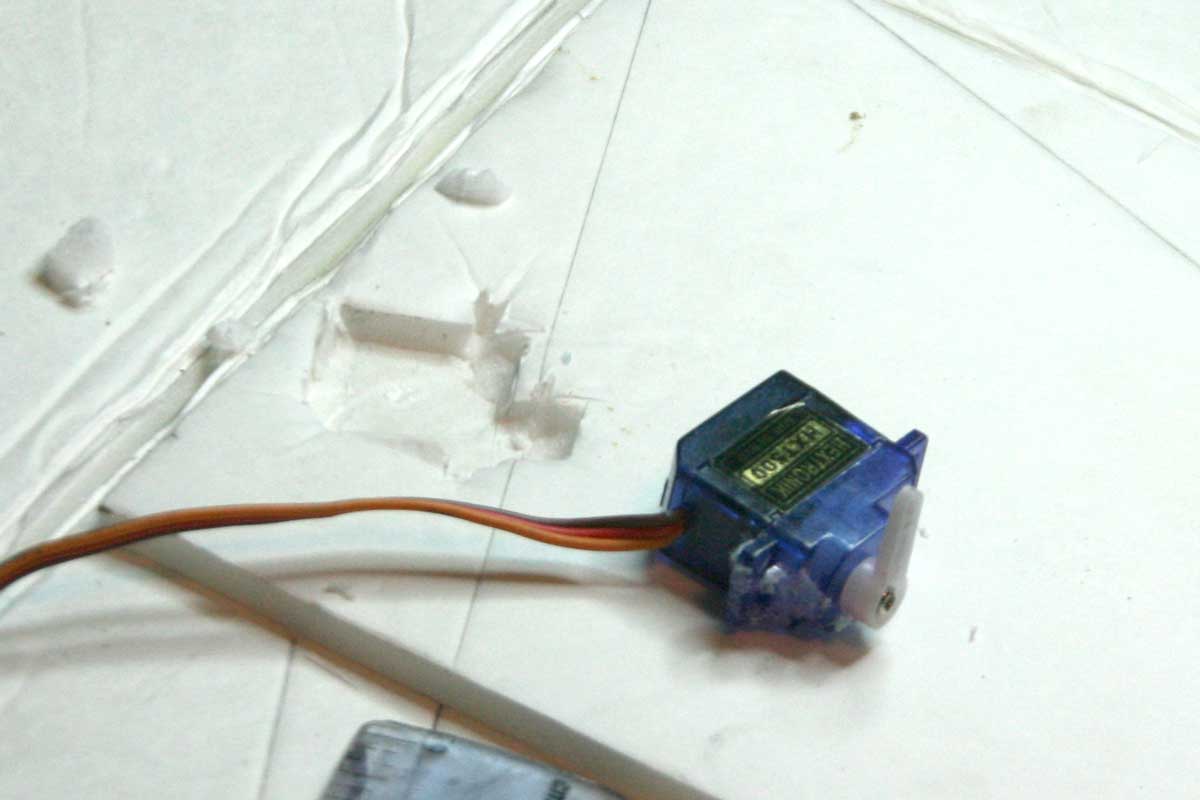
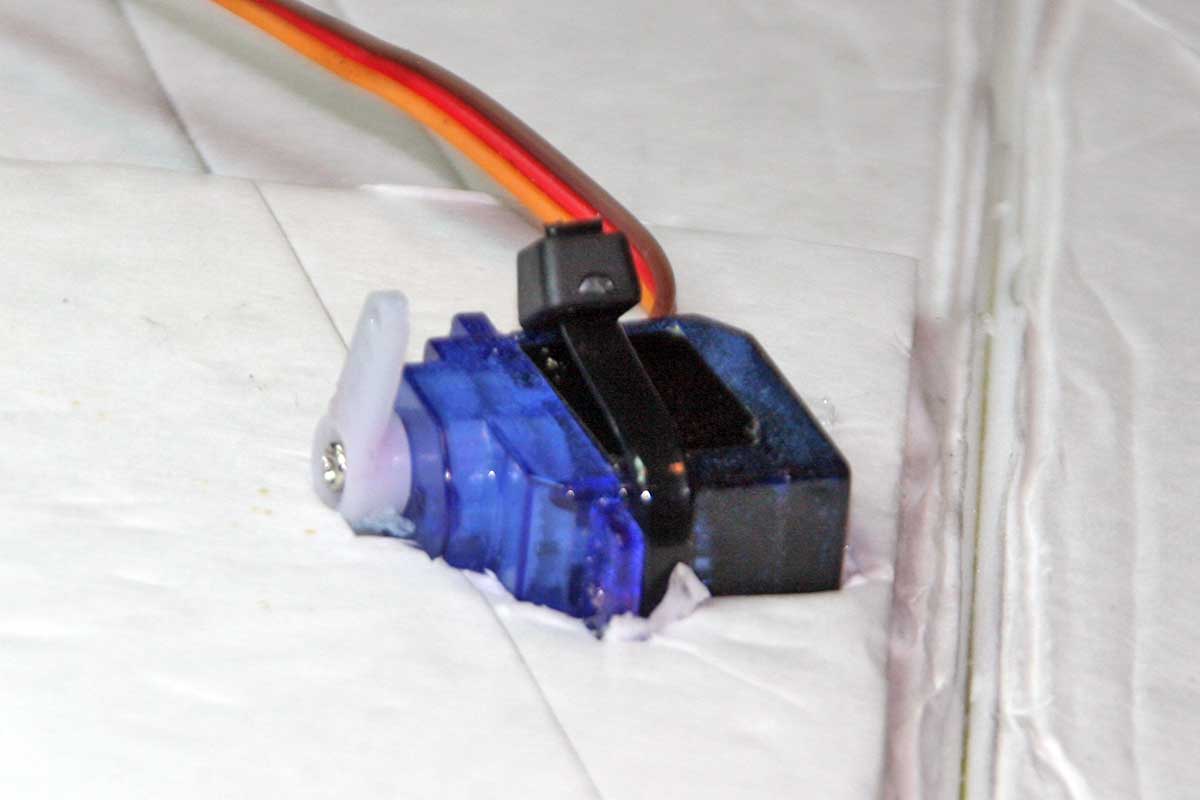
I cut out pockets for the servos to sit in. A little dab of hot glue helps seat them. Then I ran a small zip-tie around them and out of the plane on the bottom. I used some leftover plastic from a GWS Pico Moth to give the zip ties something to grab onto that wouldn’t just tear, which the foam would do. That’s probably not very clear, so hear are the pix:
Servo sitting next to its pocket:
Zip tie running out the bottom of the wing and back in again:
Zip tie holding the servo snugly in its pocket:
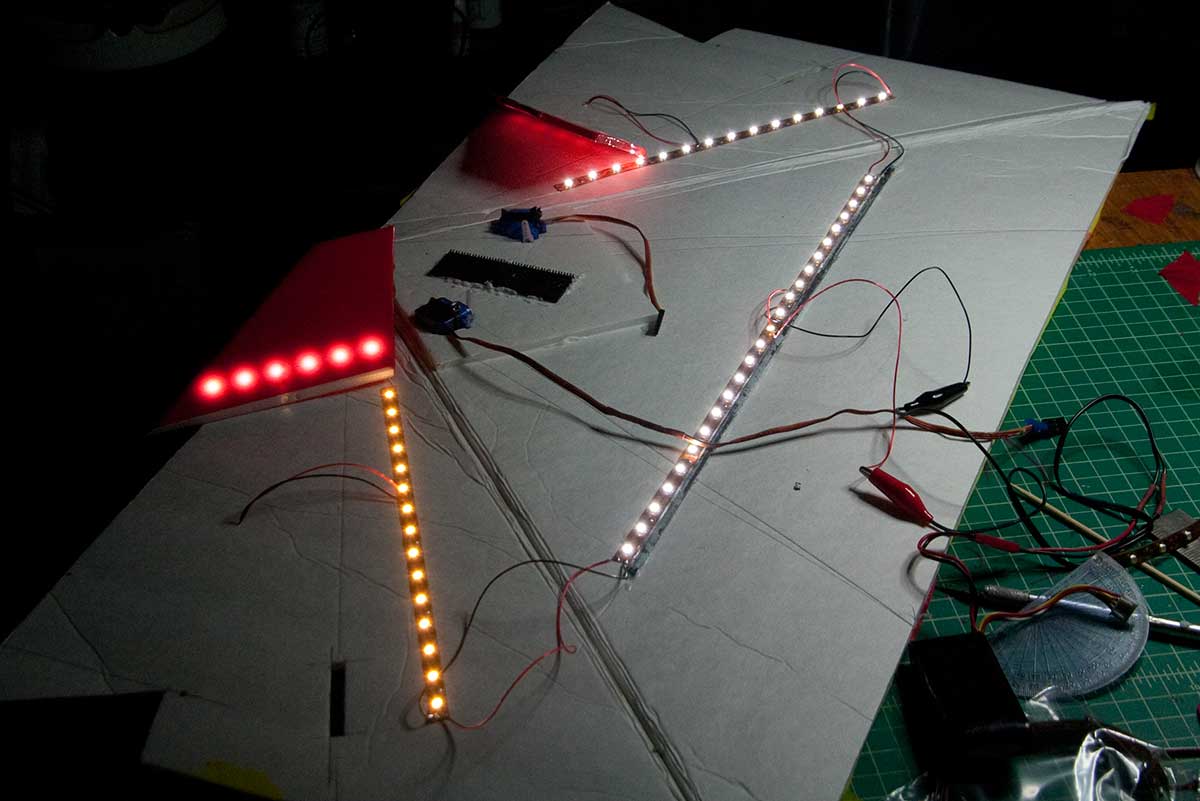
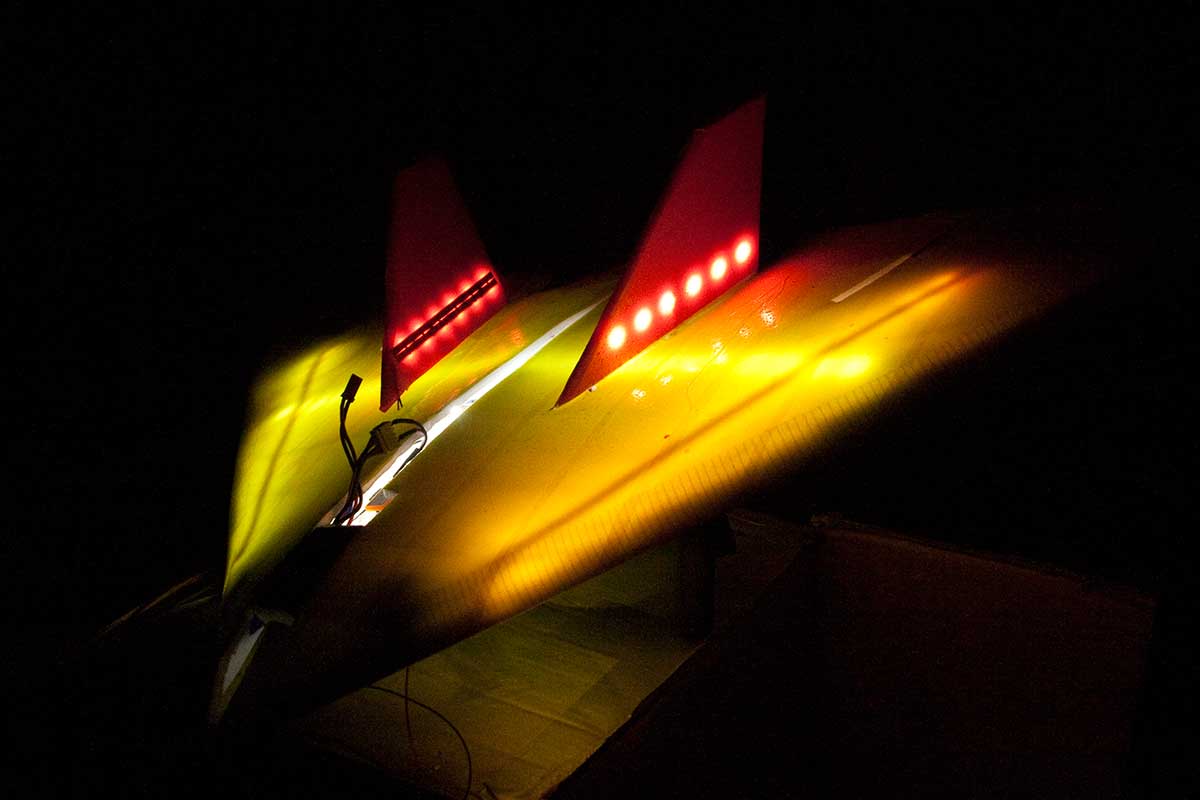
I’m adding some LEDs to the hollow interior, to light the plane up at night. You can see that, for some reason, one of the strips of LEDs is not as bright as the others.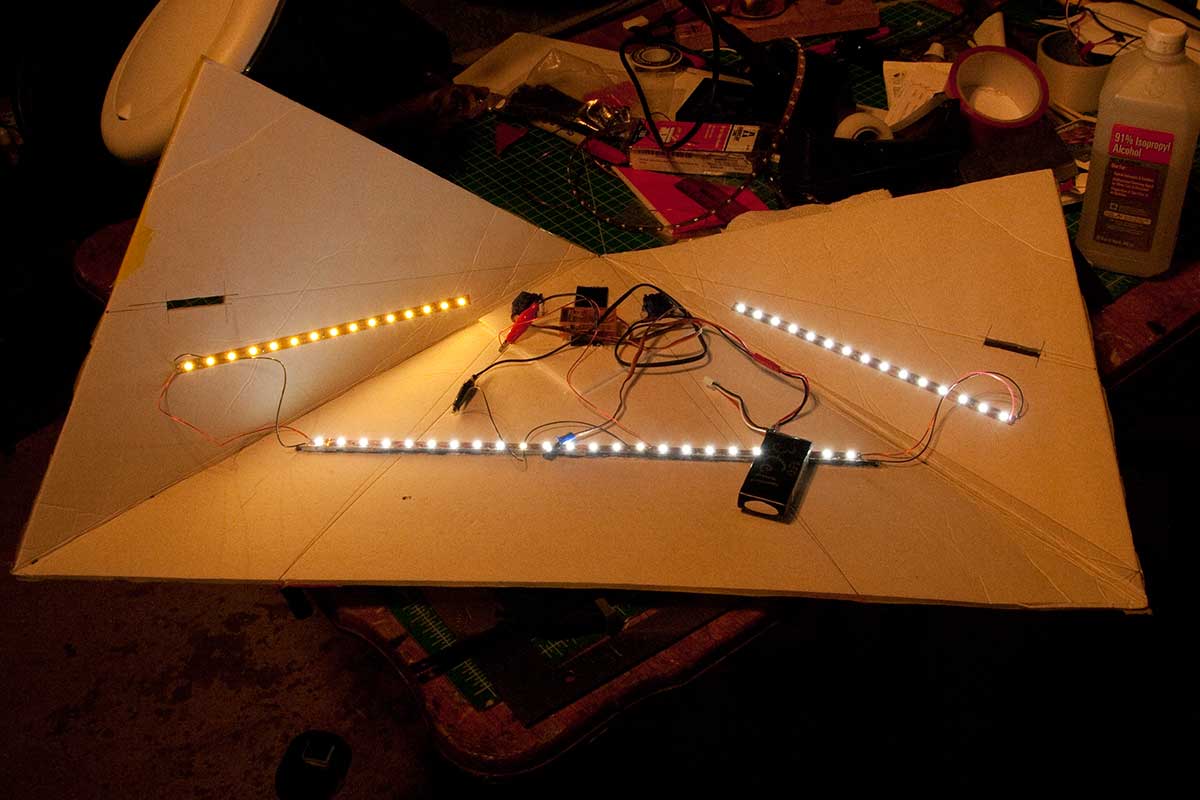
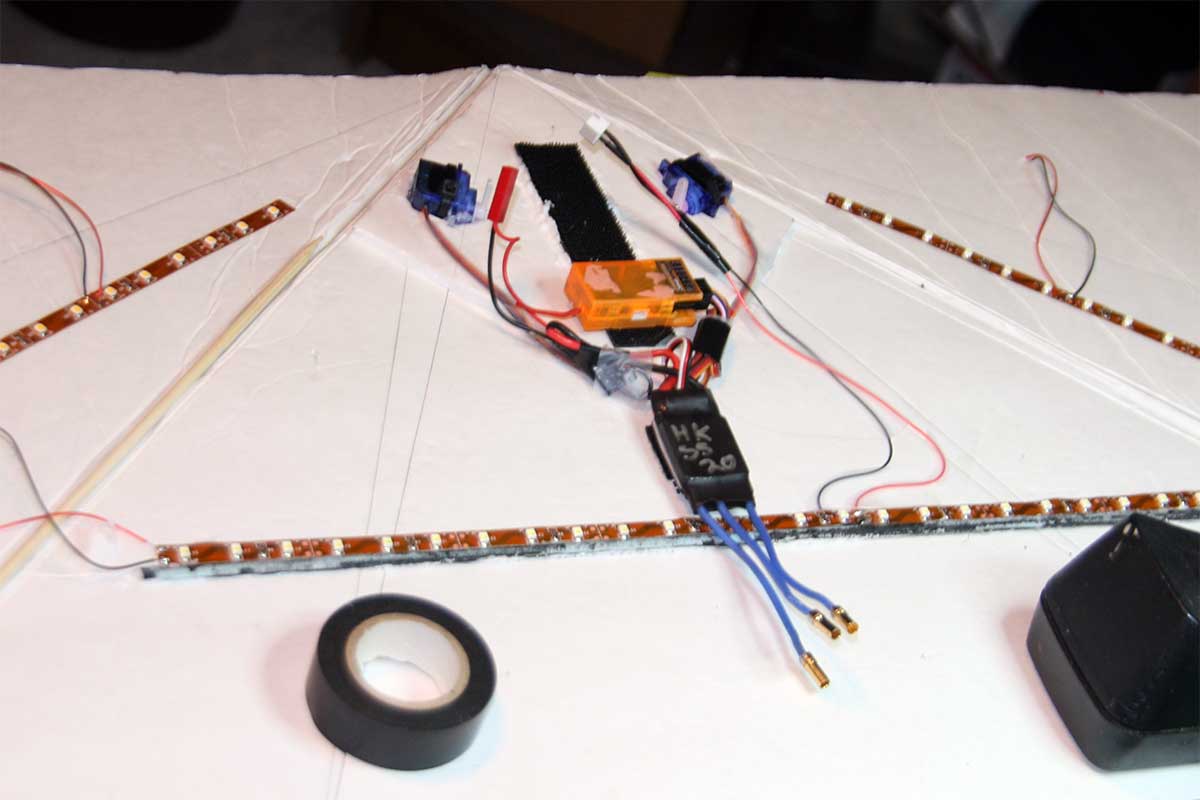
I’m trying to get all the wiring squared away before I fold the wing up, as there’s no good way to get at things afterward. One final test of the LEDs. I was thinking of adding more but I think this will probably be enough, actually.
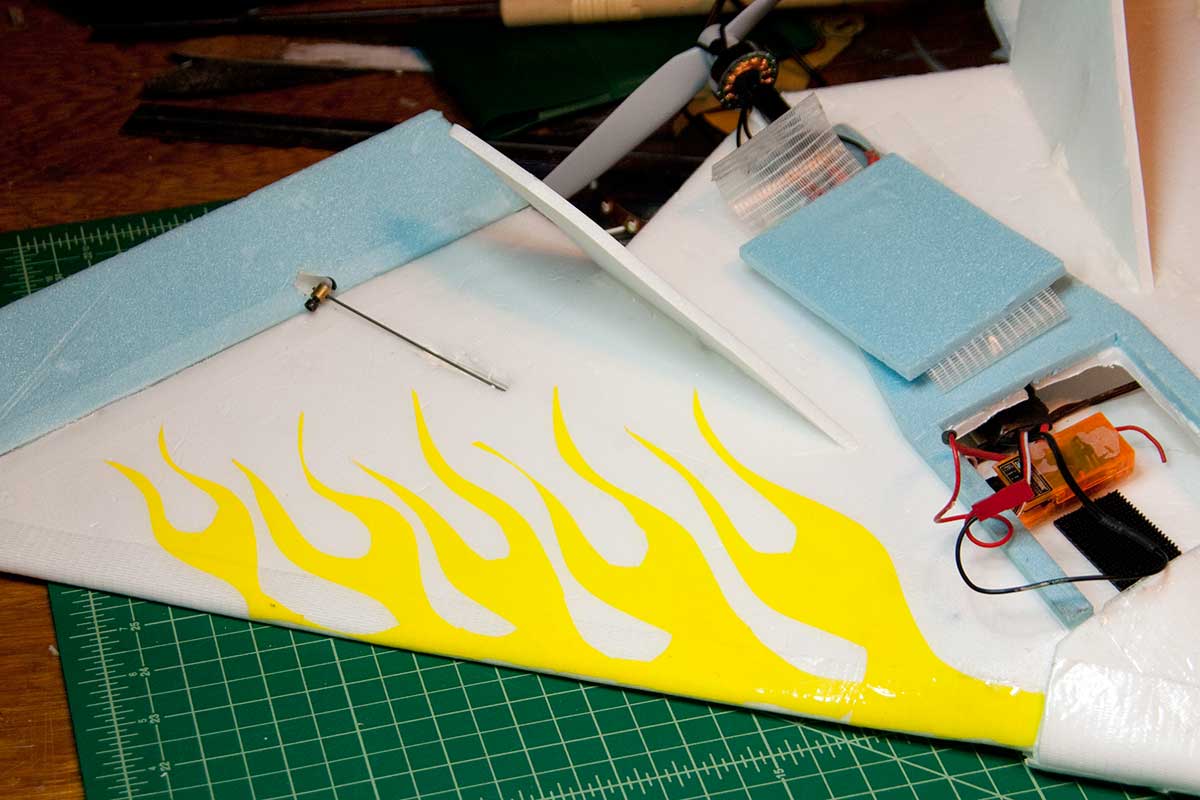
I’ve got all the electronics squared away. Soon, it’ll be folding time.
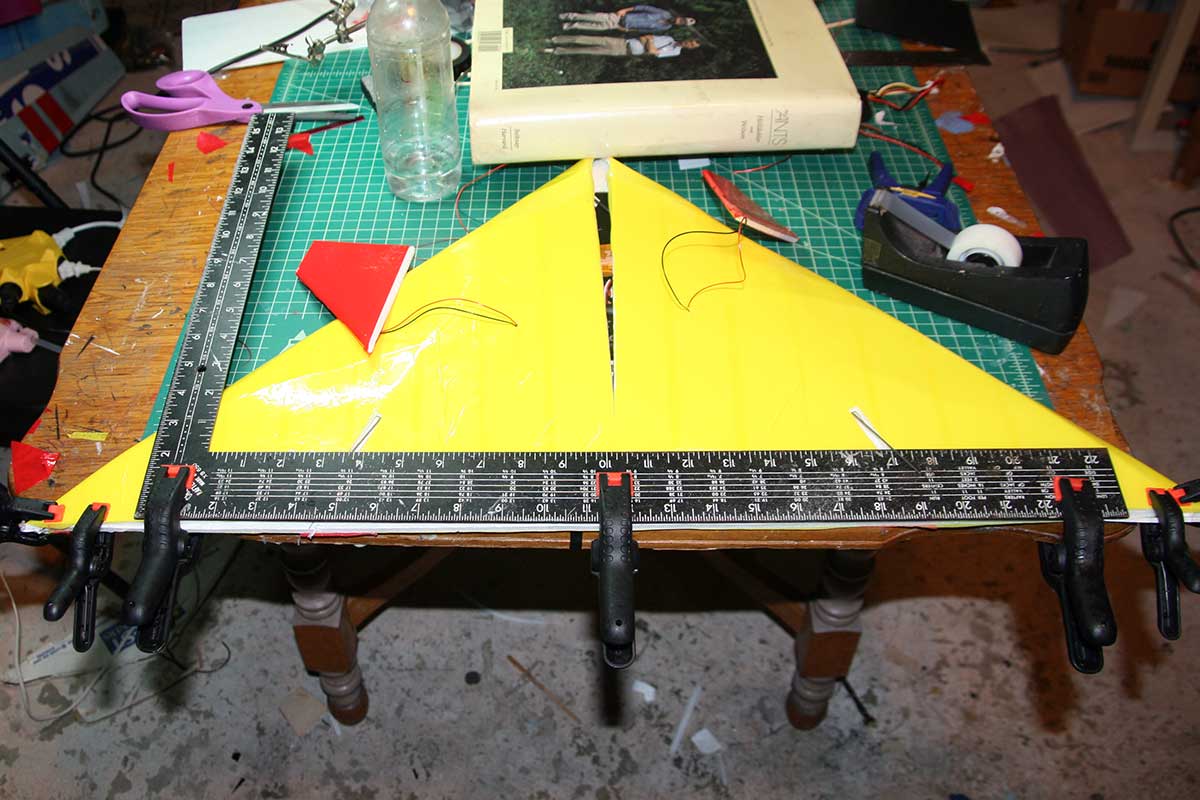
Finally gluing up the wing. Here’s where it all comes together (or all falls apart.)
Whoops!
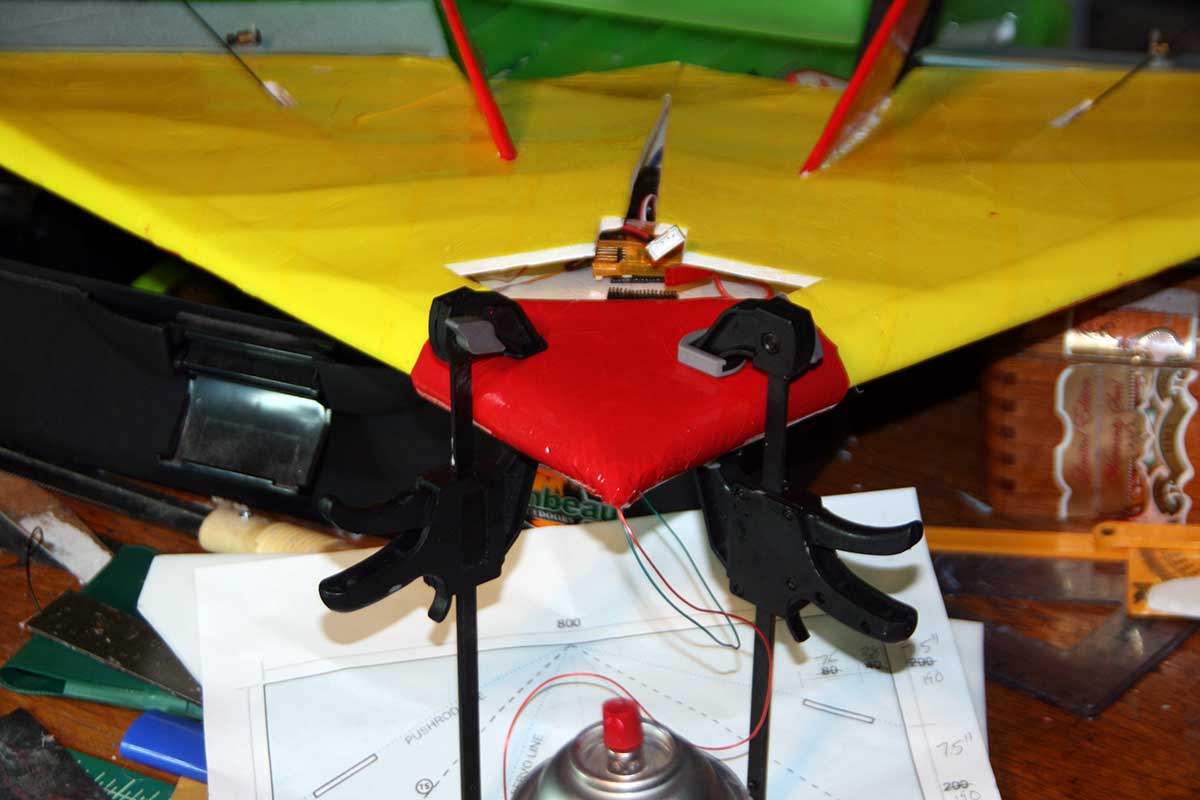
I screwed up. Seems inevitable somehow. Despite my best efforts to get everything set up before folding and gluing the wing, I placed the servos slightly farther forward than in the original, prototype build.
As a consequence, the pushrods are now too short. And access to the servos is pretty much non-existent. I knew I might have to cut holes and some point to replace a servo, etc., but I’d hoped it would at least be sometime after the maiden.
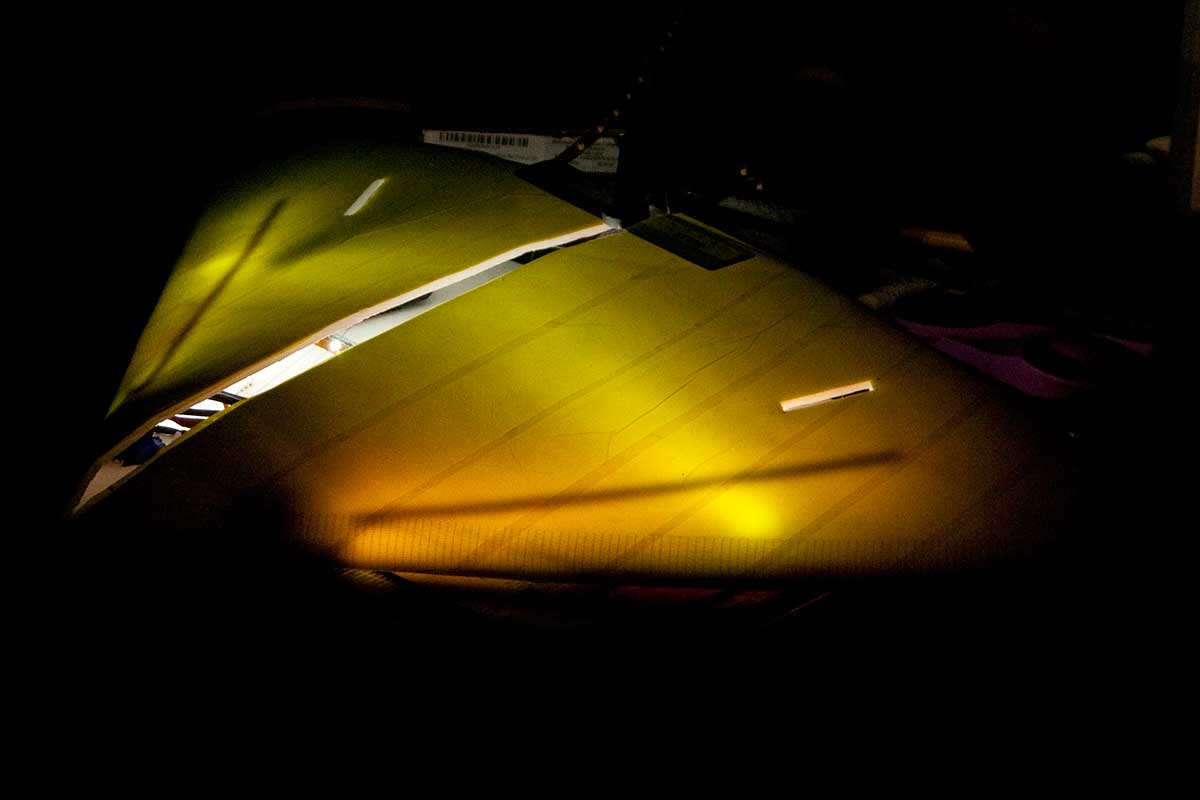
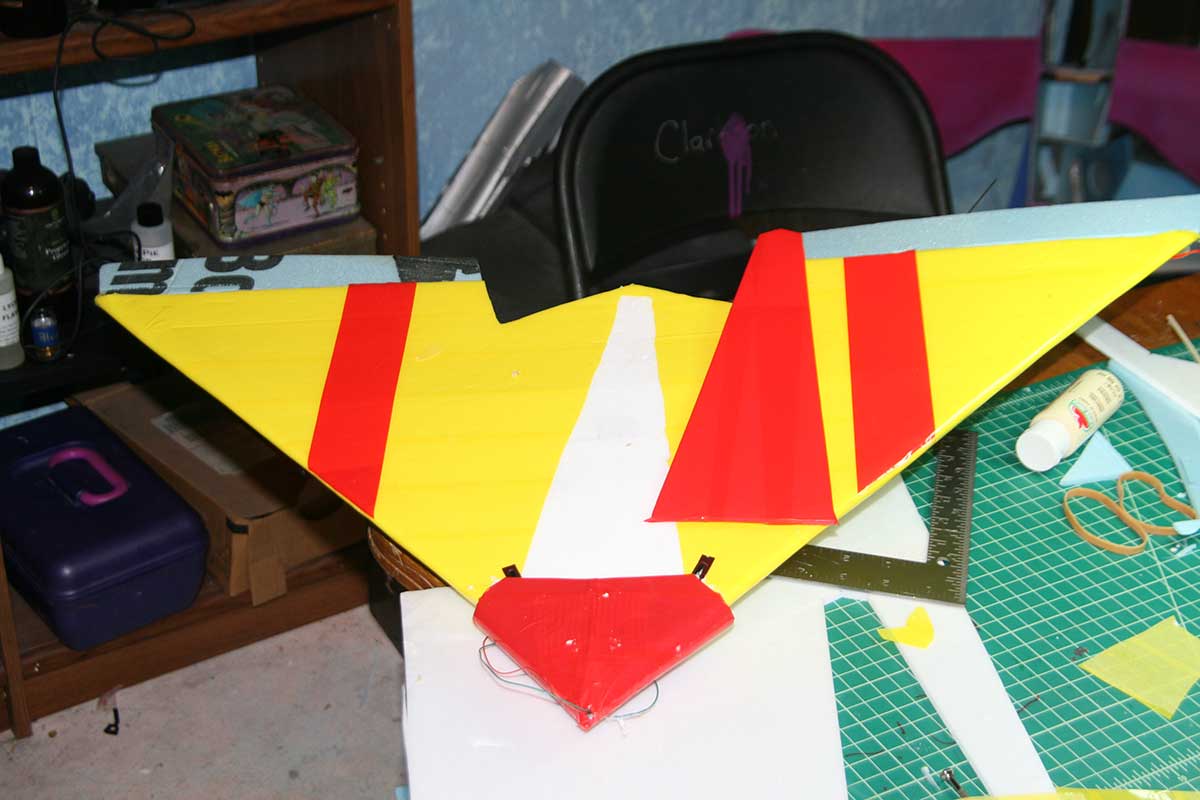
Rather than halt progress altogether, I’m gluing the tail fins in place. And, of course, I have to light it up at every step to see how it looks. 🙂
Here’s what’s left of my prototype, after tearing everything out of it.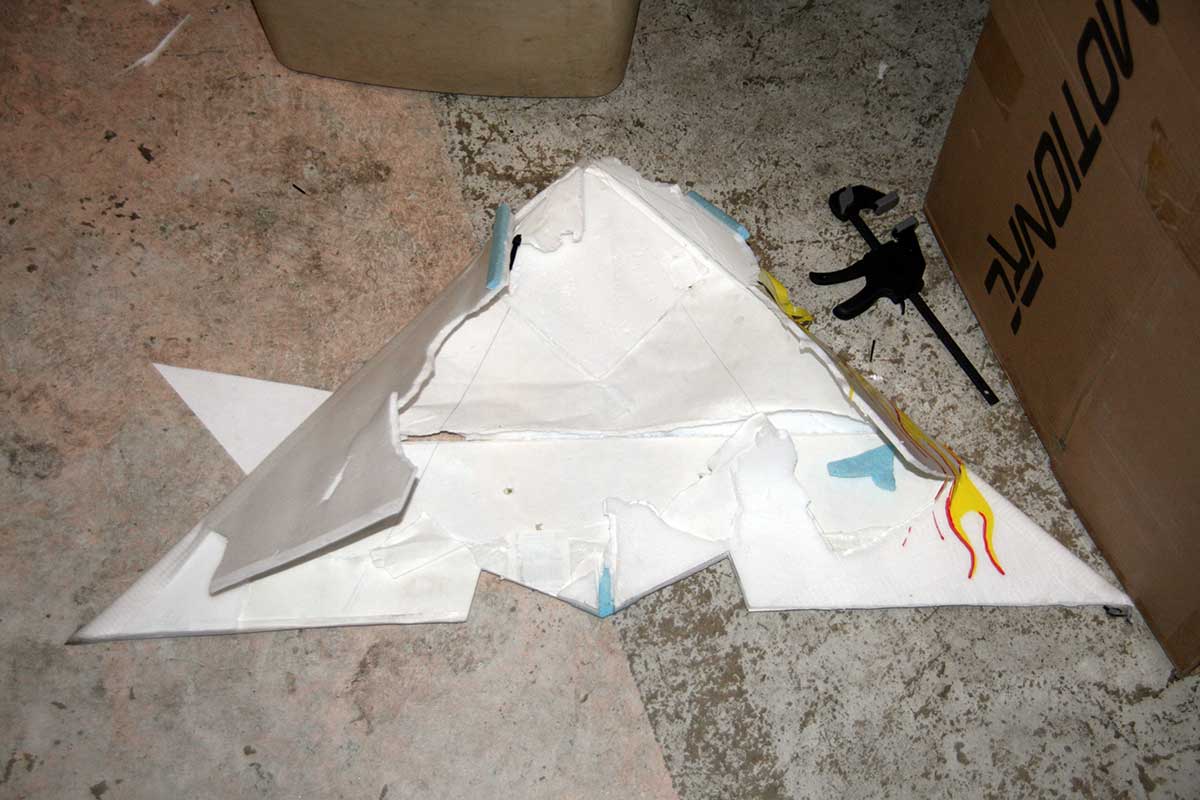
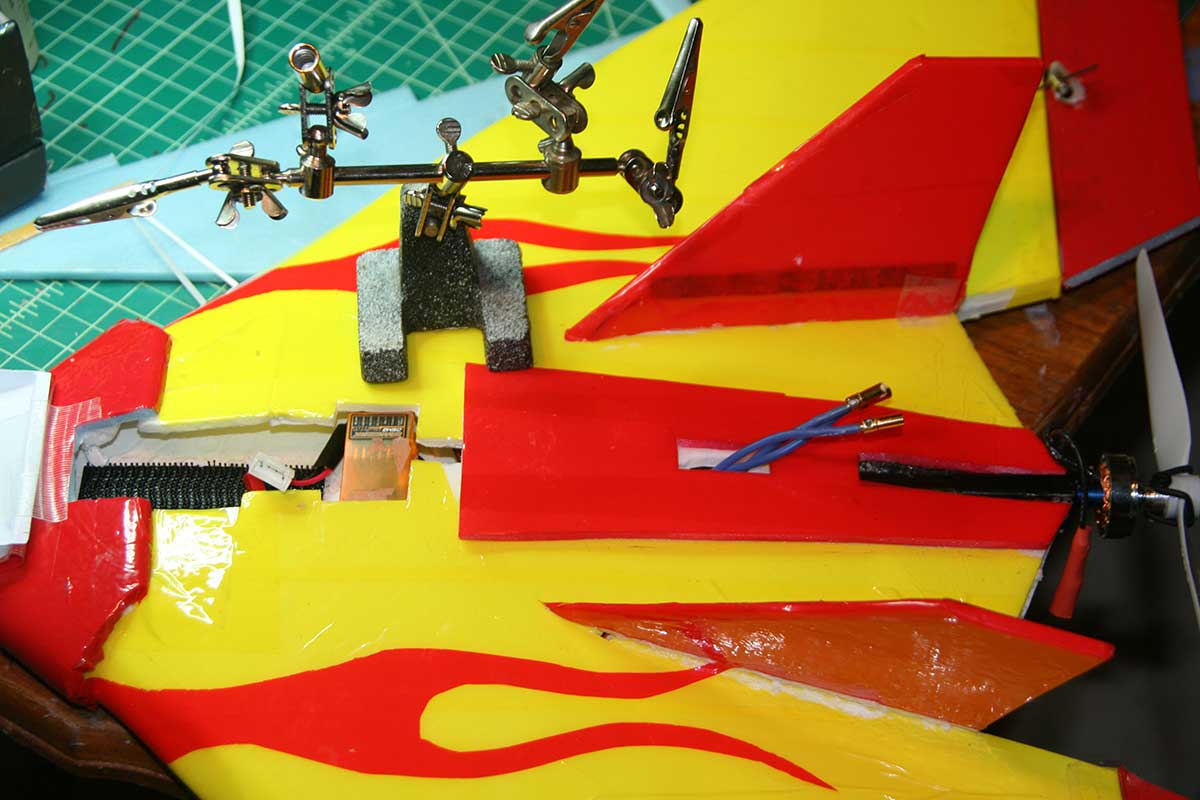
After slicing open some access to get at the servos. I actually had to cut even farther to pull the bad servo out.
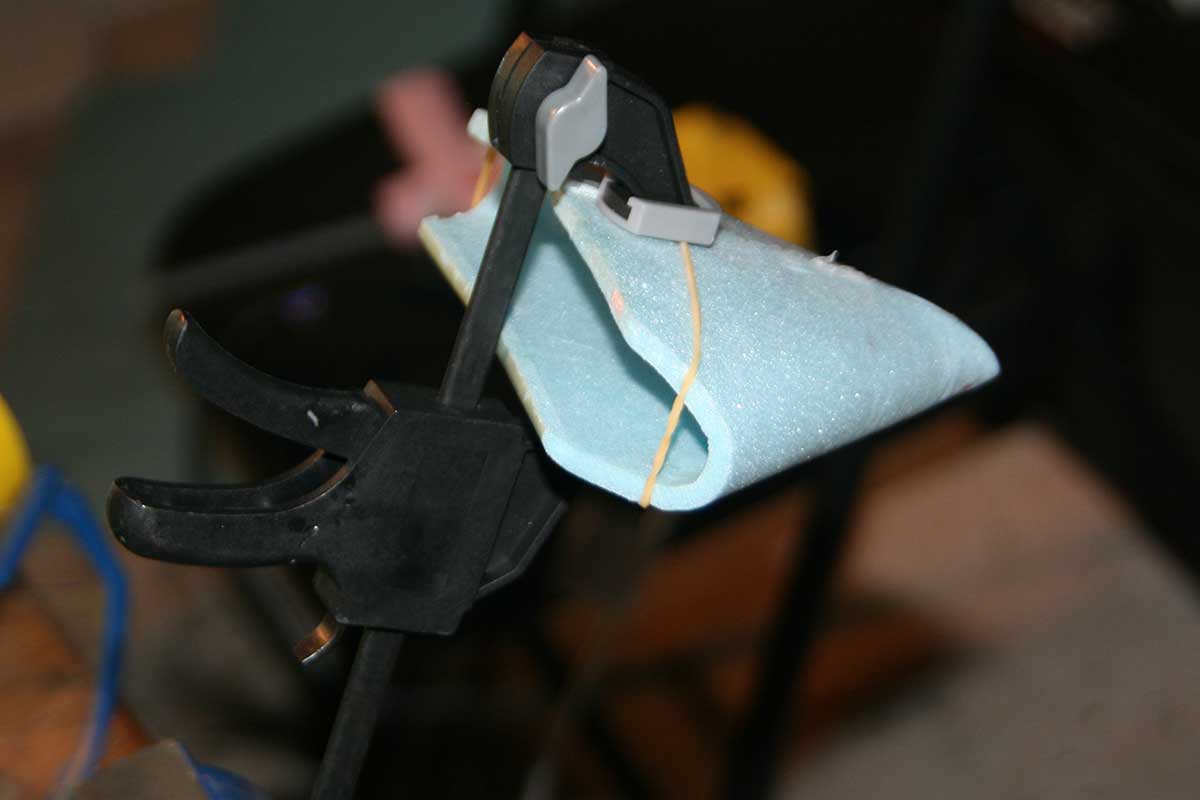
Gluing up the bent nose doubler. Bending this bad boy was extremely trying. I must have snapped a dozen test pieces before I got one to come out. The secret turned out to be applying a layer of packing tape to the outside surface of the foam before bending.
Gluing the nose doubler in place, after applying a layer of red tape.
Getting ready to glue the underbelly doubler in place. I’ve removed the packing tape where it’s going to go, to give me a foam-to-foam glue bond.
Adding the spine piece which runs behind the hatch.
I honestly don’t remember what this hatch piece originally was. Maybe a construction jig for the wings on my Pico Tiger Moth? I dunno.
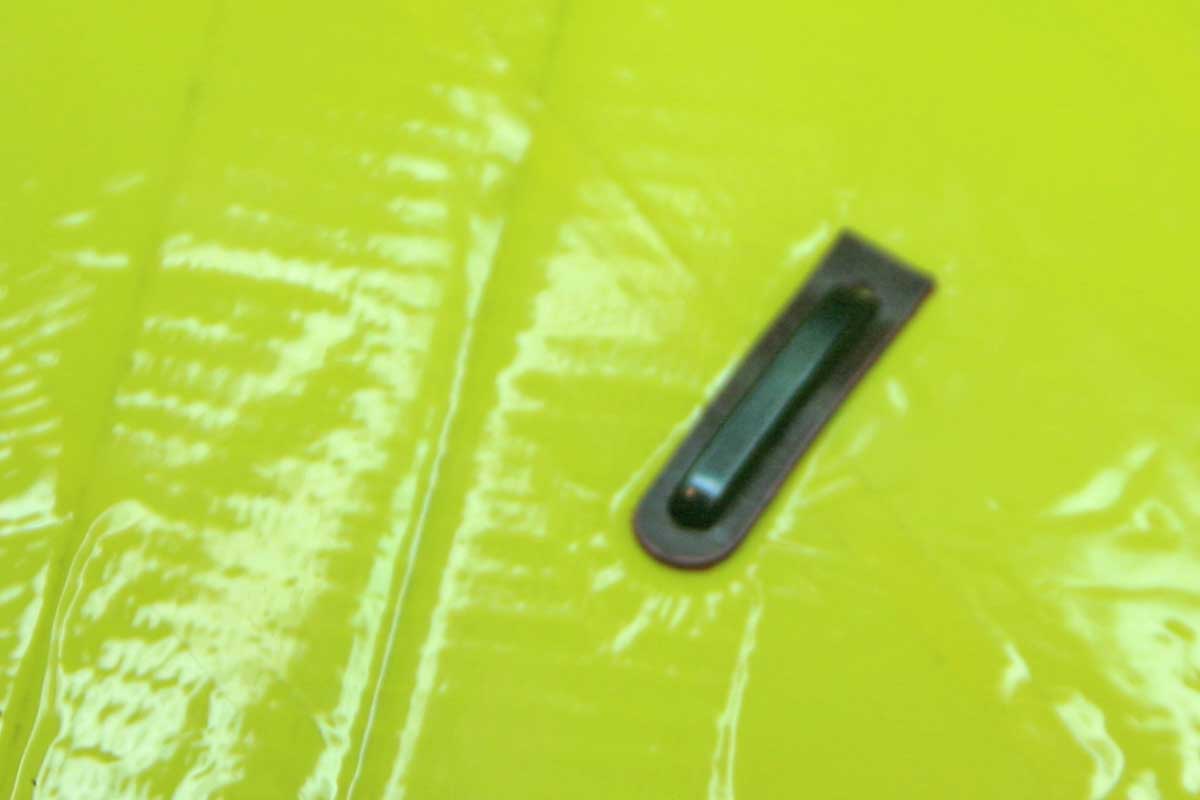
The hinge is tape. I epoxied two small pieces of foam in the back corners, with little rare earth magnets epoxied into them.
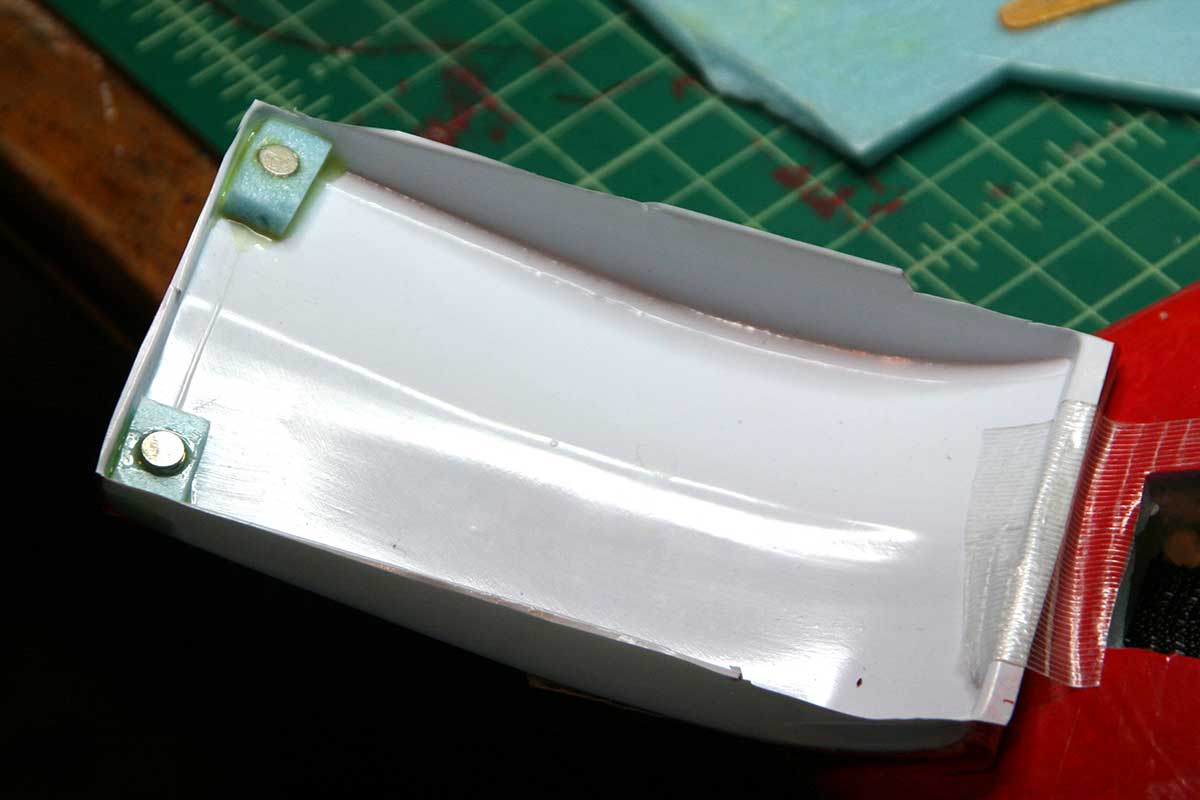
Two rare earth magnets epoxied into the top of the wing/fuselage. These magnets match up with the ones in the hatch to hold the hatch securely in place.

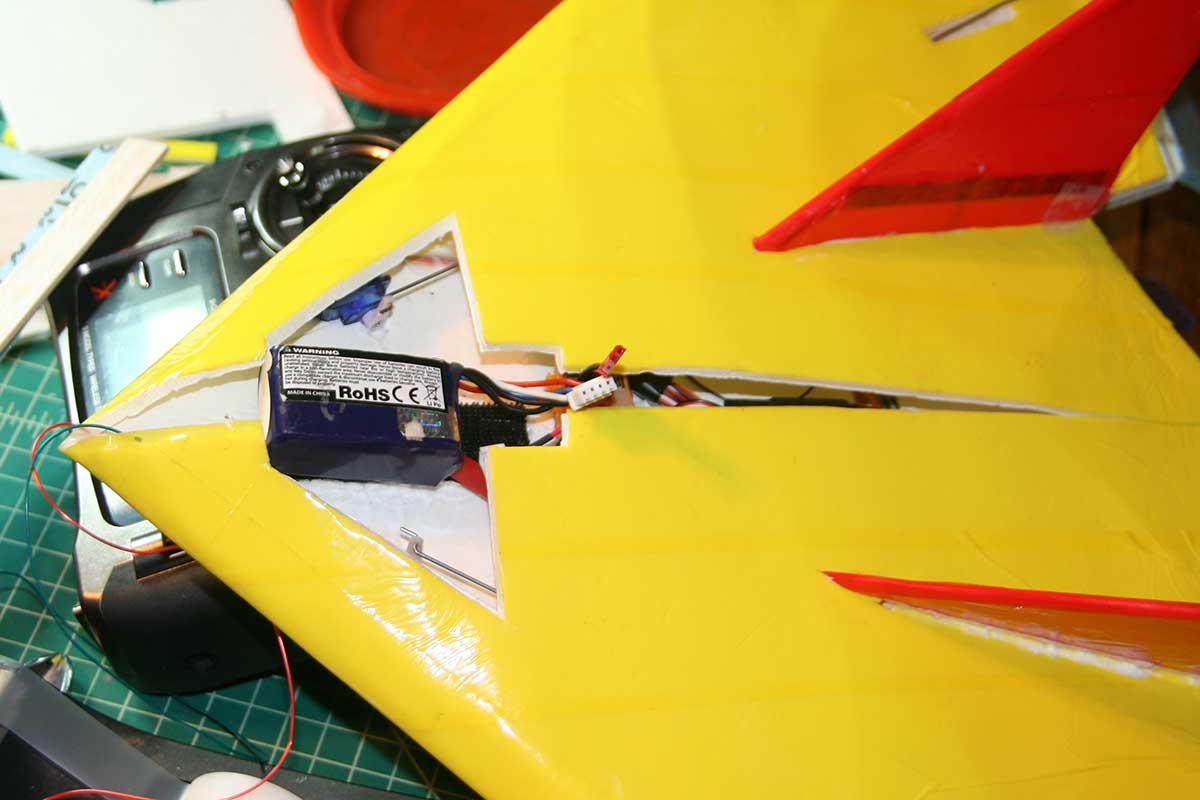
The LED lights plug into the balance plug on the LiPo.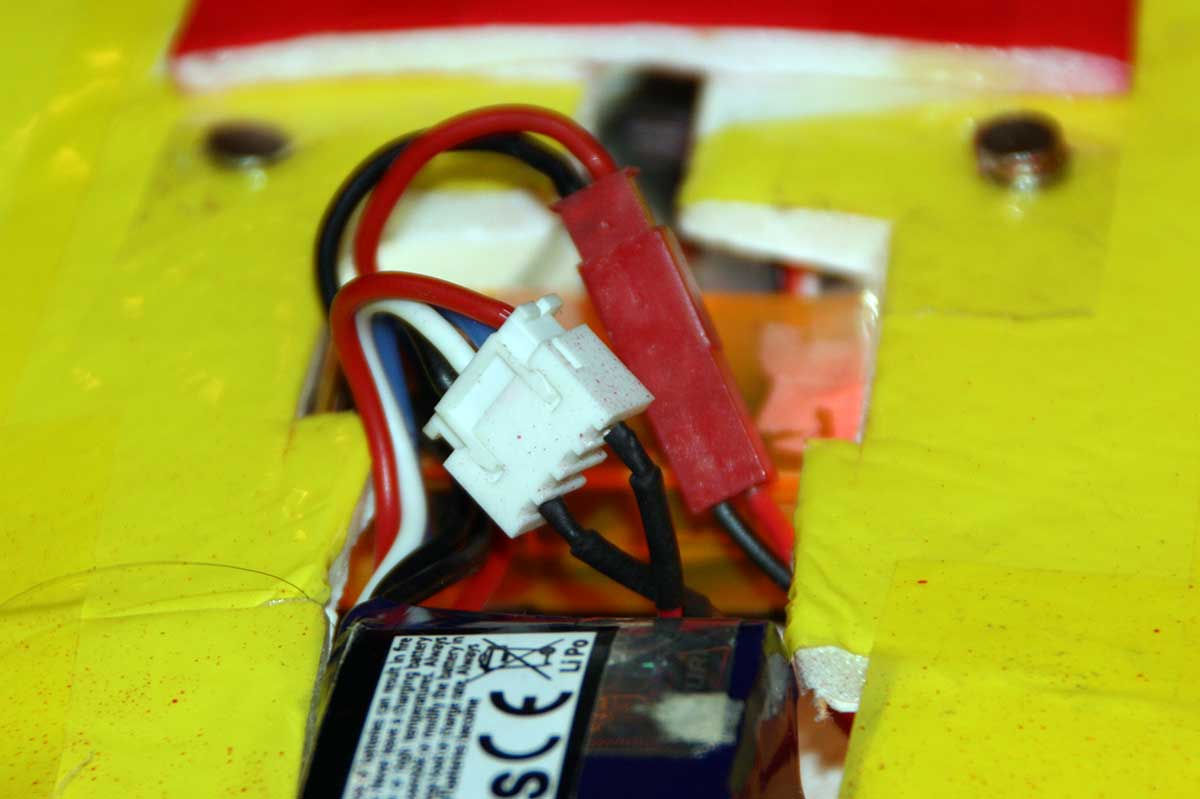
And … that’s it. She’s ready to fly!