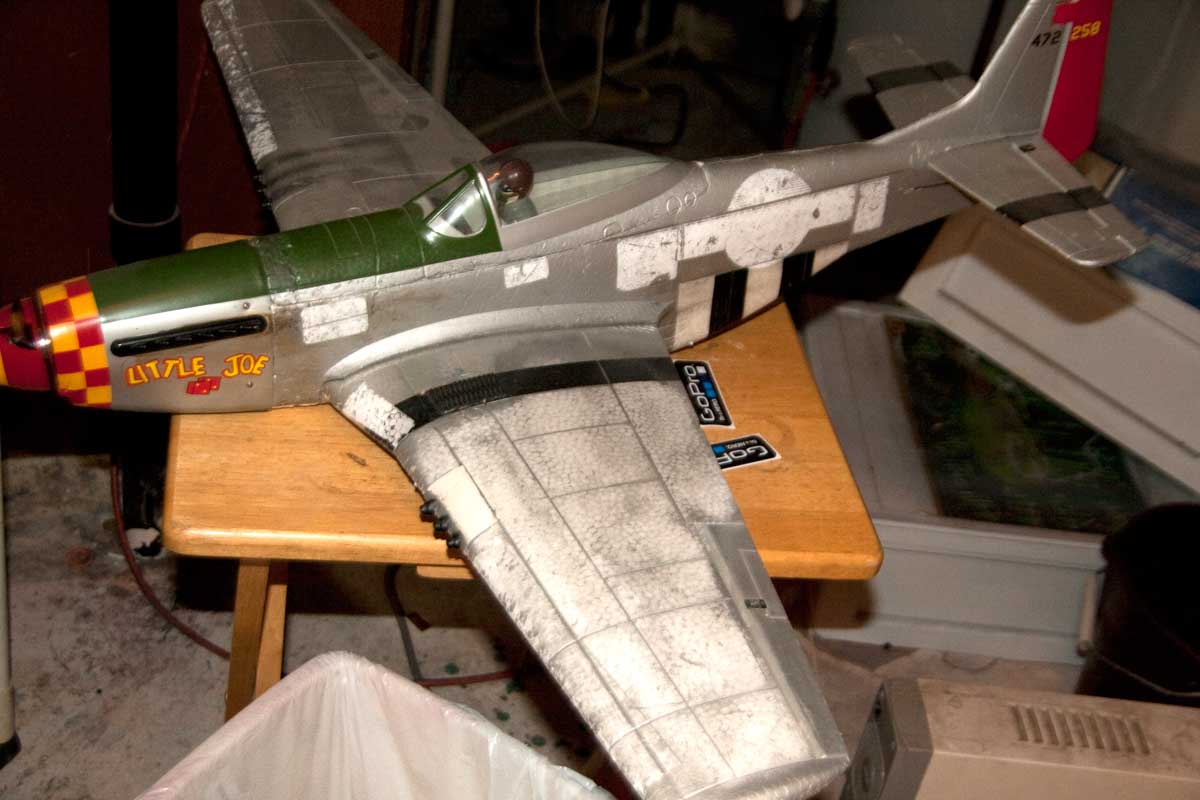
The time has come to overhaul my Tower Hobbies P-51.
Per recommendations from Jesse at Headsup, I’ll be installing an Emax GT2815/05 1500kv motor and HURC 60 Amp ESC. They’ll be driving an APC 8x8E propeller with power from a 2700mAh 4-cell LiPo. Early calculations show that this setup should be somewhere between “really fast” and “extremely fast until the motor catches on fire.”
Using acetone to strip the old paint.
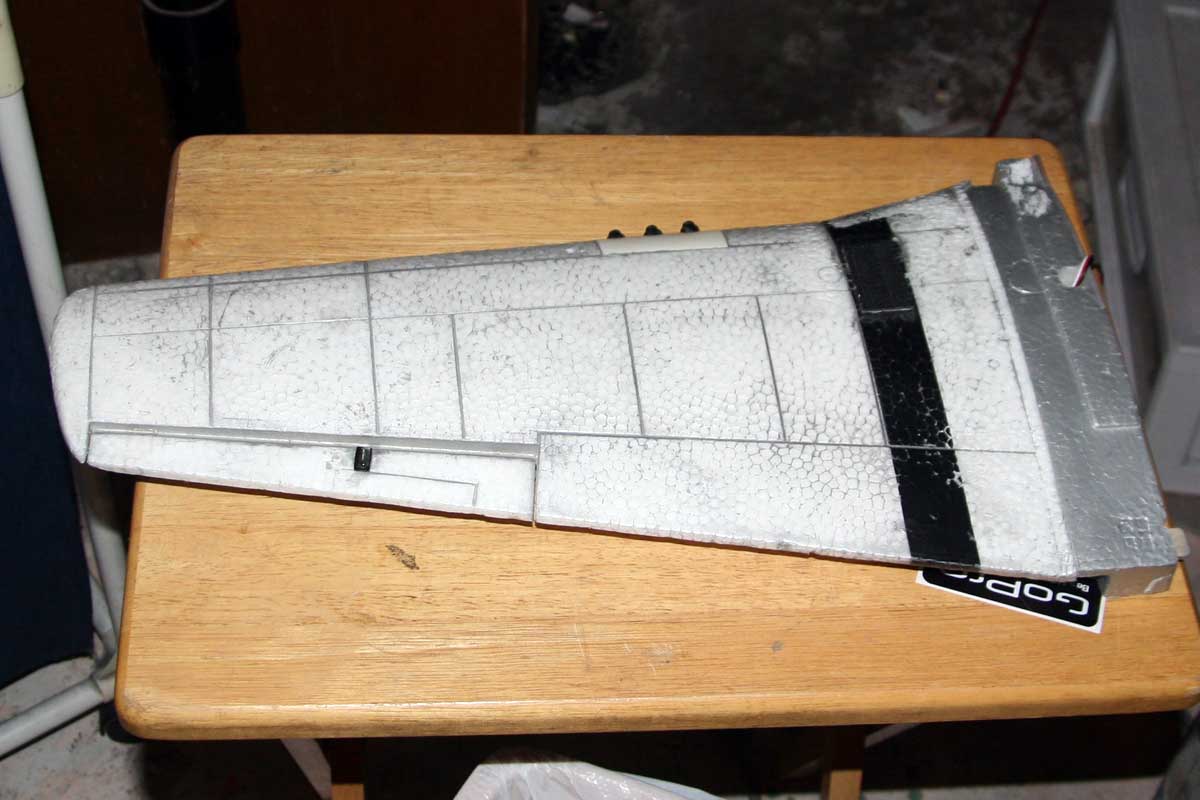
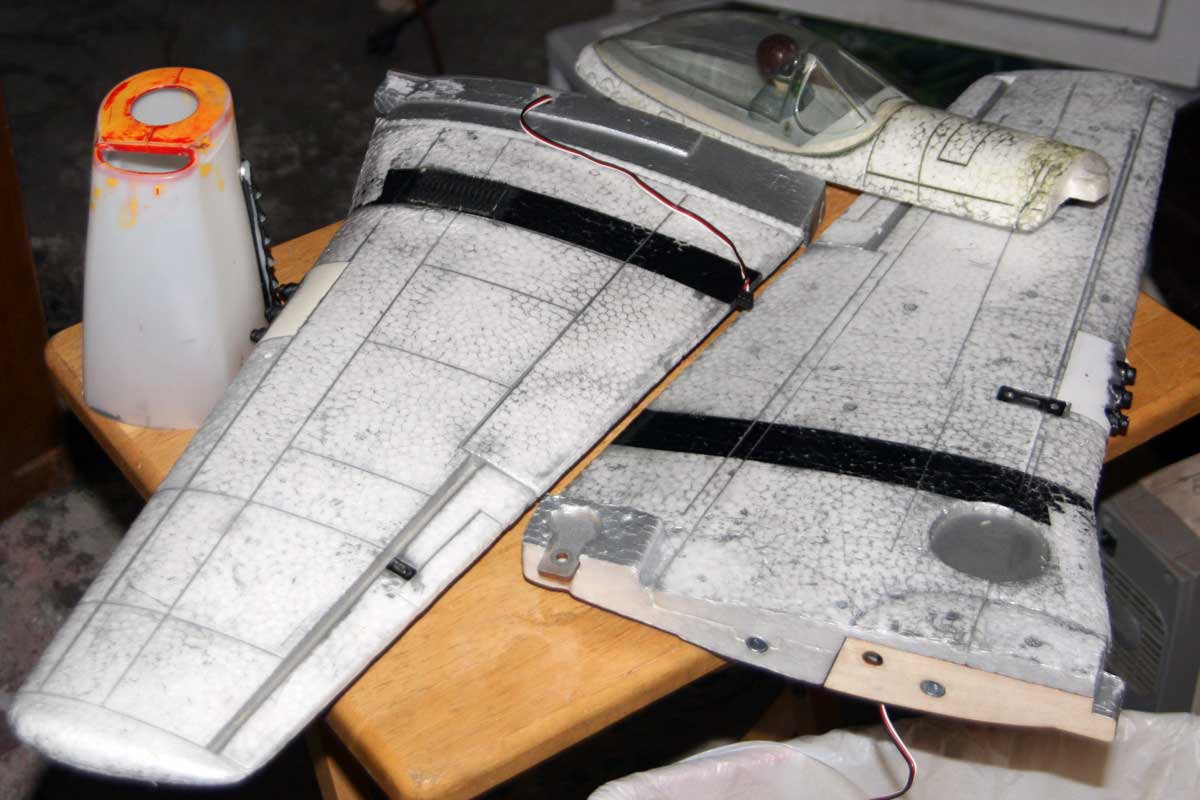
A pile of parts with the paint *mostly* stripped off.
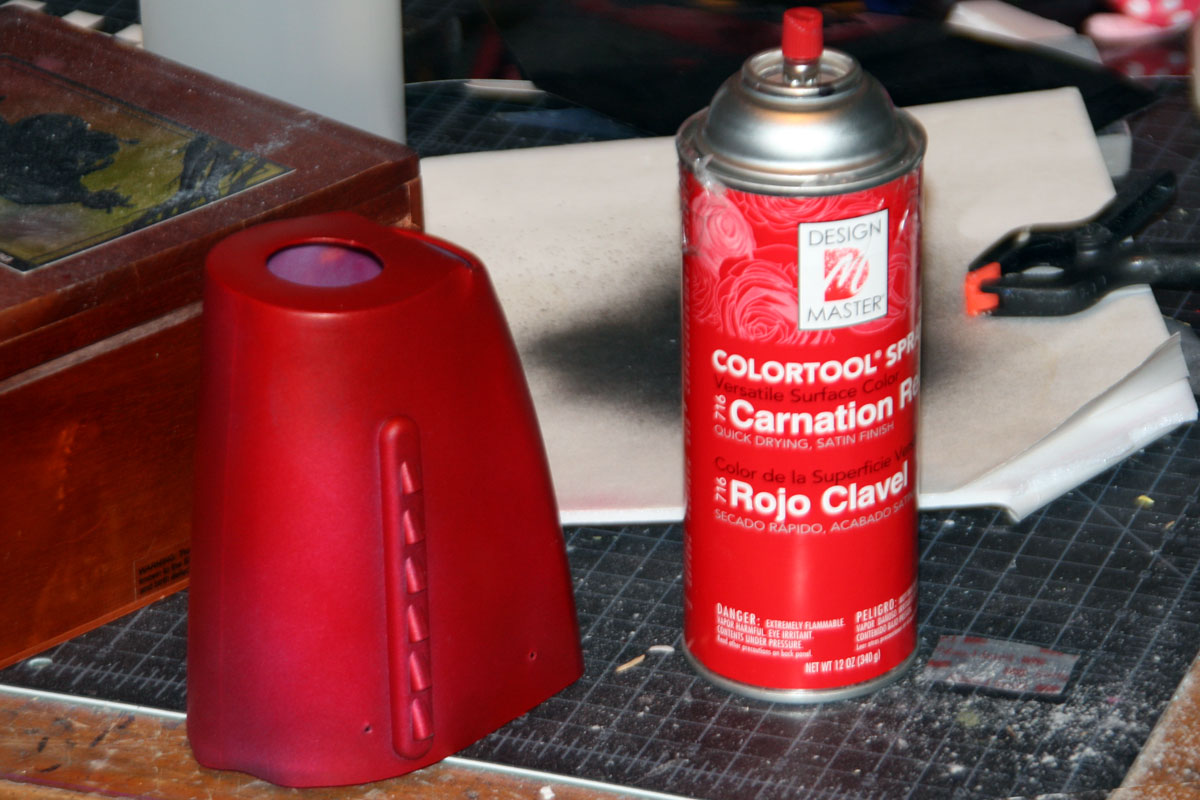
Everything gets painted ‘carnation red’ over a coat of silver.
Cockpit and bottom scoop, painted red
Red wings. I failed to get enough silver over that one stripe, and it shows through the red a bit, but the final graphics will cover that up.
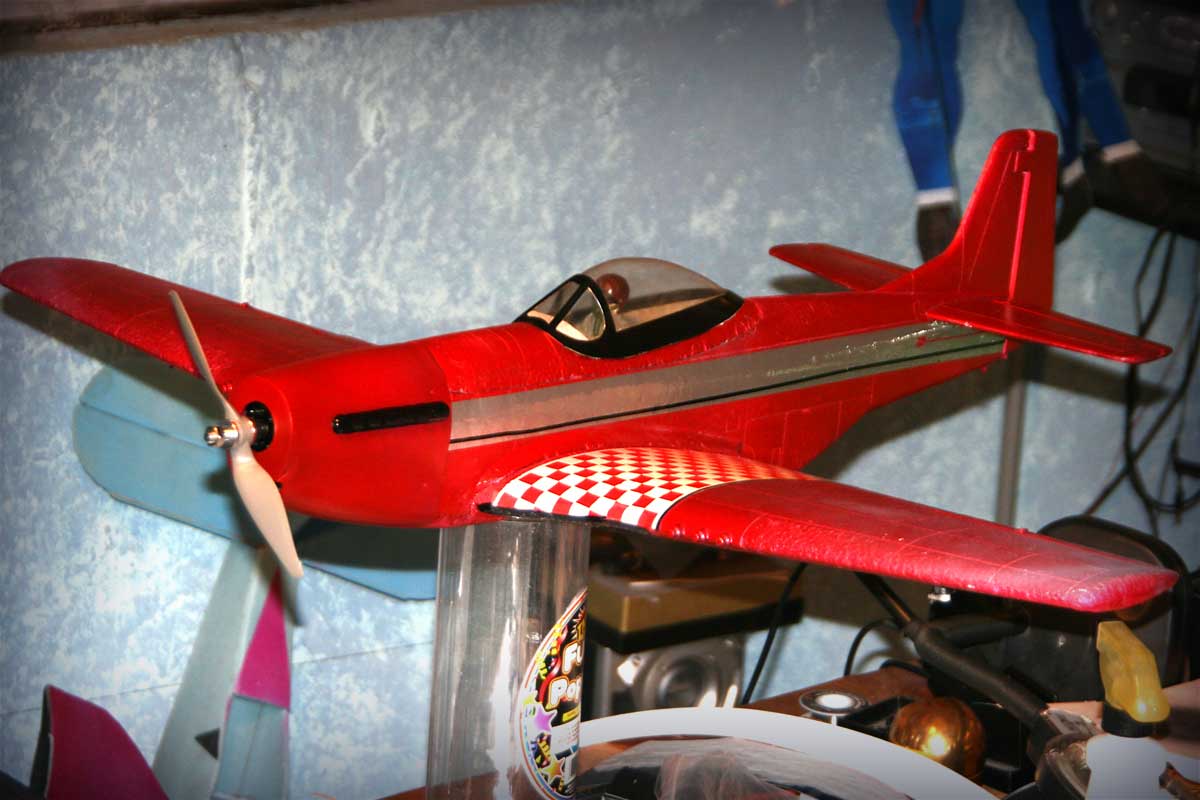
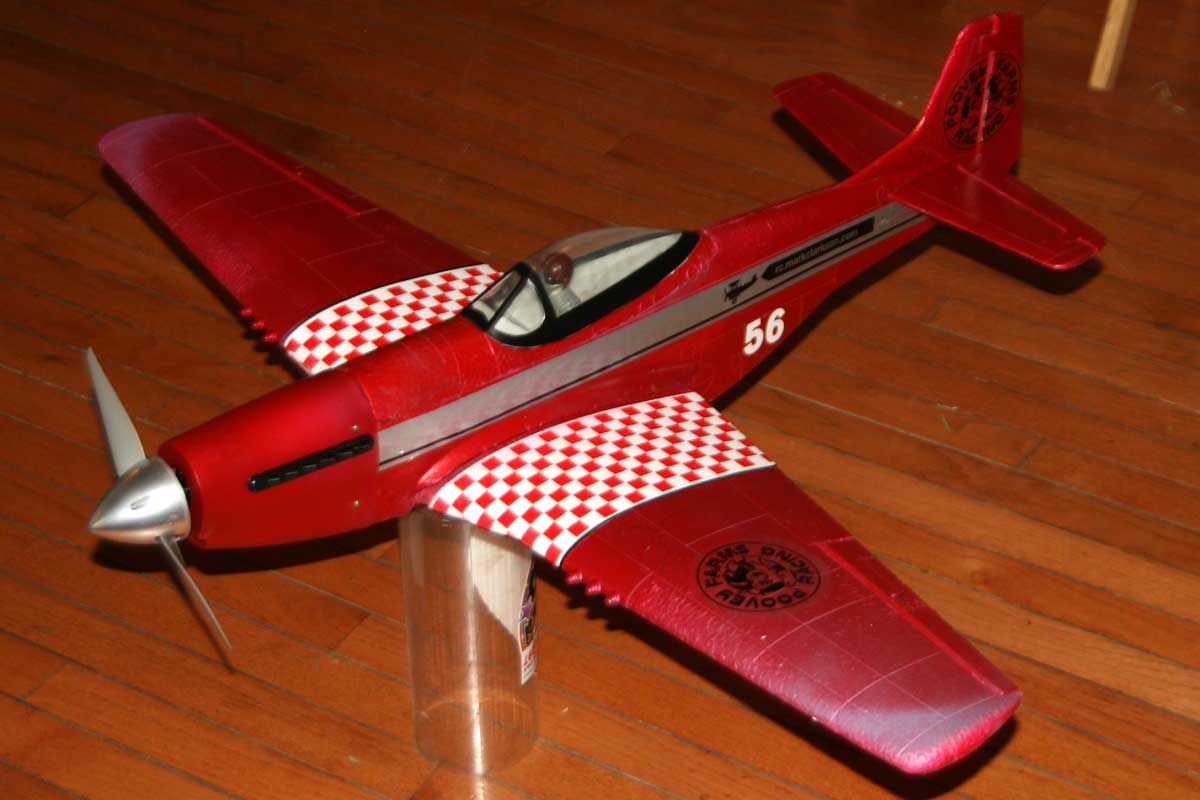
A quick test-fit of the painted parts.
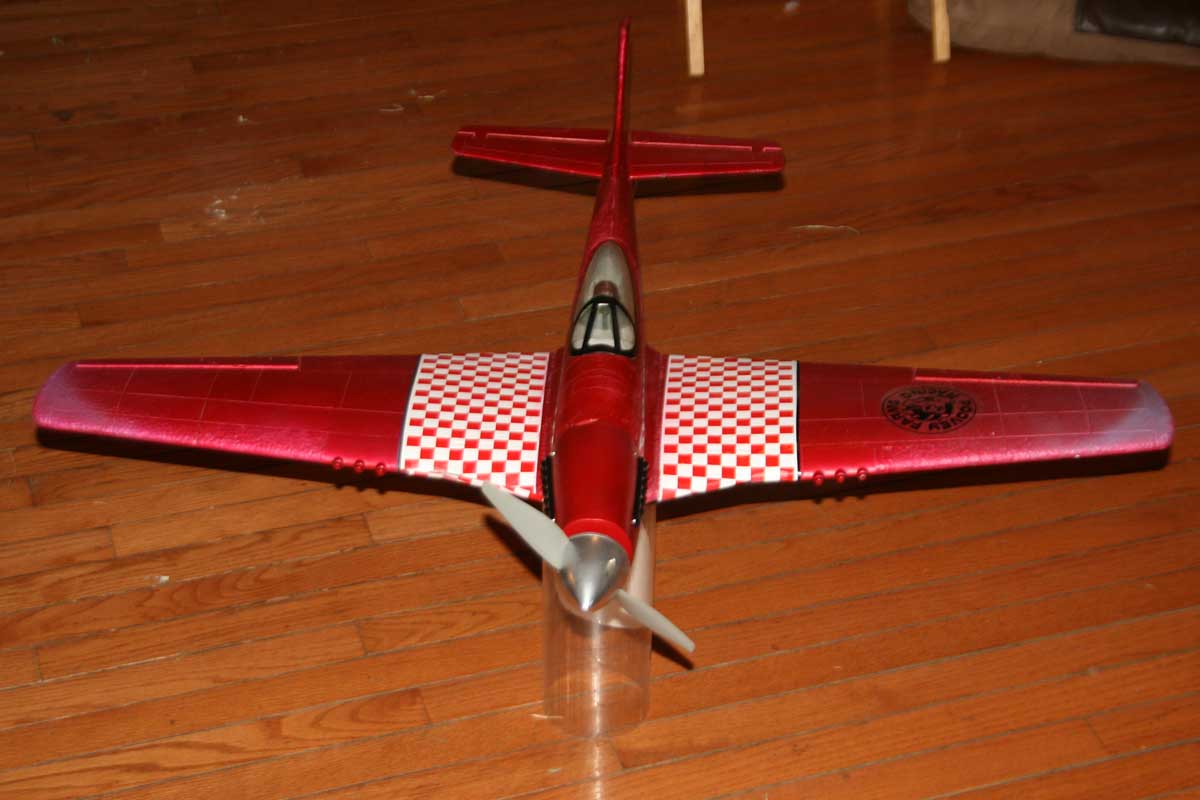
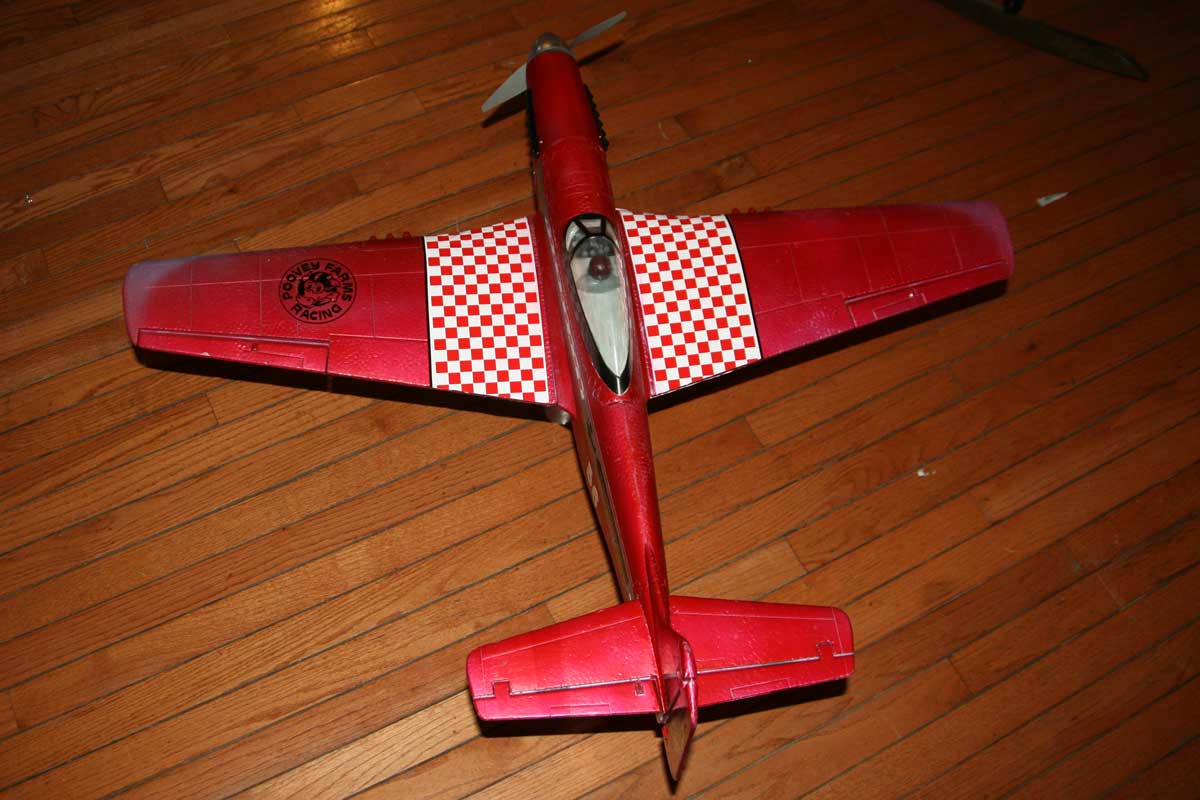
The first graphics – a red checkerboard pattern – applied as wide stripes to the top of the wings.
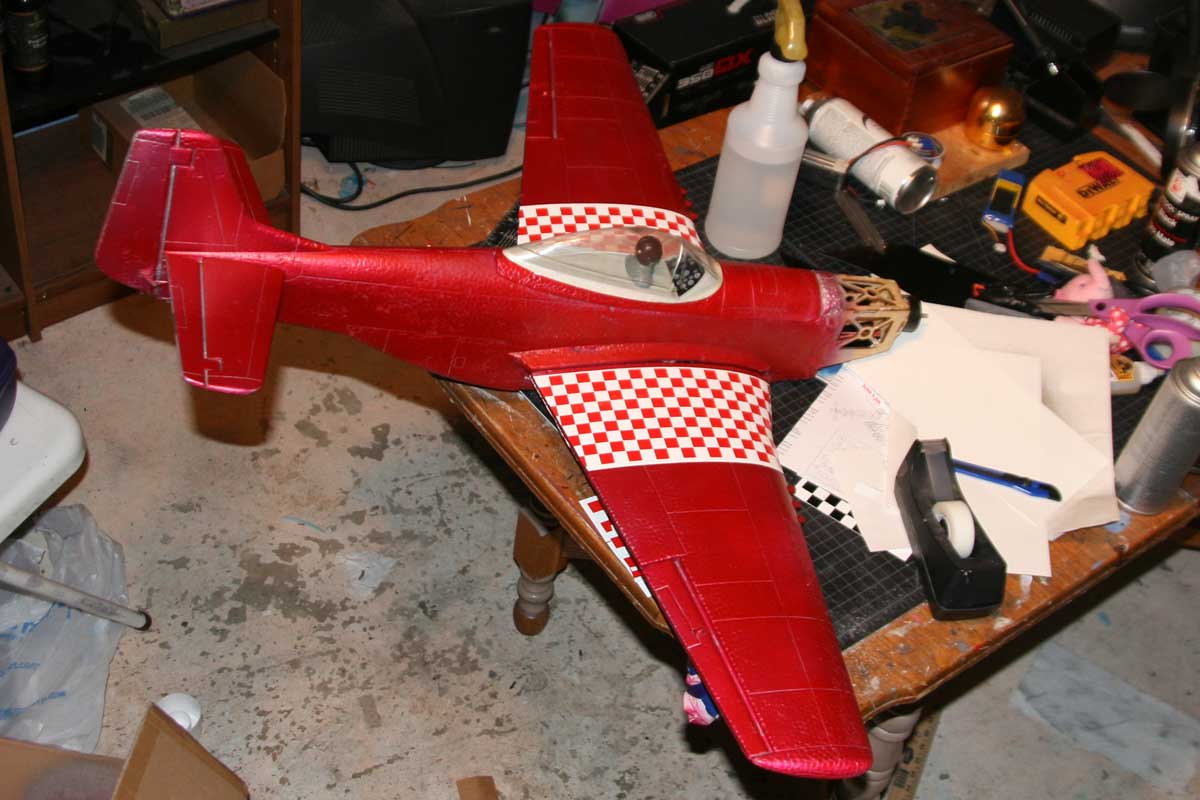
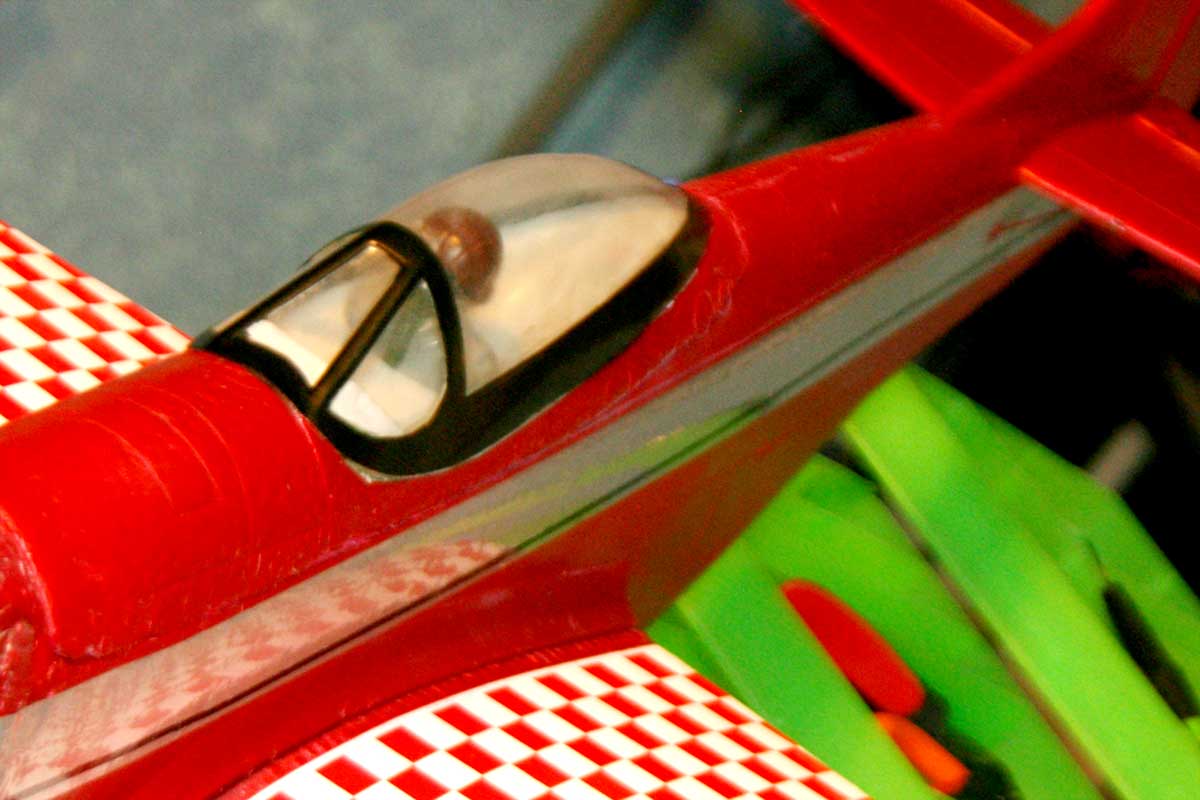
A quick test assembly to see how the checkerboard stripes look in situ.
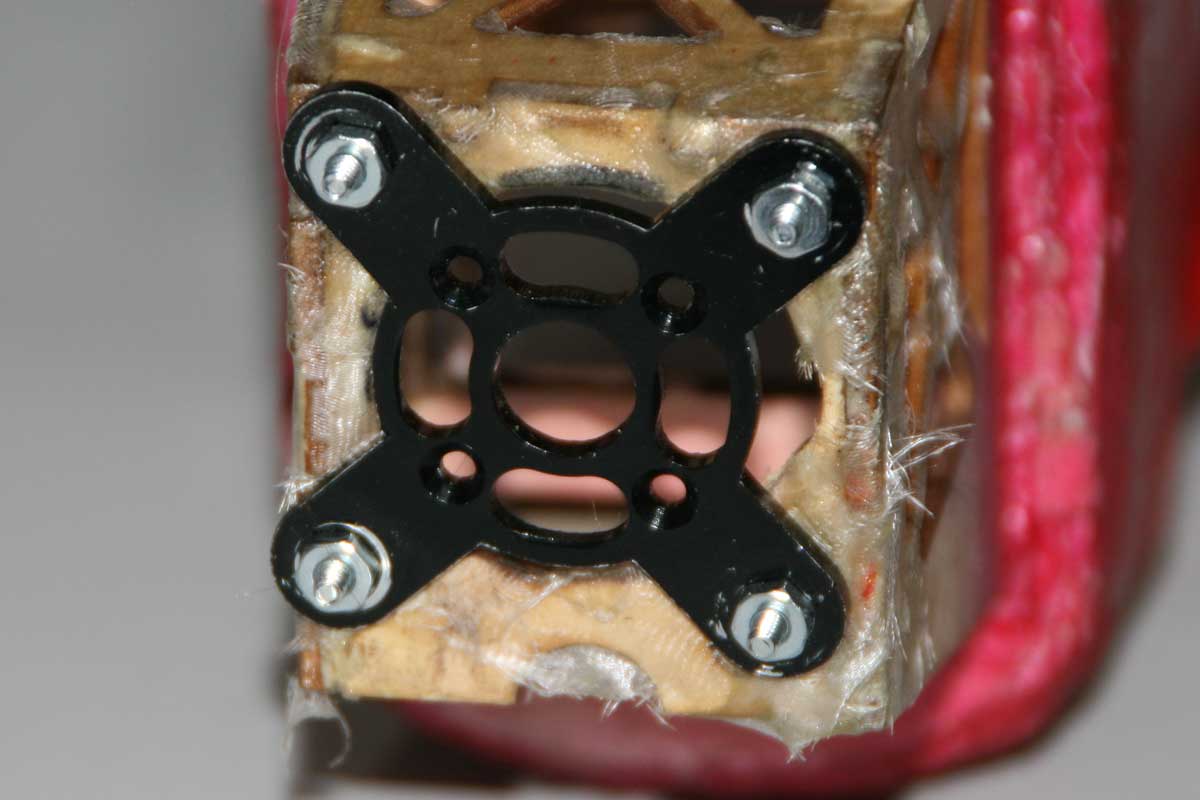
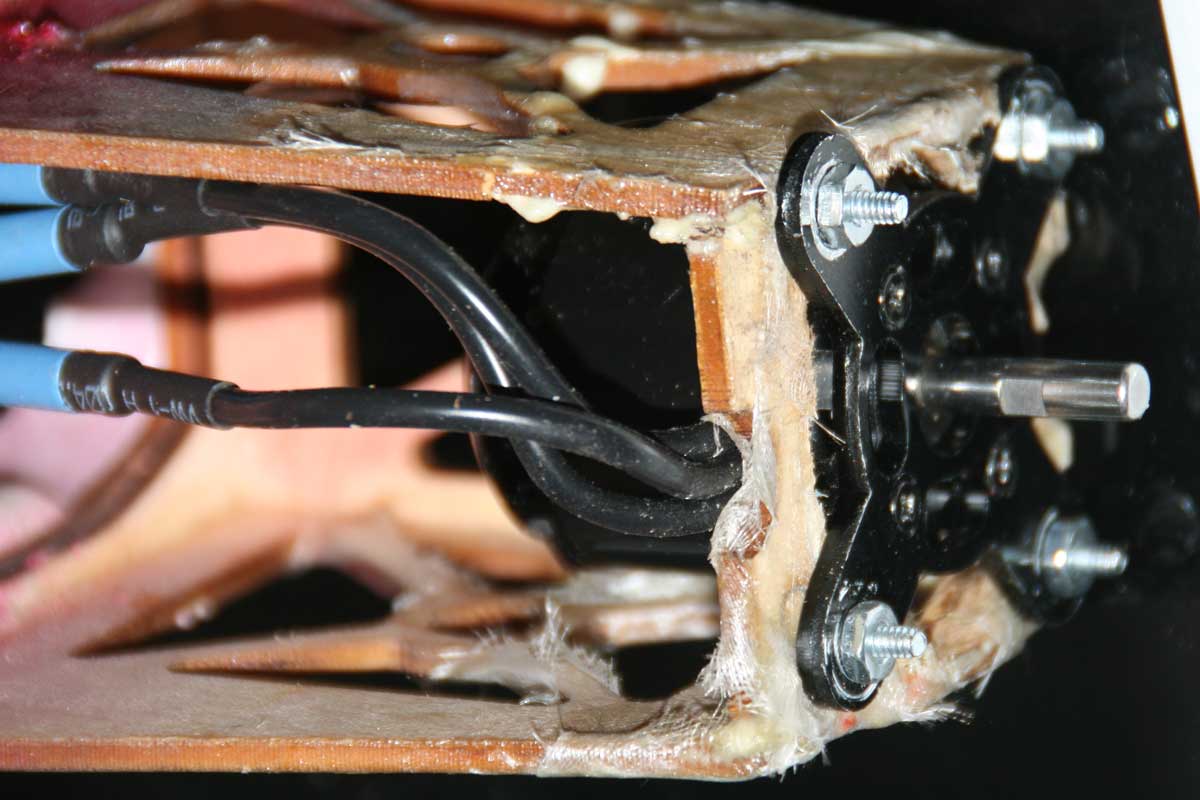
After cutting out the front of the stock wood mount, and reinforcing it with some (very sloppy) fiberglass work, I’ve bolted the new X mount in place.
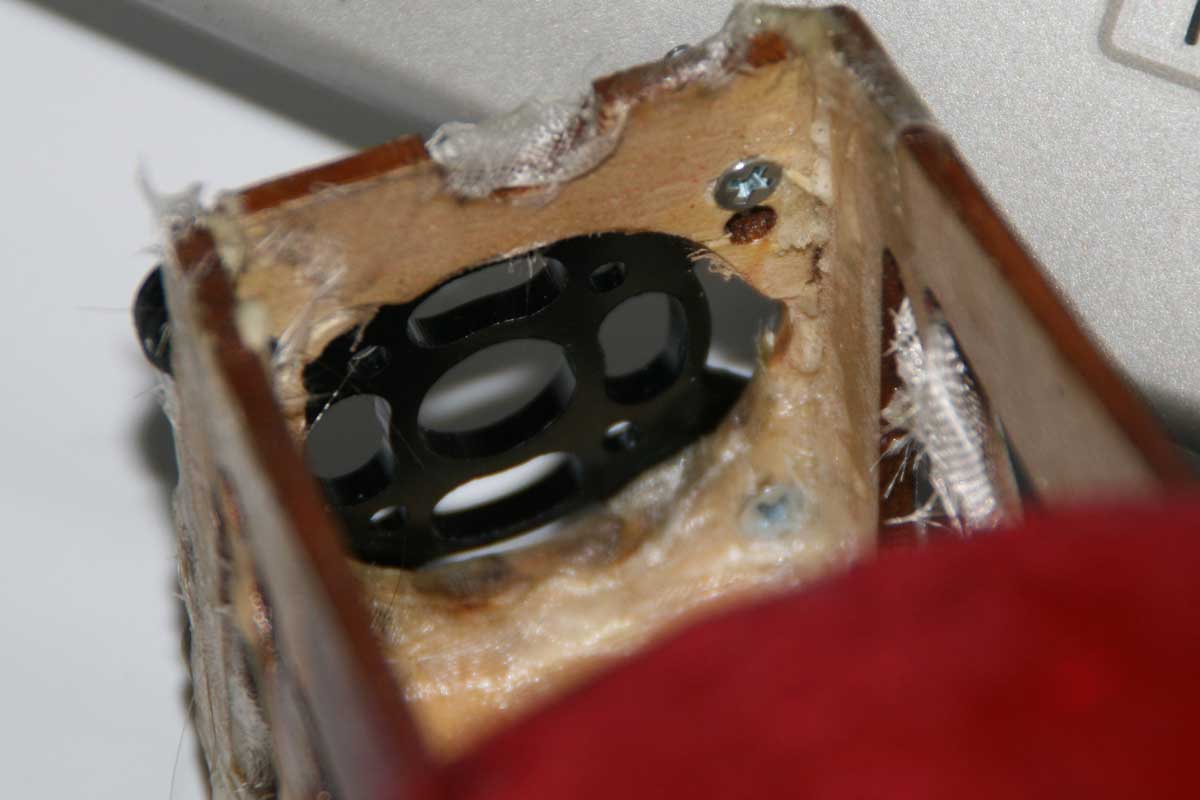
X mount in place
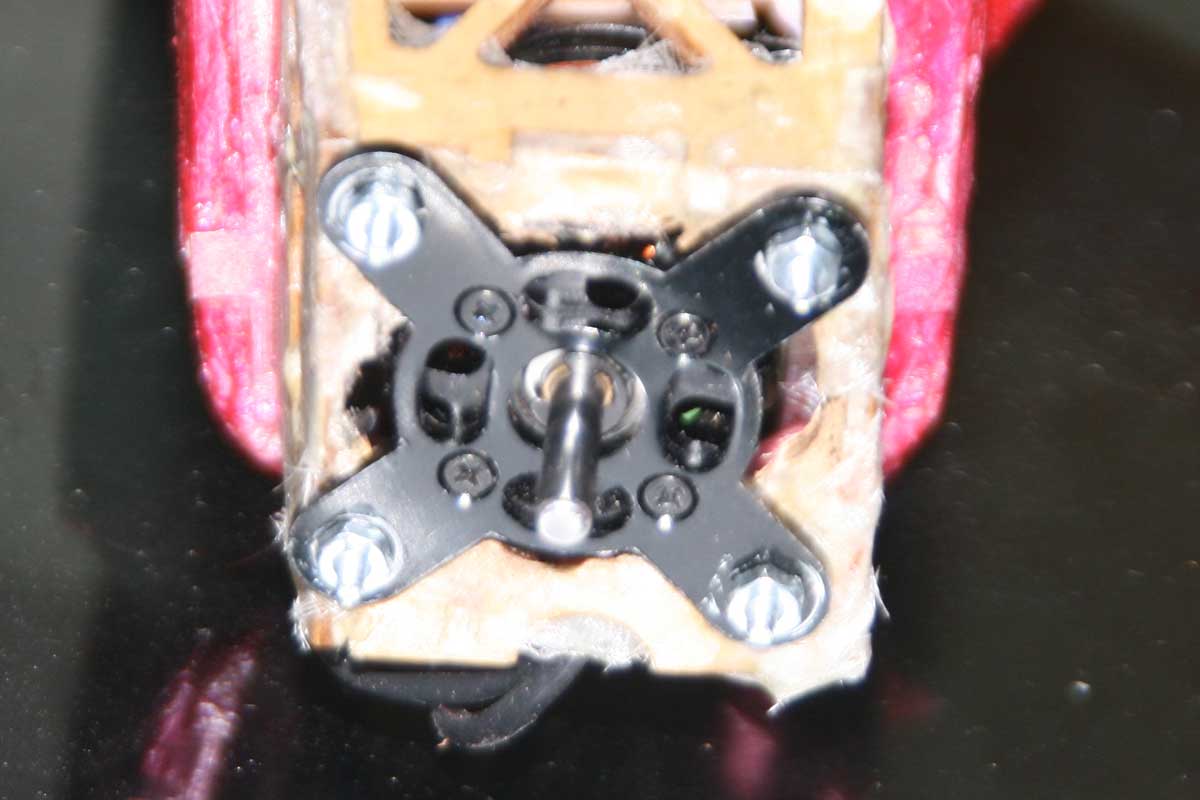
The new motor in place.
Engine in mount, another view.
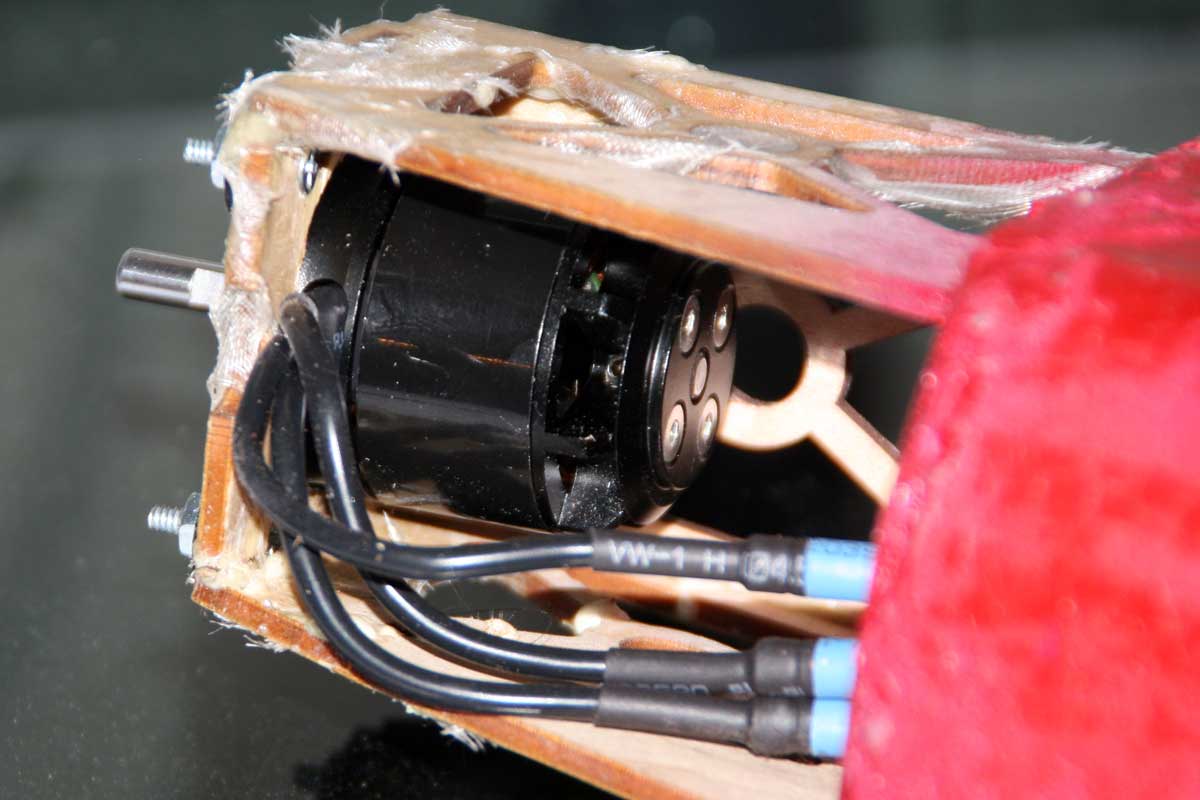
Engine in mount, yet another view.
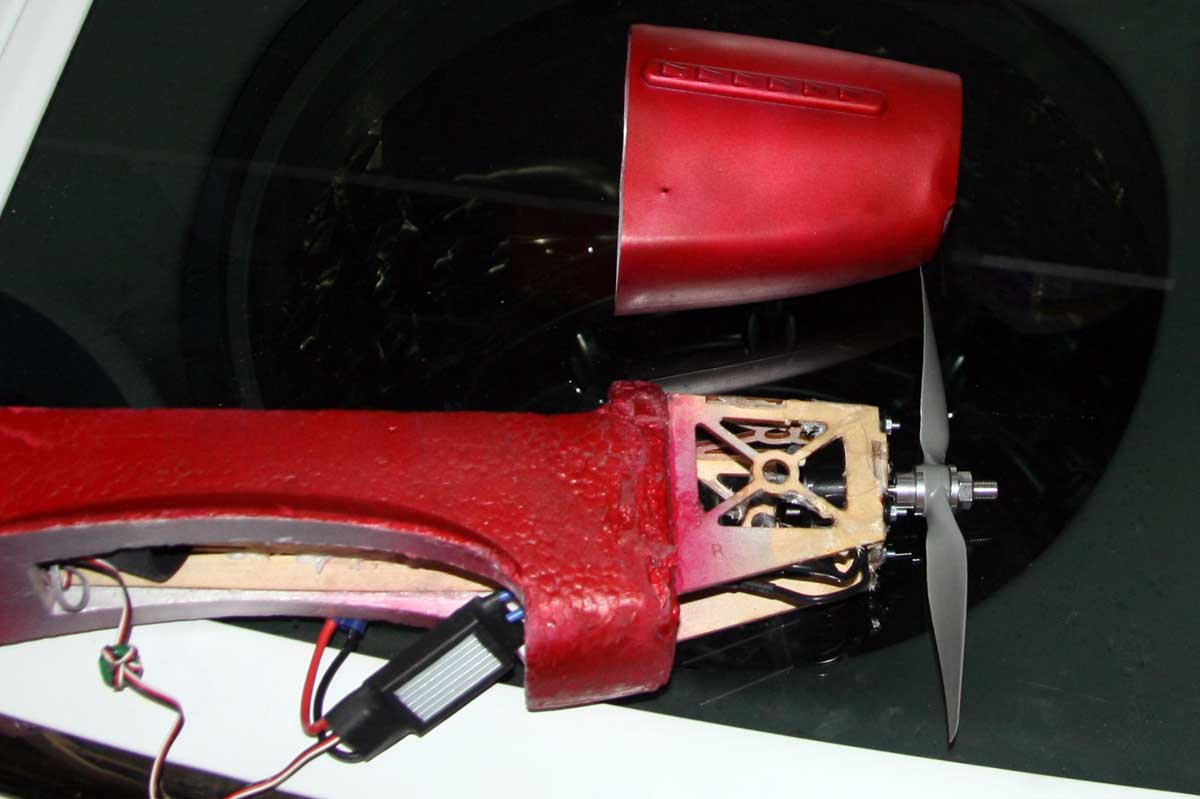
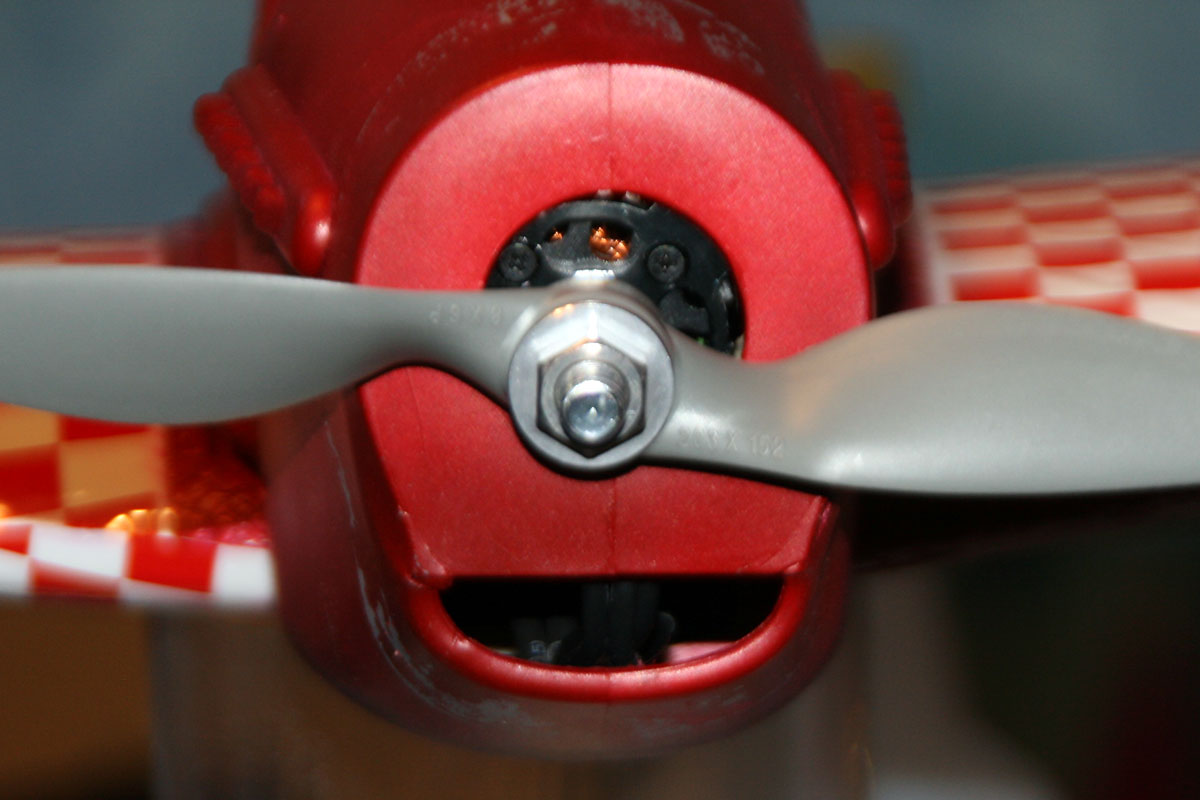
With the prop in place, it’s obvious that the cowling is too long.
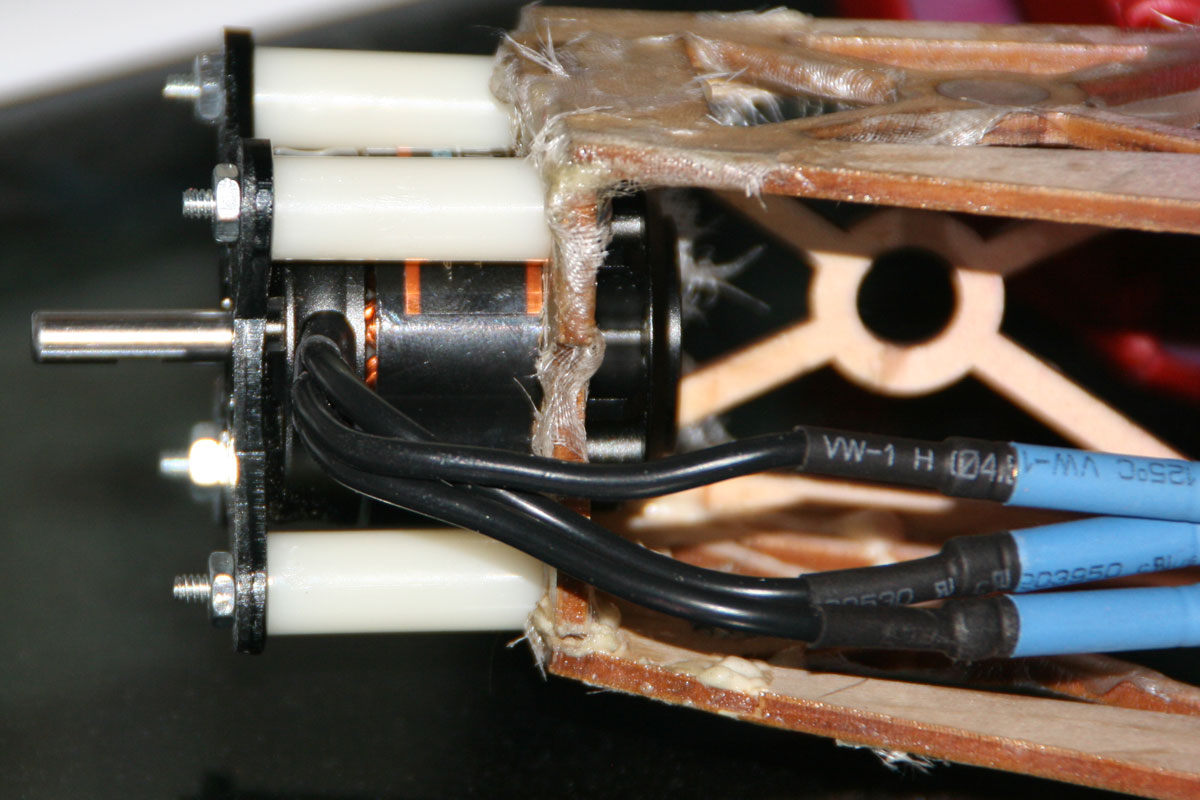
Motor repositioned via a set of 1″ stand-offs.

Another view of the new motor position.

The new motor position works much better under the cowling.
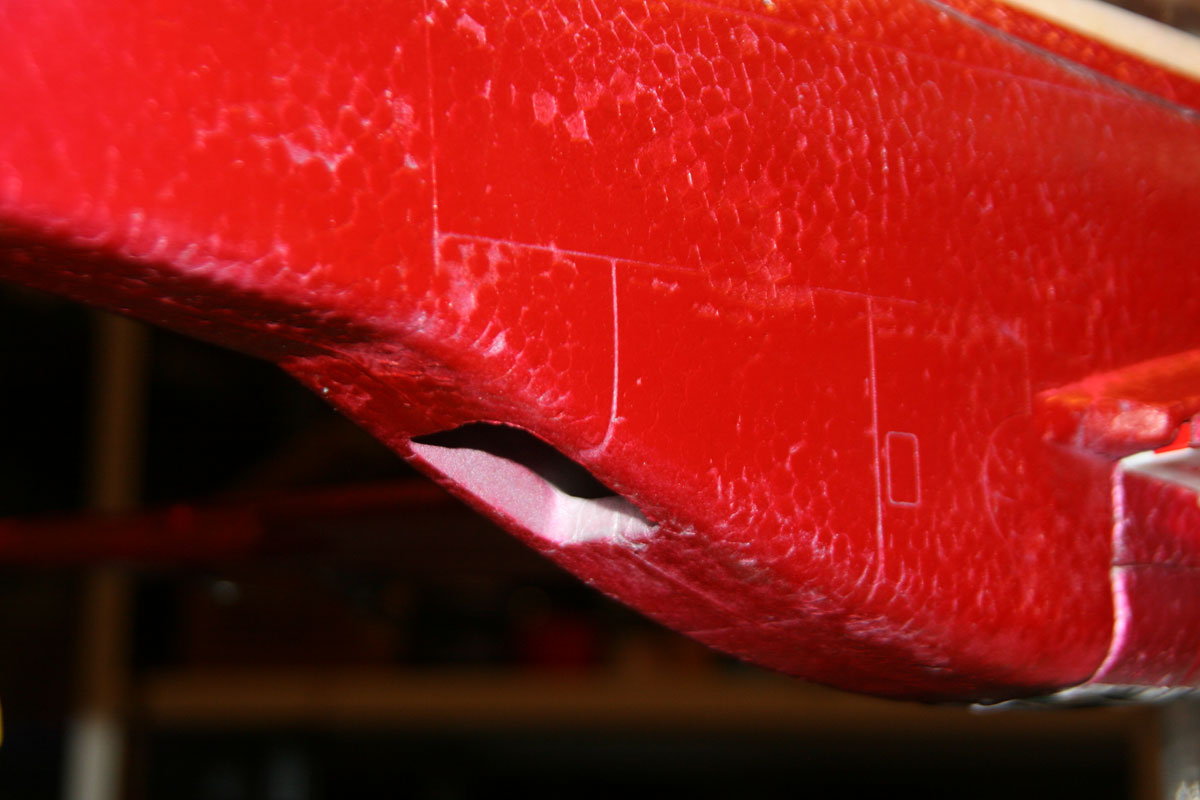
Rear outlet
Stock air scoop
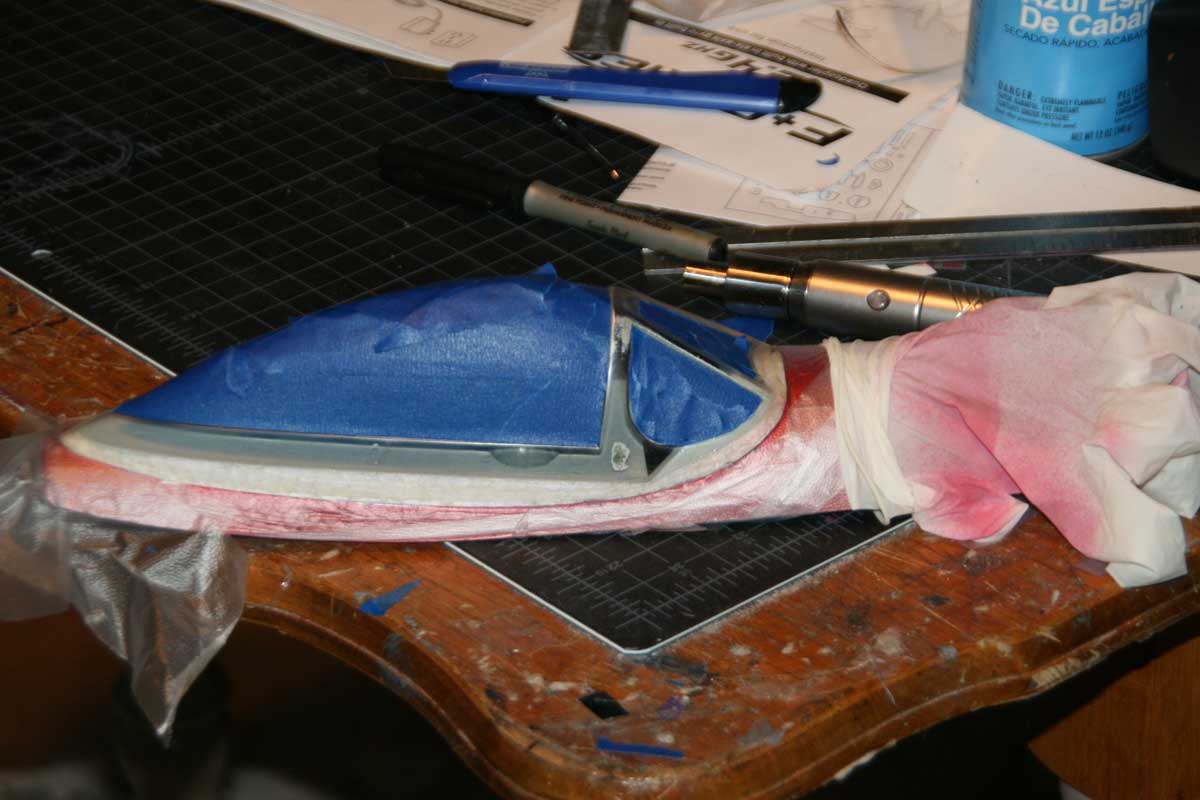
Masked with tape and cling wrap.
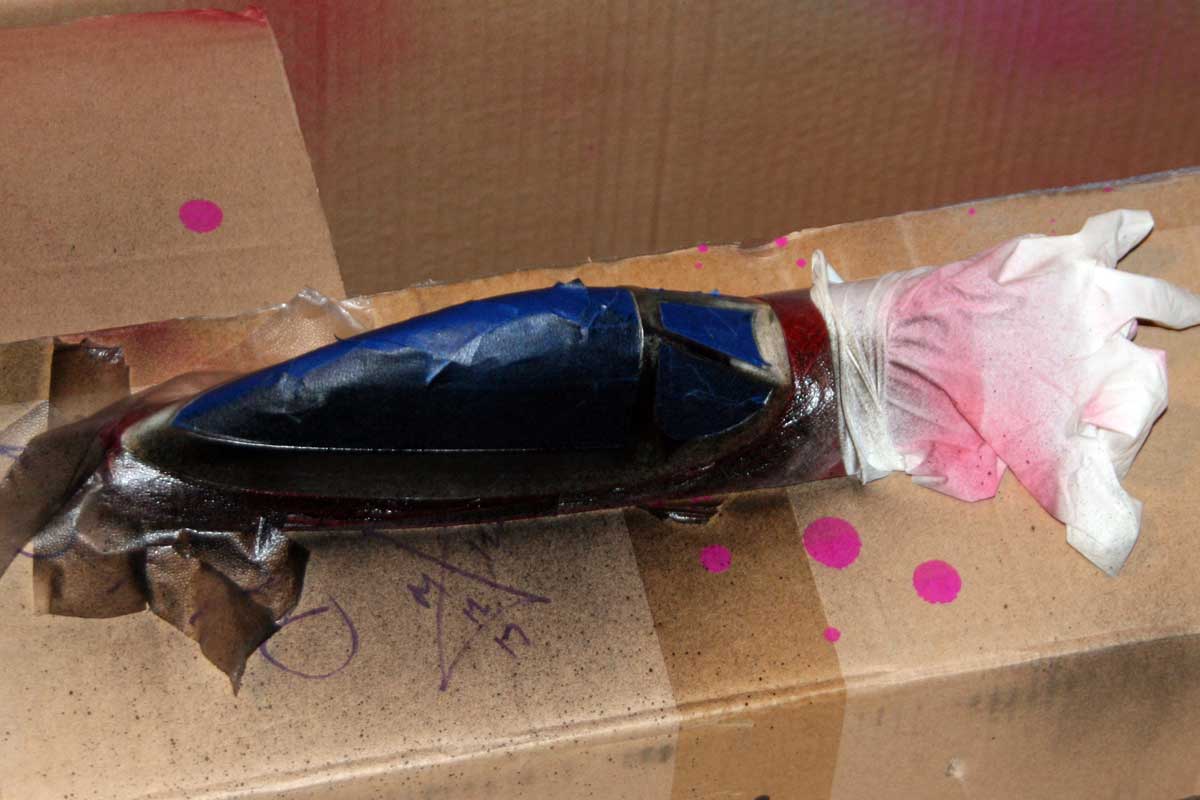
Applying the black paint
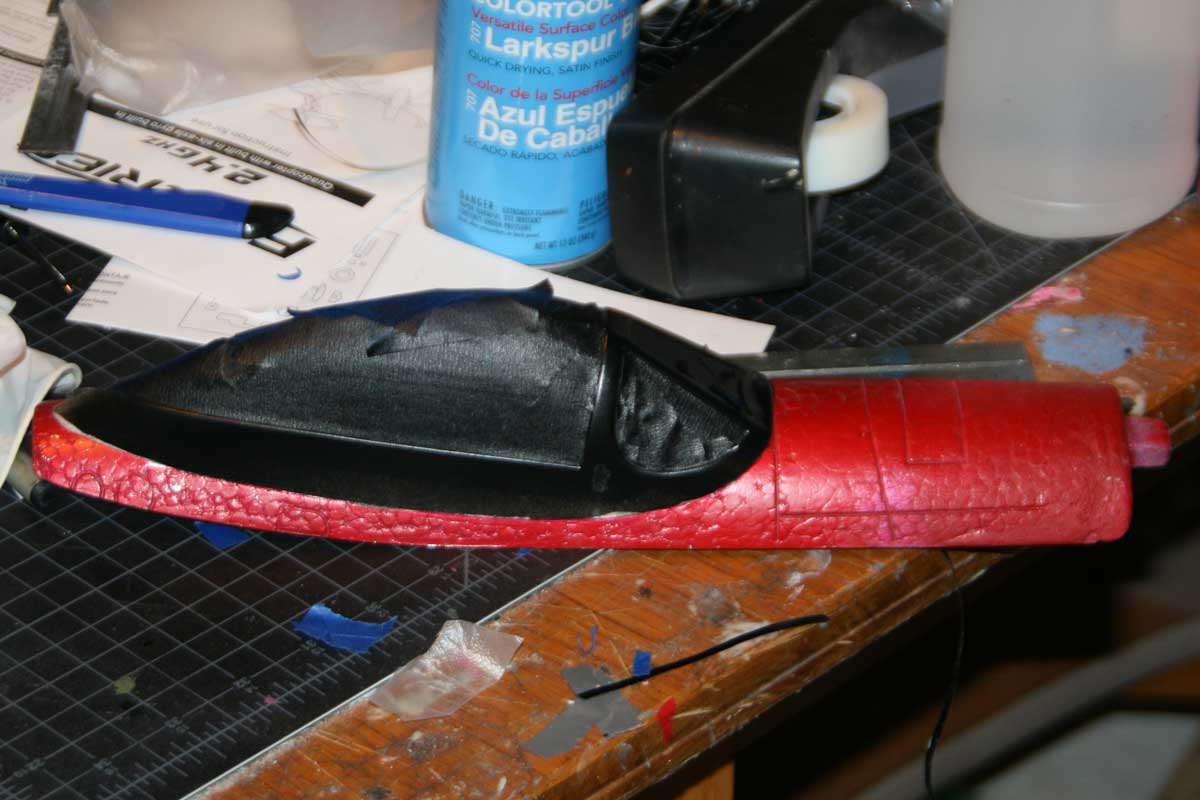
With the wrap stripped away, results look good
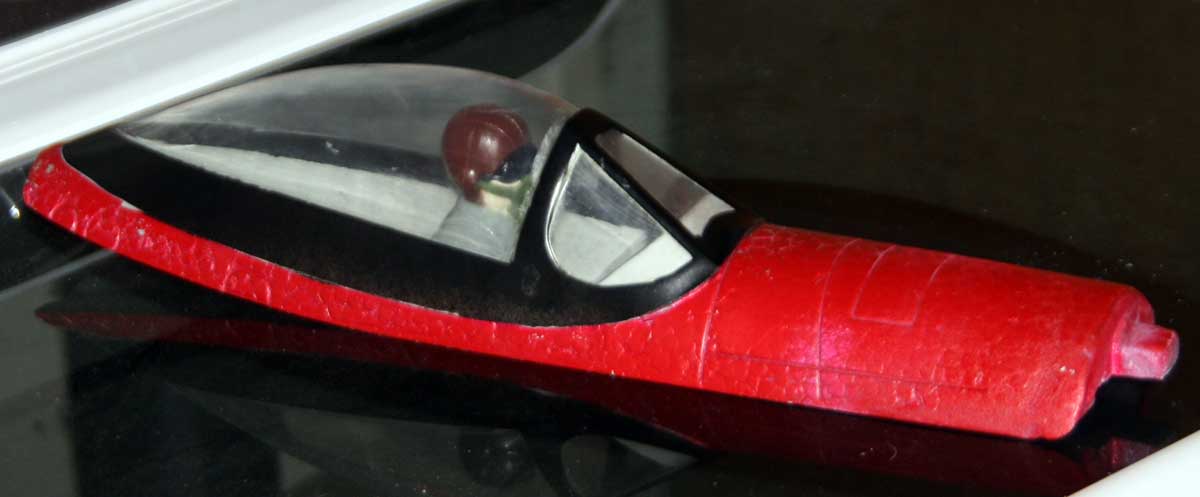
Checking the painted canopy in situ
Yet another test assembly, with the exhausts painted black.
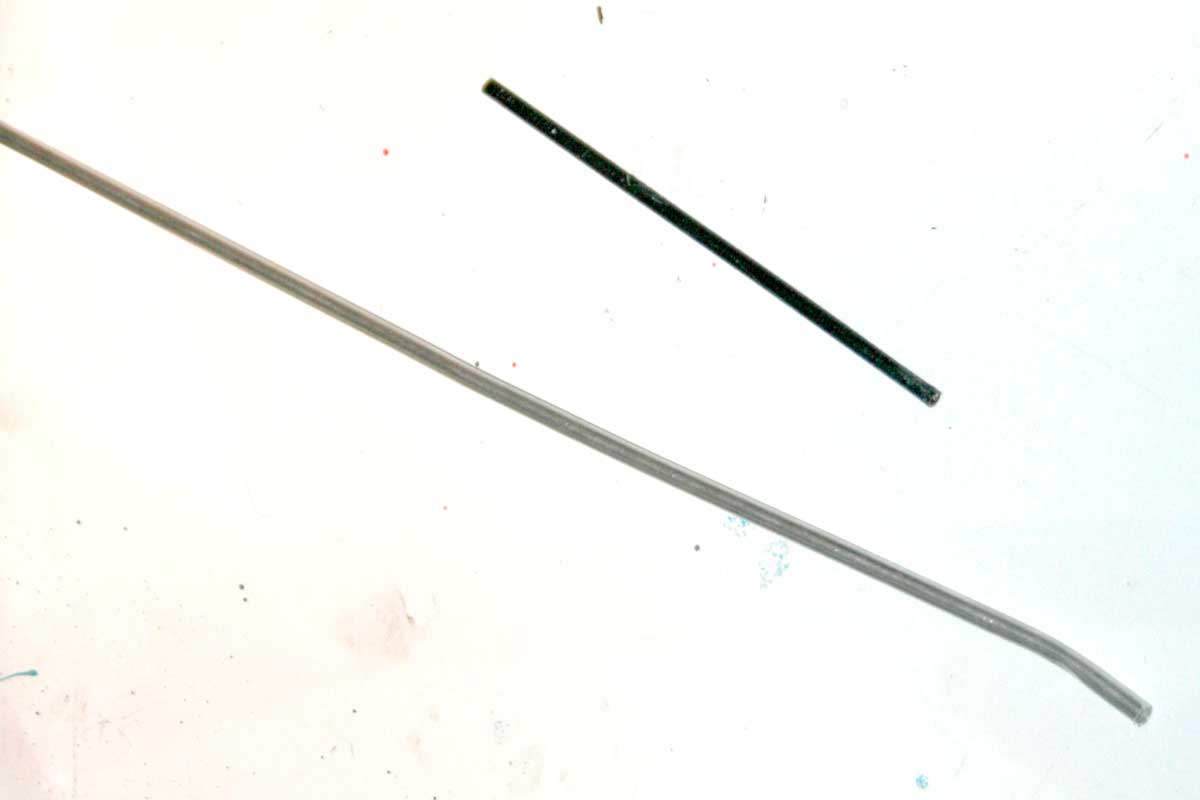
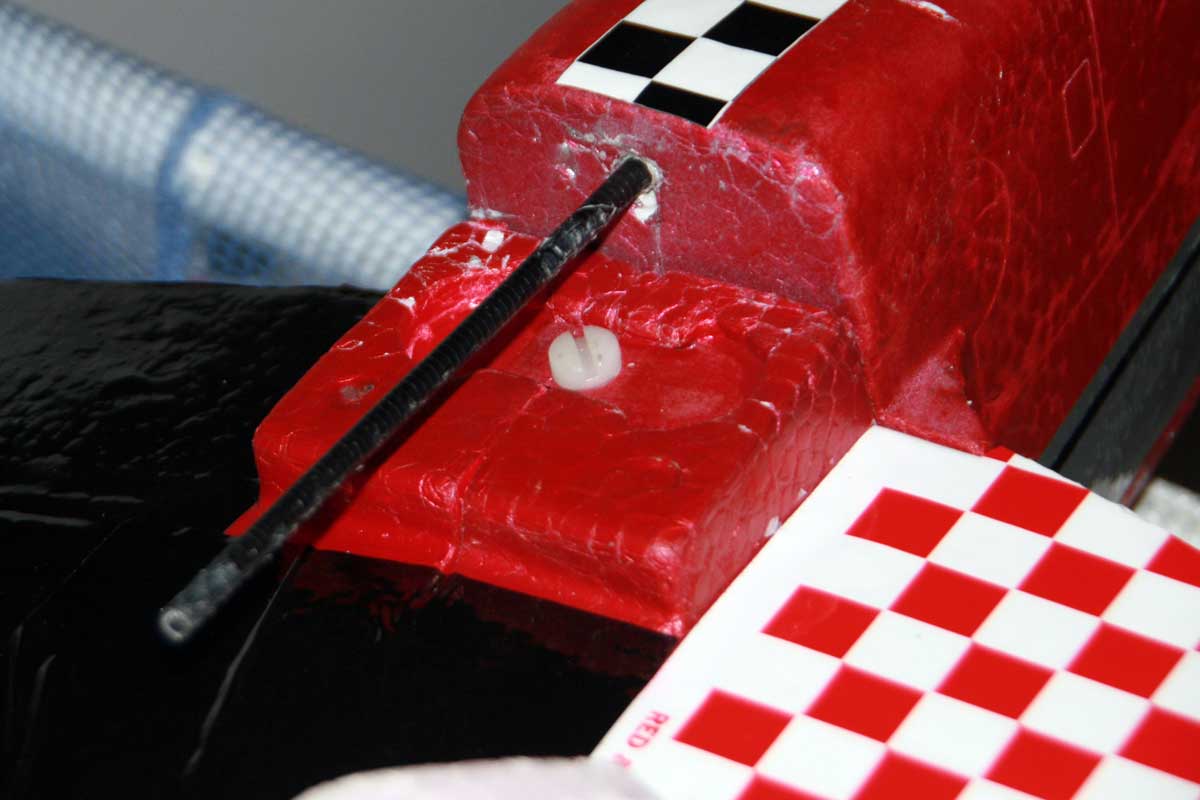
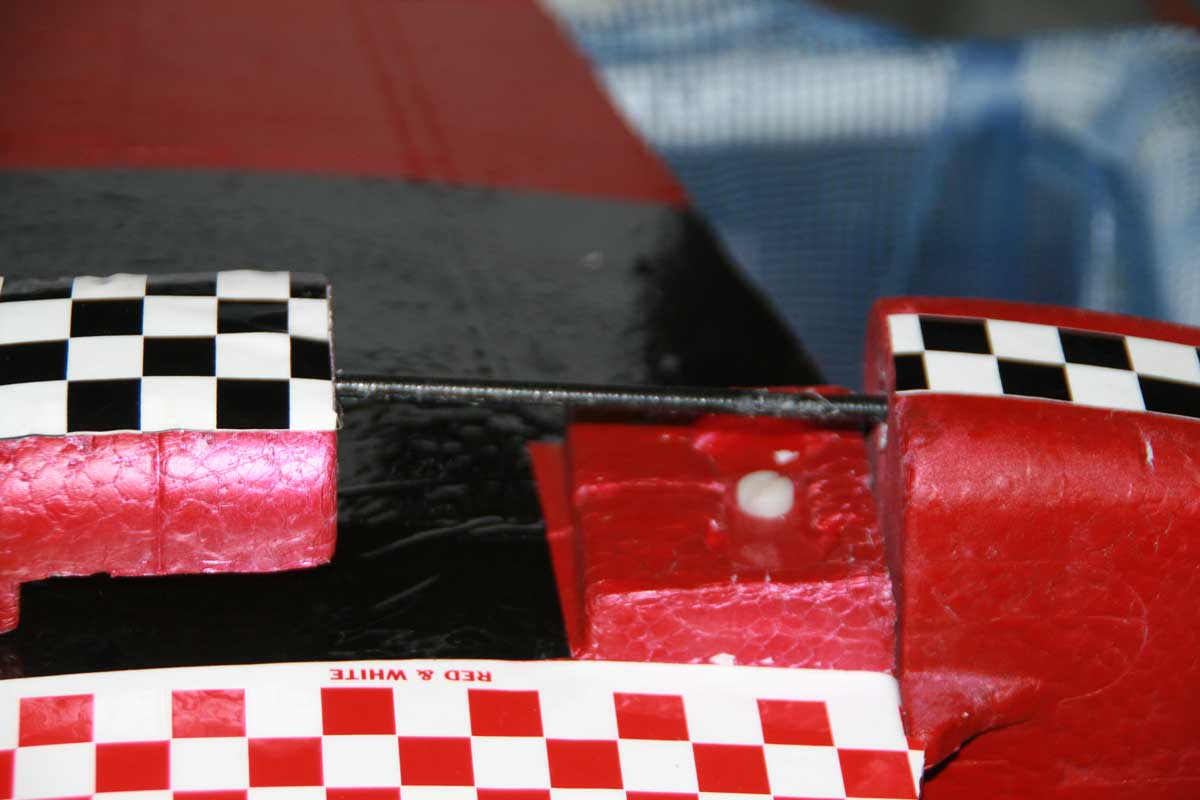
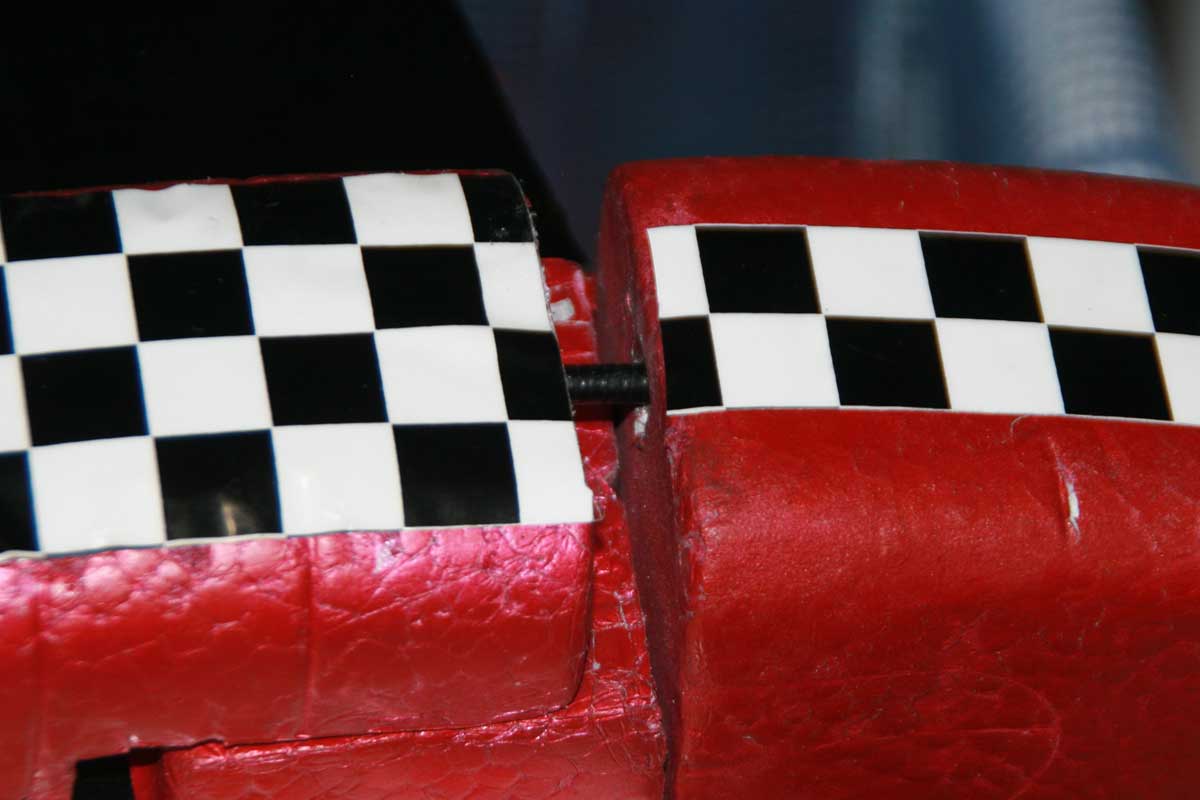
The air scoop is notoriously easy to detach during hand launching, so I’m trying something to hopefully help out. I’ve taken two short lengths of aluminum tubing and a short length of wing strut from an F-27C Stryker which just fits inside. I’ve Gorilla Glued the aluminum tubing inside the foam on the detachable air belly scoop, and also in the fixed, rear portion of the belly scoop. The wing strut fits inside them. Now, the scoop has to slide forward before it can detach.