While looking thru my hard drive, I came upon this 3D sketch I’d created a couple of years ago but never built. I decided to rectify that.

I started with a 3D sketch whipped up in modo.
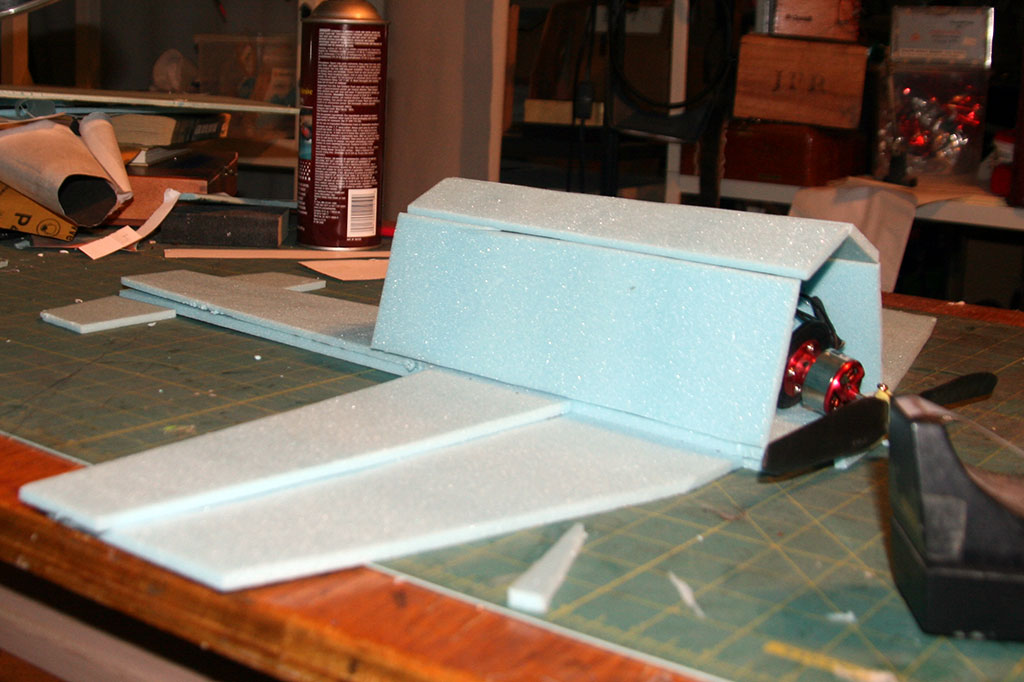
The plane will be built mainly from 1/4″ blue fanfold foam. The bottom of the fuselage is a double thickness of foam for strength.
Planned setup:
- Emax CF2822 outrunner
- 30A HobbyKing BlueSeries ESC
- EP 9050 propeller
- R610 OrangeRX receiver
- (3x) 9g Servo
- 800-1300 mAh 3S LiPo battery
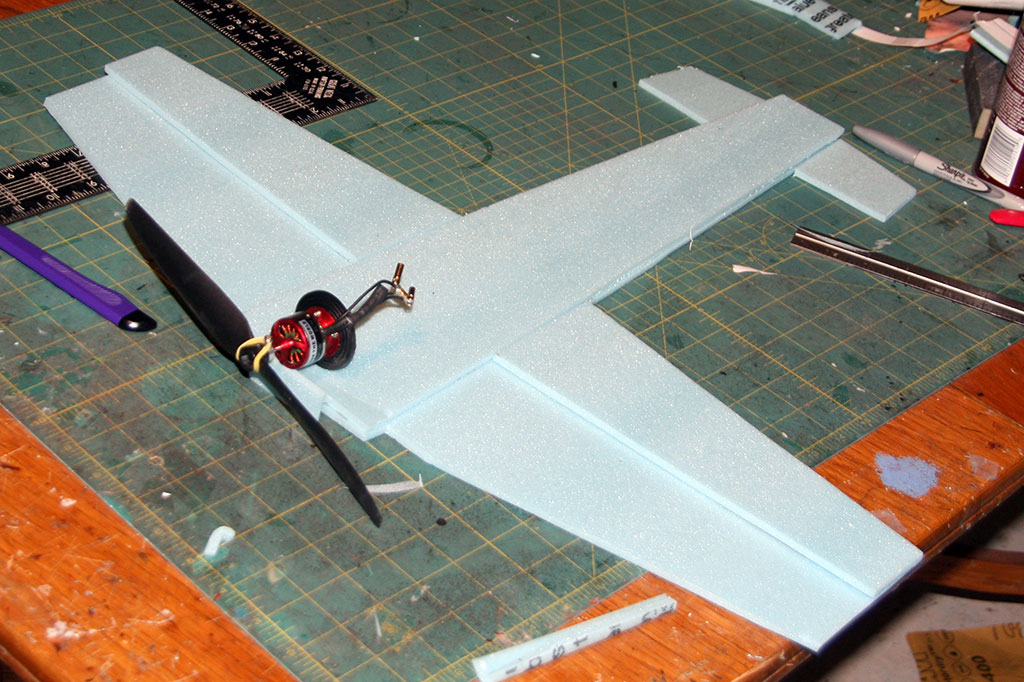
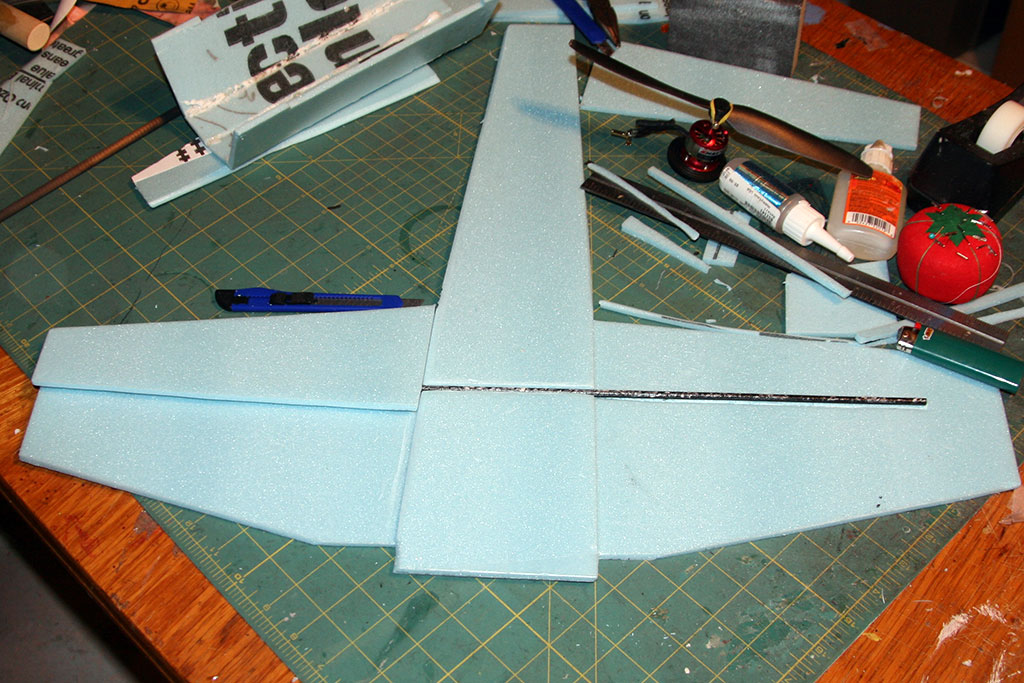
Laying out the parts to get an idea of size, look and feel.
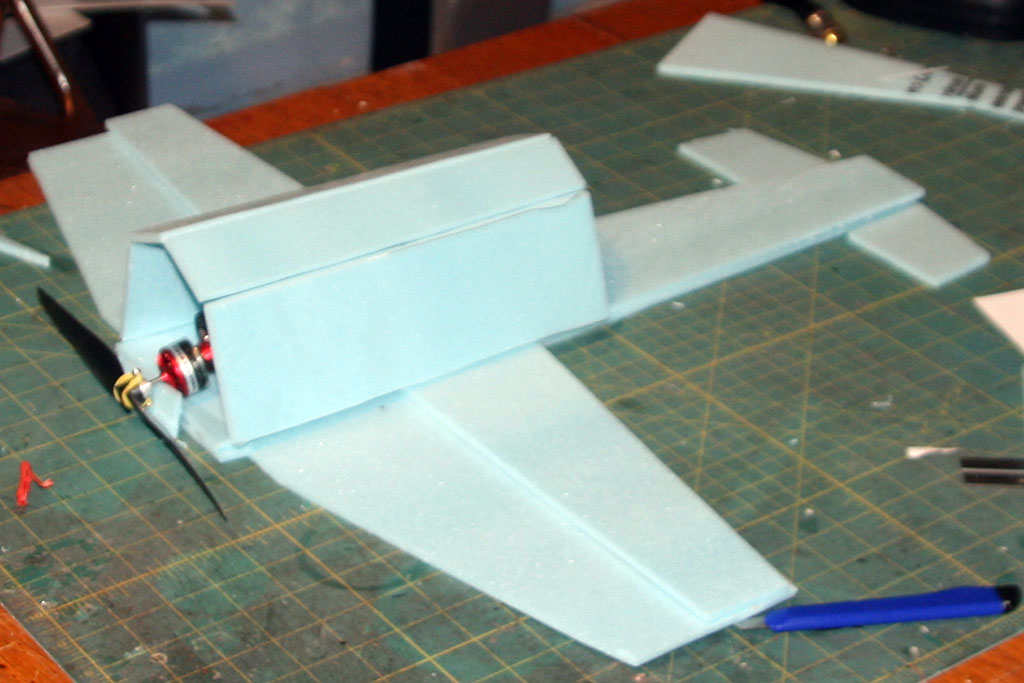
Test fitting rear fuselage panels. Too tall!
Gluing the rear fuselage panels. Yes – I’m a sloppy builder.

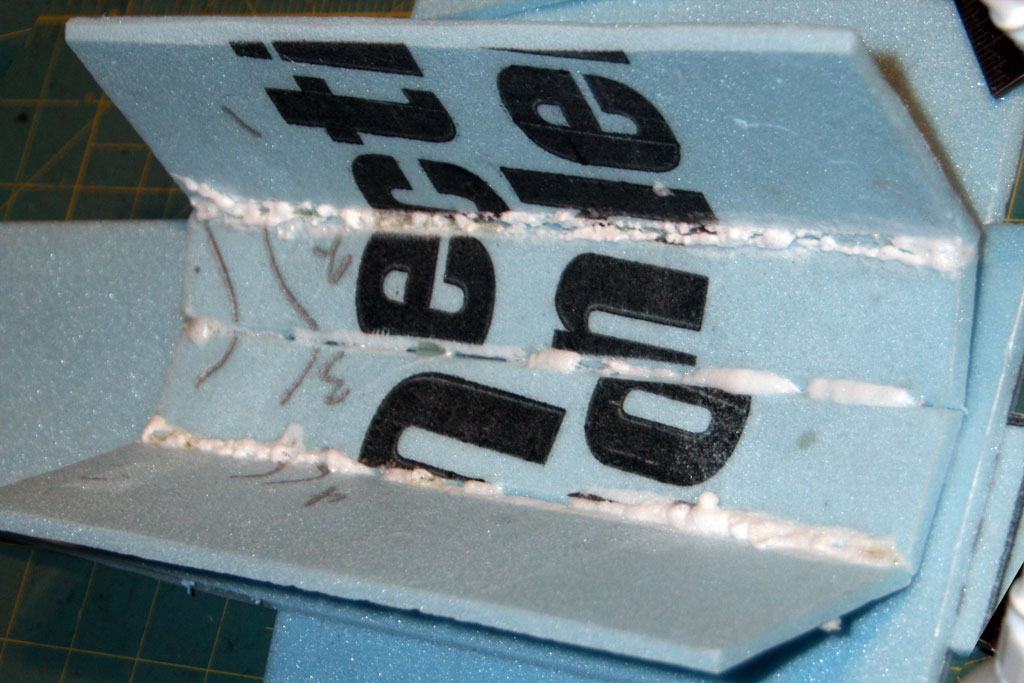
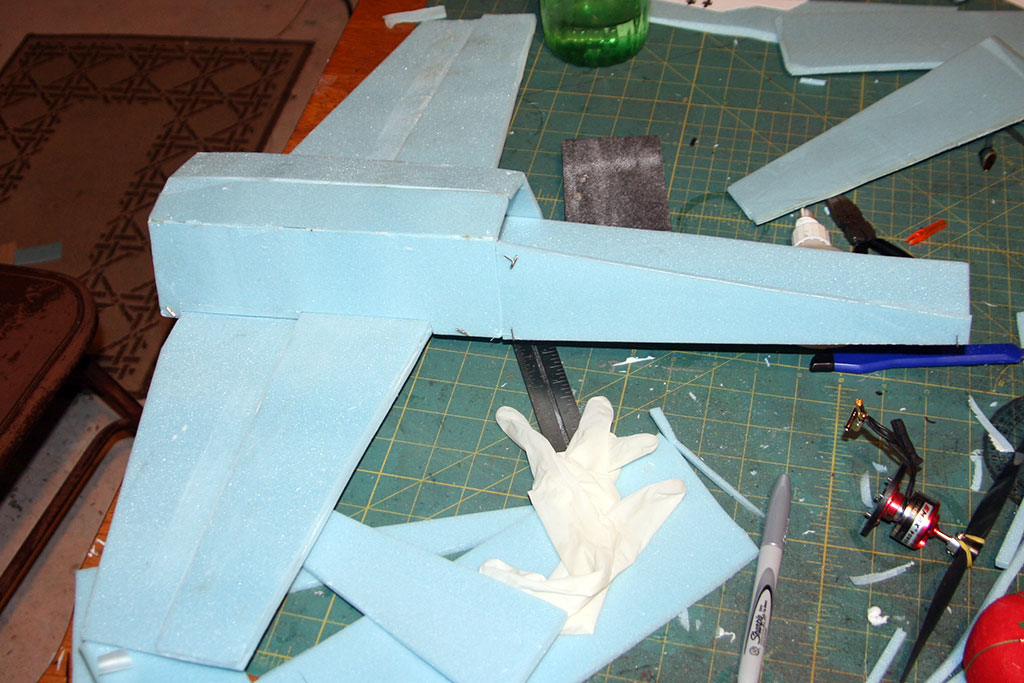
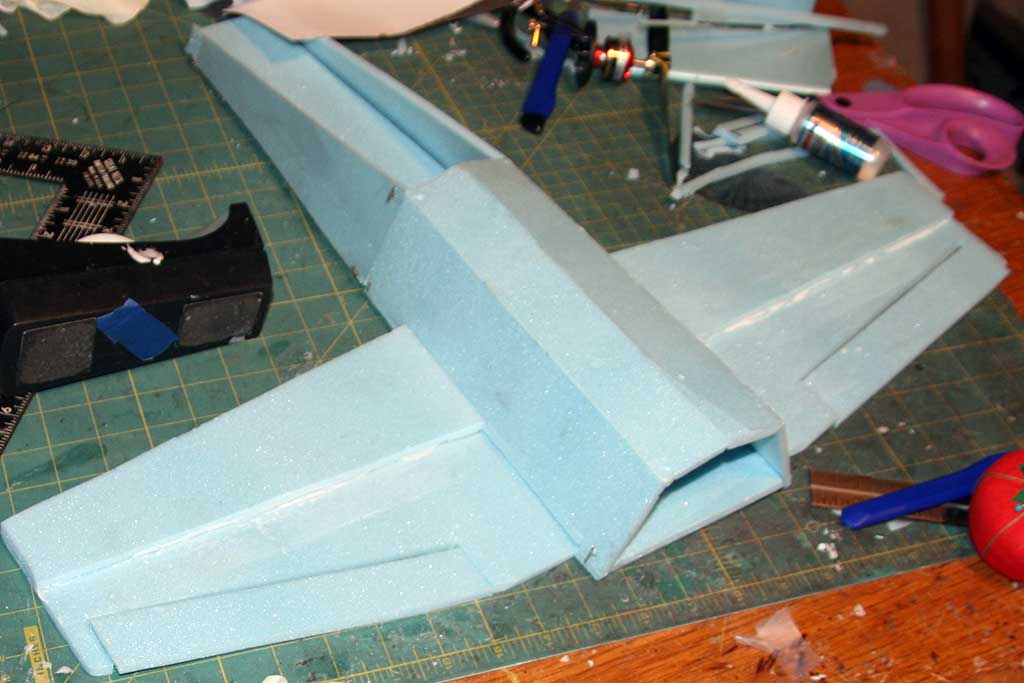
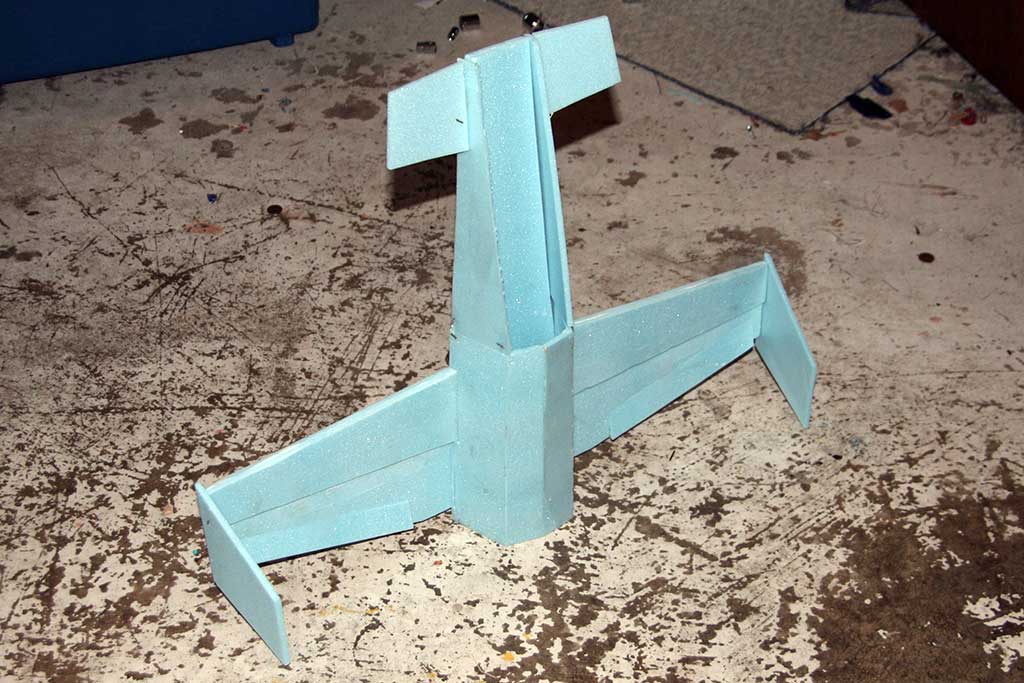
Fuselage notched to fit over wing.
Fitting the completed rear fuse. Notched to accommodate the KF wing steps.
I cut the side panels freehand.
Cutting out the ailerons
Aileron close-up
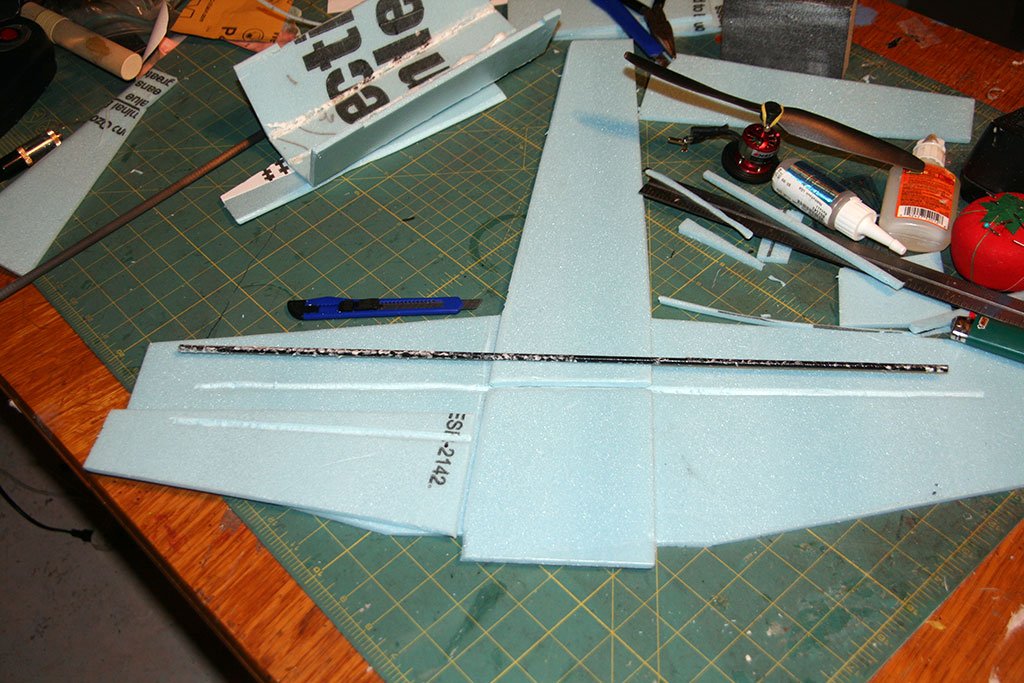
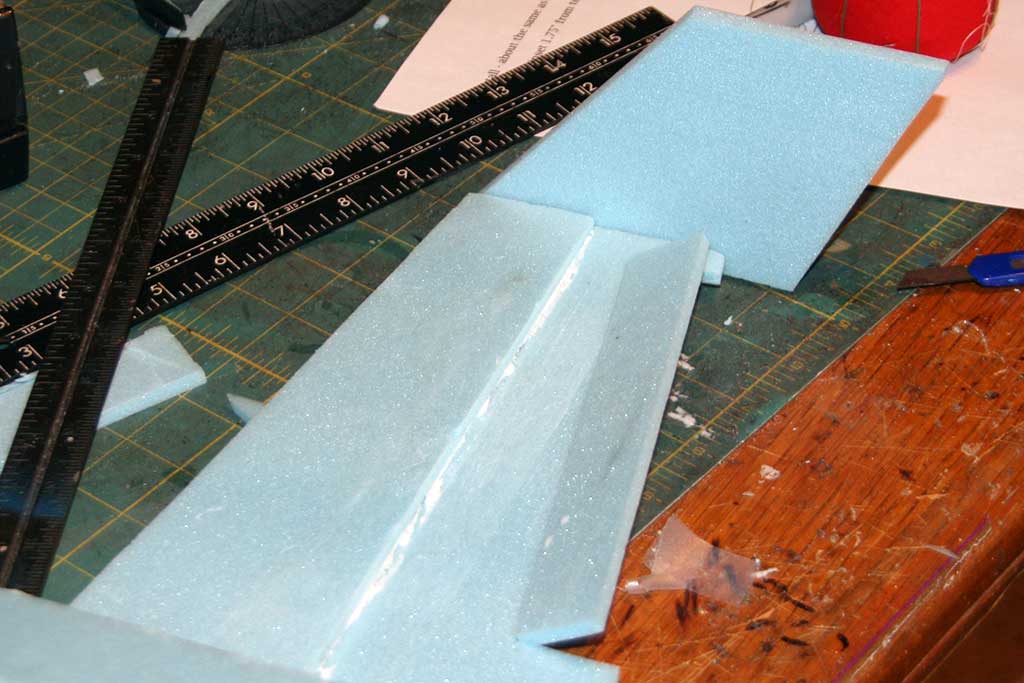
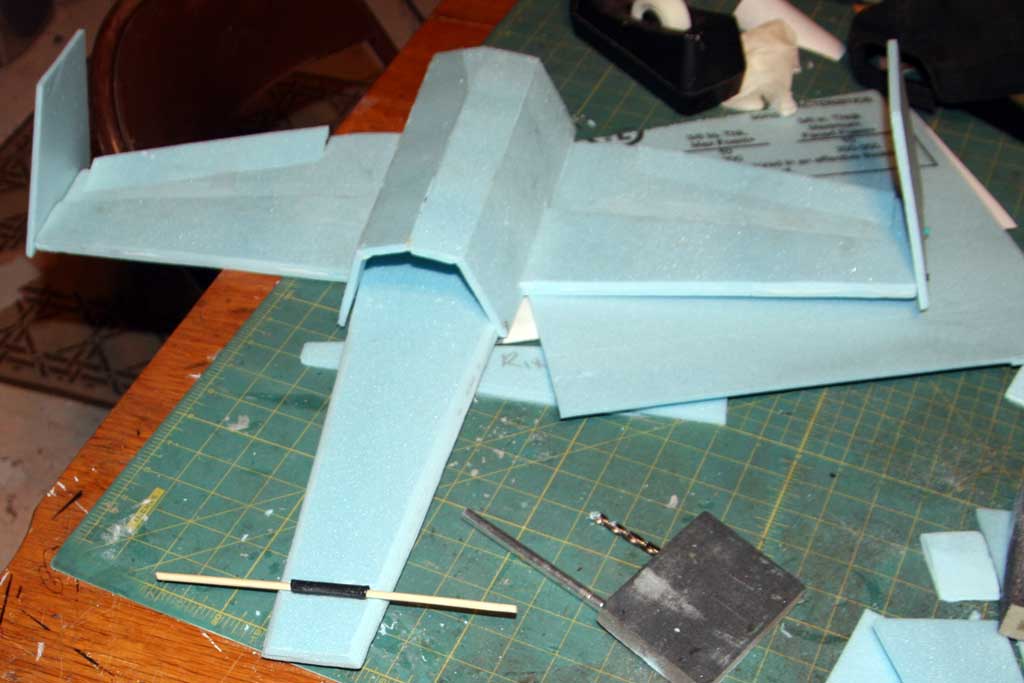
I dug a channel for an old Stryker wing spar between the wing steps.
Wing spar in place. It goes between the two wing steps.
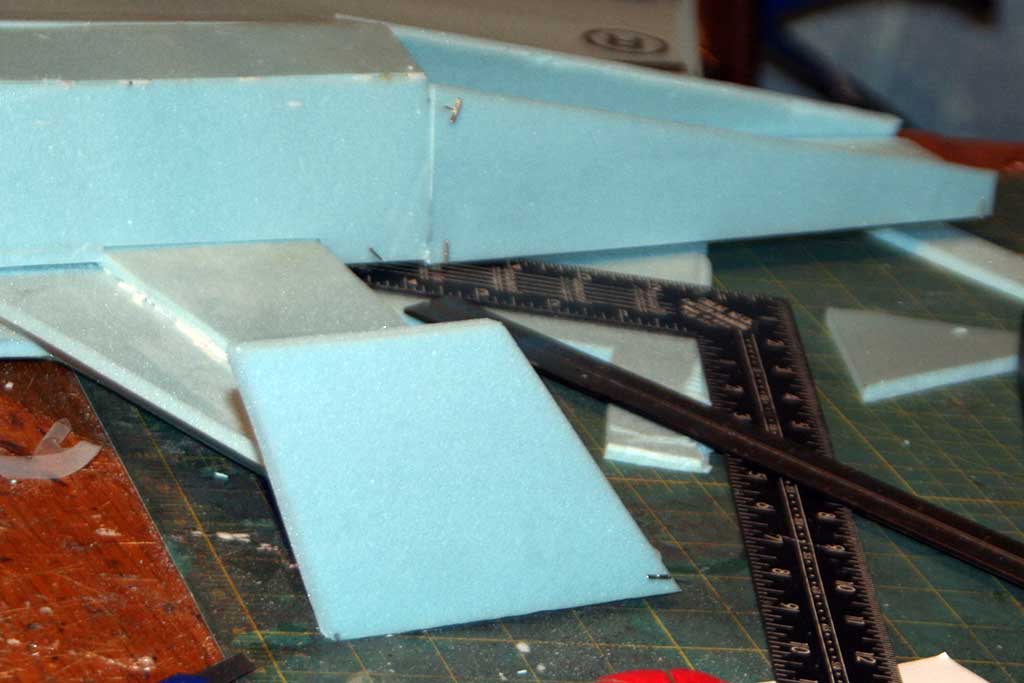
Pinning a winglet in place
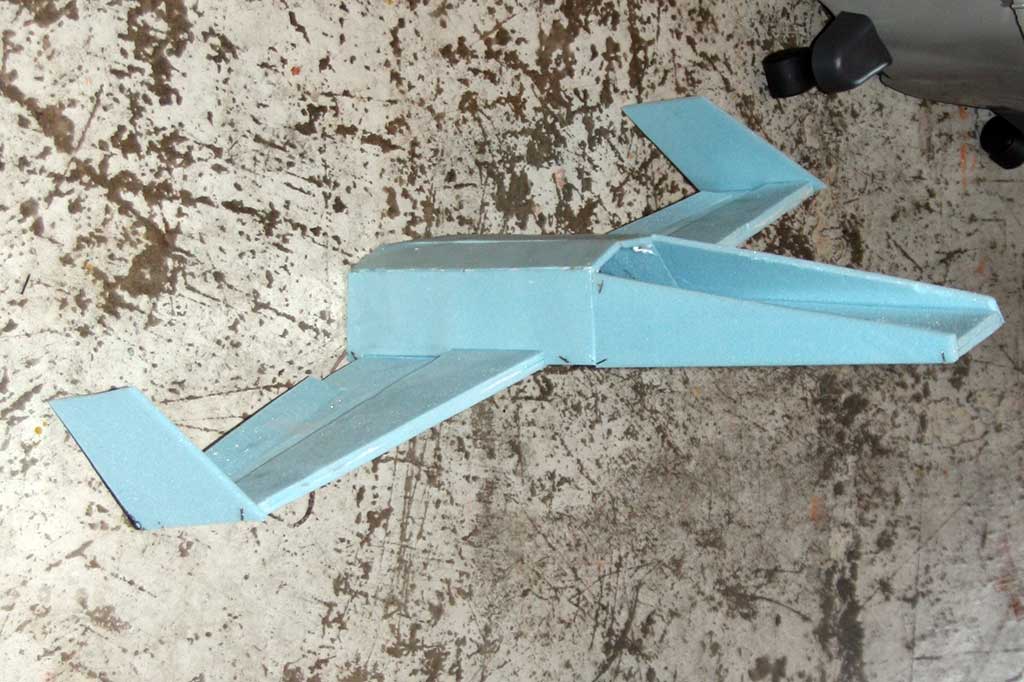
Another test assembly
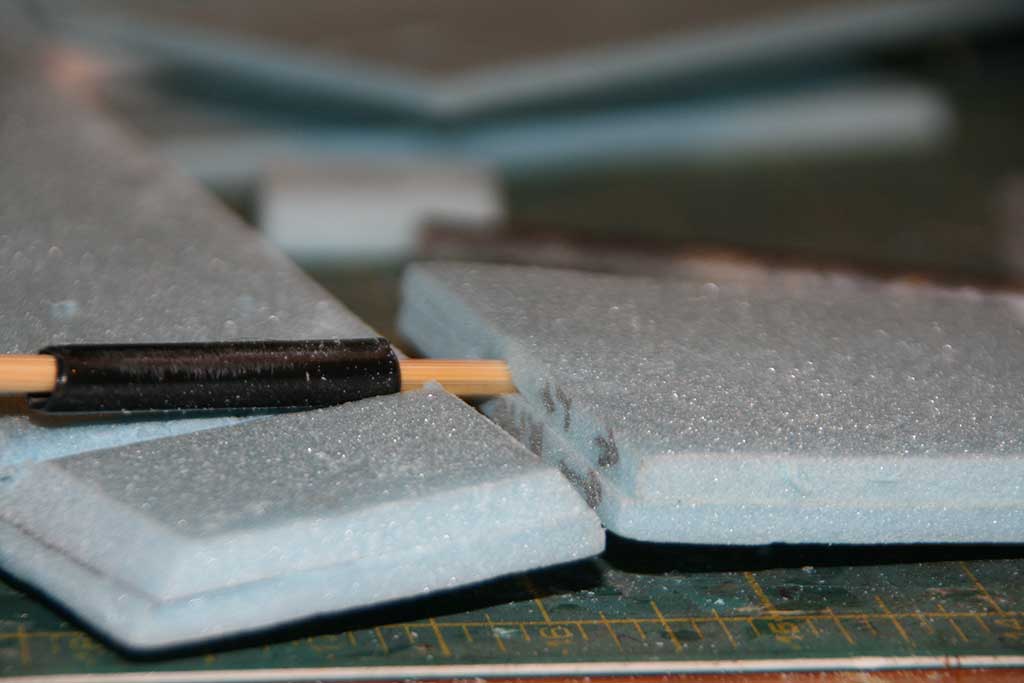
I’m not sure how best to set up the canards. For my first try, I’m running a bamboo skewer through a section of disposable ball point pen tube. Each canard is constructed of two plies of foam, glued together with the skewer in between them. The resulting sandwiches are sanded into an airfoil shape.
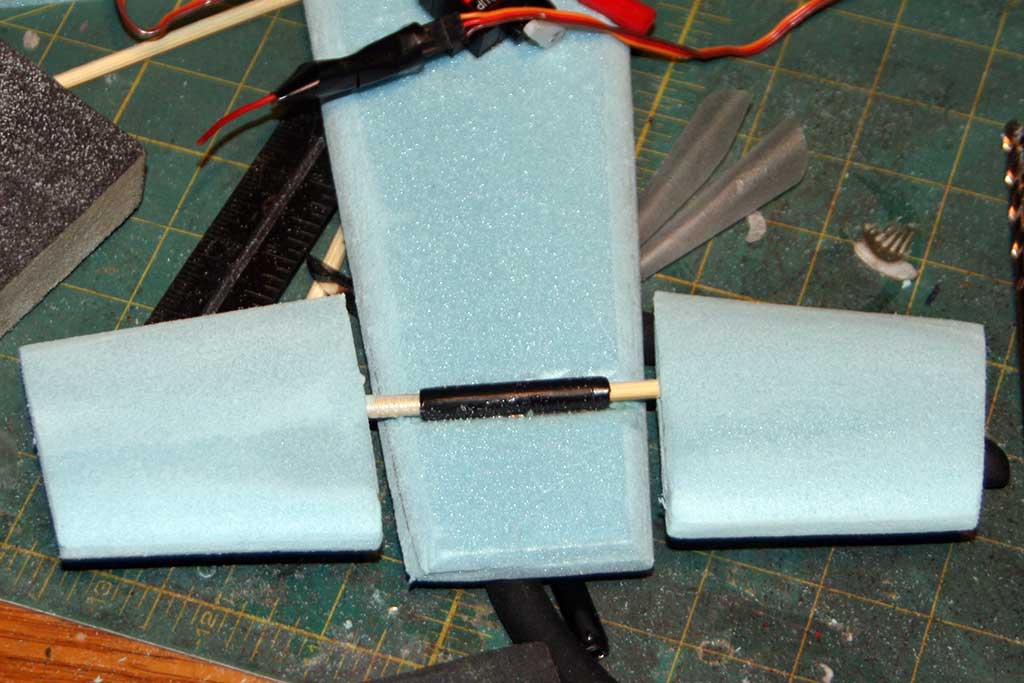
Fitting the canards
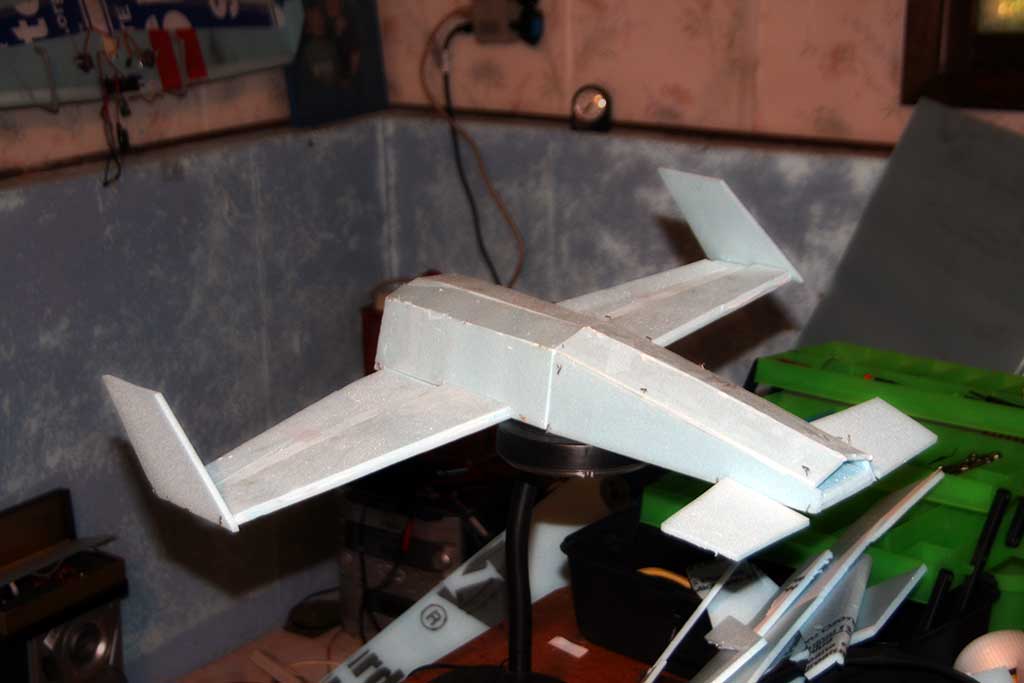
All the pieces fitted together
My idea for canards: a bamboo skewer through a section of ballpoint pen tube.
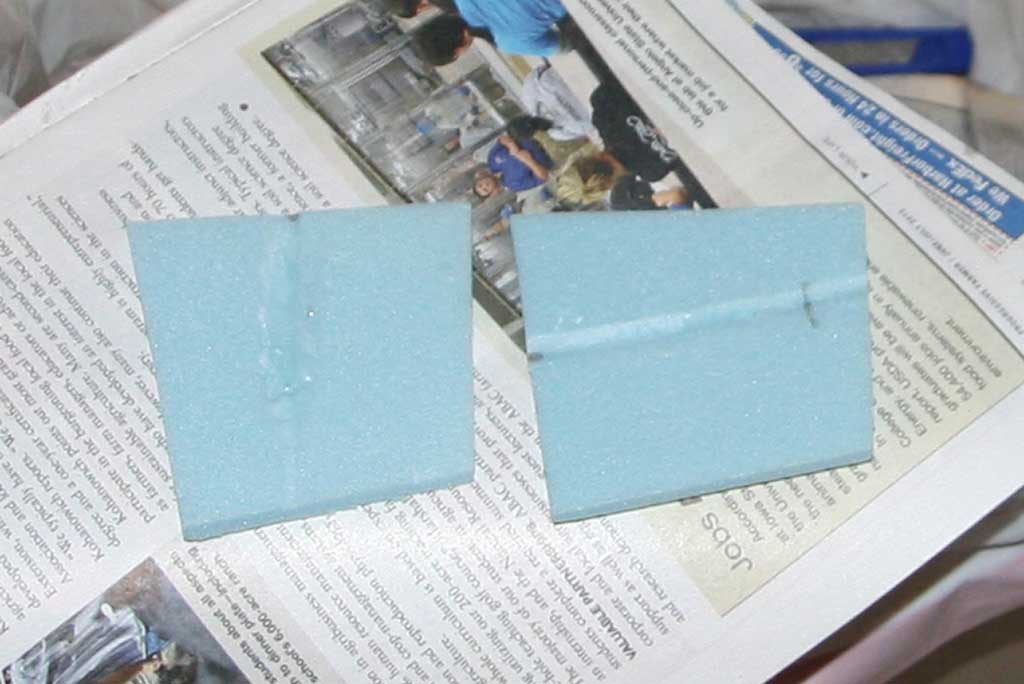
Canard plies, with channels for bamboo skewer
The two plies glued together around the skewer.
It looks a bit like a lollypop

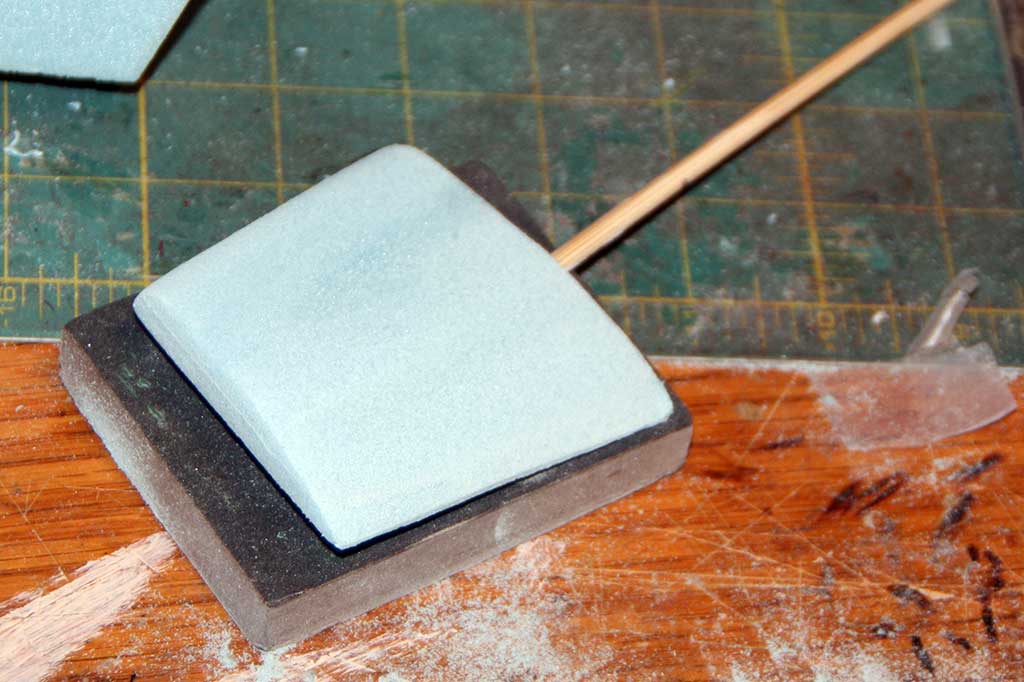
I sanded the two-ply canard into an airfoil-ish shape.
Both canards, glued sanded and in place
I hate to do things over. (Ironically, I screwed up this post and am now having to re-type the whole thing.)
I’ve ripped my canard mount out and started over. The original was a little too loose over the bamboo skewer, allowing the skewer to jiggle around. I had the brilliant idea of wrapping a piece of tape around the skewer to increase its diameter. Unfortunately, either the sticky got loose or the tape bunched up or something, but the canards became really stiff and gummy feeling. There was no way to fix it, so I’ve ripped it out and started over.
I took another length of ball point pen tube (my last!) and found two extra servo arms in my collection of 1,349 leftover servo arms whose hub fits within it. Hard to describe, but the photos should help.
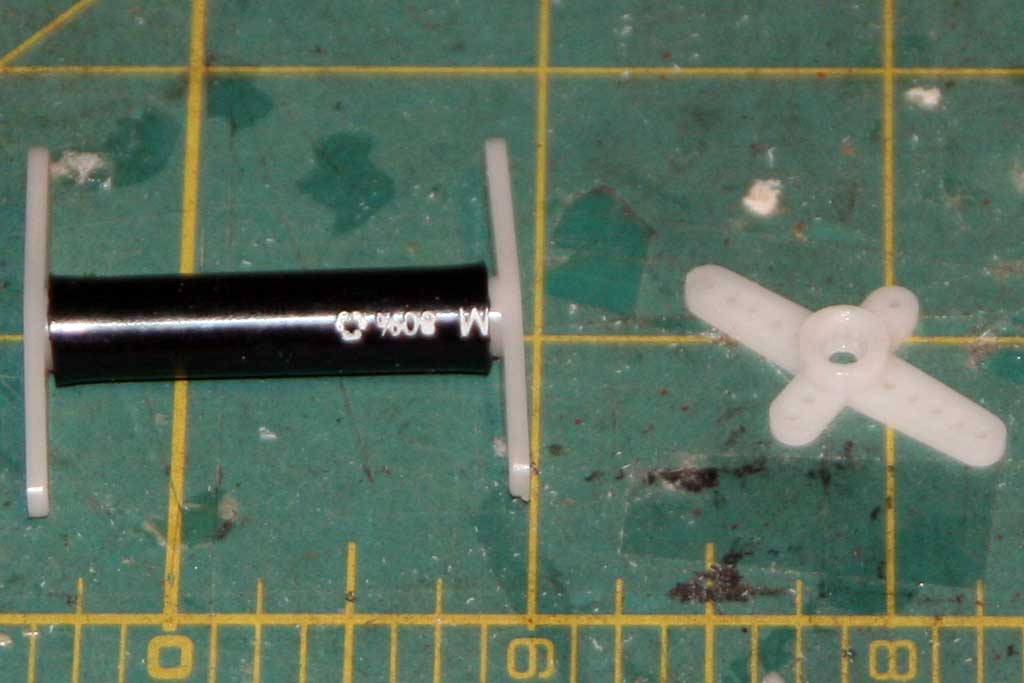
New canard bearing components – servo arms and ball point pen tube.
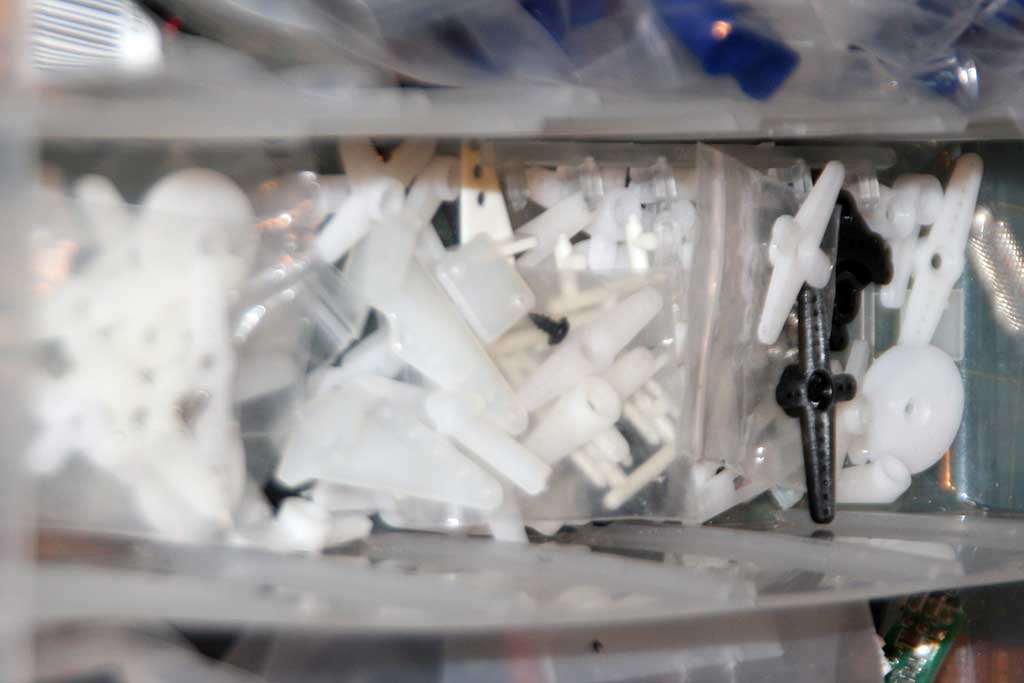
I *KNEW* I kept these around for a good reason!

Servo arms expoxied and bored out.
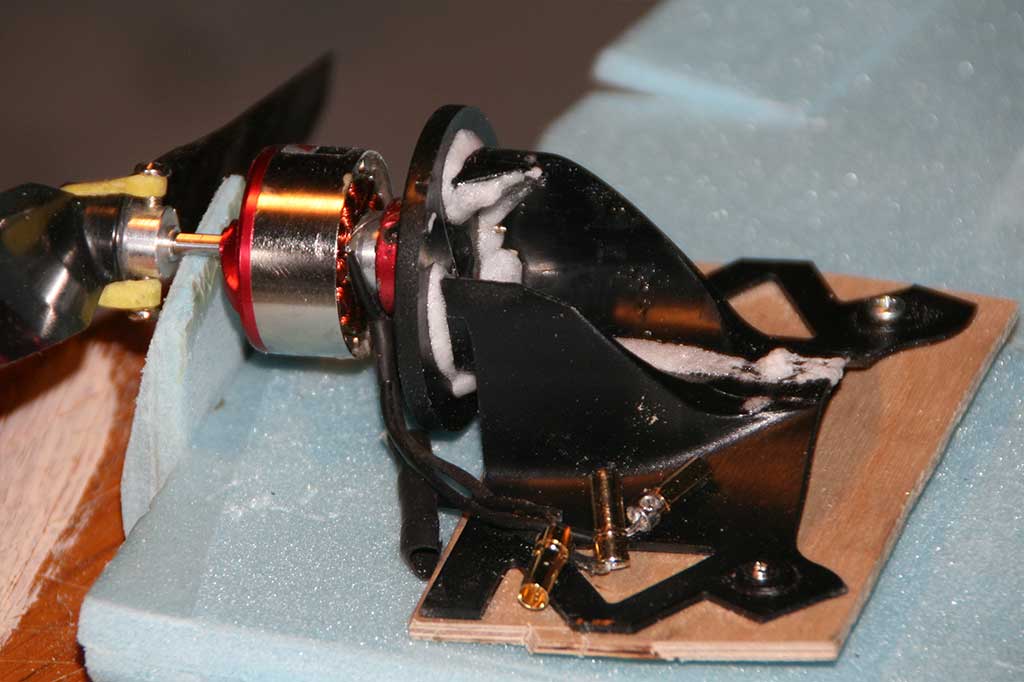
Two old motor mounts, glued together and screwed to some thin ply
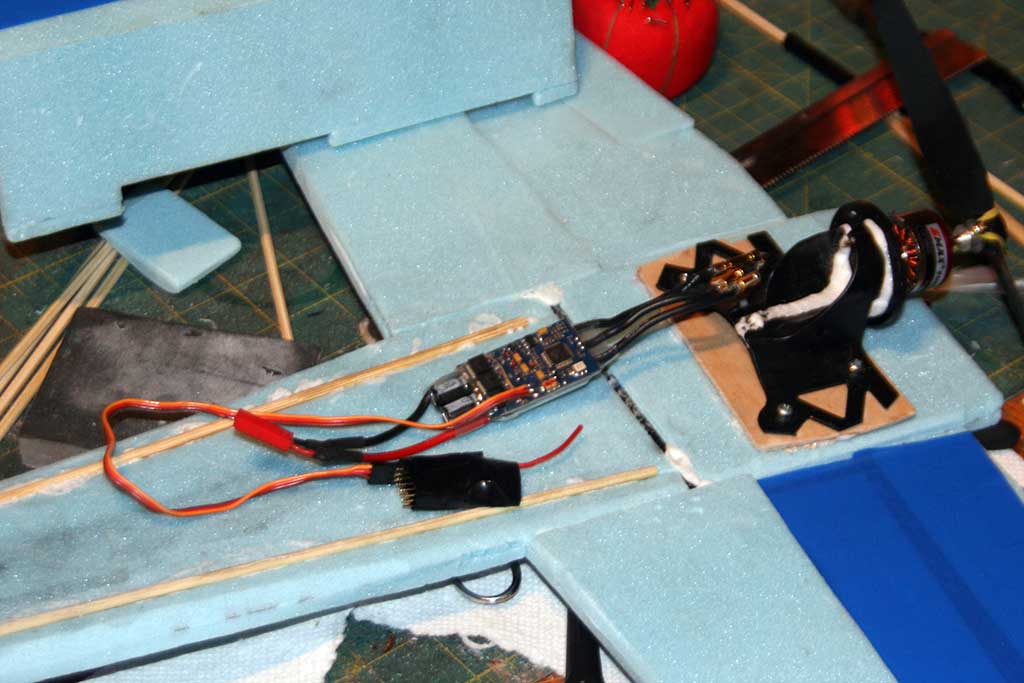
ESC plugged in
Unsure how to continue, I finally glued the entire body together, and then cut the battery hatch out of it. It’s held in place my some sections of Popsicle sticks in the front, and rare earth magnets in the rear.
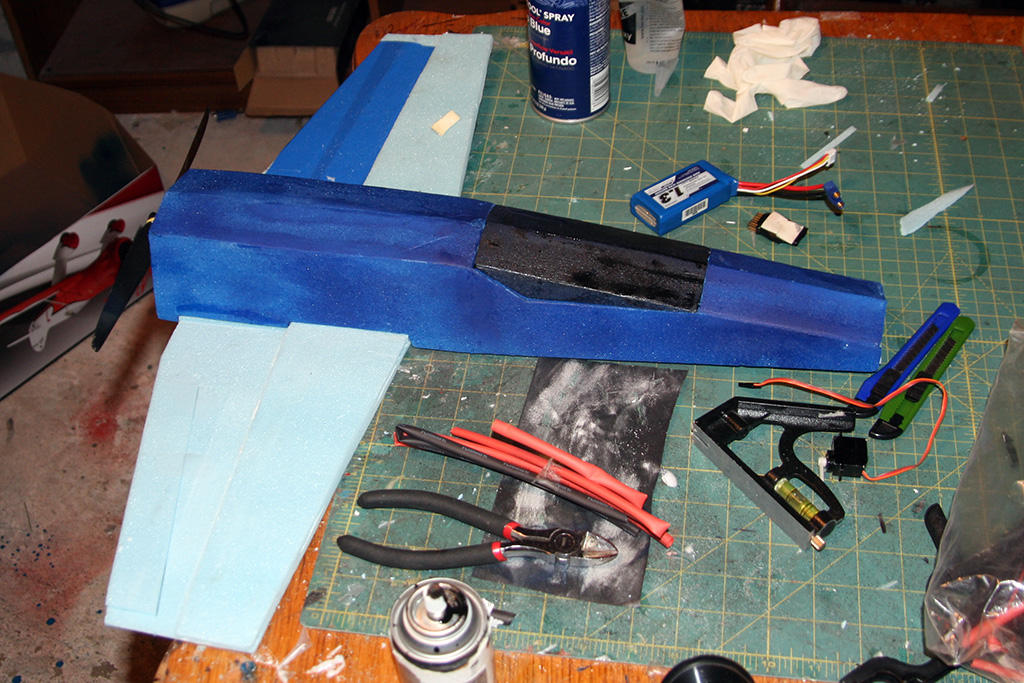
Battery hatch cut from fuse
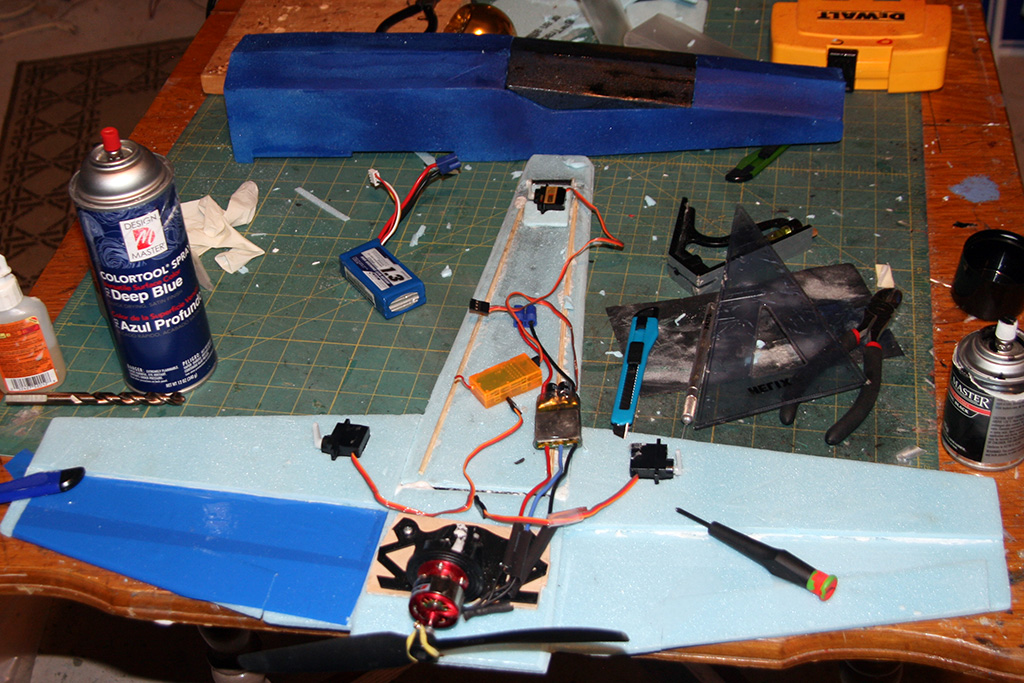
Aileron servos in place
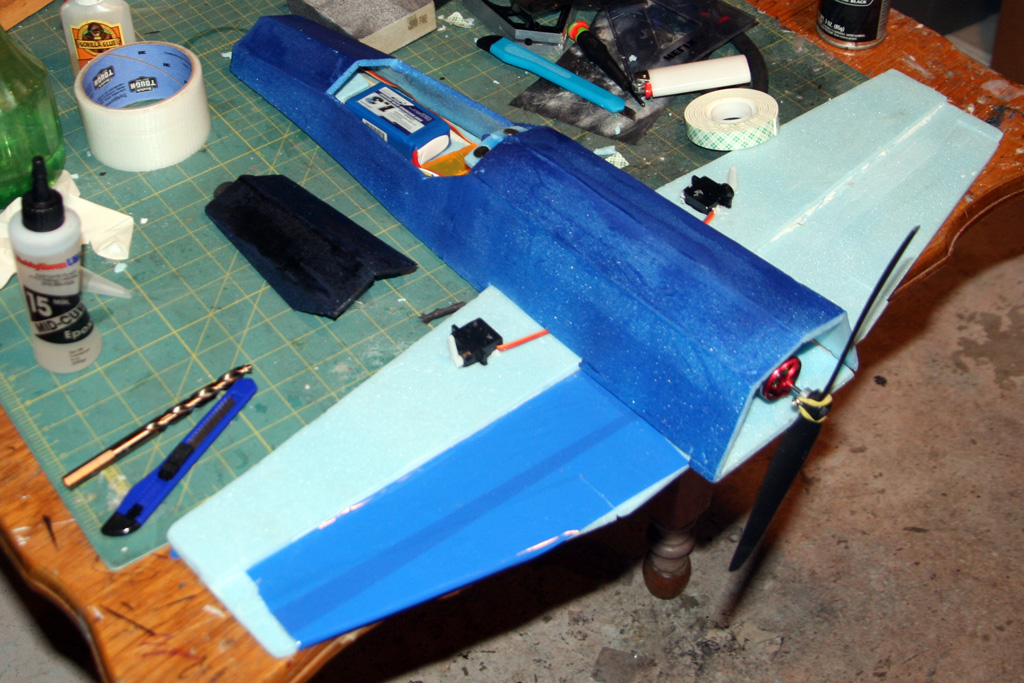
Testing the fit of everything

All three servos hooked up and everything taped down.
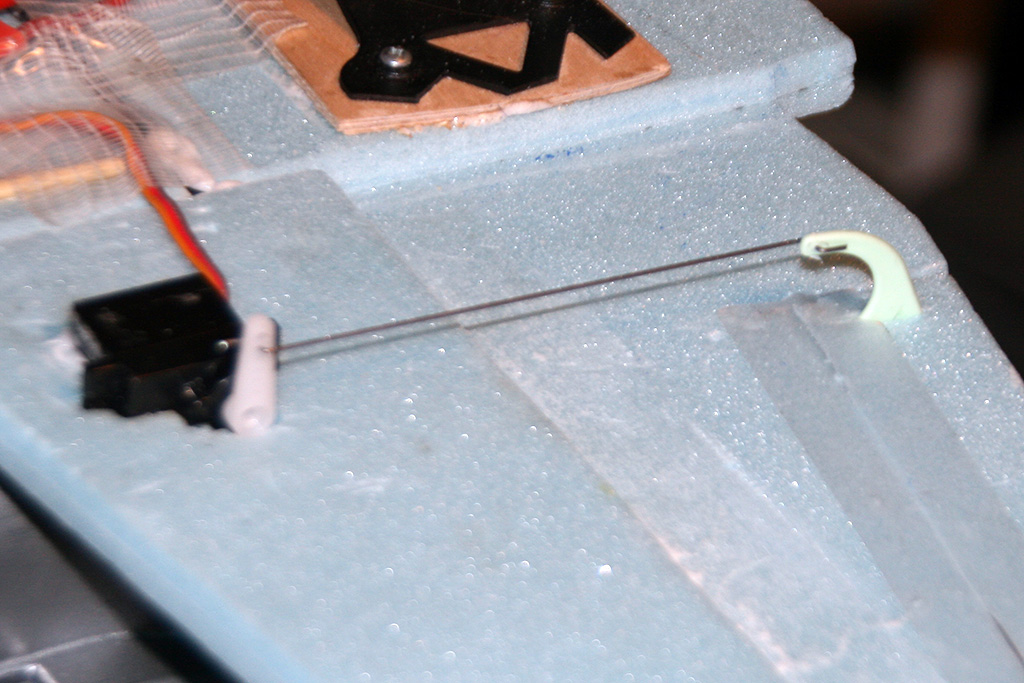
Aileron’s hooked up with tooth flossers.
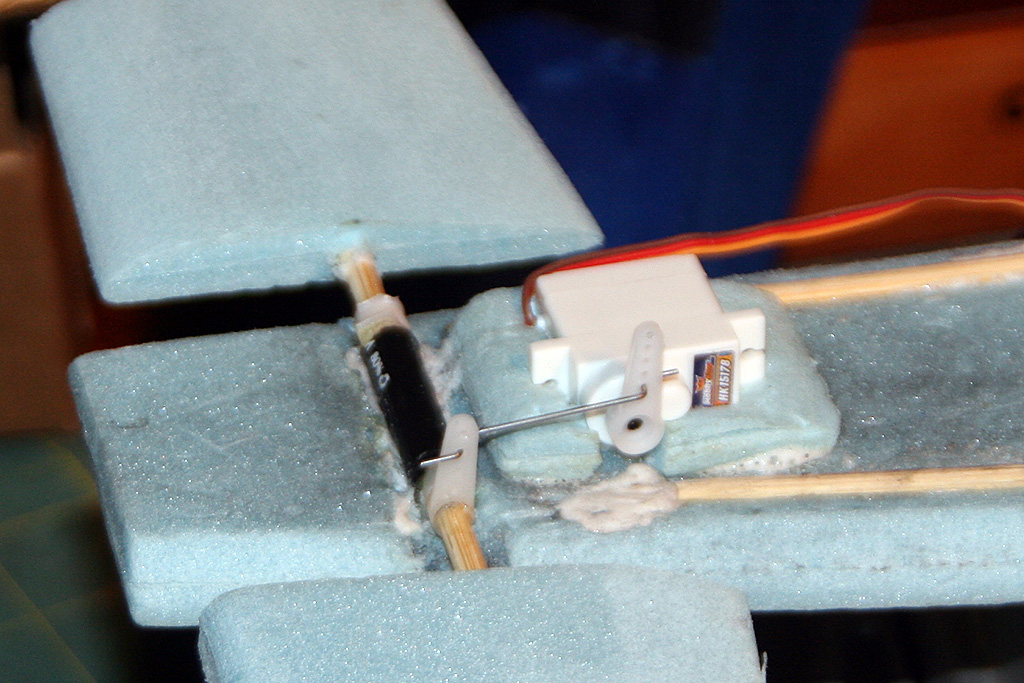
Canard servo hooked up (again.)
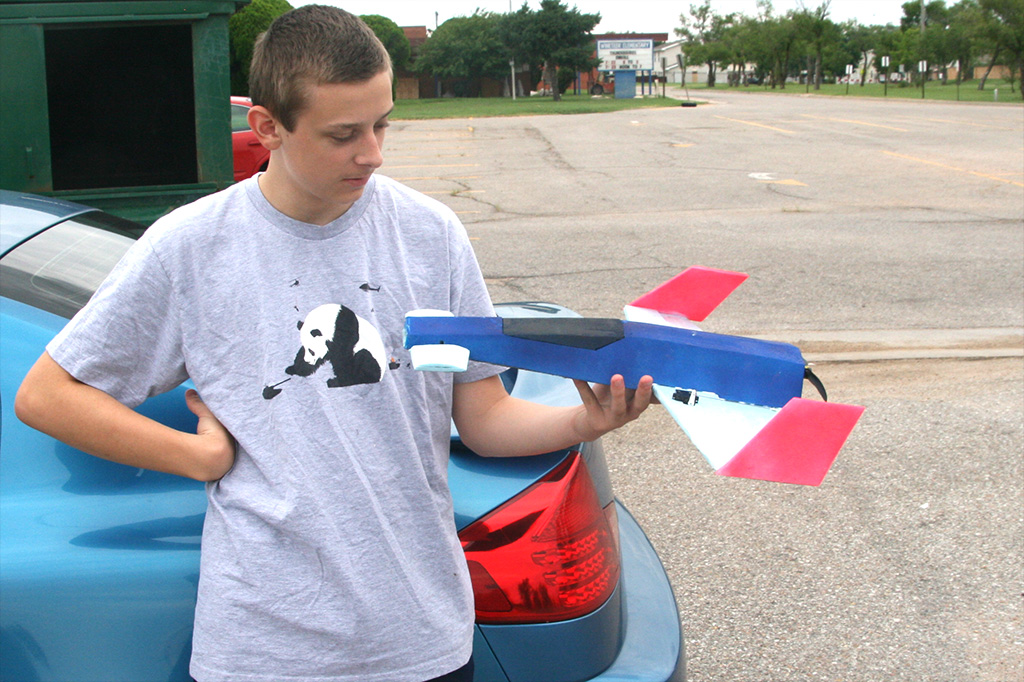
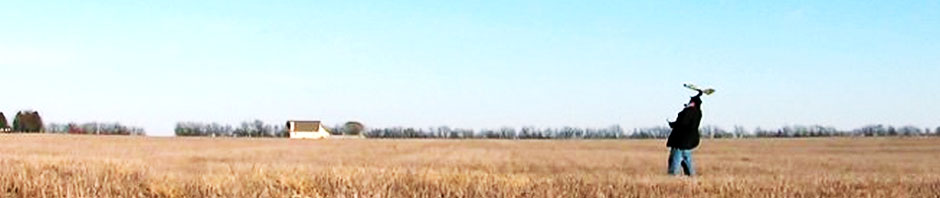
Ready to fly?
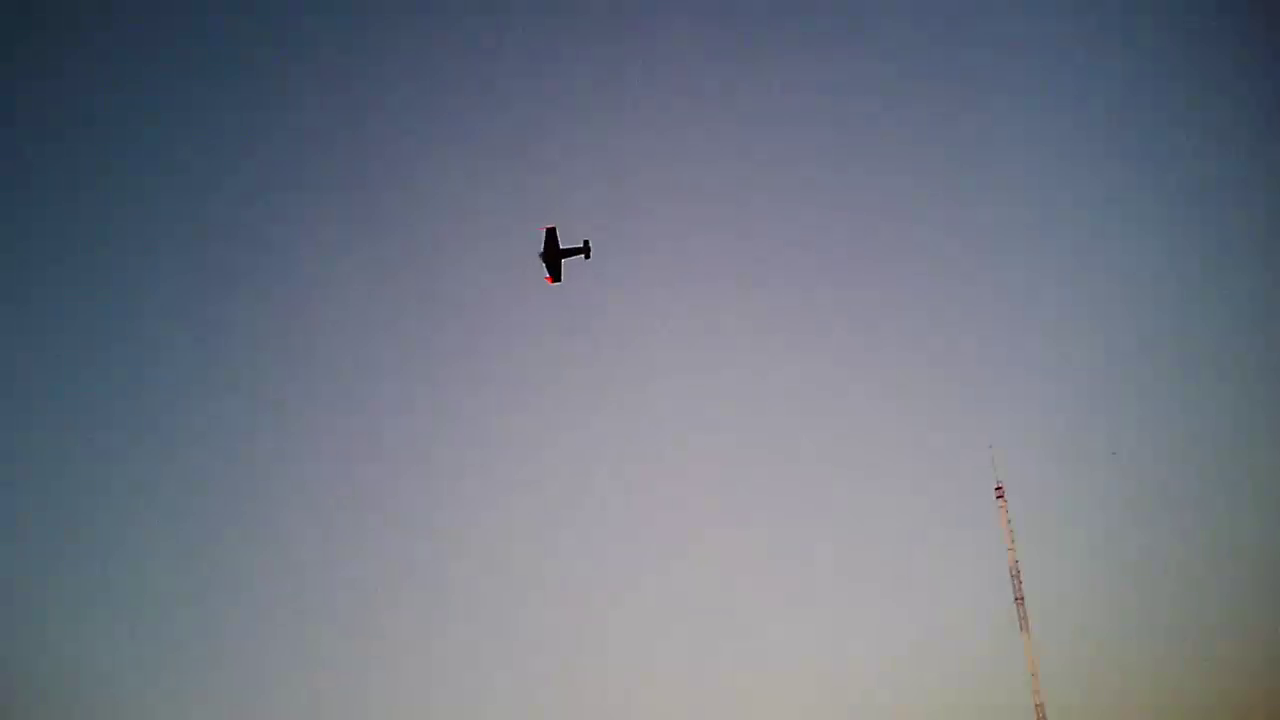
Up in the air!
Nice! I can’t wait to see the completed project and see how it flies.
Usually pushers like this have a smaller prop (6×5) and high speed motor. What was your reasoning with going with a larger 9×5?
Thanks. That’s a motor I had on hand, and it’s recommended to use 8-10″ props with it. It only turns 1200kV.
Once I get things built, of course, anything’s subject to change.