
Just when I needed a new plane to build, I ran into the “Kung Fu” by Thomas B. over on RC Groups. He kindly sent me the plans so I could try to build one of my own. Here we go.
Thomas is in Germany, so the plans were all in metric. Unfortunately, all my big rulers, etc, are in Imperial so my first task was to convert everything to inches.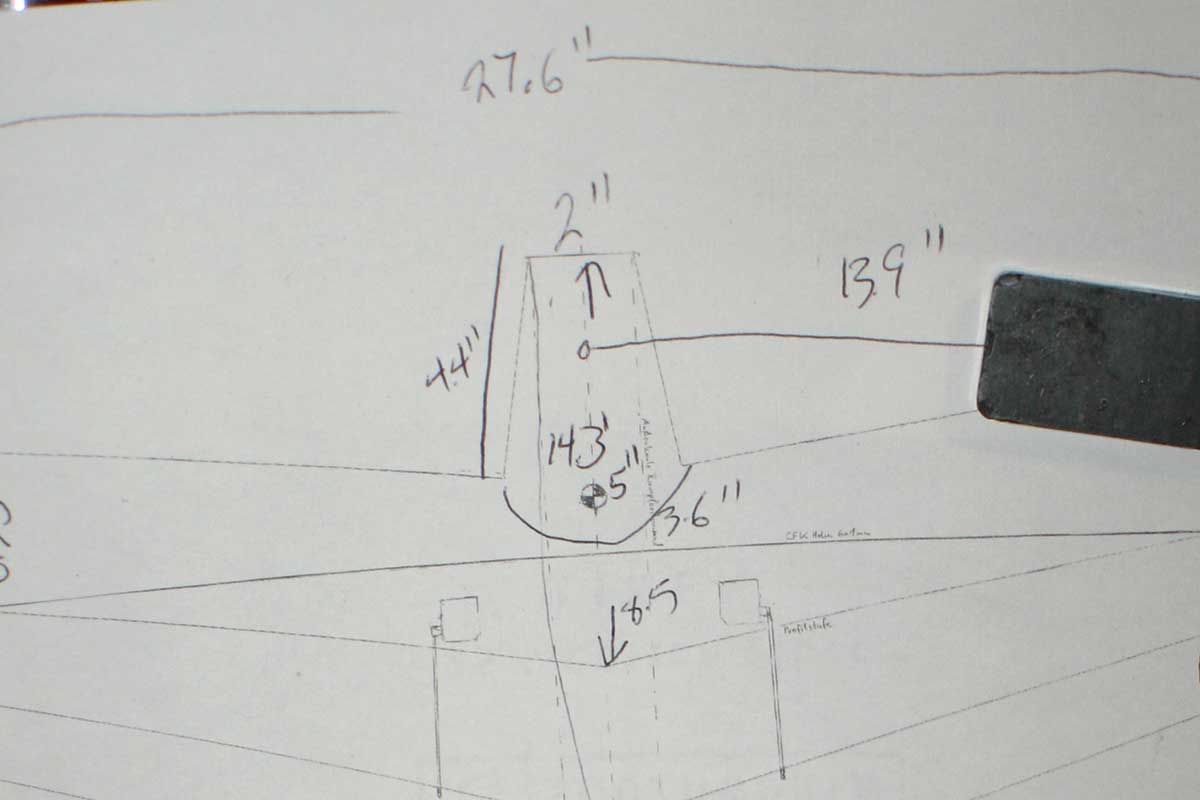 I transferred the measurements to some Dow fan-fold foam. Thomas’ plans call for 6mm Depron. The fan-fold is thinner than that, so I decided to use three layers – two of blue fan-fold and then a final top layer of Readiboard. The end result is about 15mm thick, instear of 12mm.
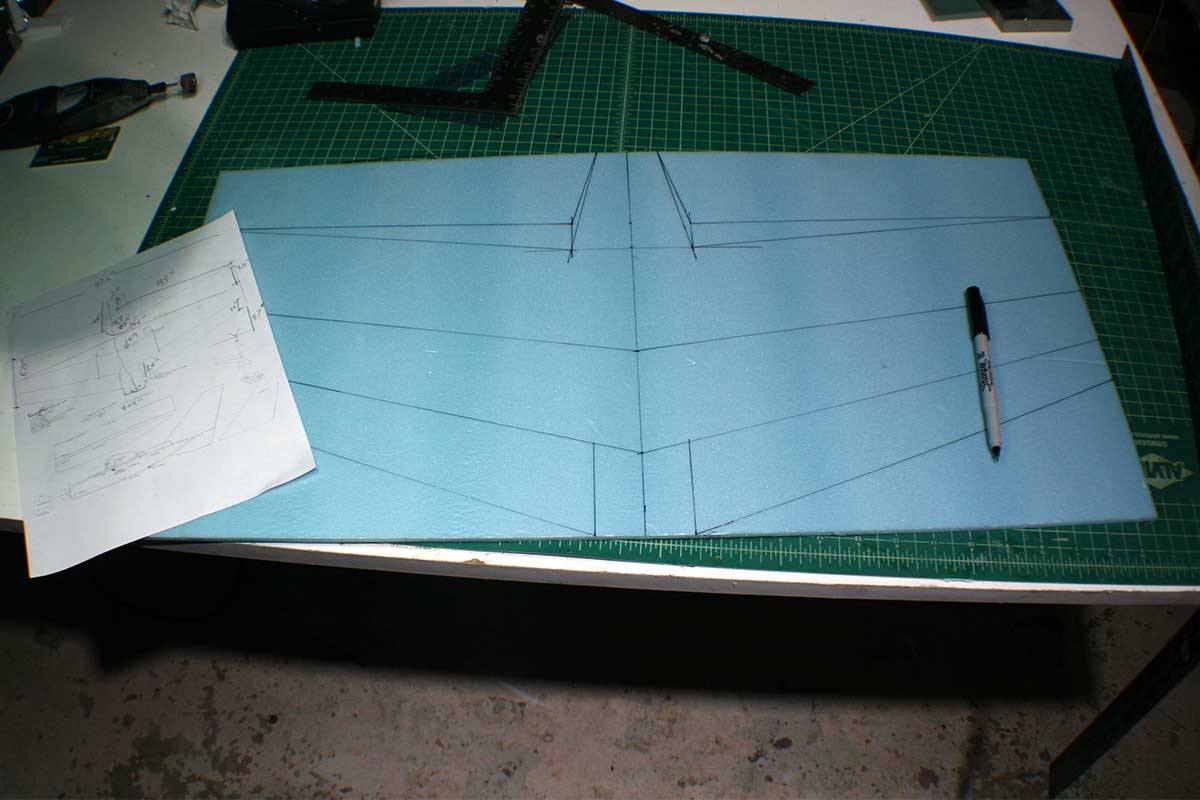 The second layer, defining the Kline-Fogelman airfoil, is in place. Now it’s time for the spar. I didn’t have a handy piece of CF that was long enough or thick enough so I used what I had and hoped for the best.
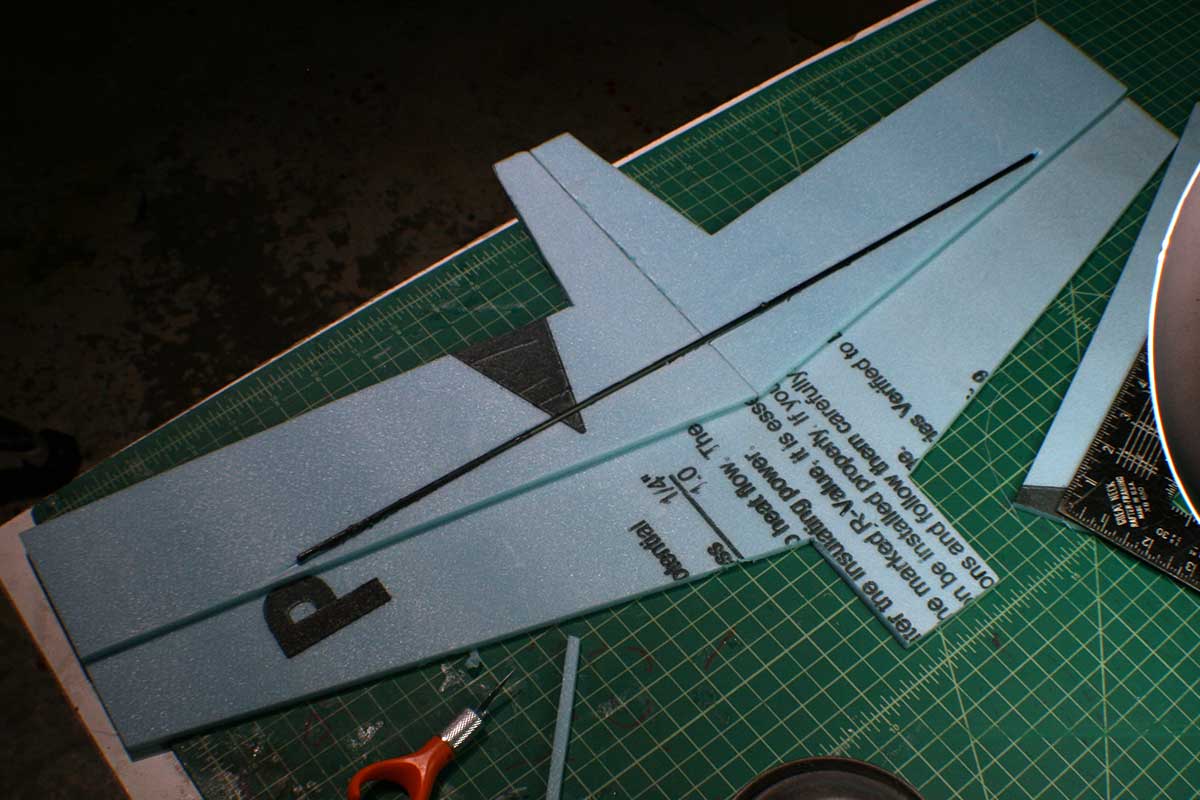 And the top layer of white Readiboard. I’ll sand this down to make it thinner.
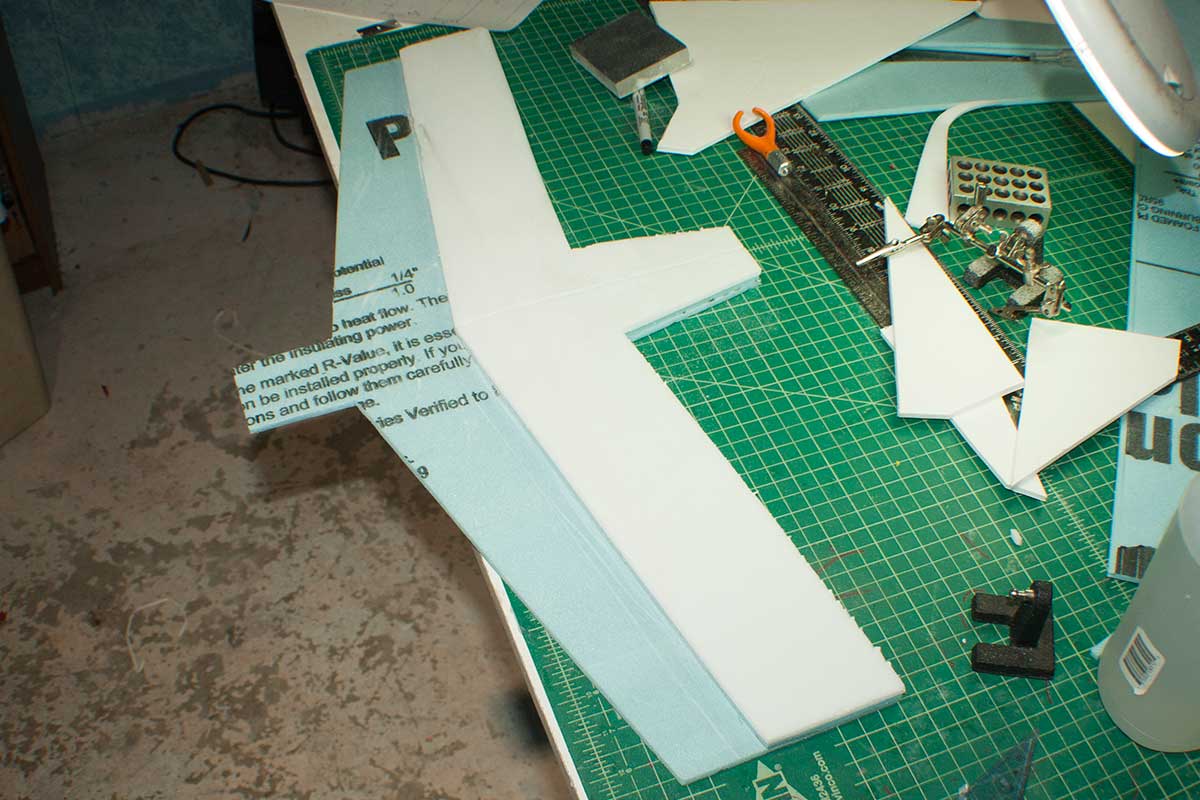
Gluing the v-tail, using the little angle guide that came with the plans.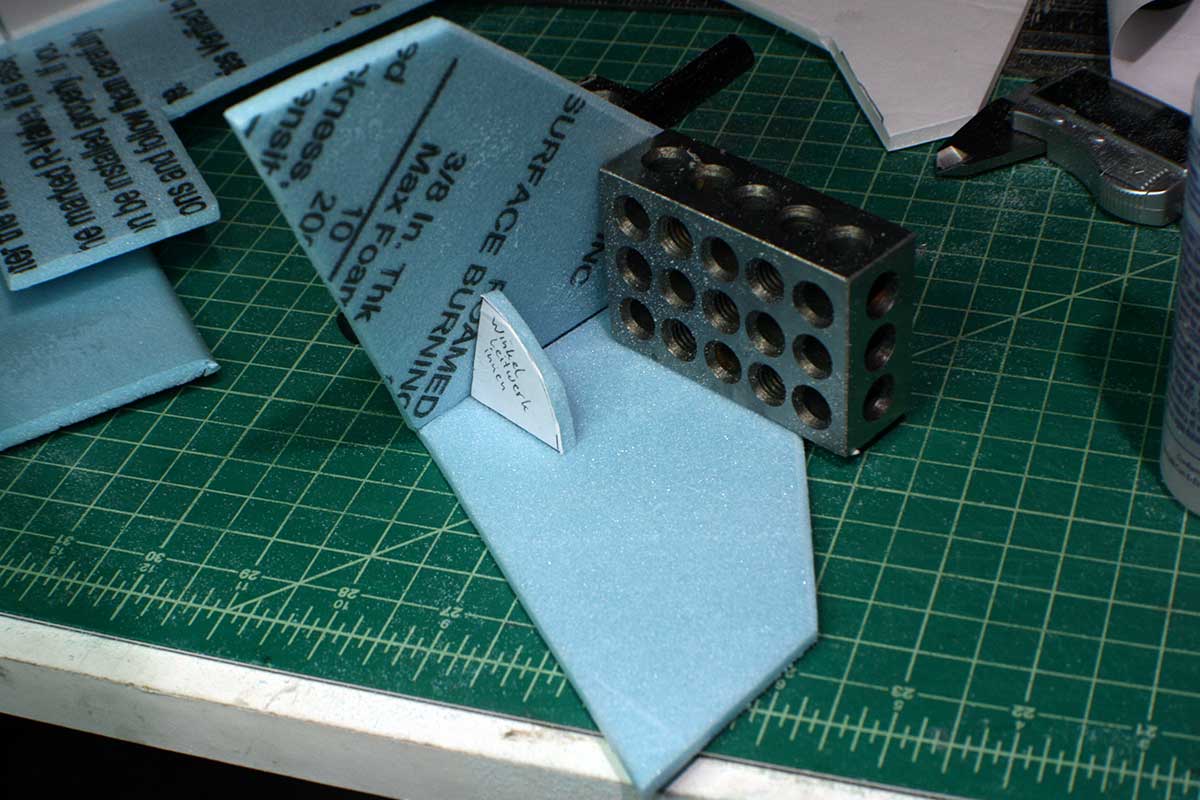
Time to make the fuselage.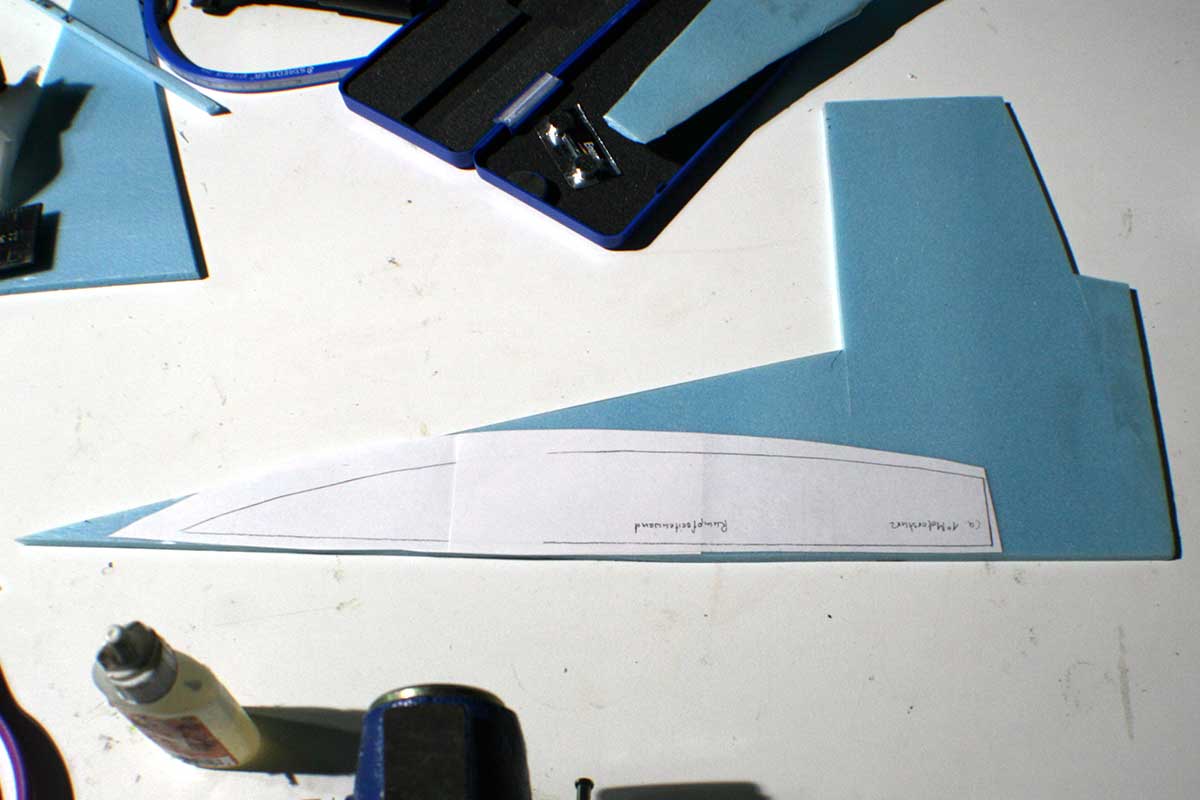 Gluing the bottom onto the fuselage.
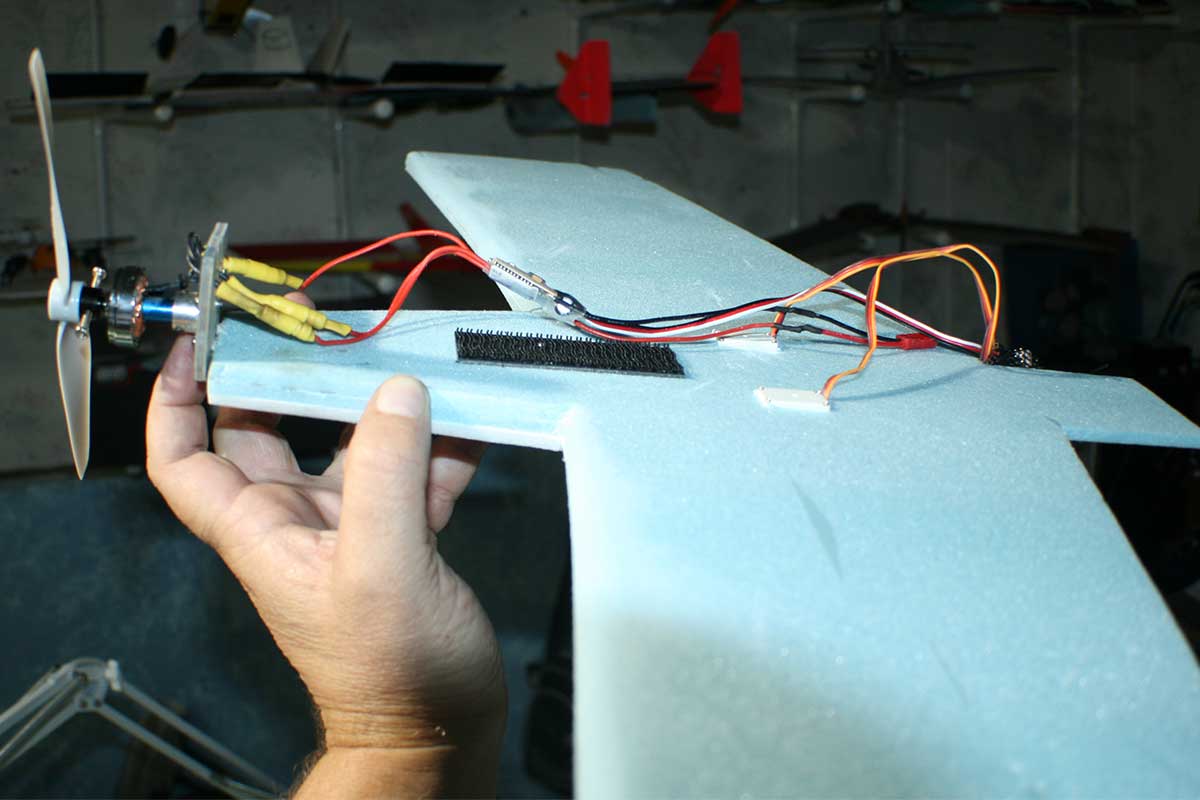
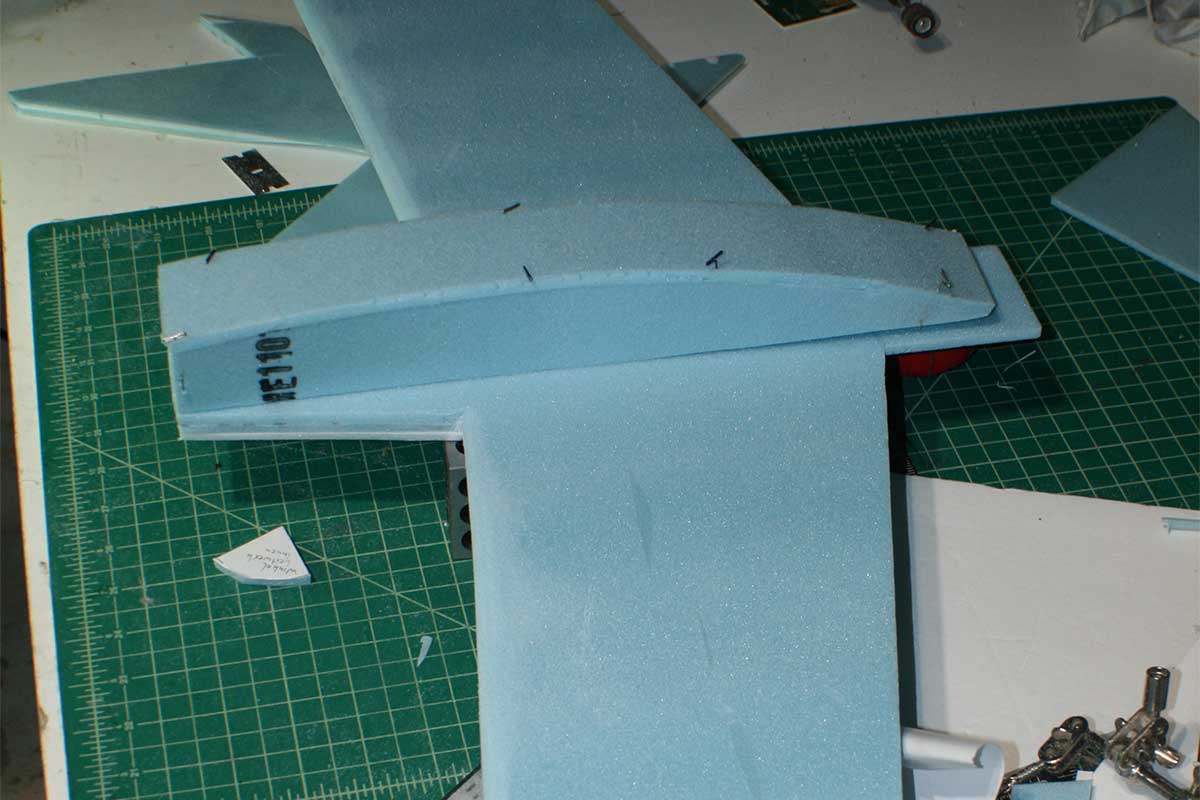 Thomas’ plans show the servos laid on their sides, but I put mine in vertically which results in their sticking out – just a little bit – from the bottom of the wing. That strip of “Velcro” as actually 3M Heavy Duty fastener – my preferred fastener. It will hold the battery in place on the bottom of the wing.
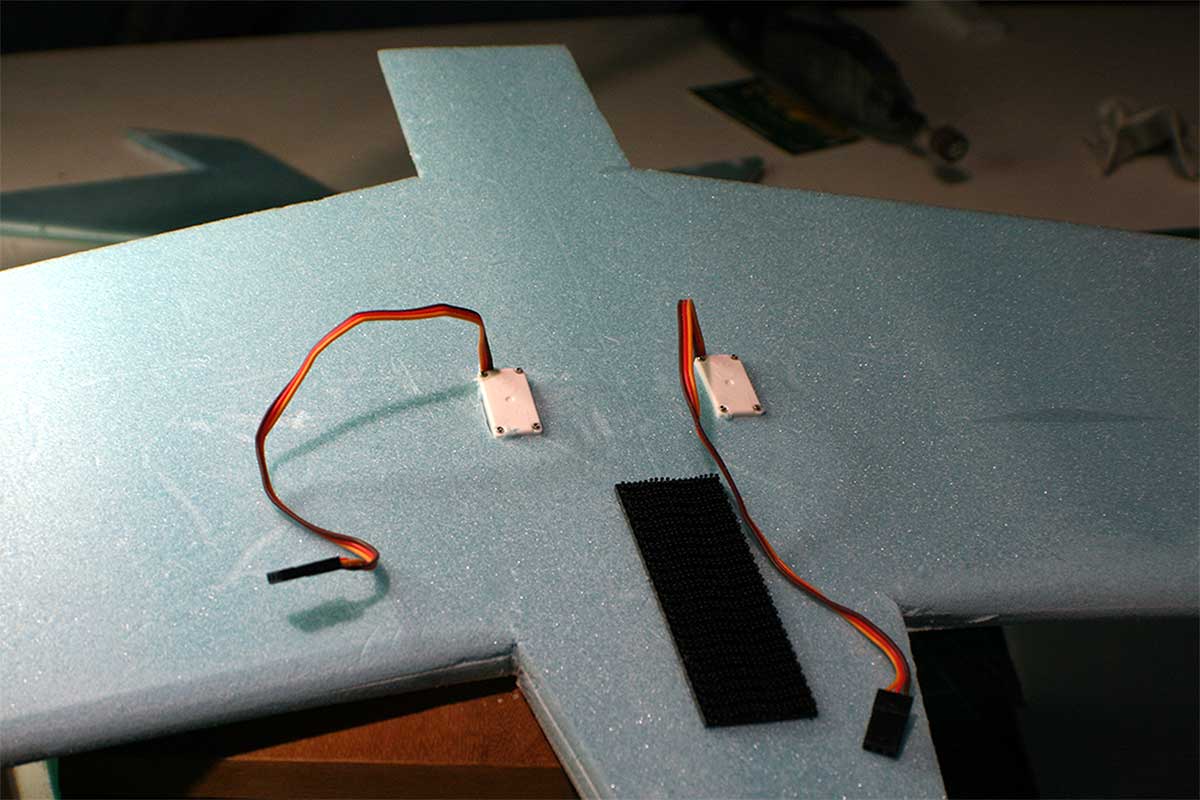 The top of the servos.
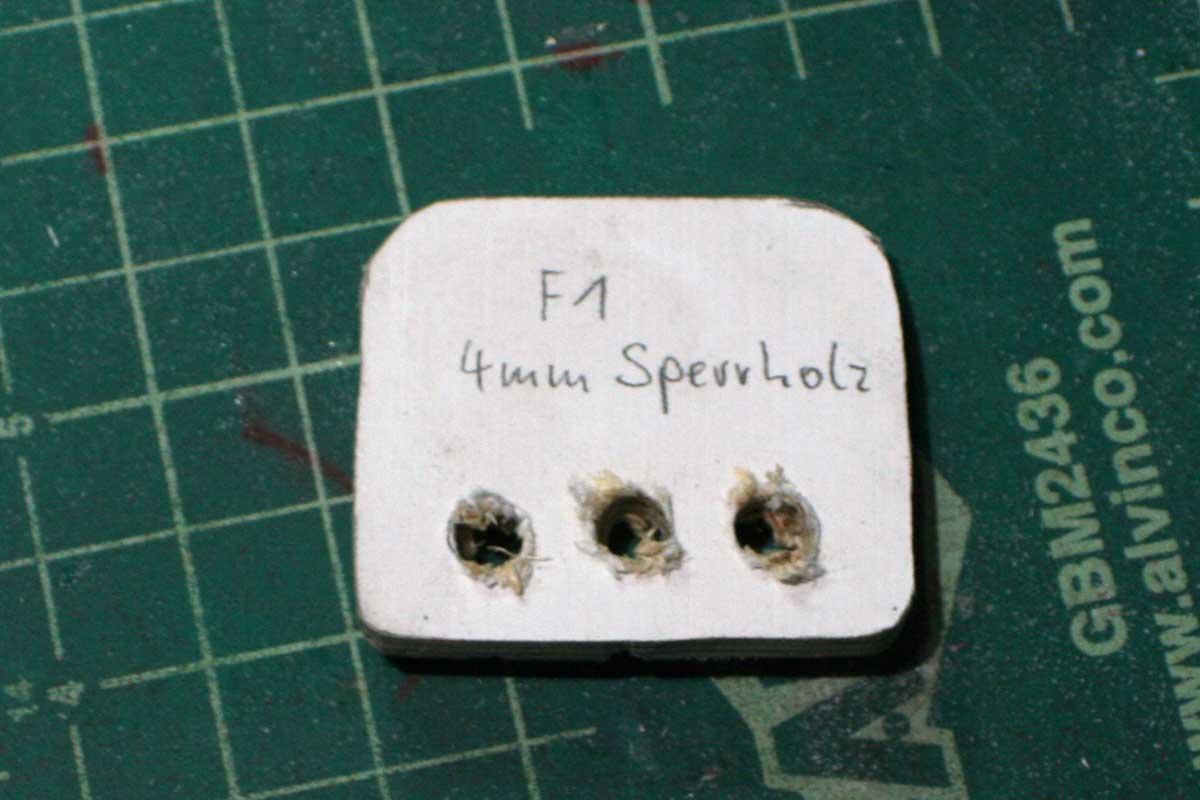
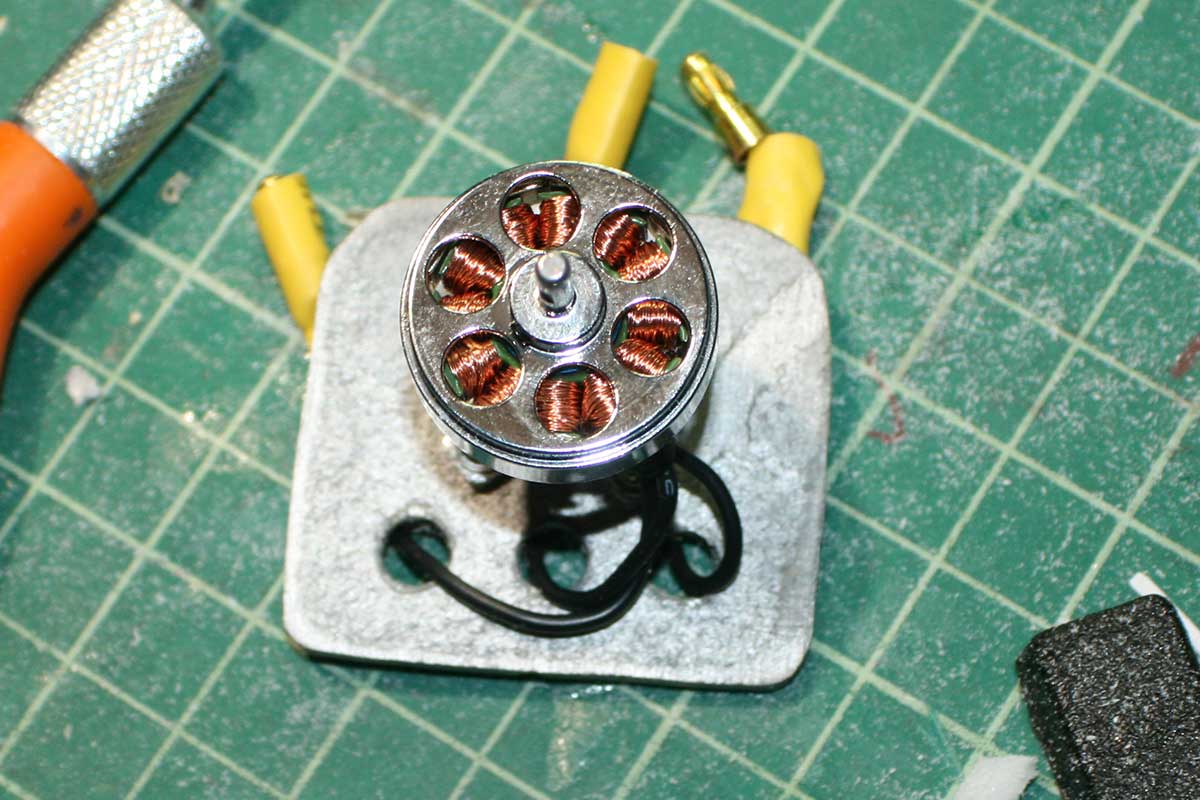
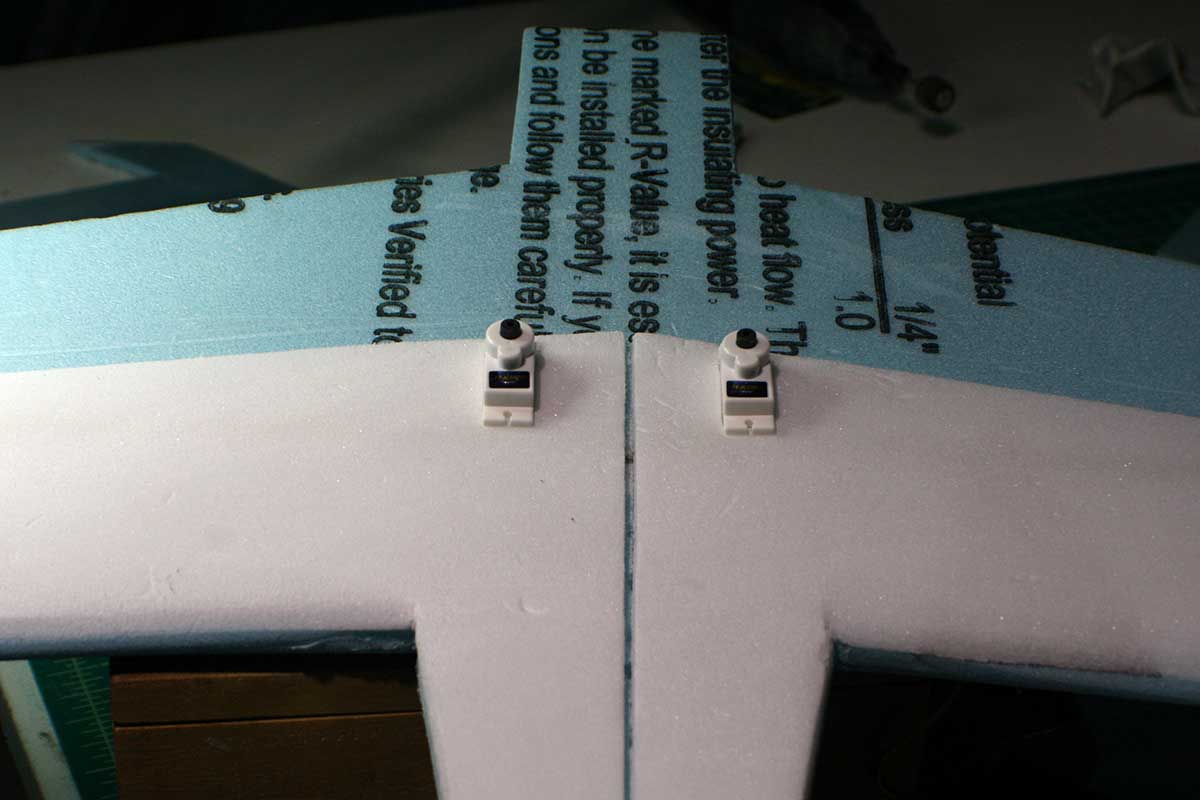 Time to make a ‘firewall’ to mount the motor on.
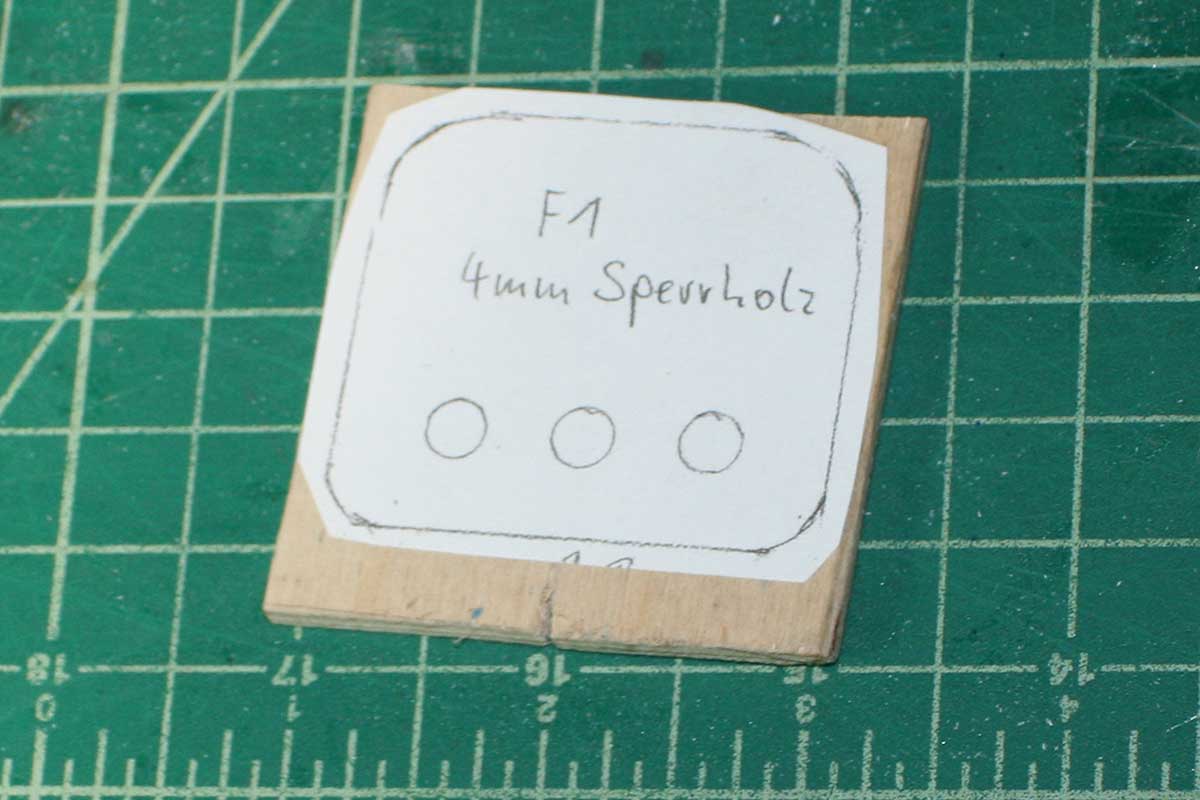
 A quick test assembly of the electronics and power train. I’m using a Lemon Rx.
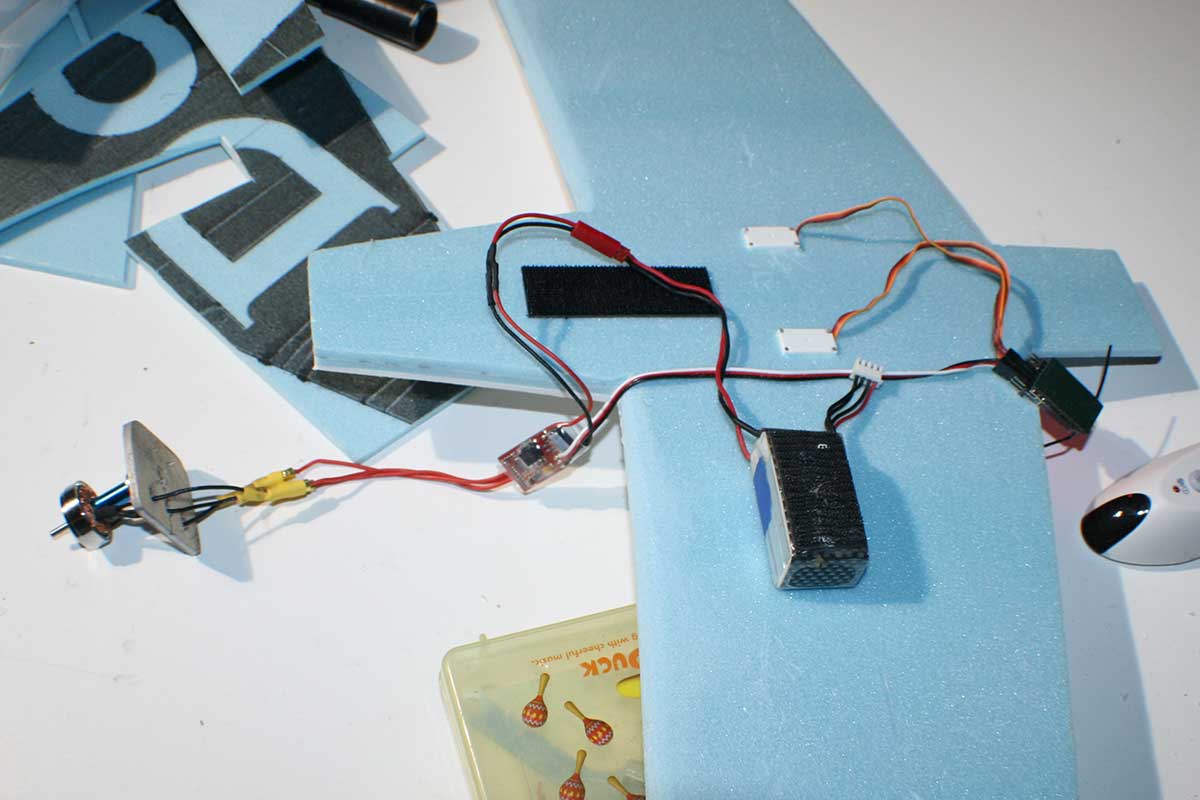
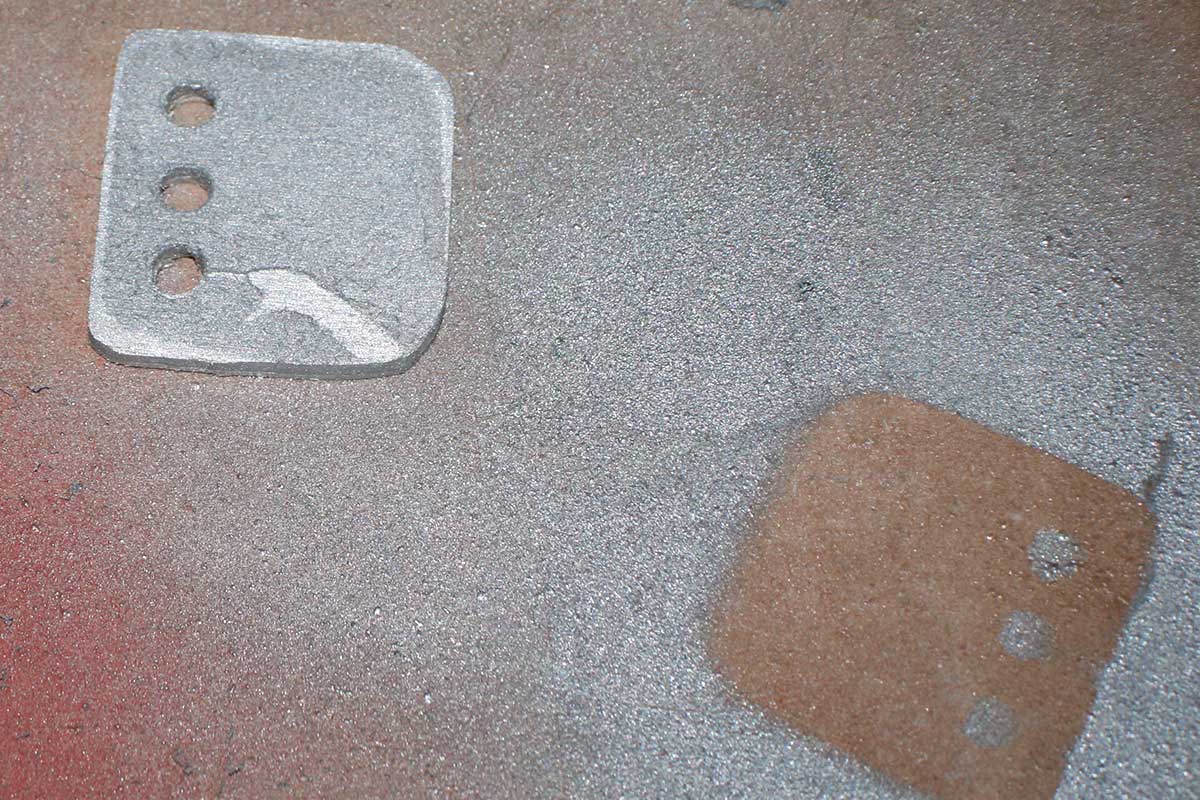
 Gluing the firewall to the front of the plane.
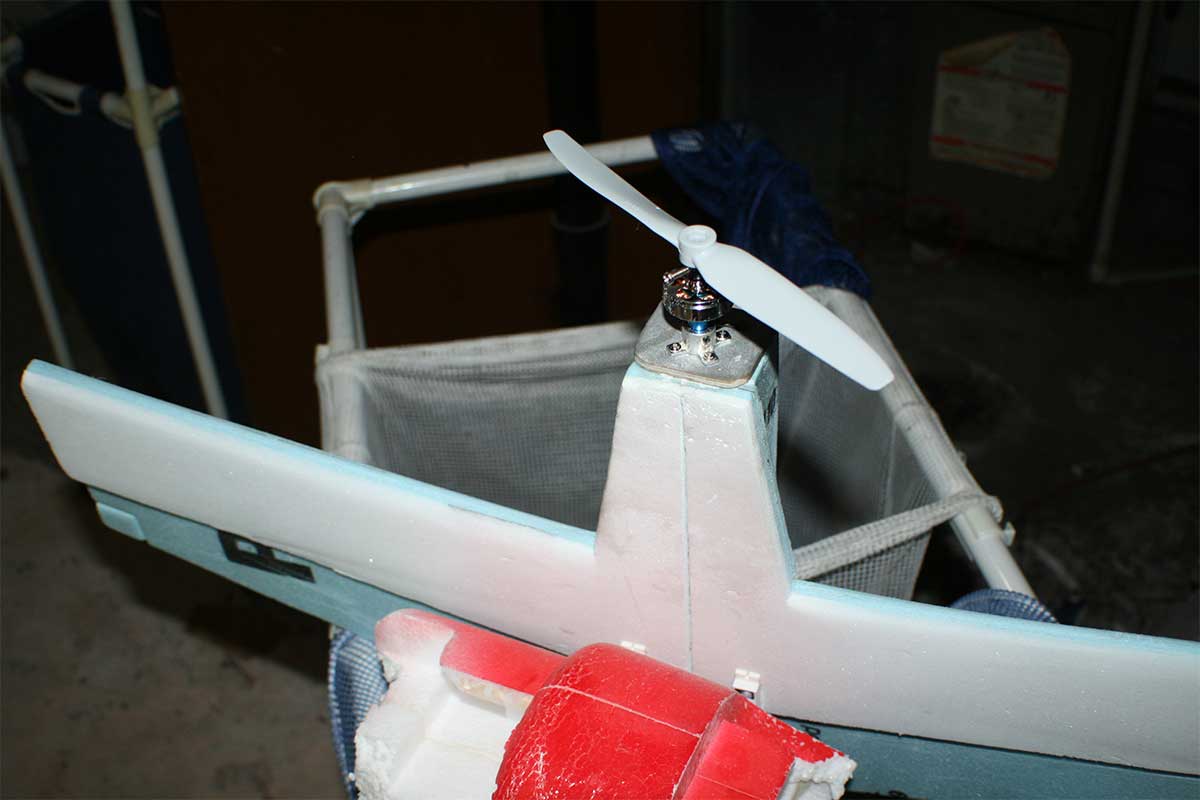 I cut a battery hatch in the bottom of the fuselage. Duct tape on the inside makes the hinge.
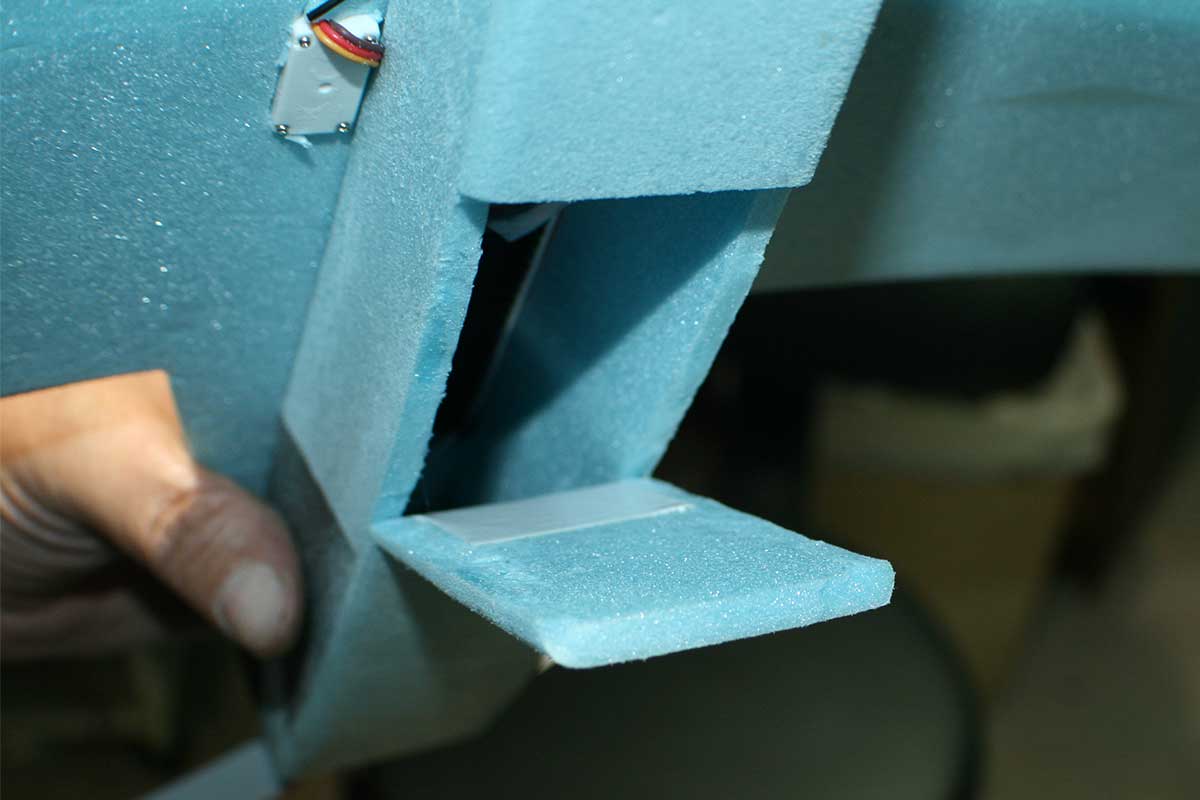 Rare earth magnets hold the hatch closed.
Gluing the v-tail in place.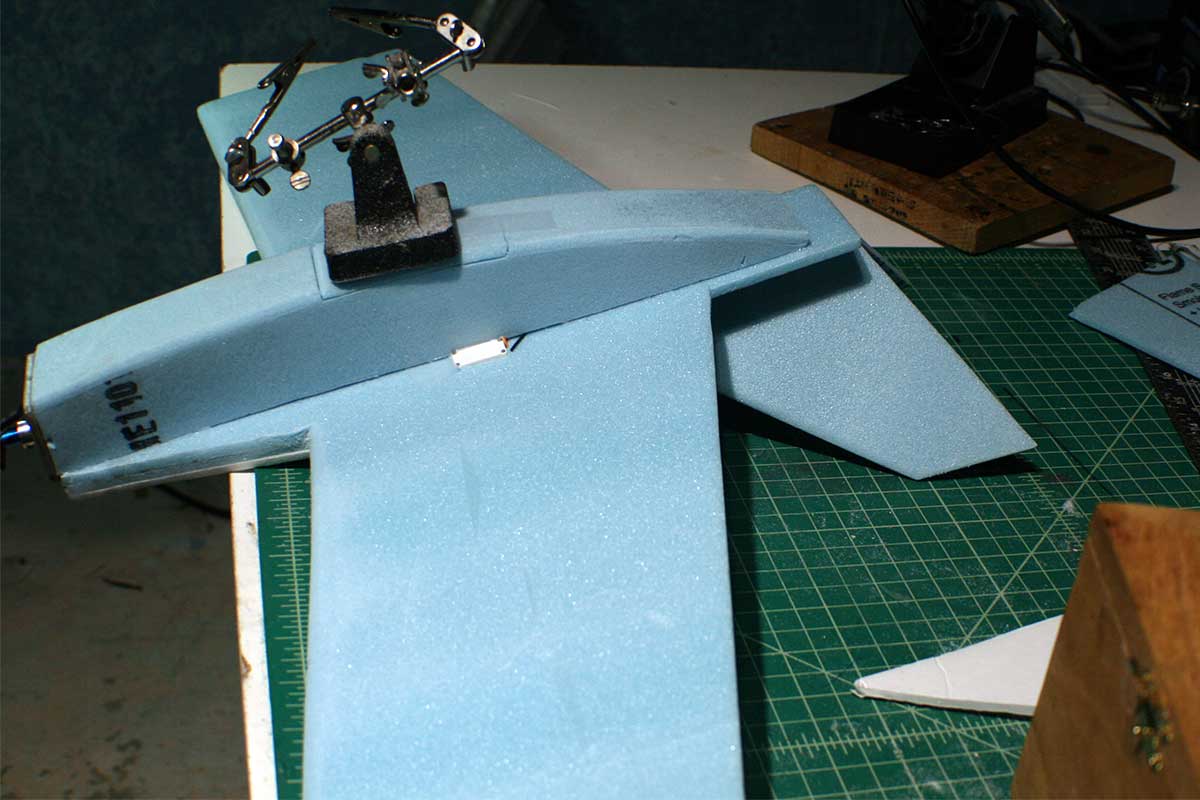 A closer look at the battery hatch.
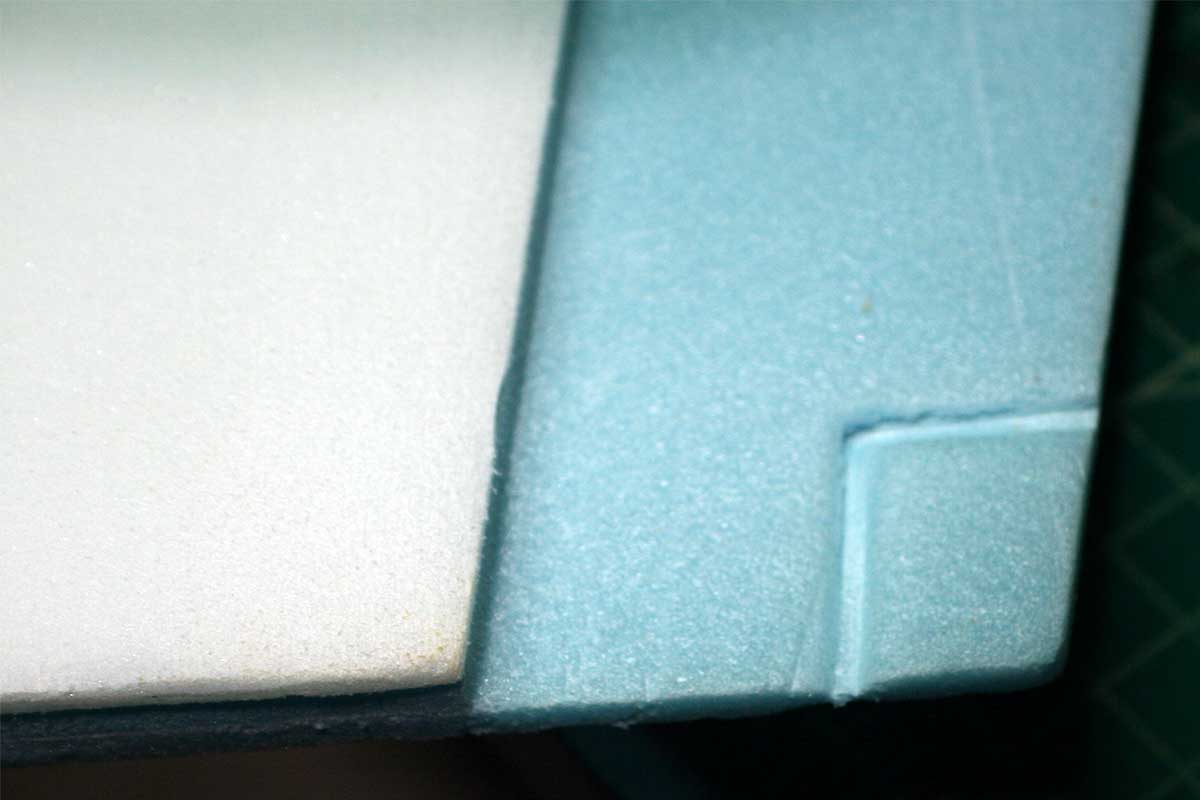
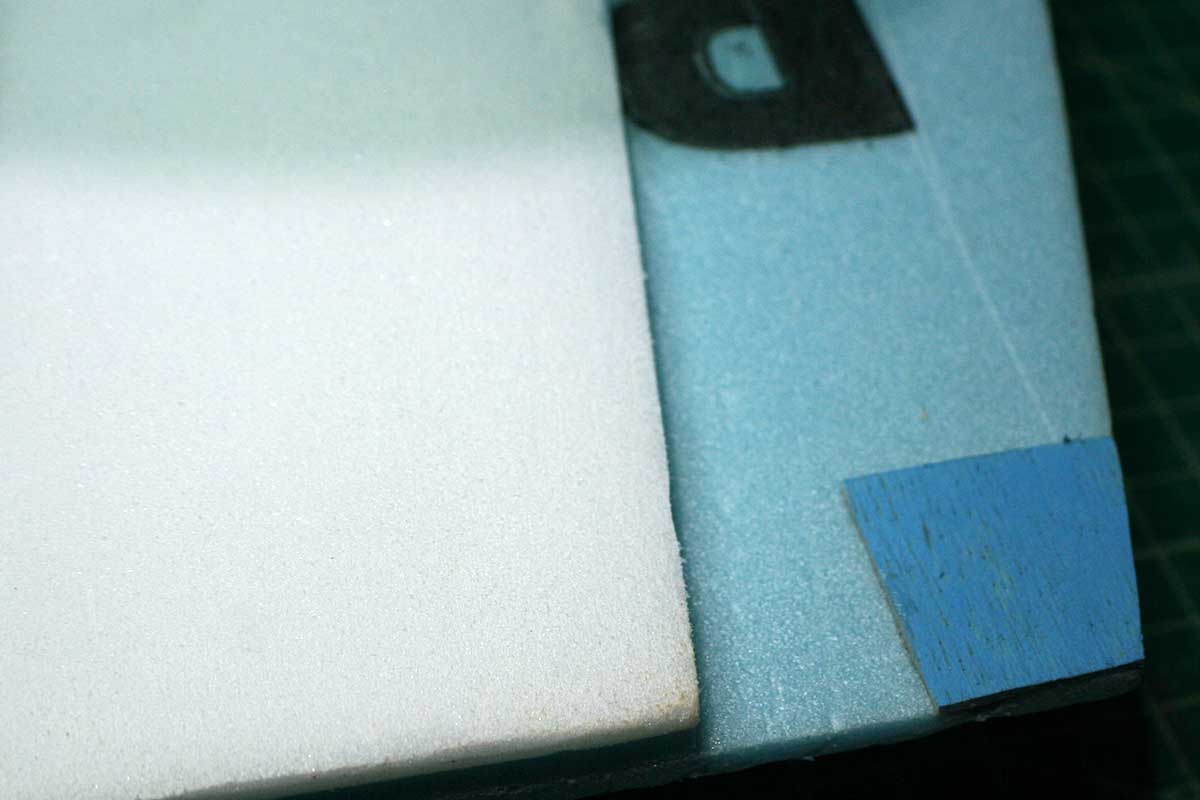
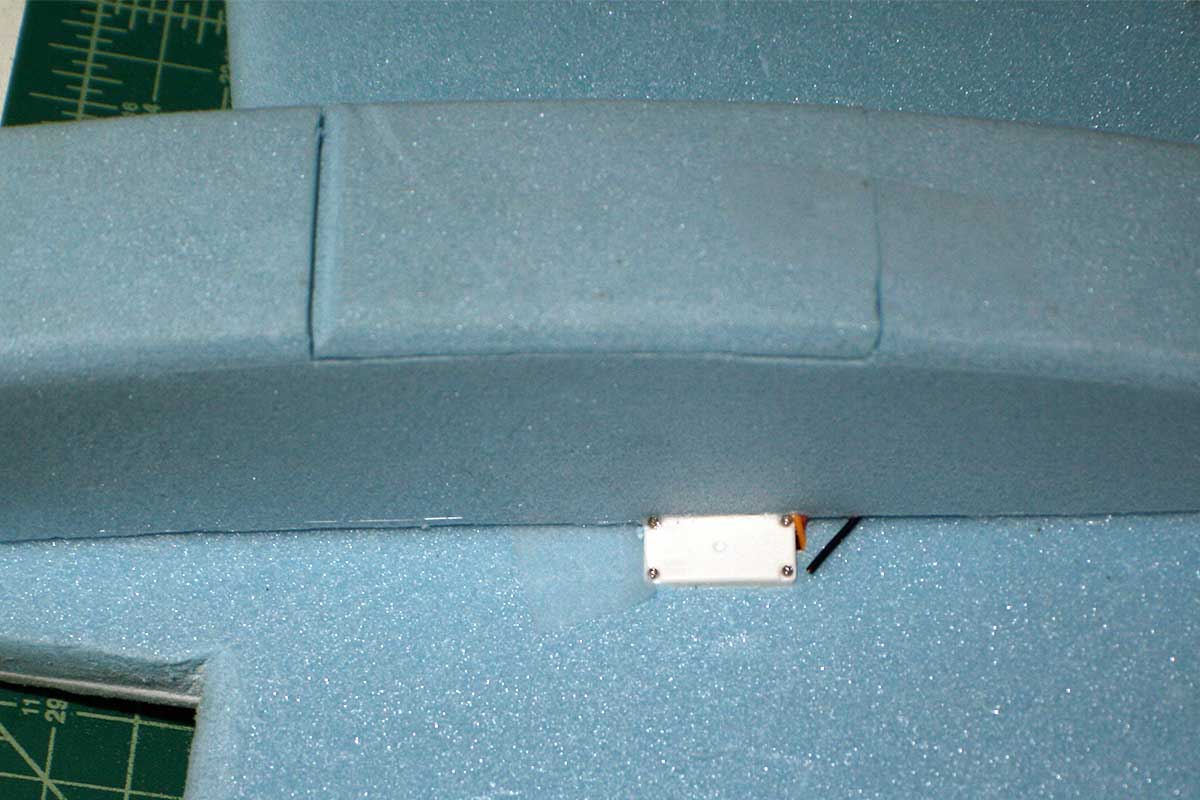 In my infinite sloppiness, I managed to clamp a tool down on top of the wing, imprinting this nifty design into the corner. To strengthen it again, I glued a thin piece of balsa over the affected area. Later, I sanded this down considerably.
 The elevons are just strips of blue fan-fold foam, but I give them a skin of colored packing tape which adds a surprising amount of strength.
 Here’s the starboard elevon taped in place on the wing.
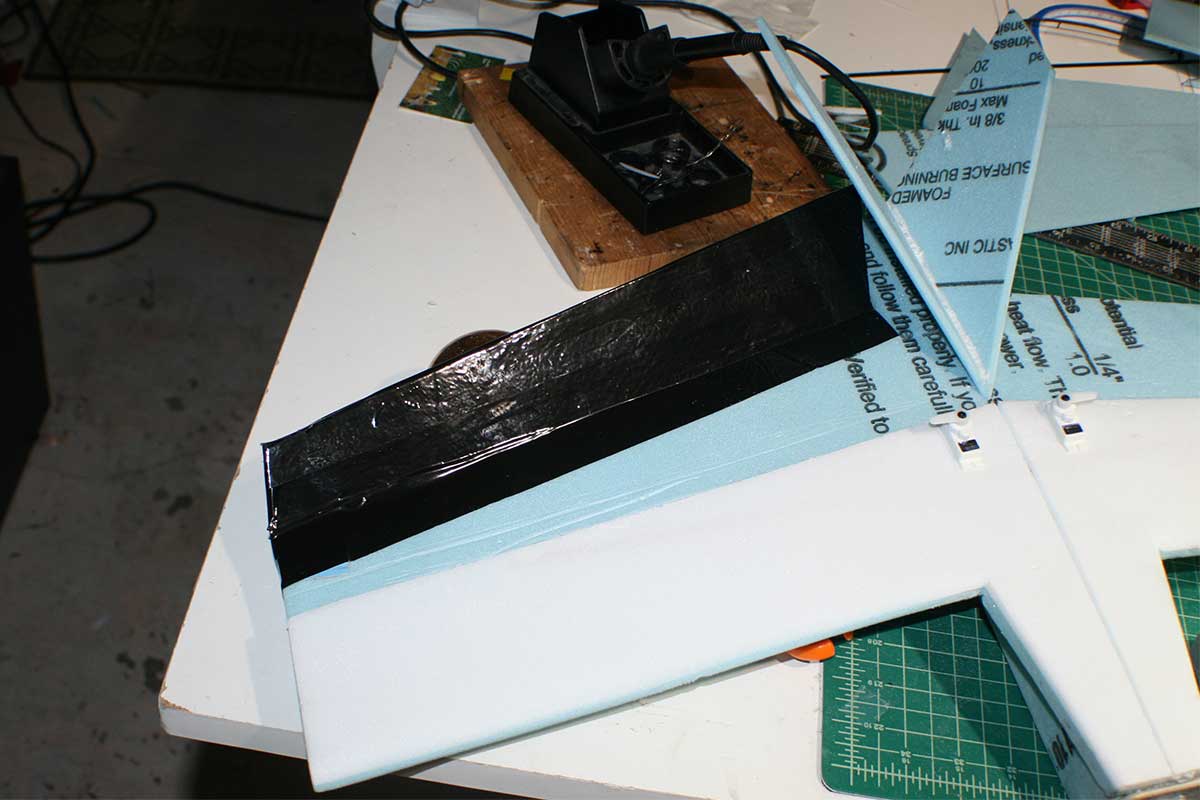 The (more-or-less) completed plane.
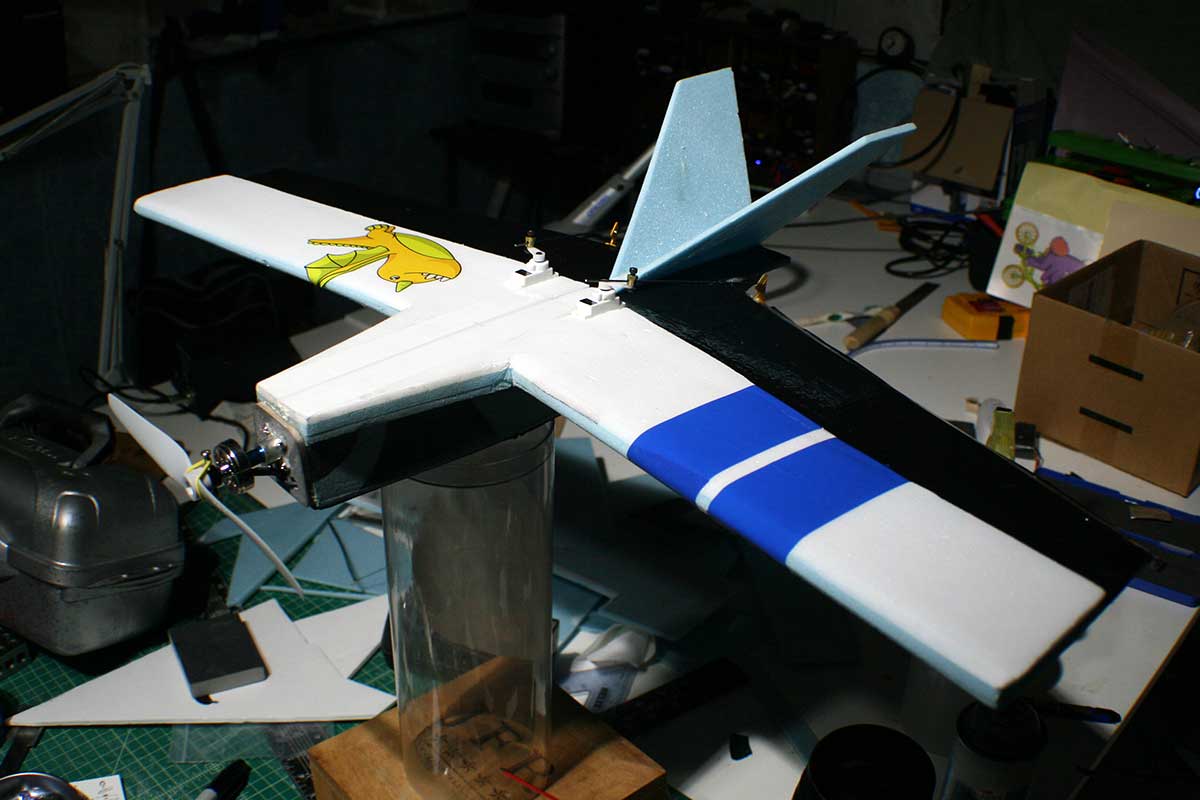 Here is the approximate placement of components within the fuselage.
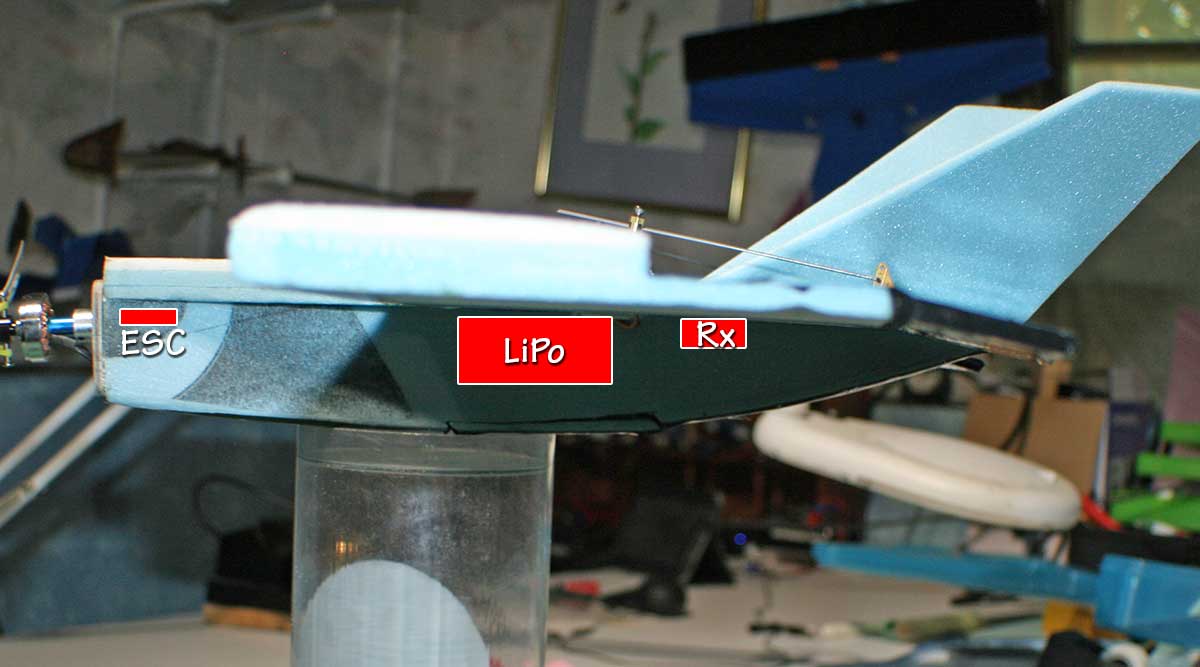 I actually ended up with my CG a little bit rearward of the plans, at about 140-142mm back from the front of the firewall. I just kept pushing the CG back until I was happy with it.
After completion, I added an air scoop in an effort to keep the internal components a bit cooler. You can see that mod, here.