After a year or so of dithering and building other projects, I’m finally ready to start on a Slowly (for my wife.) I’ll be using 1/4″ Dow blue fanfold. The wingspan (before folding the wing) is about 36.5″ / 93cm.
The Slowly is designed by Christian Huber. Here’s the “Slowly” thread on RCGroups. You can find plans and helpful hints and discussion there. Which you may well need, because the plans themselves are in German.
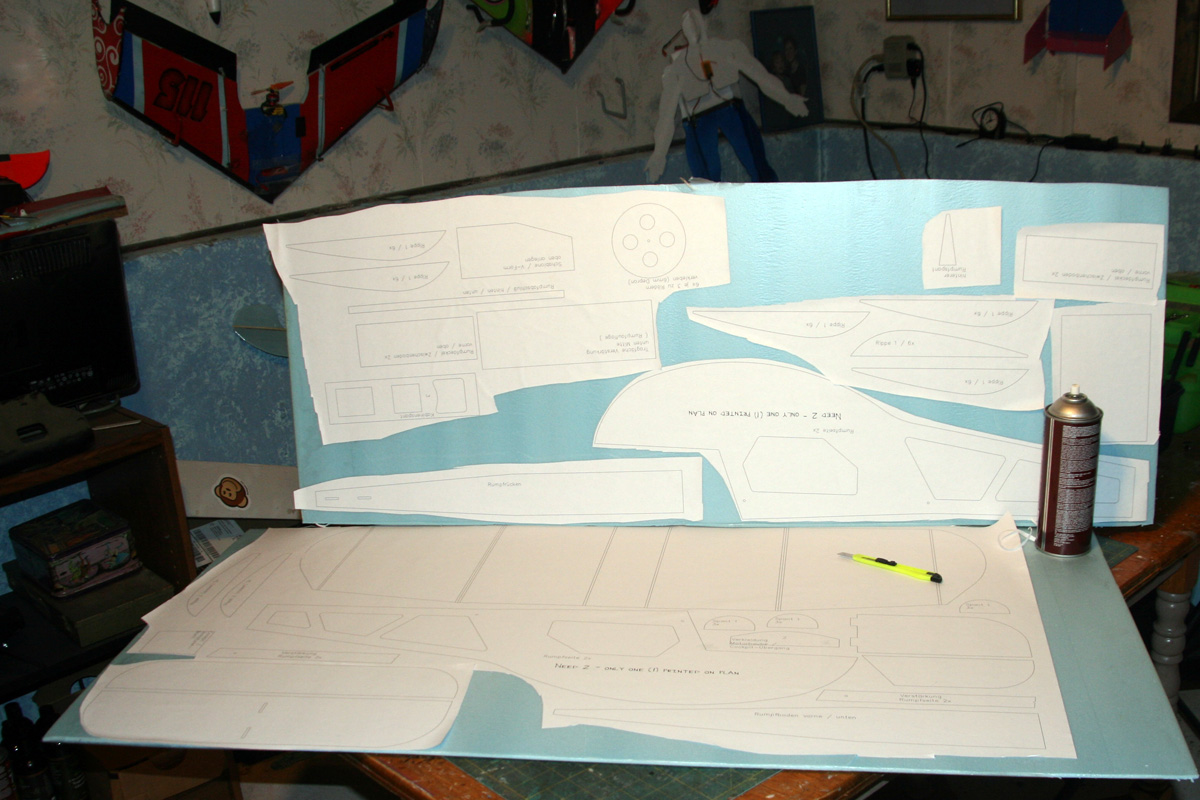
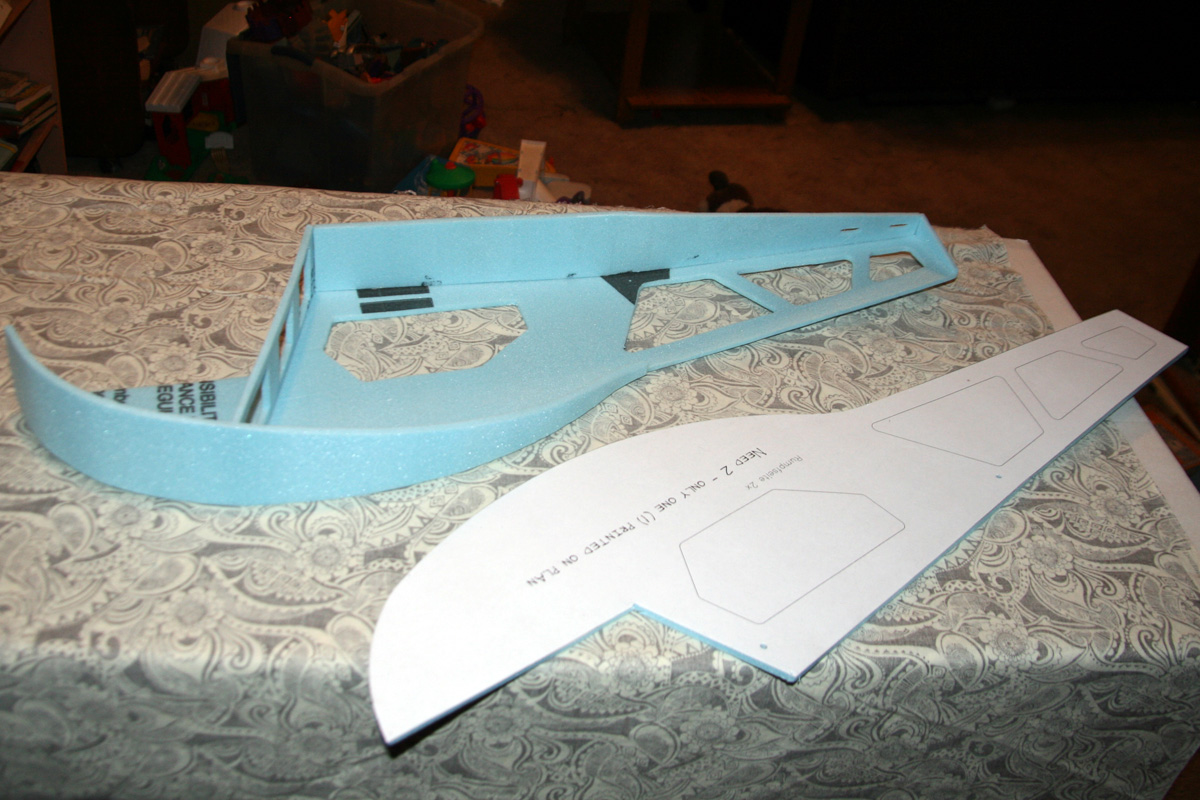
Plans
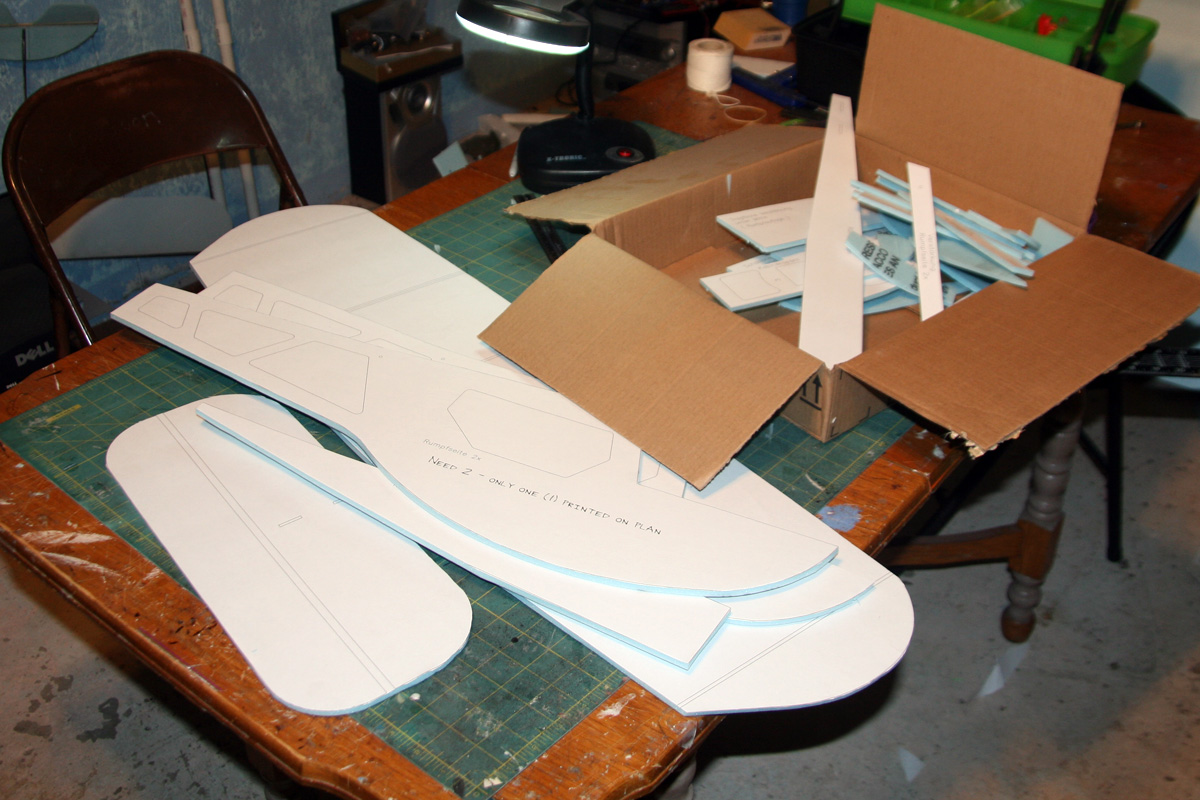
Parts cut out
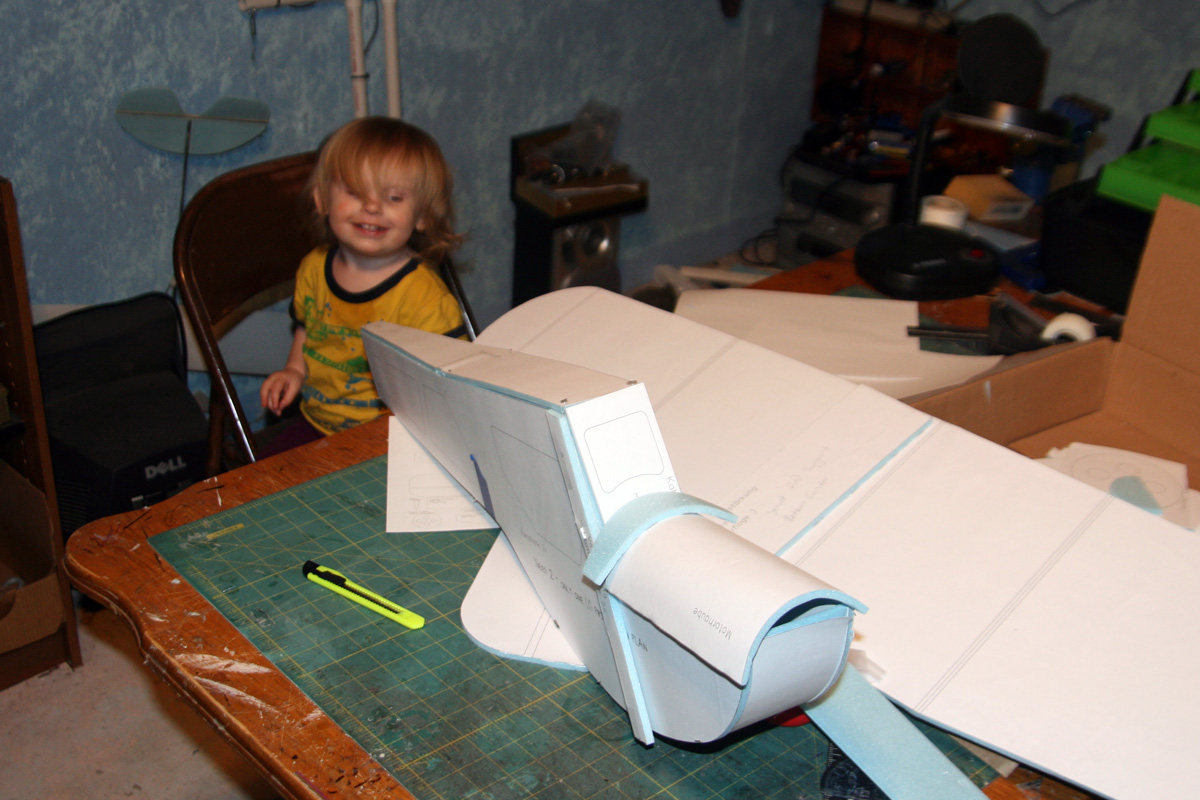
My granddaughter approves of the first test fit
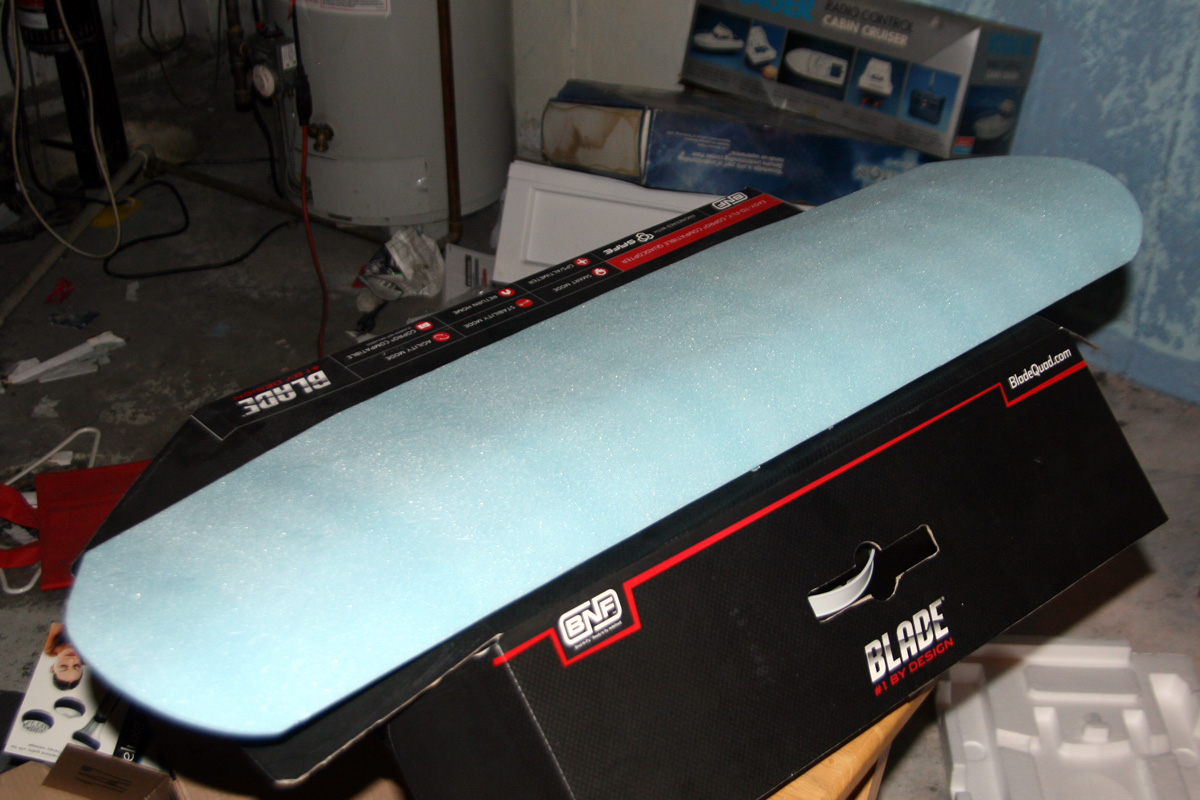
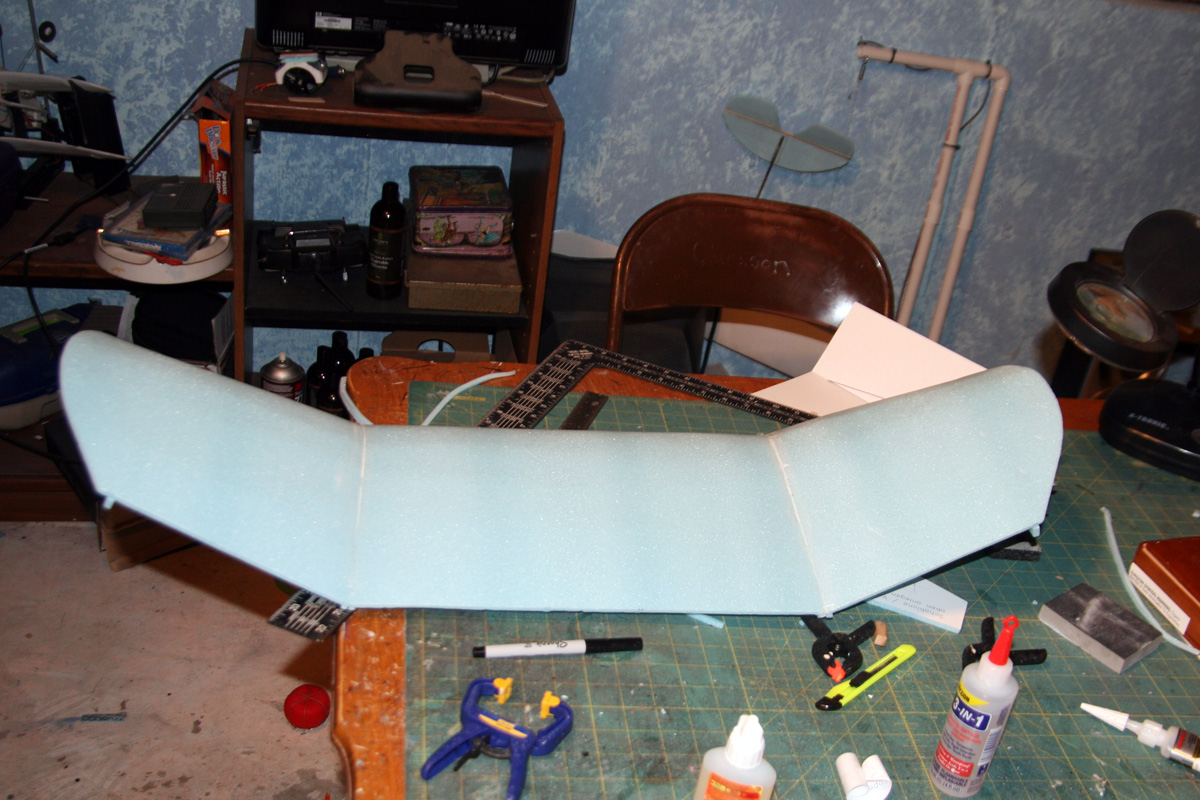
The wing shape
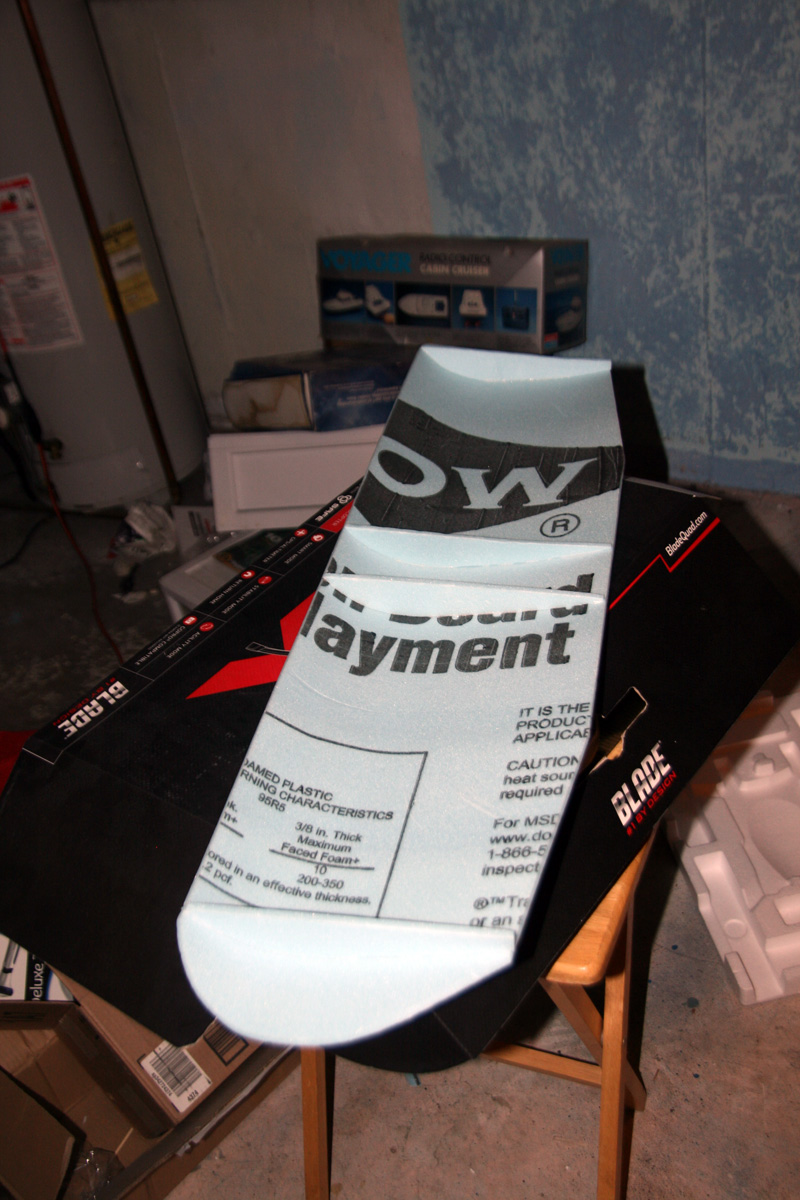
Airfoil ribs hold the curve in the wing

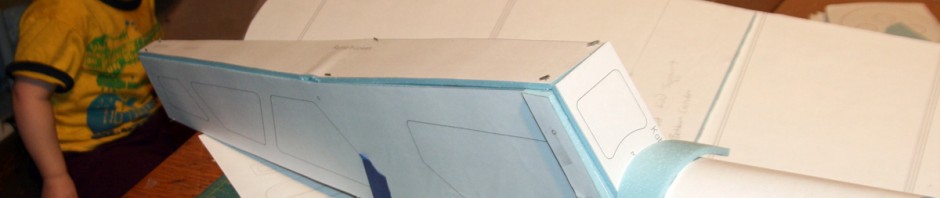
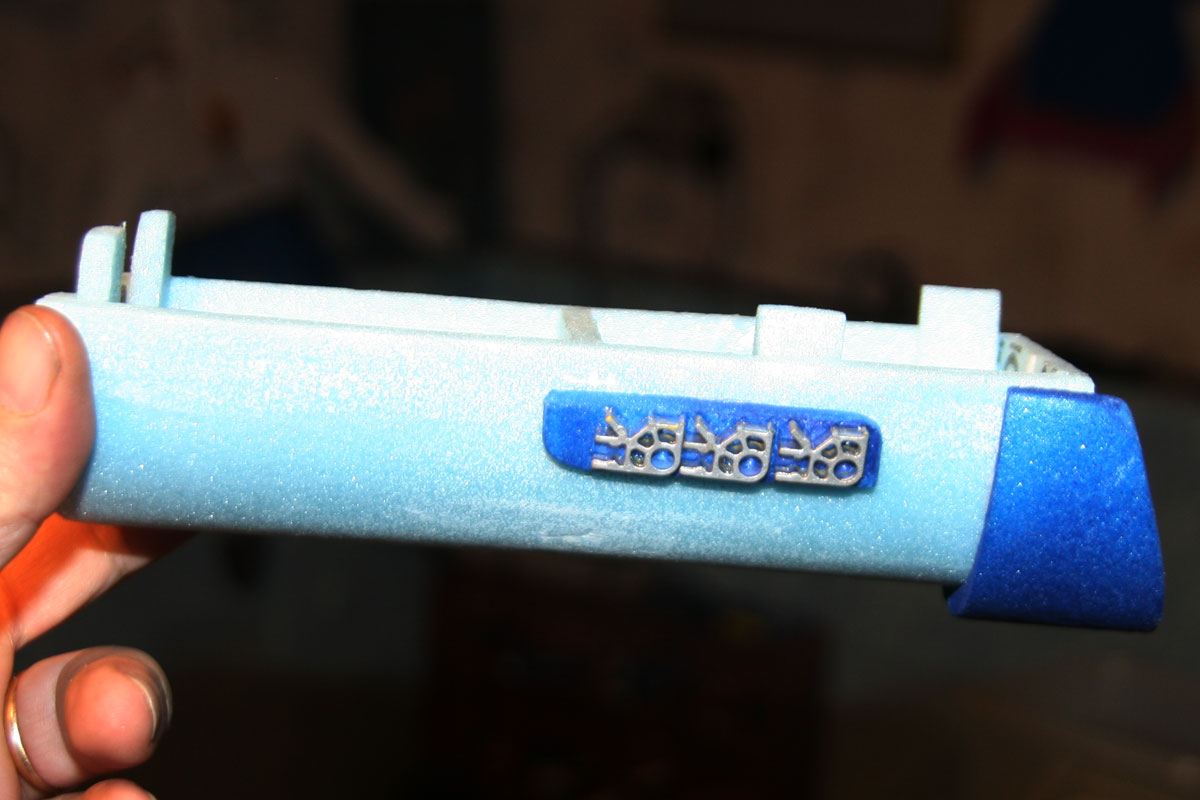
The engine cover / cowling
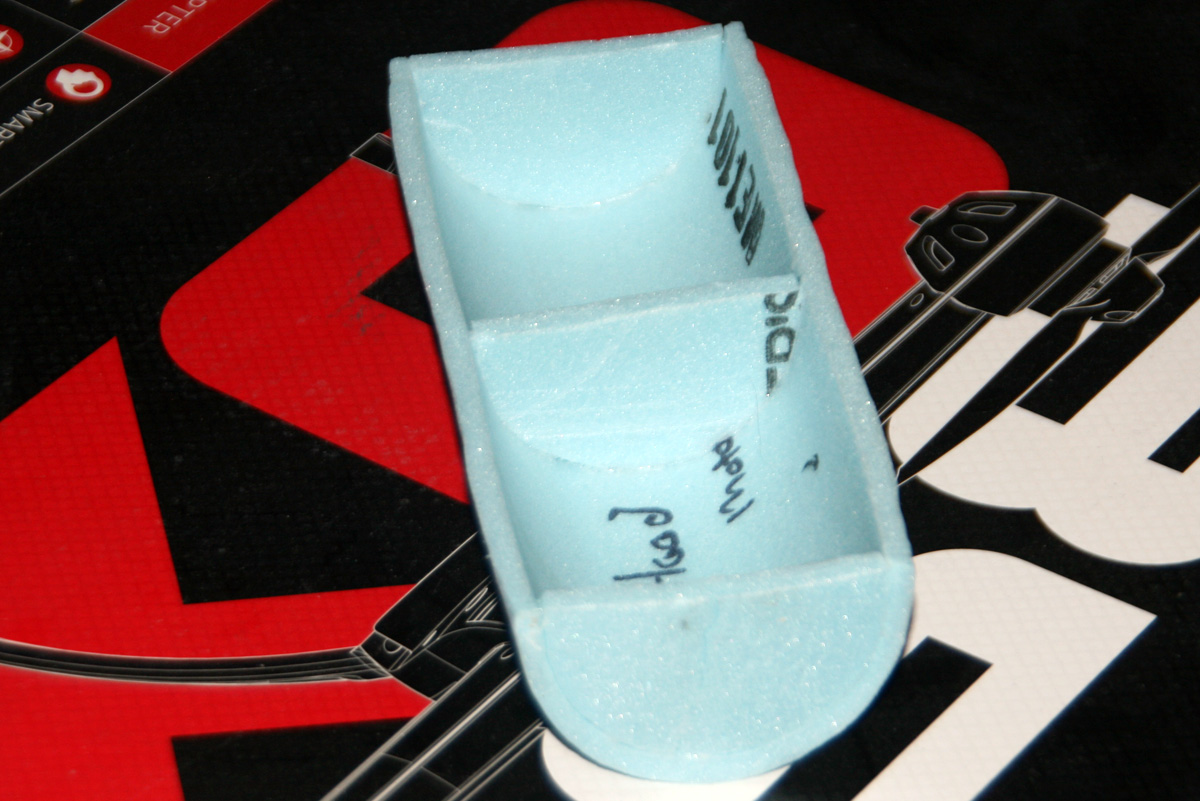
Engine cover interior – 3 bulkheads hold the shape
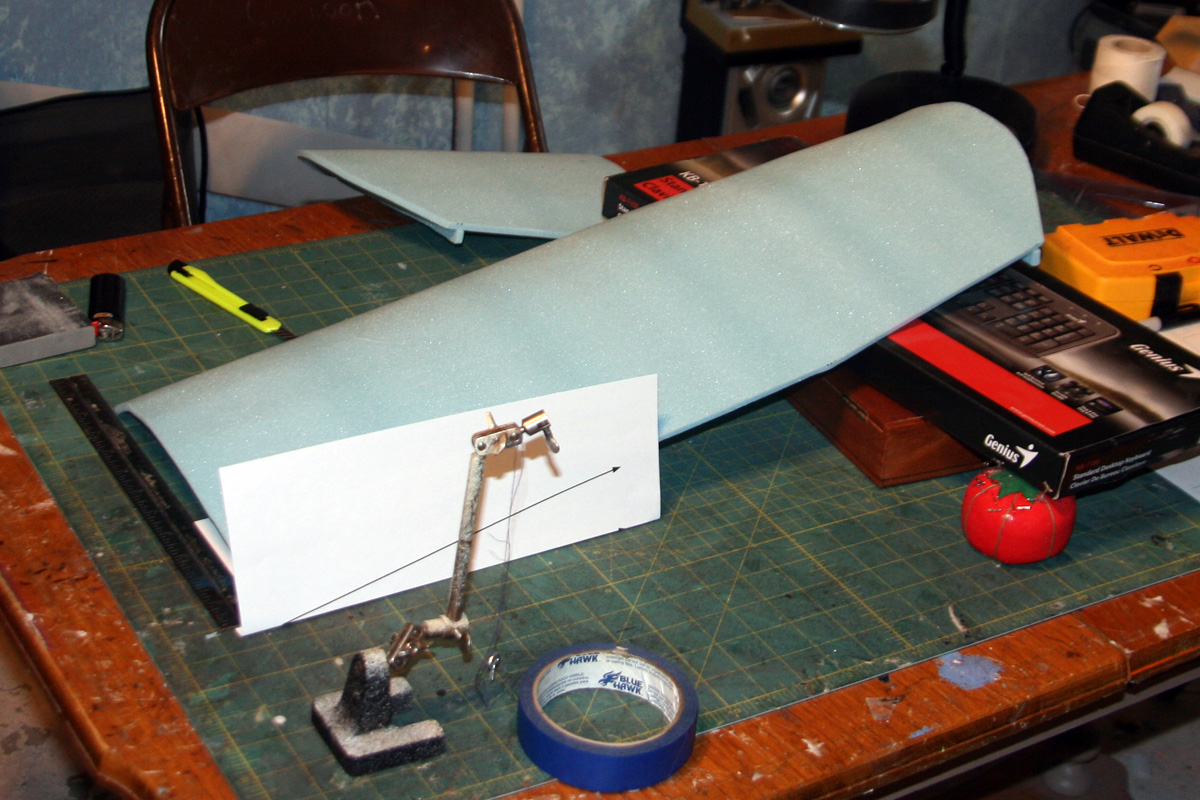
Measuring the angle to cut the wing’s dihedral (20° per wing)
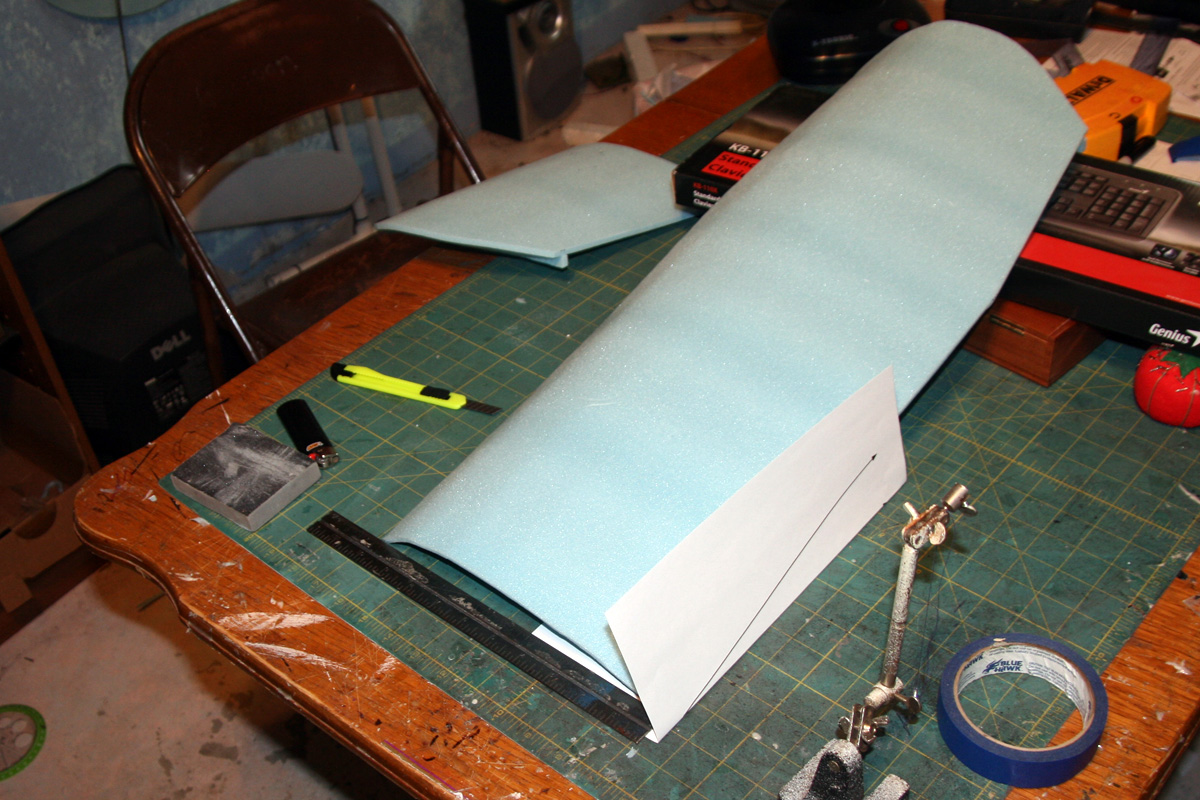
The first cut
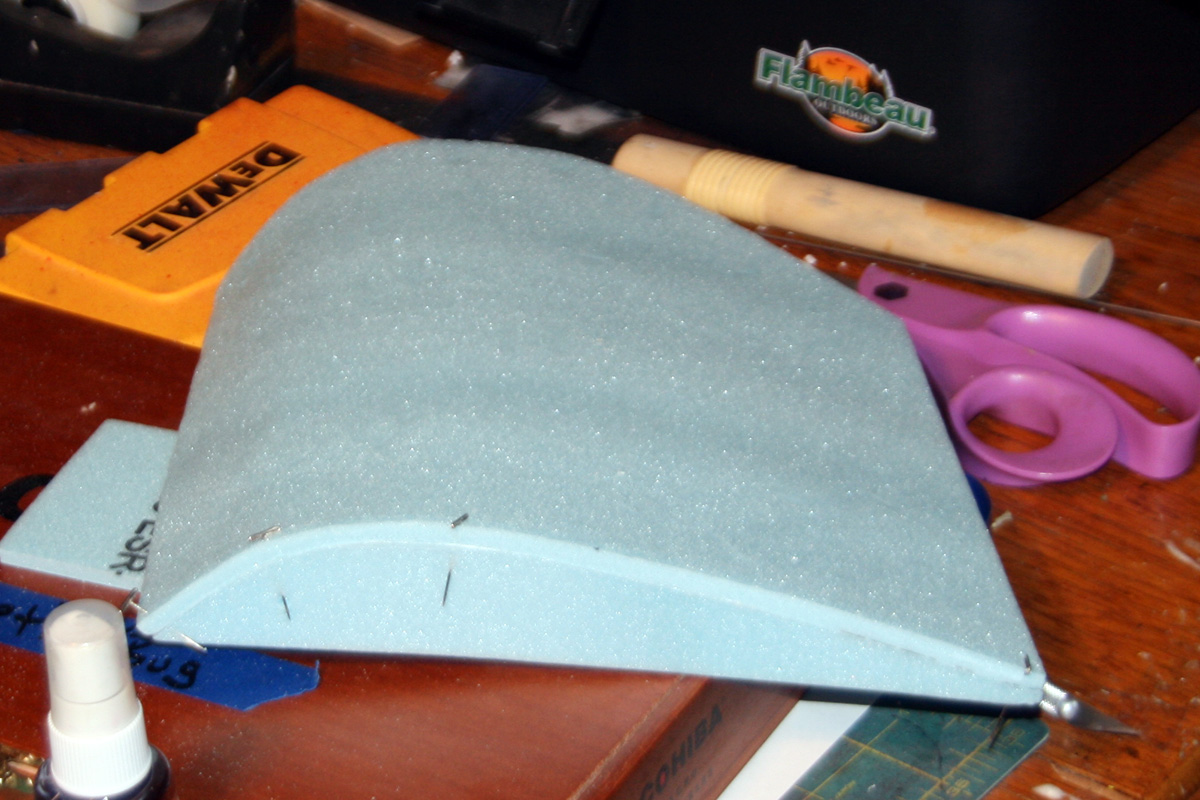
The first wingtip, glued back on at 20°
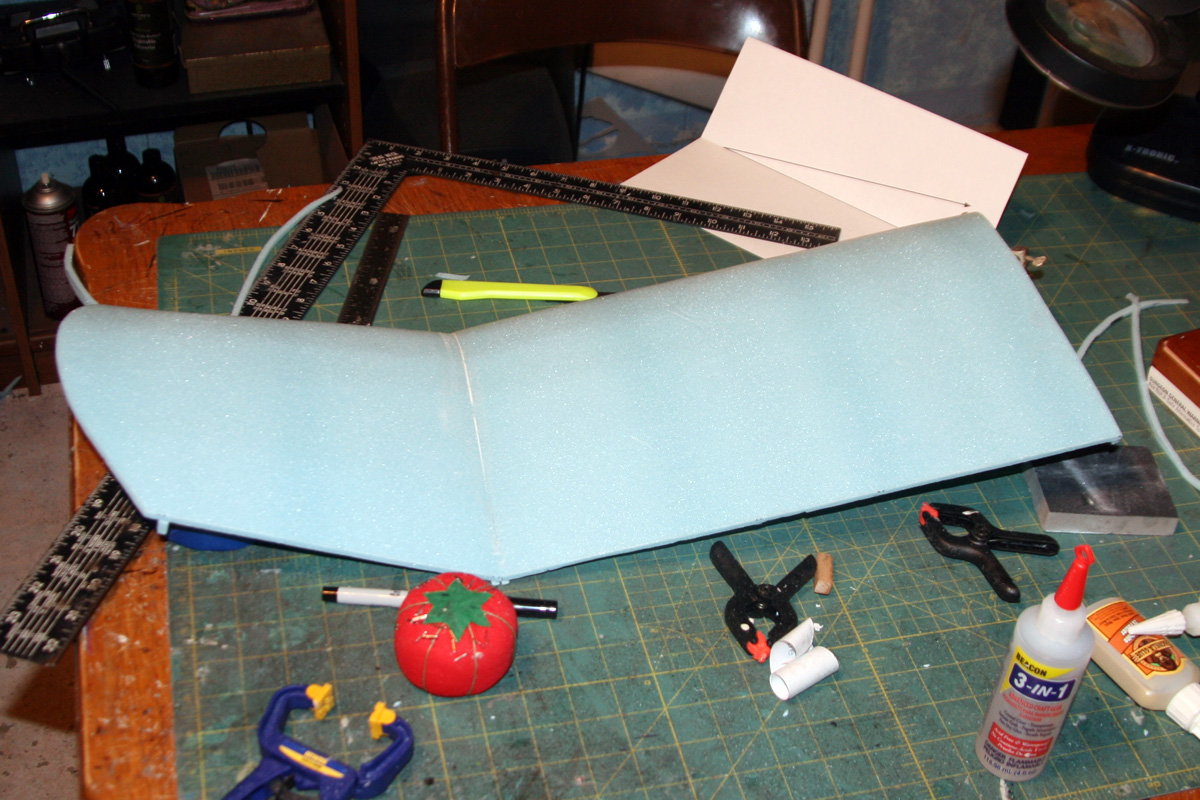
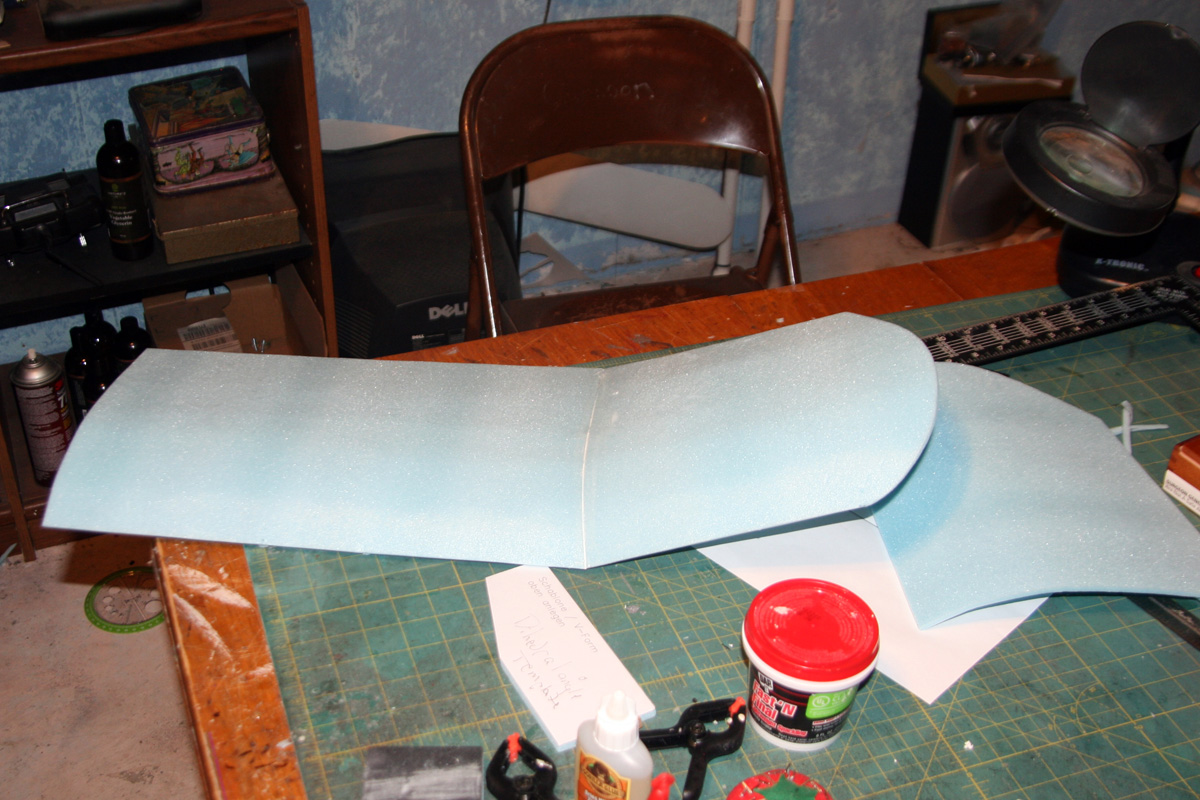
Both dihedral wingtips in place
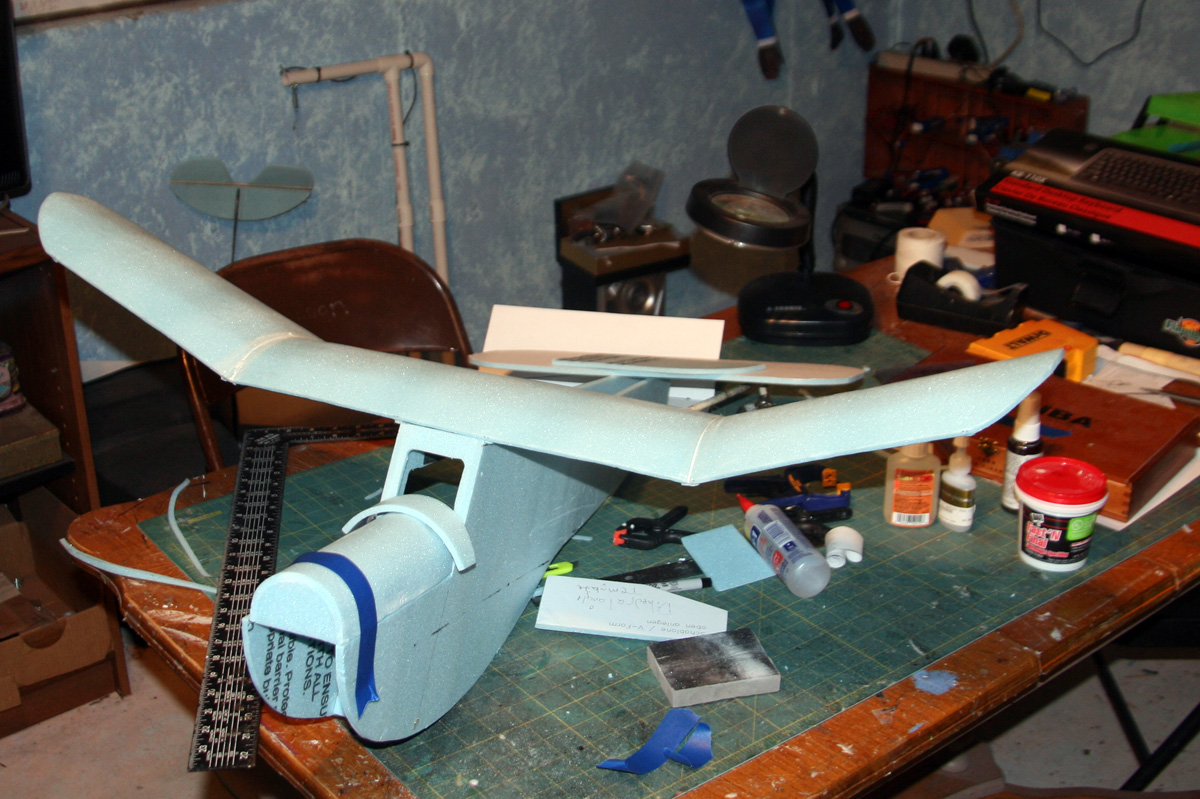
Yet another test fit
Getting ready to glue the 2nd half of the fuselage in place
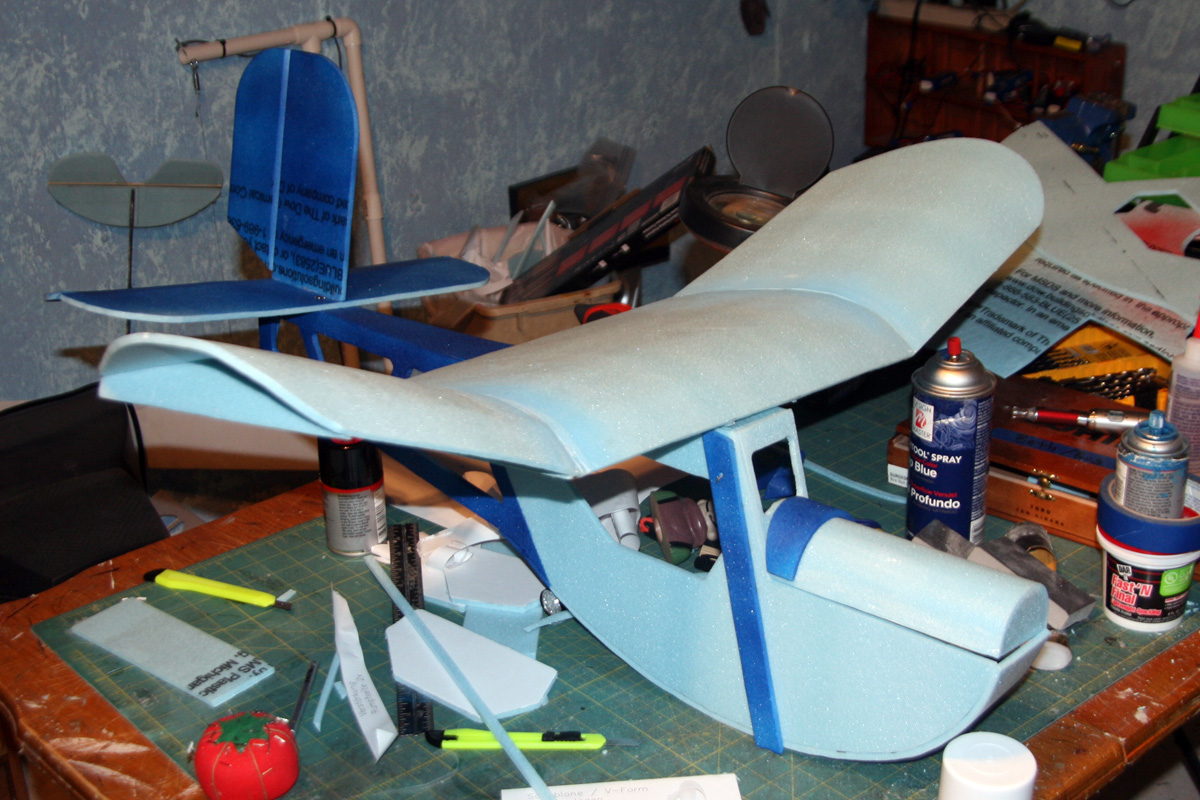
Tail in place and some 2-tone paint
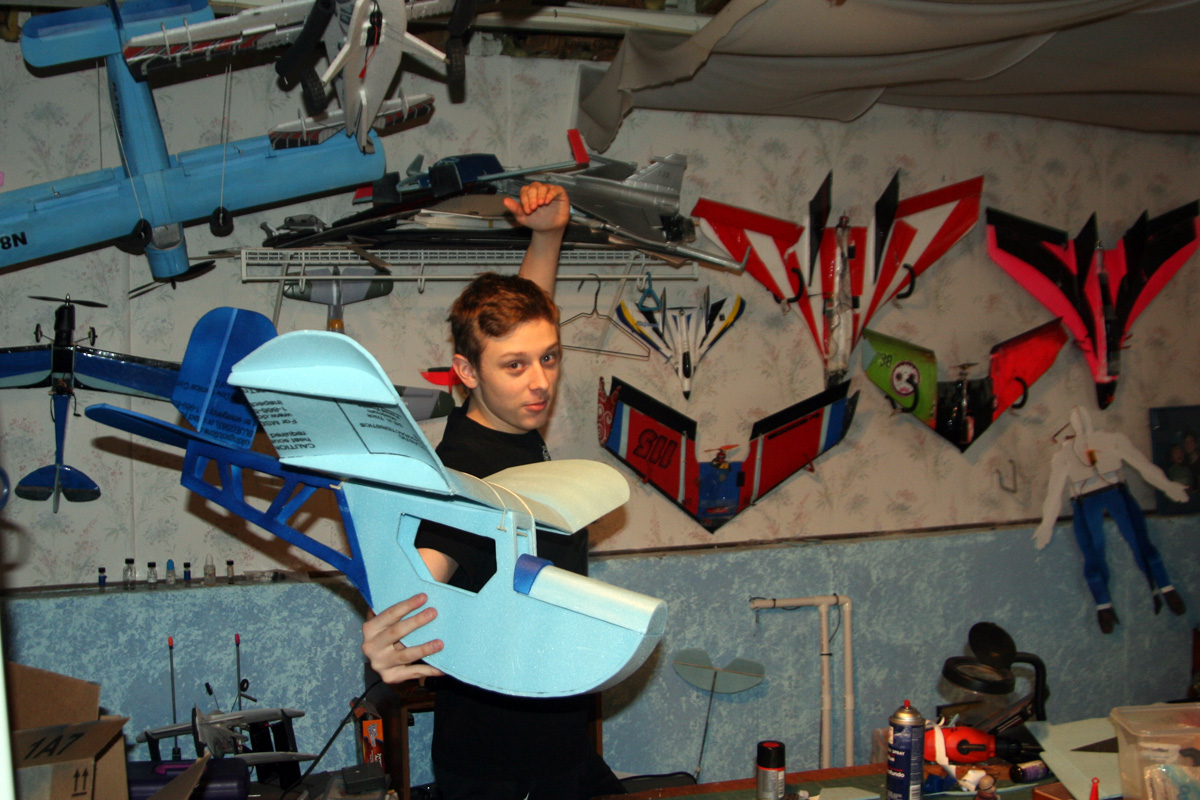
My son holds the airframe for inspection
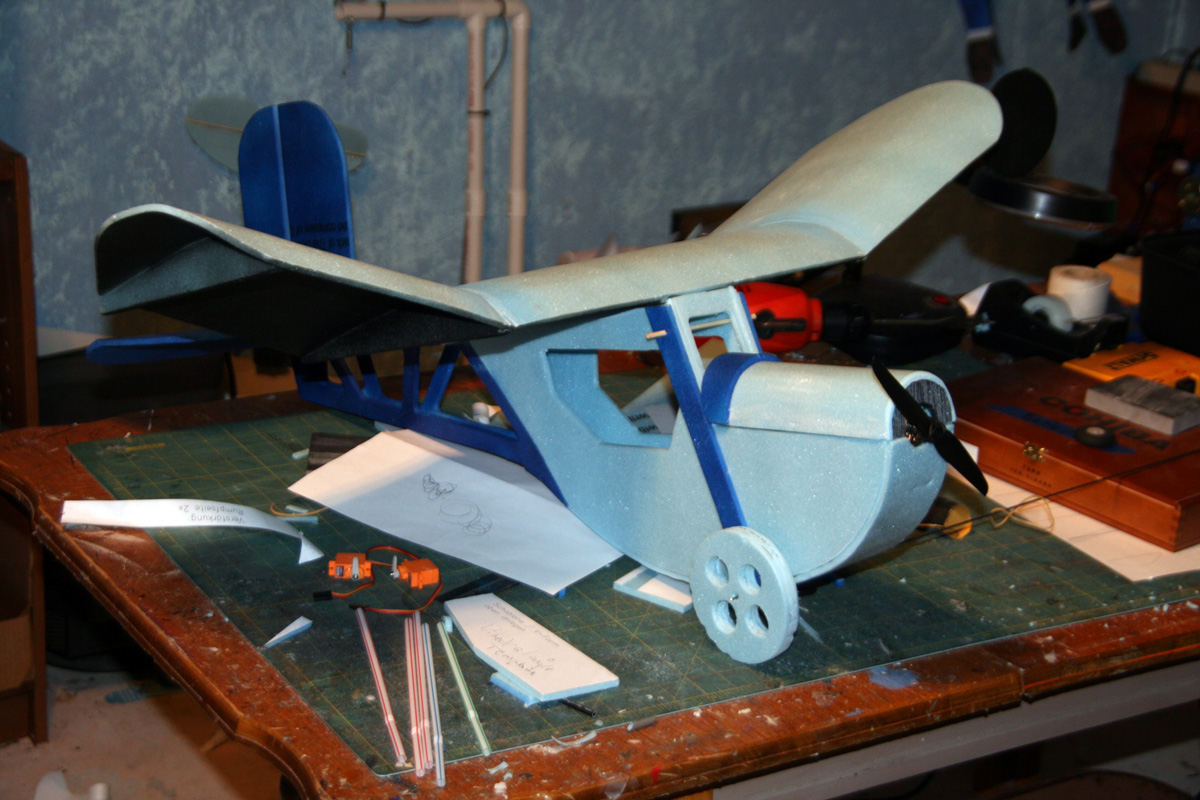
Seeing how it looks on wheels
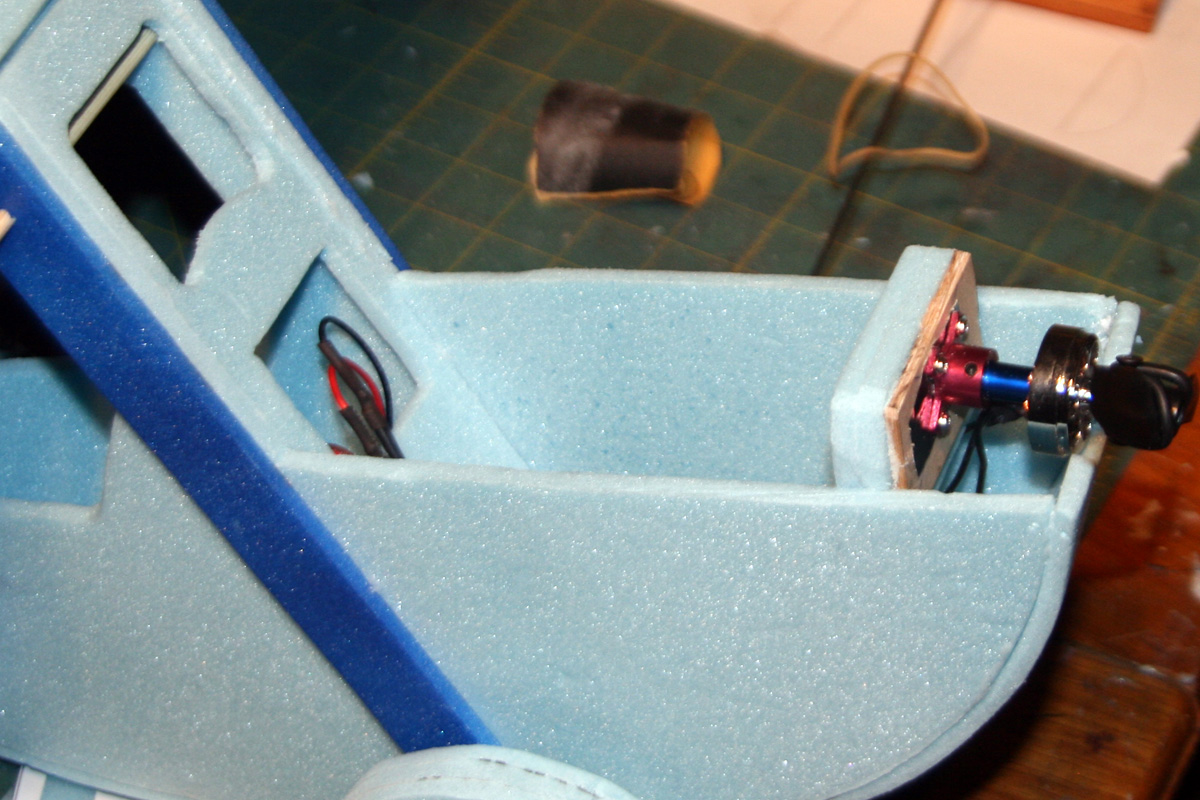
The very crude plywood-on-foam motor mount
The rear wheel is left over from somewhere or other. mounted on bent music wire epoxied into a small block of basswood.
The servos sit on top, right behind the wing
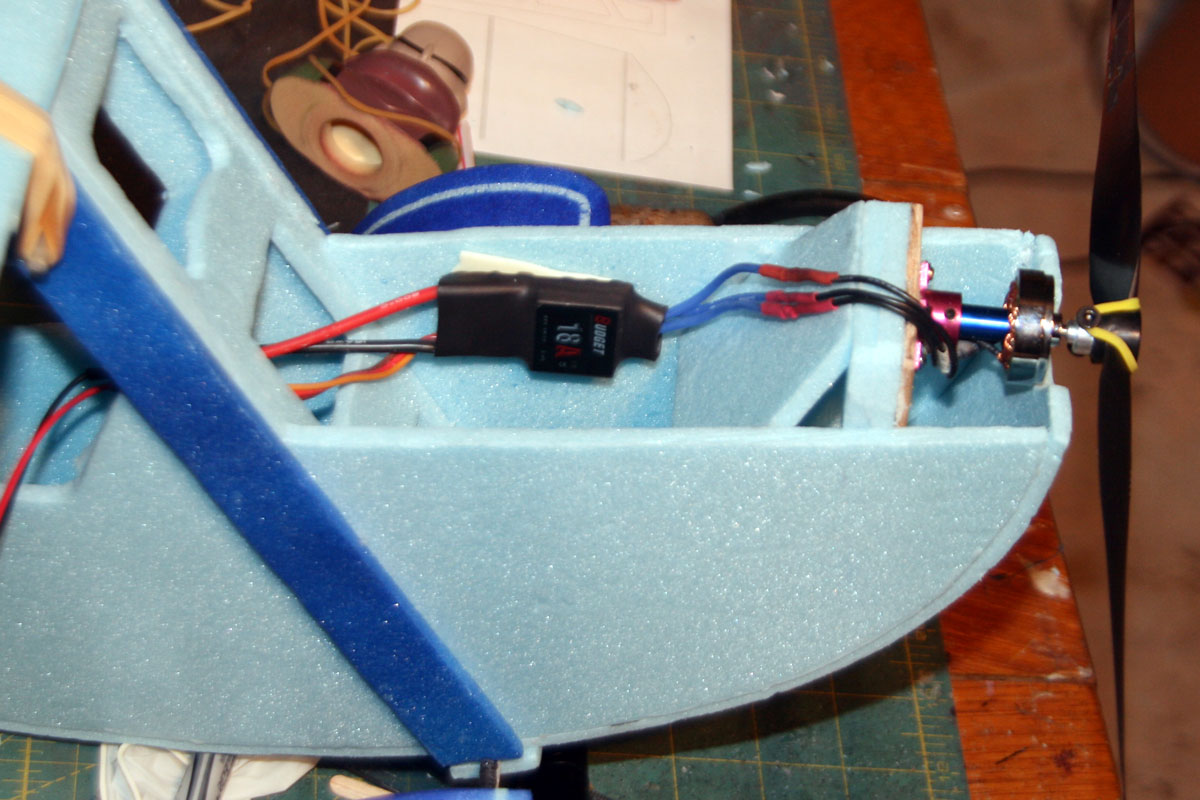
Finished motor mount and ESC placement. I added another piece of foam at an angle, and mounted the ESC on the side to help the side-to-side balance of the plane
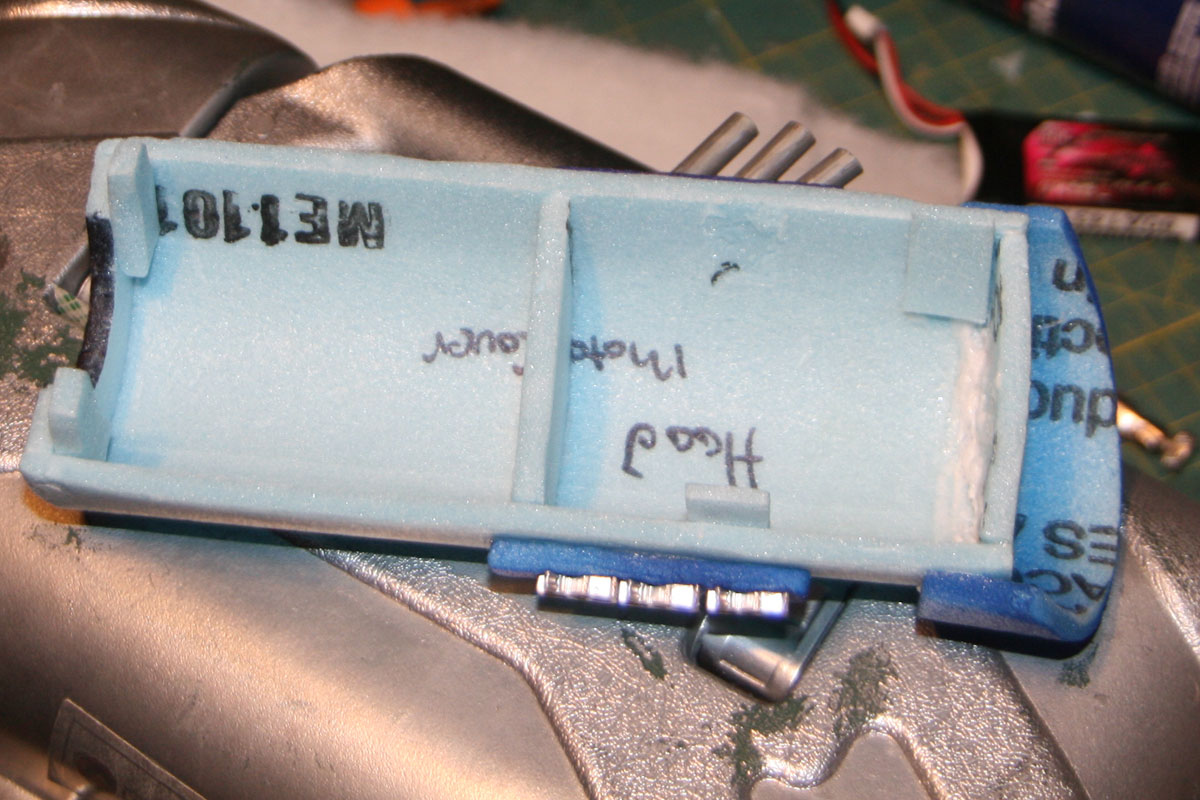
Inside the engine cover
The little wedges sticking up fix the cover in place over the engine compartment
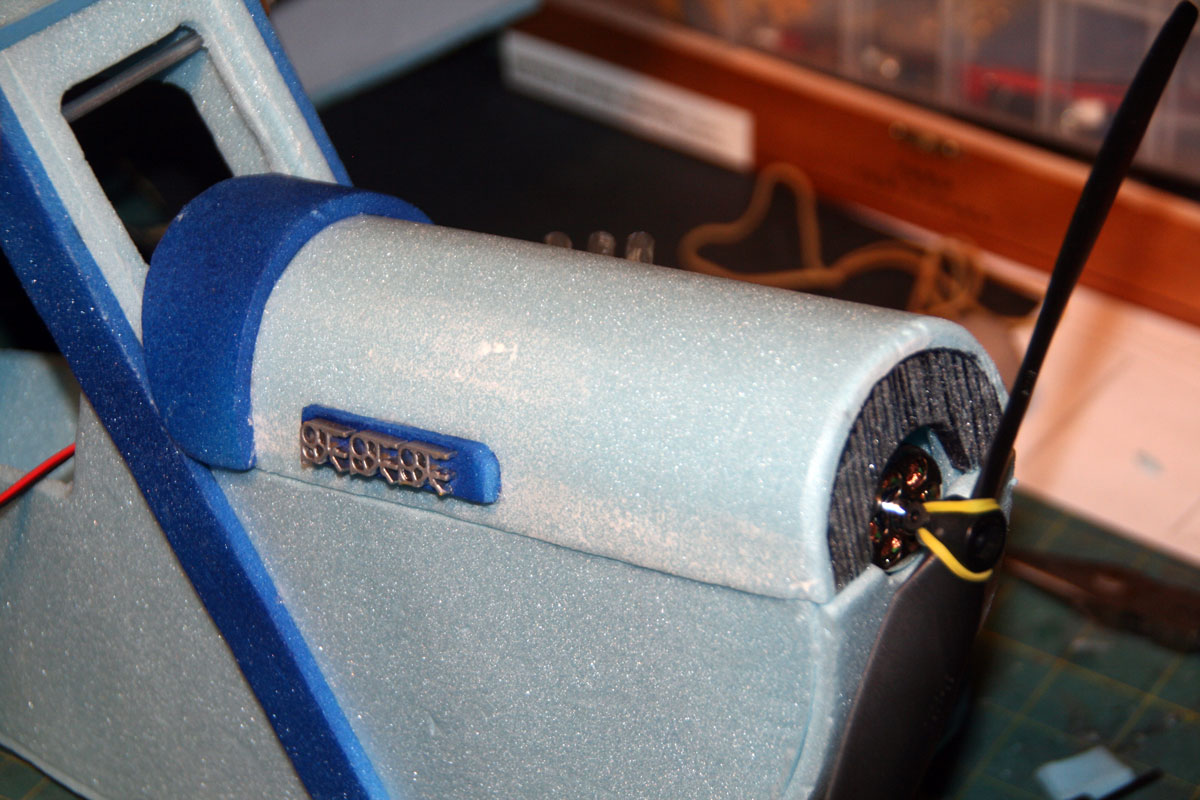
Finished engine cover
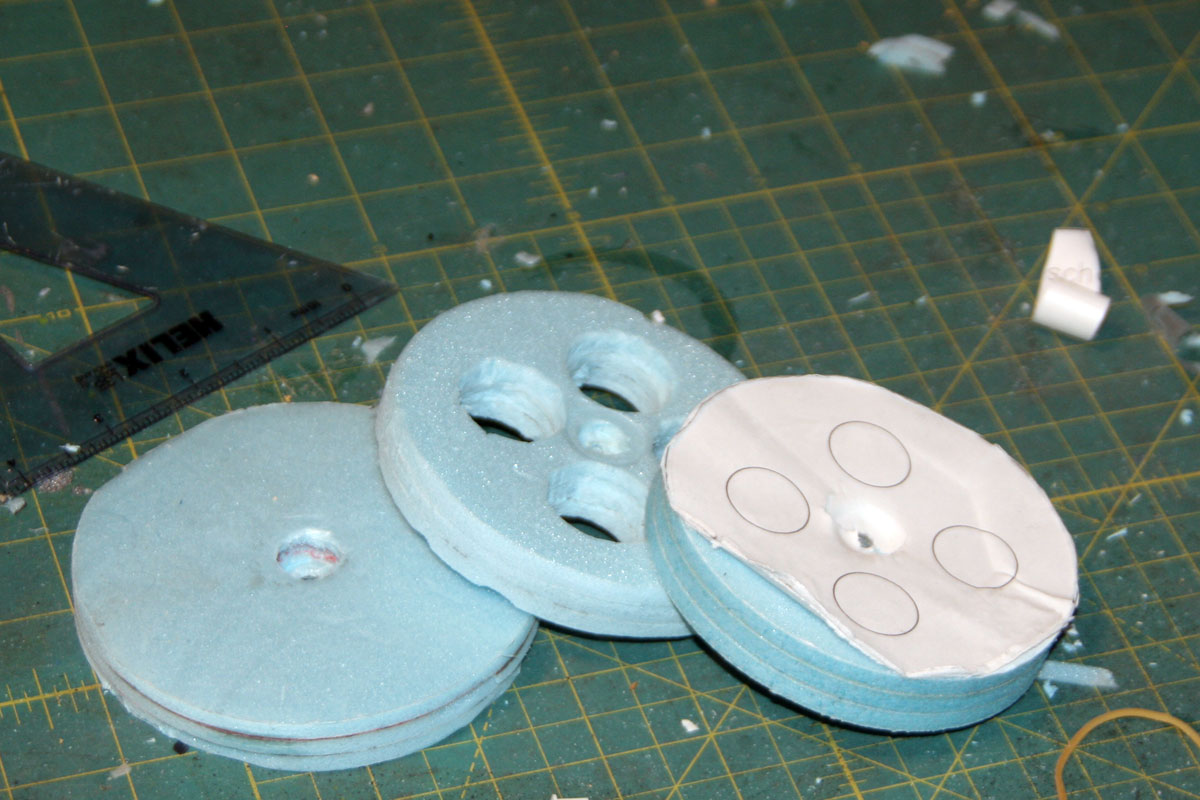
A pile of failed wheels
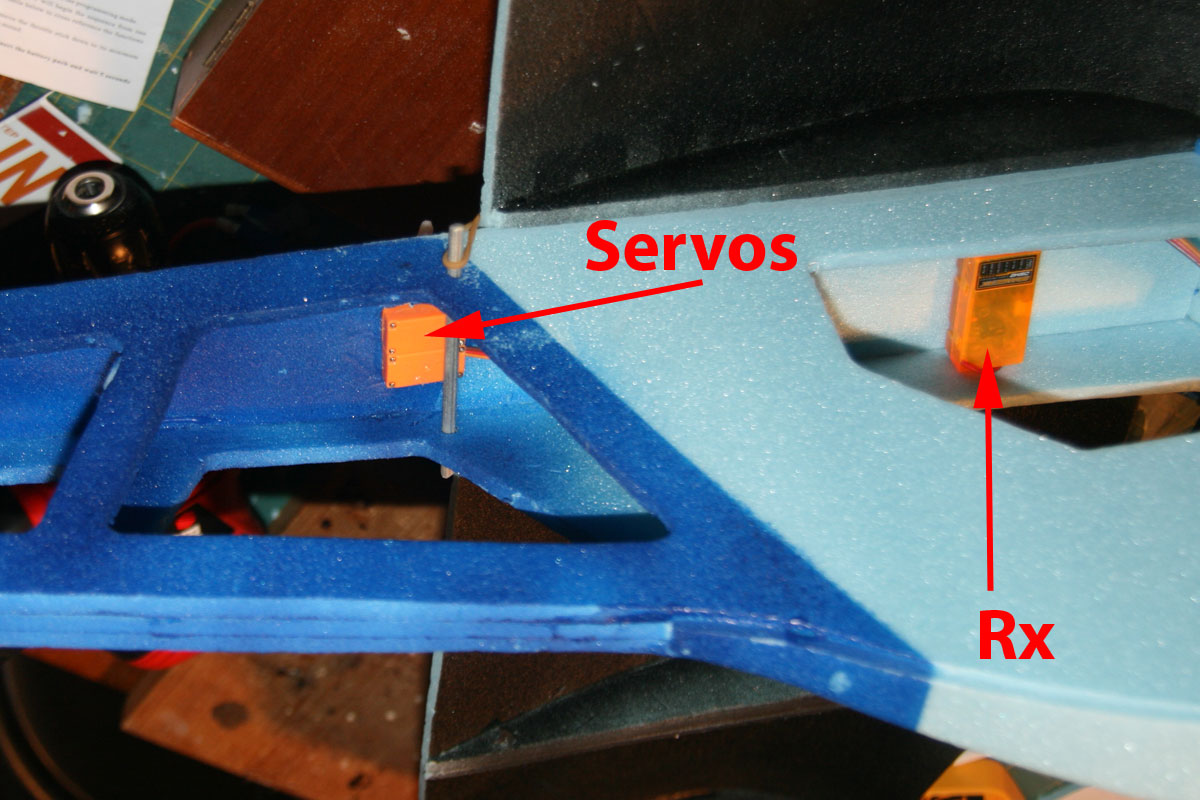
The servos sit on top of the fuse and poke thru. The Rx is on the cabin ceiling.

Test-fitting some fenders
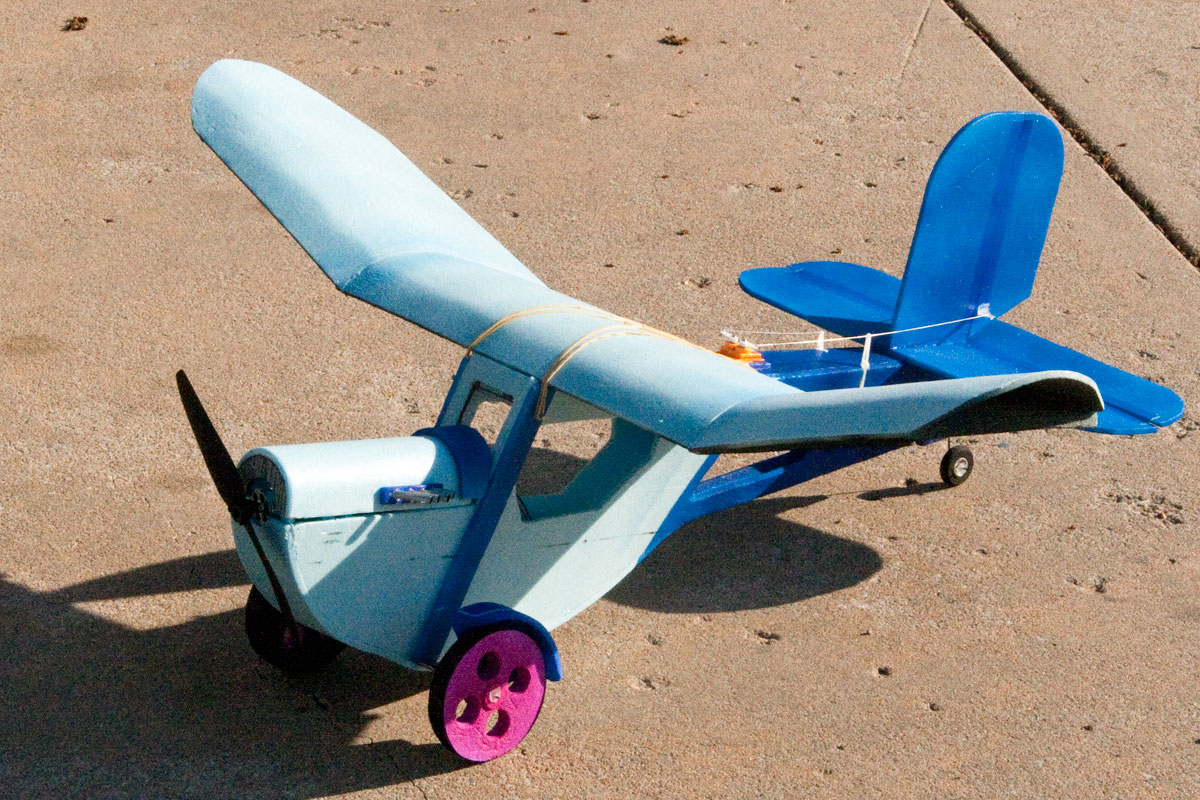
Nearly finished!

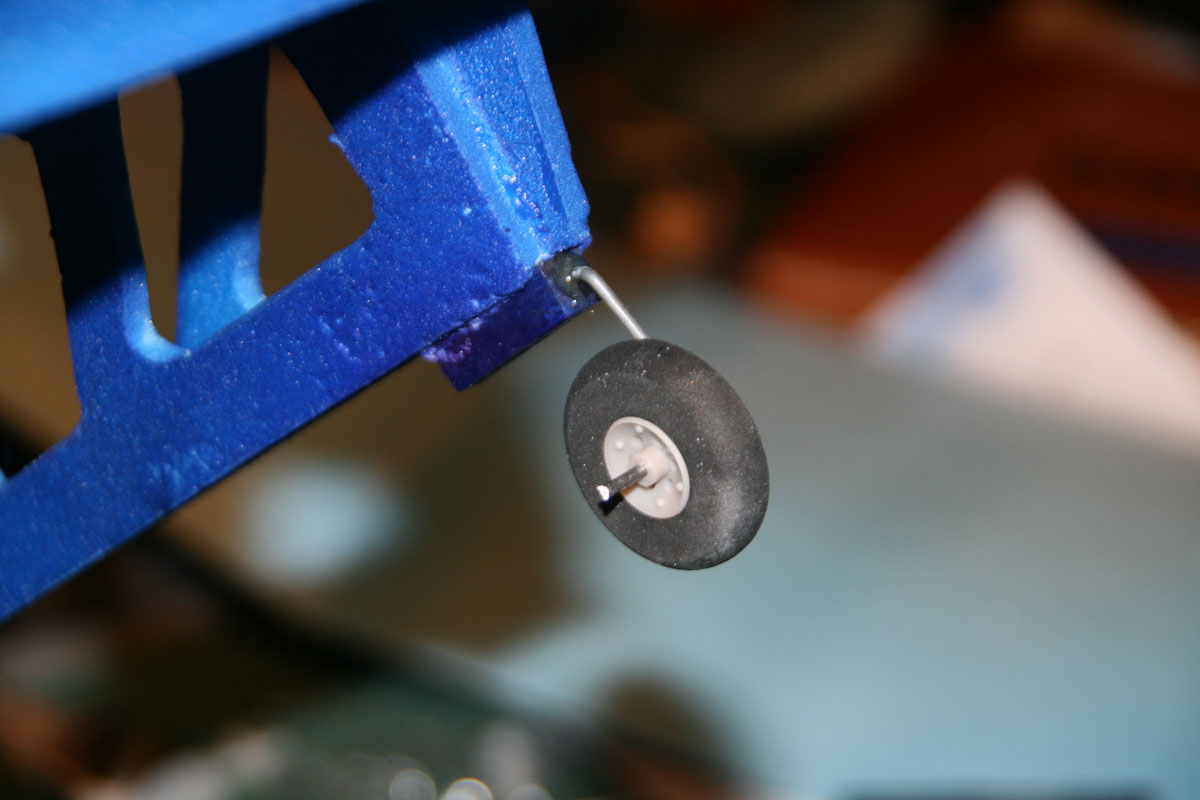
Close-up of the wheel
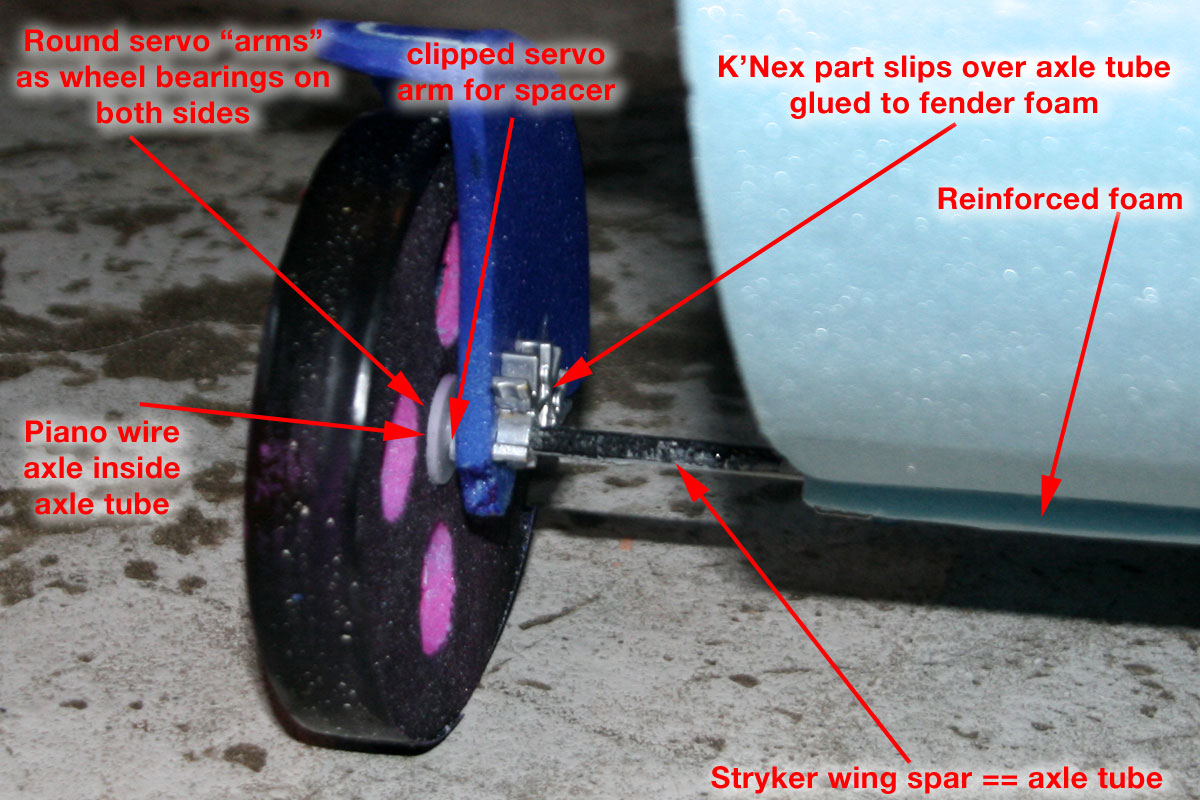
Wheel / Axle construction
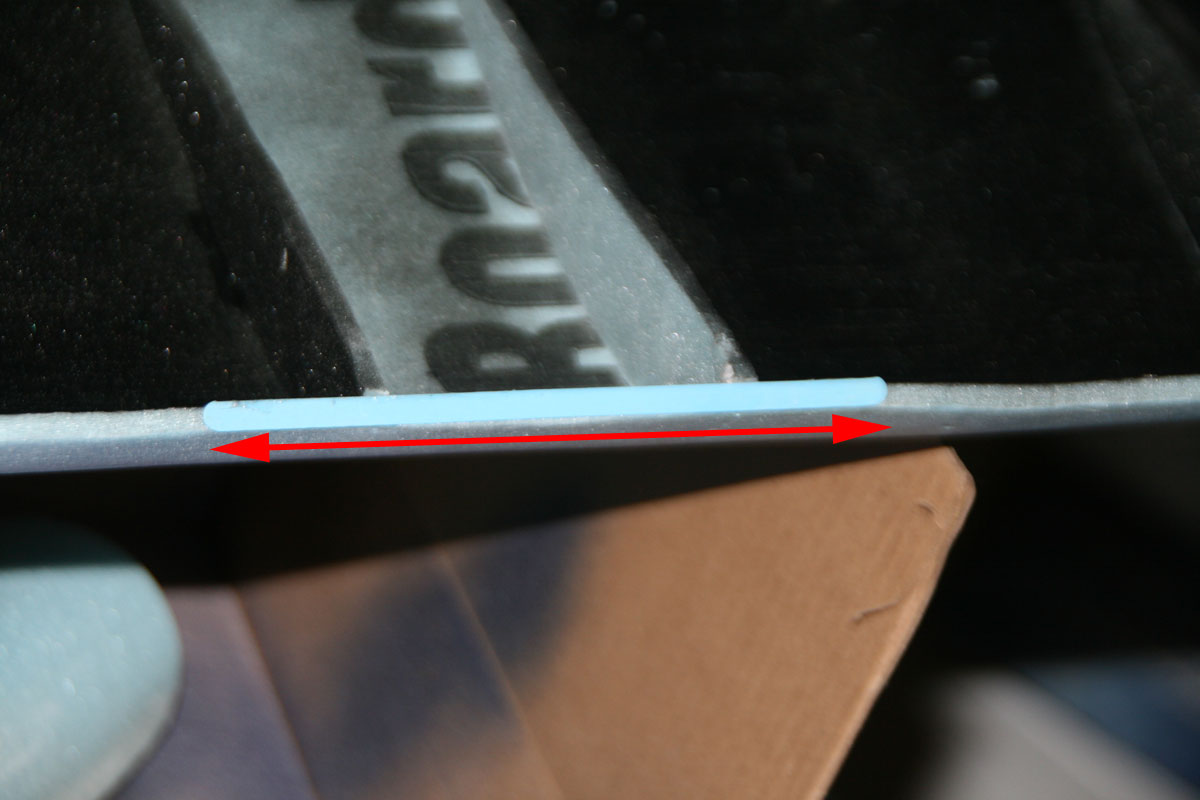
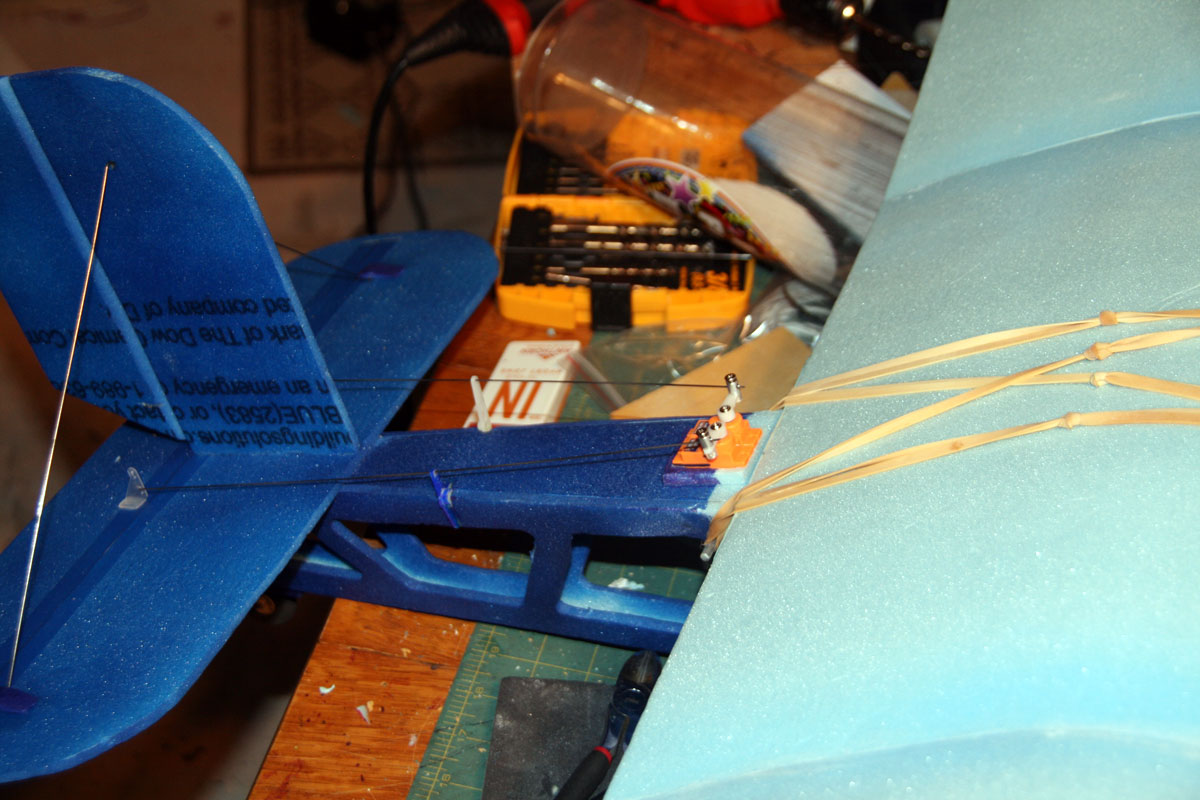
A coffee stir, glued to the leading and trailing edges of the wing, protects the foam from the rubber bands
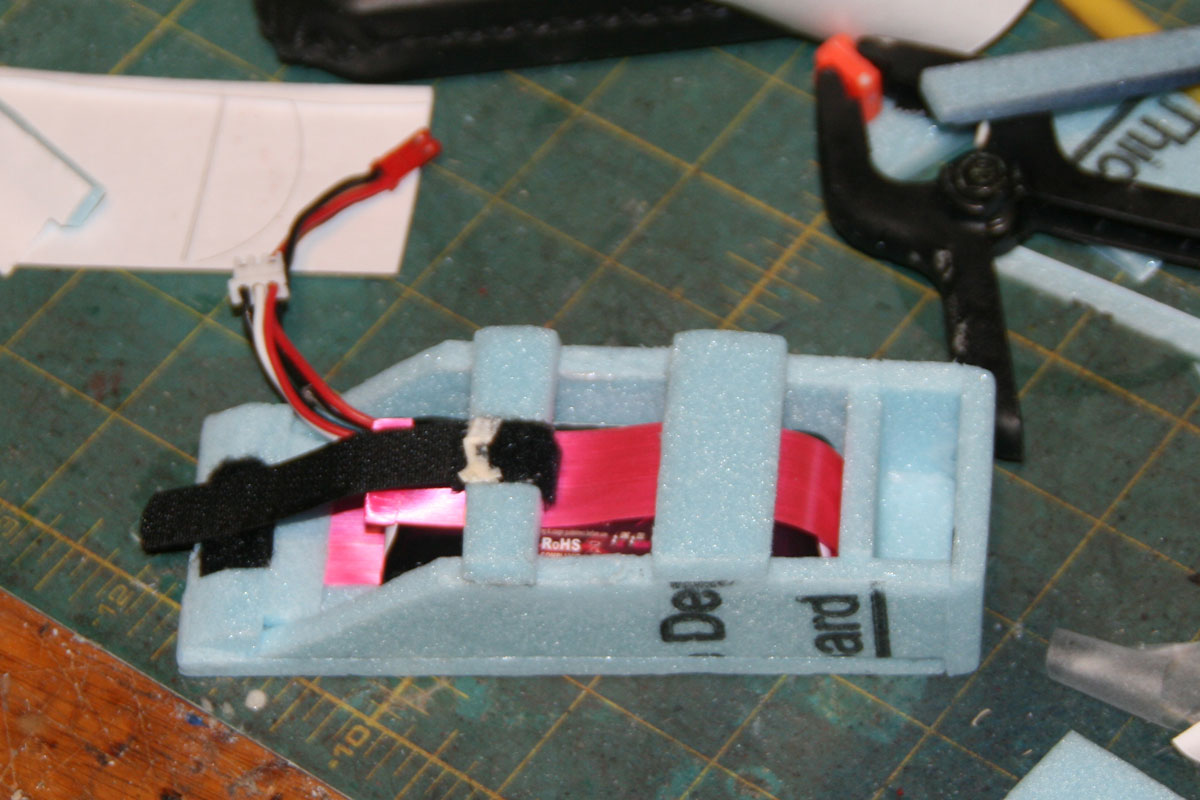
The battery box, assembled from scraps of foam, ready to install

Push the battery in

A scrap of Velcro secures the battery in place

Pull on the ribbon to eject the battery
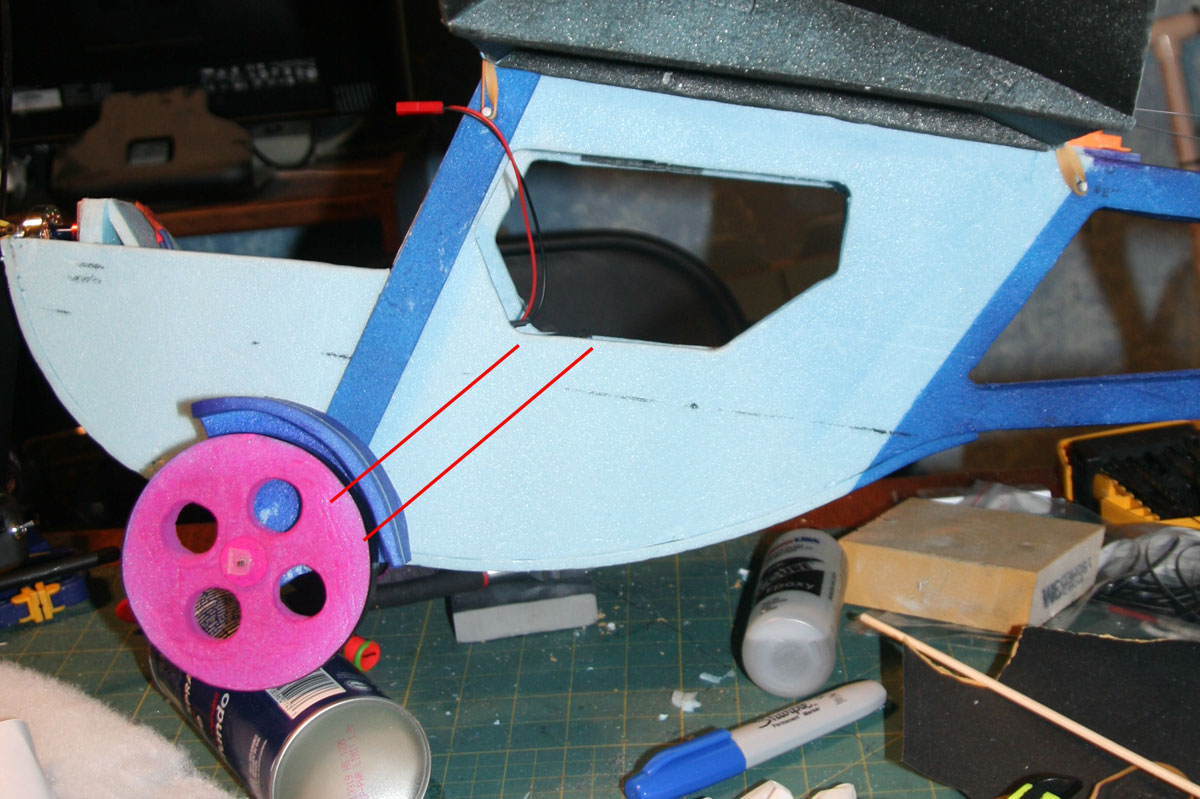
The battery compartment sets in here, at an angle